

Transcript

Overview: In this lesson we will cover how to set up your Postman testing environment, then see how we can use Postman to explore APIs through the POISED testing strategy
Note:
For maximum benefit, please view the course video for dynamic demonstrations.
We'll be covering API testing strategy, keeping in mind that we want our APIs to be correct in that they are fulfilling their contract correctly. APIs that provide good value for the developers creating applications. And APIs that are intuitive to use.
We'll be using the "POISED" heuristic to help us with our test coverage. This is Parameters, Output, Interop, Security, Errors, and Data.
Before we start testing we need to make sure our test environment is set up properly.
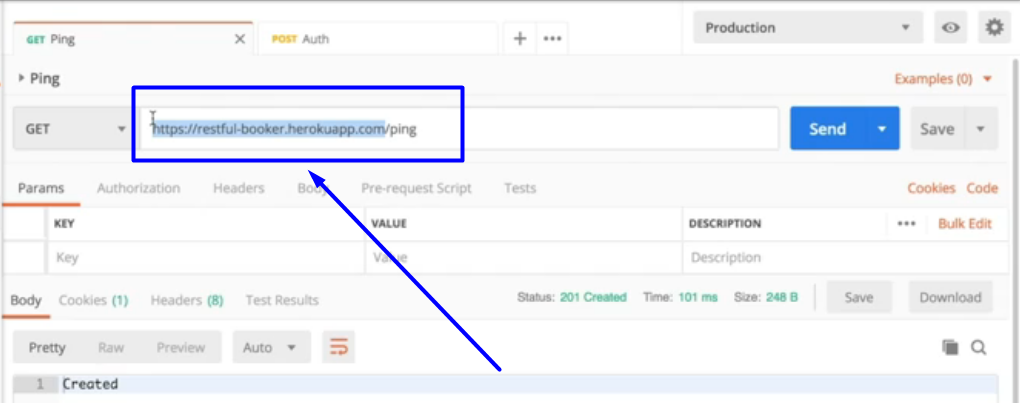
For this lesson we will back in Postman with our Restful Booker Sourcecollection.
There's two things to do before we really start exploring this API. The first thing I'd like to do is to run a local copy of the Restful Booker app to test on.
You'll note that I'm using the publicly available API (https://restful-booker.herokuapp.com/ping) which is fine for a lot of testing, but we don't totally have control over what's happening. It resets every 10 minutes, and we can't see all the logs that are available.
In order to run the Restful Booker API locally, go to the GitHub repo for the code and download it as a zip file.
TIP
Restful Booker is a NODE application, so if you don't have Node installed, go to Nodejs.org and install the proper version for your OS - NodeJS.
Once you've installed Nodejs and downloaded the code, all you need to do is unzip the package, enter the directory, then run npm install. This will retrieve any other packages that Restful Booker needs.
Note that the instructions say that you need MongoDB, but you actually do not need to have MongoDB installed. So there's a couple of warnings for packages. We're not going to worry about that now. Everything's still going to run properly.
So once this is done, all you do is npm start. And now if we go to localhost:3001, we can see that Restful Booker is running locally on our machines.
Currently, our collection is set up to access Restful Booker through the production url. In order to add a new environment, the local environment, we go to the environment section of Postman. Currently we have nothing here, but if we manage environments we can create an environment (using the gear icon in the top right corner).
- First we have to give it a name - we'll call our first one “Production.”
- Create a new variable to hold the name of the base url. In this case, I'm just going to call it Restful-Booker url (
rb_url). - Our initial value is going to be the Restful Booker Heroku app. This is what we're calling the production value so we add the url in the box.
When everything is entered, simply click the “Add” button. Now that we've created our production environment, we want to set up our request to use the variable instead of this hardcoded url, because the point of the variable is that it can be inserted in various places.
What we're going to do is replace this part, with a double curly brace and then enter the name of our new variable:
{{rb_url}}/ping
And you can test that you entered the right thing. If you hover over it, you'll see that it shows the Restful Booker Heroku app value that we want for production, and if we send this, you can see that it's working.
Now that we have our production environment set up, it's an easy matter to create a local environment as well.
We go back to manage environments, and we are going to add a new one. We'll call it Local, and it's the same variable name as before (rb_url), except our initial value is going to be our localhost:3001. Once entered, click the “Add” button.
Now, when we switch this to the local environment, and we hover our variable, we'll see that it's pointing to local host. And when we send it, and we go to our local host, we can see that it did indeed do our local host instead of the production Heroku app.
Once that's done, update all of the requests with the new url and now we have a complete collection that will work in two different environments.
The final thing we want to do is to make sure that our requests are authorized properly.
If you'll remember the put (PUT), the patch (PATCH) and the delete (DEL), have an authorization requirement, in this case done by a cookie, but in reading the documentation, you can also do it through an authorization call.
Postman allows you to add authorization to all the requests in a collection. Just go to the collection, edit it, and come here to authorization. Postman supports many authorization schemes.
We're just going to use Basic Auth. The username being “admin” and the password, “password123.” Now we update this.
Once we've set the authorization, we can just send our PUT request, and it's working. You'll see in the headers that there's an authorization header that was put in automatically by Postman.
So by having this authorization applied to all the requests in the collection, that means we can use the request without having to worry whether we have an up-to-date token or not.
Now that we've created our production and local environments and edited an authorization header, we're ready to start going through our POISED heuristic to make sure that we're testing Restful Booker as completely as we can.
# Code Resource
Quiz:
Note: Chapter 3 has been divided into multiple sub-chapters. You'll find the Quiz on the last sub-chapter, Chapter 3.6. Read on!
