

Transcripted Summary
This is Python for Test Automation — Installing Python.
Okay, so we're going to go ahead and get started with the Mac Python install.
So, I'm first just going to show you what you can expect to see in the Mac terminal app.
You can see that I have my terminal app pinned to my start bar, but I want to show you where to find that if you've never used it before. You can go ahead into your Finder and open a new Finder window and then you're going to go into your applications. Then in the applications, you are going to go to something called Utilities.
In the Utilities section, if your folder is not open, you can click it open and you'll see Terminal.
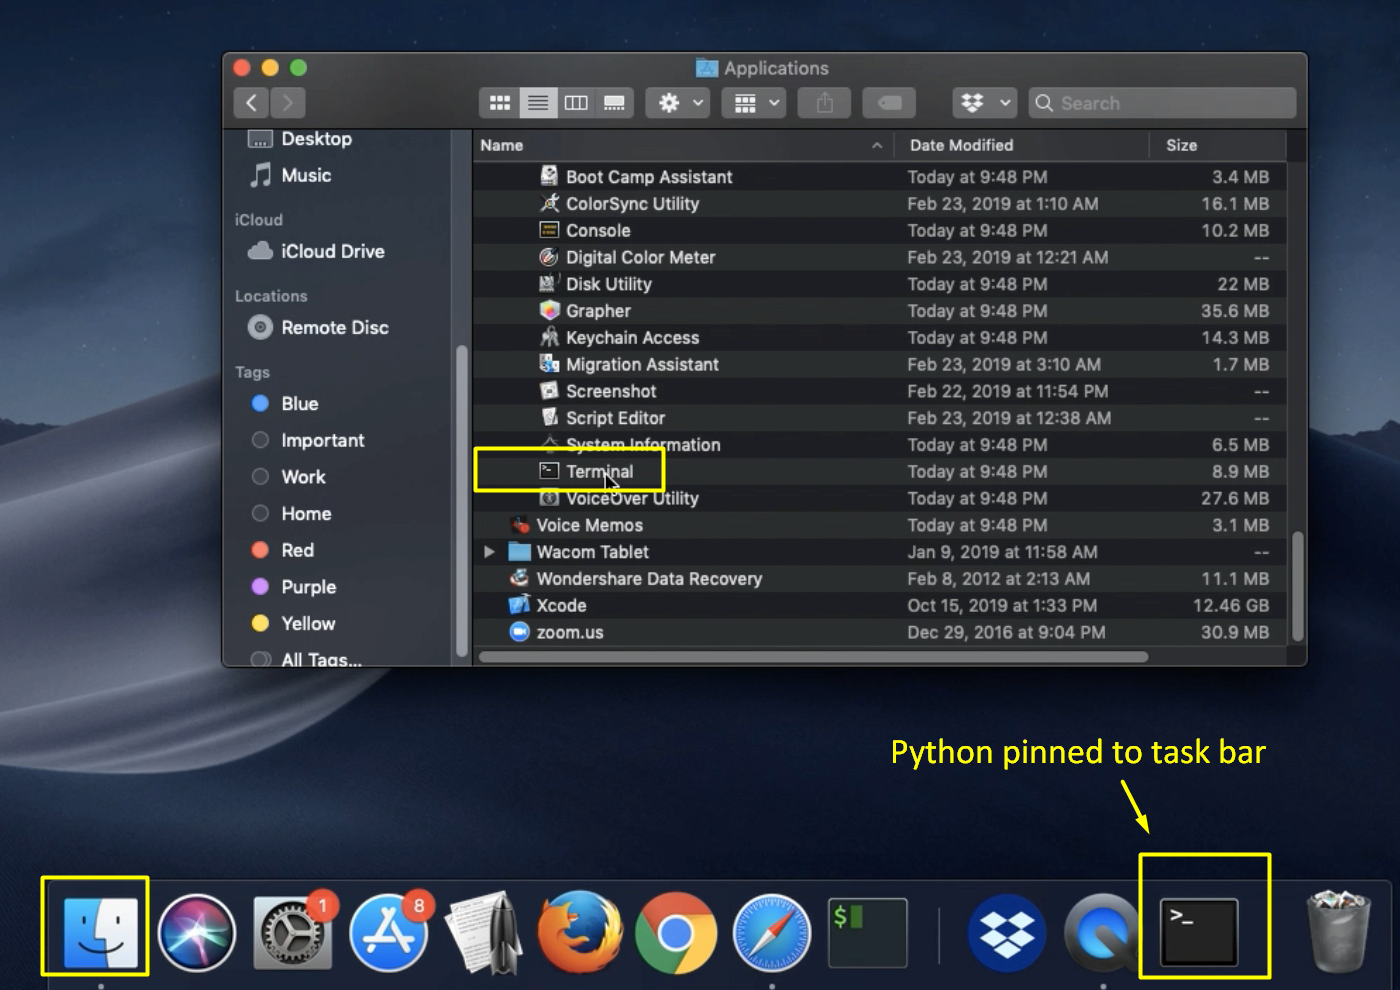
You can go ahead and open the terminal.
Now every Mac comes with Python 2.7 installed by default.
What we'll be doing is we will be installing Python 3, which will be used throughout the course.
It's really important that you don't uninstall Python 2 because you won't be sure what apps in the actual Mac operating system rely on the presence of Python 2.
So instead of uninstalling it, you can just leave it there and you can run it side by side with Python 3.
In order to check which versions of Python that you have on your computer (if it's a new computer, it's extremely likely that you'll only have Python 2) you can type python –version.
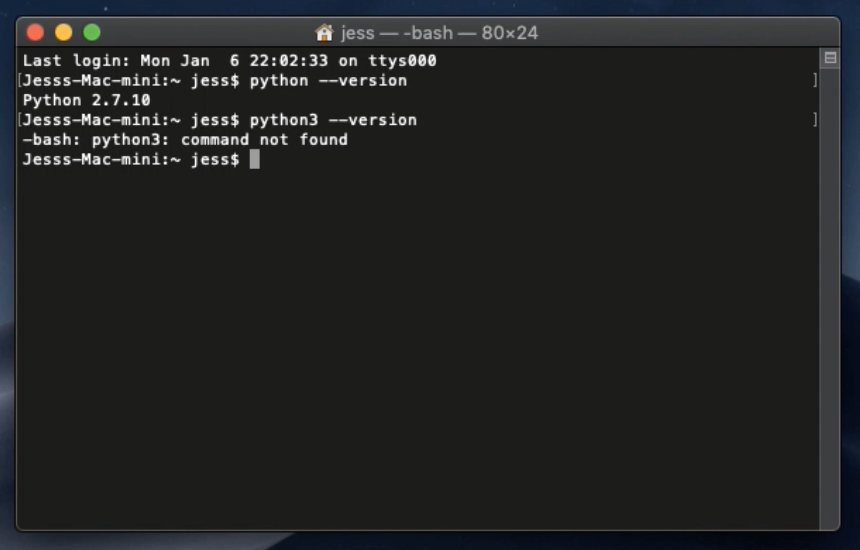
You can see that we have Python 2.7.10 installed on this Mac. You can do the same thing once you have Python 3 installed.
Right now, I don't have Python 3 installed on this computer. I can verify that I do not have it installed by typing python3 – version. The command is not found, which means Python 3 is not installed.
So, this will be how we can verify that our install has been successful.
First thing we're going to do is go to the downloads page of the official Python installation.
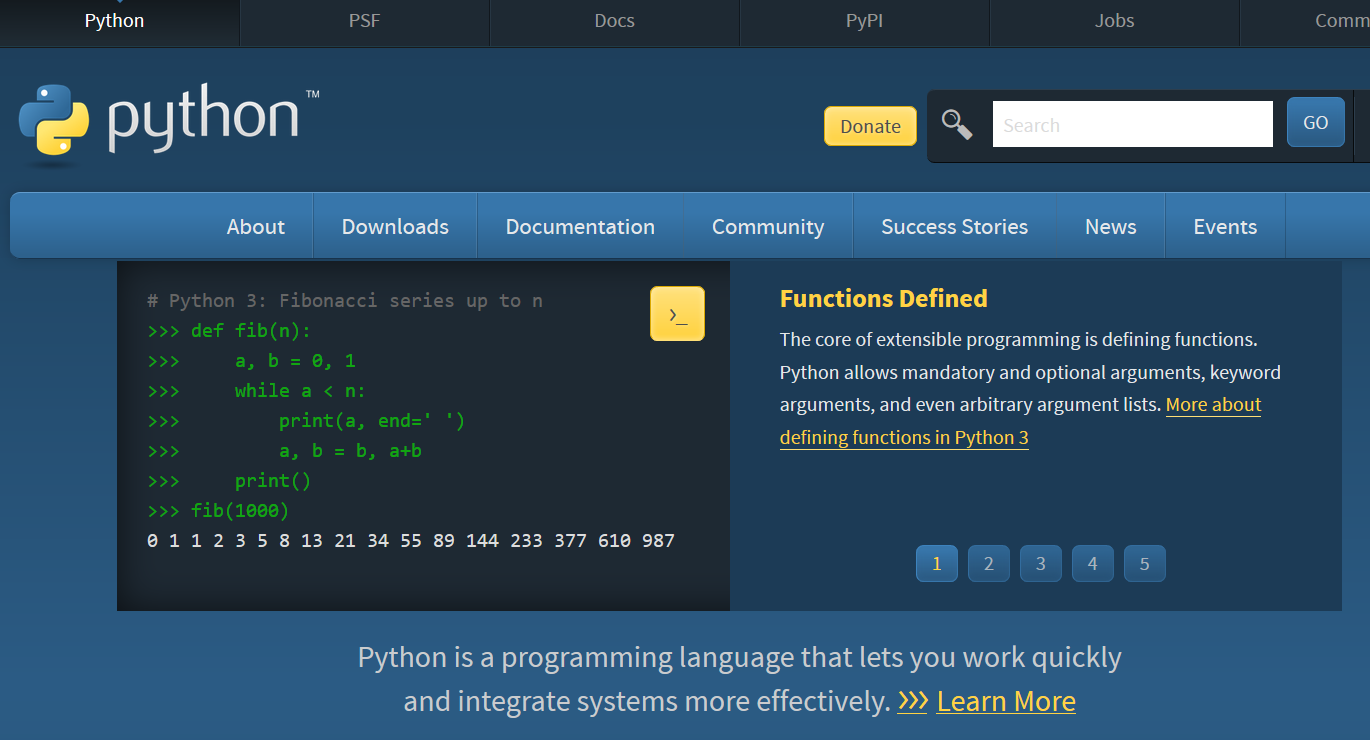
I'm going to go to the python.org website. Then we are going to go to the Download section.
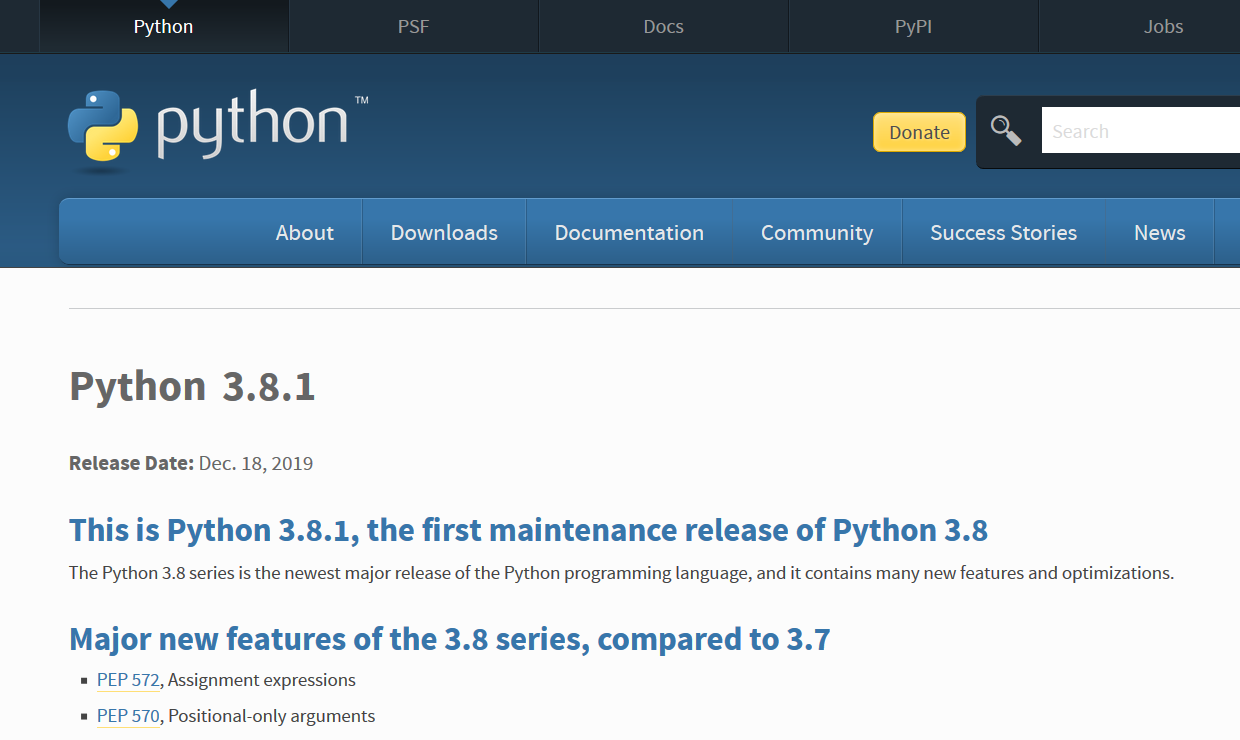
And typically, if you are operating on a Mac, you'll notice that you'll get the correct operating system and the latest version.
You can go ahead and click on that version number and your download will automatically start.
I'm in the Safari browser, but it should work similarly across the browsers that you're using.
Then I'm going to go ahead, go to My Downloads, double click, and the Python Package Installer will open up.
I'm going to close this out, so we'll go through the installation process and I'm going to run the Installer.
Installer Read Me Information
Now you may want to read through everything to make sure that you understand what you are installing and all of the differences for the newer operating systems. I'm going to go ahead and Continue. You do have the option to print or save the documents. I wouldn't print them, but I might consider saving them.
So here you have the history of how Python was created, which is really interesting to read if you don't know how that happened and why it's open source.
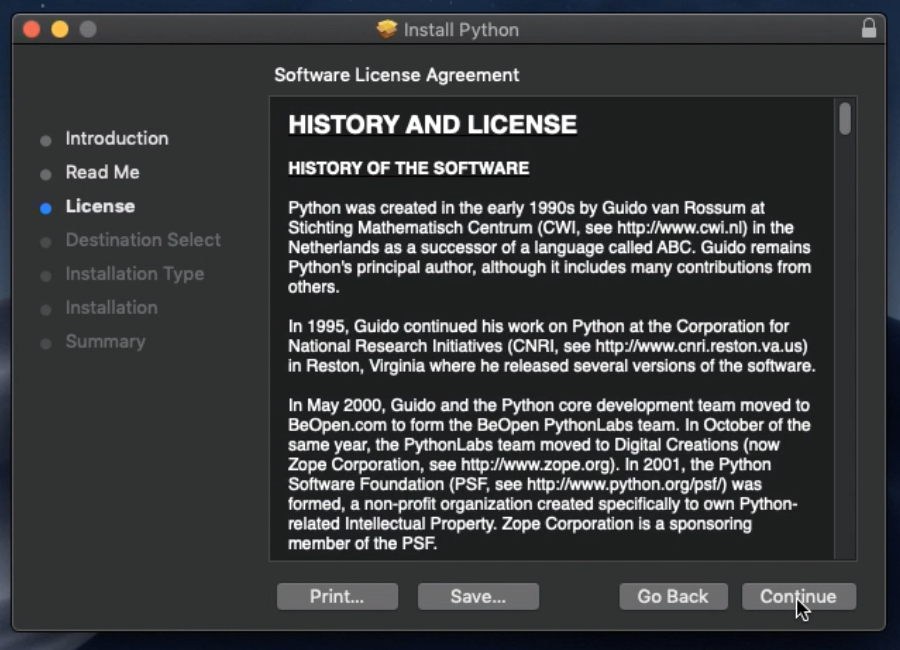
You can also read the licensing agreement and Agree.
I'm going to go ahead and install in this destination. Continue.
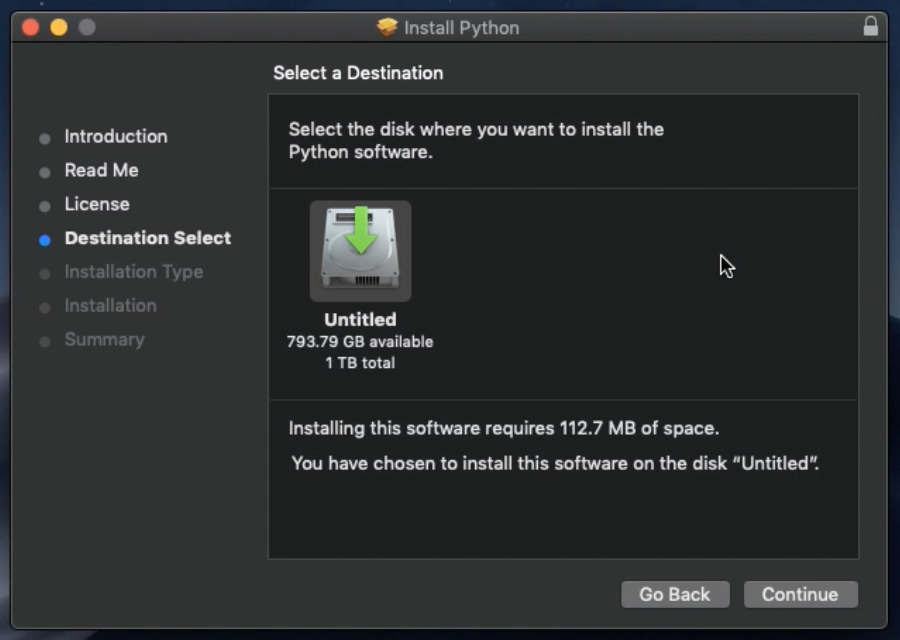
It tells me how much space it's going to take, and I'm going to go ahead and Install.
I'll put in my password.
Okay, so the Python installation has finished. I'm going to go ahead and close my install window.
I can move the installer to the trash and I'm going to go back to my open terminal window.
Now when I run the python3 –version command, I should see that my latest version is installed.
Excellent. So, we finished installing Python.
Next, we'll go ahead and install PyCharm.
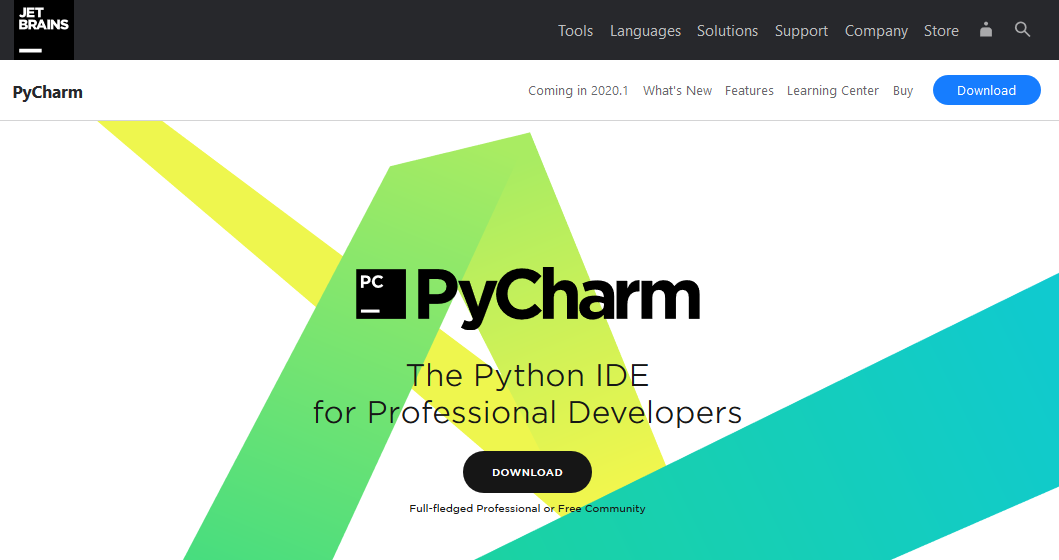
PyCharm is the IDE that we'll be using.
We can go and find the download of the latest version just by doing a search, going to the website, agreeing to the terms.
I'm going to download the Community version.
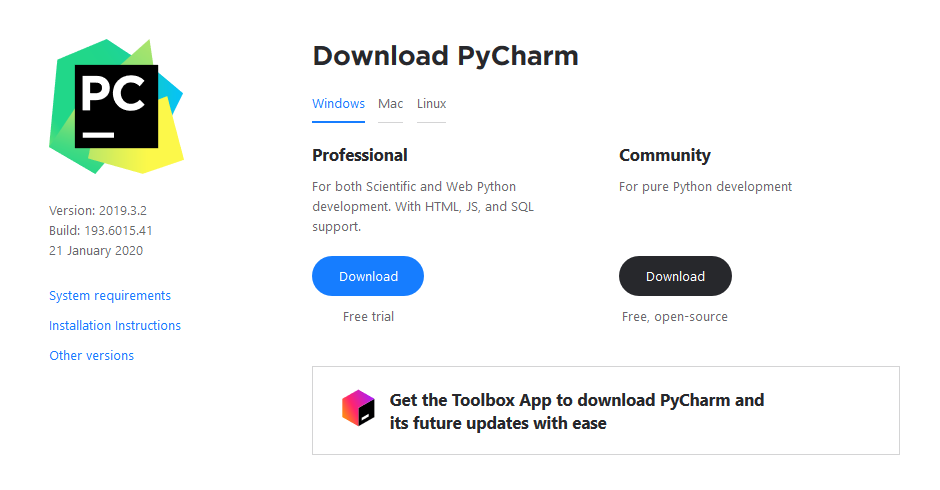
It is free, it's open source. It works really well.
If you want to do a more robust version or if you are working with multiple other projects already, you might consider the professional version. It's really up to you, but you can do everything that we do in the course with the free version.
So, I'll click download. Again, I'm using Safari, but any other browser should start that download process very quickly.
Okay, so we have our download finished, I’m going to go ahead and we'll click on that, which we'll get it open.

Click and drag.
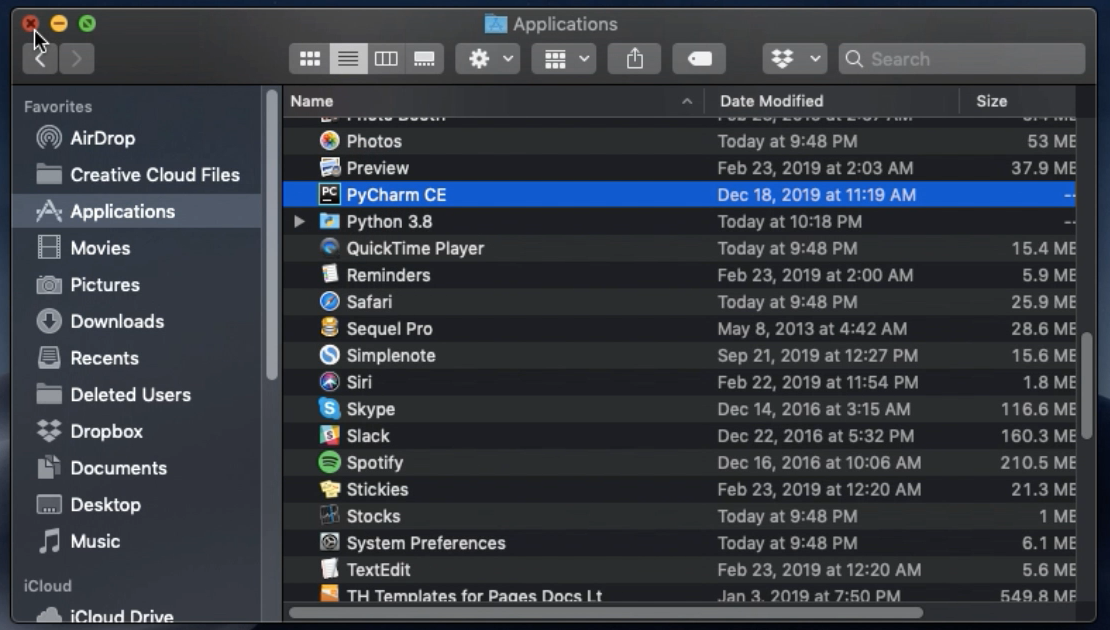
Now when I go to my Finder, I Open Finder window, I can go to Applications.
And hopefully I will be able to find PyCharm in there.
There it is.
Perfect.
So double click, open it up. Yes, I want to Open it.
Note About Security Settings
If your Mac has very strict security settings, you may need to adjust those settings to allow for a one-time download. And if that is you, then you will get a message with a lock that will pop up and ask you to change.
Since I don't have previous settings for PyCharm, I'm not going to import the settings.
I am going to scan quickly through the user agreement as many of us do, however, if you feel compelled, you definitely should read it completely. I will confirm that I accept the terms.
I am not going to send my usage stats but that's up to you.
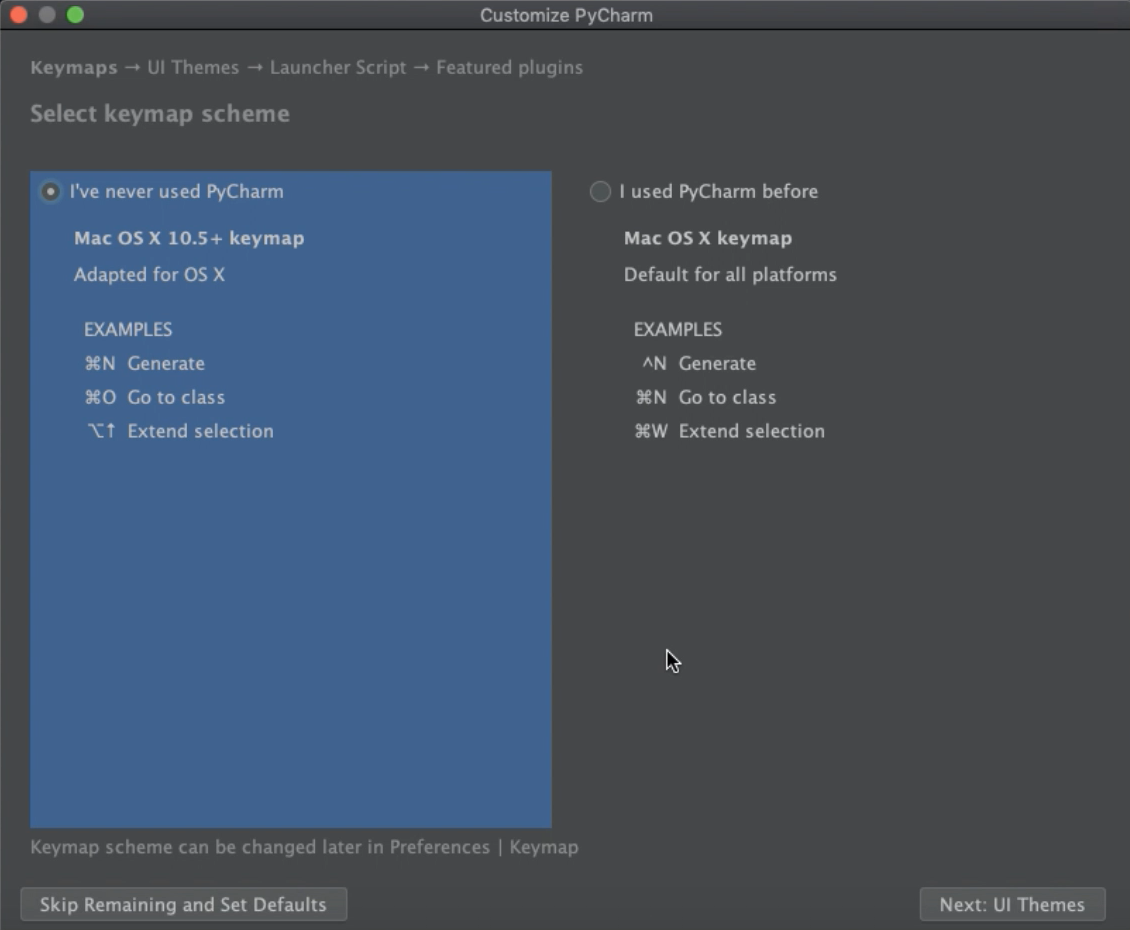
I am going to do the standard keymap scheme.
I happen to prefer the dark theme, but if you prefer the light theme you can go ahead and select that.
Then I am going to Skip Remaining and Set Defaults.
Now, for this course you're going to want to Create New Project and you can call this project “TAU-Python”.
Your Project Interpreter, you're going to want to click into this, that's pretty important.
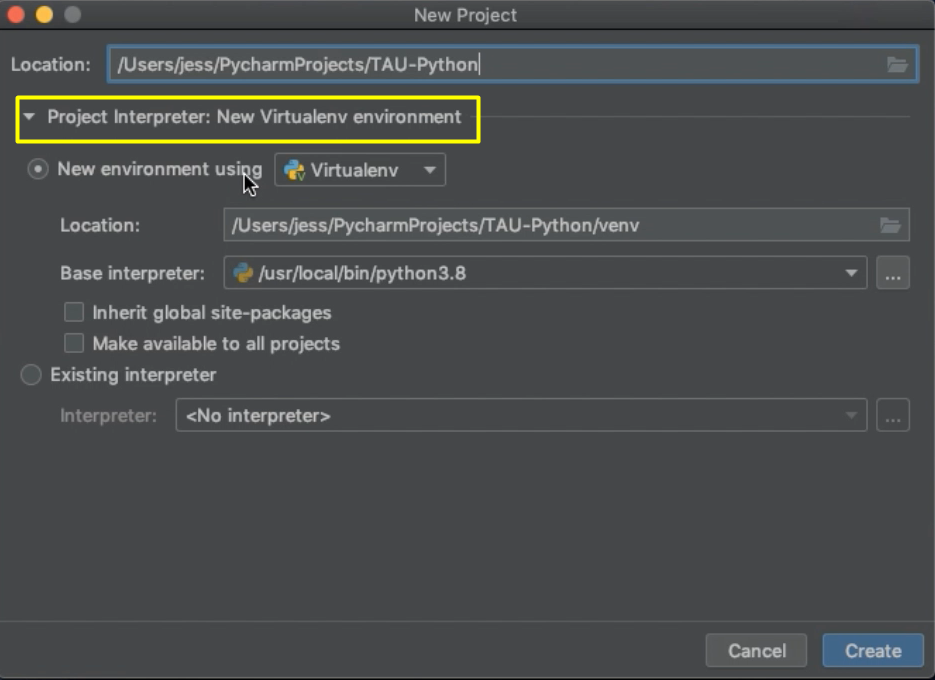
You want to make sure that you're using a new virtual environment.
And what's really important is that you want to make sure that your base interpreter is the Python 3.8 installation.
If per chance, it's in another version, you want to make sure that it's on that 3.8.
If you've had other versions of PyCharm or Python on your machine at some point in time, or another version of JetBrains software, it may ask you or give you options for the existing interpreter. But you're not going to do that for the project that we're doing in this course.
You can go ahead and Create.
And while it creates your virtual environment, it will also show you some tips. You can close these and you'll be ready to start working on your Mac and doing the Python for Test Automation introductory course.
