

Transcripted Summary
In this lesson, we'll be installing Python and PyCharm on Windows.
I am currently using Windows 10. So, I'm going to use native Windows. Typically, I will download other browsers, but for the sake of this video, I'm just going to use what's natively available.
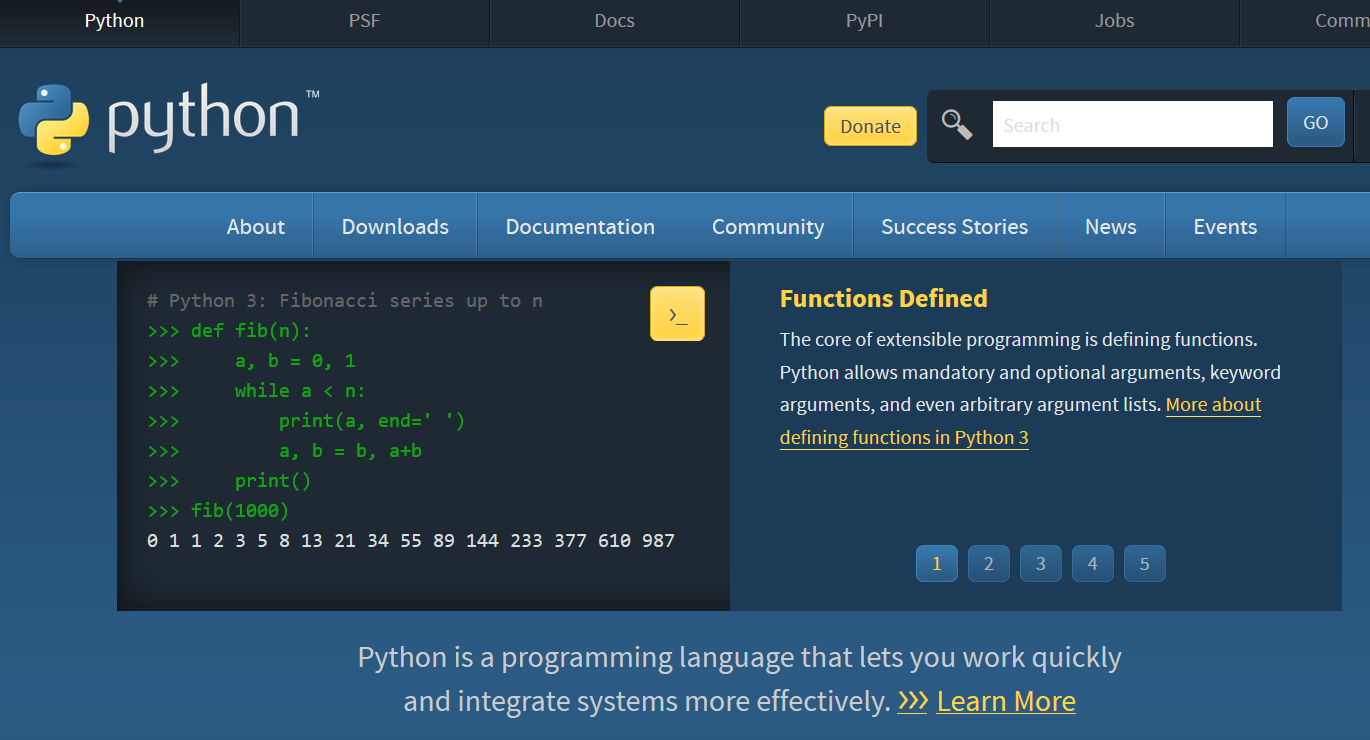
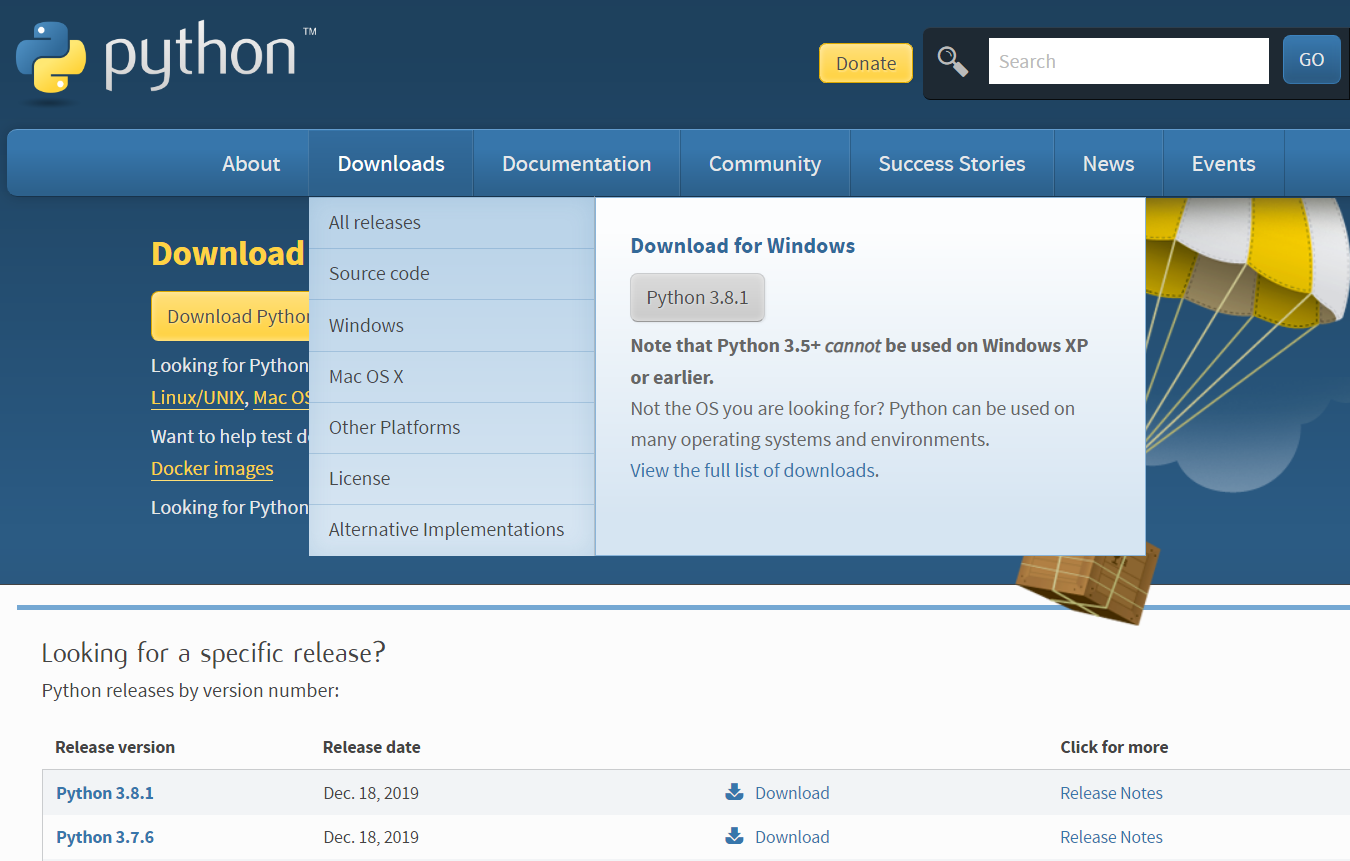
I'm going to go to the python.org page and I'm going to look at Downloads.
And you'll notice that the operating system comes up Python 3.8.1.
It's going to ask me what I want to do with the executable file. So, I'm going to click Run.
I'm going to minimize my browser.
And now you'll see that I have the Install option and it's very, very important that you click Add Python 3.8 to PATH.
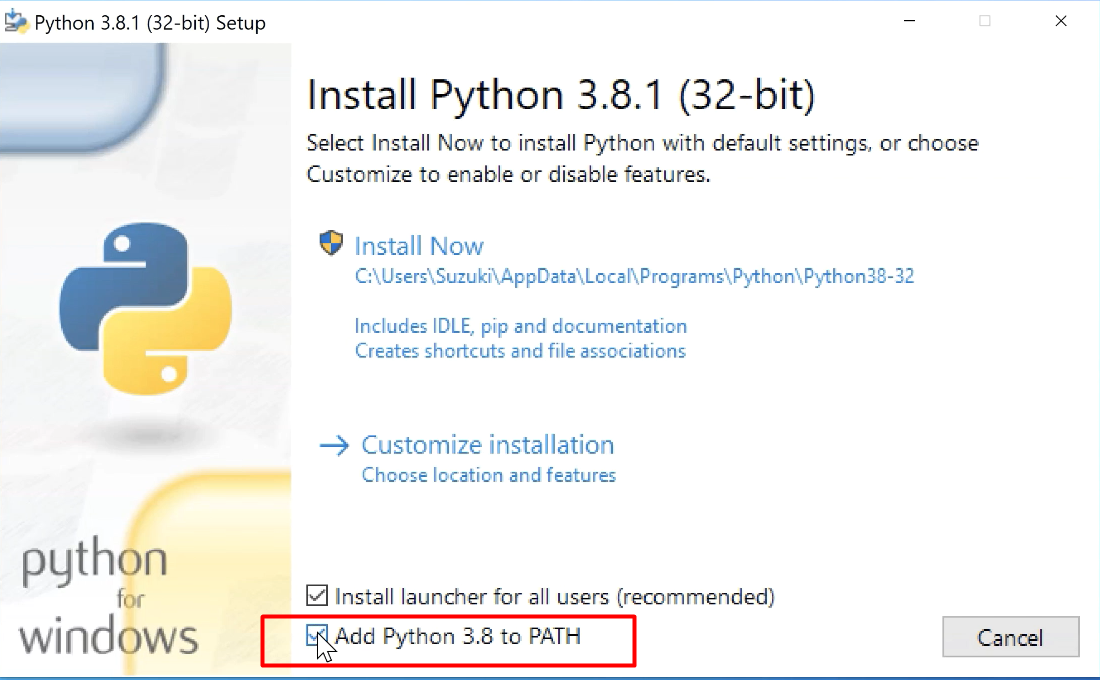
You will need to have this in your system path in order for it to be able to be seen by PyCharm. We really want to make sure that this is here.
TIP
This is one of the areas where in my previous experience with installing Python, I've encountered a lot of difficulty getting the path just right. Let the installer do it for you. I highly, highly recommend it.
Go to Customize installation and check everything.
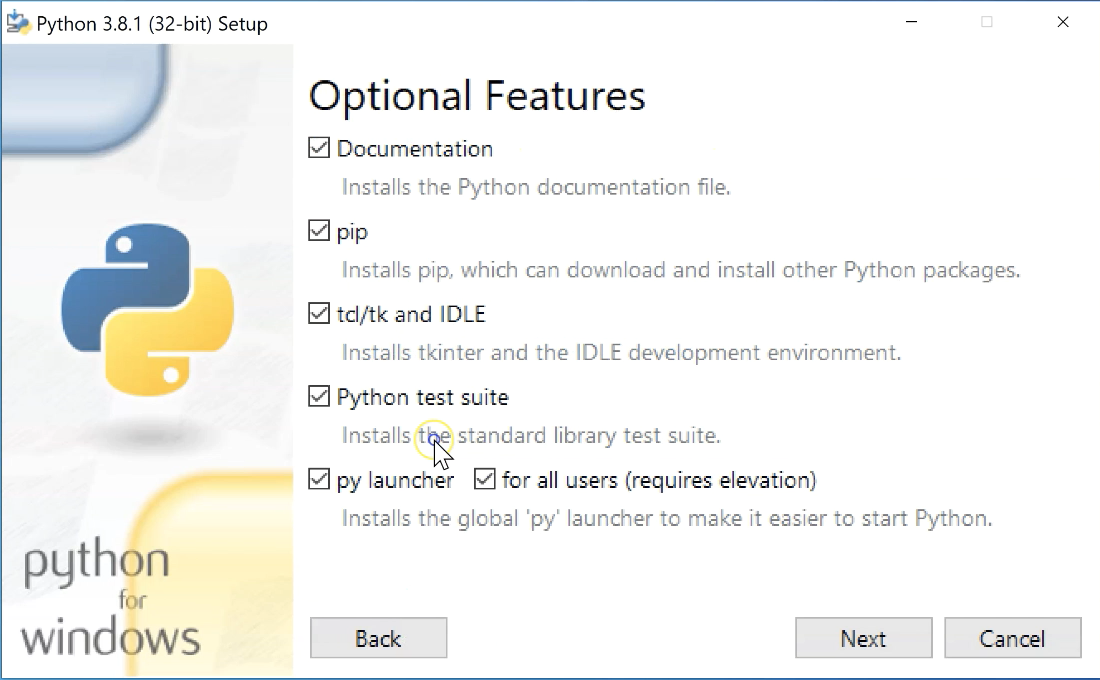
Documentation, so you have access to the Python docs offline.
PIP, which is the Python package manager. What that means is that if you want to download a Python library in the future that somebody has made you can go ahead and do that using PIP.
You can install tkinter and IDLE so you can do some visual programming at a later point in time.
And then the test suite and the pile launcher and installing for all users.
These are all helpful things.
So, I'm going to go ahead and click Next and then you'll notice that I have the associated files.
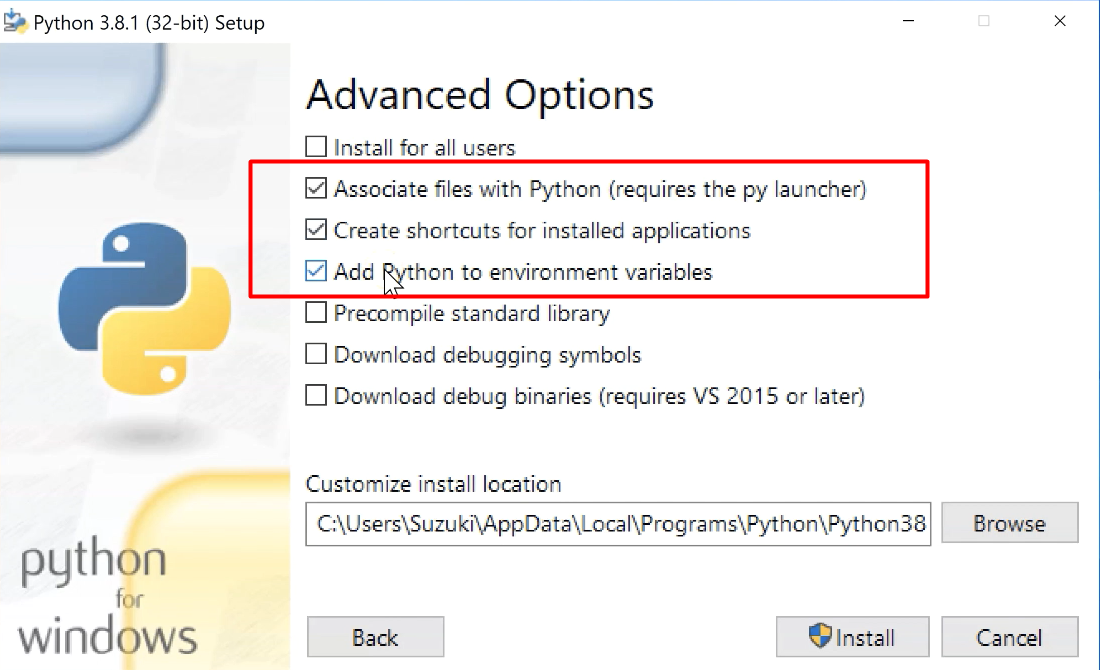
I want to click these 3 advanced options.
I wouldn't recommend clicking other advanced options unless you are a more advanced programmer and you have experience.
But if you're just getting started, I would go ahead and just click:
Associate files with Python and we required the py launcher
Creating shortcuts for our installed applications
Adding Python to the environment variables
So, we'll go ahead and do this and then we'll click Install.
Yes, I would like to allow it and now we'll wait for the install process.
So, our installation says it has been successful. I'm going to go ahead and close this.
Then I want to verify that it actually works.
So, I'm going to go to the command prompt and I'm just typing to search.
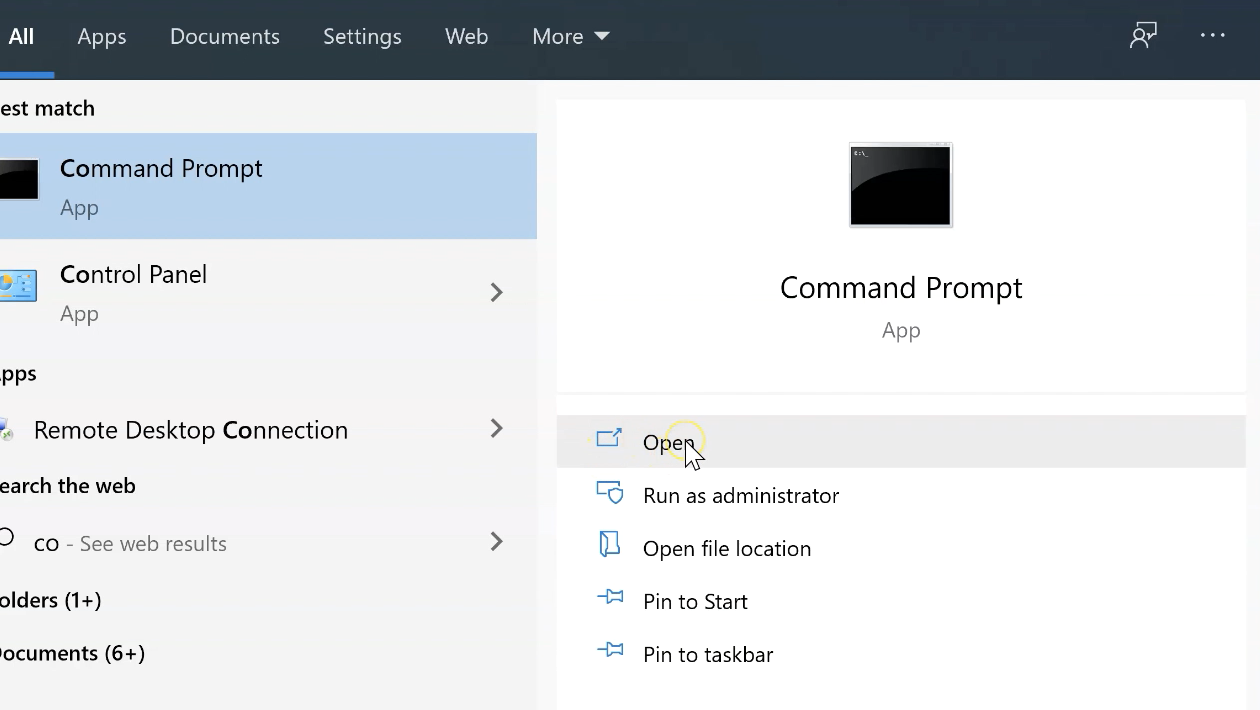
And you can see I've just typed two letters. It's brought up the command prompt and I'm joined to just Open it right now.
And if Python has installed successfully, I should be able to type python and have the Python prompt come up.
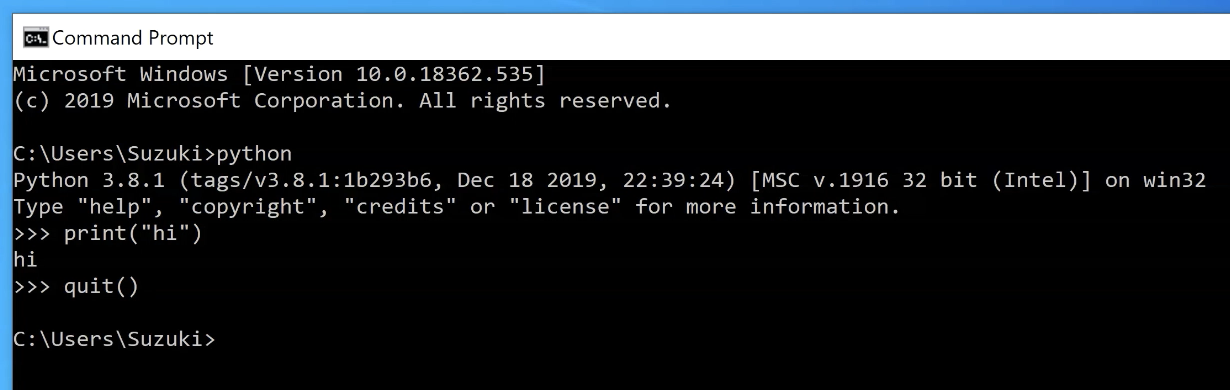
Perfect. You can see that our version has come up properly and you can see that we have a command prompt.
We can go ahead and test this with a print statement. We have output. Awesome.
We can go ahead and quit this for now and shut this down.
# Installing PyCharm
Our next order of business is to install PyCharm.
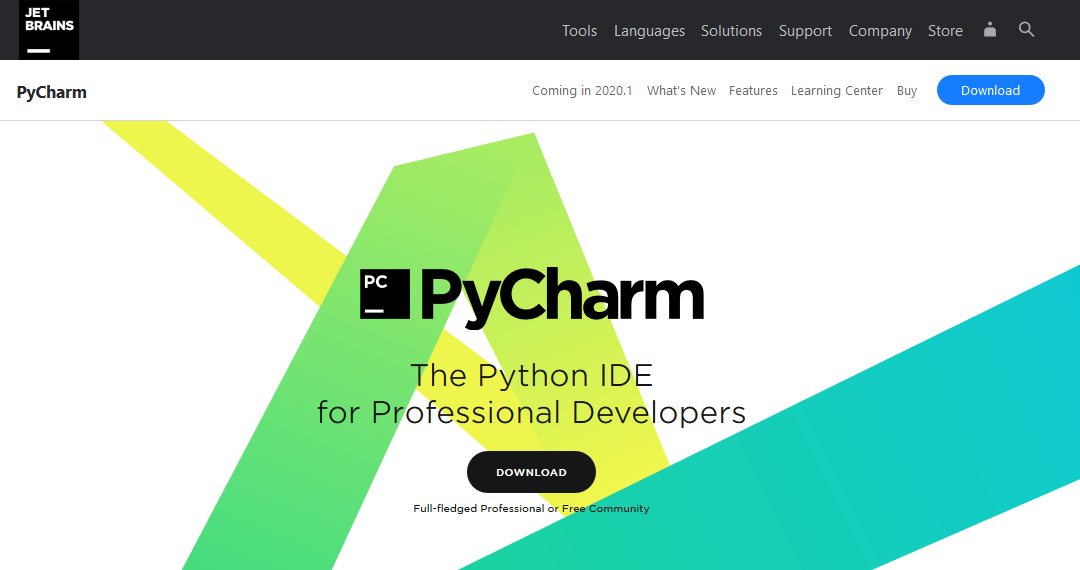
We'll go ahead back to the browser and we'll search “PyCharm”.
You can go to the ad version or you can go to the jetbrains.com PyCharm link. It doesn't really matter. They're both the same link.
And then yes, we'll agree to the cookies.
And then we'll go ahead to Download.
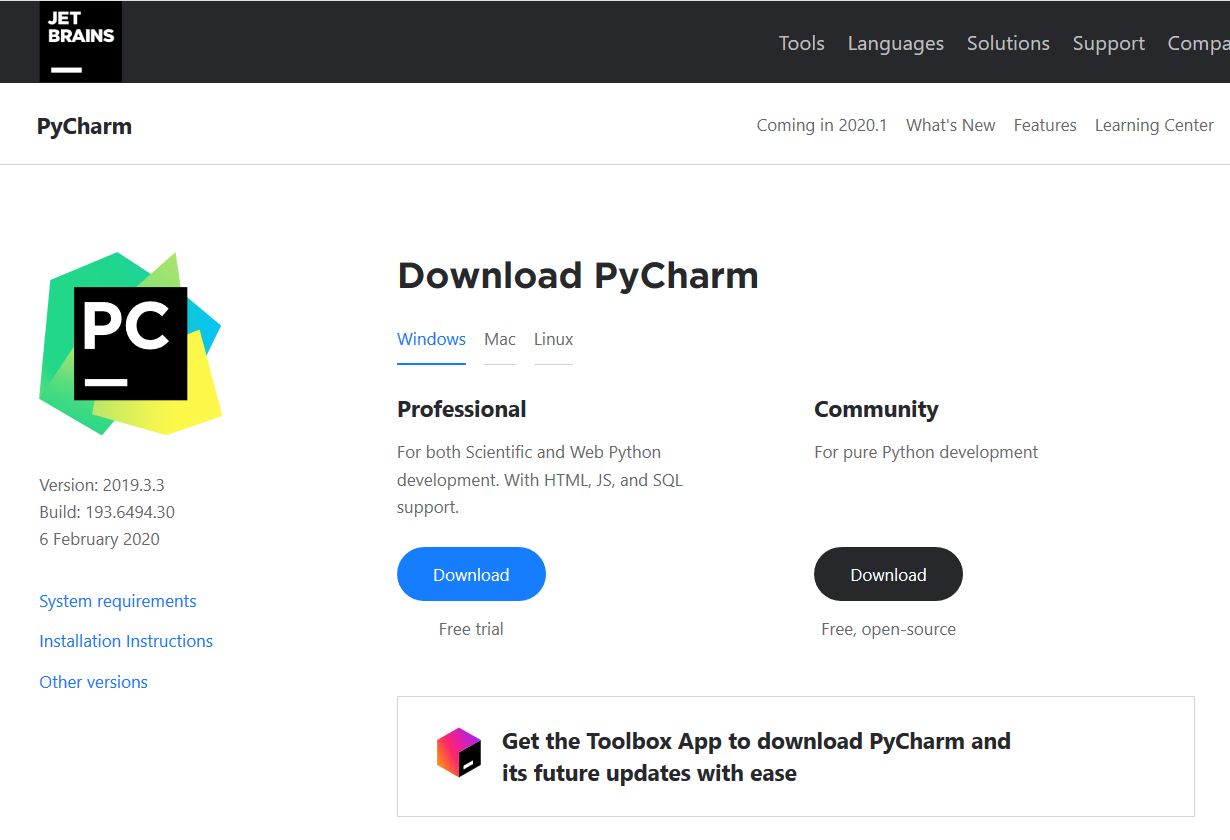
It detects that we're on a Windows operating system.
For the purposes of this video, the Community edition will work completely, so you don't need to download the Professional edition.
However, if you do other types of development or if you already work in another part of the JetBrains ecosystem, then you may want to download the Professional. It's your choice.
But the free version will work for our video.
So again, we will also Run. Cool. So, the download's done.
Got our little flashing indicator here. Go ahead and close out my browser, click on my flashing indicator. I will give permission.
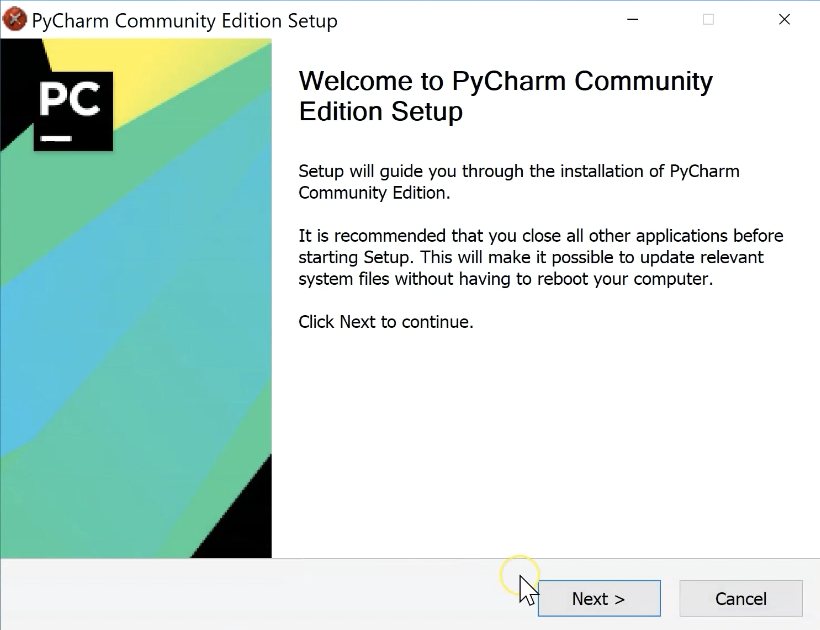
I will go through the setup guide. Fine with that.
Okay.
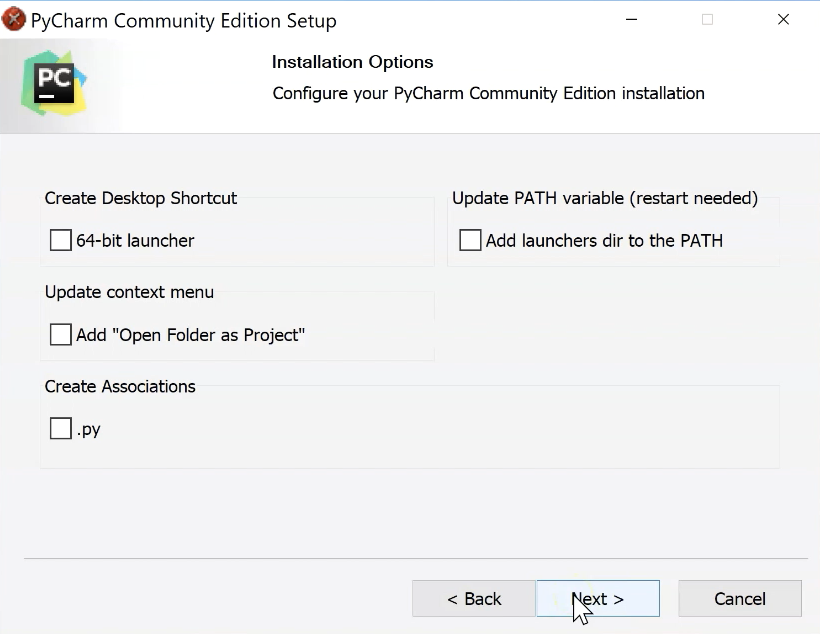
I'm actually going to leave everything unchecked right now and use all the default installation options.
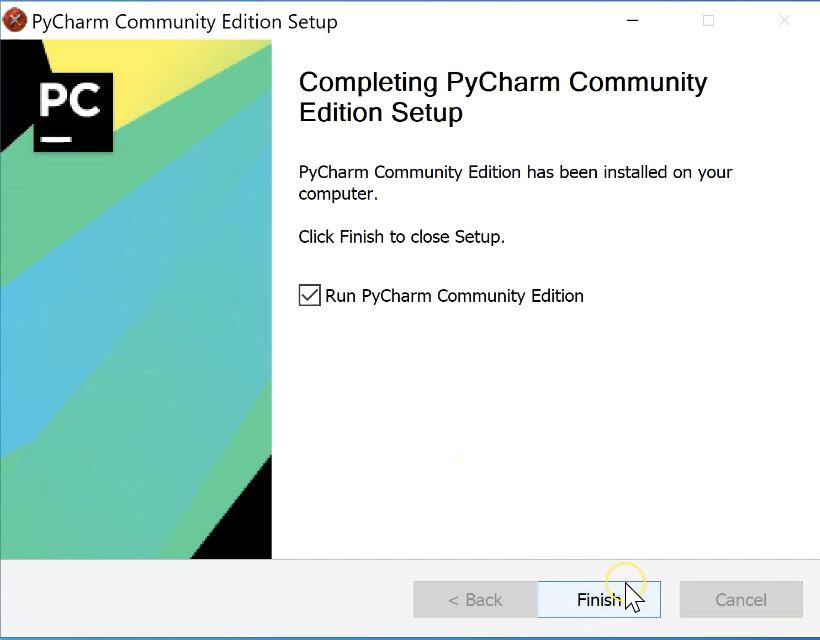
Okay, so I'd like to Run this since I'm right here and we're doing the video.
But if you don't plan to use it right away, you can also choose to run it later.
I don't have any settings to import, so I'll just click OK.
Go ahead and scan the User Agreement and click confirm. Then we need to Continue.
I do not want to send my usage statistics.
I like Darcula.
I don't want to have any plugins, so I'm going to go ahead and Start using PyCharm.
And for the purposes of this video, we are going to Create New Project which we will call “TAU-python”.
Then you are going to click into the Project Interpreter.
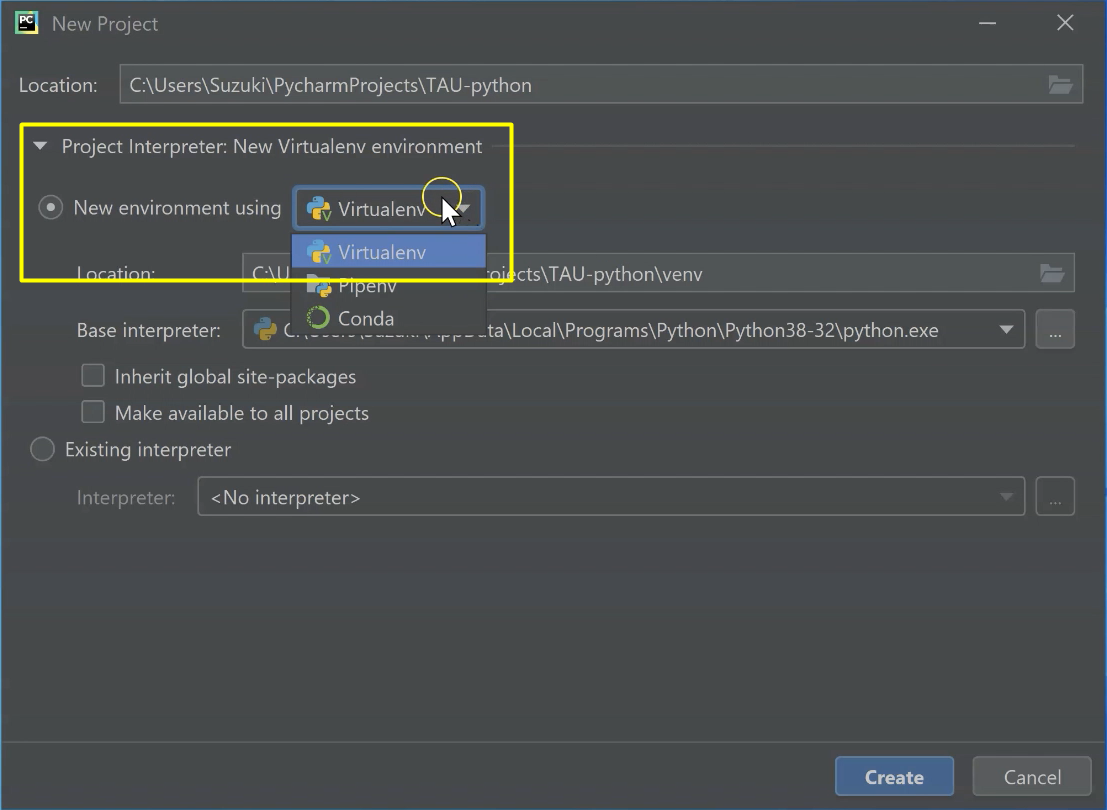
You want to ensure that you have the virtual environment set up.
You have multiple choices, but make sure you use Virtualenv.
Then your base interpreter there may be many choices if you have other Python installed in your machine, but for those of you who have just installed it, you'll only have one.
So, you can go ahead and keep it here and then you will click Create.
And now you are ready to get started with the first video.
