

Transcripted Summary
For this course, I'm going to be using a repository. In this repo, you will find all the examples that I'm going to show, as well as the application that we are going to be testing.
In this repo, you’ll find the application we will be testing, and a Cypress project with all the examples from this course. The application runs locally on your computer after you run npm start command in your terminal. It is not connected to the internet, so you can test it even when you are offline.
Here's how you can install it. If you go to github.com/filiphric/cypress-tau-course, you will end up on this homepage.
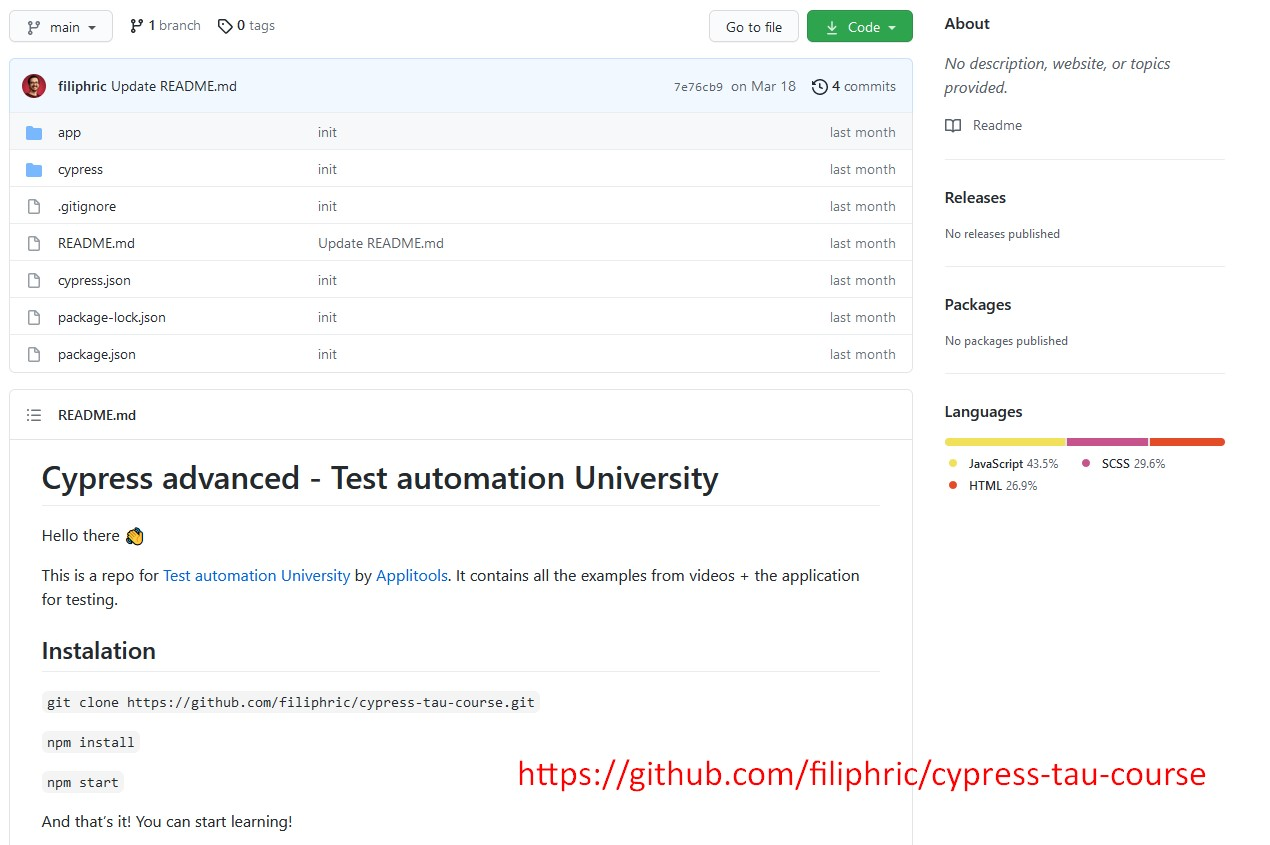
To install everything, just follow the instructions.
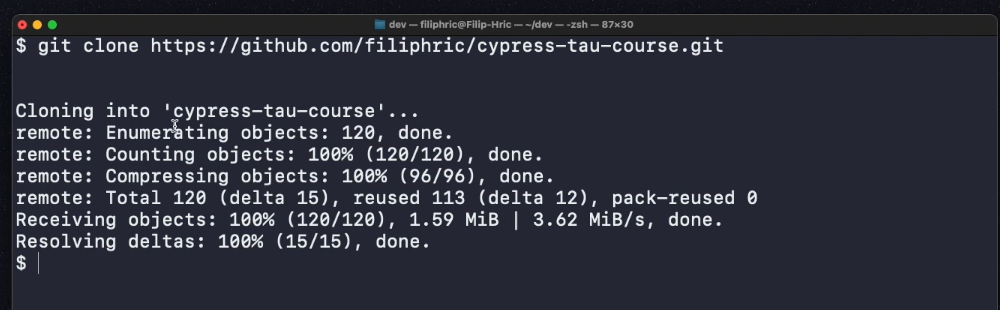
I will copy this git clone command, and I will paste it to my terminal.
git clone https://github.com/filiphric/cypress-tau-course.git
It has created a new folder, “cypress-tau-course”, which now I can see in my “dev” folder.
To open it, I simply drag and drop it to my VS Code. From now on, I can continue working inside VS Code.
I will open a new terminal and I will follow the rest of the instructions.
The next command is npm install. So, let's do that.
npm install
And this is going to install everything I need, including Cypress, the application, and everything that my application needs.
When this is all done, we can start our application by using the command npm start.
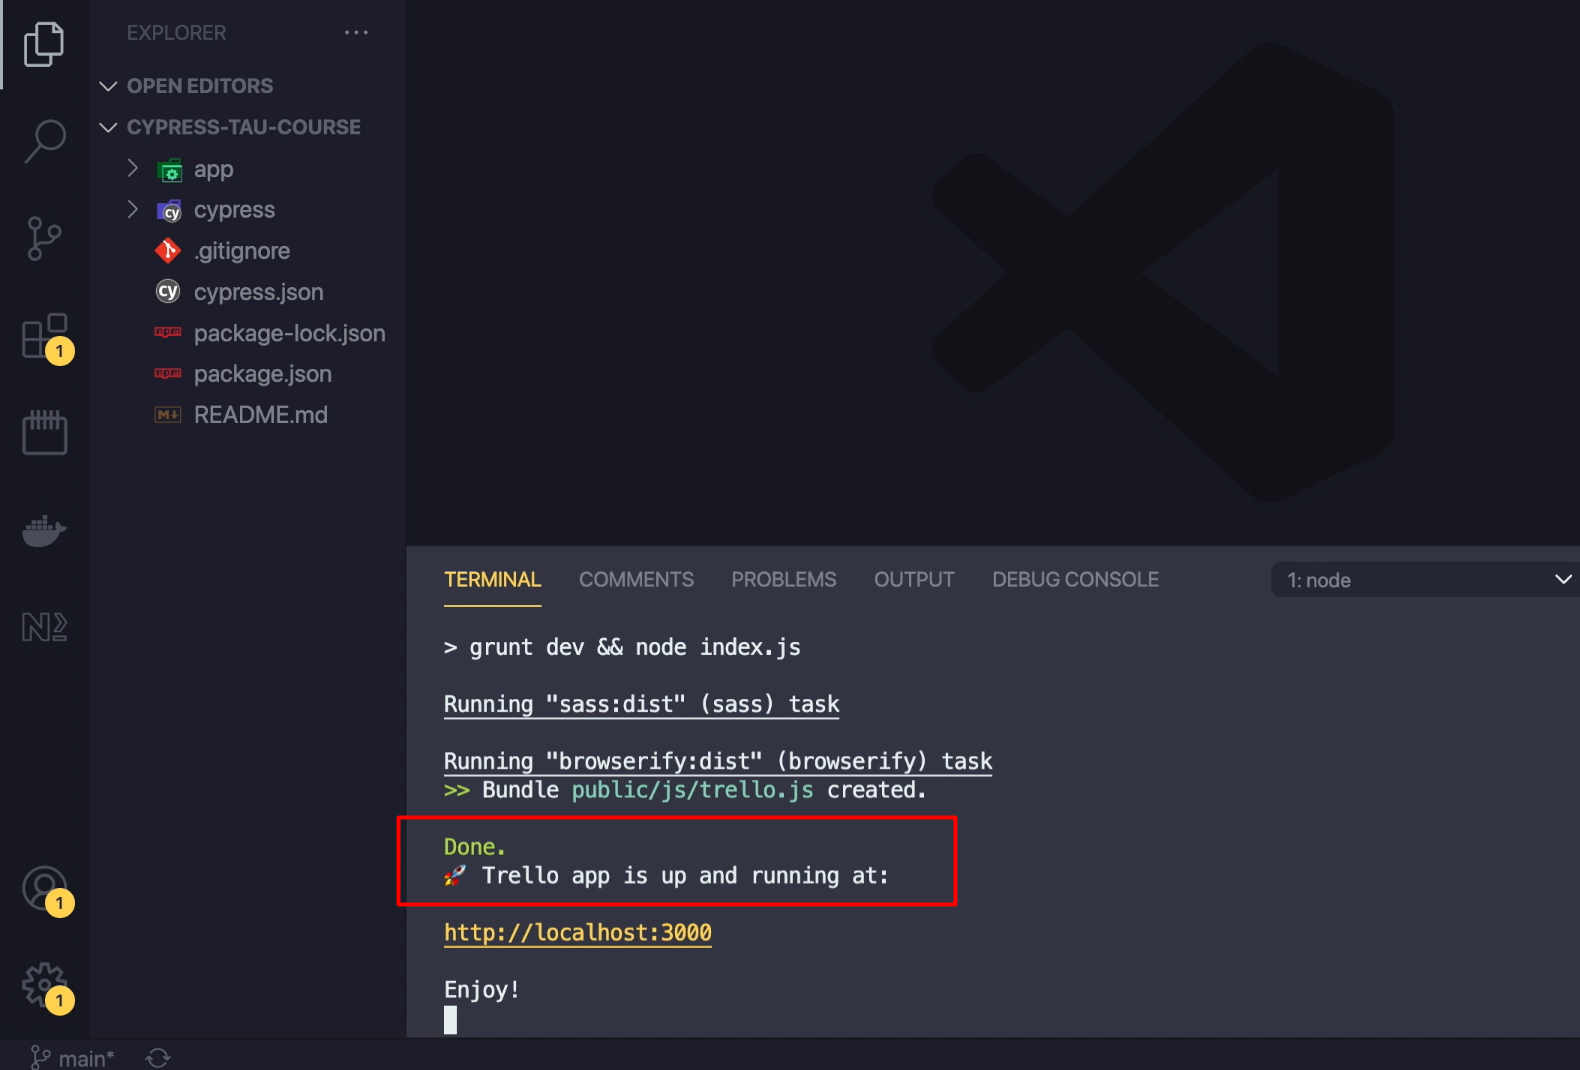
If you see this message, everything is working correctly: "Trello app is up and running at http://localhost:3000." So, let's look into that location.
Running the App
The application is running on a local server on your computer. Instead of opening an online application on a web, you will just test it locally, on your machine. As long as your terminal is running, the application will be available on http://localhost:3000. If you see "This site can’t be reached" message in your browser, you need to open your terminal in your project folder and run npm start command
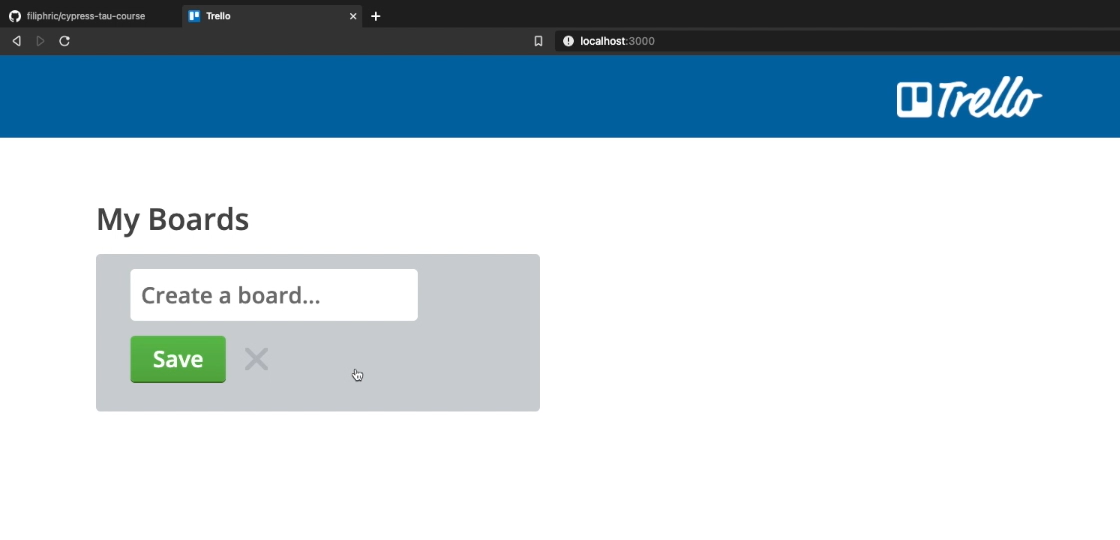
I'm going to open http://localhost:3000, and you can see that my application is running.
The same will go for you. This application is running locally, so whatever you change on it will only affect you.
This application is fairly simple. I can create a new board.
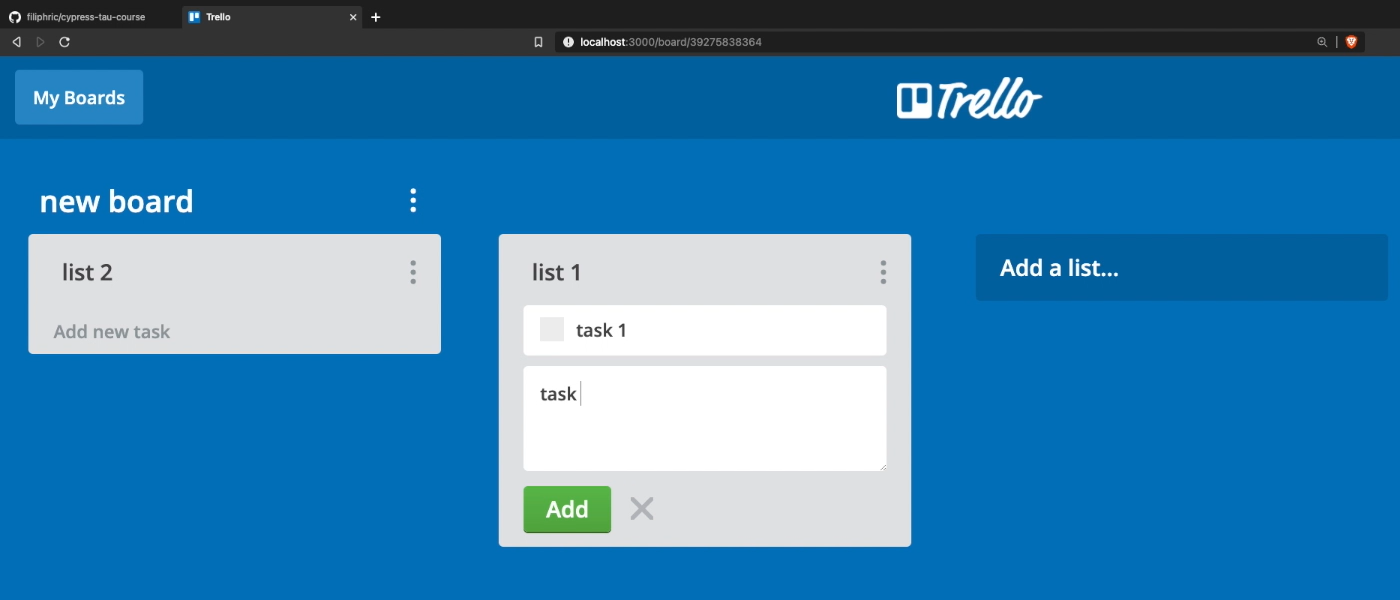
And when I do, it redirects me to my board view. On this board, I can create lists — list 1, list 2…
I can drag and drop them. And I can also create new tasks — task 1, and task 2...
I can reorder these tasks, or I can move them to another list.
I can also look into the detail and change description. Or I can change a due date.
If that date is today or before today, it's going to color this in red.
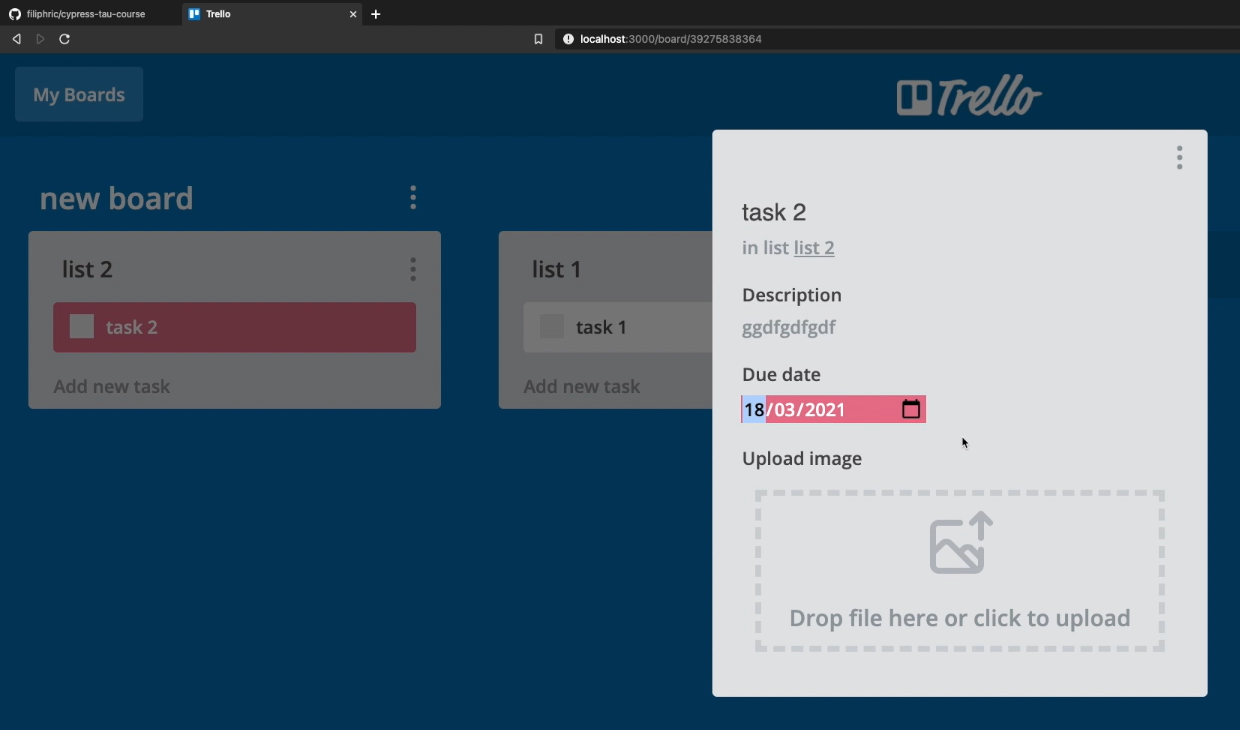
I can also upload an image by drag and dropping or clicking on this area. If I want to delete the task I can do so. And same goes for list and the board.
There's also an option to log in or create a new account and sign up. Everything that you create is just running locally.
If you take a look into the VS Code and inside the app, there is a public folder, a _data _folder, and a file called data.json.
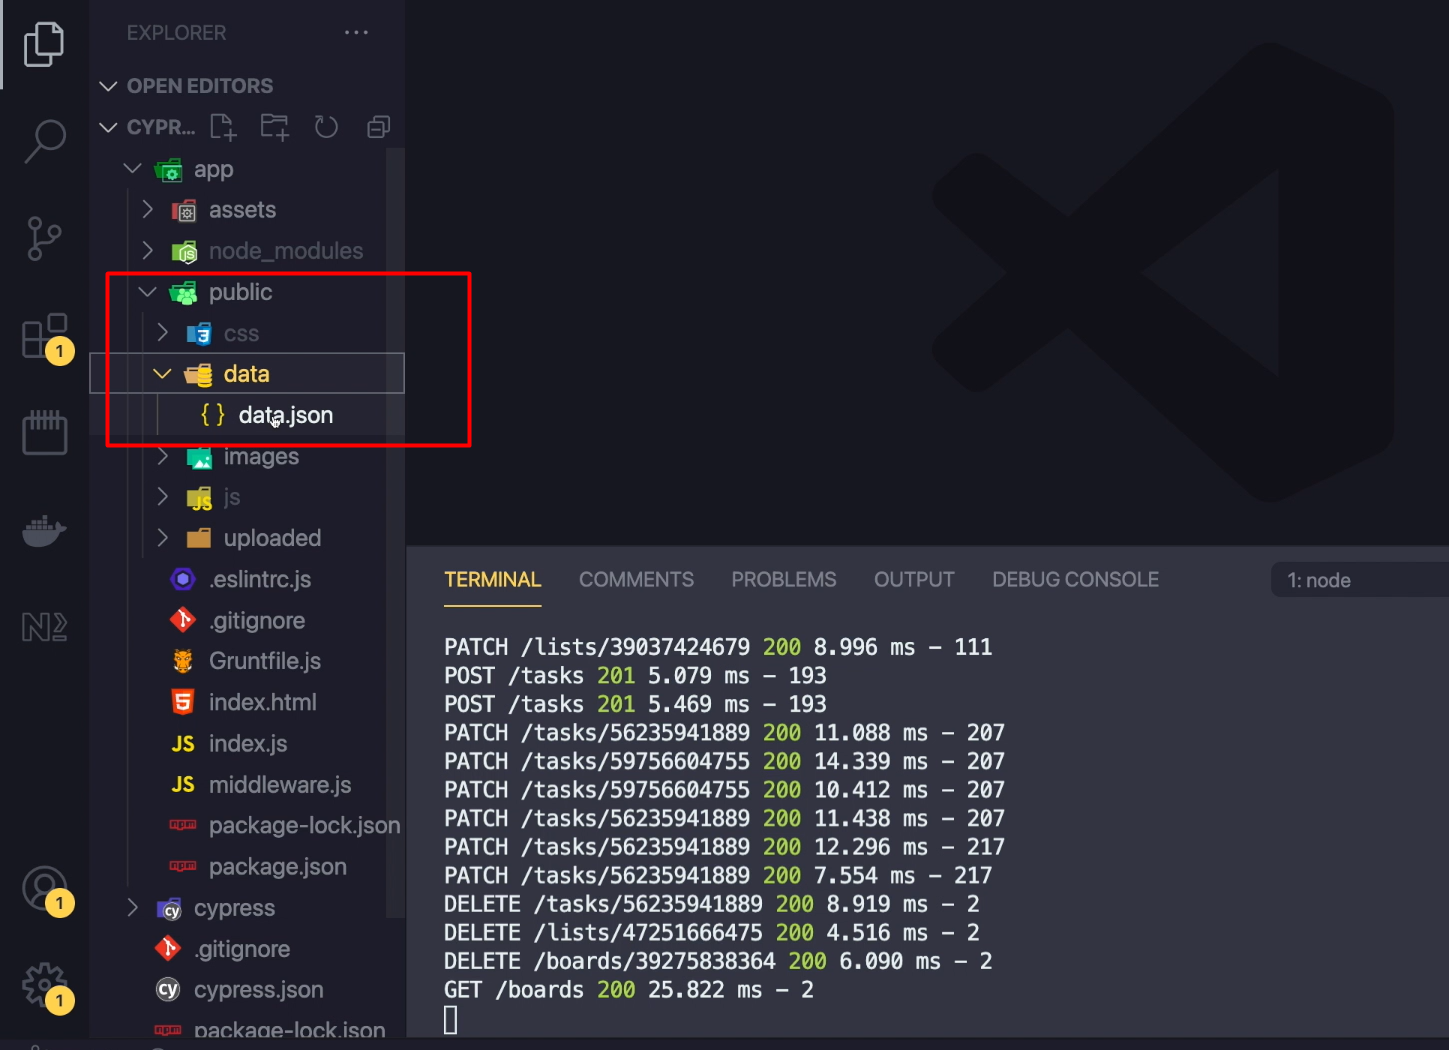
This is essentially our database.
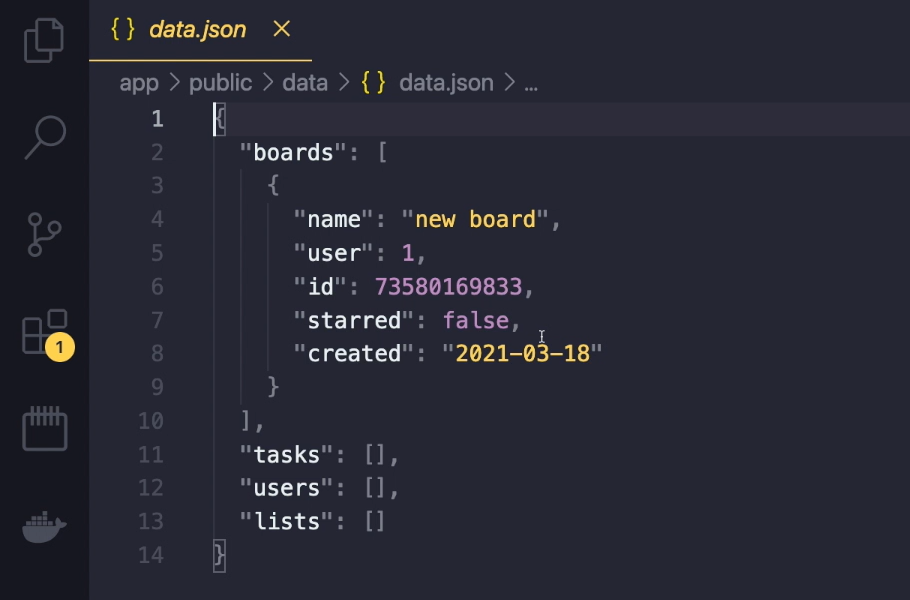
Whenever I create a new board, it's going to appear as an item in this data.json file.
This goes for lists and tasks as well. Also, if I create a new user it's going to be written into the database. Whenever I upload an image into the task, it is saved inside the uploaded folder.
Also, to make your life easier, I included a shortcut, which you can trigger by pressing F2 key, which will give us these nice little tools.

This enables us to reset our application.
I can delete all users, tasks, lists, boards, or I can reset the application altogether.
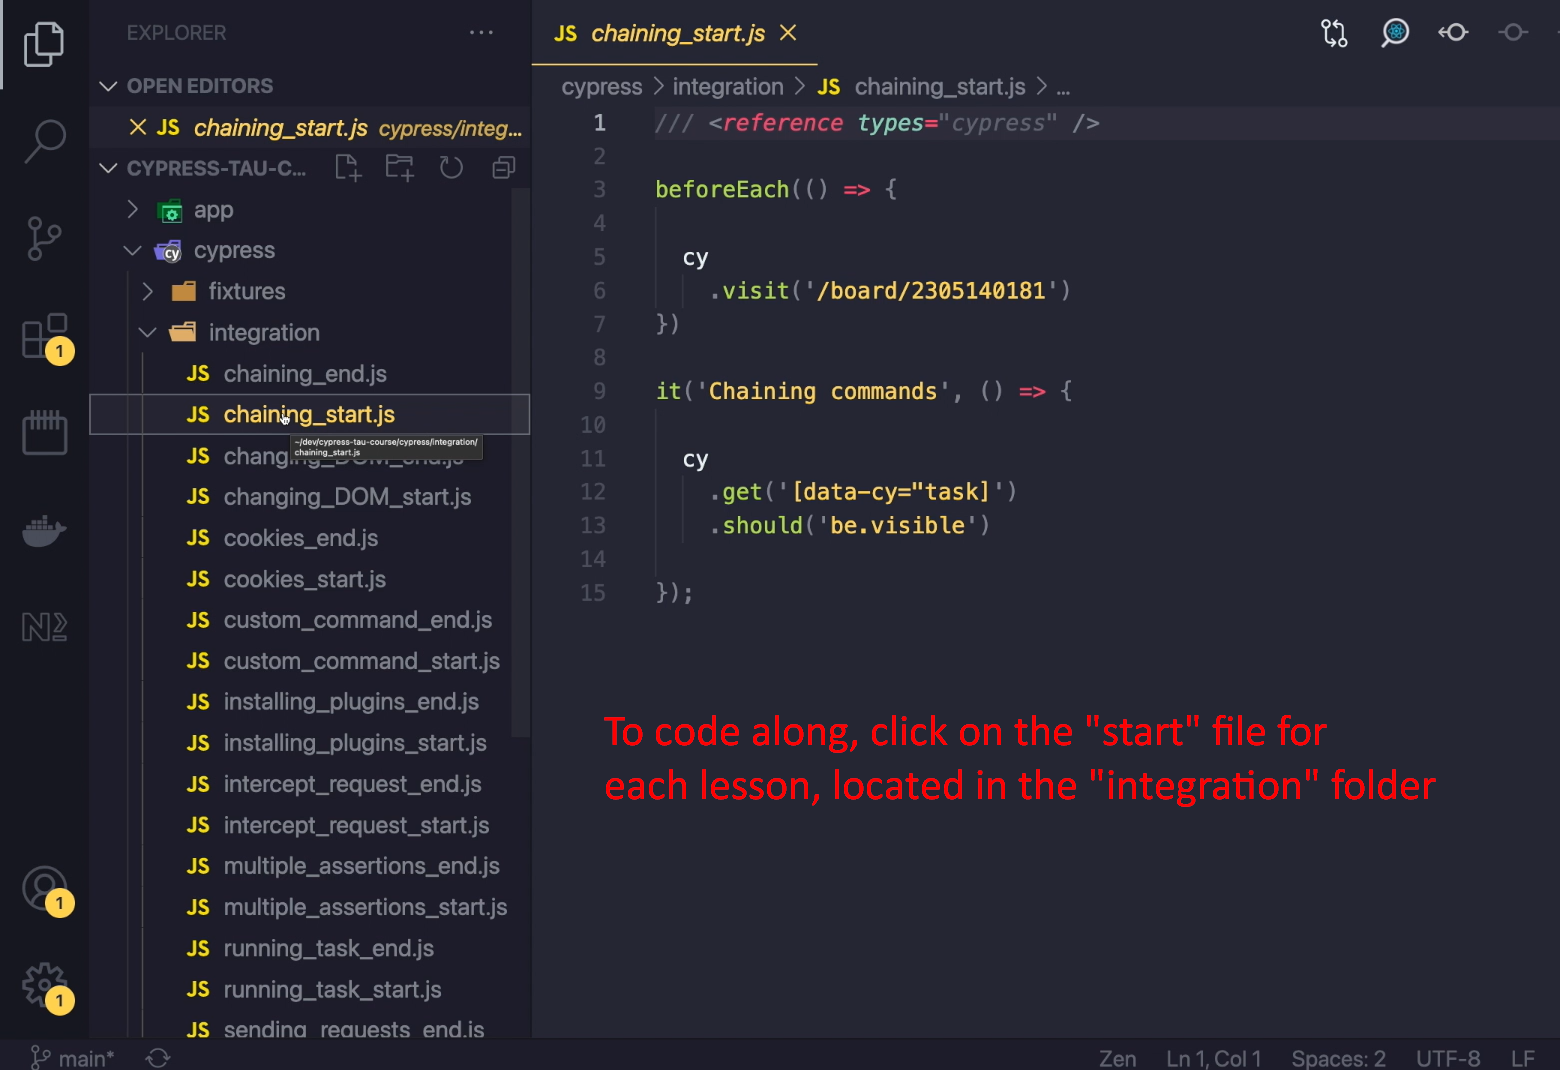
Whenever I explain something in the course, you can find a starting point and a finishing point in the integration folder.
So, if you want to code along, click on start.js file and start from there.
Throughout the video, I usually explain a couple of concepts and then finish on the end.js video.
Whenever you watch a video, I recommend you stop the video for a second, try out what you have seen, or even play with the concept and then continue.
Or if you prefer, you can watch the whole video and then back up and watch it again. Whichever learning style fits you the best, feel free to use it.
Also, whenever I start my test by visiting a certain board, like in this one, make sure to put correct ID inside your test.
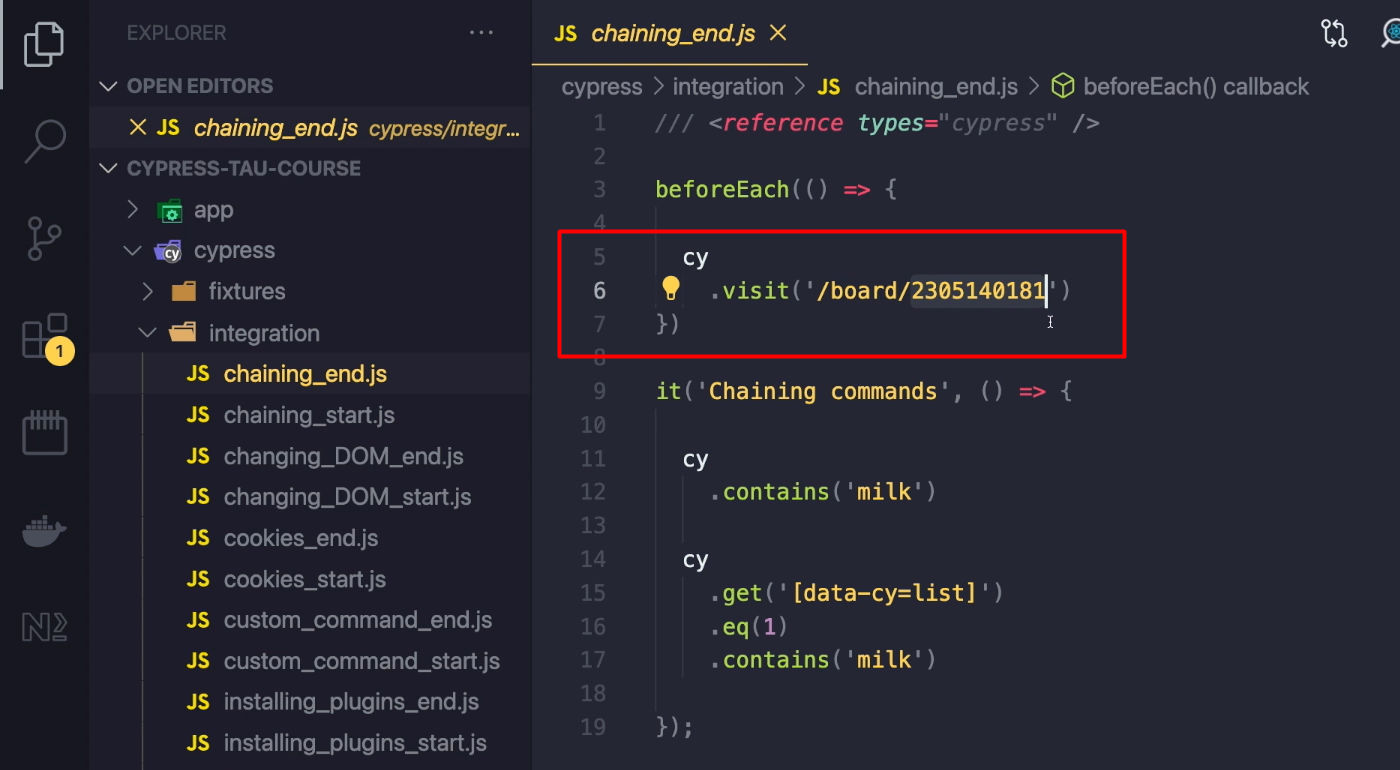
These are dynamically generated, so there's a pretty big chance you're not going to have the same ID as I do in the video.
During the course, I will always have my application running in the background. So, make sure if you want to follow along that you don't close your npm start window.
When I open Cypress, I open a second terminal window and type npx cypress open. This will open Cypress in the graphic user interface mode, and whenever you click on a test, it will open the browser and run the test script inside it.
In this course, I'm using version 6.6.0. This will automatically install when you use that npm install command.
Recommendation for Cypress Update
I know it's tempting to update to the newest version but be sure there are no breaking changes in the latest update. This might cause that whatever I'm showing you in the video may be slightly different from what you would experience in higher version.
If you ever feel lost, feel free to contact me on Test Automation University Slack, or visit my homepage where you can find links on Twitter, LinkedIn, or a Discord server where we can chat.
So, let's go ahead and do some coding. Good luck.
