

Transcripted Summary
In this chapter I would like to show you a couple of plugins. There are some functionalities that Cypress doesn't support out of the box. But since Cypress is part of the whole node ecosystem the plugin options are really vast.
For example, our Trello application has a drag and drop functionality so we can move tasks around or change their order.
There is no drag and drop command in Cypress, but we can install one.
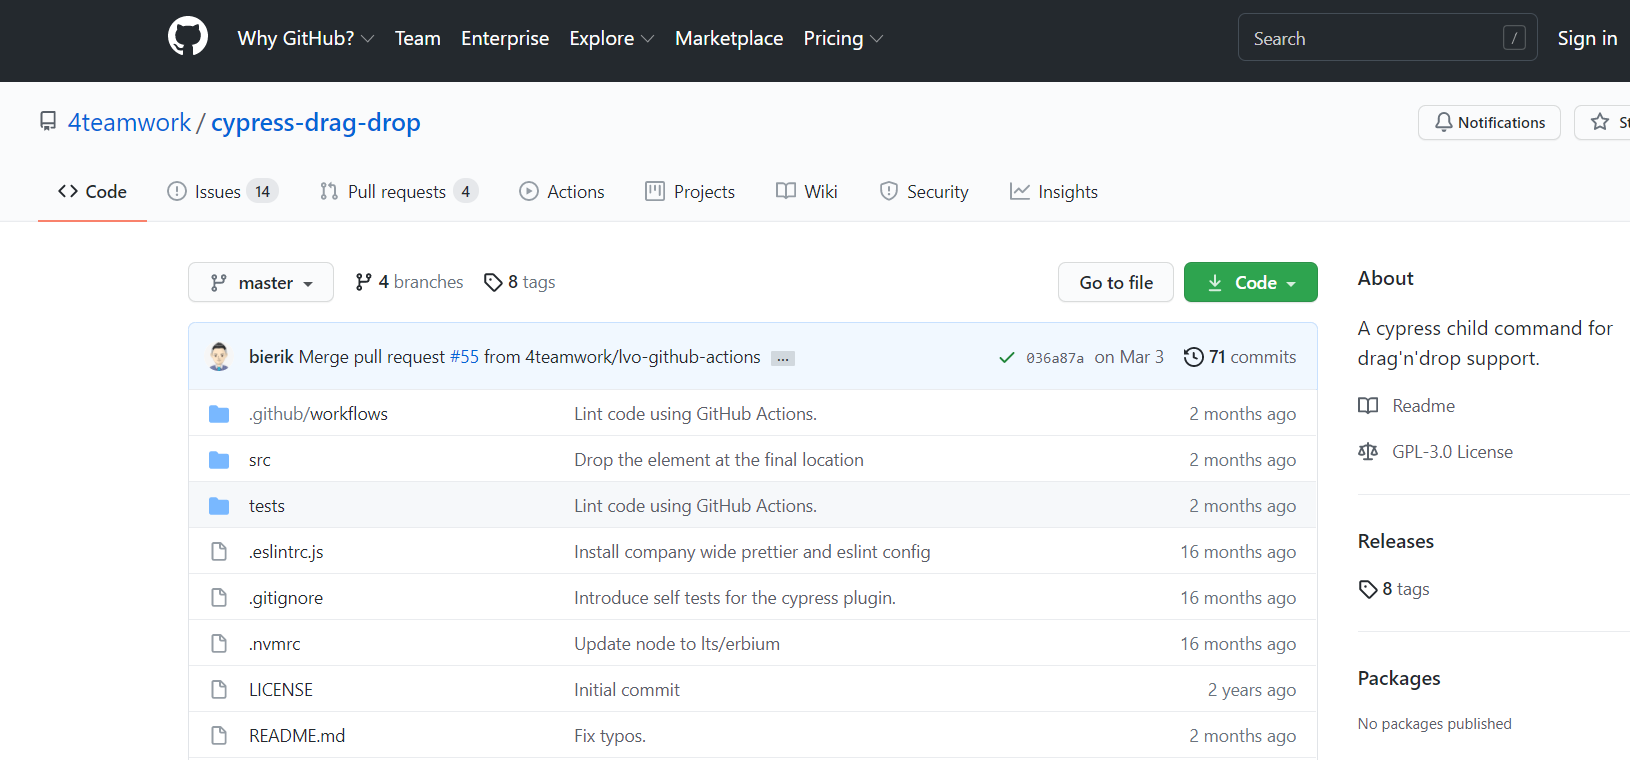
Installing a plugin is really easy. Usually, you can find all the instructions that you need in the “README” file of a given plugin.
# Drag and Drop Plugin
Here I have an example of drag and drop plugin.
So, let's install that using NPM.
I will open my terminal and npm install my Cypress drag and drop plugin.
npm install --save-dev @4tw/cypress-drag-drop
Now that it is installed, I'll continue in the documentation where I can see that I need to require my plugin inside the “commands.js” file.
So, I will do that and look inside the “commands.js”. And on the top, I will add my require keyword.
require('@4tw/cypress-drag-drop')
When I save my file, it's going to reload and from now on I have a new command available.
Let's look into the documentation and see how we can use this.
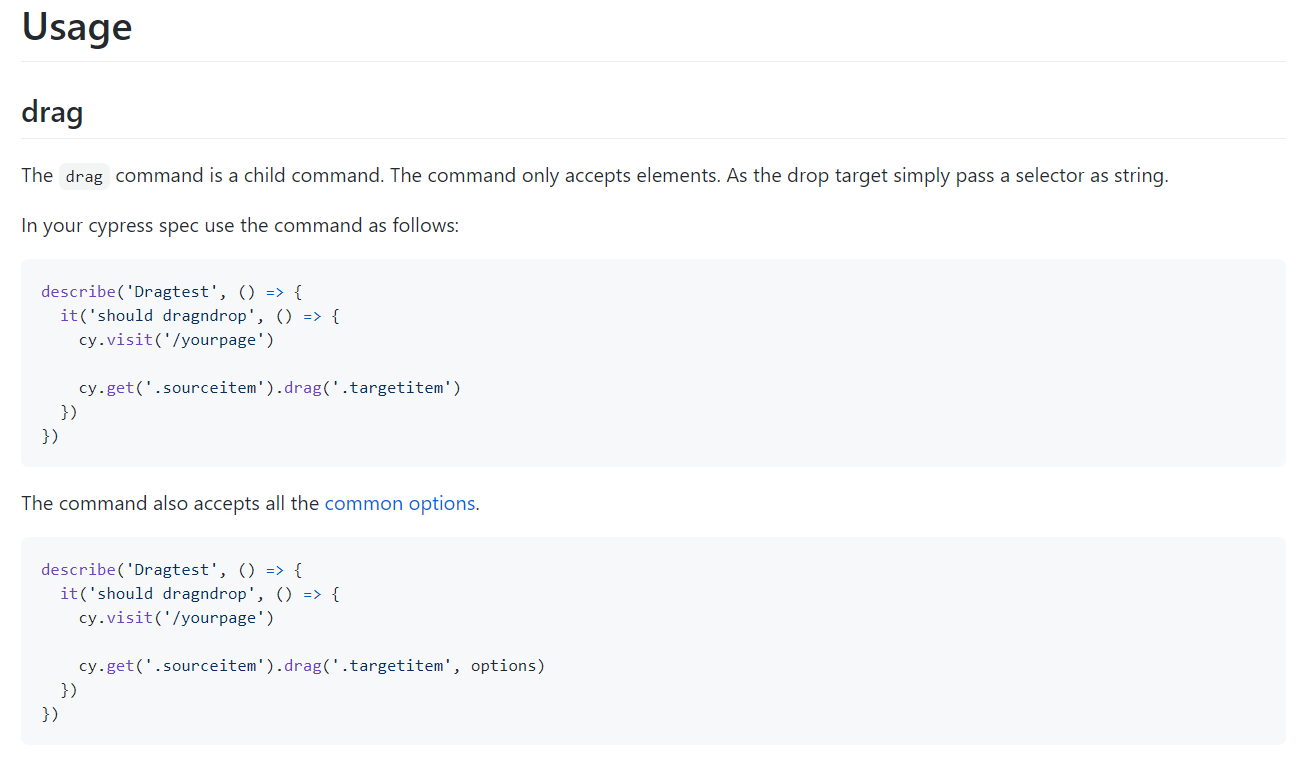
In the given example we see that we can get the sourceitem that we want to drag.
And then we drag it to the targetitem using a new command called drag.
Let's do that.
I'll go back to my test and select a second task and I will try to reorder these tasks.
So let me get my element. And let's say I want to select my first element and then drag it to the second element.
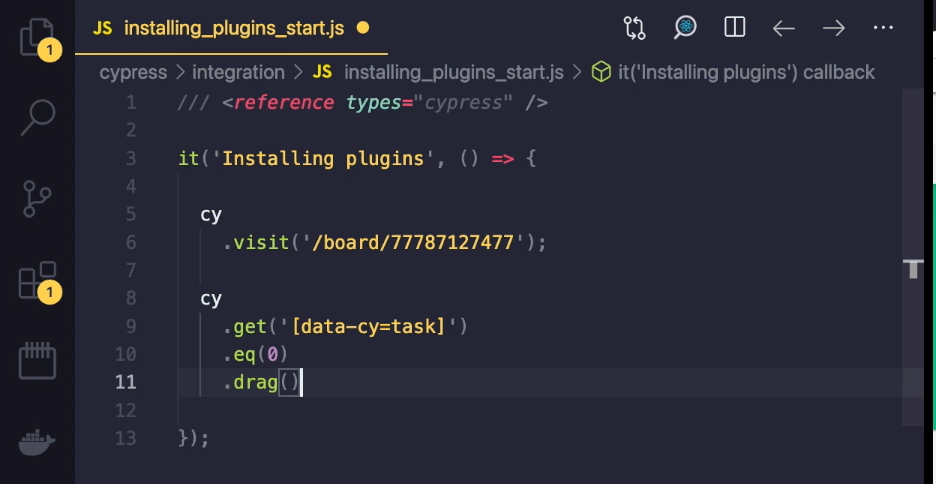
But how do I do that because I need a selector?
Of course, I could use some kind of CSS selector using nth-child or a similar syntax, but instead I like to choose a little different approach.
We can actually create an alias for each of our tasks.
Let's delete this just for a moment and let's first create alias. So, the first one will be “task2” since it has the text of “task 2”.
And then the second one, eq(1), will be “task1”.
What I will do now is that I would get my task 2 and drag it to task 1.
  cy
    .get('[data-cy="task"]')
    .eq(0)
    .as('task2')


  cy
    .get('[data-cy="task"]')
    .eq(1)
    .as('task1')

  cy
    .get('@task2')
    .drag('@task1')
When I now save my test, you can see that the reorder has happened and inside the test runner you can actually see what our drag command actually does.
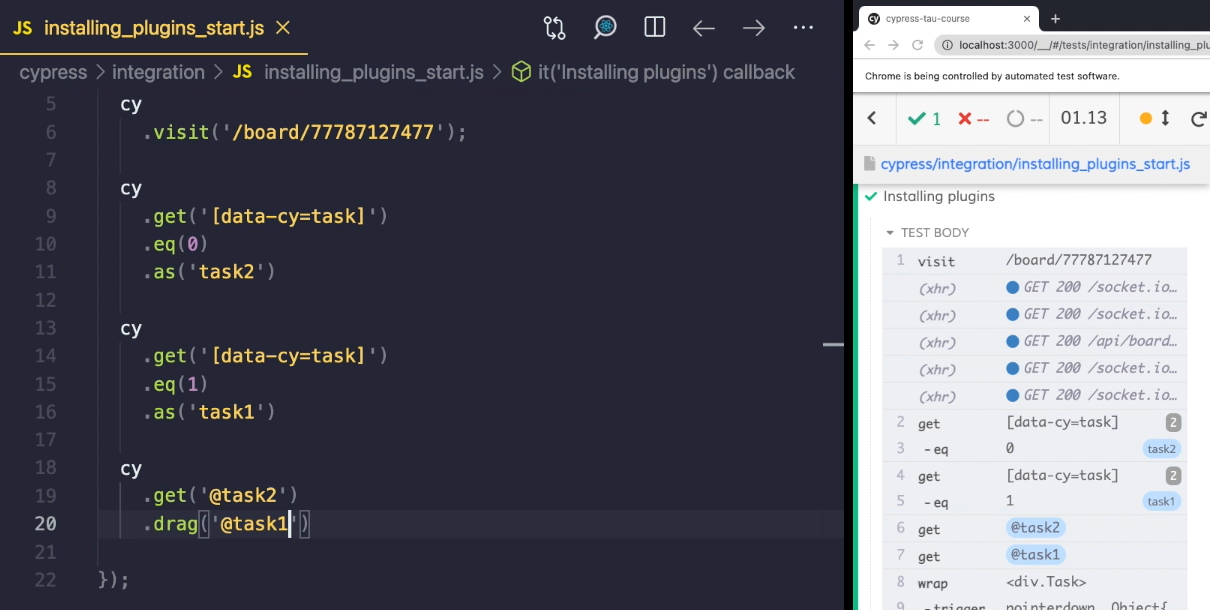
It triggers a couple of actions that combined through the whole drag and drop process.
# Uploading Files Plugin
Another functionality we have in our app is the ability to upload a file.
Again, this is something that doesn't come out of the box, but we can install a plugin that will do the upload for us. Let's look into how we can install it.
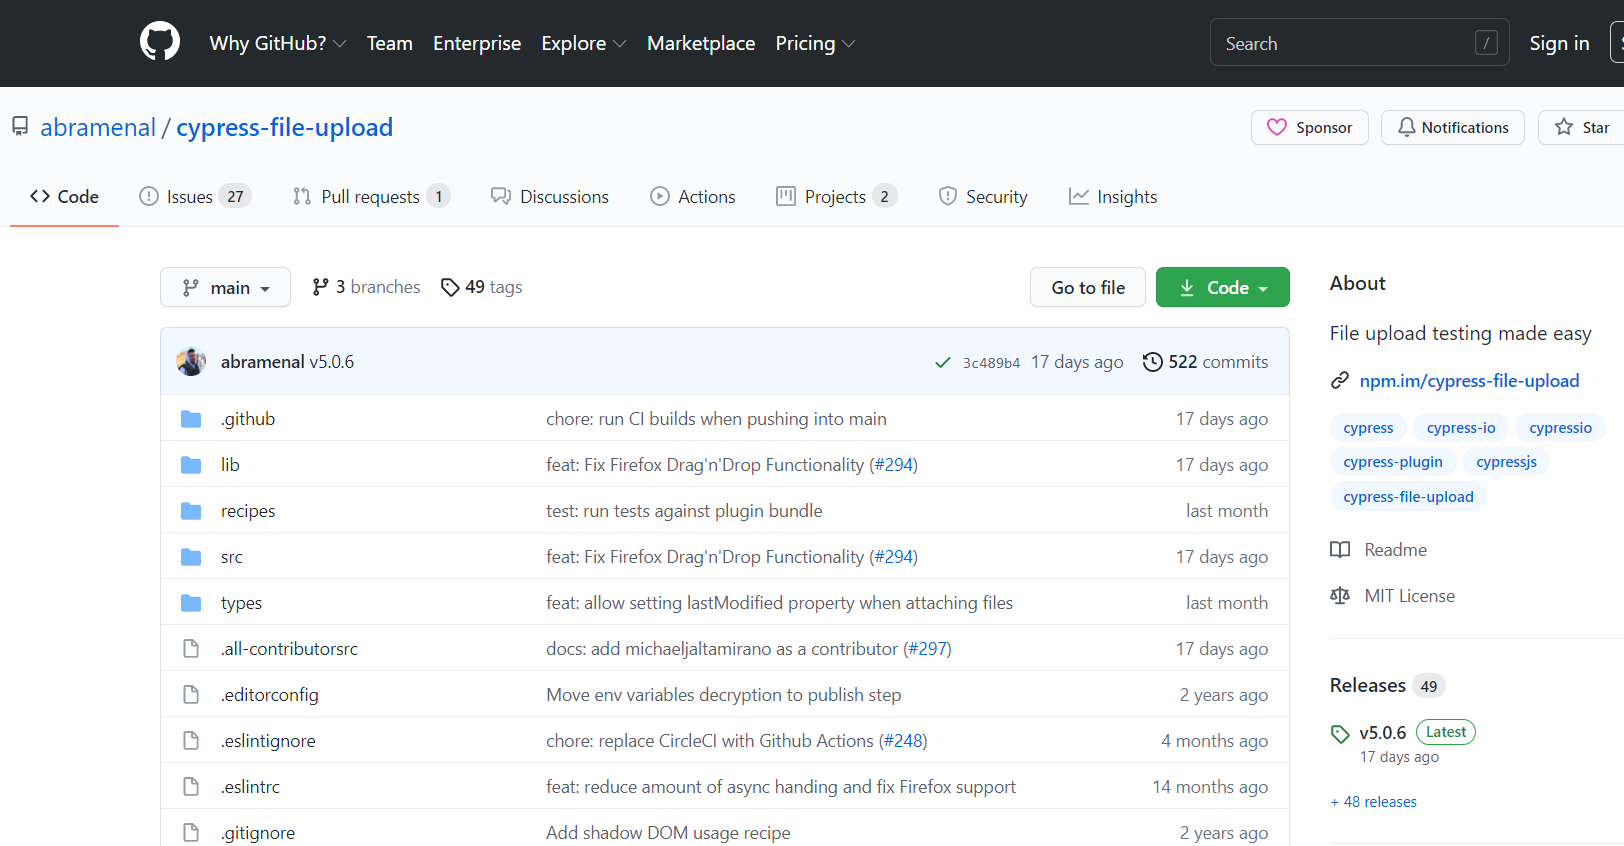
The plugin is called Cypress File Upload and inside the documentation you can see that the installation is pretty standard.
Again, we're going to do npm install.
npm install --save-dev cypress-file-upload
And after our installation is done, we will edit our “commands.js” file.
Let's go to “commands.js” and add the import statement.
import 'cypress-file-upload';
I can now save my “commands.js” file, see that the test is running again.
Now let's look into the usage.
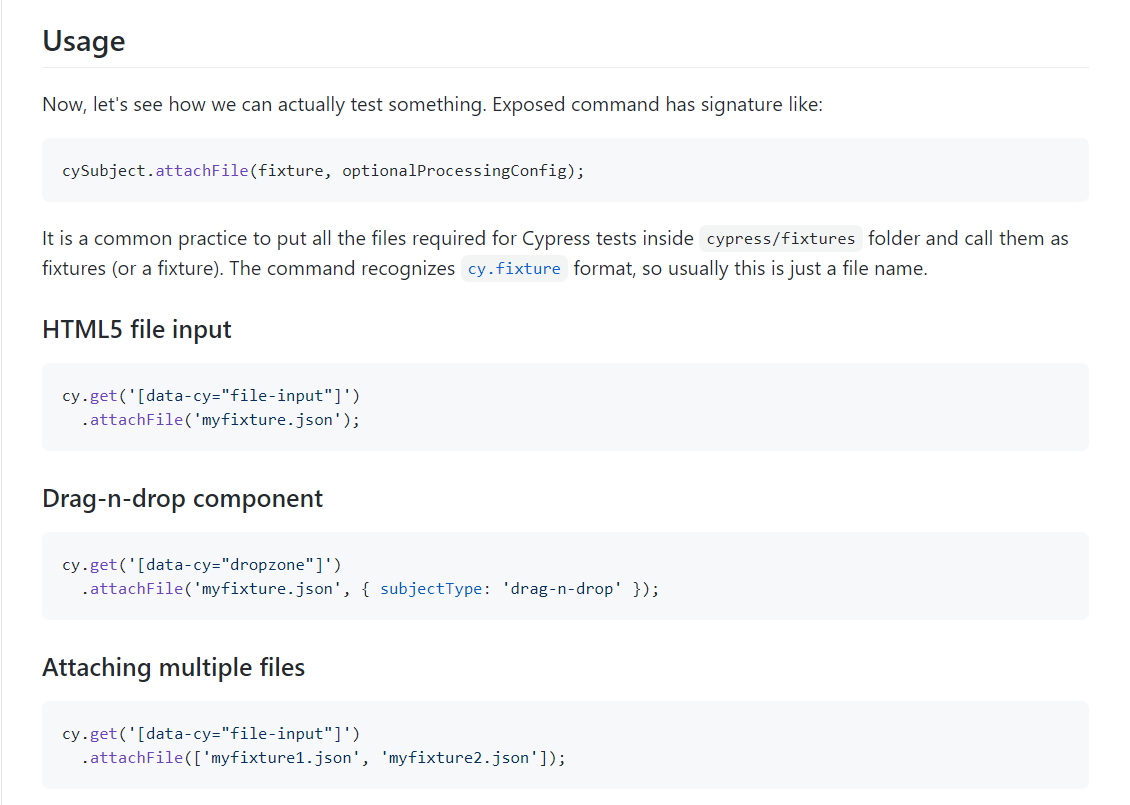
So, we have couple of ways that we can use our plugin.
Again, it will add a new command (attachFile) and as we can see it actually works with our fixtures folder.
Let's try and use that plugin. And we will use a fixture file that we will later upload.
Let me close the console and edit our test. I will also edit my board. I'll delete this since I don't need it anymore. And I will click on our task so we can reveal the task detail.
I'll save my test to see if everything is okay. And it seems it is.
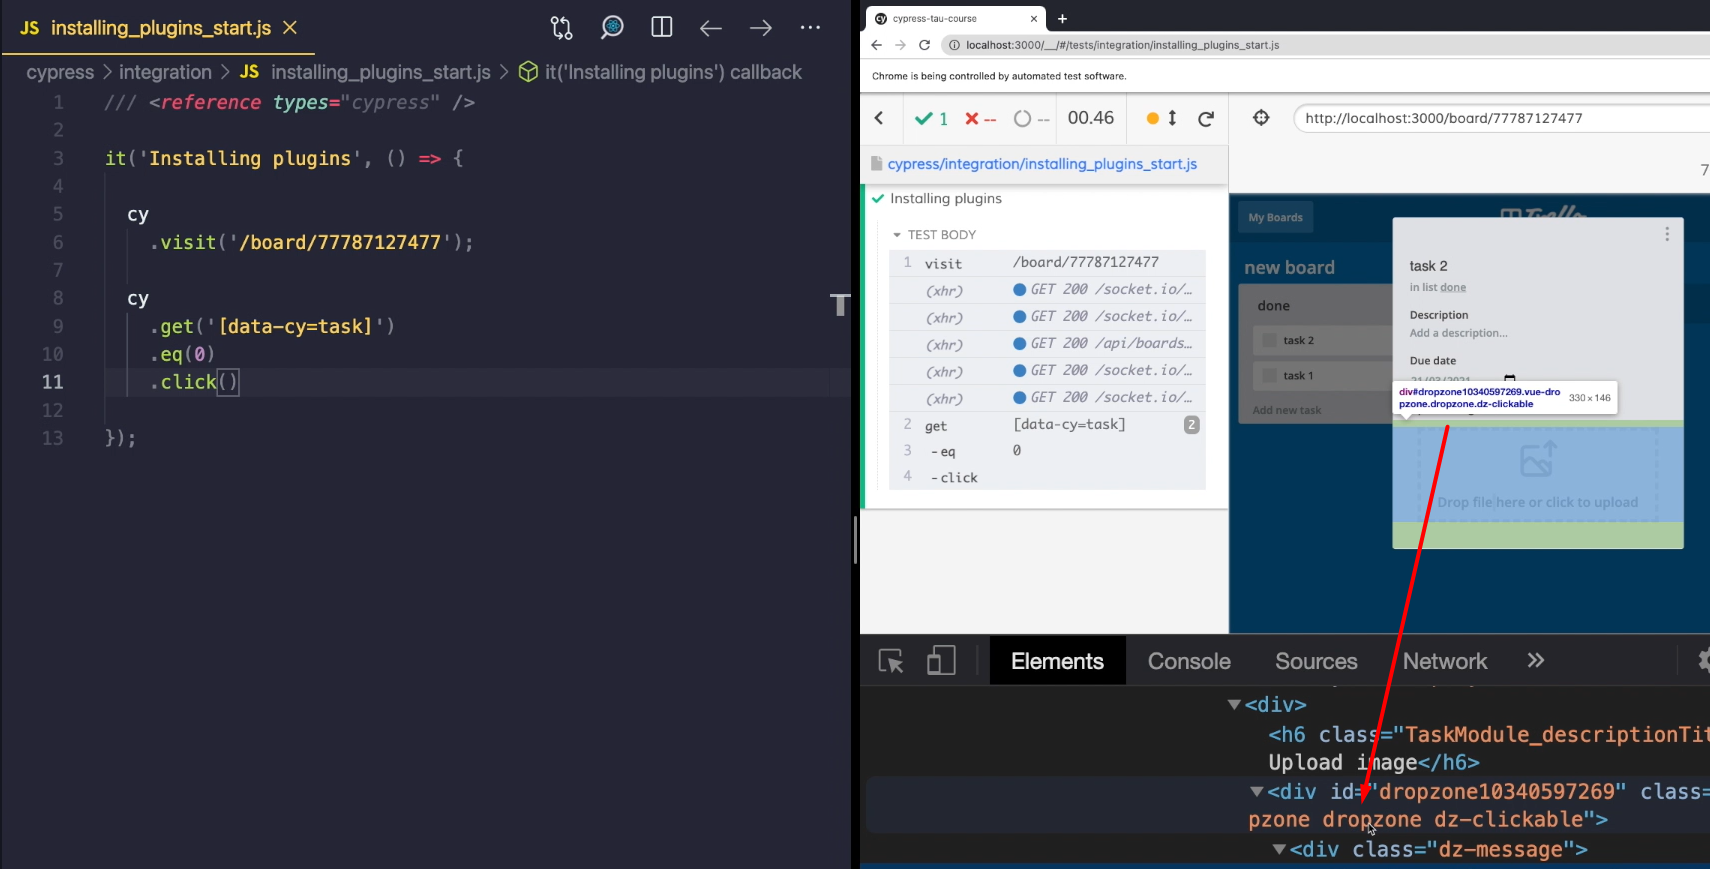
So, what I want to do next is to find a selector for this drop zone.
With the elements panel I can see that there's an element with the class “dropzone”. So, let's select that.
And just to make sure I'm selecting the right element I'm going to save it. And it seems we are right on the track.
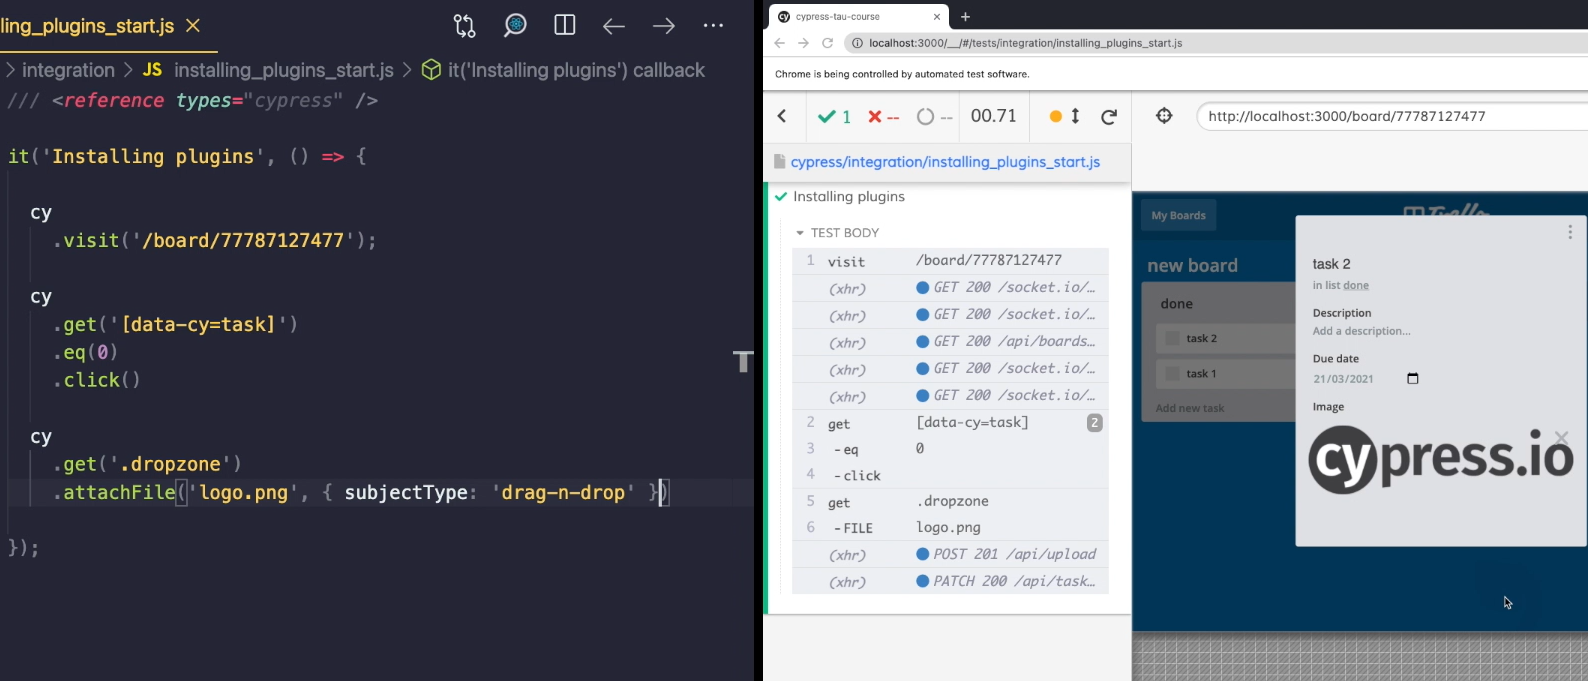
Let's now use our new command that's called attachFile.
And we are going to use the fixture of “logo.png”. And that is a file we actually have stored in our fixtures folder.
When I look into the documentation, we can see that we have different ways of uploading content. There's an HTML file input and there's also drag and drop component.
Since we have a drag and drop component, we need to specify the subjectType. So, let's do that.
  cy
    .get(.dropzone')
    .attachFile('logo.png`, { subjectType: 'drag-n-drop' })
And when I now save my test, you can see that my logo was successfully uploaded.
# Cypress Real Events Plugin
Let's move on to a third plugin.
You may have already noticed that whatever Cypress does, for example click or type, it does that using JavaScript. And that is completely okay for most cases, but there are some cases where using JavaScript is not enough.
The most obvious one is whenever we are trying to use hover. When I go back to my board list and hover over my element you can see that a star icon appears, and also that the board is getting darker.
While this star icon is simply made visible by dynamically changing its visibility via JavaScript, the color of our board is actually changed by a CSS property. And that means that with JavaScript we can simulate the behavior of this star, but they are not really able to test the change of this background.
Luckily, there is a plugin that will help us with this.
It's called Cypress Real Events.
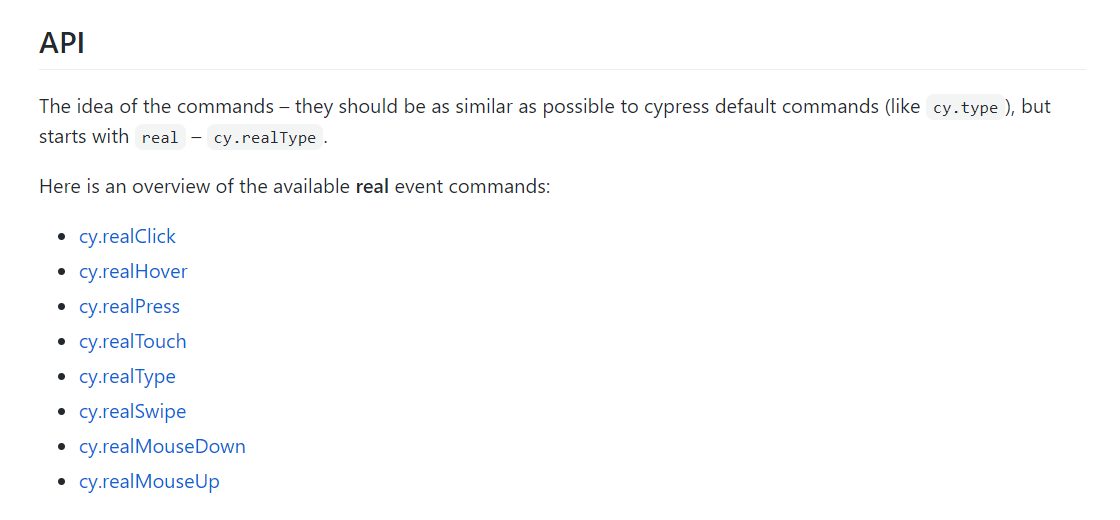
What this does is that it uses Chrome Devtools Protocol.
With Chrome Devtools Protocol we can do actions like hover, touch, type, or swipe, and many more are coming.
Let's now focus on our hover.
First, we need to install the plugin. Again, the installation is pretty much the same.
We npm install the plugin.
npm install cypress-real-events
We then import our Cypress Real Events support into the commands file.
import "cypress-real-events/support";
Import Note
You may notice that the documentation says “support/index” file. But it doesn't really matter all that much because the “index.js” file inside our support folder actually imports the commands file. But I chose to do the import inside the “commands.js” file to keep all my commands in one place.
Now that we have it here, we can use our newly imported commands.
I will go back to my test and I'll actually visit my homepage. And instead of selecting our “task” I'm going to select “board-item”.
Let me save my test to check if I'm doing everything correctly.
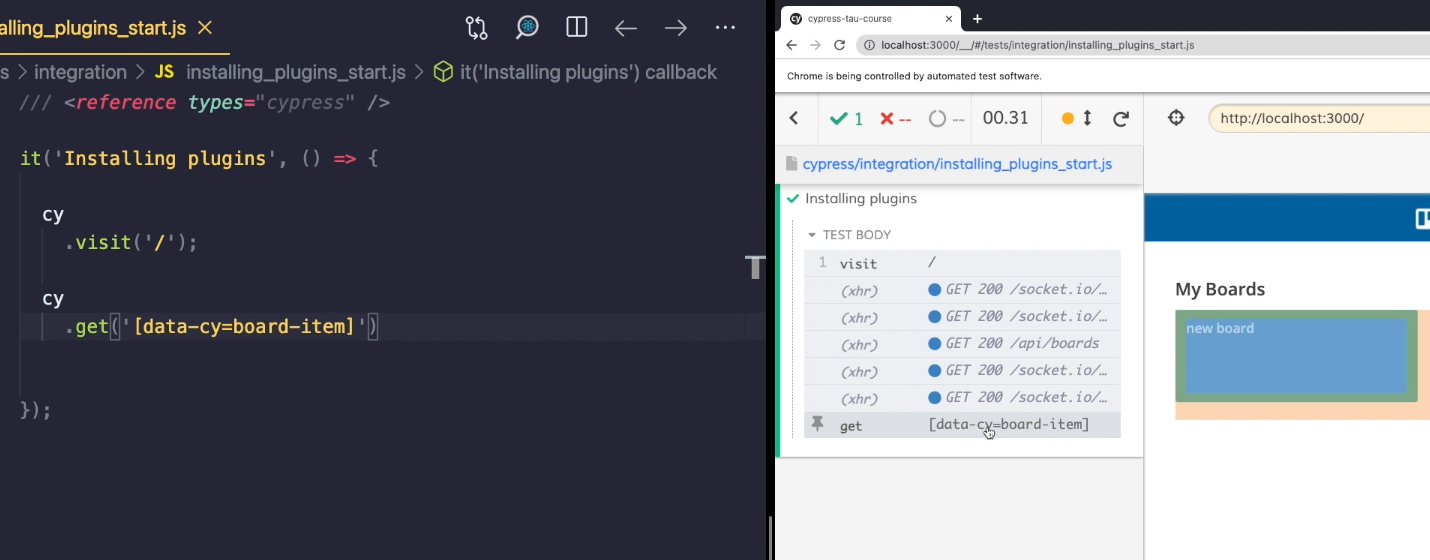
And it seems that I'm selecting the proper element.
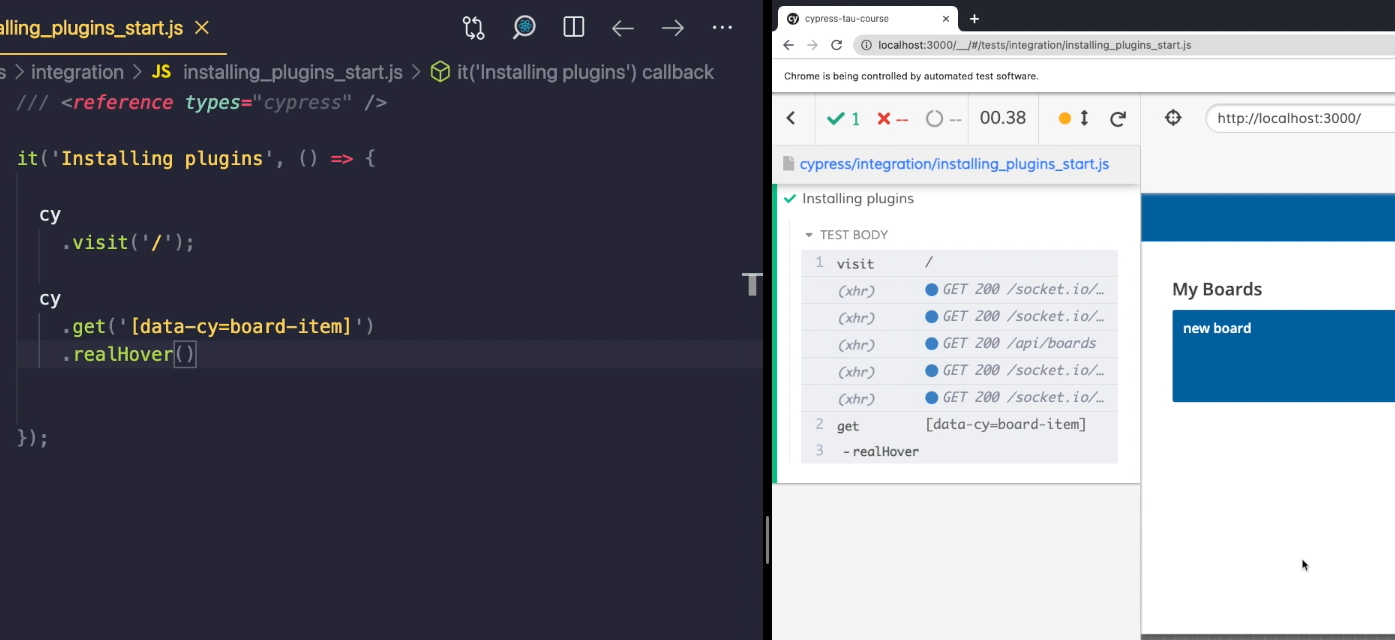
Now there's not much left to do then to use the realHover command.
When I save my test now you can see that the command is working, but we actually don't see the hover happening.
And this is because of a minor issue that this plugin has. My browser window over here is actually zoomed in it so we can see it better.
The real hover command actually calculates where should the hover happen, but it doesn't take into account if my browser is zoomed in.
So let me zoom out just for a second.
And when I run my test again you see that the background color of the board item actually got darker and that the star is visible.
If I want to be absolutely sure in my test, I can write an assertion for this.
Let's inspect our element. I will select it and using Cypress DevTools I'm going to trigger hover status.
I can see that on hover there is a different color. So, I'm going to look into that and copy this RGB code, 5,90,140.
What I will do is that I'm going to use should and test that our element will have CSS of background-color and the value of that will be rgb(5,90,140).
And if I've done everything correctly, then this test should pass. Let me save this.
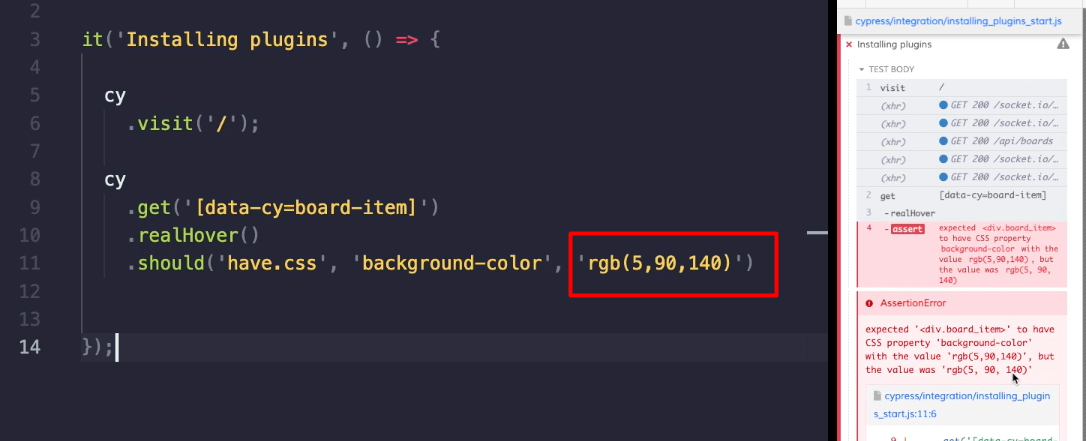
And when I look into the error message you can see that I actually forgot to add some spaces.
But when I do that now and save my test it's actually going to pass.
  cy
    .visit('/');

  cy
    .get('[data-cy=board-item]')
    .realHover()
    .should('have.css', 'background-color', 'rgb(5, 90, 150)')
So, we are checking the changed color after we do a real hover. And that's pretty nice.
# Applitools Eyes Plugin
Let's look into the last plugin that I want to show you and that will be Applitools Eyes for Cypress.
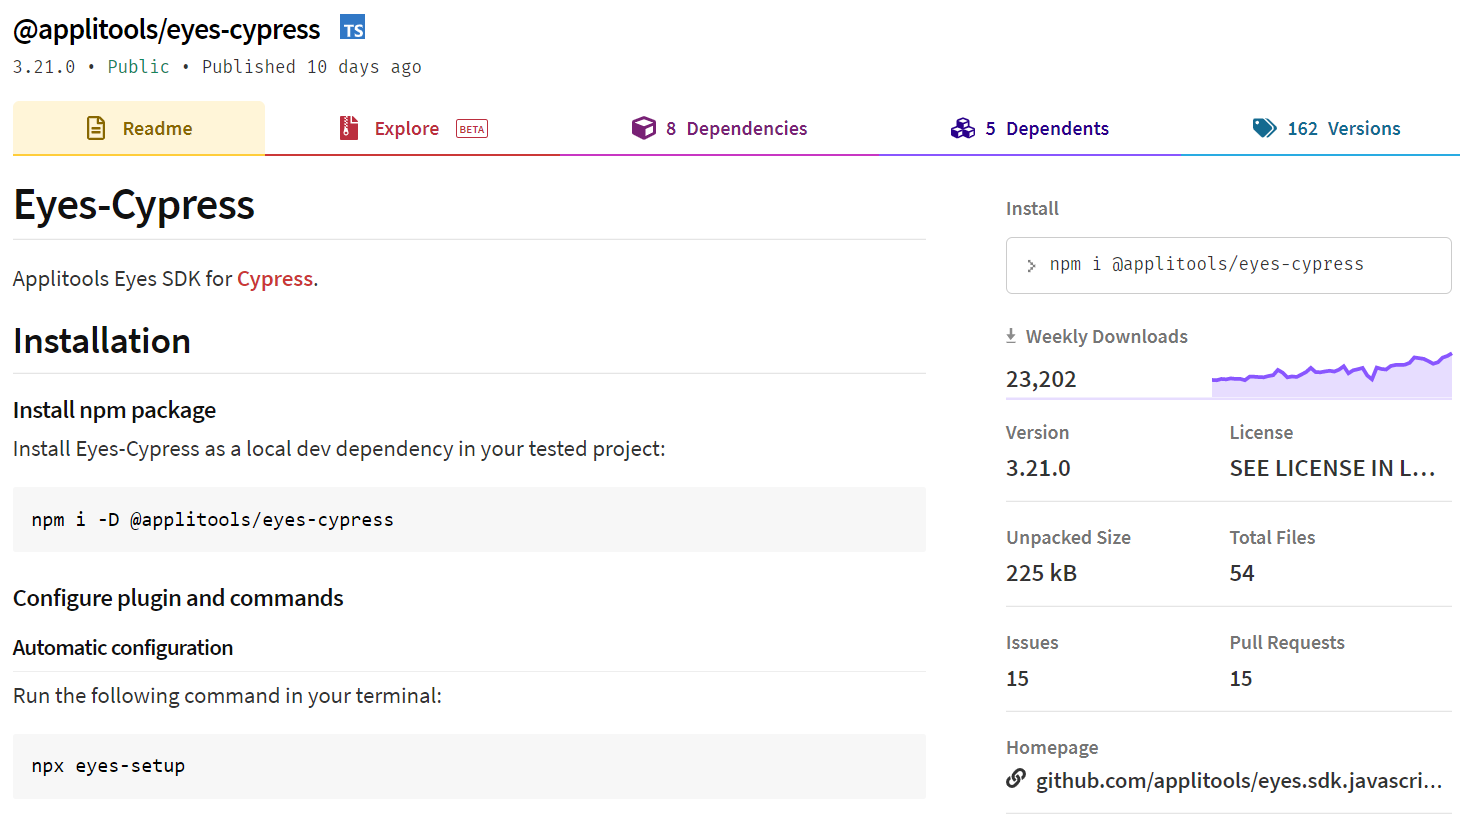
Let's quickly install it, again by npm install.
npm i -D @applitools/eyes-cypress
And after the installation is done, we can go ahead and set up this plugin. We can do that automatically.
So, let's use the script.
npx eyes-setup
And it seems like it has done everything for us.
Now to use Applitools we need to have an Applitools API key and we need to set that up inside our environment.
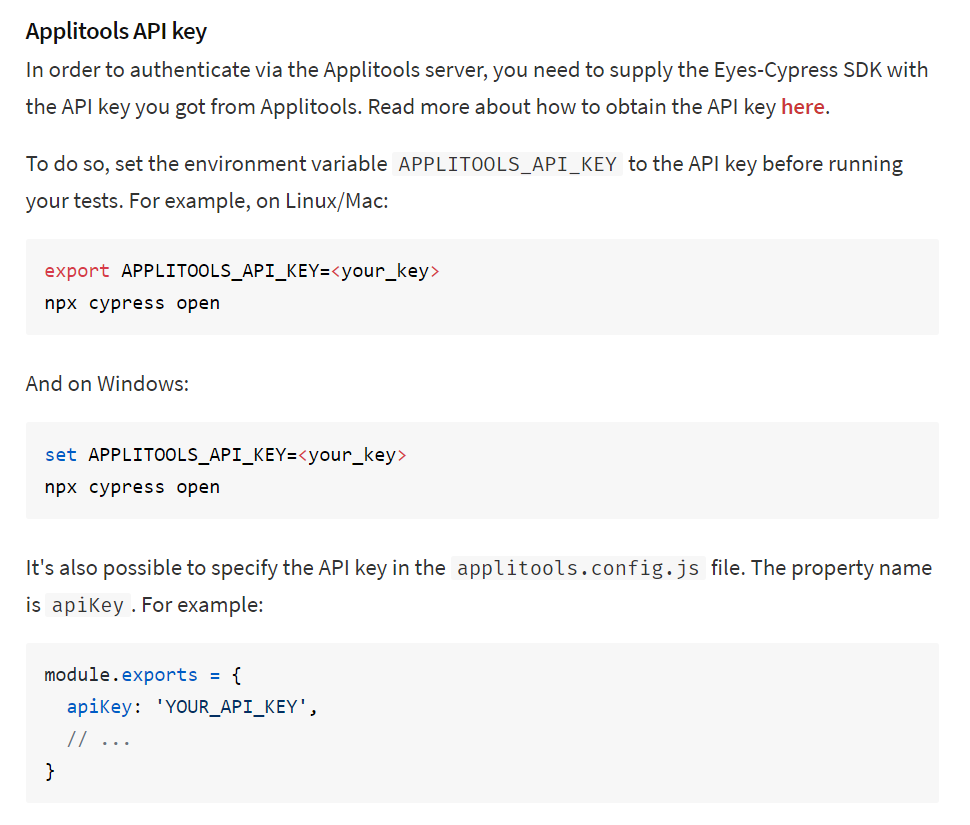
So let me sign up with Applitools.
After the signup is done, I'm going to click on the top right corner and look for my API key. I can see it over here, so I will copy that.
Instructions to Get Free Applitools Account
For detailed instructions with video on how to sign up for Applitools and set up your API Key, check out this lesson.
Now I will close my Cypress and I will open it again, but this time I'm also going to set the Applitools key.
The Applitools API key equals this long string. So, when I now open my Cypress, Applitools plugin should be able to read that API key.
APPLITOOLS_API_KEY="{insert your API key here}" npx cypress open
Well let me go ahead and try to create a visual test with Applitools.
The syntax is really easy.

What I need to do is basically open the eyes (eyesOpen). And this is a command where we pass on the configuration of the test run we want to do.
Then we'll do our visual check with eyesCheckWindow and give that visual check a name.
And after we finish, we close our eyes (eyesClose) to tell Applitools that we are finished with the test.
Let's go ahead and try to do that. I'm going to just copy this from the Applitools for Cypress documentation and paste it in my test.
Before we run the test let's make a couple of changes.
Let's change the app name to “Trello app”.
Let's change the test name to “Trying out Applitools plugin”.
We can keep the browser dimensions the same. And let's rename our visual check to “Board list”.
it('Installing plugins', () => {

  cy
    .visit('/');

    cy
    .eyesOpen({
      appName: 'Trello app',
      testName: 'Trying out Applitools plugin',
      browser: { width: 800, height: 600 },
    });

  cy
    .eyesCheckWindow('Board list');

  cy
    .eyesClose();

});
I'll save my test now.
And you can see the Applitools Eyes plugin doing the work.
After my test is finished, I can look into the dashboards and see the details of my visual check.
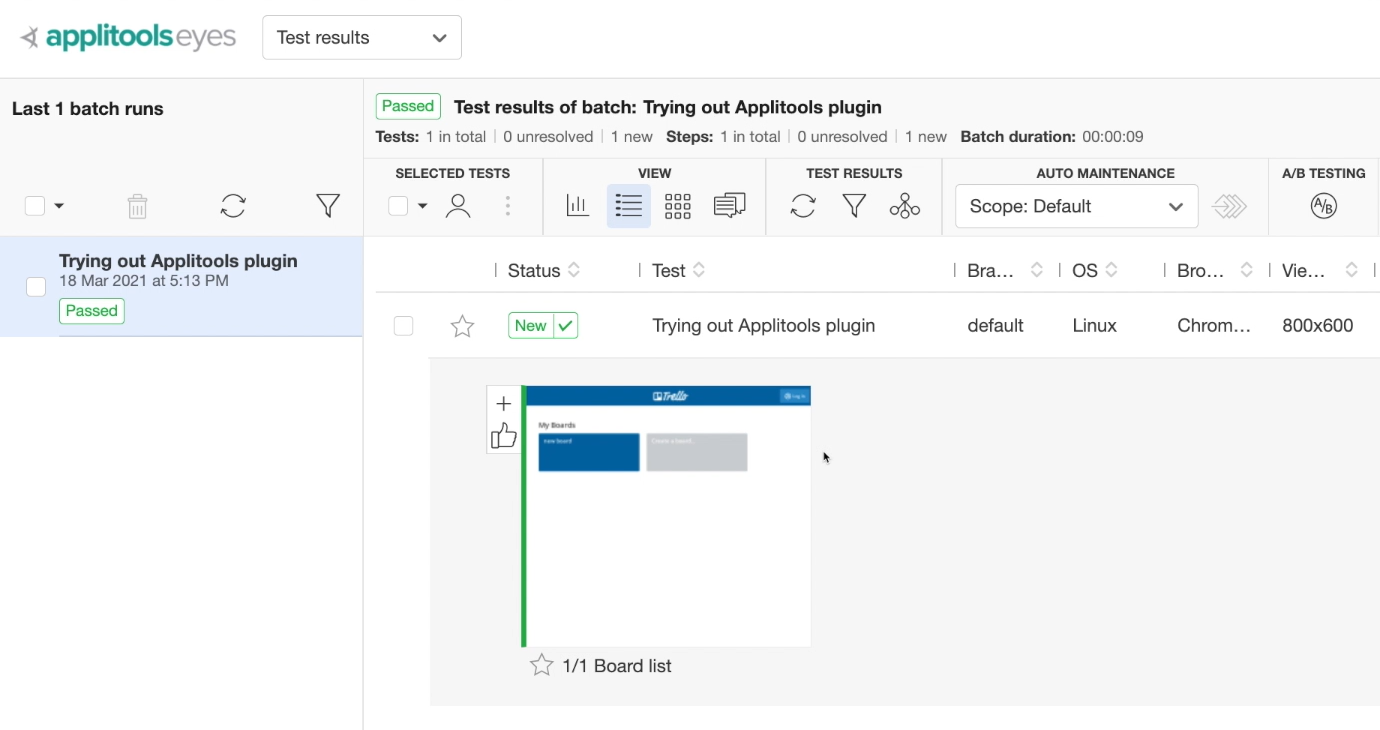
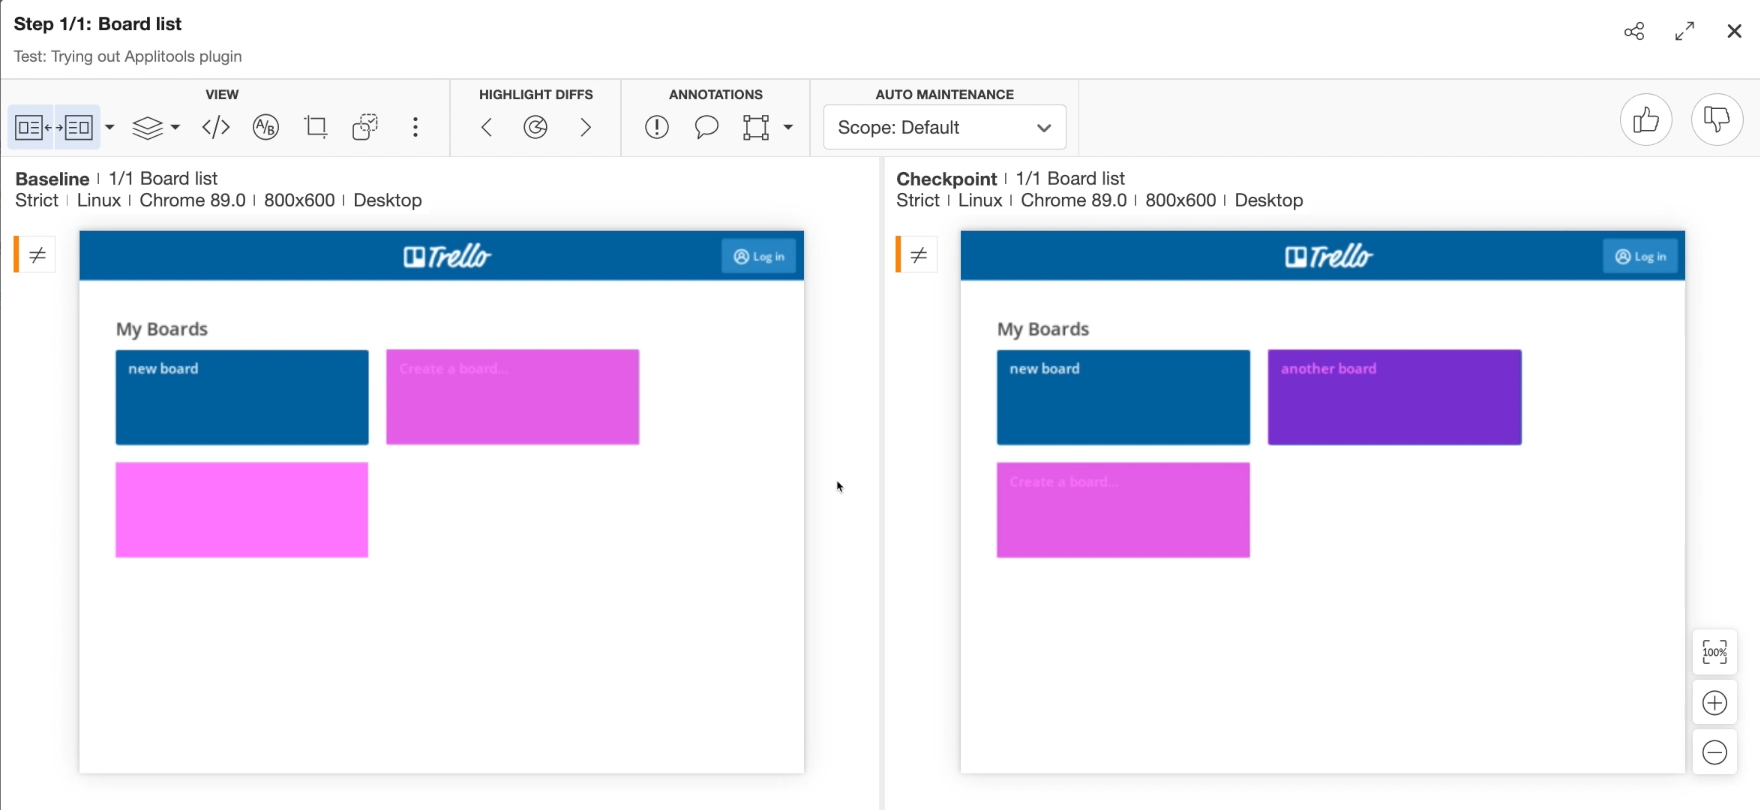
Let's add another board and run my test again to see what happens.
After my test is done you can see that the test has actually failed.

And that is because Applitools has made the check and found out that my application is different. Instead of 1 board, we actually had 2.
Let's head over to the dashboard and see our new check.
And now I can actually see in great detail what has changed.
One more thing I will add here, the API key inside your Applitools should actually remain a secret.
That's why we saved it as an environment variable.
Make sure that whenever your API key becomes visible to the whole world, so you accidentally input it into Google or you accidentally commit it to your repository or even show it in a video, you should head over to your settings, look for the API keys and make sure you delete it.
That way you make sure that no one will get ahold of your account. Stay safe my friends.
