

Transcripted Summary
We want to work up to the point where we can use JavaScript to interact with this application, so, the first thing that we have to learn how to do, is how to actually locate the elements on the screen that we are going to work with.
So, I'm going to create some Todos here: “todo 1” & “todo 2”.
Now, I can see all the elements I want to work with.
I need to figure out how to click on the filter. How to click on this toggle. How to delete. How to click on this and delete an item. How to select an item to mark it as completed. I have to learn how to do all this.
So, the first thing we have to do is figure out, how can we find things?
Well, to do that we have to understand the DOM, and the DOM is not in the View Page Source. The DOM is in the Inspect, in the Elements tab.
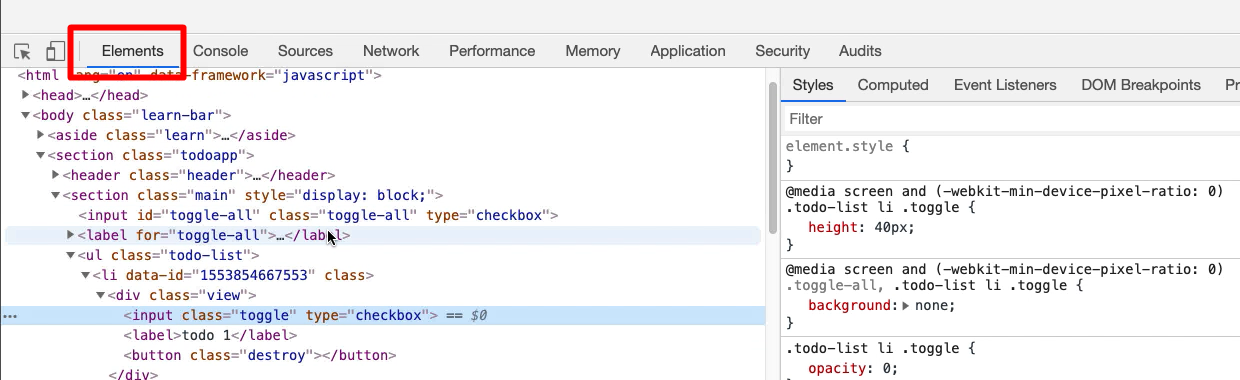
This is the DOM view, the document object model. The thing that makes up the page. And JavaScript can manipulate this, which is why we will create Todos here.
So, just to be clear, I'm going to Inspect a Todo, and then that will focus me in the Elements tab on that actual element on screen.
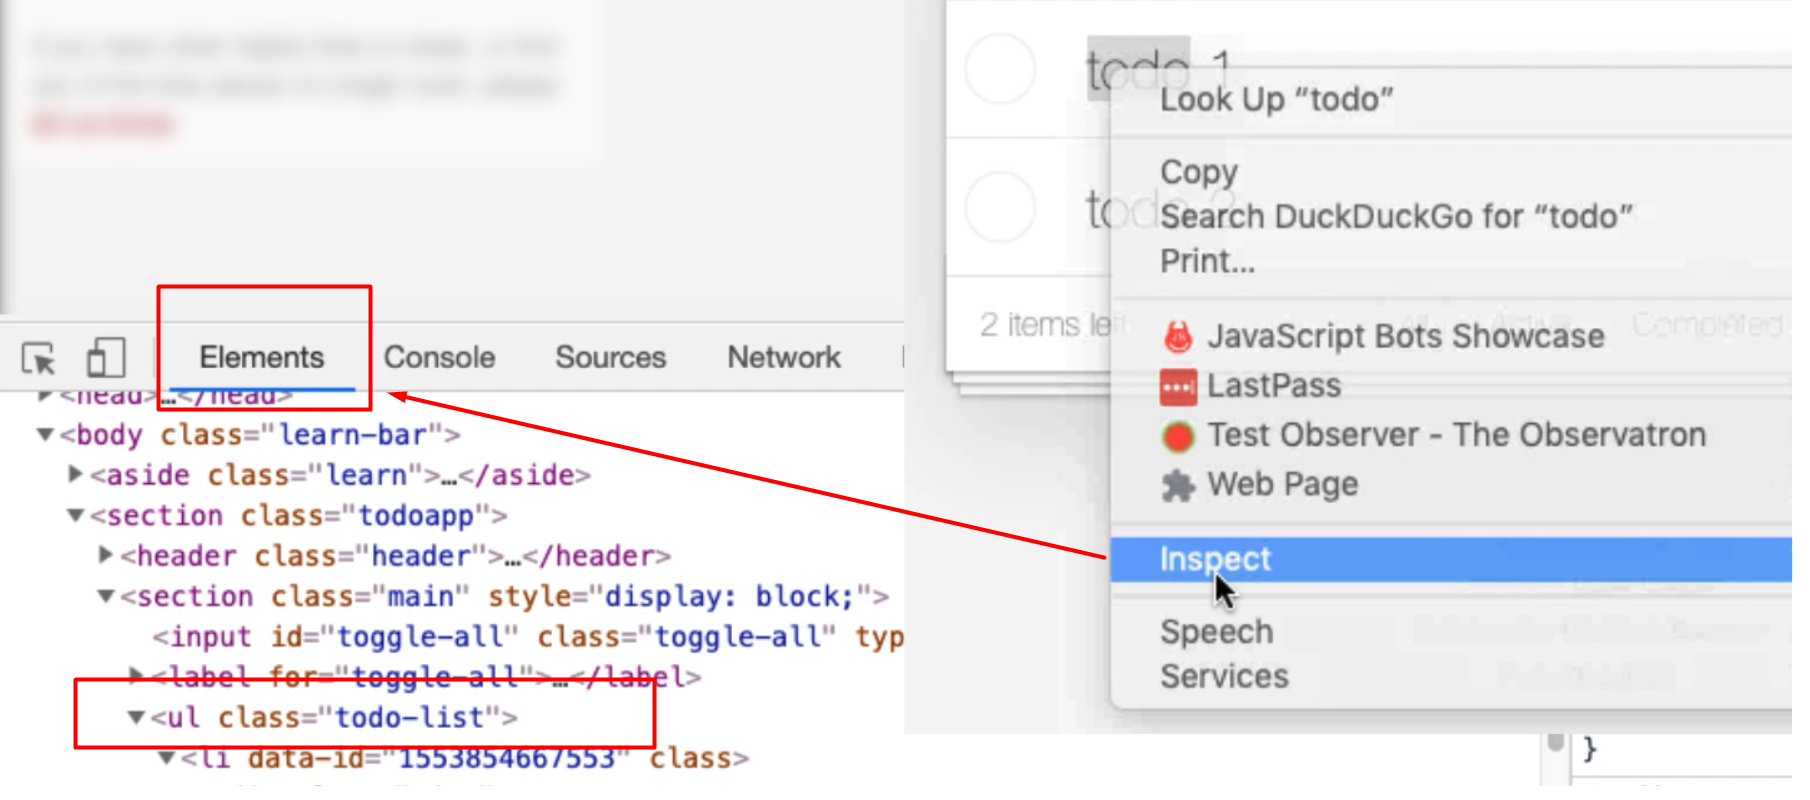
So, this whole “todo” item, you can see it highlighted there is represented by this list item in HTML [<ul class=”todo-list”>].
All the Todos are represented in this unordered list.
One of the things that we have to do in order to effectively test applications and certainly in order to automate them is understand the HTML that is used to build the apps. The Elements tab is a great way to do this, even if you don't know HTML.
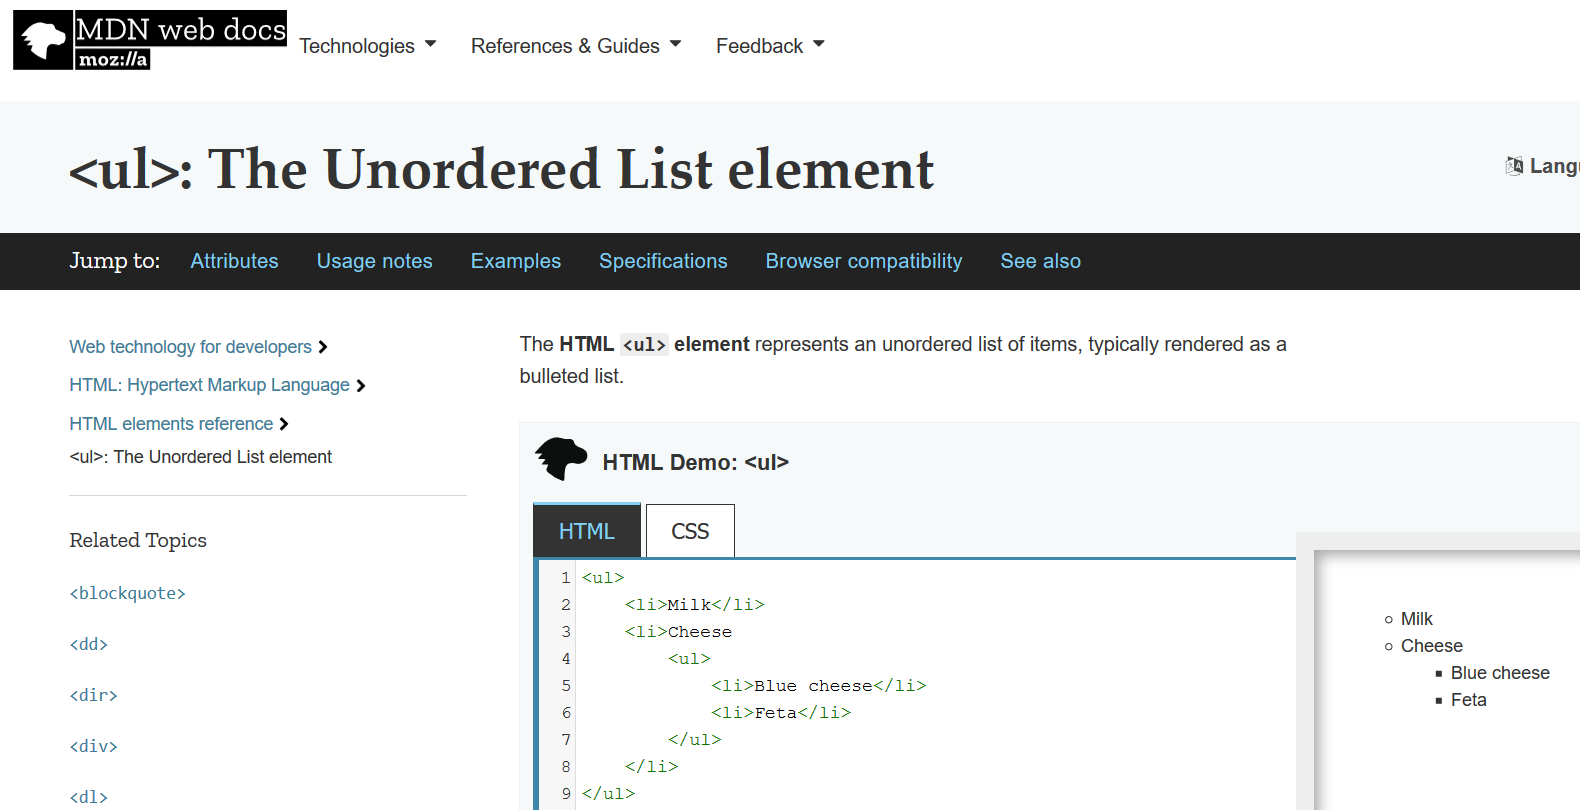
If you don't know anything to do with HTML, this is the perfect view for learning about it, because you can just type into your search engine, “ul html tag”. So, you have to know some terminology in order to search, but this is a tag. If I do that search now, the references I tend to use are W3 Schools or the MDN, the Mozilla Developer Network.
When I click here, I'll see all the information I need in order to start learning HTML.
We can learn the technologies we are working with incrementally and use the tools that we have at our disposal to guide us to do that.
So, <ul> is just an unordered list of things, each of those things in that list is a list time [li], and it forms part of the list and we can indent them. In this application we've chosen to use an unordered list to represent this.
Other things that this Elements view shows us is the CSS.
CSS is cascading style sheets. It's the information that the browser uses in order to style the application.
You can see over here in MDN that by default an unordered list has these bullets.
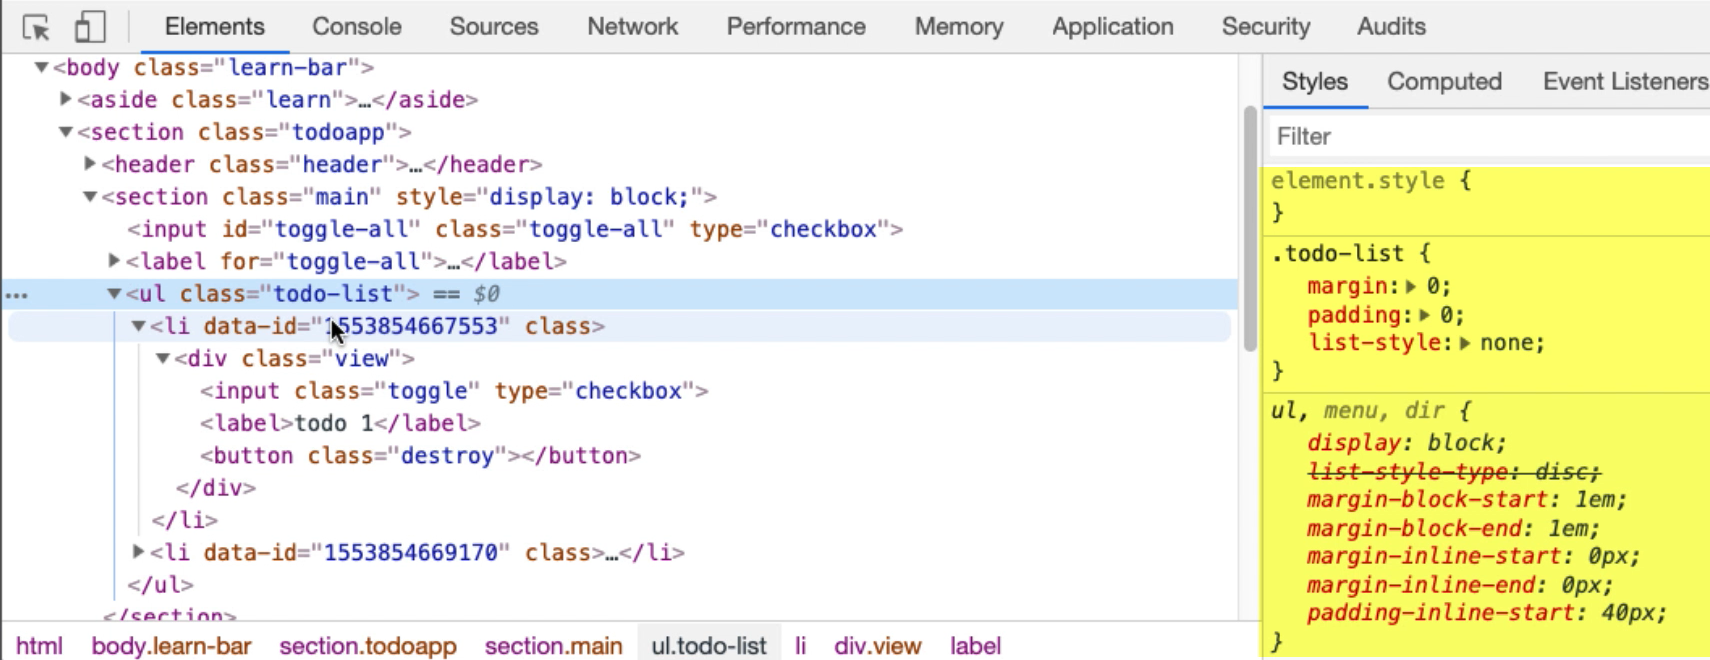
In our todo item, there's no bullets shown even though this is a list item. That's because this is controlled by CSS and CSS is now describing how to render this.
Now, one of the things I think this application does is I think this “X” here is rendered by CSS.
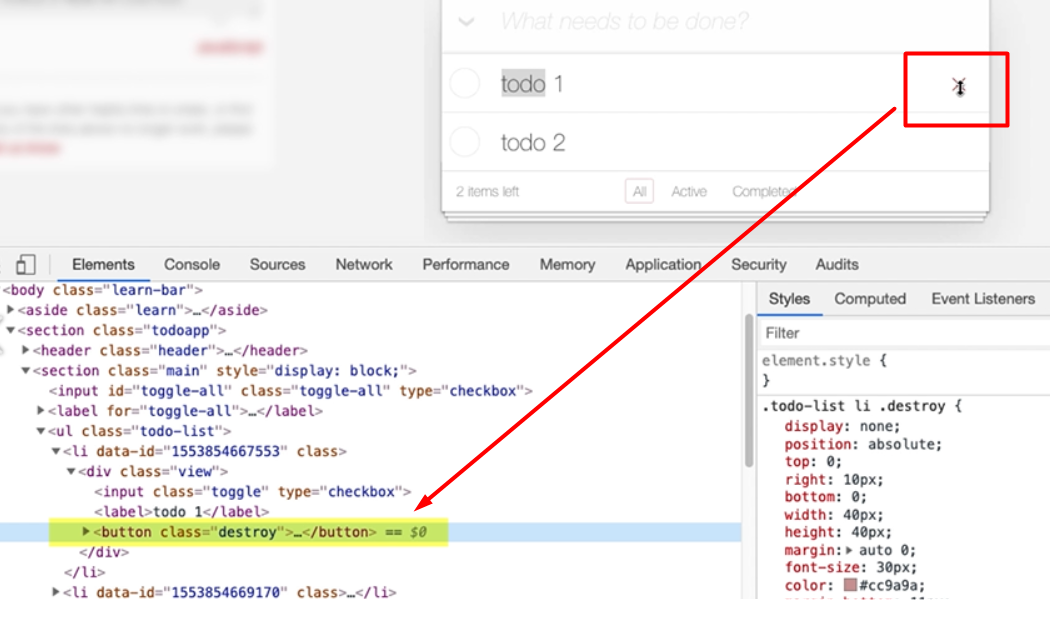
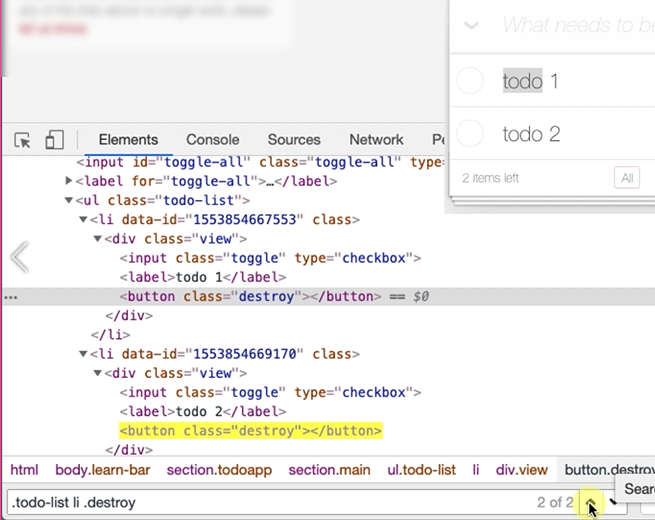
So, I can see here there is a “destroy” button, and when I click on it here, there's nothing visible. I think that when I hover ... you see that changing when I hover on it? I think when I hover CSS is being used to display this “X”.
I'm just going to have a quick check to see if that's true. This button has a class code destroy.
Now, in the Sources tab, in Page I can view all the CSS that is used in this application.
So, I'm just going to do a quick find for “destroy”.
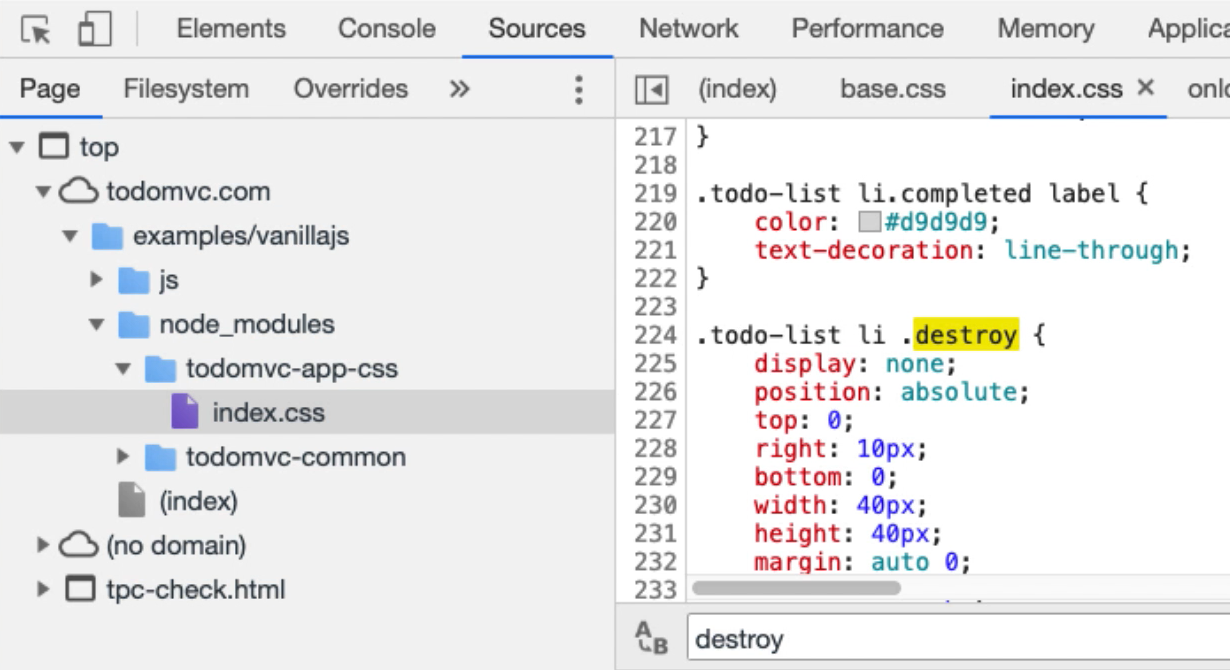
Now, I can see here that this says (and you will eventually have to learn CSS location strategies in order to automate the application — this is a good way to start doing that) that, "For a thing that has a class .todo-list, which has somewhere beneath it a list item (li), and there's a thing with a .destroy class, and initially don't display it."
That's what this says.
So, if I go into the Elements tab.
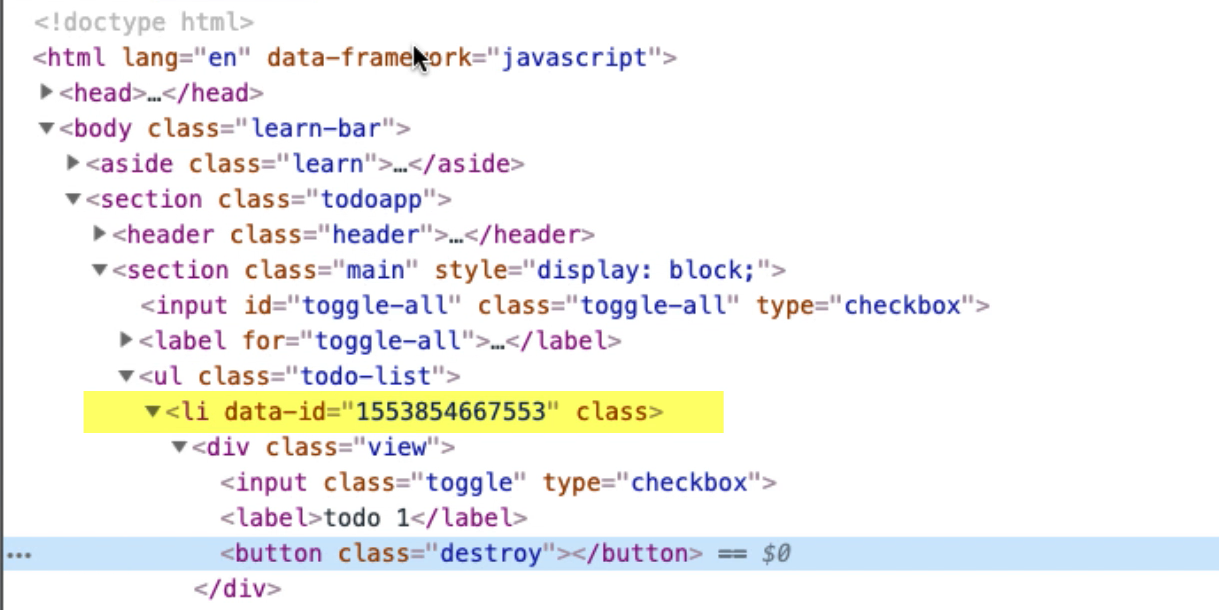
Here we have a thing that has the class .todo-list, a thing that has a class .todo-list, and somewhere beneath it there's a list item [li] and somewhere beneath that, there's a thing with the .destroy class and initially it is not displayed. That's what this says.
Let me see what else we've got down here.
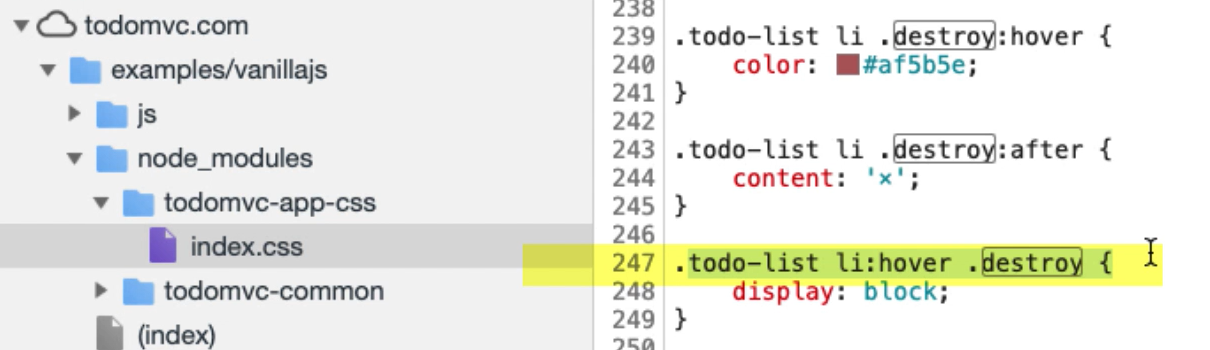
This is also saying then, "A thing that has the .todo-list class, when we hover over the list item [li], the thing that is marked with the .destroy class, we should display it."
When I find the .todo-list and hover over the list item, the thing that is marked as destroy, we should display. That's what's happening here. The thing that is marked as “destroy” is being displayed.
So, this is being displayed all controlled via CSS.
Now, we don't need to know too much about that for this particular course, but what's important in here is that this is the first time we are seeing the CSS selectors and we will be using these to find the items on the screen.
If I copy this,
.todo-list li:hover .destroy
and I go into the Elements tab, and I do control F, you can see down in the bottom here it says, "Find by string, selector or Xpath." Well, that is a CSS selector.
Now, there's nothing there that says “hover,” so nothing is going to get found. If I take out the hover state, then it finds the button.
This is what it's matched, but you can see it's actually matched this on every todo item in here that has a button. This is very generic, so this will find many items. This is a selection strategy that we can use to identify locators on the screen.
So, if I don't know how to use CSS, and I'm going to learn this, how can I locate these items?
Well, I can do it manually by doing an Inspect that will find it, it will show it in the page.
But what if I actually want to find this list item here? If I right click here, and I do Copy, I can see that there's two important things here for our purposes: Copy selector and Copy JS path.

If I do Copy selector, I'm going to paste that in here, and what we can see is it has given me a CSS selector string that has found the item.
Let's have a look at what this says — this is not a very nice CSS selector, in that is completely from scratch.
It's basically saying, "Find the body class, then immediately below that find the section, and immediately before that find another section, then find an unordered list [ul}, then find a list item [li], but find the nth-child(1) of the ul, which is, and find the first child which is this one."
I've got 2 items here. If I find number 2, so let’s find the second todo item — li:nth-child(2)
So, as you see I've written out a CSS selector, but what we want to do with our CSS selectors is make them as specific as possible.
Note
Anytime you do automated execution, when you're writing test automation, we want to write CSS selectors as specific as possible because it helps make us a little bit more immune to when the application changes.
So, in reality I don't actually need all this — body > section > section
Because I can find the unordered list then find the nth-child, the list item beneath that ul — ul > li:nth-child(2)
I can be even more specific if I want and say, "I want to find the ul that has a .todo-list class." — ul.todo-list > li:nth-child(2) — just in case the application changes and we have more unordered lists.
I'm really only interested in the .todo-list. Now, this is immediately beneath. I don't necessarily need the immediate beneath, I can get rid of that — ul.todo-list li:nth-child(2) — and that will still work fine.
So, we have choices over this.
Now, again, I would use the Mozilla Developer Network to learn about CSS selectors. So, I've done a search for “MDN CSS selectors”, and it's taken me to the page that will tell me everything I need to know in order to understand that.
If I am confused about the nth-child there is the documentation for nth-child, and I can learn as we go through the CSS selectors I need in order to do my work. I can use the built-in functionality for copy and create a CSS selector to help me out.
Resources
Quiz
The quiz for this chapter can be found in section 3.3
