Transcripted Summary
In this chapter, we will learn how to install Chai to our project.
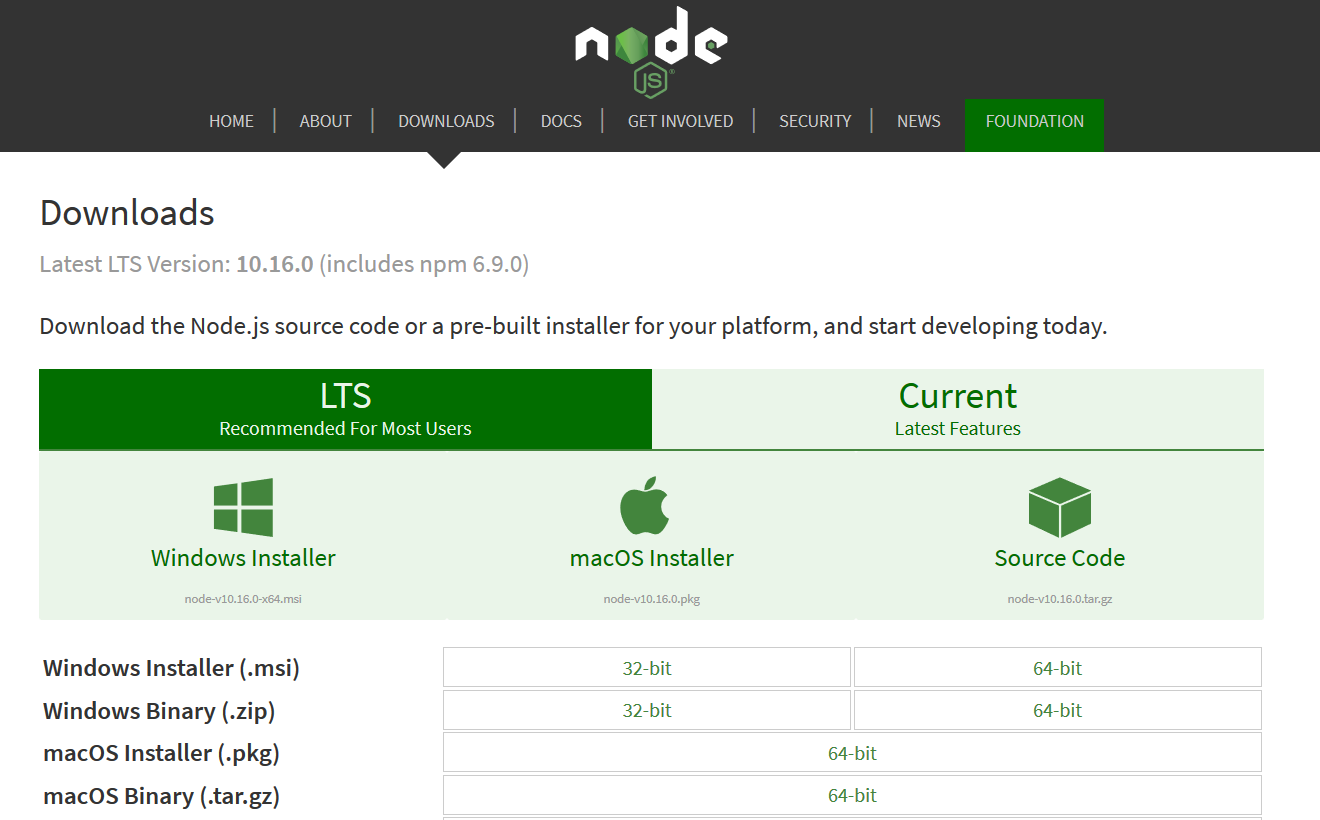
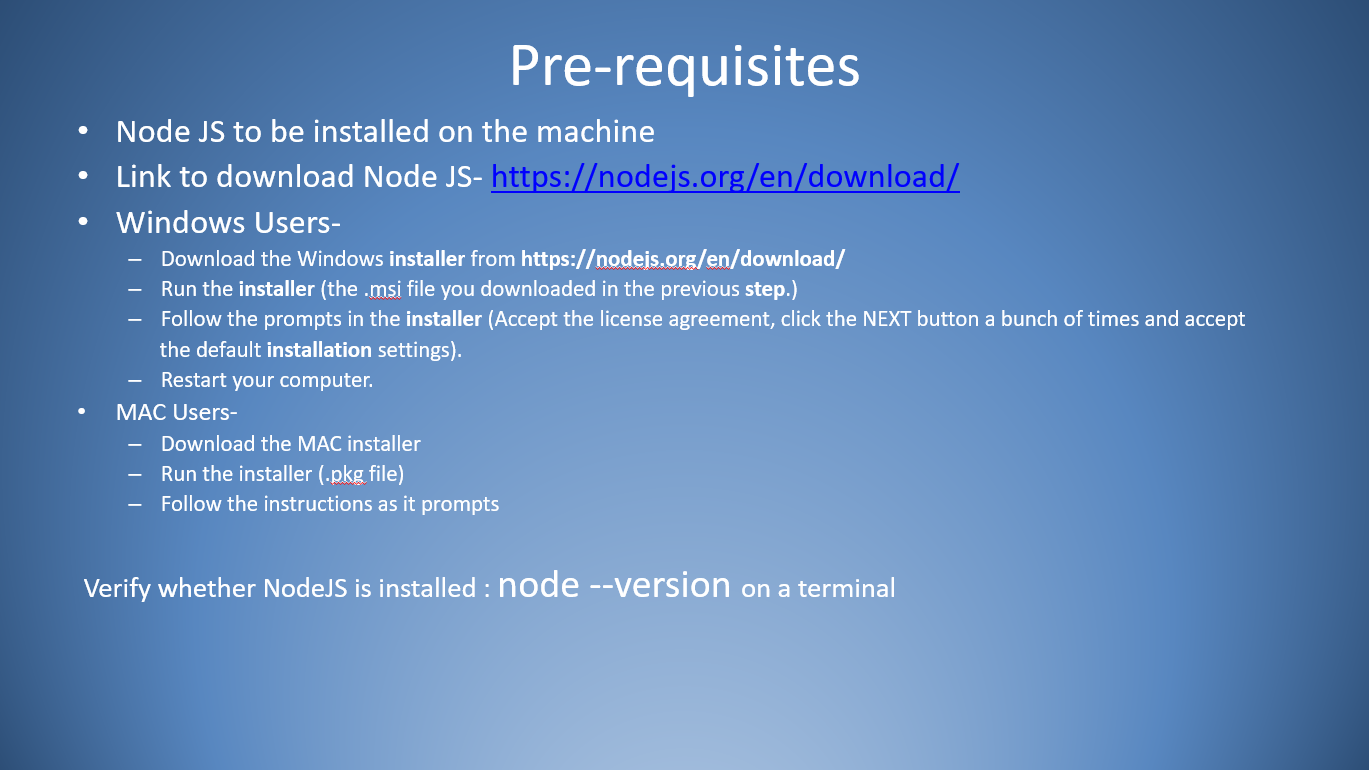
As a prerequisite, Node JS has to be installed on the machine. Please download NodeJS from this official page as shown here.

# Node JS – Windows Installation
If you are using Windows machine download the installer, run the installer and follow the prompts on the installer. You will have to accept the agreement, click the Next button a bunch of times and go for default settings. This will add Node JS to the class path. Restart your computer.
# Node JS – Mac Installation
For Mac OS download the Mac installer from the same link, double click on it and follow the installation steps as it prompts and finish it.

Once installation is done on your machine, you will need to verify it on the terminal by providing the command:
node --version
This will display the version of Node you just installed.
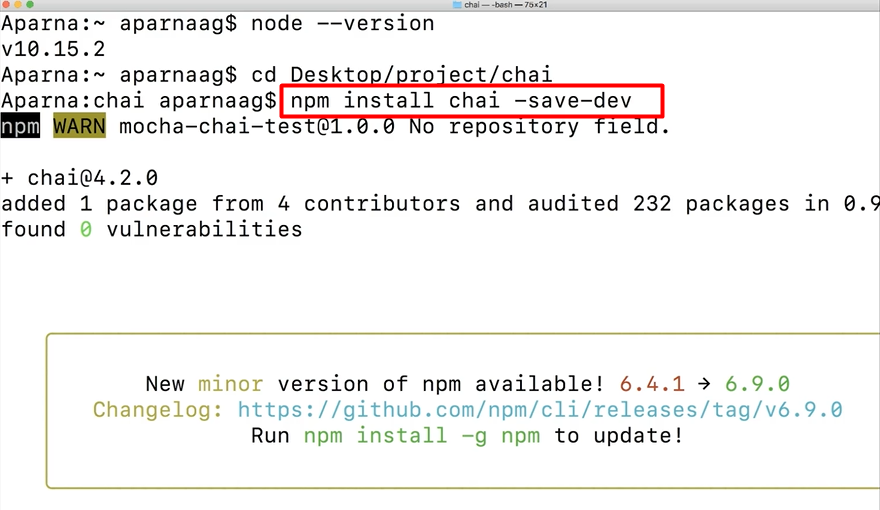
Please note that I have already got Node JS installed, however we can check it on the terminal by using the command.

# Adding Chai Assertion Library
Okay, so I have created a simple Node JS project called “chai” here. Let us see how to add Chai Library to this one.
Navigate to the project path through a terminal and enter the command:
npm install chai -save-dev
Windows users might have to use git bash or command prompt.

This will install Chai to the project and make an entry to the package.json file.
