

Transcripted Summary
Now let’s proceed with installing Jest. As mentioned earlier, before we go ahead with installing Jest, there are a few prerequisites needed for this course.
# Installing Node.js
Firstly, Node.js.
If you don't already have Node.js on your machine, then please go to the following link.
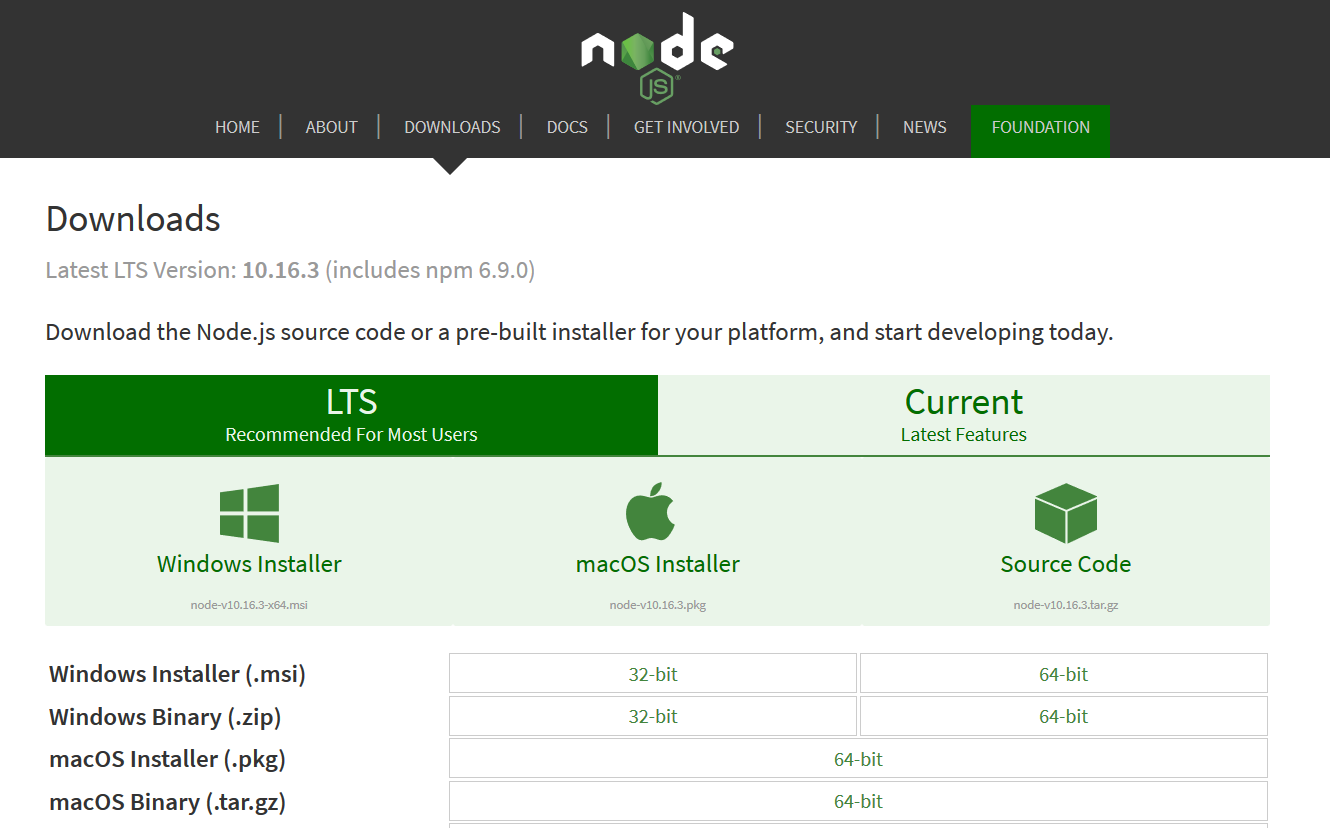
If you are using a Windows machine, then please select the Windows Installer icon and follow the prompts through to successful installation.
If you are using a Mac, then select the macOS Installer link. Then open up the PKG file that was downloaded and follow the prompts.
Then to check if you have Node correctly installed:
- Open up Terminal on Mac; or
- Use Git Bash or command prompt on windows
As you can see, I'm using a Mac for this course, so I'll open up Terminal.
Then put in the following
node -v
As you can see, that now gives us the version of Node installed.
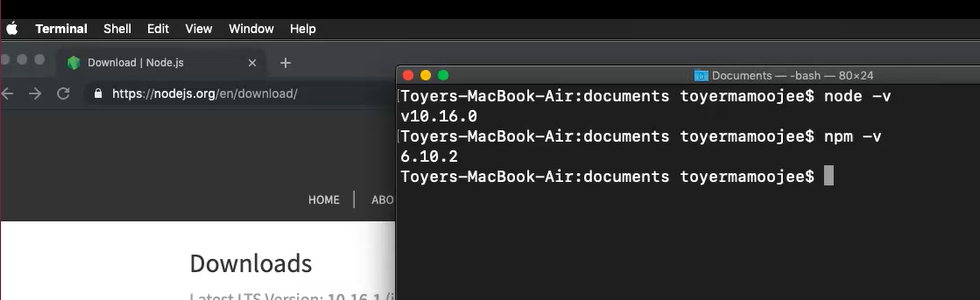
# Confirm Installation of NPM
You should now also have NPM installed.
You can check this by running the following:
npm -v
This now gives us the NPM version that we have installed.
# Install a Visual Code Editor
You would also need a code editor or IDE of your choice. For example, Visual Studio Code, Sublime or even Atom.
For this course I'm using VS Code, which can be installed by going to this link.
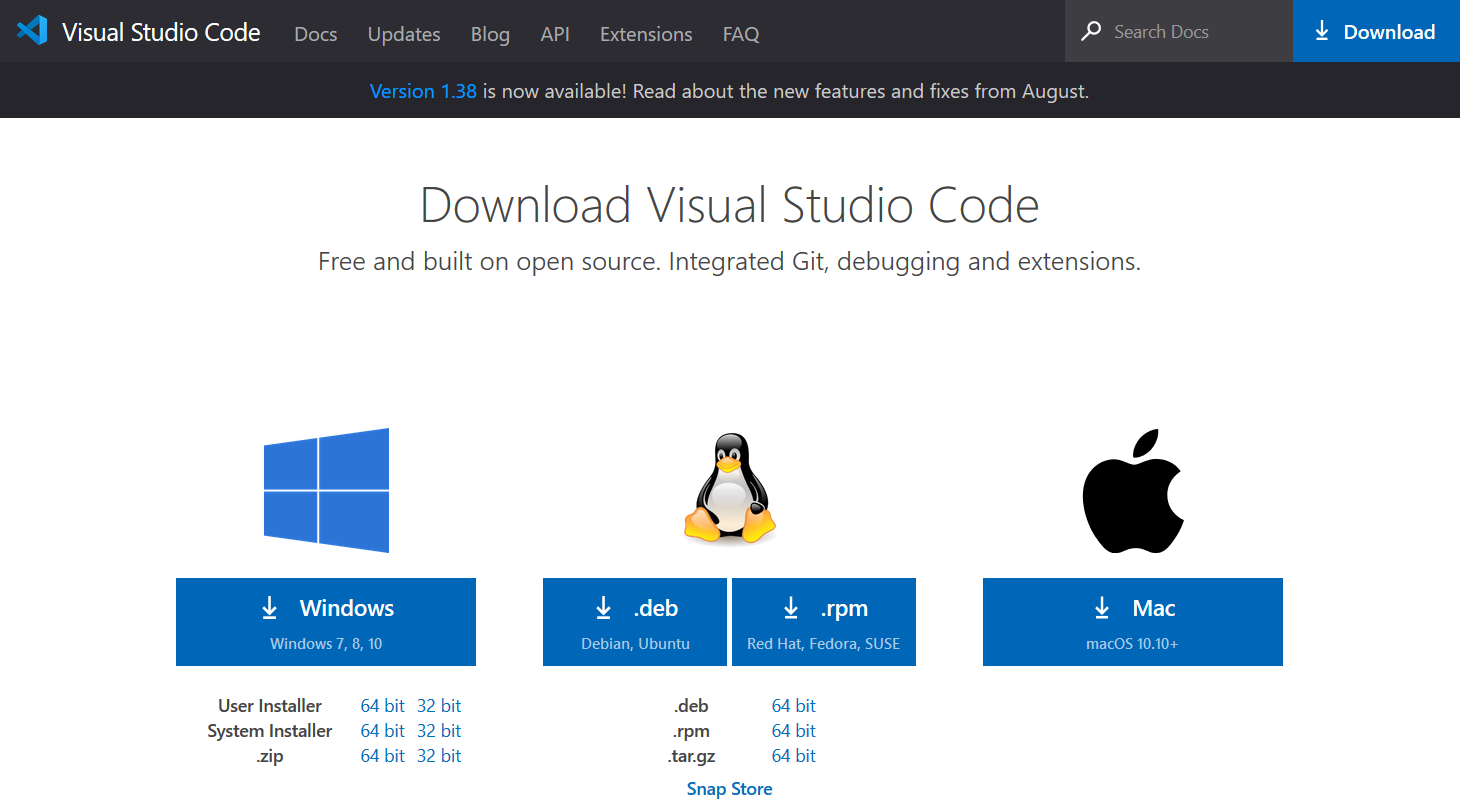
Then running a VS Code installer depending on your OS. macOS or Windows.
# Create a Project
Now that we have our prerequisite setup lets create a project — a new project for the sake of this particular course.
Let’s say:
mkdir automationU
Let’s hit enter and then:
cd automationU
Now let’s create a package.json file.
We do that by running:
npm init -y
That should now create a package.json file for our project.

# Installing Jest
Then to the main part, installing Jest.
You can run this command:
npm install --save-dev jest
This should now install Jest onto your project.
Now that's done let’s go to our package.json file that we created.
Let’s just add the following line so that we can run our Jest test.
"scripts": {
    "test": "jest"
}
That's it, we now have the base and the platform setup required to create our Jest test.
