

Transcripted Summary
Let's get started with writing your first Jest test.
How, you ask, so soon? Well, yes, that's just it.
Jest is so simple that writing your first test is really easy to do. Here's how.
# Before we start with the test itself, let's create a simple math function that does multiplication of two inputs.
Let's create a new file in Visual Studio Code.
Let's then save this file and call it "multiply.js"
Now let's proceed to creating the function and we say, function multiply, and then let's say it takes two inputs, “a” and “b”.
And let's say, return a*b and then let's now export this particular code.
And let's save this.
# multiply.js
function multiply(a,b){
    return a*b;
}

module.exports = multiply;
# Now let's try to simple test to test scenarios for this code.
Let's create a new file once again, and let's then save this file.
We can call this file as “multiply.test.js” or “multiply.spec.js”
NOTE
Important point to note here is the naming convention that JEST reads, it reads all files named with the ".test" or ".spec." For this course, I'm going to use ".test."
Let's create and reference the multiply function that we just wrote, require and now to reference that multiply.
To proceed with writing the test, first we can group tests nicely by using describe.
This is great for logically grouping tests.
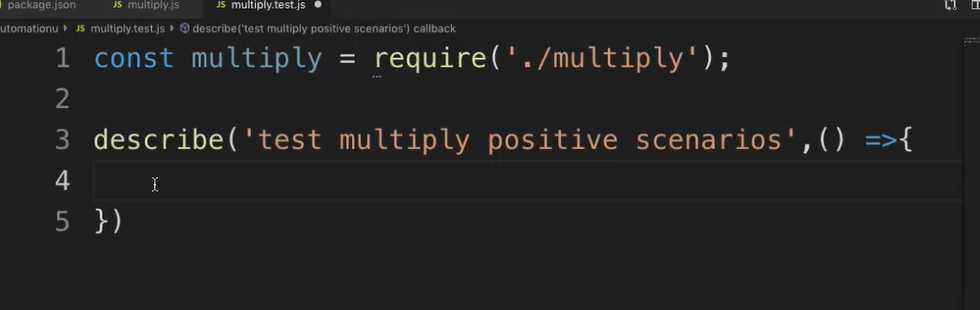
We can do something like describe, and let's call it something logical to test your scenarios, "multiply positive scenarios" and then just some JavaScript notation here, and there we have it.
Now we write the actual test using it or test — in this course I will just use test.
So, let's write test and let's add the scenario name in here.
describe('test multiply positive scenarios',() =>{

})
Let's say, “multiply 3*2 should equal to 6", and then once again the JavaScript notation.
describe('test multiply positive scenarios',() =>{
    test('multiply 3*2 should equal to 6',() =>{

    });
})
And then let's add our actual test in here.
So now we'd say expect, and once again, let's pause to discuss this.
NOTE
Unlike other frameworks which require other assertion libraries like Chai, Jest has its own built-in assertion library, which we reference by expect.
Let's say, expect(multiply(3,2)) and then our inputs, that's 3 and 2.
And then we say something like, toBe(6).
describe('test multiply positive scenarios',() =>{
    test('multiply 3*2 should equal to 6',() =>{
        expect(multiply(3,2)).toBe(6);
    });
})
Now let's save this.
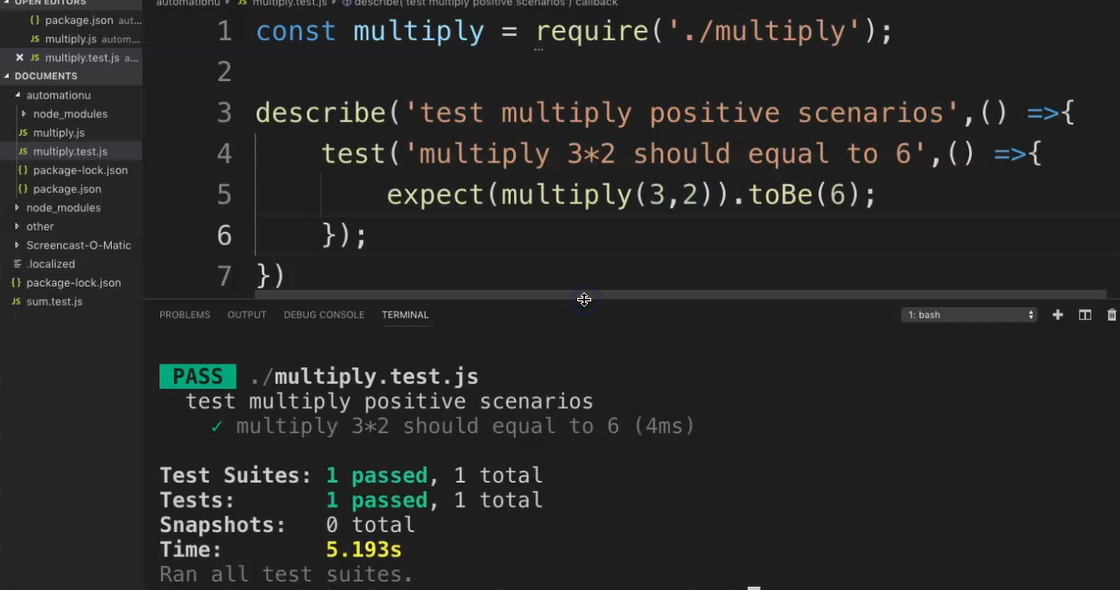
# multiply.test.js
const multiply = require('./multiply');

describe('test multiply positive scenarios',() =>{
    test('multiply 3*2 should equal to 6',() =>{
        expect(multiply(3,2)).toBe(6);
    });
})
Let's review the code before we actually execute.
So, we said initially group the test by saying describewith a nice logical name. In this instance we said, "test multiply positive scenarios."
And then we have the actual test. which says, "multiply 3*2 should equal to 6".
And then we have our actual assertion.
So now let's run this test.
I'm using the terminal in VS Code to run this. Let's say,
npm run test
and hit enter.
This should now run the test.
As you can see, it kicks it off and now we should get passed
Let's expand this window and you can see that's how it shows up on the terminal.
Congrats! You now have written your first Jest test.
