

Transcripted Summary
Hi, welcome to chapter one.
In this chapter, we are going to learn how to keep up-to-date with Playwright news, how to use the Playwright documentation through the menus, how to use the Playwright documentation through the search feature, how to install Playwright, and how to run the tests. I hope you like it.
# Explore and Learn about Playwright
As we start learning, one extremely important resource is the Playwright website.
Here, you can find everything to be self-sufficient in your studies and to keep up-to-date with the framework evolution.
Make sure you select the right language for the documentation.
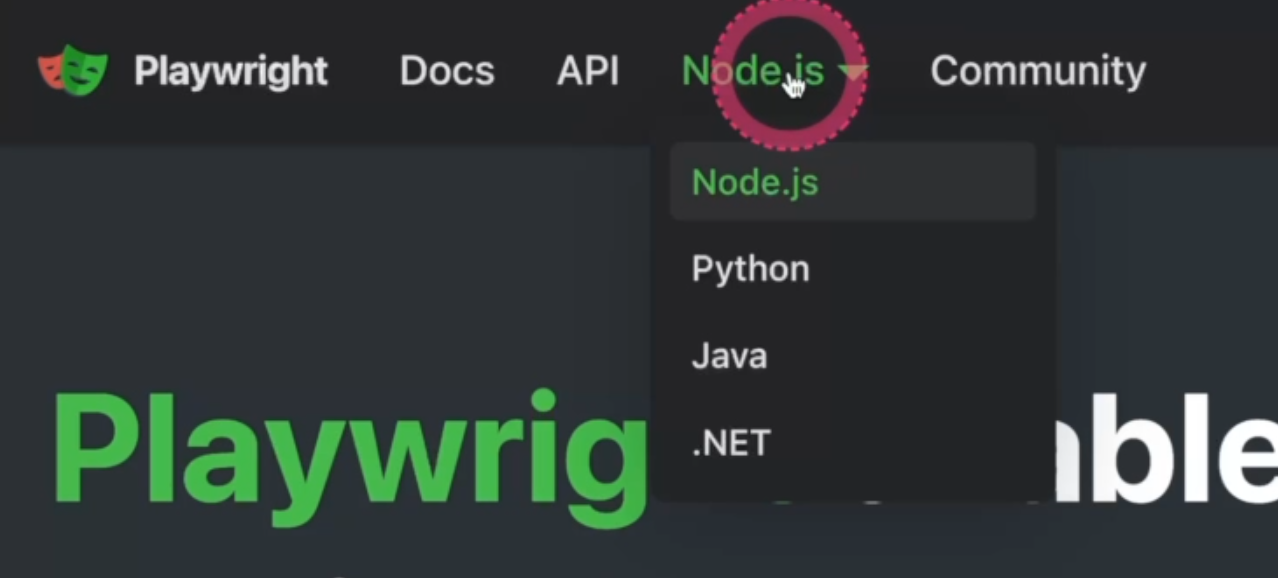
In this training, we are using Node.js, which is already the default language.
A highlight is the Discord channel where you can connect to the community and get help if you need.
Scrolling all the way down to the footer, you will find a few more links that can be useful.
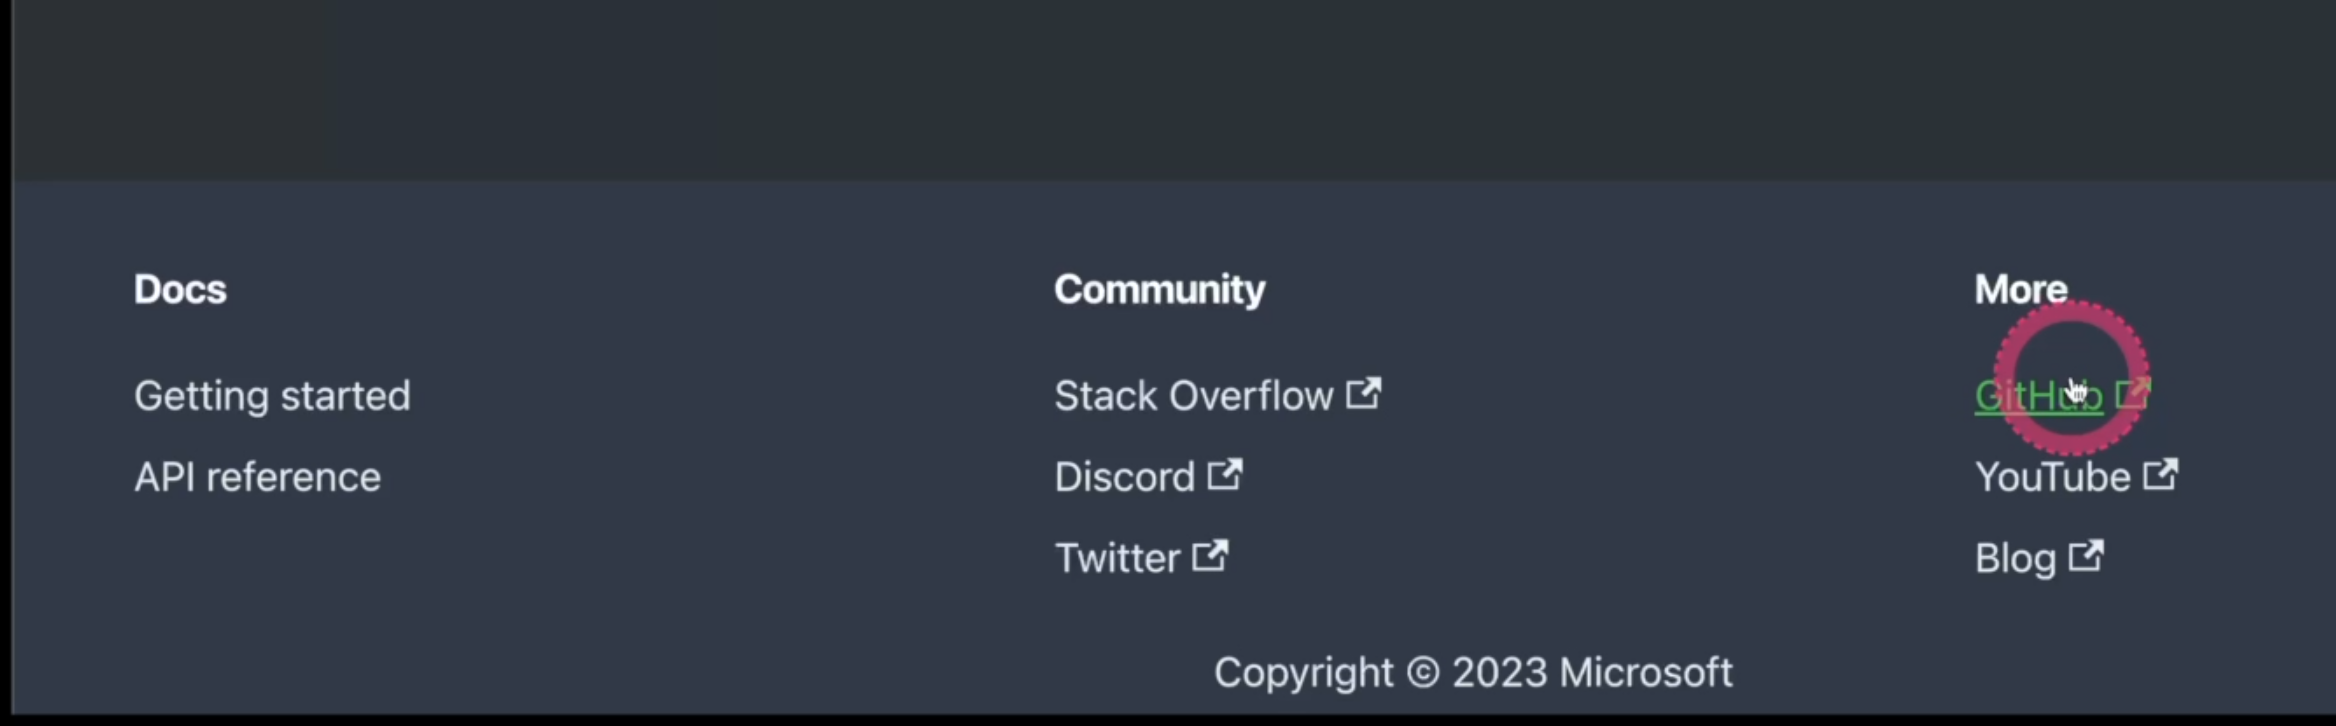
Another highlight is the YouTube channel where you can get a lot of great content from the specialists, and the GitHub page where you can "Star" the project and "Watch" in order to get notifications in your email about the releases or anything related to that.

Here in the "Releases" part, you'll see the release notes with new features, bug fixes, and also breaking changes, so it's important to keep an eye on that.

Back to the website, we have access to the docs, and here we have a few important things to see.
The "Getting Started" menu will give you the basic first steps to get to know the framework and understand how to write and maintain your tests; most of them we'll see here in this training.

Another nice menu to follow is the "Playwright Test", where you see a few more advanced features and how to have a more complete framework.
Another important menu item is "Guides".
Here, you'll find guidance for many of the features that Playwright offers to you.
I invite you to take a look at the "Best Practices" option.

On the right side, you can navigate easily through the main topic and getting to know the framework best practices is extremely important to optimize the test execution and increase the code maintainability.
So ultimately, it's up to you to decide if you follow best practices or not, but it's important to know why they are there.
Lastly, you can also find a few options to migrate your code from one framework to another here under "Migration", and how to integrate your framework with third parties such as Docker, Selenium Grid, or any continuous integration under "Integrations".
Another great feature that we have here in the documentation is the search.
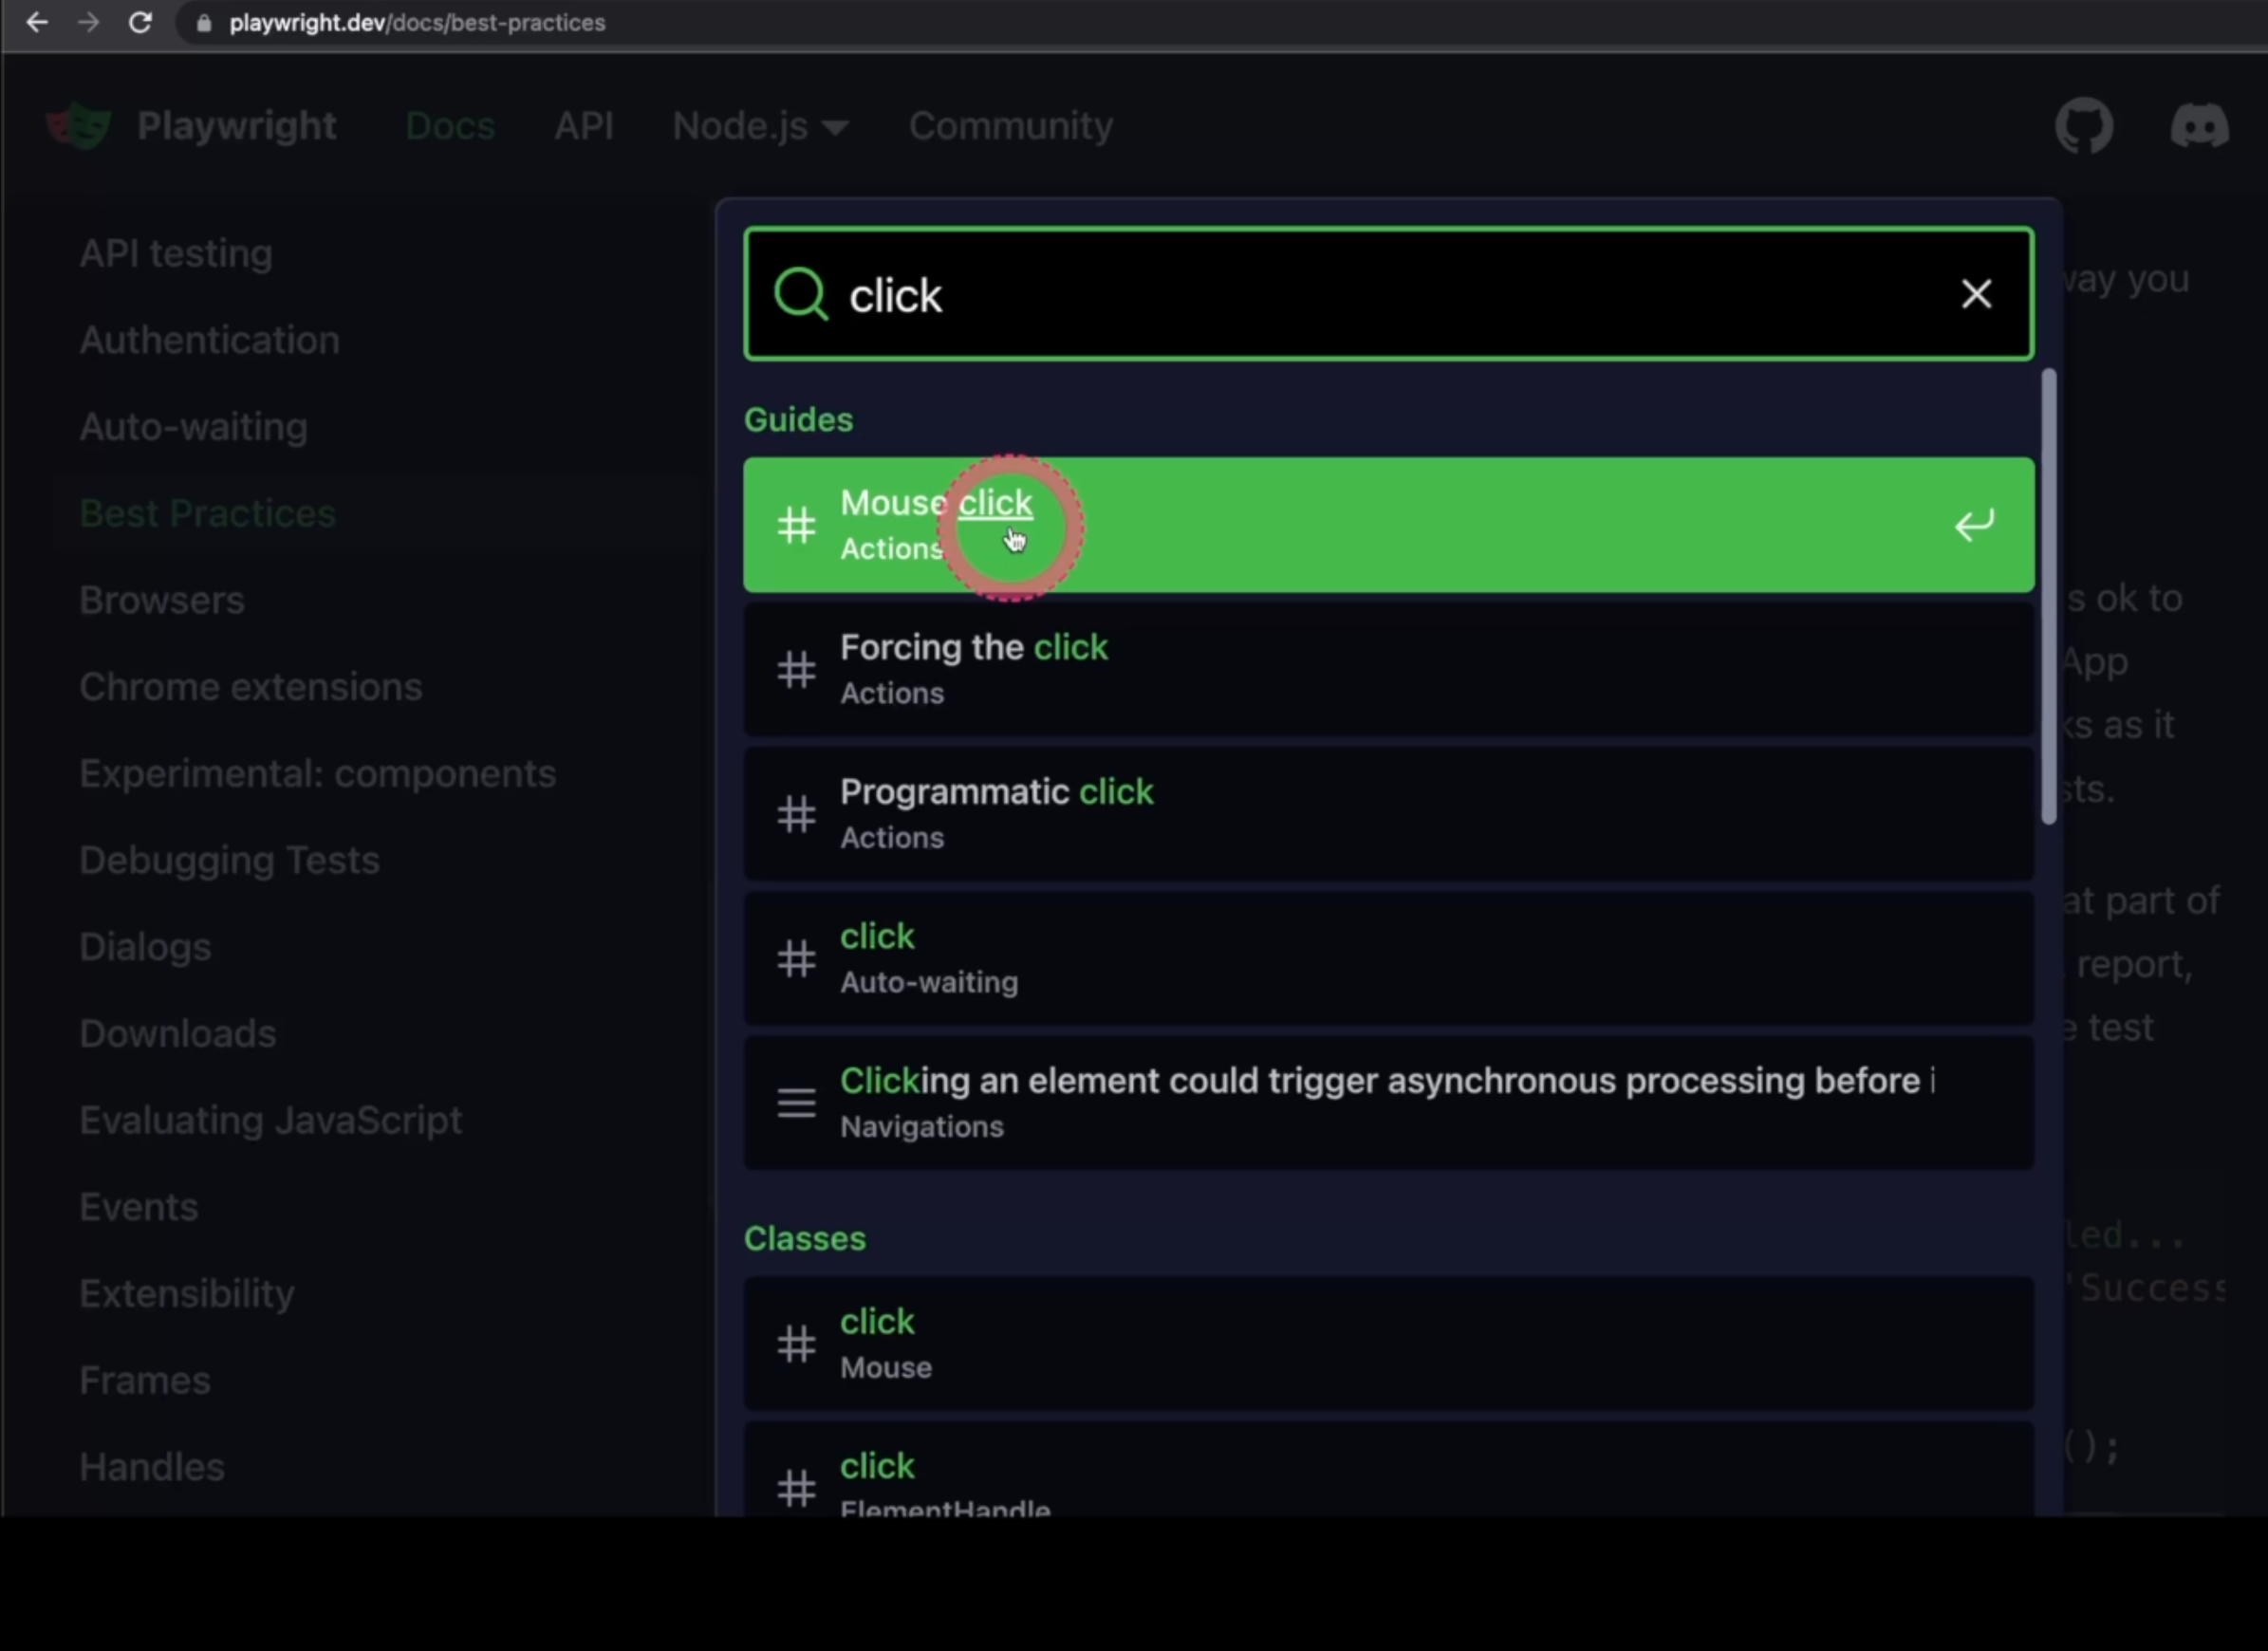
For example, if I want to know how click works - you have Guides, you have Classes, you have Getting started - so you have a lot of information related to the click function.
Let's see what this first one gives to us.
You can see that here is a Mouse click - it performs a simple, human click.
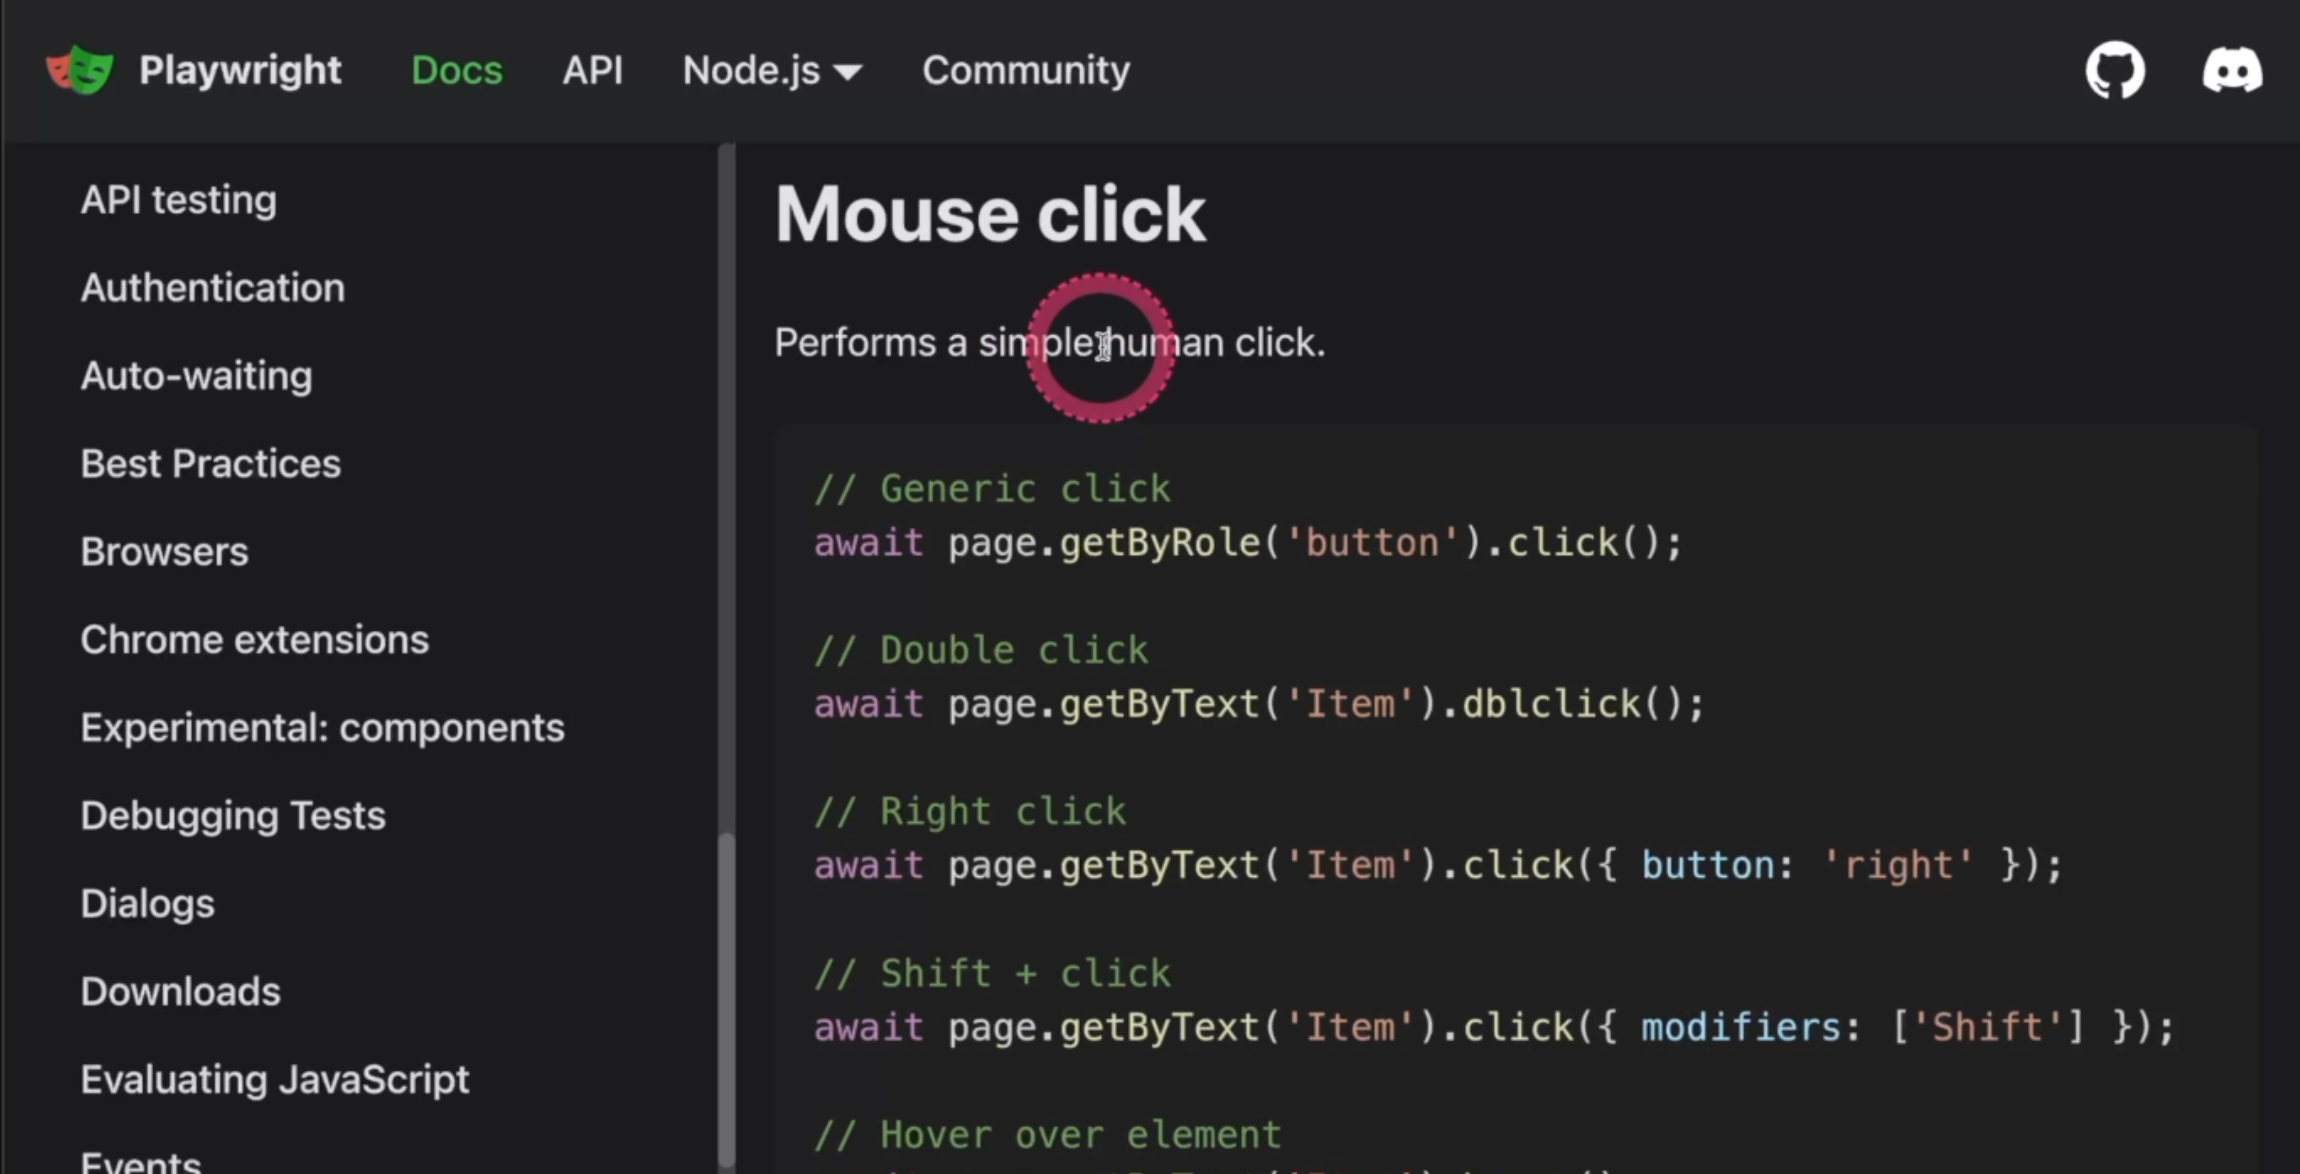
Here are a few options on how to use it with getByRole('button').click().
You can use getByText with double click.
You can also use a right button click with modifiers "Shift" and etc, and you can understand under the hood how exactly this function works, and of course, a few examples.
But let's say I'm interested in something else about the click.
I can come here again, and for example, let's go to the class.
Here you see how it works, the usage of it and the arguments.

You can see, for example, if you want to add a delay to your click, for example, click and hold for a few seconds, that's how to use it.
The search is an excellent tool so make sure you use it for any questions you have for anything related to your coding practices.
# Setting up and Installing Playwright
Now that we already learned how to use the documentation, our next step is to install Playwright. If you are ready, open your Terminal and let the fun begin.
Now that you have your Terminal open, go to the folder of your desire and type:
npm init playwright@latest
This will install the latest version of Playwright.
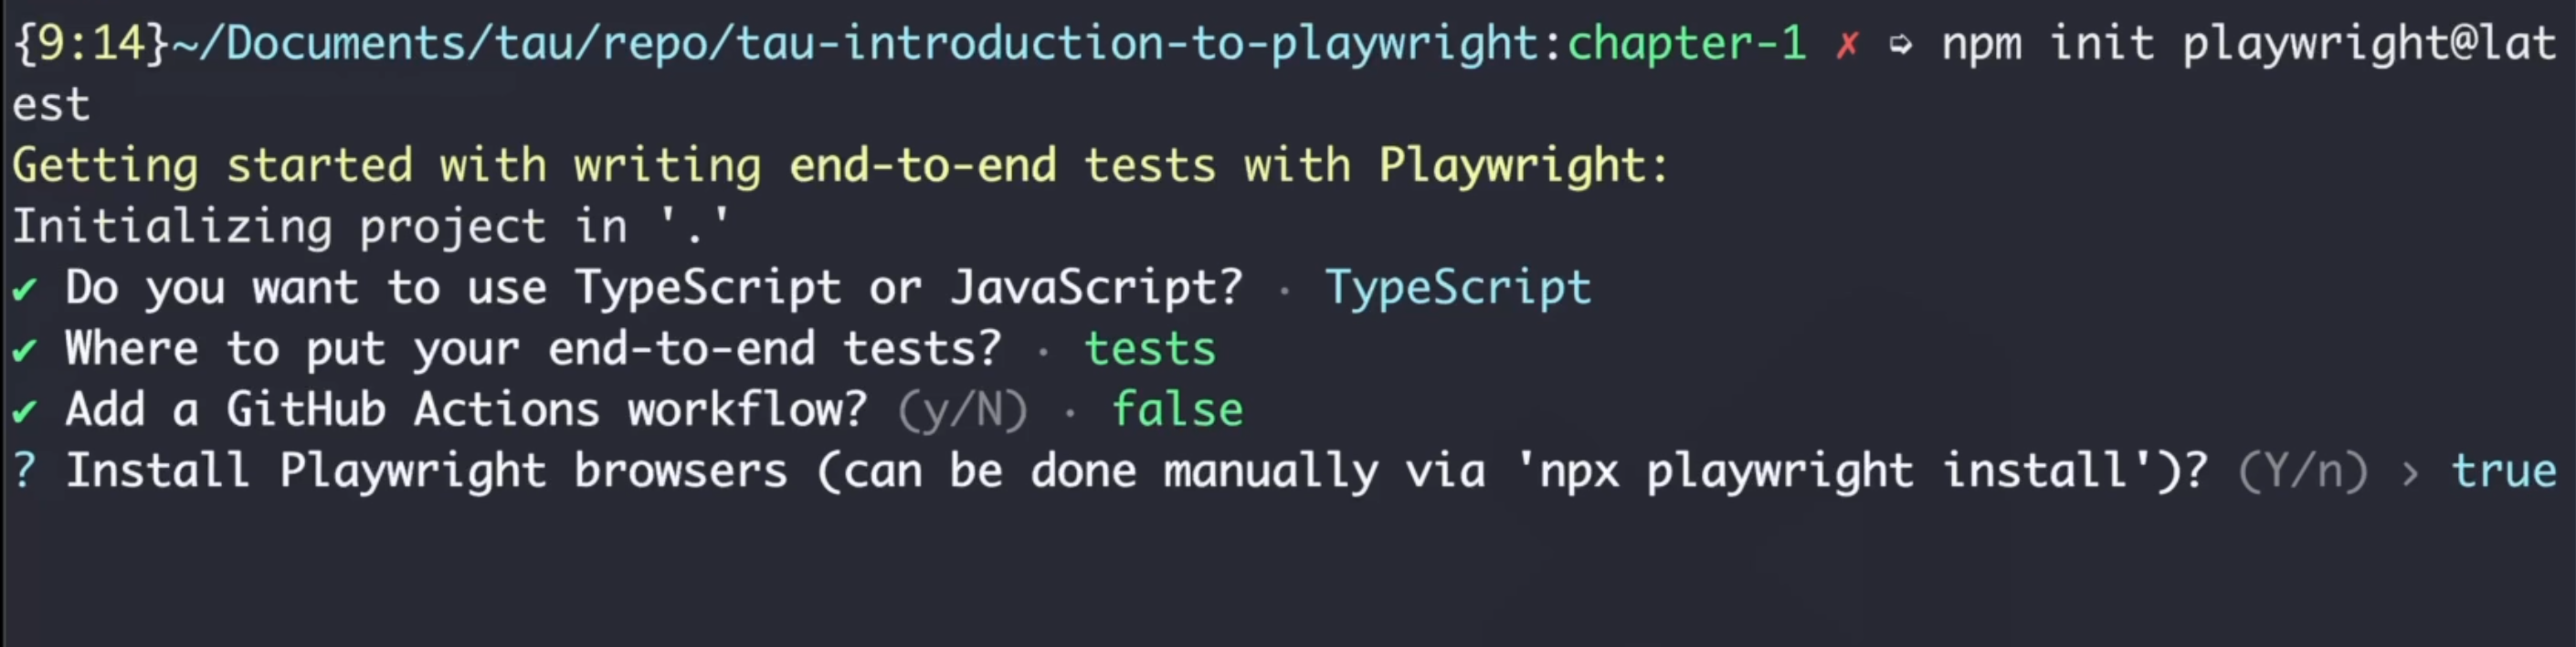
The first question is what language we want to use.
We'll go ahead and hit enter for TypeScript, which is the default one.
The second question is where you put your end-to-end tests.
We'll go ahead and keep the default, which is tests, and hit "Enter".
It asks if you want to add a GitHub Actions workflow. For this training, we are not going through that, so we hit "Enter" one more time for false.
The last question is if you want to install the browsers - we'll go ahead and hit "Enter" one more time for yes.
It will download and install the browsers and Playwright, and at the end you'll see a success message.
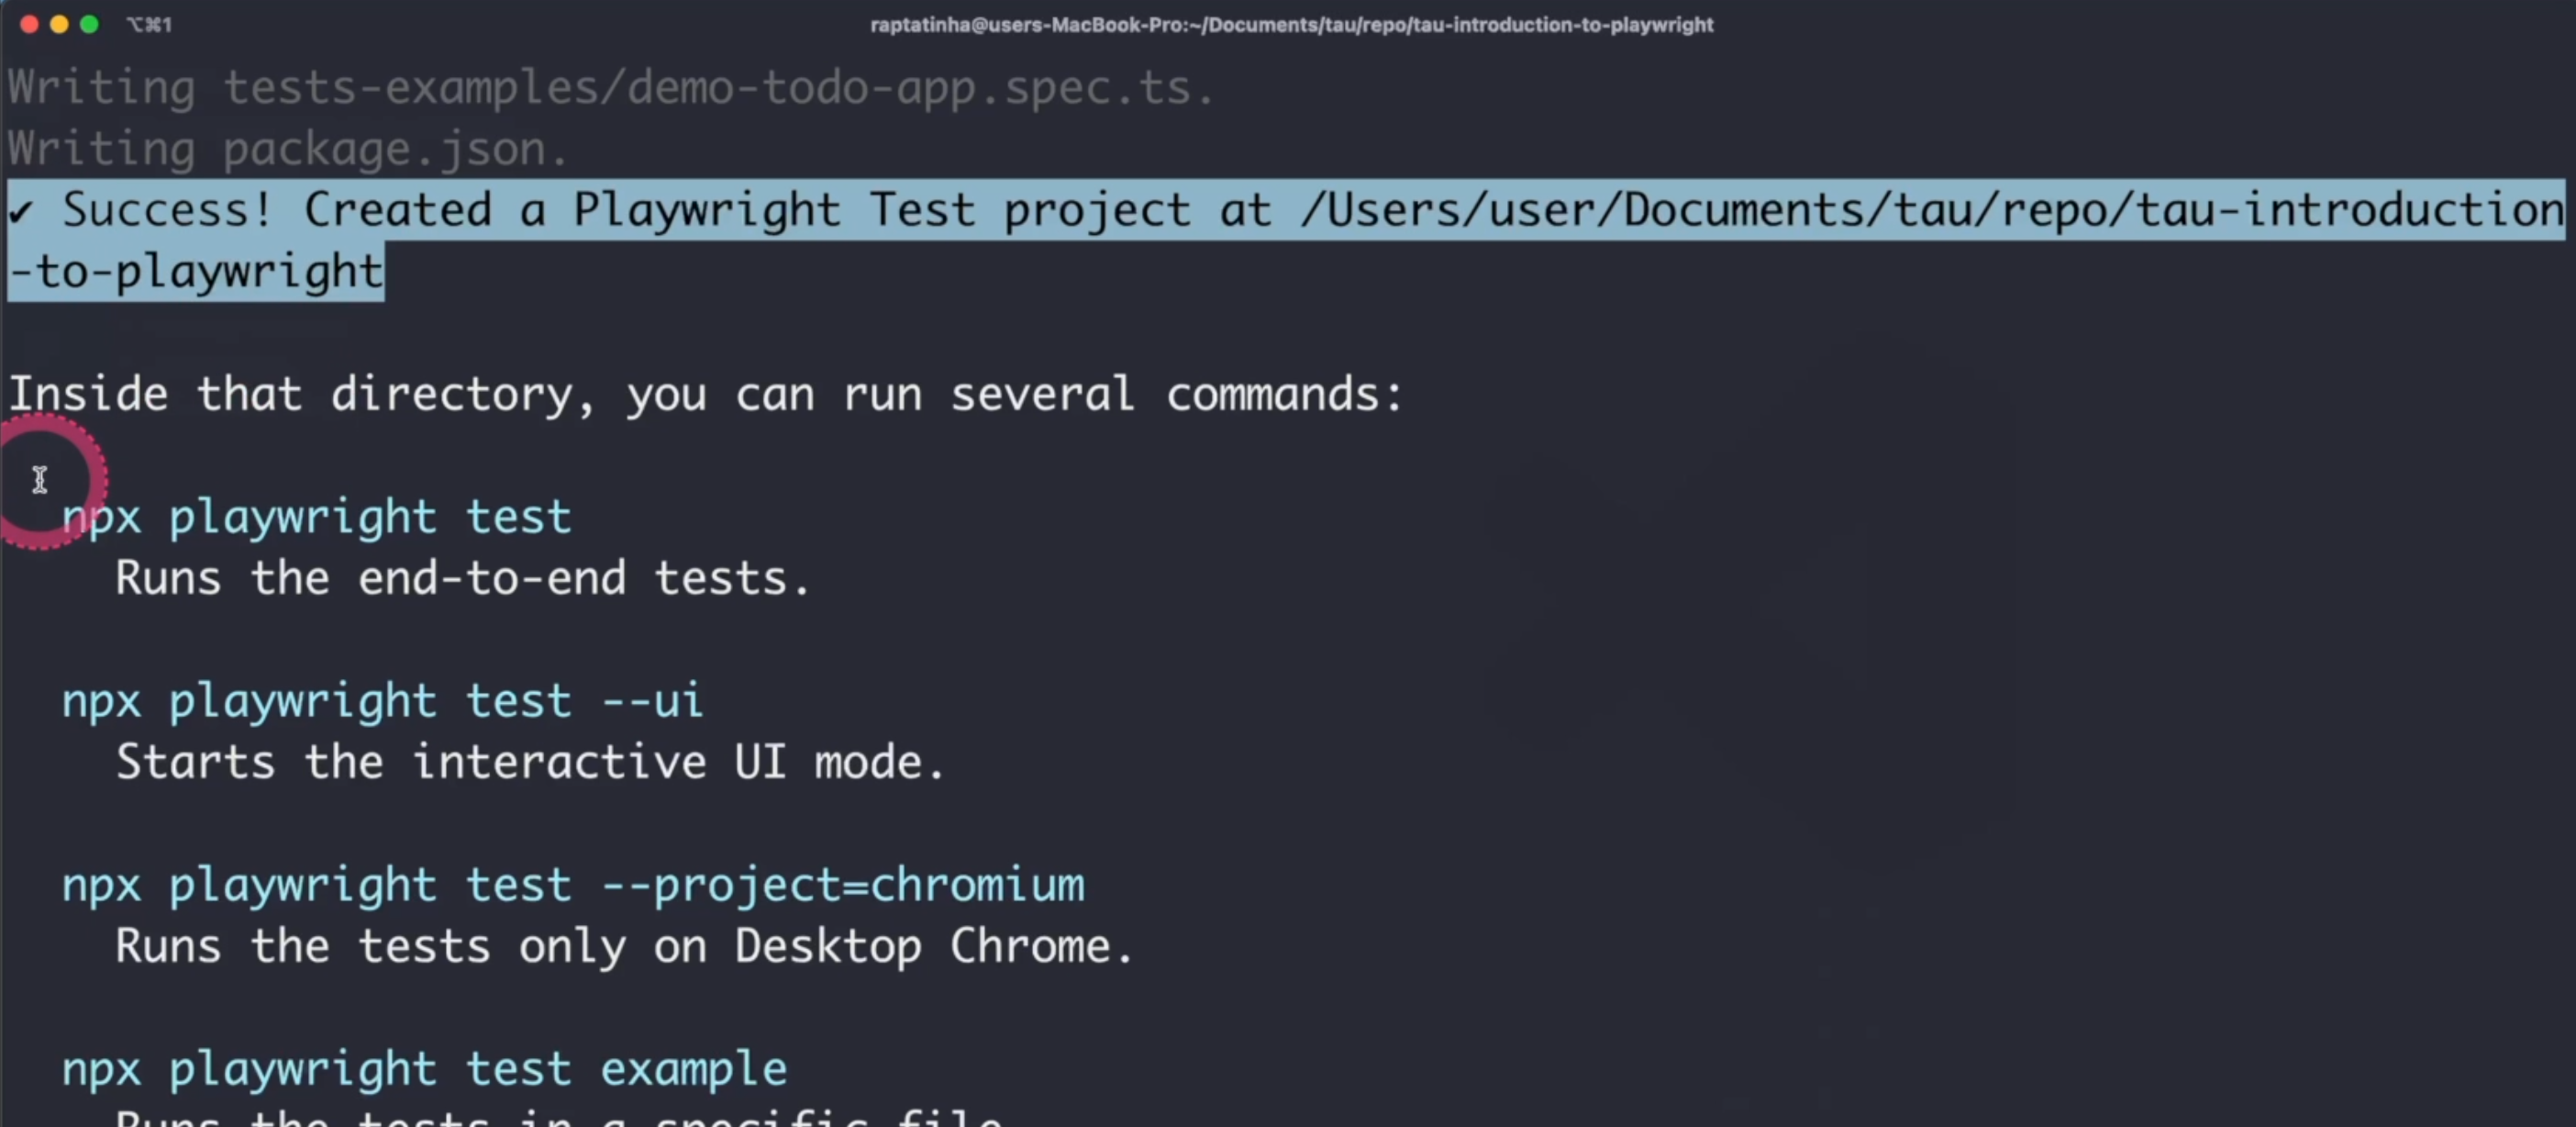
Next, you see a few useful commands. For example, if you want to run the test, you can type npx playwright test.
That will run the test that you added to your project.
It creates by default a few files as examples that we can take a look at later, and also it links you to the documentation one more time.
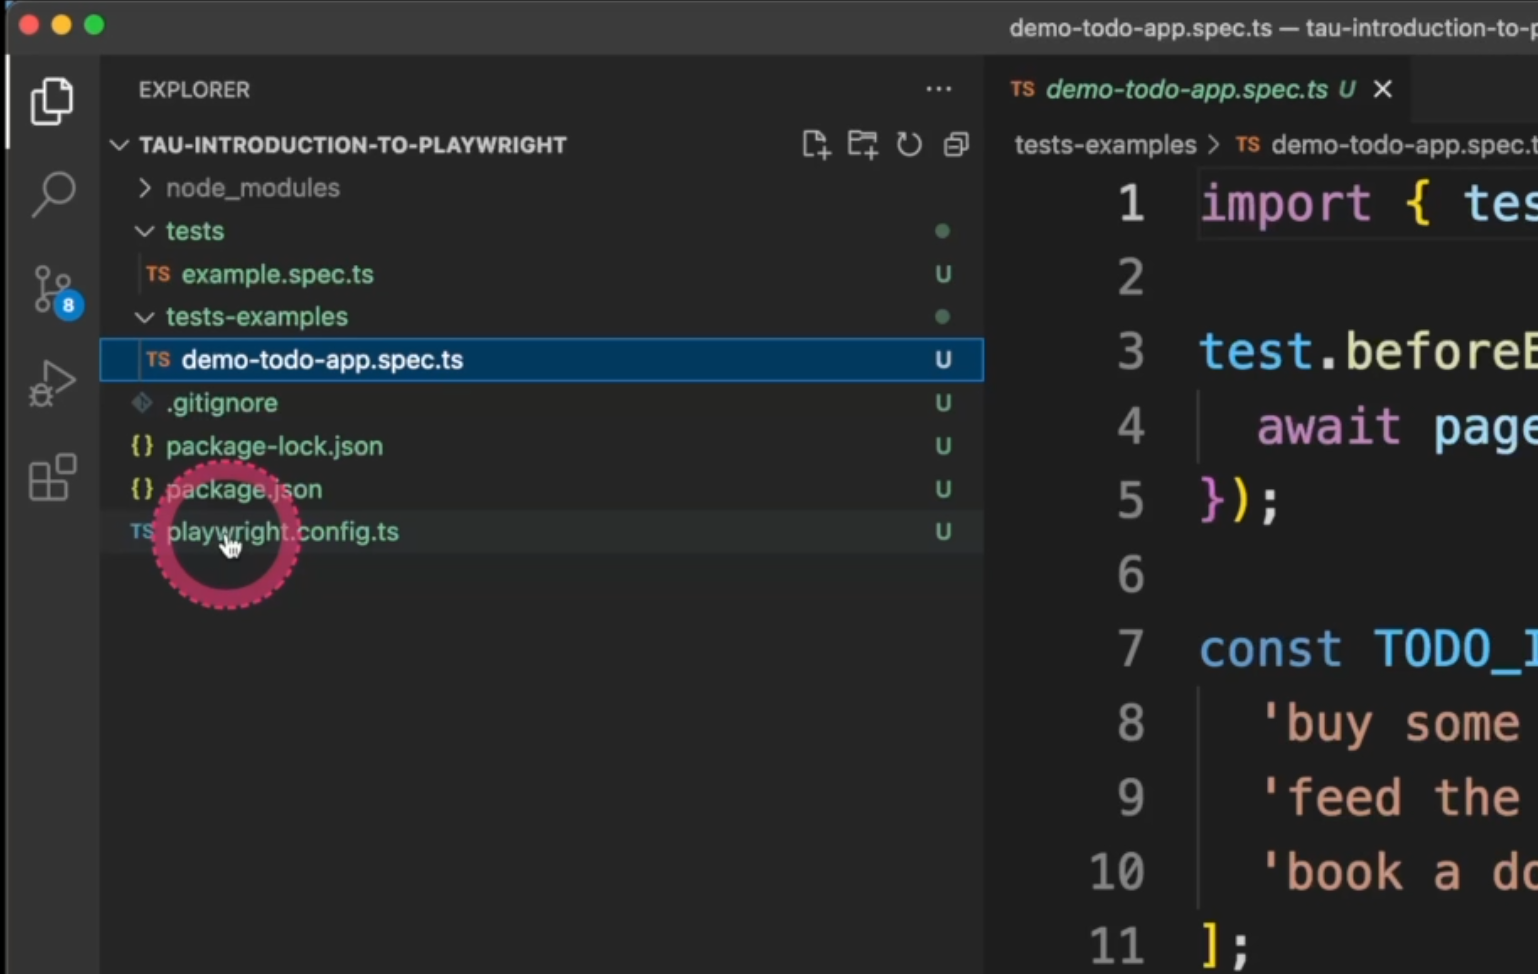
Now that we have Playwright installed, let's go ahead and open the IDE.
We are going to type code . in the Terminal and VS Code is going to open for us.
Here we can see that some folders were created. We have an example file here, and another example here, and a few other files.
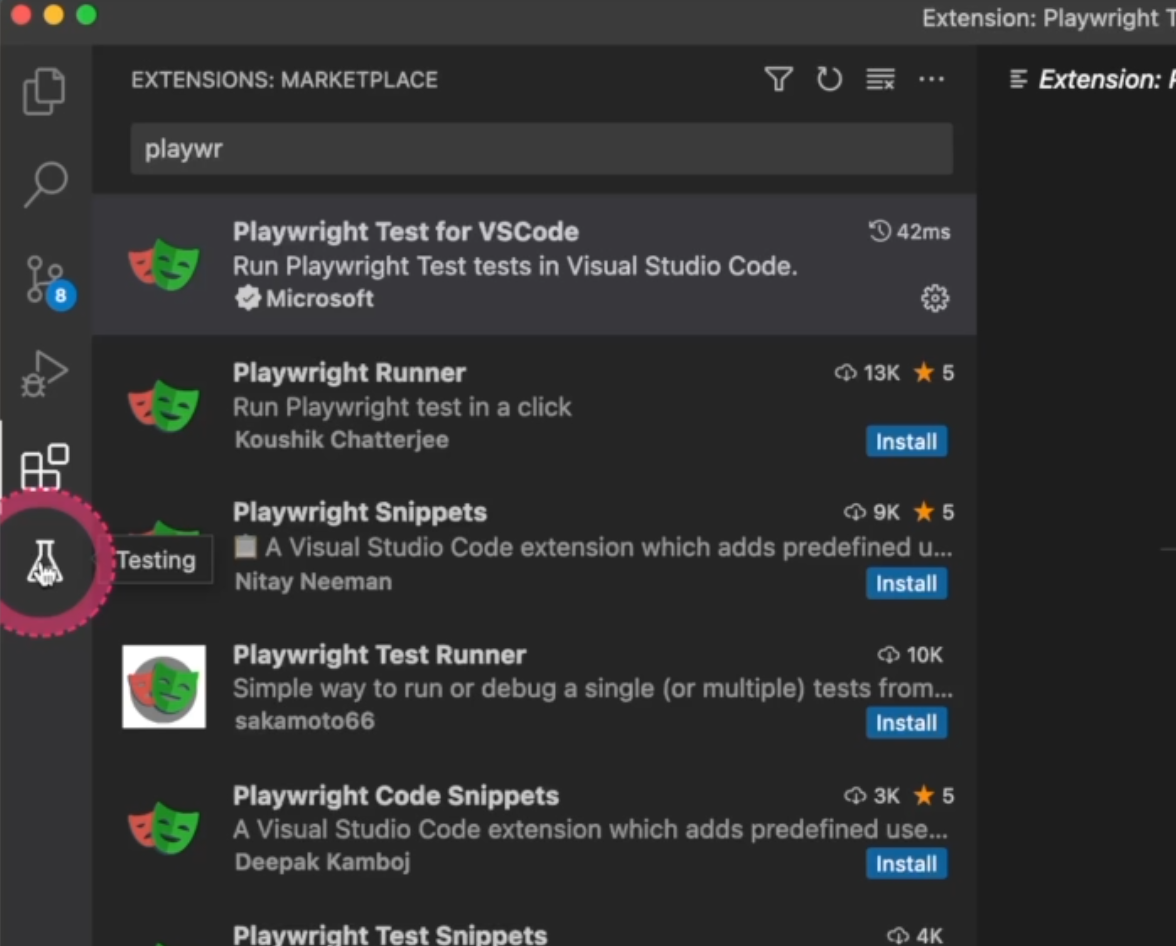
We are going to see more about them in a little bit, but for now, let's go ahead and go to the "Extensions" tab and type "playwright".
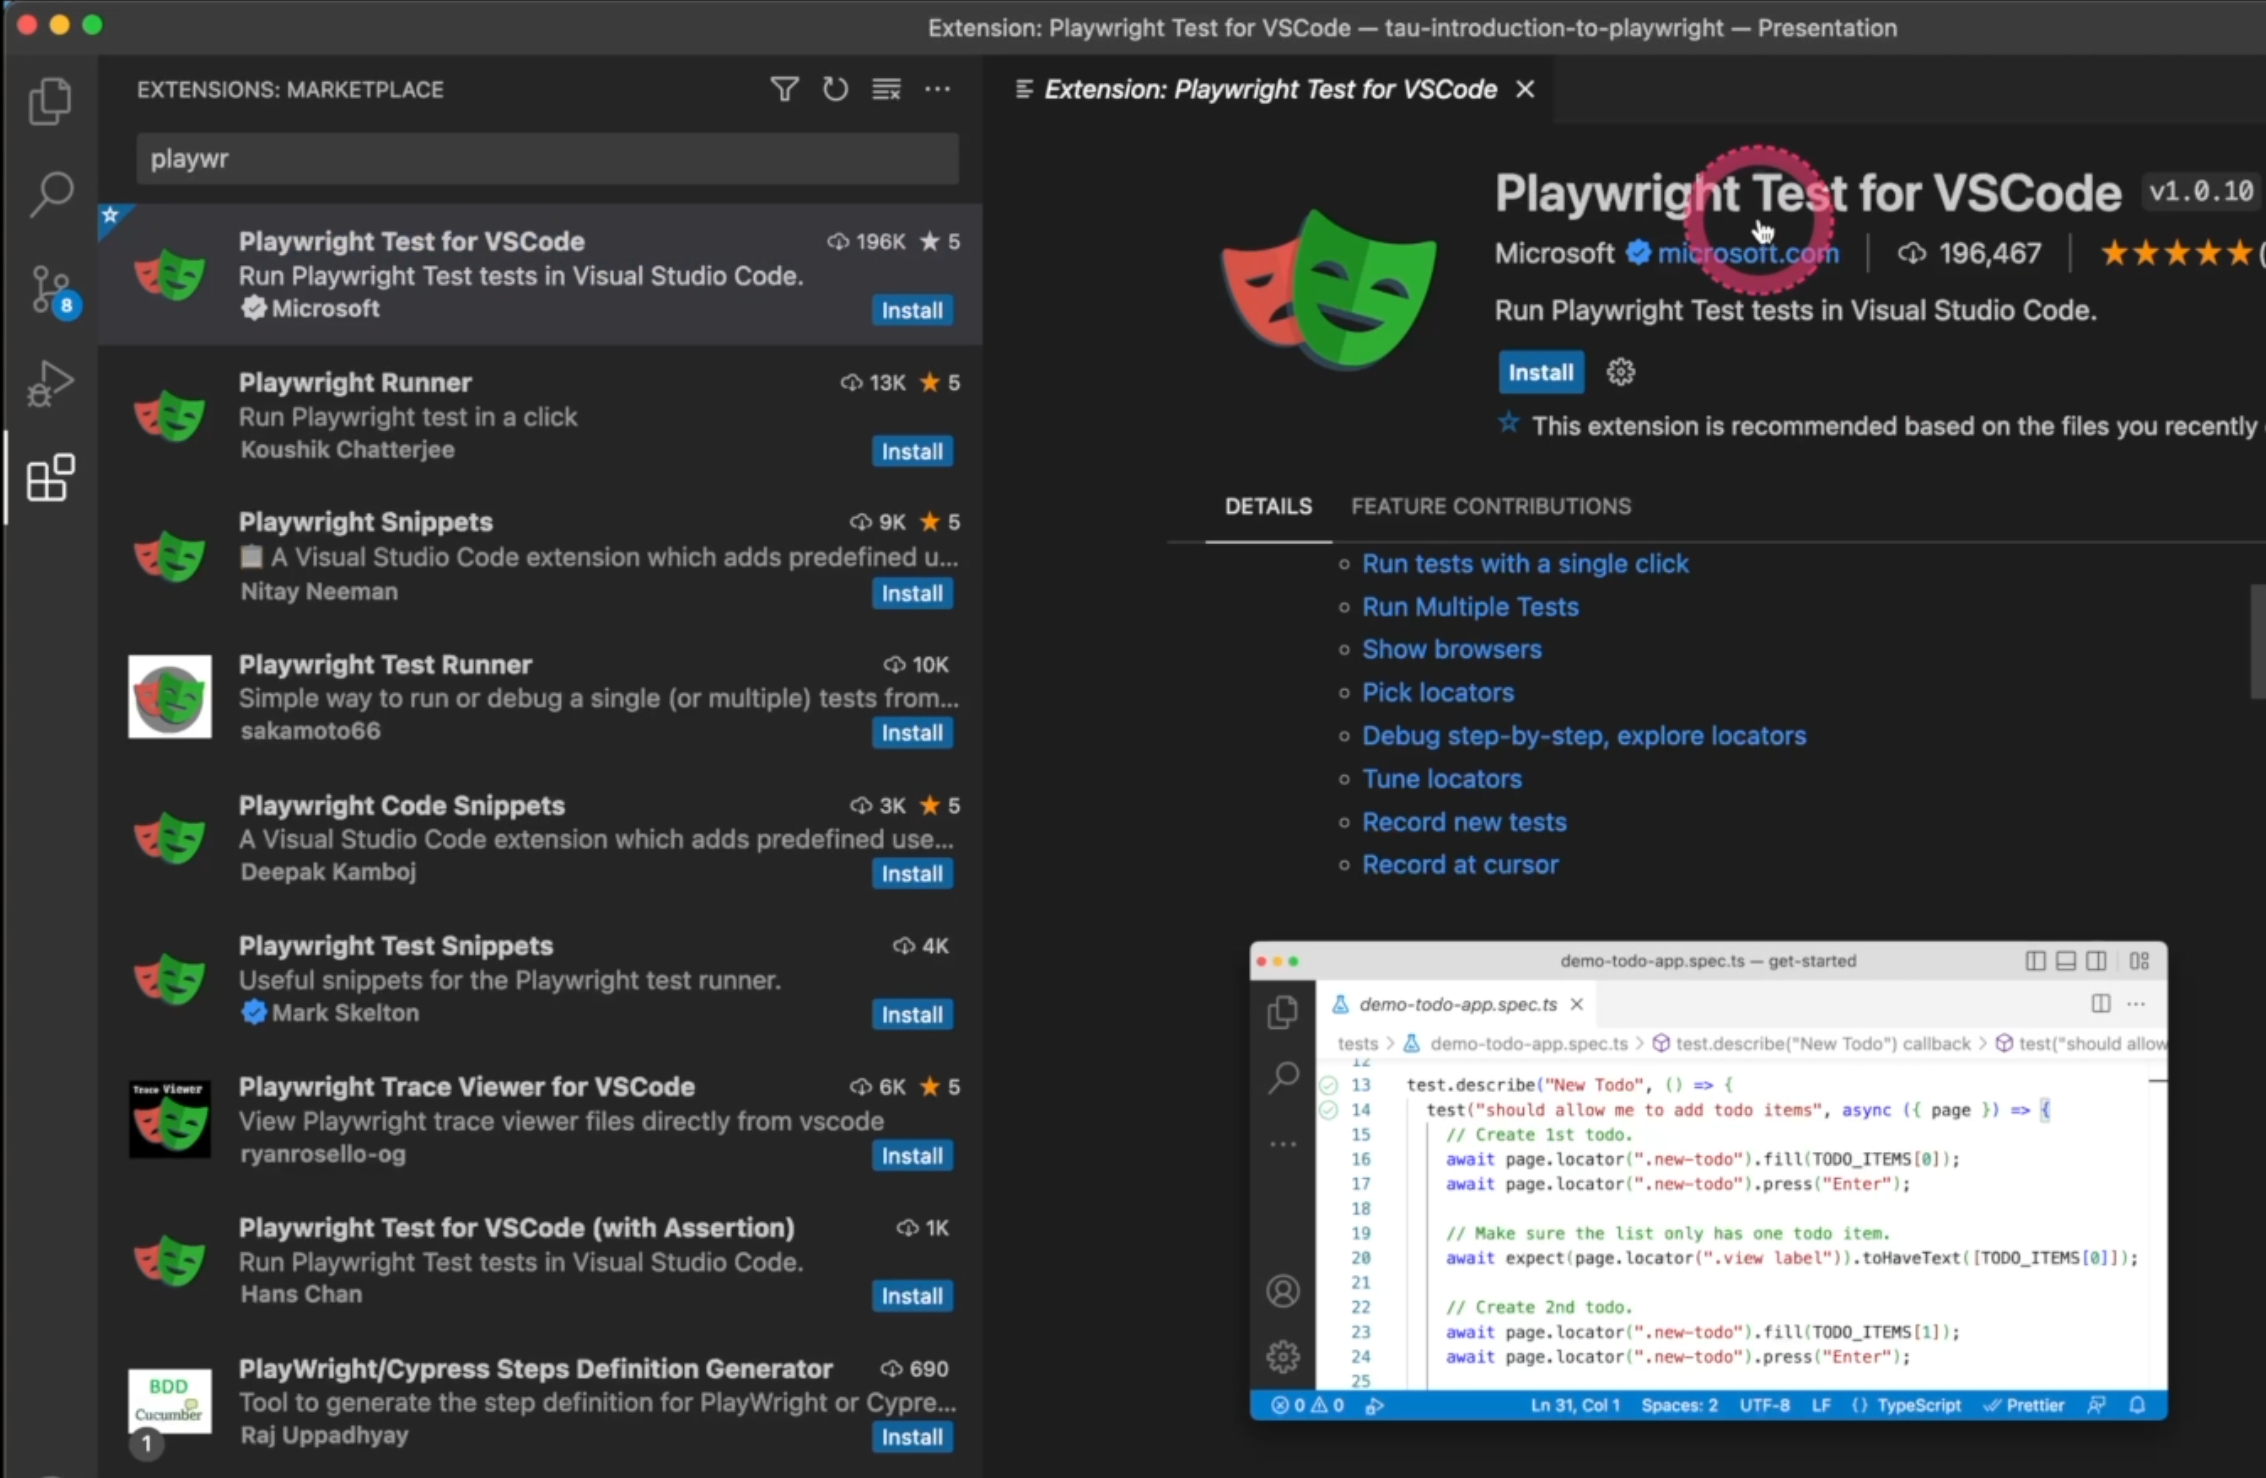
There are few options available - let's make sure we select the one from Microsoft.
Here you can see the details about the extension and let's go ahead and install it.
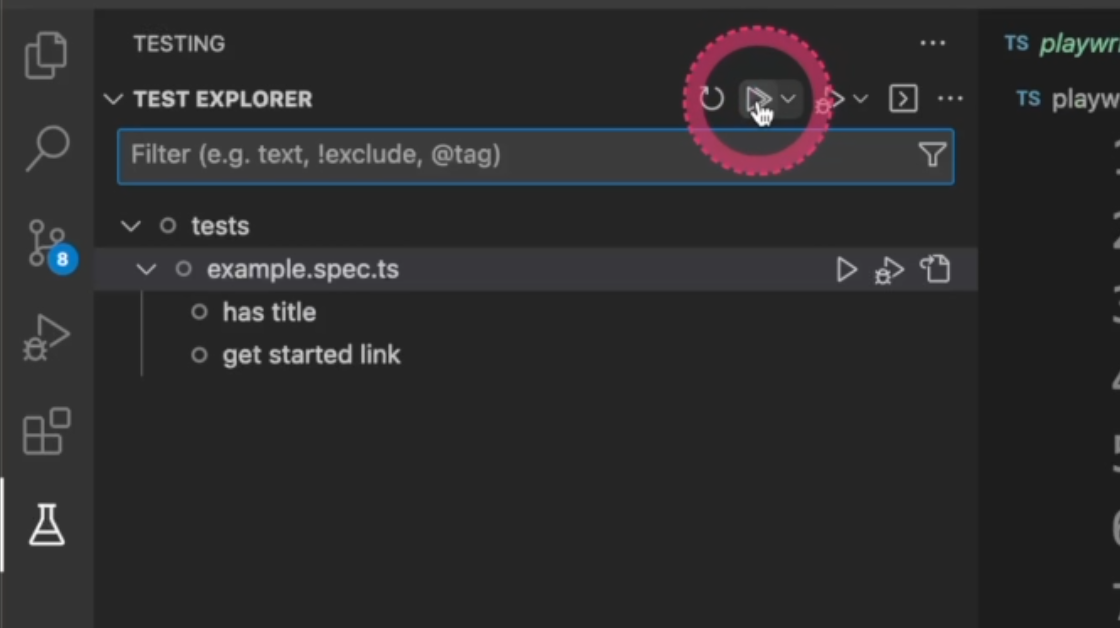
Once installed, we are going to see the icon on the left side.
We can come here, and you notice a few options. You can run all the tests through this menu.

And there are a few other options - you can filter the list of tests available for this project.
One thing that is important to notice is, all the tests that are going to be displayed here will be linked to the test directory listed here in this Playwright config file.
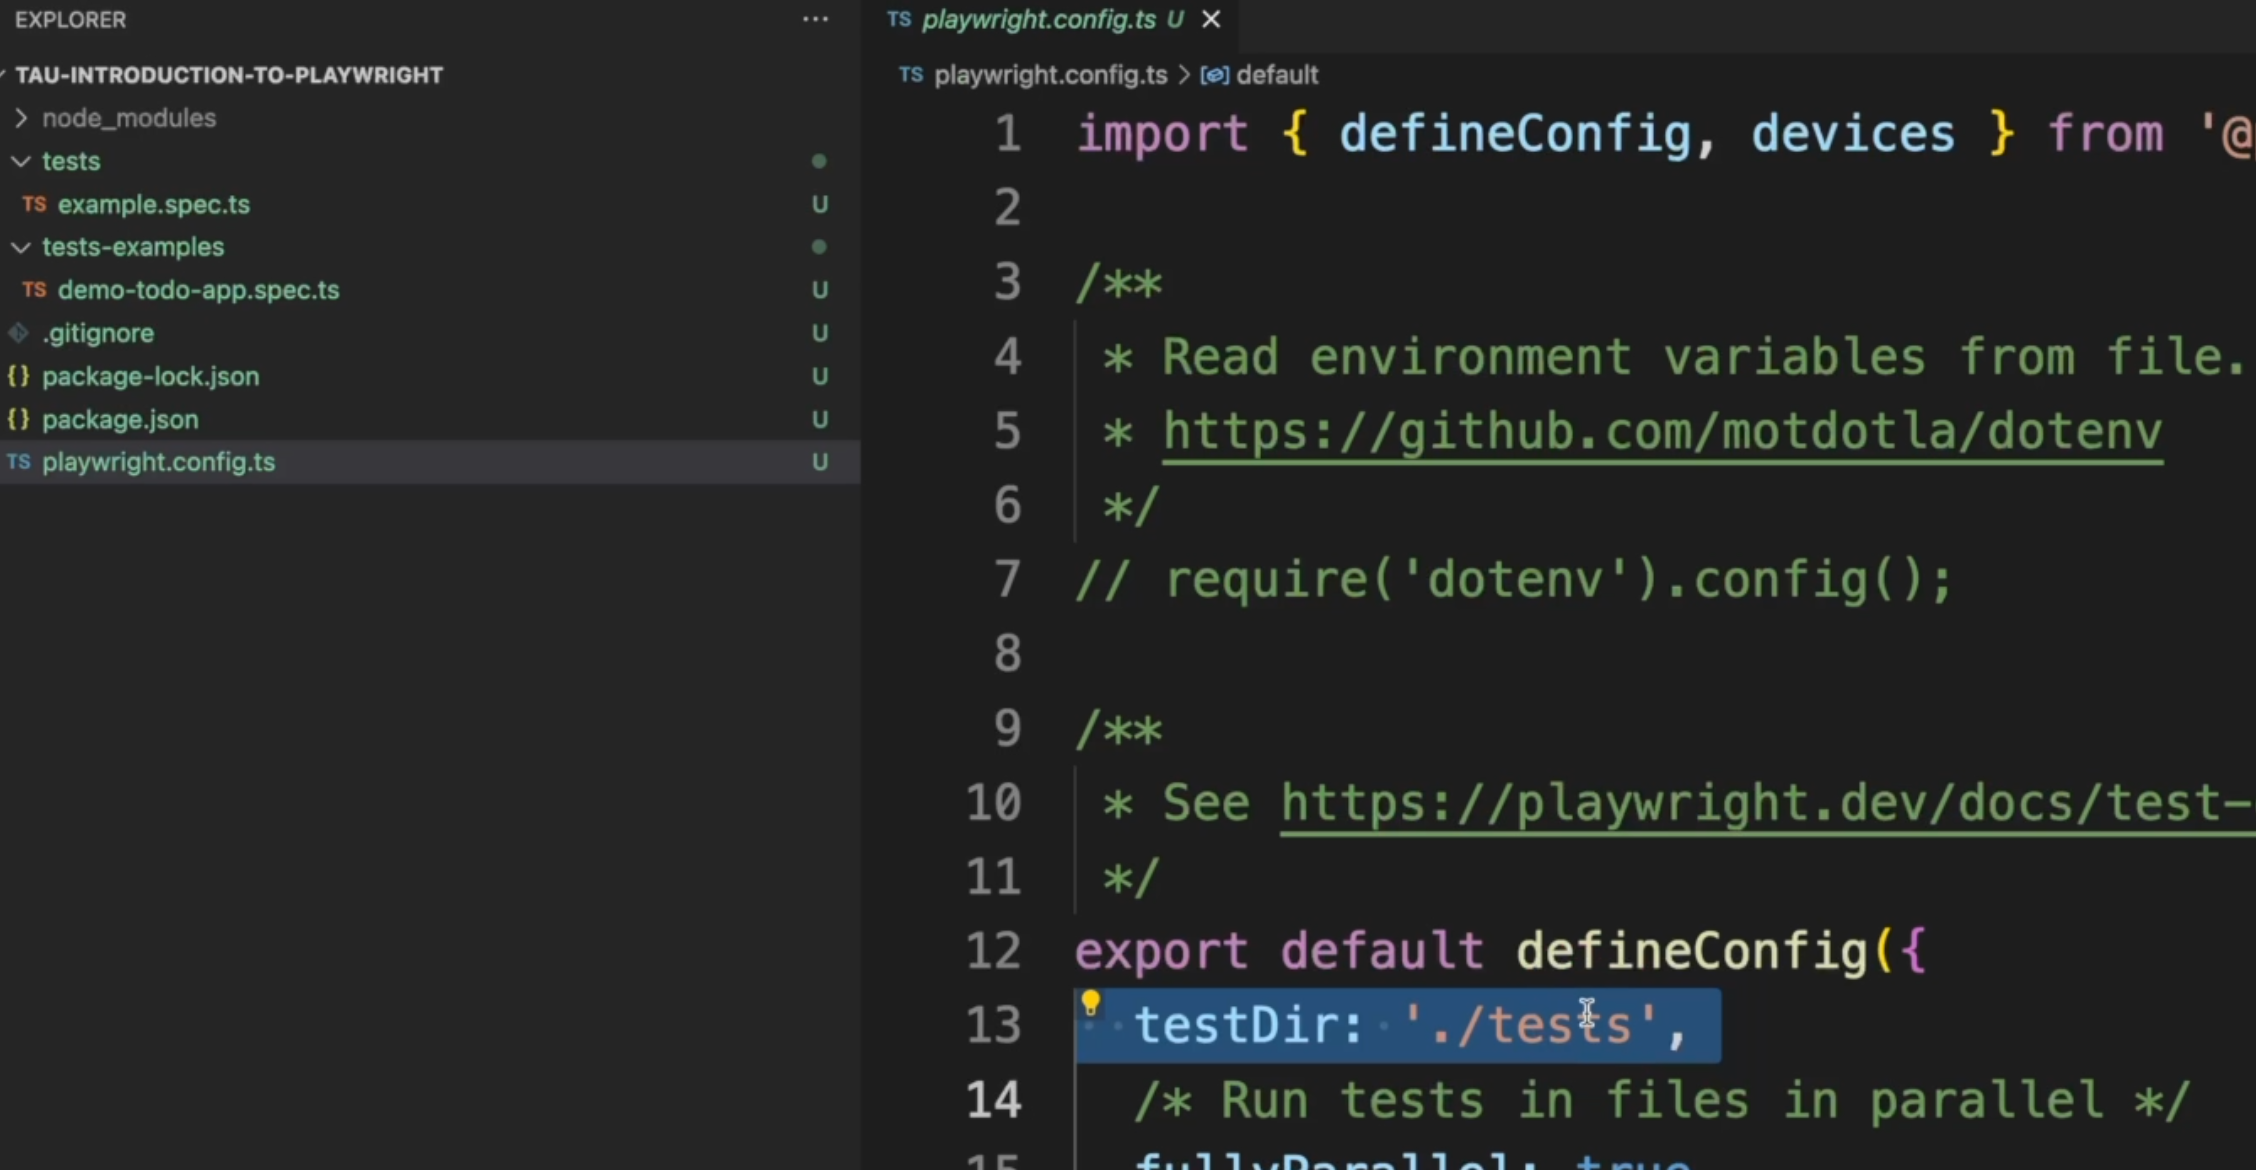
Make sure, if you want to see your tests there, that this folder is up-to-date, or make sure your tests are under this folder.
For now, let's go ahead and run the tests by clicking on this button and you see that the test will be executed.
Another way of executing the test is by going to the Terminal which you can enable by clicking on this icon or using these commands.
Here you can type:
npx playwright test
The test will run as well. In this case, we are running it through the Terminal.
You can also use your normal Terminal like this one, and you see the results here.
If you want to open the report, you can easily type this command, and a browser will open with the results.

Again, we'll see more details about them, but it's just to give you an idea of what Playwright can do for now.
Congratulations. We've made it to the end of chapter one.
Good luck with the quiz down below, and don't forget to take a look at the extra exercises as well.
I'll see you in the next chapter. Happy testing.
Resources
- Playwright website
- Introduction to Playwright - GitHub repository - Branch 1
- Chapter 1 - Extra Exercises
- Chapter 1 - Extra Resources
