Transcripted Summary
Hello everyone, and welcome to the API Test Automation with Postman course.
This chapter is split into three parts.
Firstly we'll Install and Setup Postman.
Then, we'll take a short tour of the platform's key features so you know where everything is.
Finally, we'll show you how to import a suite of API test cases and run them as automated tests through the in-built collection runner.
Sounds good?
# Install & Setup
First things first, where does Postman live and how can we quickly get it up and running if we've never used it before?
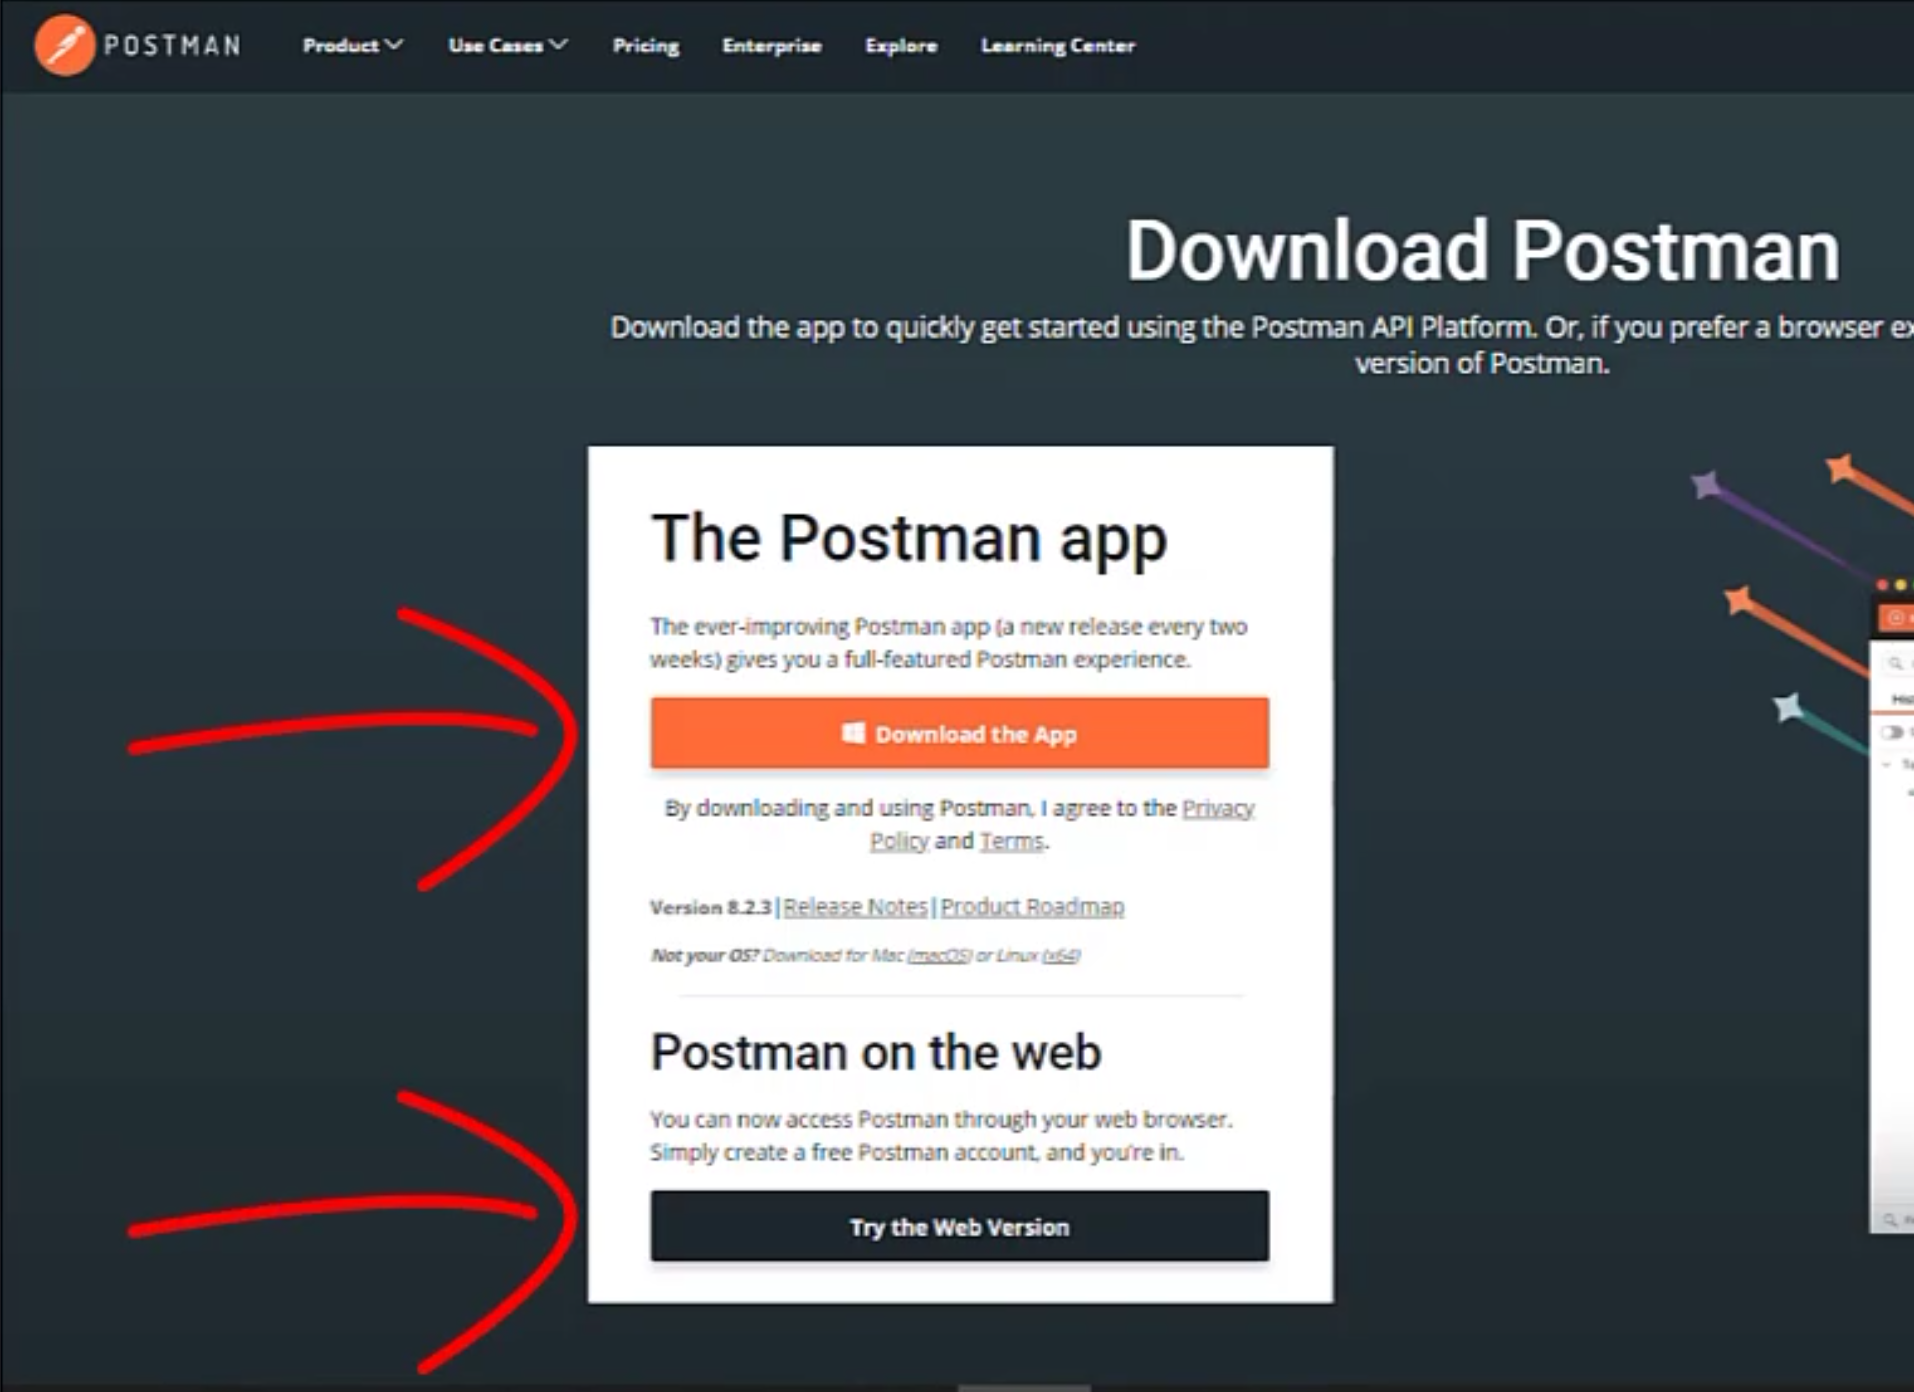
Let's go to postman.com/downloads.
You can see here a link to both the desktop and the web versions.

Note the look and feel of this page can change over time, so it might look a little different to you, but you should always be able to select the version of postman that you want.
We're going to download the app.
I'm using a Windows machine, but as you can see, there are also Mac and Linux options.
I'm going to download the version that I need.
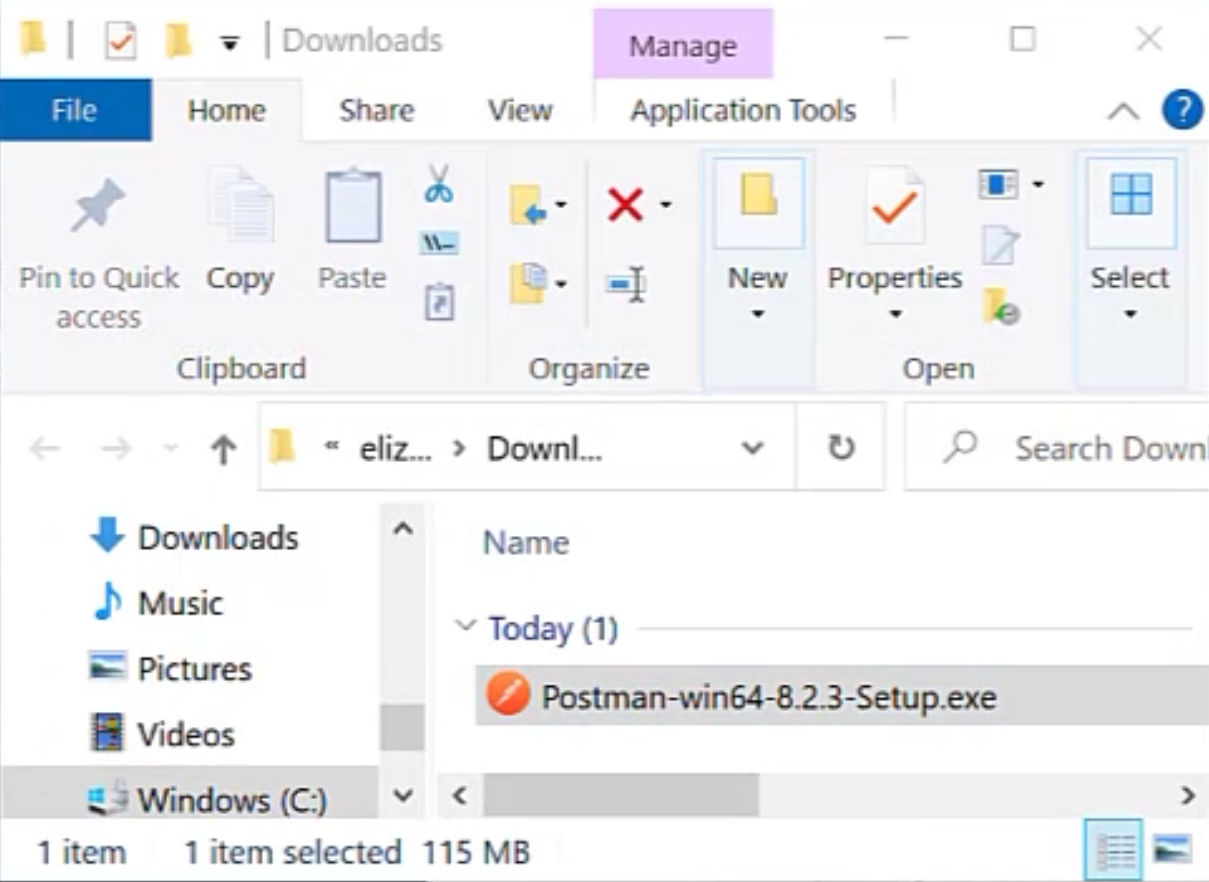
I'll then open the folder that's been downloaded and run that exe.

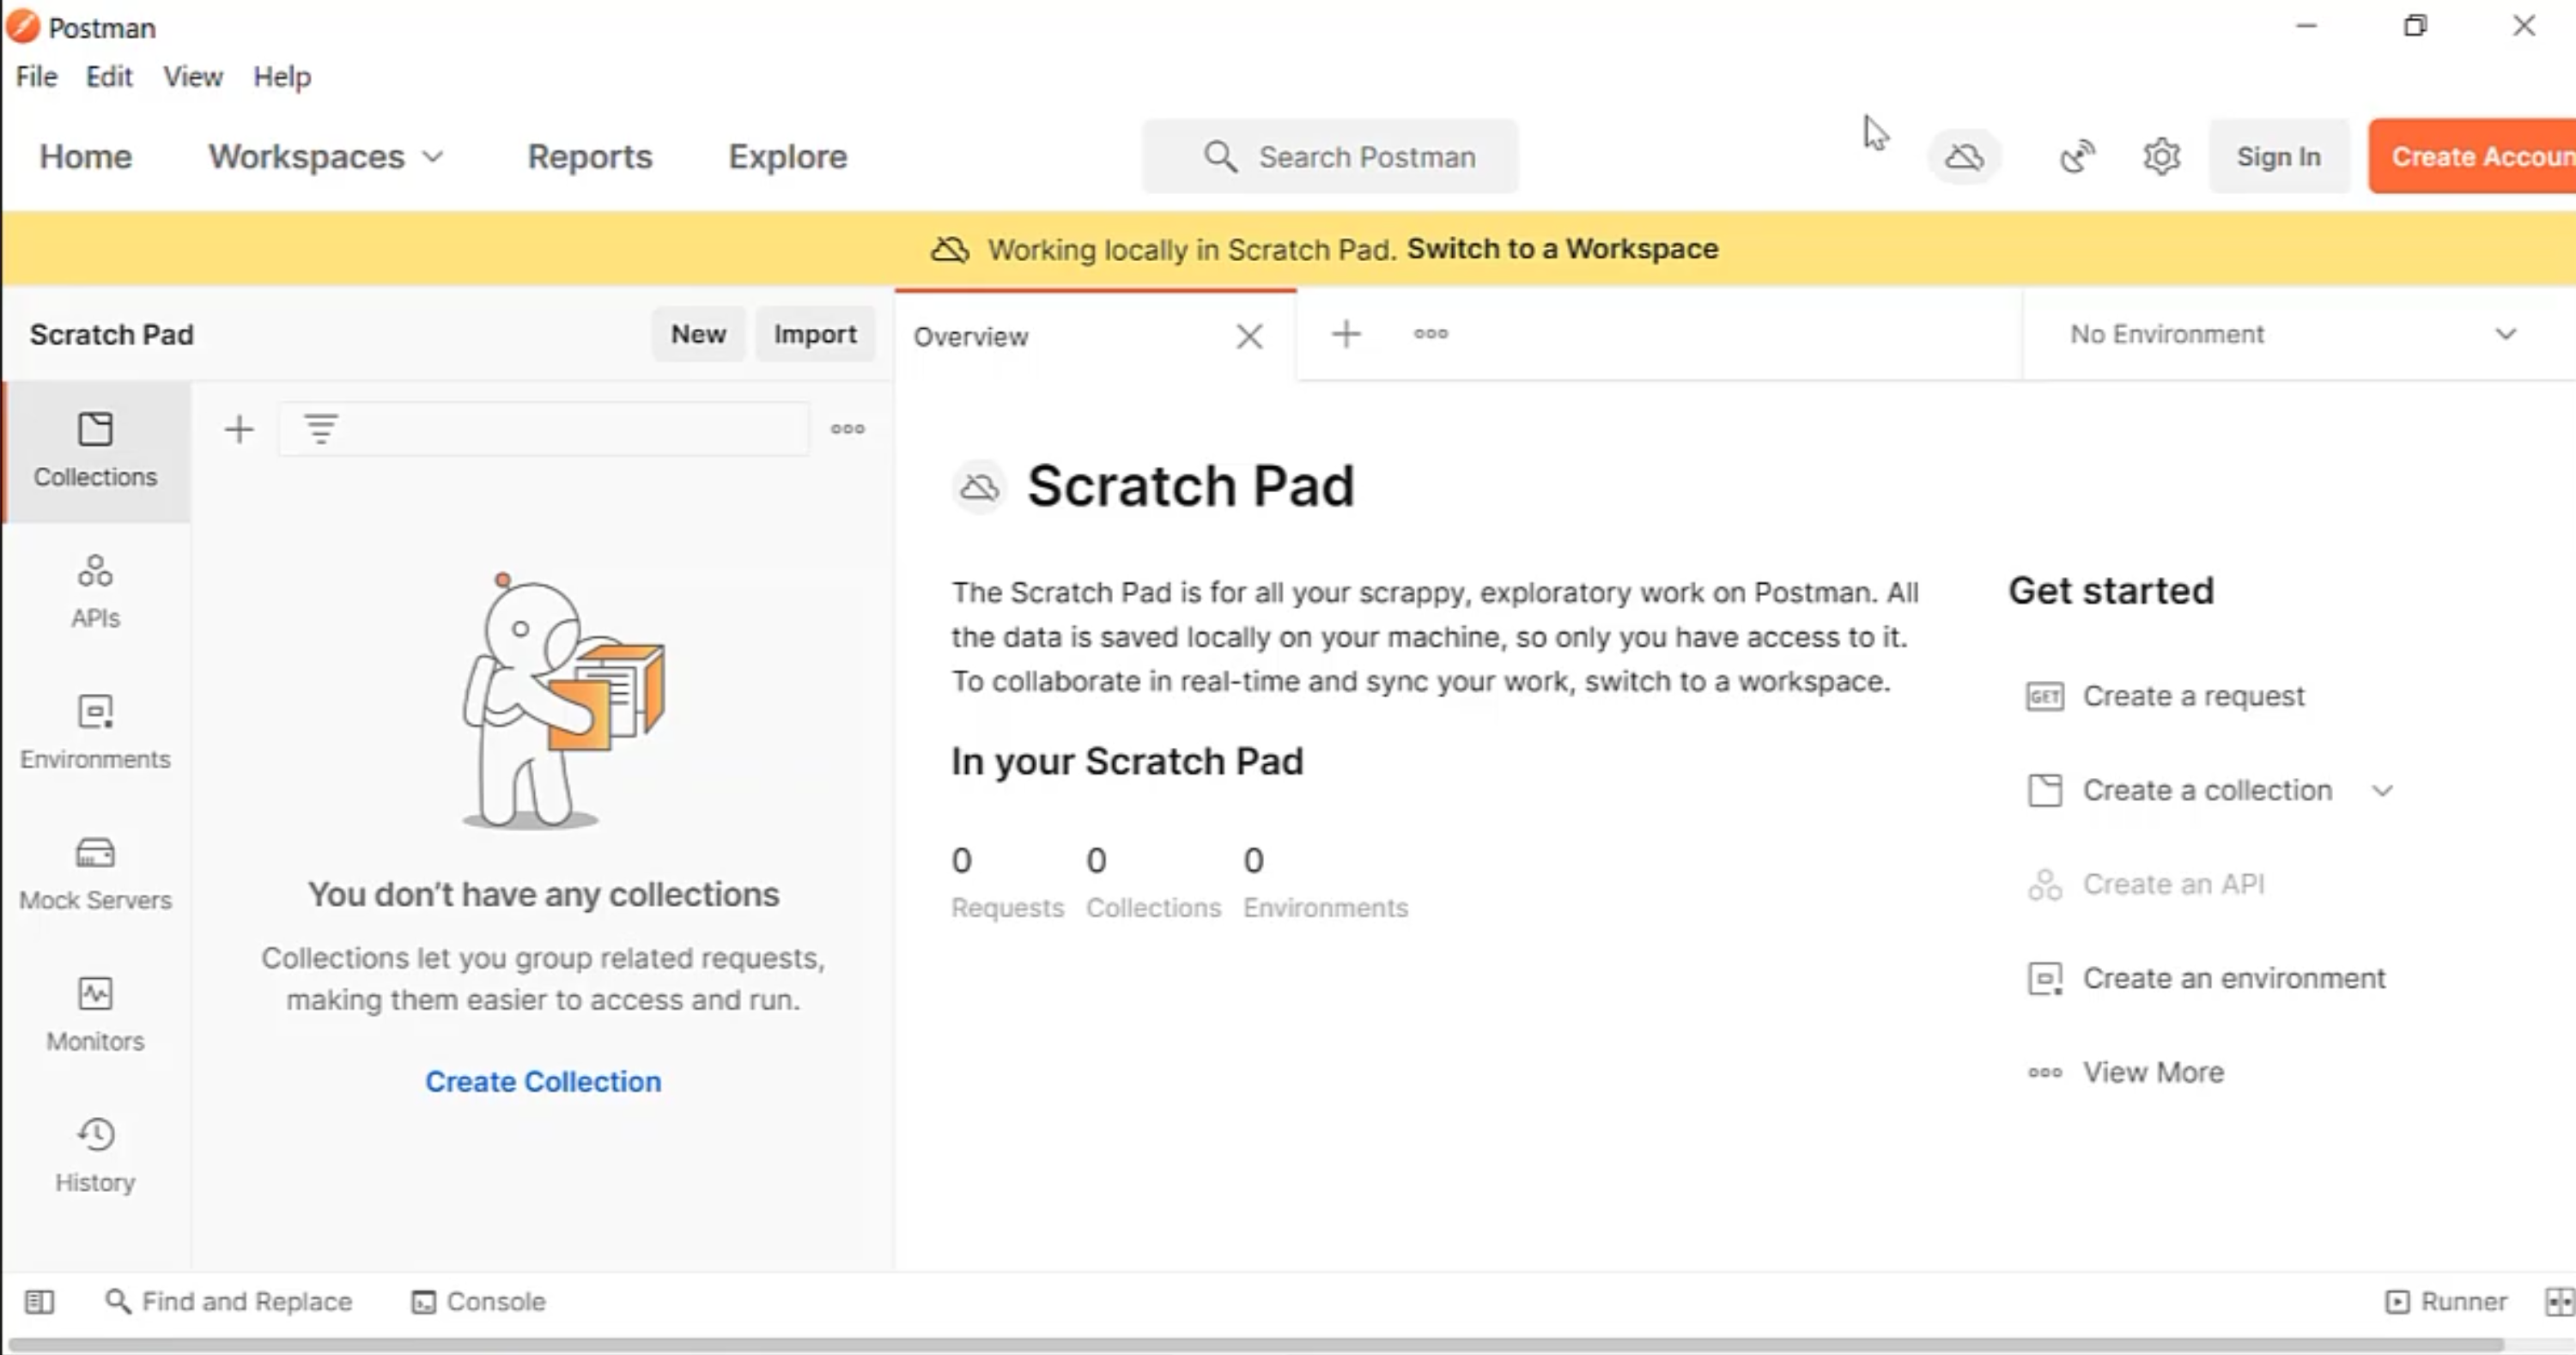
The app opens up in the scratch environment.

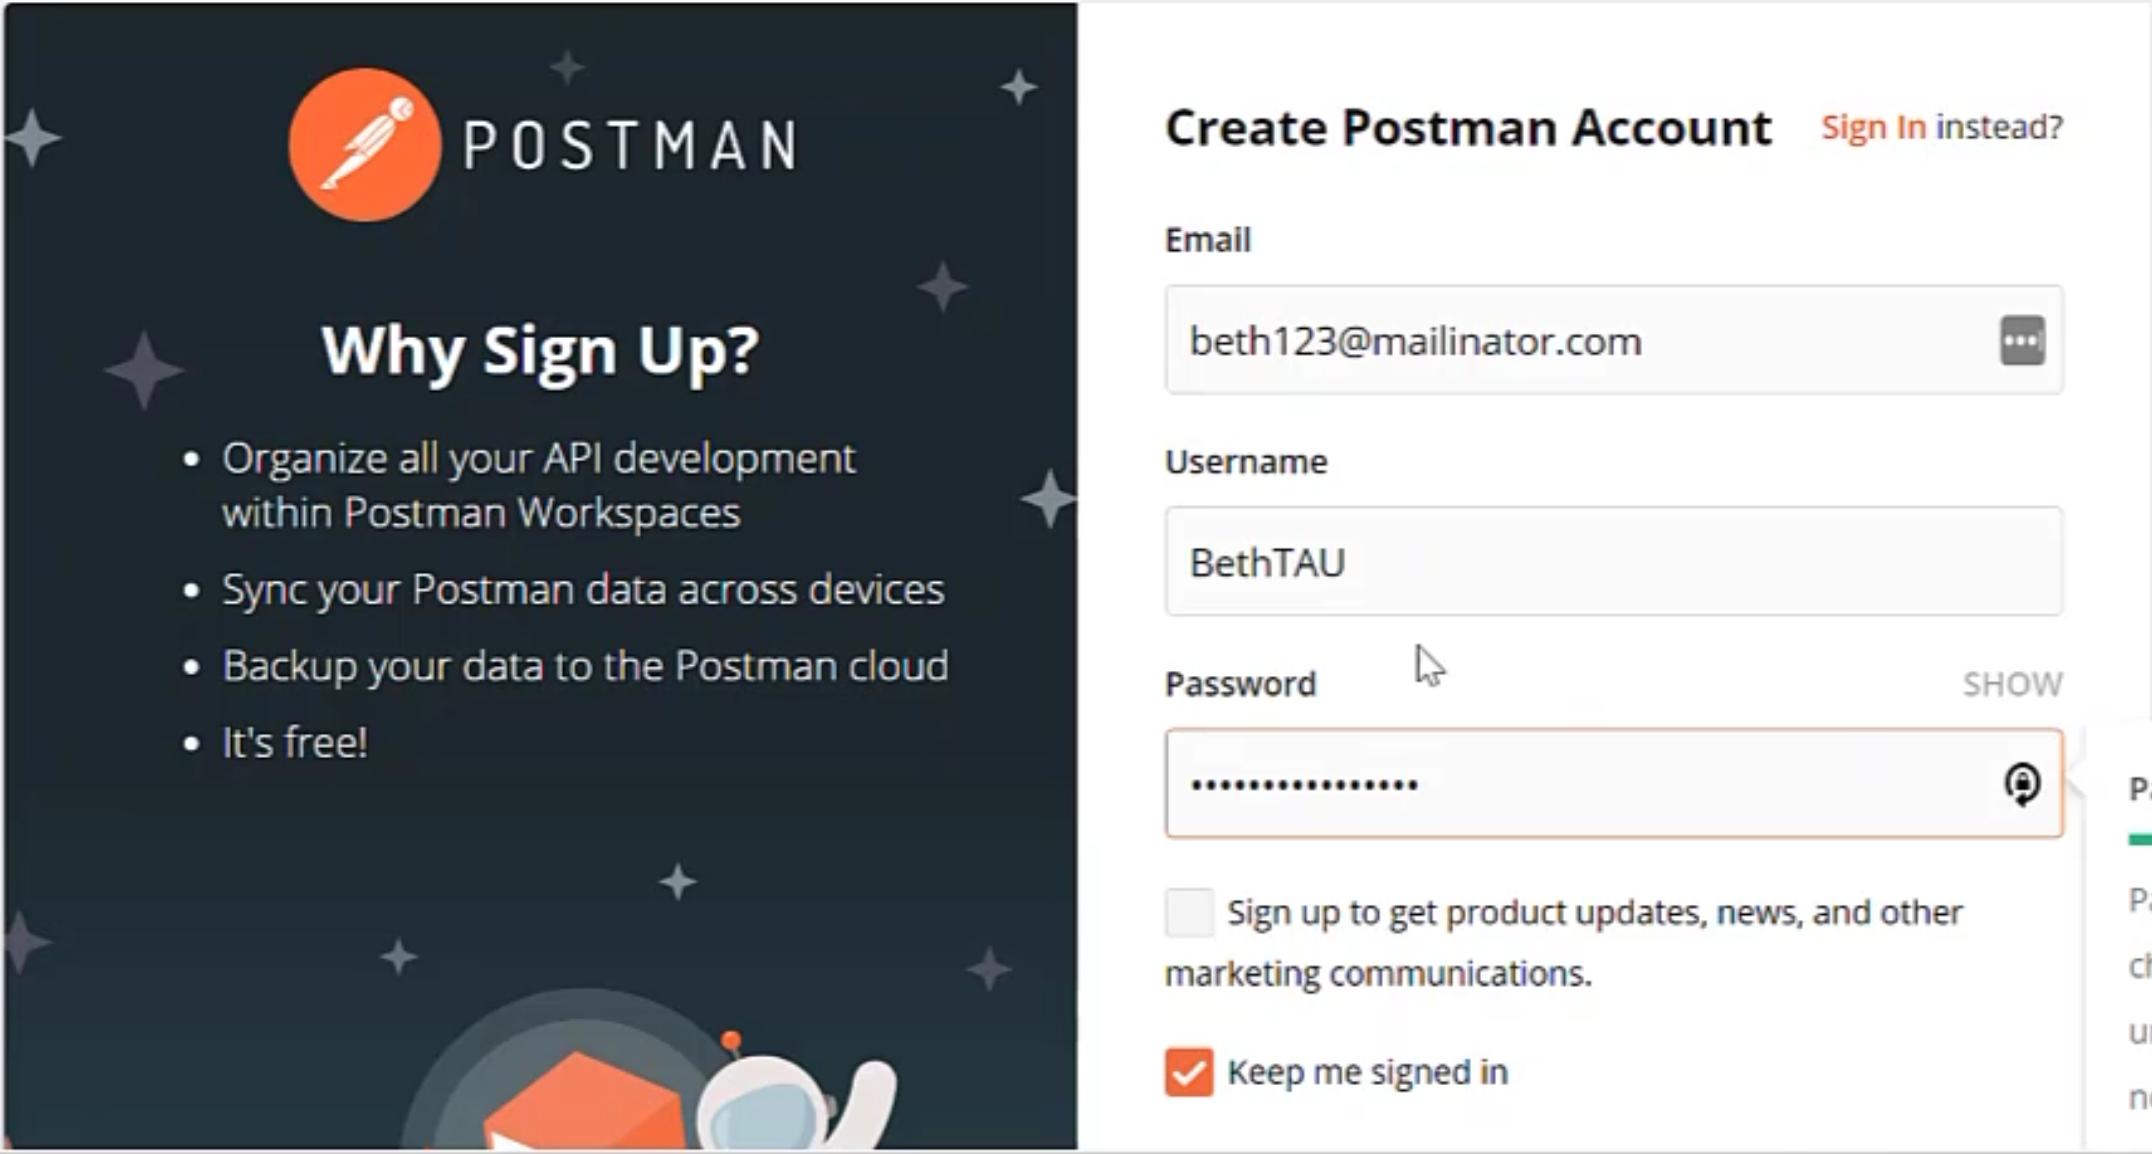
This is fine for some basic things, but because we'd like to explore teamwork spaces and other features later on in the course, we'll go ahead and create an account by filling in the information.
Add in your email address, your username and a secure password, or you can log in via Google.

Hit the "Create free account" button and you're good to go.
Let's open up the app and you're logged in.
Select your name for now and press "Continue".
We're going to look at team workspaces later in the course so for now, we'll just "Continue without a team".
So, there we have it - Postman's now fully installed on our desktop app and ready to be explored.
Resources
Quiz
The quiz for this chapter can be found in Chapter 1.3
