Transcripted Summary
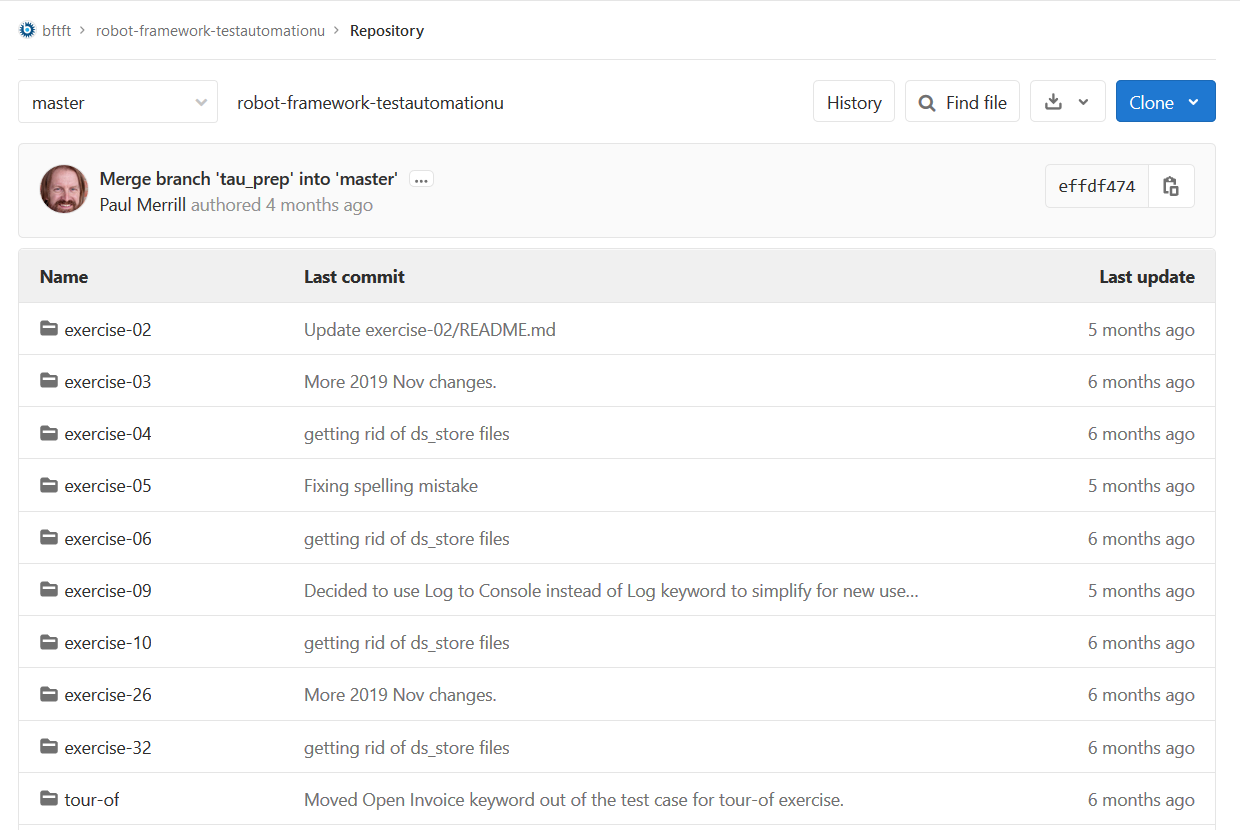
As I mentioned, make sure to download or clone the repository.
We'll be using the tour-of exercise for this chapter. Each exercise in this repository has its own directory.

You'll notice one named “tour-of”. You'll also see this locally on your machine when you open up the command line (if you cloned the repo). I'm using DOS.
We'll be using the command line quite a bit with Robot Framework. If you need a cheat sheet for DOS or for Linux, take a look at the beaufortfairmont.com website and download one.
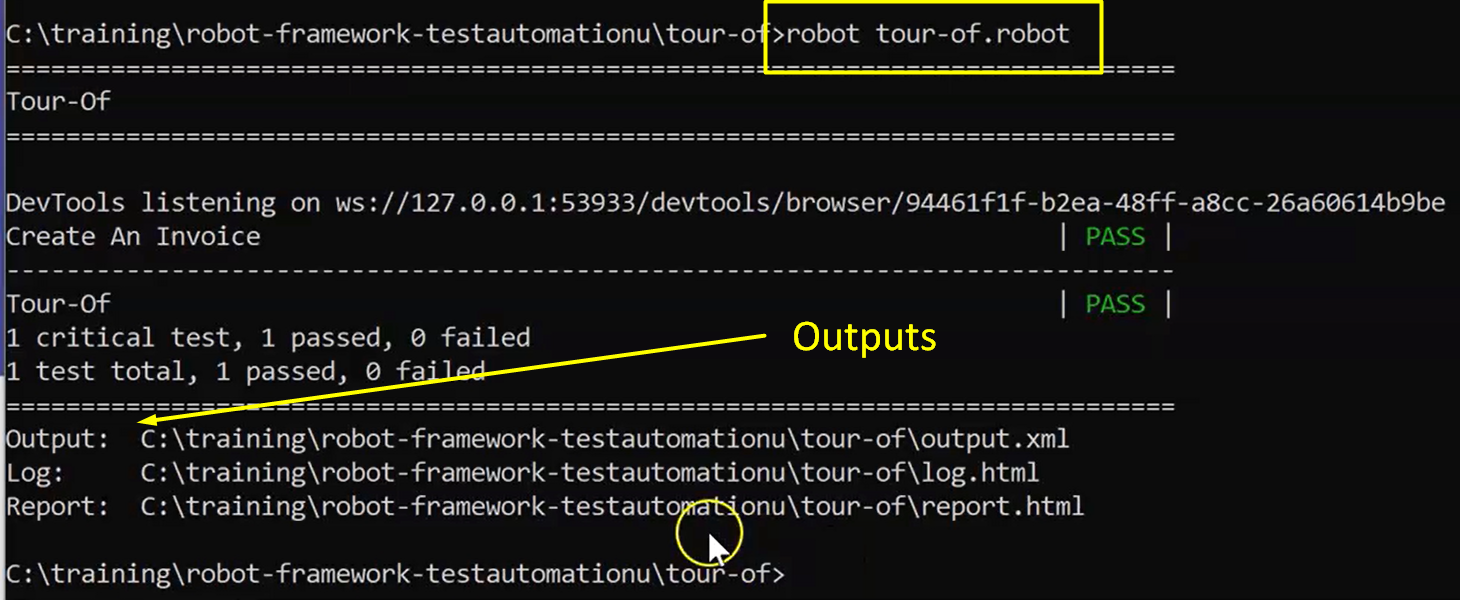
The command for running Robot Framework tests is robot.
Go into the directory where your test is and type Robot and then the file name. In this case, the file name is “tour-of.robot”, do I type robot tour-of.robot.
Since this runs with the Selenium Library, try not to interact with the keyboard or the mouse until the test finishes.
You may notice here, that we're interacting with an application on the web that my folks have created. It's an invoice manager. It manages invoices. There's nothing really to it.
If you'd like to look at it deeper, drill down into the Test Cases to get the URL and take a look at it.
Notice here that there are several outputs from the test case: the Output, the Log, and the Report.

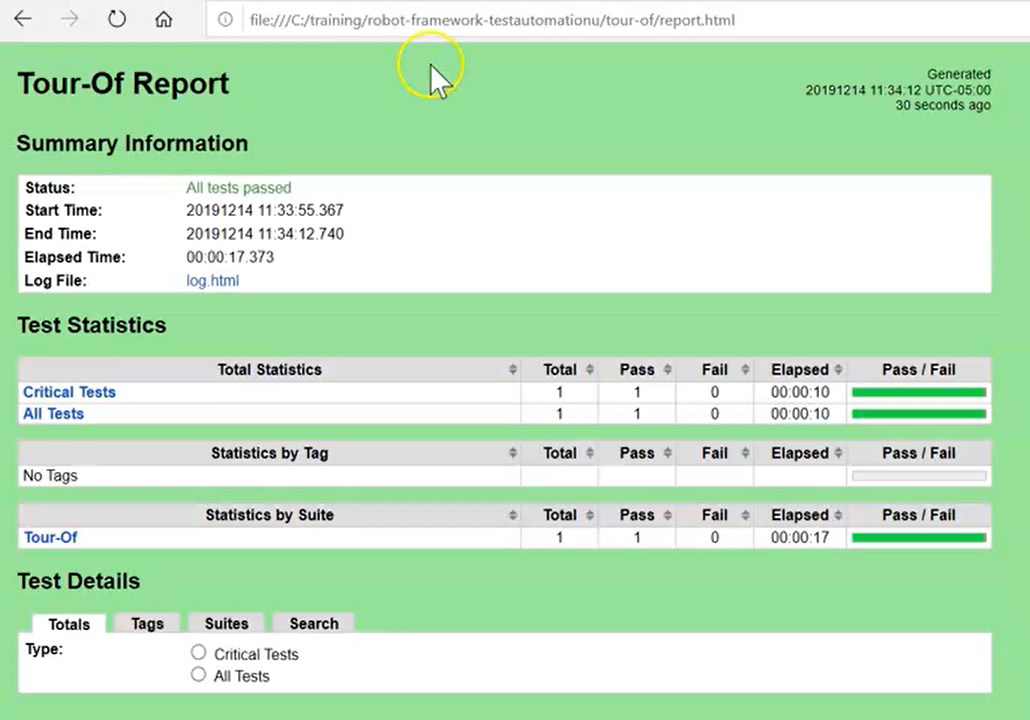
The report is the one that you're going to want to look at first.
I'm copying the path of the report on my local machine and pasting it into a new tab in my browser.
The report is going to come up in green or red depending on whether the test case passed or failed.

In this case, it passed, so the report is green.
You can click on the links to drill down into a specific test case and look at the steps that were executed there.
Any step that fails, will show up as red. This is one of the great benefits of Robot Framework, it has very clear output in a nice browser-based form.
This has been how to run a Robot test.
