

Transcripted Summary
In this chapter, we will design our code to capture a screenshot 2 ways.
- One way is to capture the web element; and
- The other way is to capture the full page of an application.
Our application under test will be Applitools.
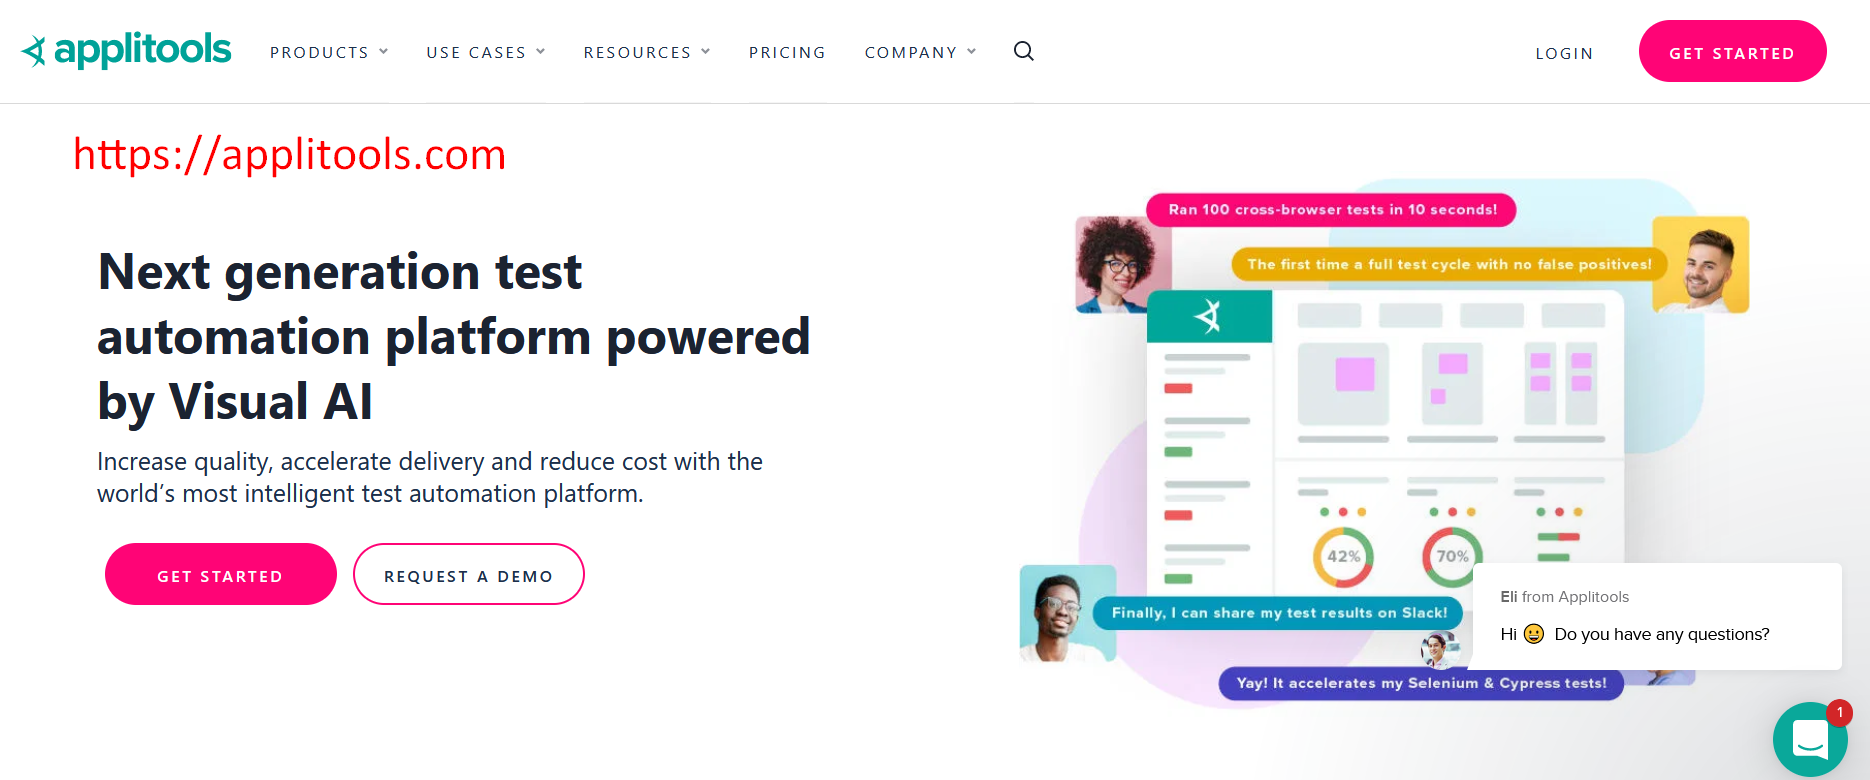
For the web elements I will capture this header that says: “Next generation test automation platform powered by Visual AI”.
Inspect the element, and it does not have an id attribute.
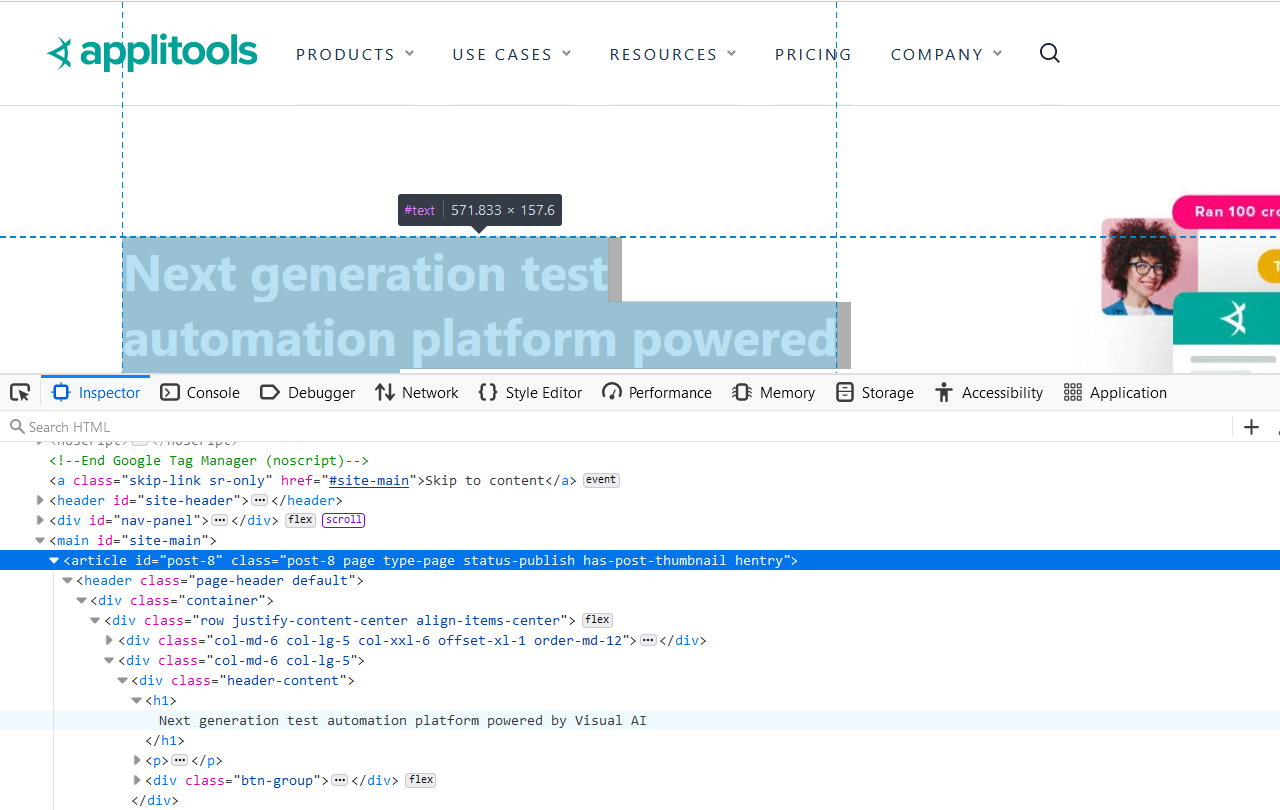
So, let's navigate up to the ancestor; and the ancestor has an id value of “post-8” inside the article tag.
Let's find the element using a CSS selector by writing "#post-8 h1".
Bingo, the element is yellow.
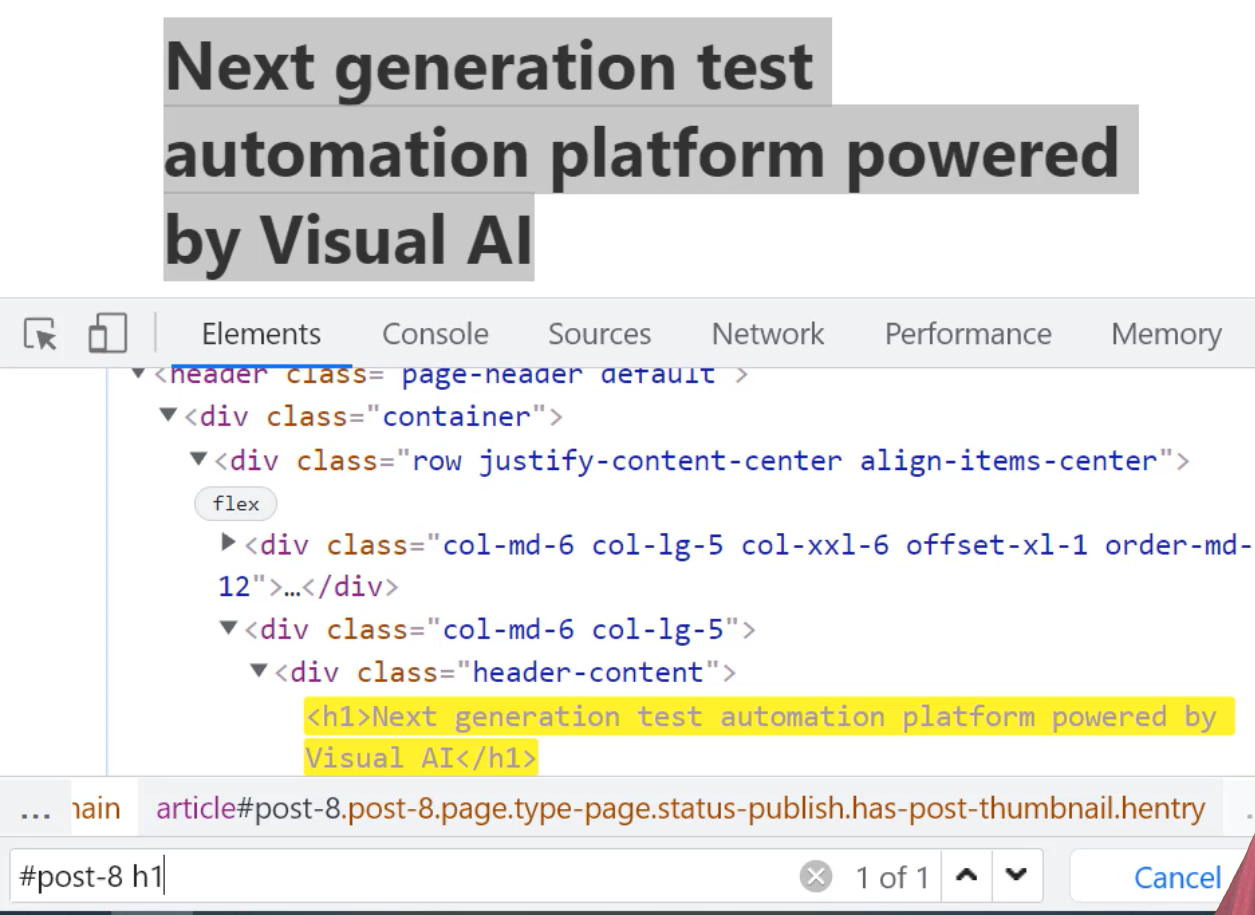
So, that means we have found the elements and “1 of 1” means the value is unique.
# Test Set Up to Open Application
I'm going to copy the URL and start by writing:
public class Chapter6_Screenshots {
  WebDriver driver;

  @BeforeMethod
  public void setUp(){
    WebDriverManager.firefoxdriver().setup();
  }
This time we're going to use firefoxdriver().setup().
Let's maximize the window (after we import WebDiver) with driver.manage().window().maximize().
Now let's load the AUT using `driver.get("") and paste in the URL.
public class Chapter6_Screenshots {
  WebDriver driver;

  @BeforeMethod
  public void setUp(){
    WebDriverManager.firefoxdriver().setup();
    driver = new FirefoxDriver();
    driver.manage().window().maximize();
    driver.get("https://applitools.com/");
  }
Now our application is set up.
# Capturing a Web Element Screenshot
Now for our @Test method we start by writing public void takeWebElementScreenshot().
We find the WebElement, which is nextGenerationPlatform = driver.findElement().
And we're going to find the element By.cssSelector("")and the value was "#post-8 h1";
Import WebElement.
Now that we have found “nextGenerationPlatform”, we can getScreenshotAs(OutputType.FILE).
- The
getScreenshotAsmethod captures the screenshot and stores the screenshot in a specified location. OutputTypedefines the output type for a screenshot.
In our example, we have a file which is used to gather the screenshot and place the screenshot into a temporary file.
Therefore, we assign the screenshot to a File and name it “source”. Import File.
Next for the file is a File destination that is assigned a new File called "Next Generation Platform.png".
- “.png" is the extension.
- "Next Generation Platform” is the file name.
Now it is time to copy the file from the source to our destination.
There is more than one class to copy the file. So, I'm going to first use FileHandler; and the next time I'll use FileUtils.
NOTE
For Selenium automation, most people would probably prefer FileHandler over FileUtils. FileUtils is from apache.commons and is a dependency of WebDriverManager.
If you do not have WebDriverManager, then you might need to download the Apache Commons IO jar from Maven’s Repository.
Right now, FileHandler.copy() then pass in our source and destination.
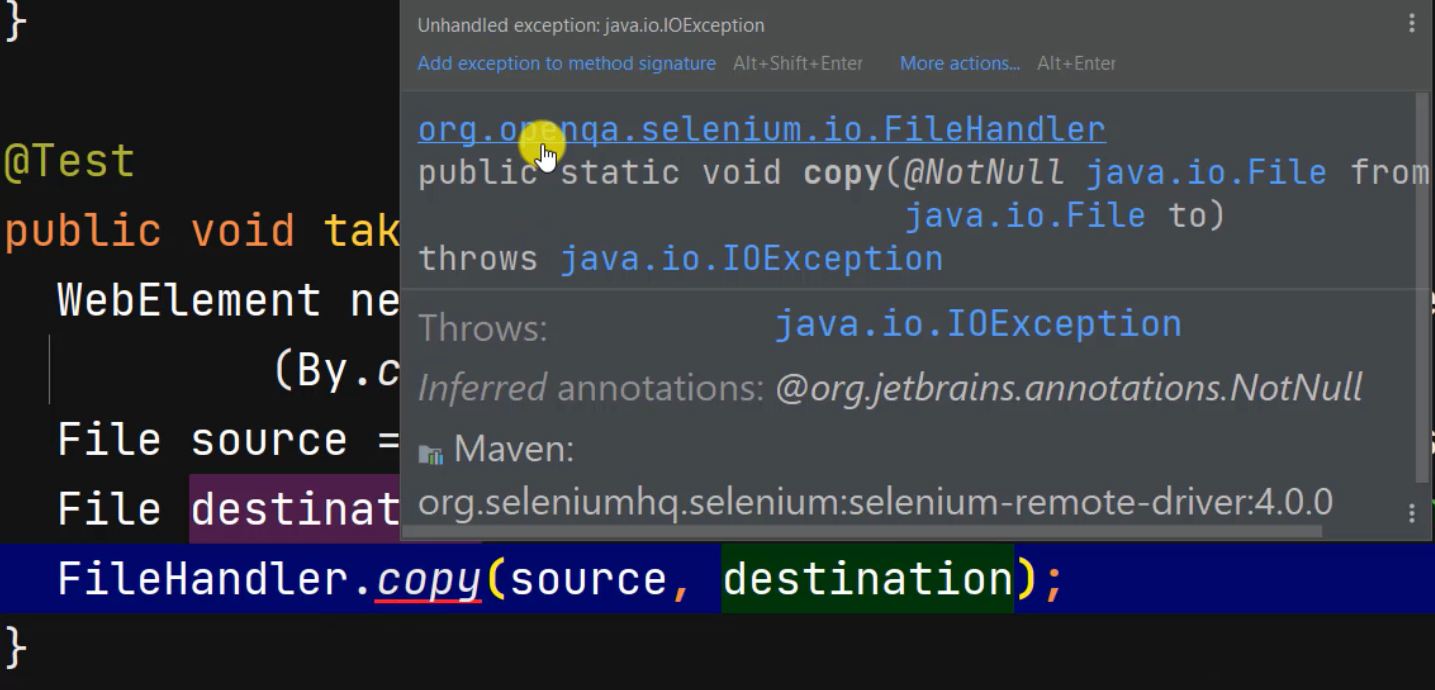
We also need to add an IOException to the signature.
  @Test
  public void takeWebElementScreenshot() throws IOException {
    WebElement nextGenerationPlatform = driver.findElement
            (By.cssSelector("#post-8 h1"));
    File source = nextGenerationPlatform.getScreenshotAs(OutputType.FILE);
    File destination = new File("Next Generation Platform.png");
    FileHandler.copy(source, destination);
  }
Now let's run.
Bingo. The test passed.
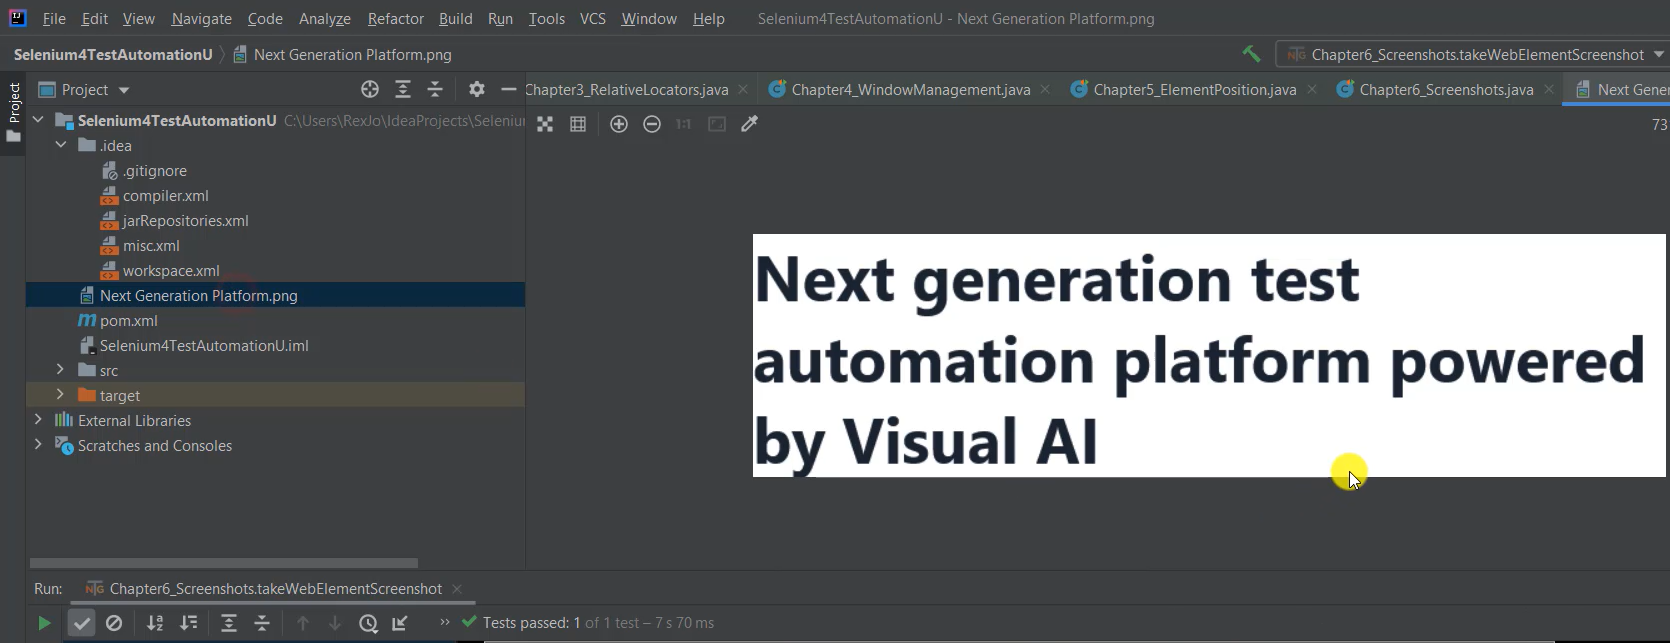
Go to the IDE and Project and we see "Next Generation Platform.png" shows the H1 web element.
# Capturing a Page Section Screenshot
At this point, we can now do another thing with WebElement. We can also capture a page section, which is considered a web element.
Let me go back to the AUT.
You will see how this has an H1 header, but on the right side, we have an image.
This whole section is a web element.
Let's inspect and we see the header class.
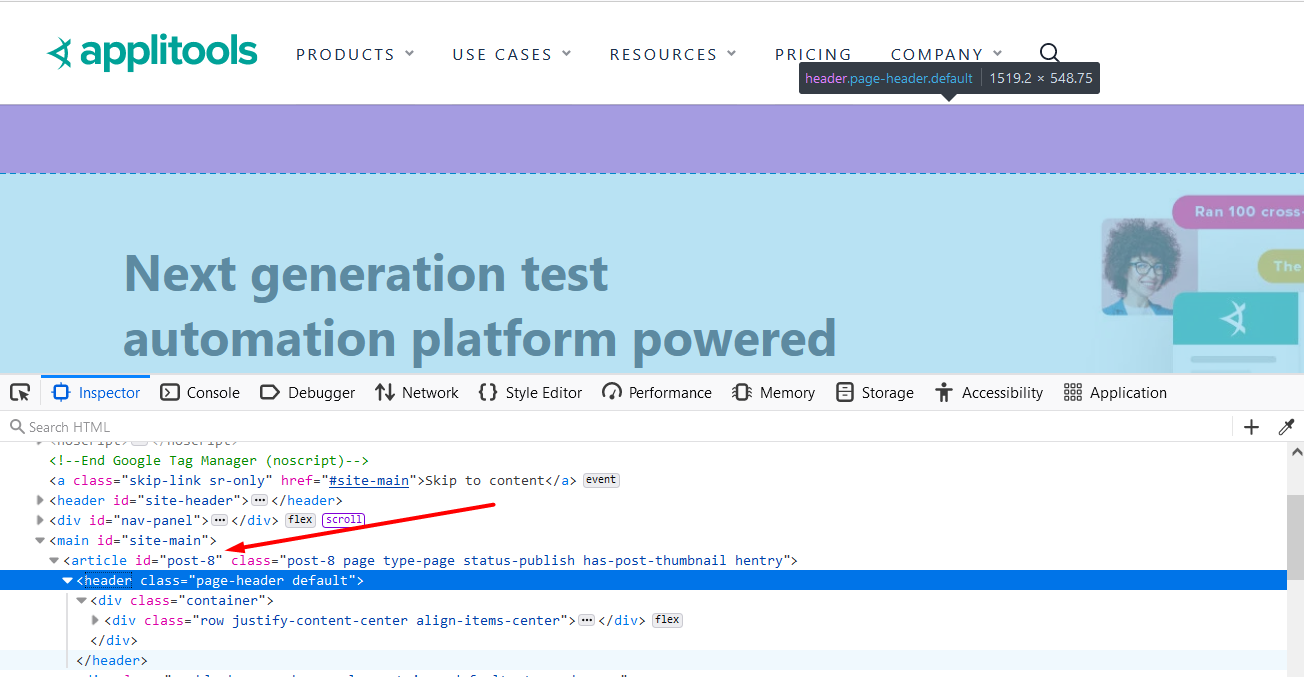
The header tag has a class, but it does not have an id attribute, but we see it has the same attribute id from the previous test.
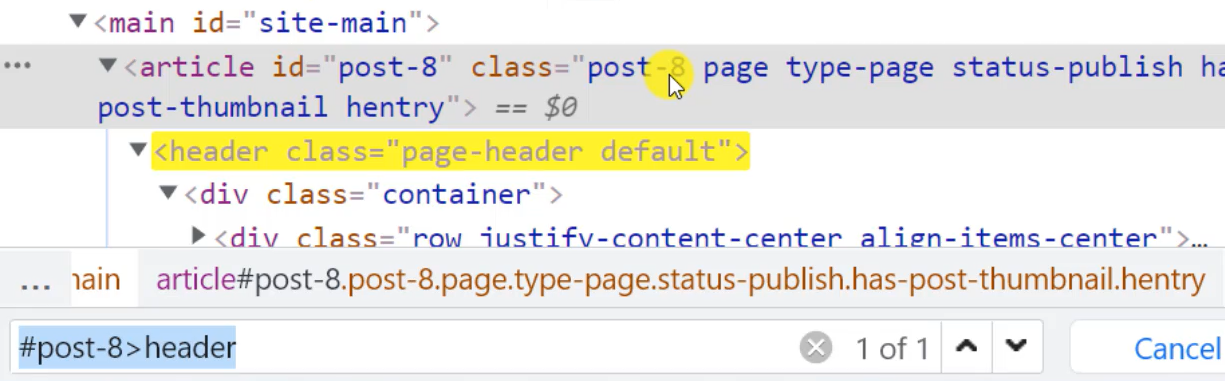
So, let's find this element by writing — "#post-8>header" — and we found the element.
I'm going to copy, then go back to the application.
We start our new test with:
  @Test
  public void takeWebElementPageSectionScreenshot() {

  }
Then we find the WebElement, which is “applitoolsPageSection”, then driver.findElement().
And we are going to find the element By.cssSelector("") and then pass in the value. Now, at this point, we have our “applitoolsPageSection”.
Next is to store the screenshot in a file. Therefore, we write File source and the source is applitoolsPageSection.getScreenshotAs(OutputType.FILE)
This statement is an abstract representation of the File class and will save the screenshot in memory.
We need a physical file since this is an abstract representation. Therefore, we copy the file from the source to the destination.
In the last test we wrote a separate line for destination, but this time I will combine the statement.
Let's write FileUtils.copyFile(), and then pass in “source”.
The destination file would contain the name of the new File, which is called "Applitools Page Section.png".
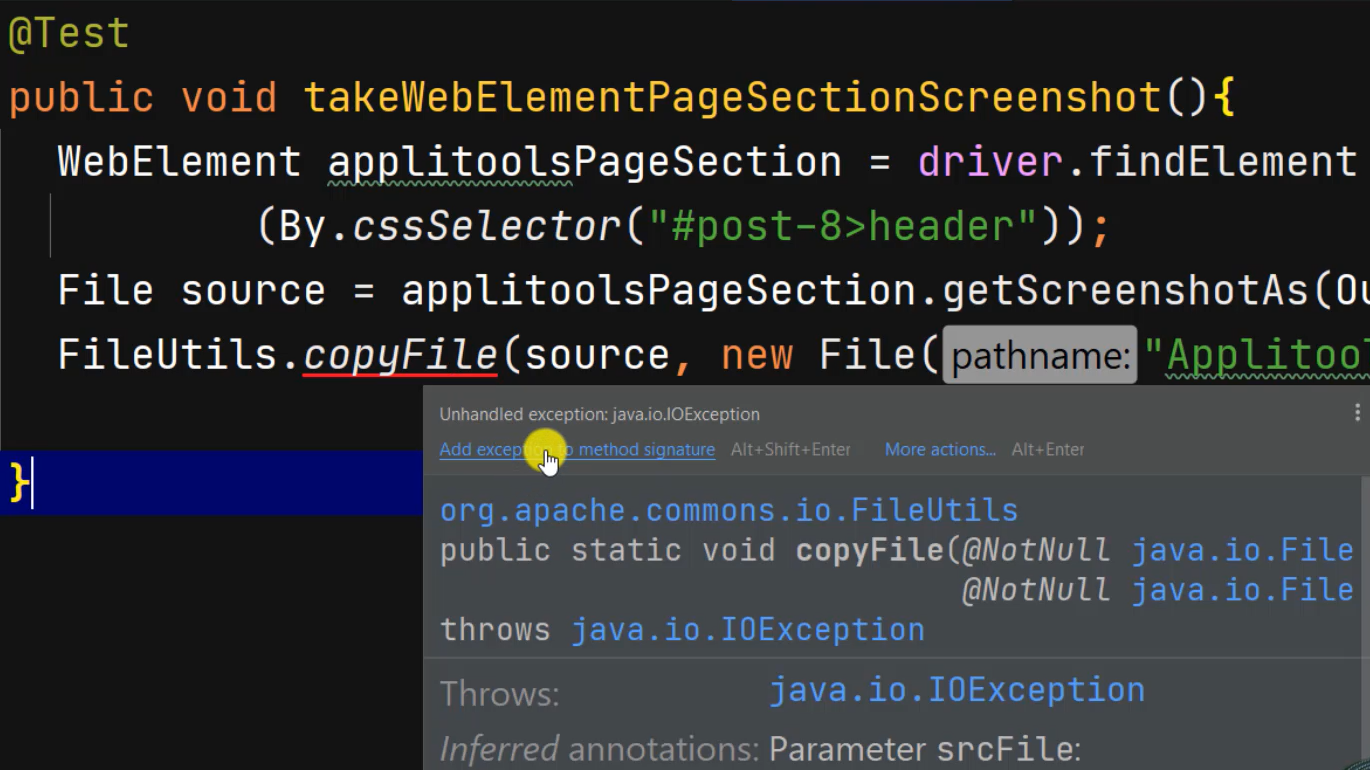
This statement transforms the abstract source file into a physical “.png” file, so we can see the screenshot.
It's a red line under copyFile because we have to add a throws declaration for IOException.
  @Test
  public void takeWebElementPageSectionScreenshot() throws IOException {
    WebElement applitoolsPageSection = driver.findElement
            (By.cssSelector("#post-8>header"));
    File source = applitoolsPageSection.getScreenshotAs(OutputType.FILE);
    FileUtils.copyFile(source, new File("Applitools Page Section.png"));

  }
Now let's run.
Bingo.
Okay, let's go back to the IDE, open Project.
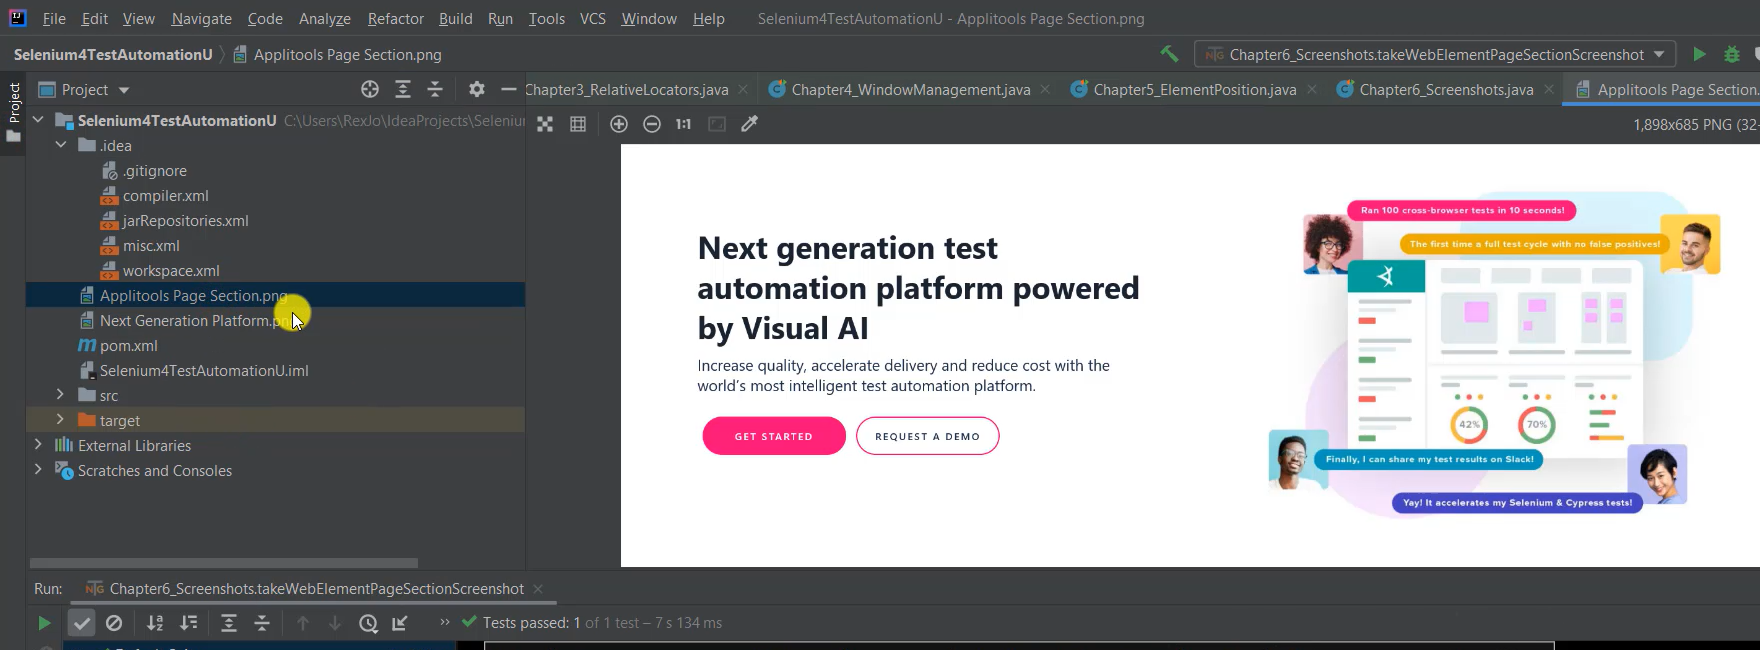
We see "Applitools Page Section.png" only shows the page section.
# Capturing a Full-Page Screenshot
Next is the full-page screenshot.
We can take a screenshot of the full-page using FirefoxDriver — only FirefoxDriver. However, the WebElement screenshot can be taken by any driver.
When I scroll our test site, do you see how Applitools has more information?
- Celebrating 100,000 members on Test Automation University. The conference is free just like the courses are free.
- You can see the visual AI in action.
- Applitools increase coverage and reduce maintenance
- It’s ultrafast with seamless integration,
- It improves productivity.
- It shows how to write, run, analyze, report, and maintain.
- Also, it works with existing tools.
- Here's the tools it integrates with.
If I keep on scrolling, we see more information, including the footer.
**The full-page screenshot feature will take a screenshot of this complete page, including the footer. **
Selenium 3 only takes a screenshot of what we see on the page. If it's not displayed at the time of execution, then it would not be captured as a screenshot.
For example, at the top, we see all the way to the TAU Homecoming. Selenium 3 would take a screenshot of this page, only because this is all they see at the time of execution.
Let's go to our IDE and for the full-page screenshot, I'm going to start by writing:
  @Test
  public void takeFullPageScreenshot(){

  }
The first step is to cast ((FirefoxDriver)driver) — driver is a variable of type WebDriver.
As a result, the plan is to use driver to call a method that's only available to FirefoxDriver. That method is called getFullPageScreenshotAs(OutputType.FILE).
The destination will be written after we put in the File source.
For the destination, I'm going to do the FileHandler because we have 2 ways. I showed FileHandler and FileUtils, but for this one, let's use FileHandler again and copy the source to the destination.
And the destination is a new File named "Applitools Full Page Screenshot.png".
Let's also import the exception.
  @Test
  public void takeFullPageScreenshot() throws IOException {
    File source = ((FirefoxDriver)driver).getFullPageScreenshotAs(OutputType.FILE);
    FileHandler.copy(source, new File
            ("Applitools Full Page Screenshot.png"));
  }
Now let's run.
Bingo, it passed.
Let's go back to the IDE and open Project and we see "Applitools Full Page Screenshot.png".
If I keep on scrolling... Let me start at the top and scroll. And we see the complete page was captured at the time of execution.
Some elements did not load completely, but it can be added. It will be captured if we add a statement for those elements, like an explicit wait statement.
That's it for screenshots. Next, we are going to dive into CDP.
Resources
- Git Repo: Chapter6_Screenshots.java
- Application Under Test – Applitools
- Git Repo: Next Generation Platform.png
- Git Repo: Applitools Page Section.png
- Git Repo: Applitools Full Page Screenshot.png
- Java FileHandler Class
- Java FileUtils Class

)