

Transcripted Summary
In this chapter, we're going to dive into some code and run our first visual test. The first thing we'll do is set up an Applitools account and grab our API key. We'll then clone the sample repository and go over the initial code. Next, we'll add in the Applitools Eyes SDK and run our first visual test with Applitools. This chapter is meant to be interactive so you're encouraged to actively follow along and perform the same steps as me on your own machine. As a reminder, if you run into any issues along the way please reach out to us via the support channels mentioned at the beginning of this course.
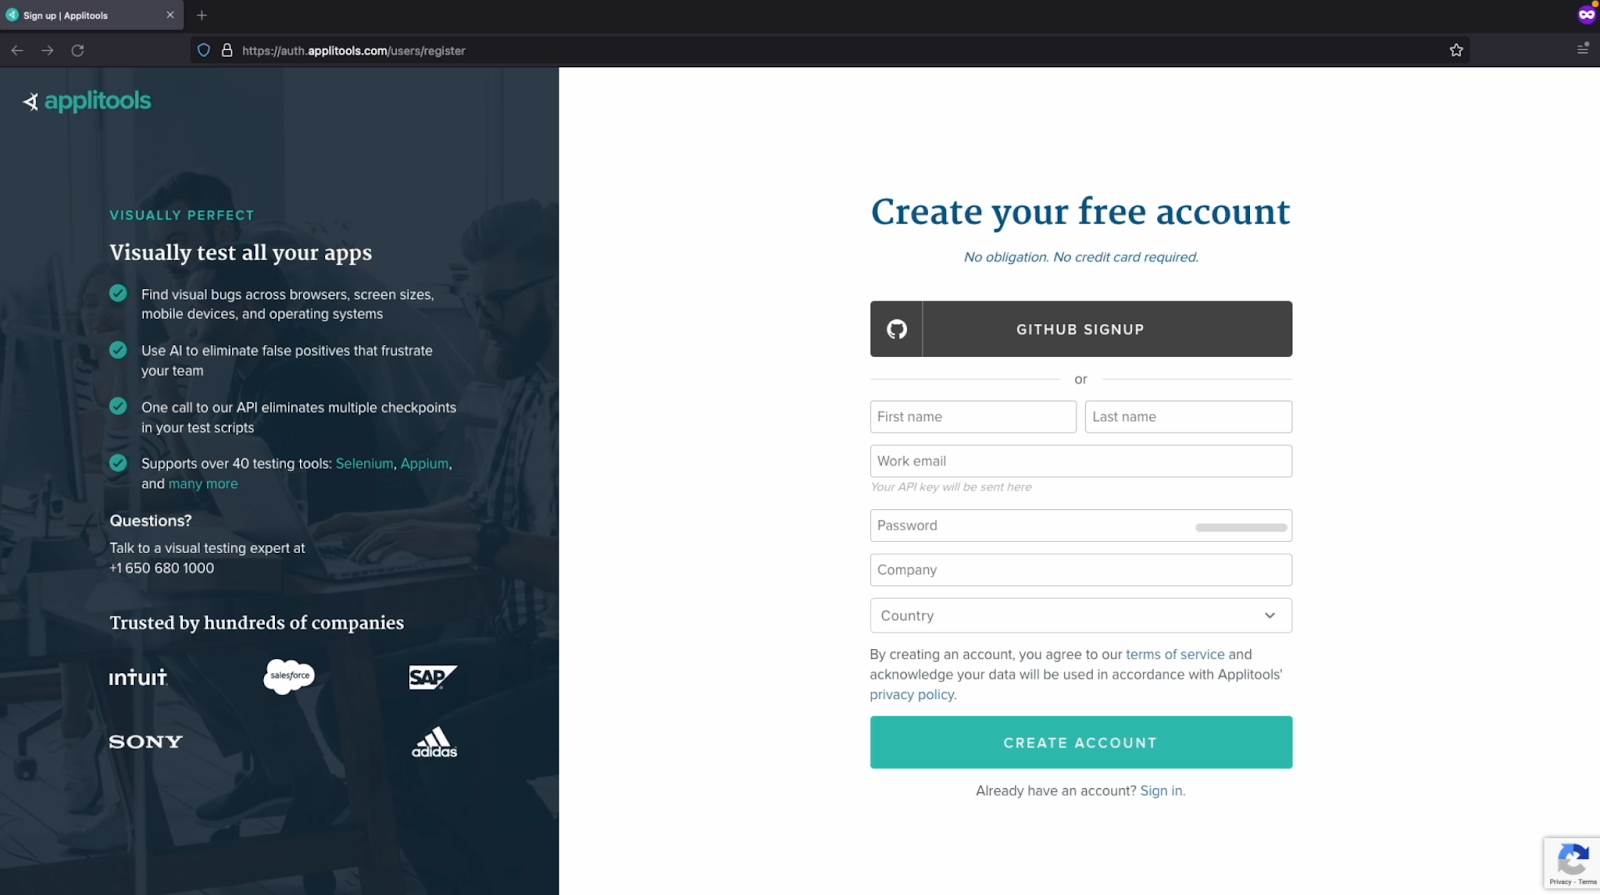
The first thing we need to do is sign up for an Applitools free account. If you already have an Applitools account and can access an API key, feel free to skip this section. Otherwise, please follow along with this video. In the write-up for the chapter below, You'll find the URL for the Applitools sign up page. Please navigate to that URL and enter in all of your information or feel free to sign up with Github.
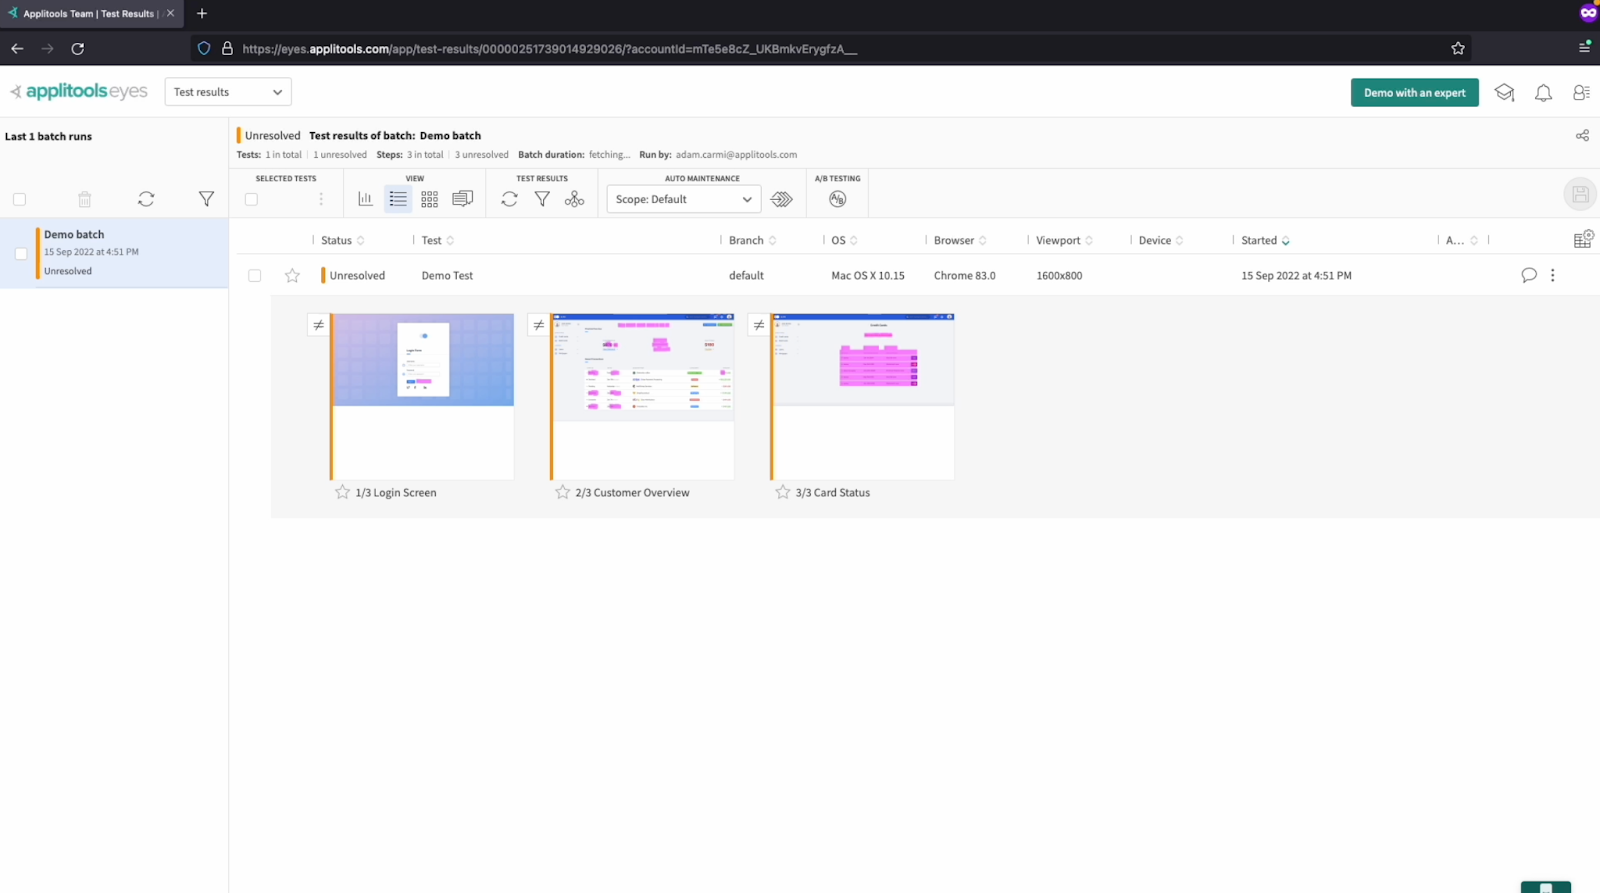
After signing up, you should be presented with the Applitools dashboard as shown here. If you're running into an issue signing up, please reach out to us via the support channels mentioned earlier.
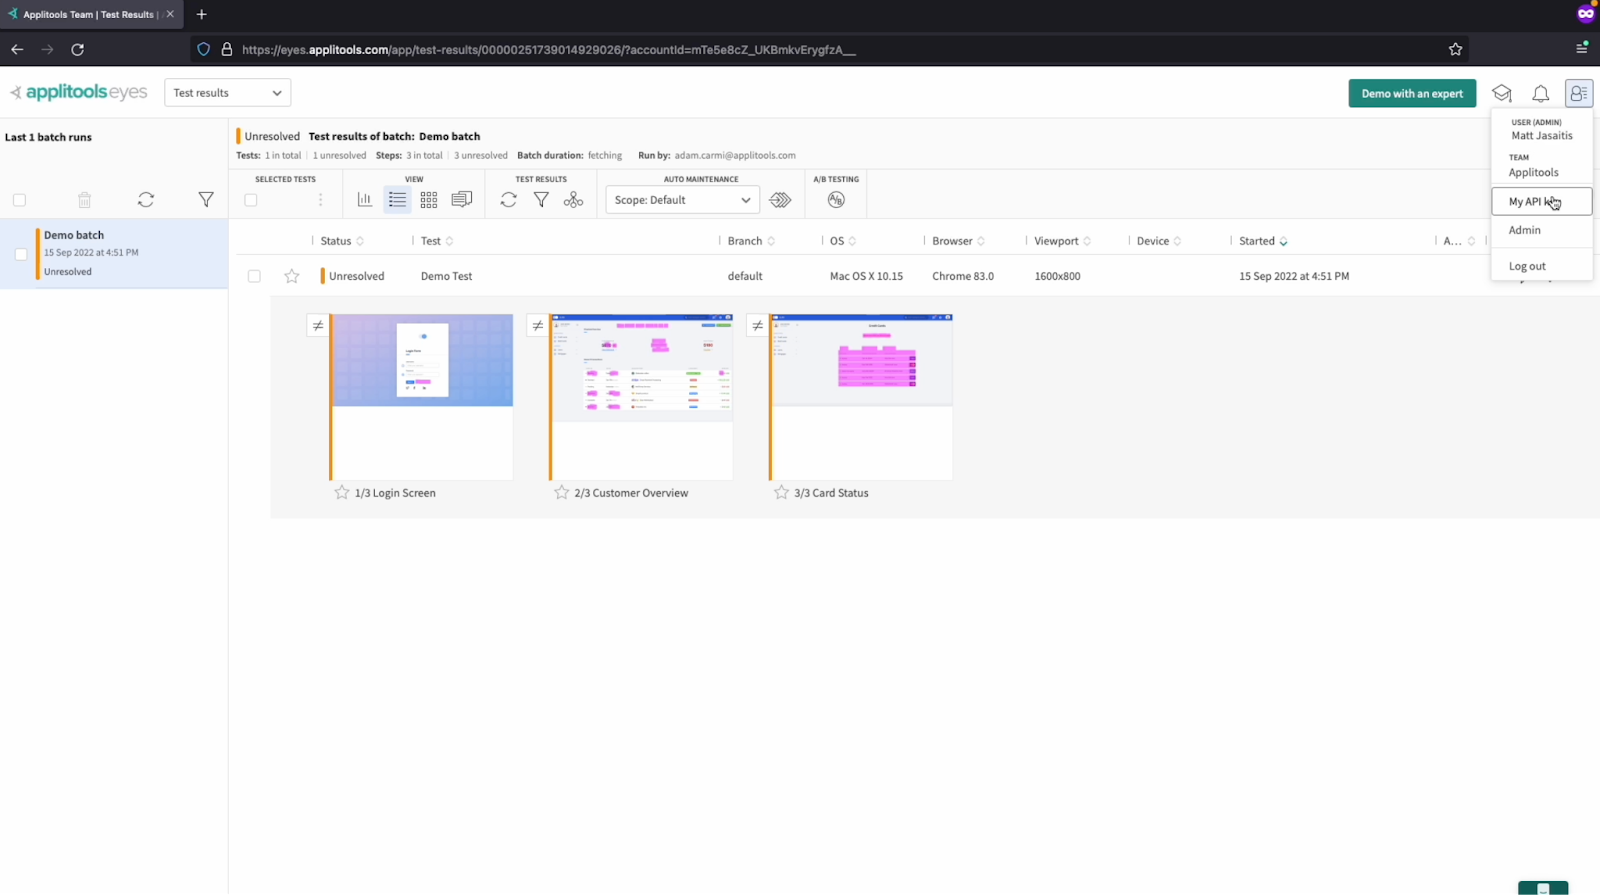
Once you're on your dashboard, we need to locate the API key. Your API key can be found by clicking on the profile icon in the top right followed by "My API Key". Copy the value presented in the popup and save it for later.
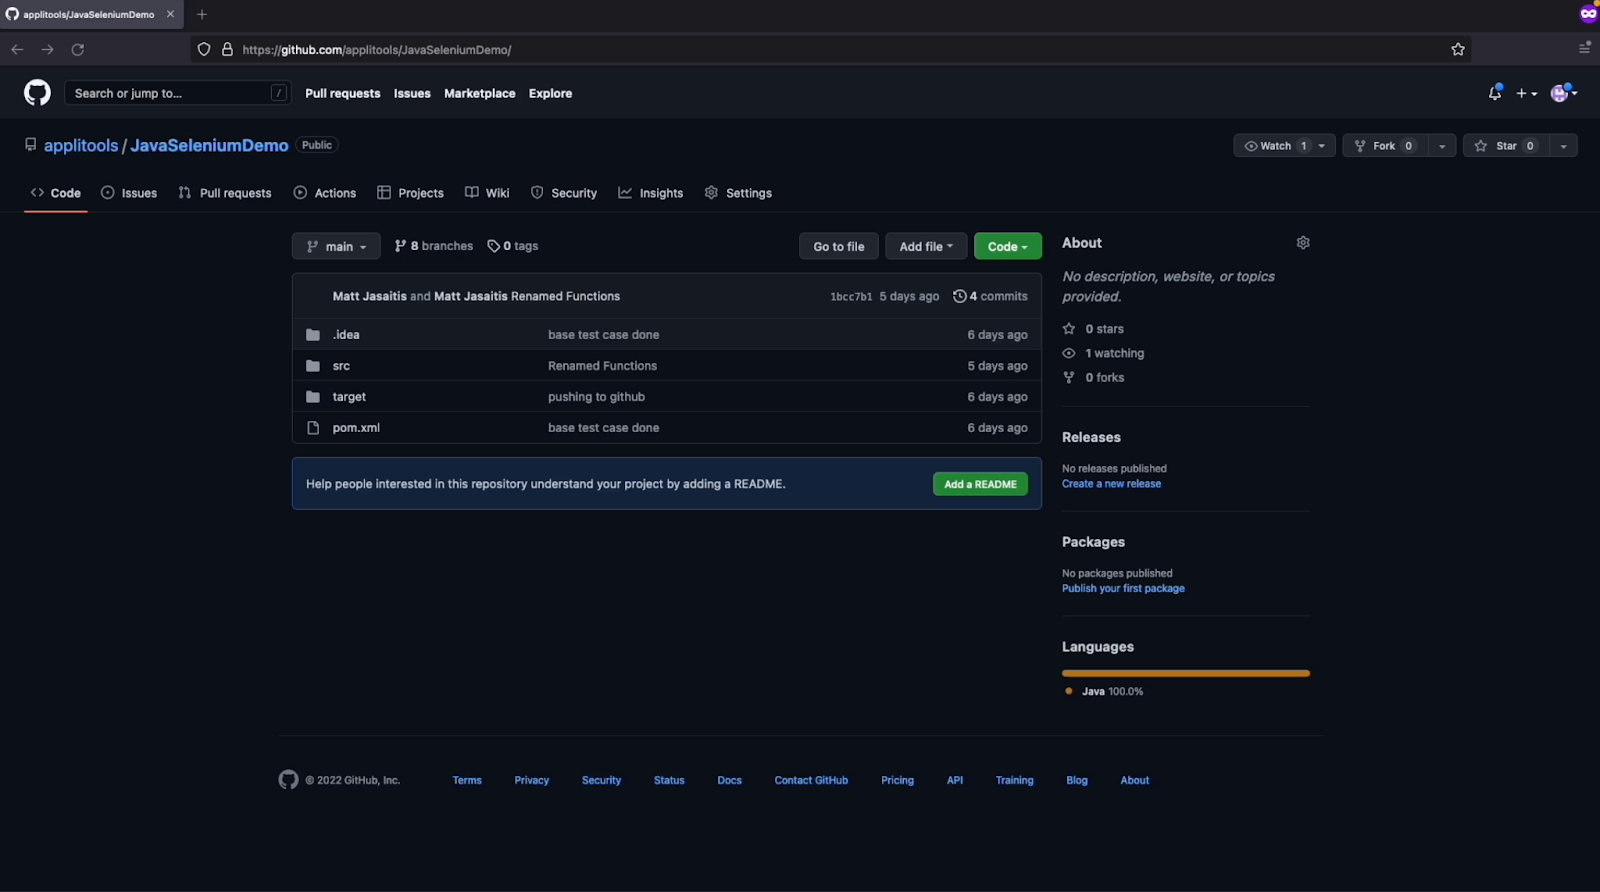
The project we'll be working with today can be found on Github. I'll place the link to this repository in the writeup down below. Go ahead and clone the repository and then open it in the IDE of your choice.
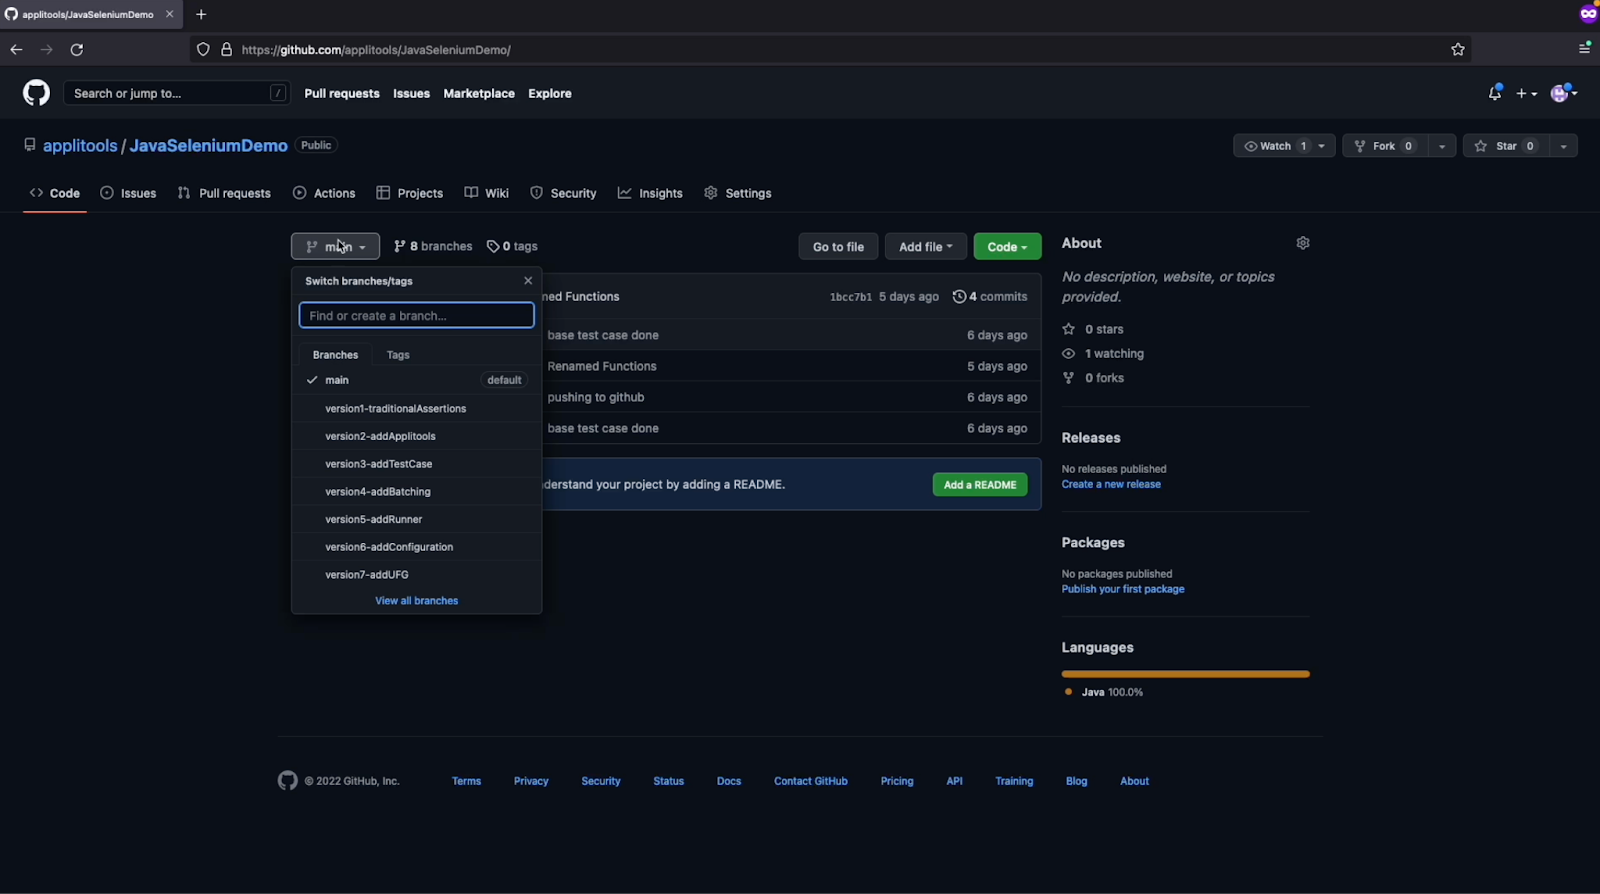
We also have a few branches here representing the evolutions of our project that we'll be implementing throughout this course. Feel free to use these branches as a reference as you follow along. Now let's jump over to our IDE and check out the project.
In its initial state, this project is very simple. We have one JUnit test file performing one test case. This test case uses Selenium and performs traditional functional assertions validating the visibility, text value and color of some of the elements on the webpage. The only dependencies we have include JUnit as our testing framework, Selenium Java as our automation framework and webdrivermanager for easy usage of chromedriver. Let's go ahead and run this test case and see what it does.
As we can see, not much is happening just yet. Next, we'll add in the Applitools SDK and get started with Visual testing.
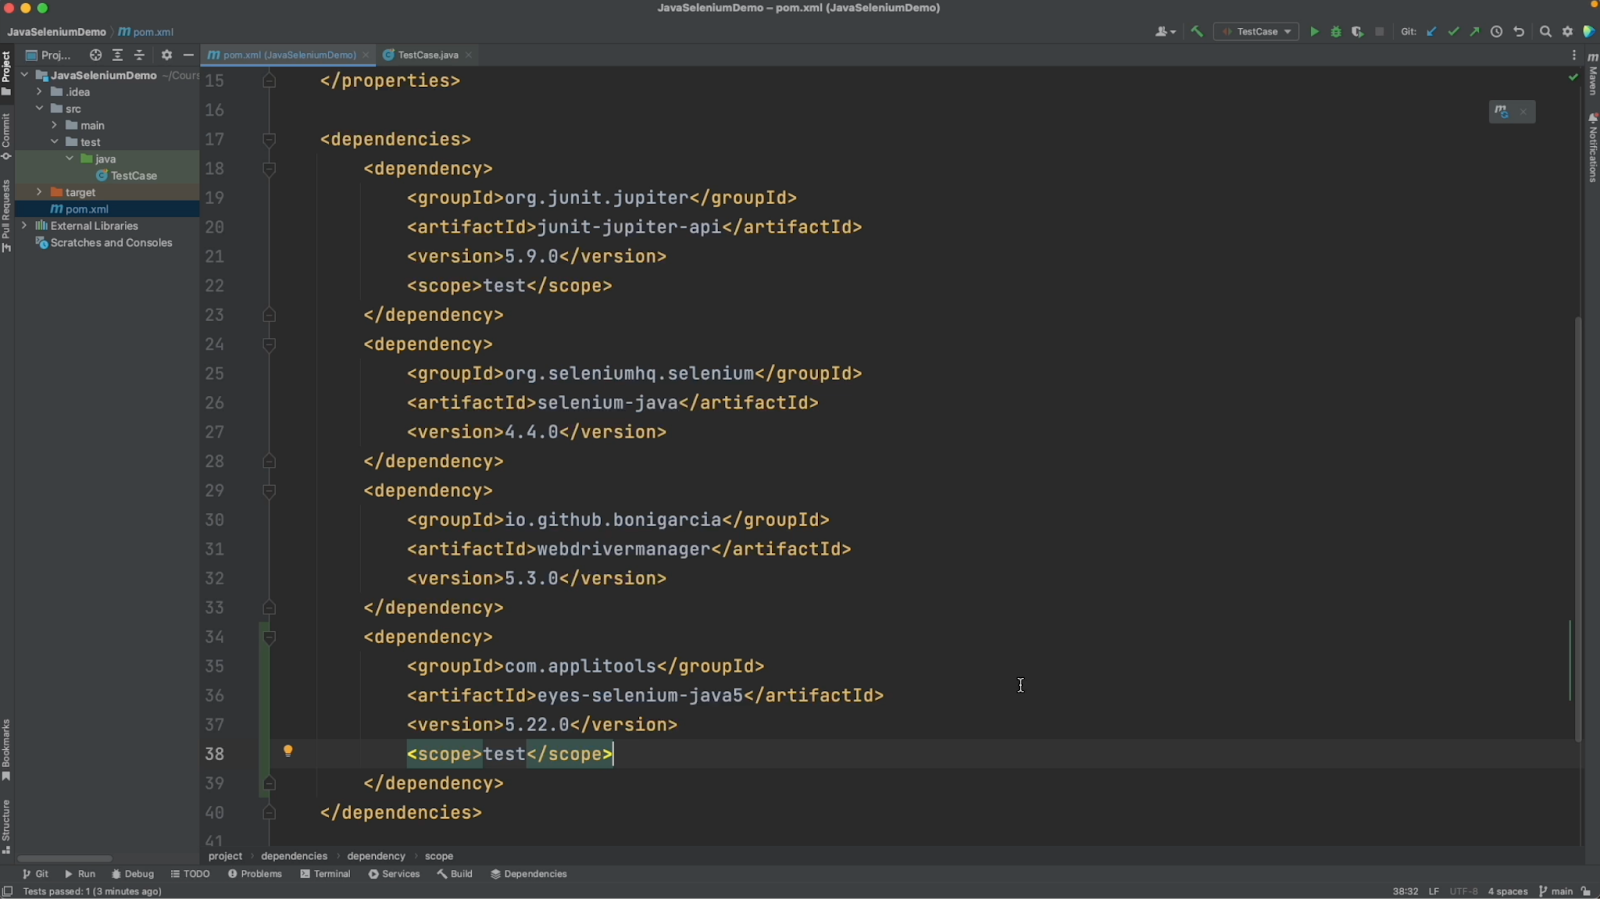
Navigate over to your pom.xml file. This is where we'll add the eyes-selenium-java SDK.
<dependency>
    <groupId>com.applitools</groupId>
    <artifactId>eyes-selenium-java5</artifactId>
    <version>5.22.0</version>
    <scope>test</scope>
</dependency>
Feel free to look for this dependency in the Maven Repository or you can grab it from the write up down below. Once you've added the dependency to the dependencies section, be sure to sync the project and make sure maven imports all the required JARs.
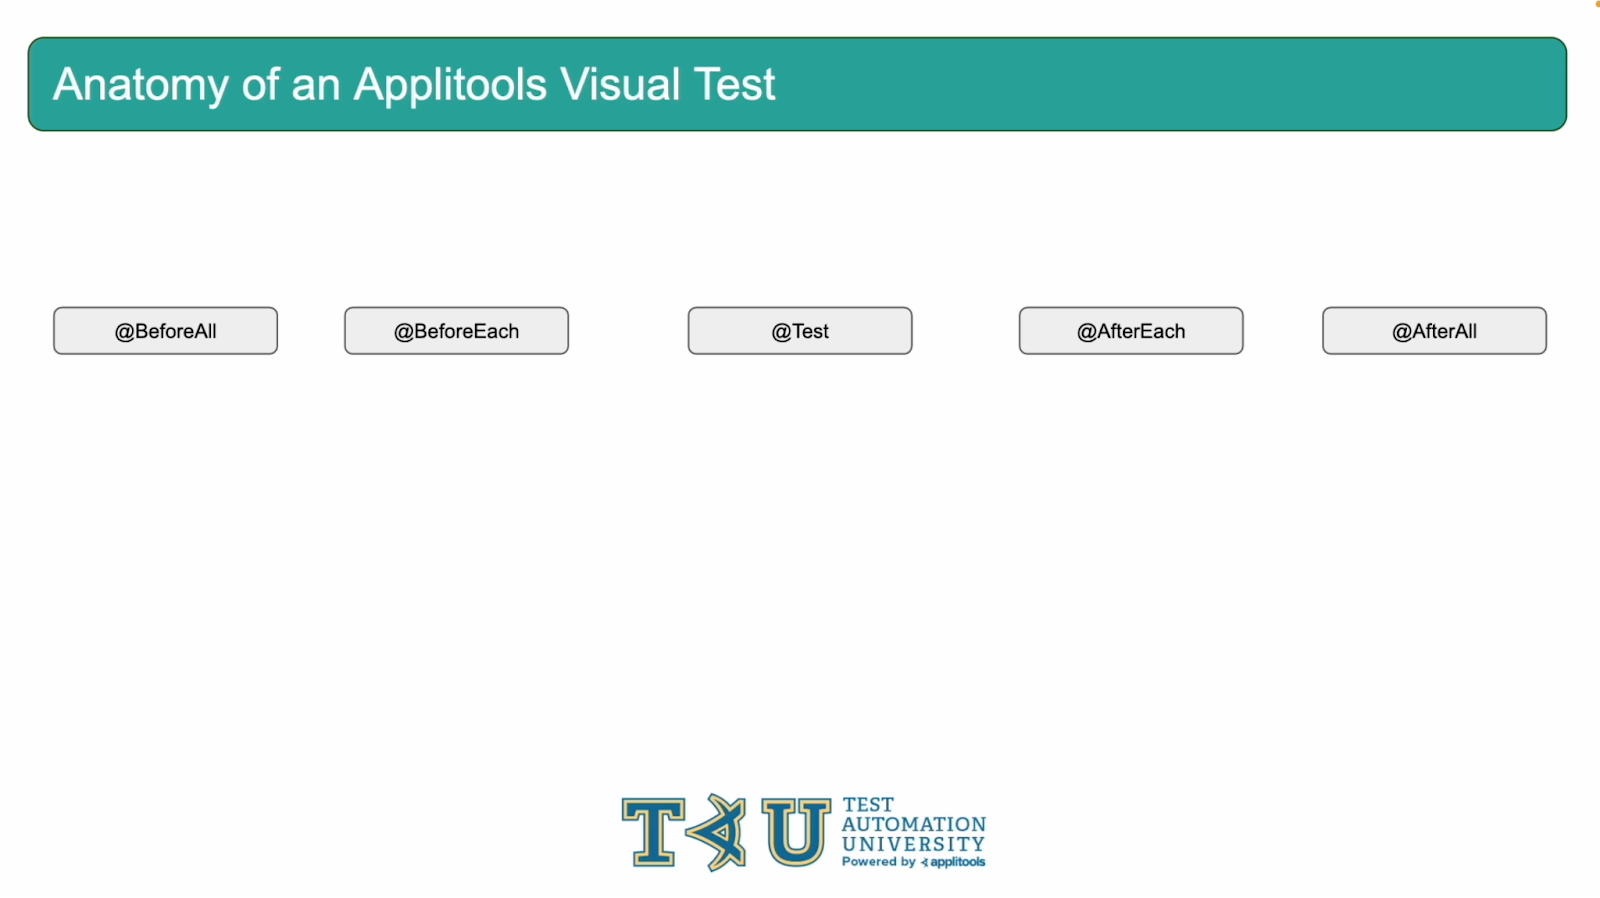
Now that we've added the Applitools SDK Dependency to our project, I want to take a step back and give an overview of what a typical test case looks like using Applitools. Here we can see representations of the various lifecycle hooks that many test frameworks offer. Let's take a look at the core methods of an Applitools SDK, identify what they do and locate where they should be called in the lifecycle of a test.
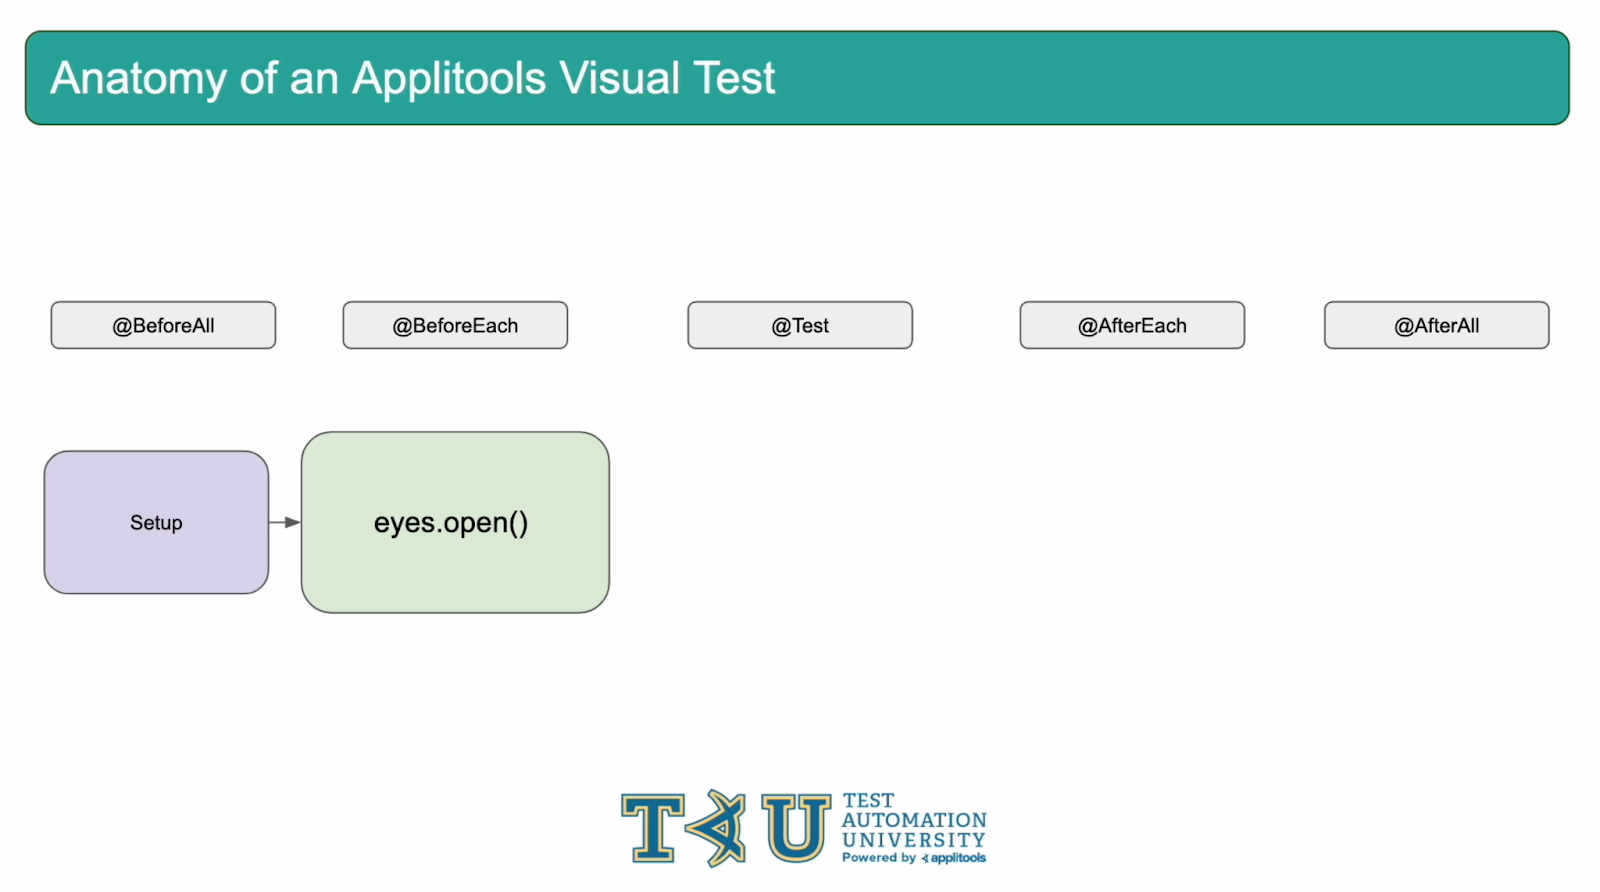
Before each test, we should call the eyes.open() method. This method is responsible for starting your Eyes tests, setting up the communication with the Applitools server and also initializing some important variables that we'll touch on later. You can think of the eyes.open() method as being synonymous with the start of your visual tests. Also, it's kind of hard to perform a visual test if your Eyes aren't open.
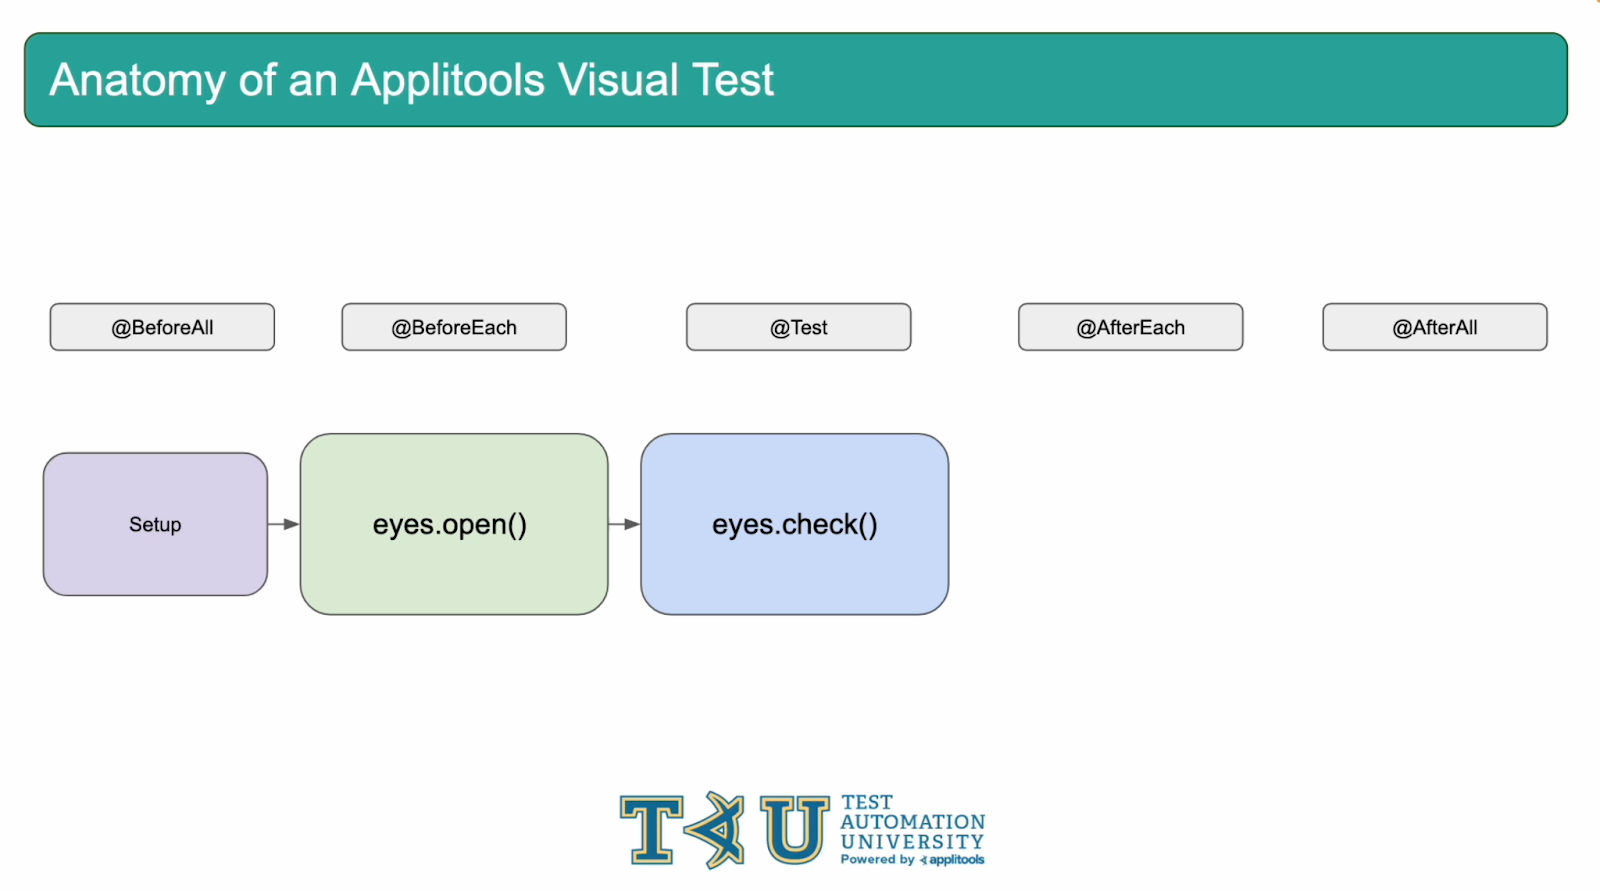
During our test, we should call the eyes.check() method. This is the main method for any Applitools SDK. It performs the visual and functional validation of your webpage by grabbing a screenshot and uploading it to the Eyes server.
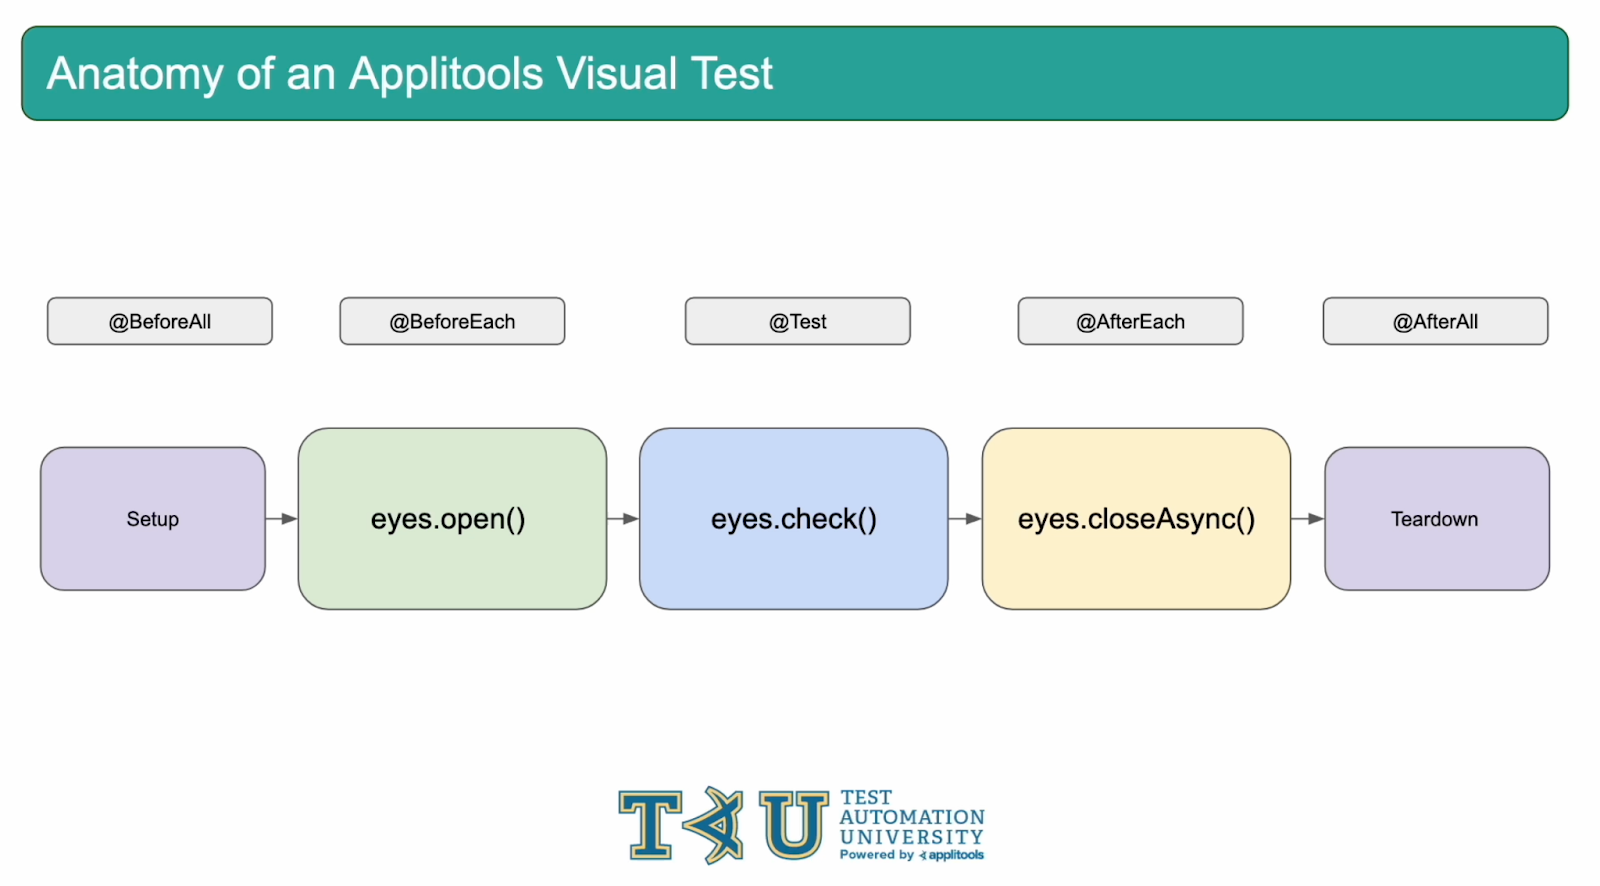
After a test, we should do the opposite of eyes.open() and call eyes.close(). This method tells the Applitools server that this test is completed and it should be wrapped up. You can think of the eyes.close() method as being synonymous with the end of your visual tests for this test case. This basic flow of opening our eyes, capturing a screenshot and then closing our eyes is the core of any Applitools test. Let's head over to our code and add these methods to our test.
The first thing we need is an Eyes variable.
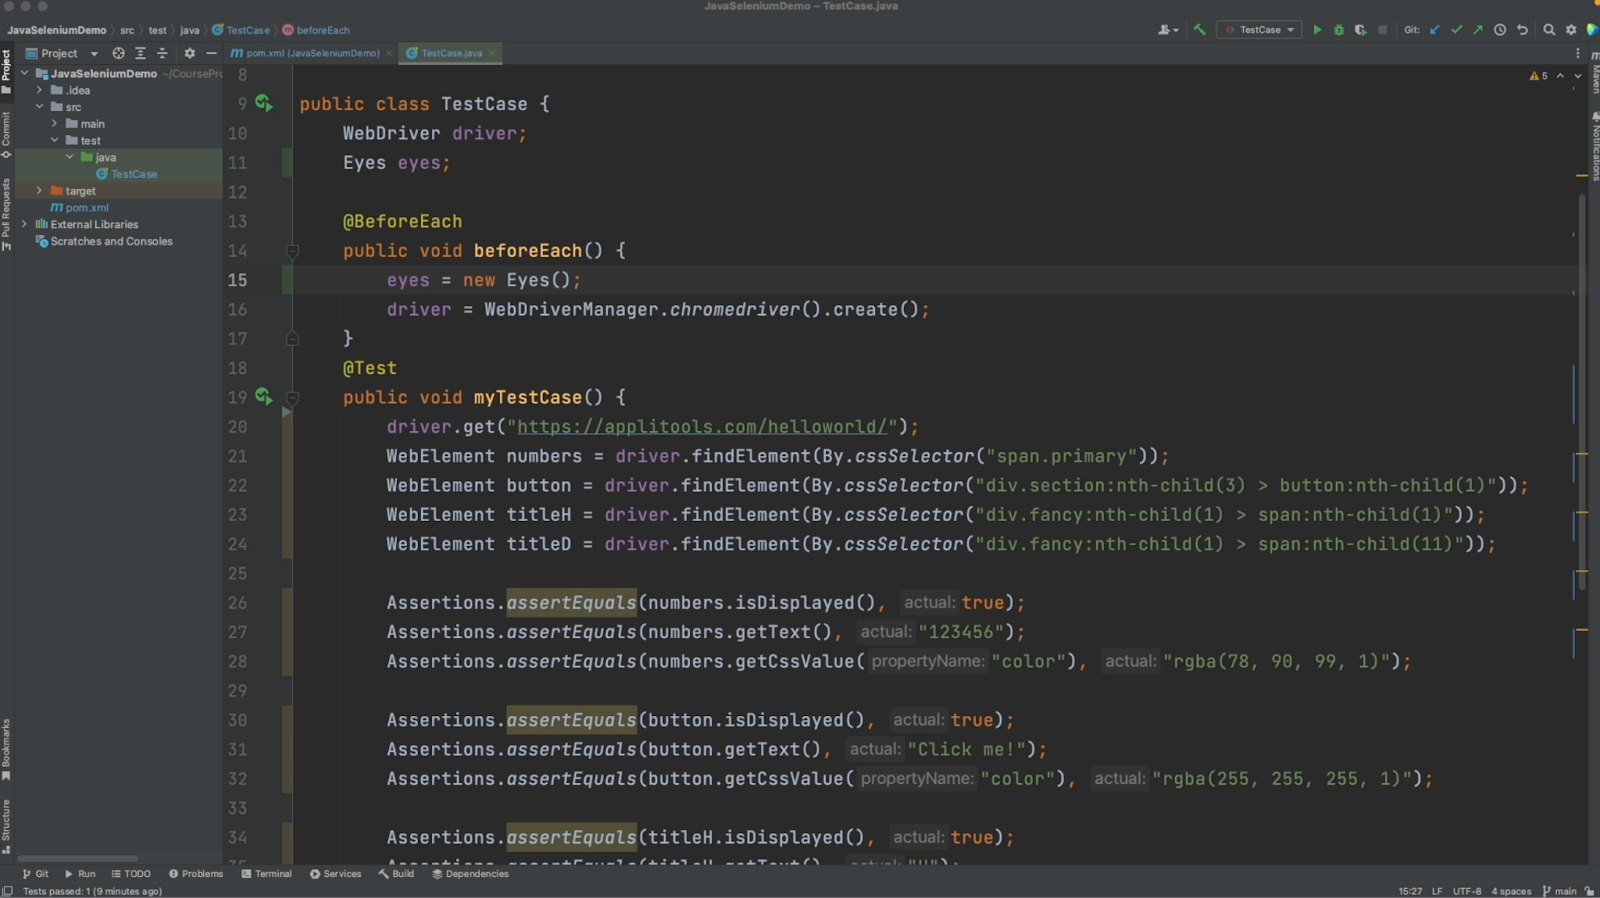
You can see here that I've added an Eyes variable and then initialized it in the beforeEach() method. Now that we have our Eyes object, we can add in those methods and get ready to run our first visual test.

We made quite a few changes so let's go over them one by one. Starting with this line here, we set our API key by calling the eyes.setApiKey() method. You'll notice that I'm passing in an environment variable. It is highly recommended that you do the same on your end to prevent your API key from being exposed. One thing to take note of, once you've created this environment variable, be sure to restart your IDE from the command line so that it can access this variable. If you're running into issues with this, please reach out to us via the support channels mentioned earlier.
NOTE: If you’re running into issues with setting your API key, feel free to also consult this article to troubleshoot this problem.
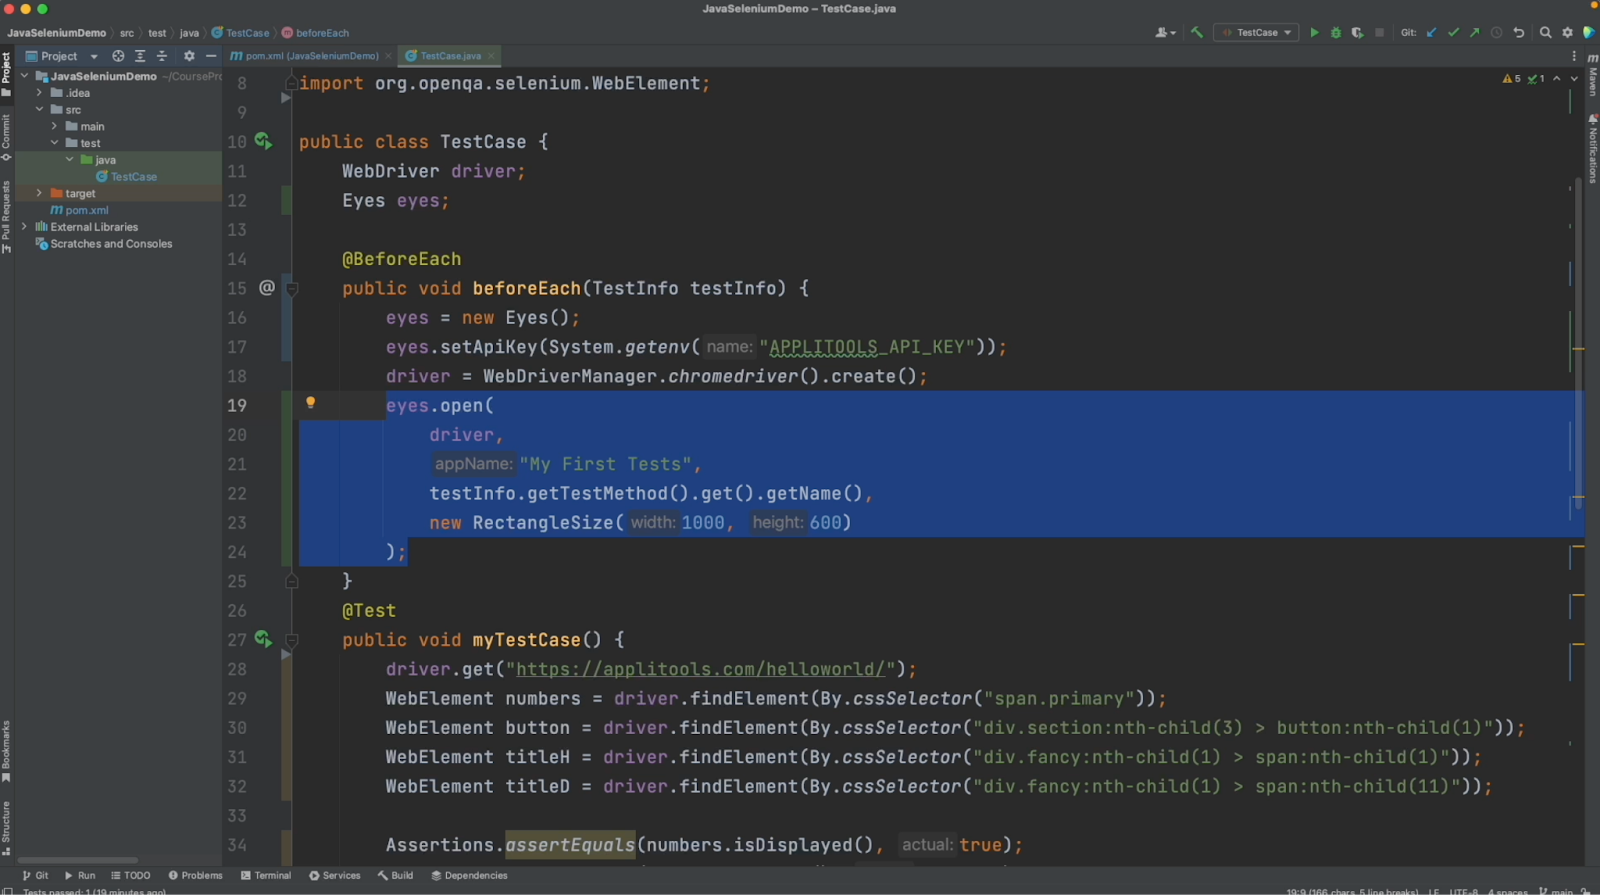
Below that, we see a call to the eyes.open() method. As we discussed earlier, this method is responsible for a few things: first, it sets up an active session with the Applitools server. Second, it initializes a few key variables. The first argument is the driver object, Eyes will use this to perform interactions with the browser. The 2nd and 3rd arguments are the App Name and Test name. These values are very important for reasons we'll see later and can be customized to any strings that you'd like. The final argument is the viewport size. The Eyes SDK will resize the viewport of your browser to the dimensions that we've passed in. To avoid an error, be sure to set these dimensions to a value that will fit on your monitor.
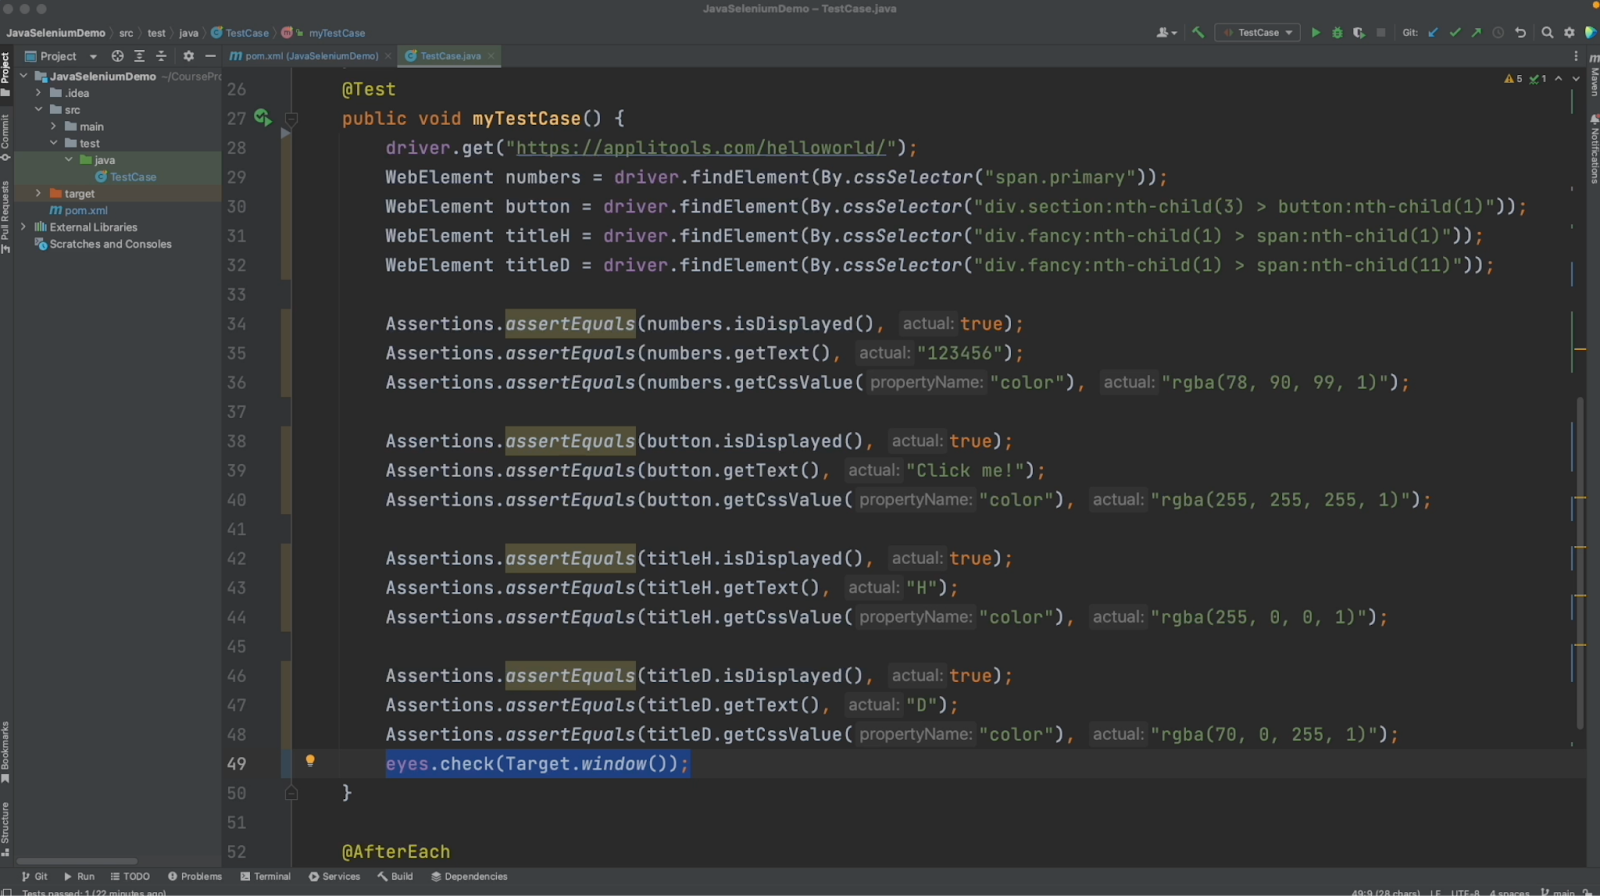
Next, I've added in the eyes.check() method to our test case. Currently, our test case is functionally validating that the visibility, text content and color of each of these elements show up as expected. With visual testing, we can get rid of all of these assertions as our call to eyes.check() will provide coverage for all of these properties as well as catch any other visual bugs that our assertions aren't checking for. With the addition of the eyes.check() method, we can safely delete all of these assertions.
What we just saw is what I discussed earlier in this course when highlighting the benefits of visual testing. Look at how much cleaner and more maintainable our code is after this change.

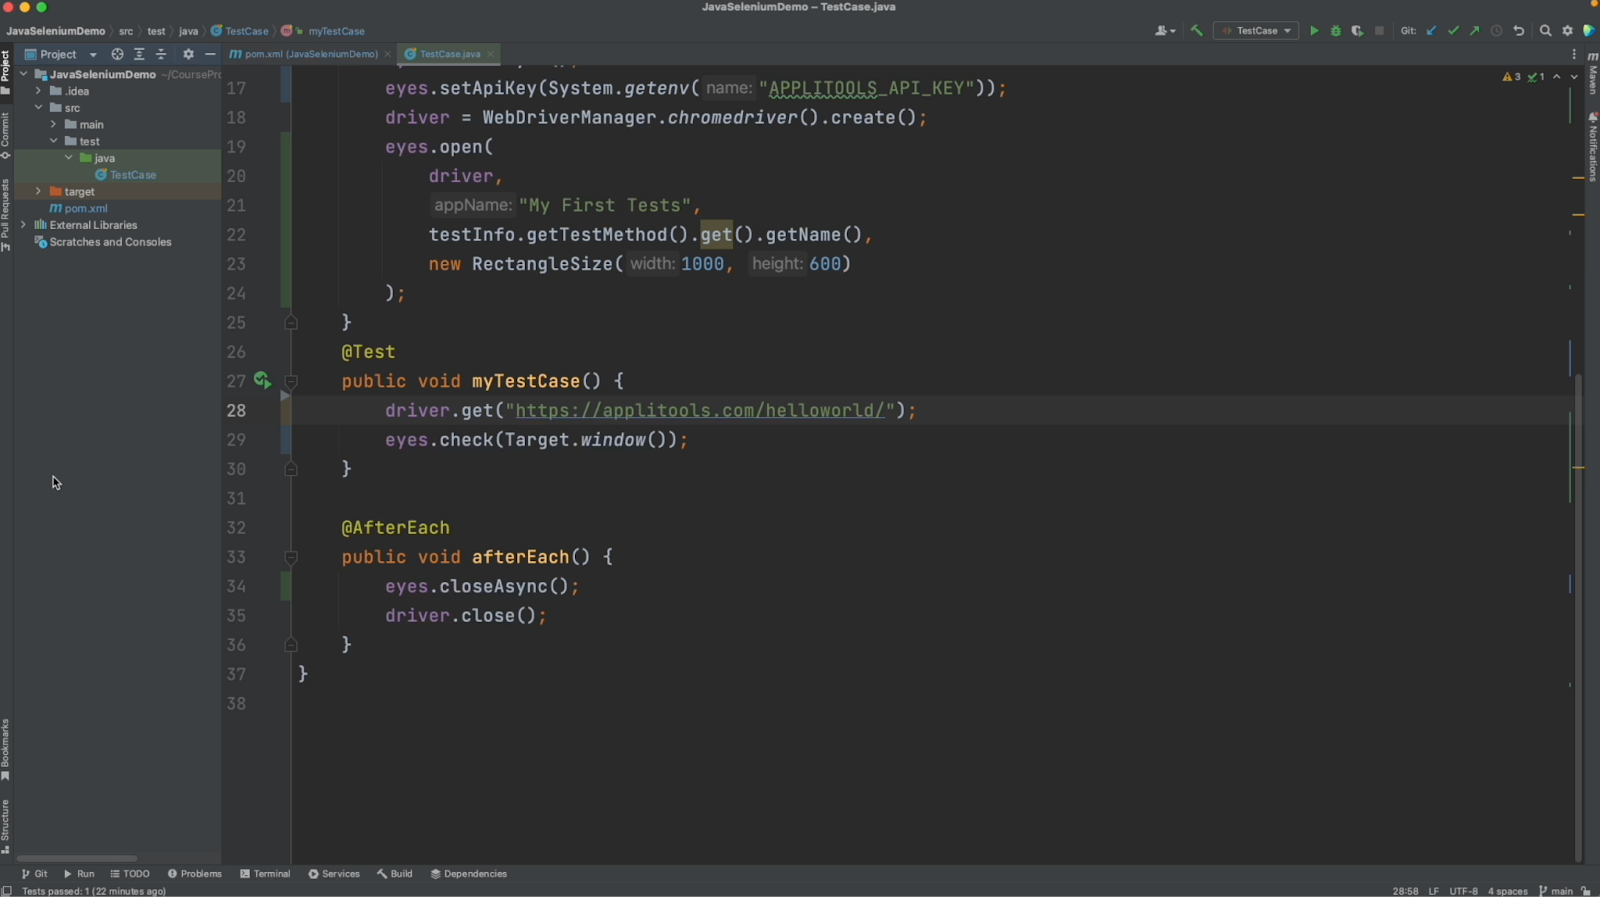
The final change we made is adding in our eyes.close method to our AfterEach method. As we discussed, this is the opposite of eyes.open() and it notifies our Eyes server that we have completed our visual validations for this test case. The server connection will now be disconnected and our tests will wrap up.
To review, we now have everything needed for a basic visual test with Applitools. We've created an Eyes object and set our API key, called eyes.open() to start our test, performed an eyes.check() to visually validate our page and then wrapped it all up by calling eyes.closeAsync(). Let's go ahead and run this test case and see what we get.
Alright, our test wrapped up with no failures, let's head over to our Applitools dashboard and review the results.
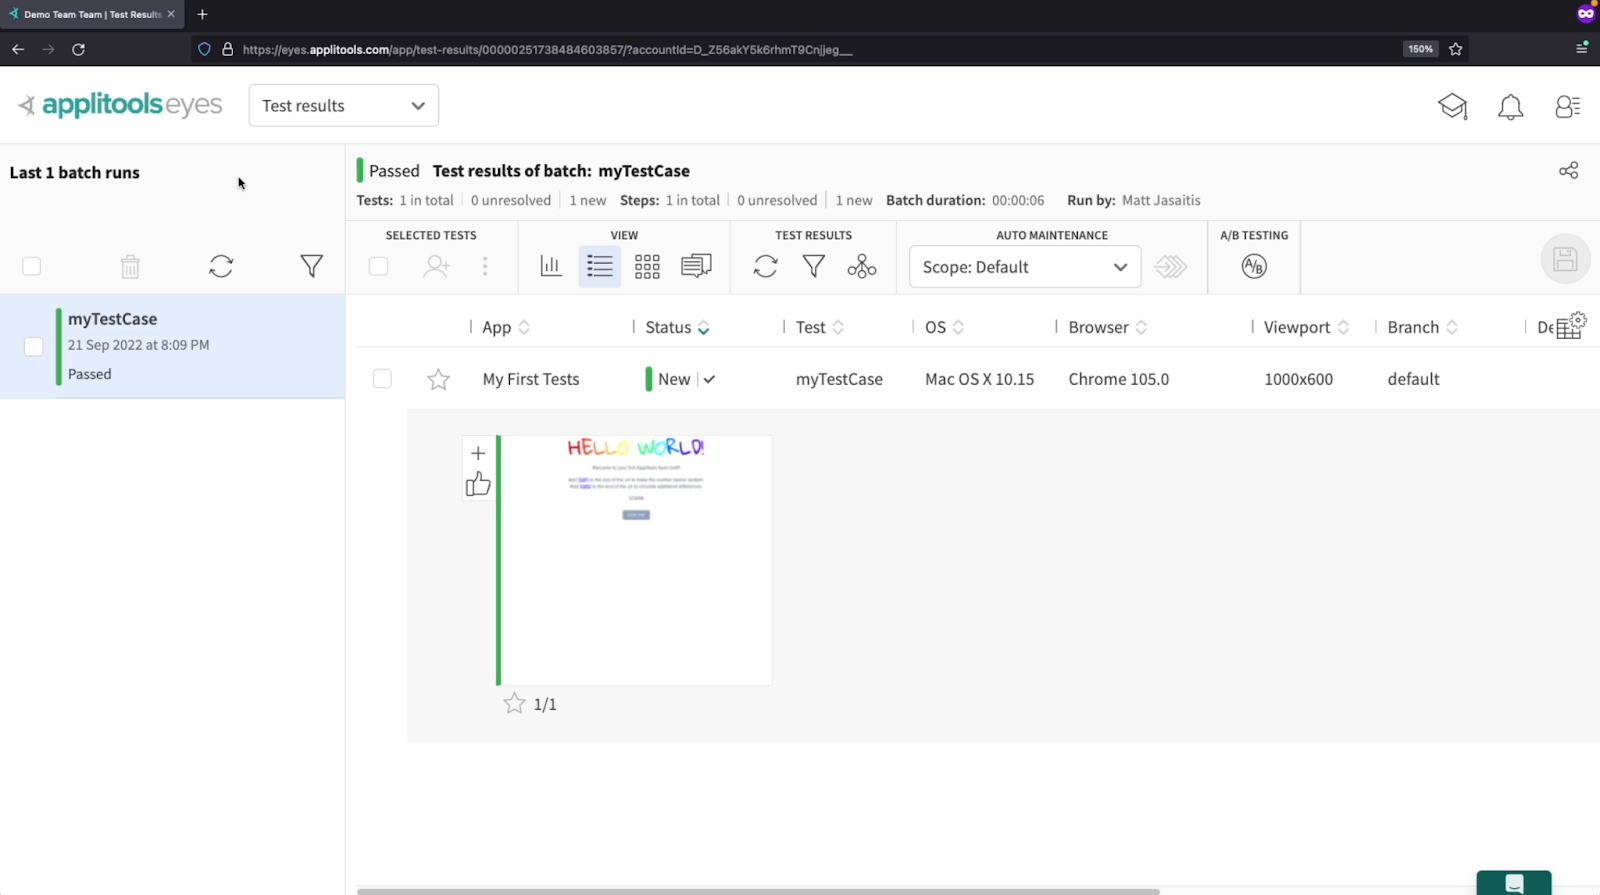
On your dashboard, you should see a test result for the test that we just ran. If you ran into any errors running the test case, please reach out to us via the support channels mentioned earlier.
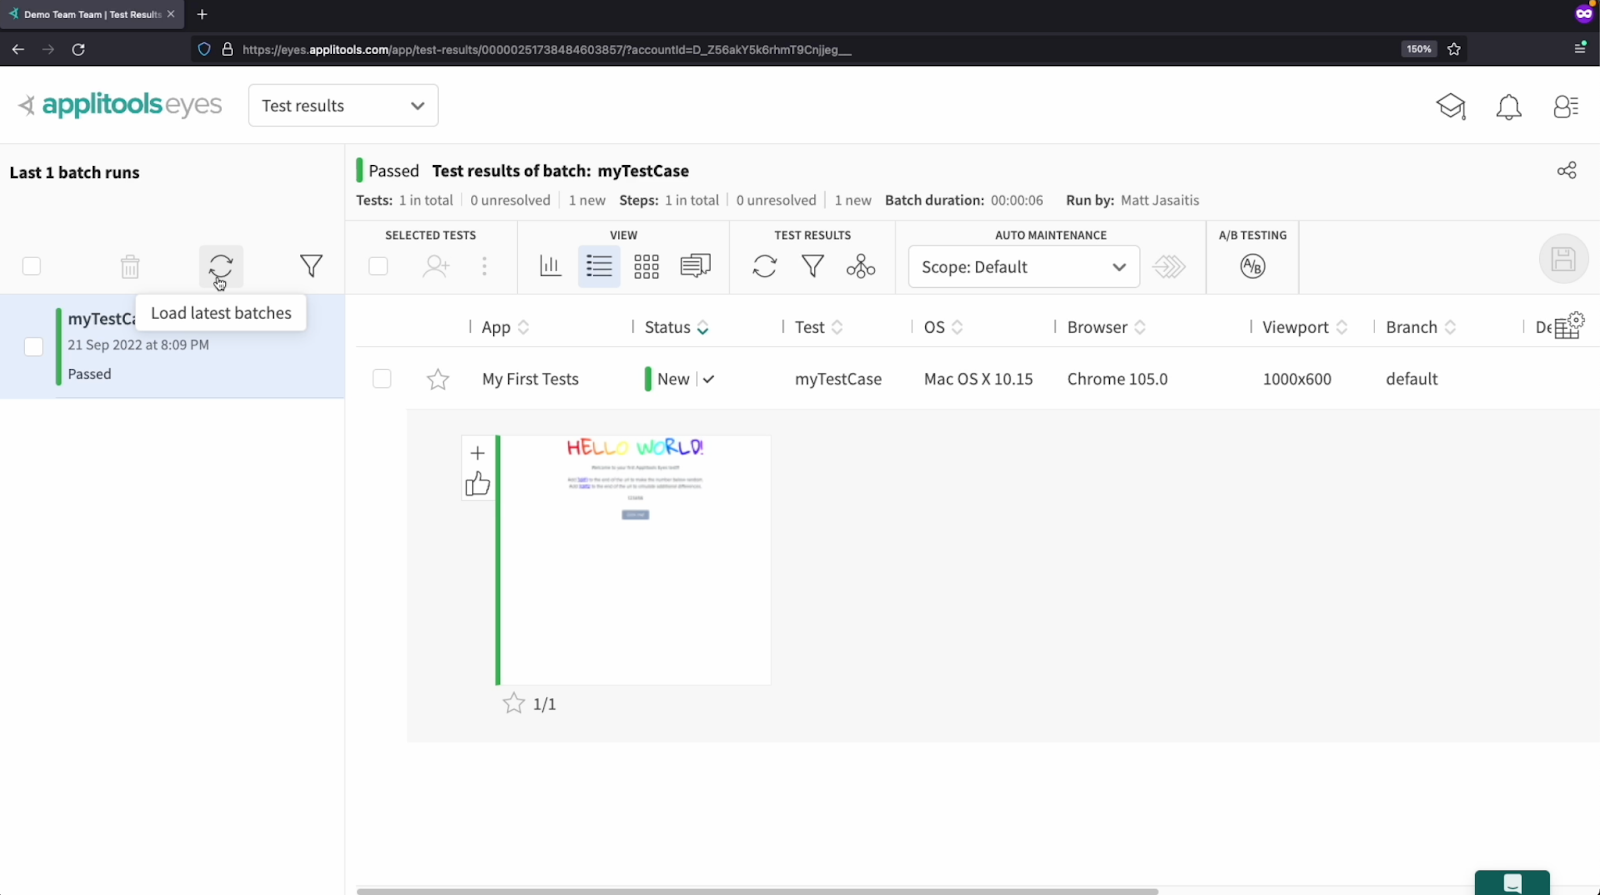
If your test ran without error but it doesn't show up, try clicking this refresh button here or refresh the browser.
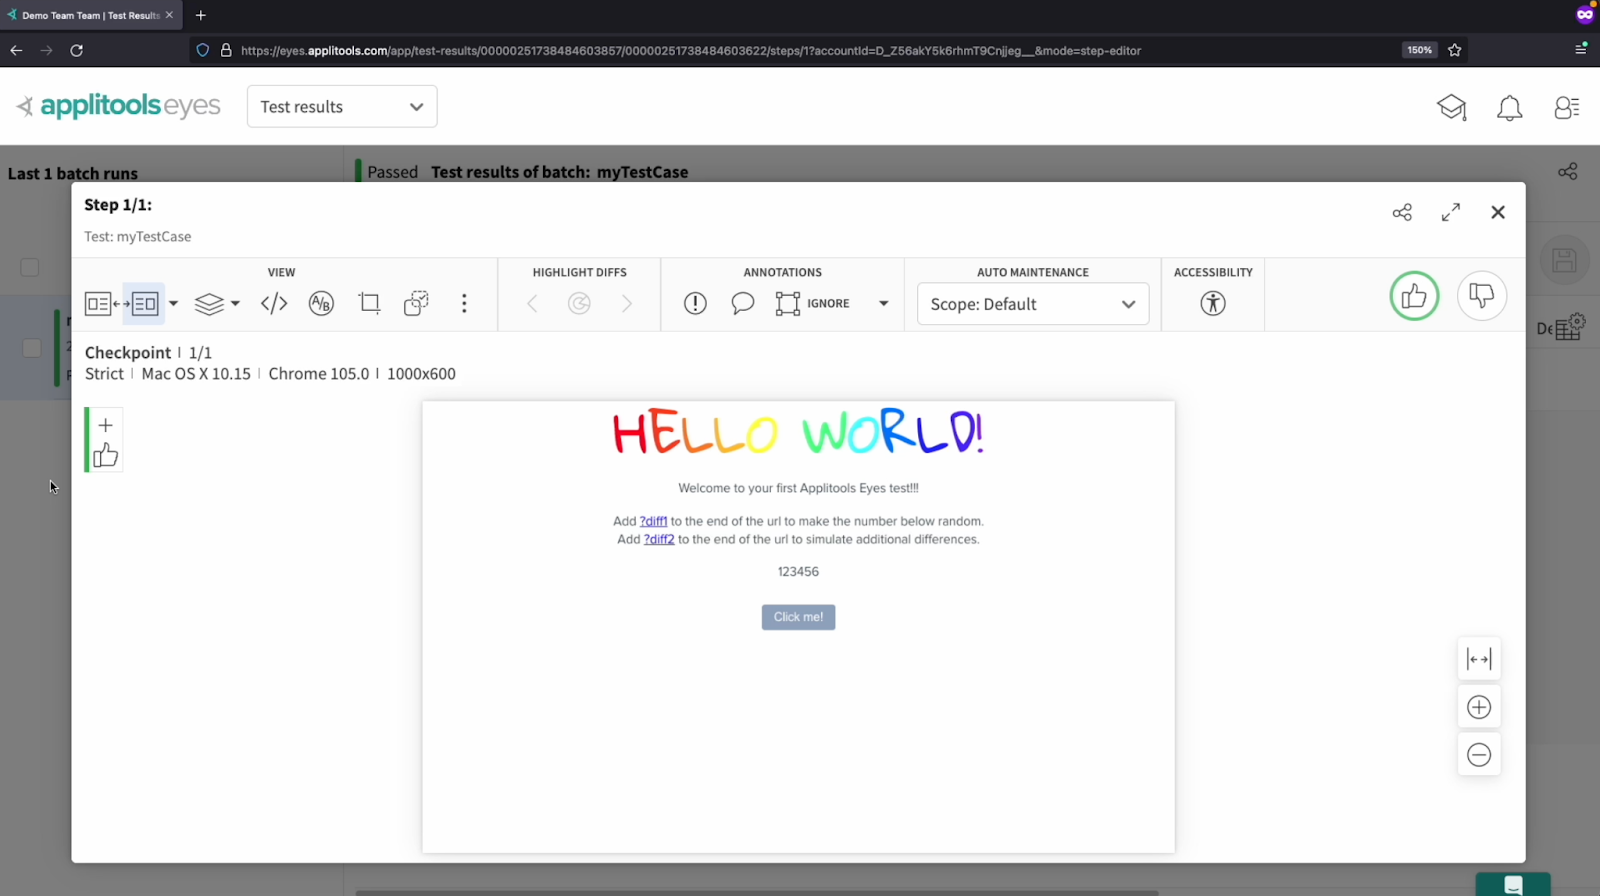
If we click on our test result, we can confirm that we successfully captured a screenshot of our page. As mentioned earlier, this screenshot provides coverage for all of those functional assertions that we removed as well as much more. Great job running your first Visual test with Applitools! In the next chapter, we'll take a deeper dive into reviewing our test results.
Resources
- Sign Up URL: https://auth.applitools.com/users/register
- Project Github Repo: https://github.com/applitools/JavaSeleniumDemo
- Eyes SDK: https://mvnrepository.com/artifact/com.applitools/eyes-selenium-java5/5.22.0
- Troubleshoot API key issues: https://applitools.com/tutorials/guides/advanced-tricks/troubleshooting-issues
