

Transcripted Summary
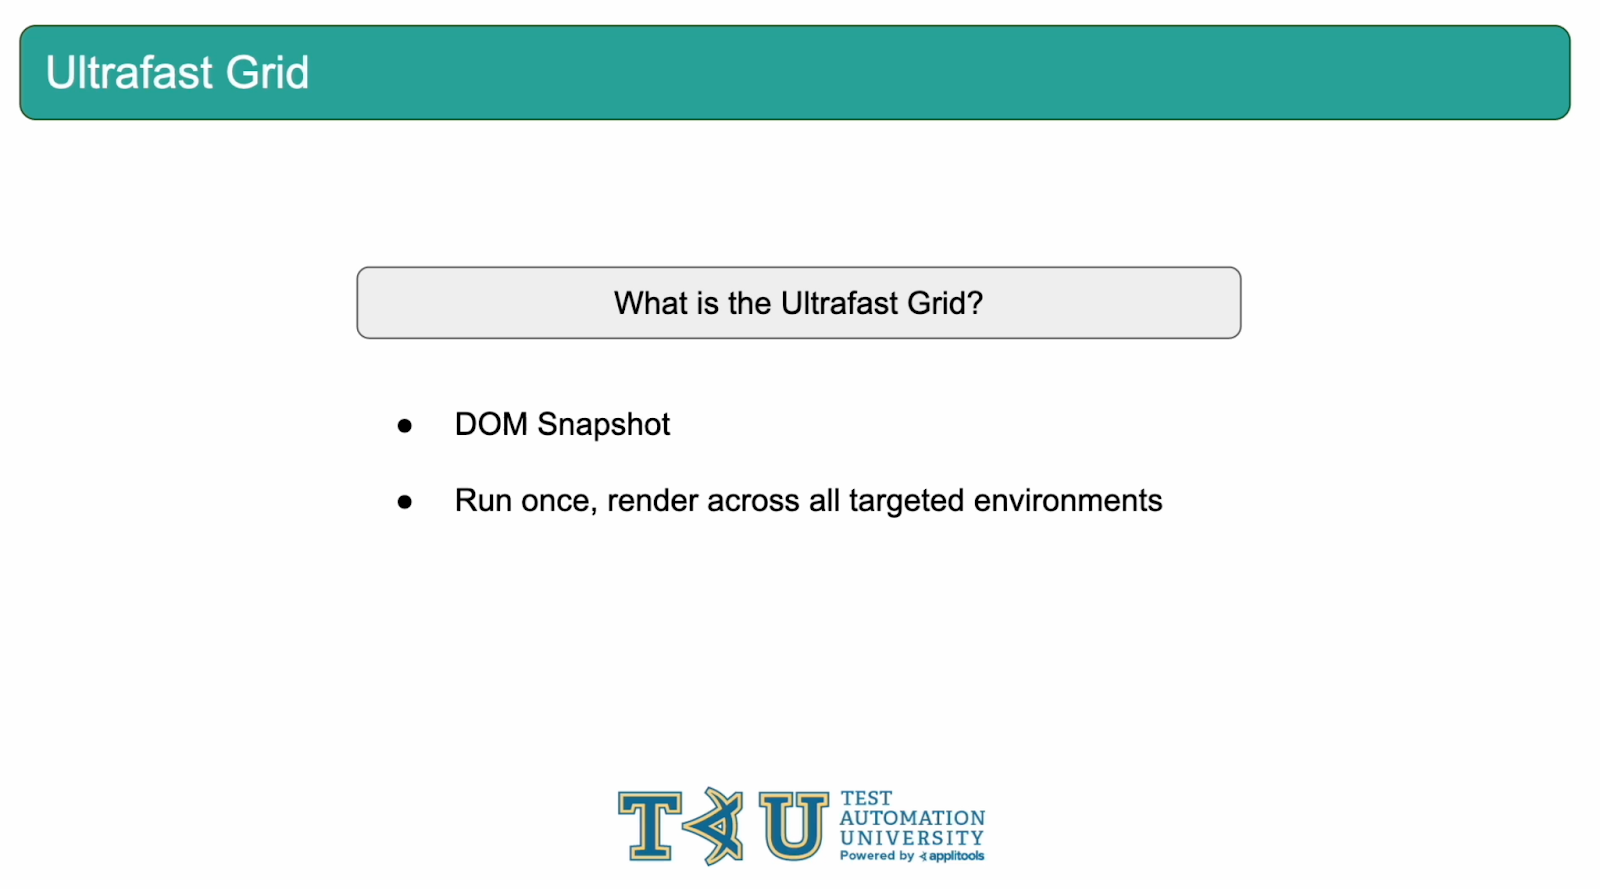
Welcome to the final chapter and grand finale of this course, the Ultrafast Grid. Rather than relying on screenshots taken within the automation framework, the Eyes SDK instead captures what's known as a DOM snapshot. Additionally, the Ultrafast Grid allows you to run your tests once and then dynamically render this DOM Snapshot across all the browsers and environments that you're interested in. In this chapter, we'll give you an overview of the Ultrafast Grid and how it works. We'll then make the final change to our code framework and run our tests with the Ultrafast Grid.
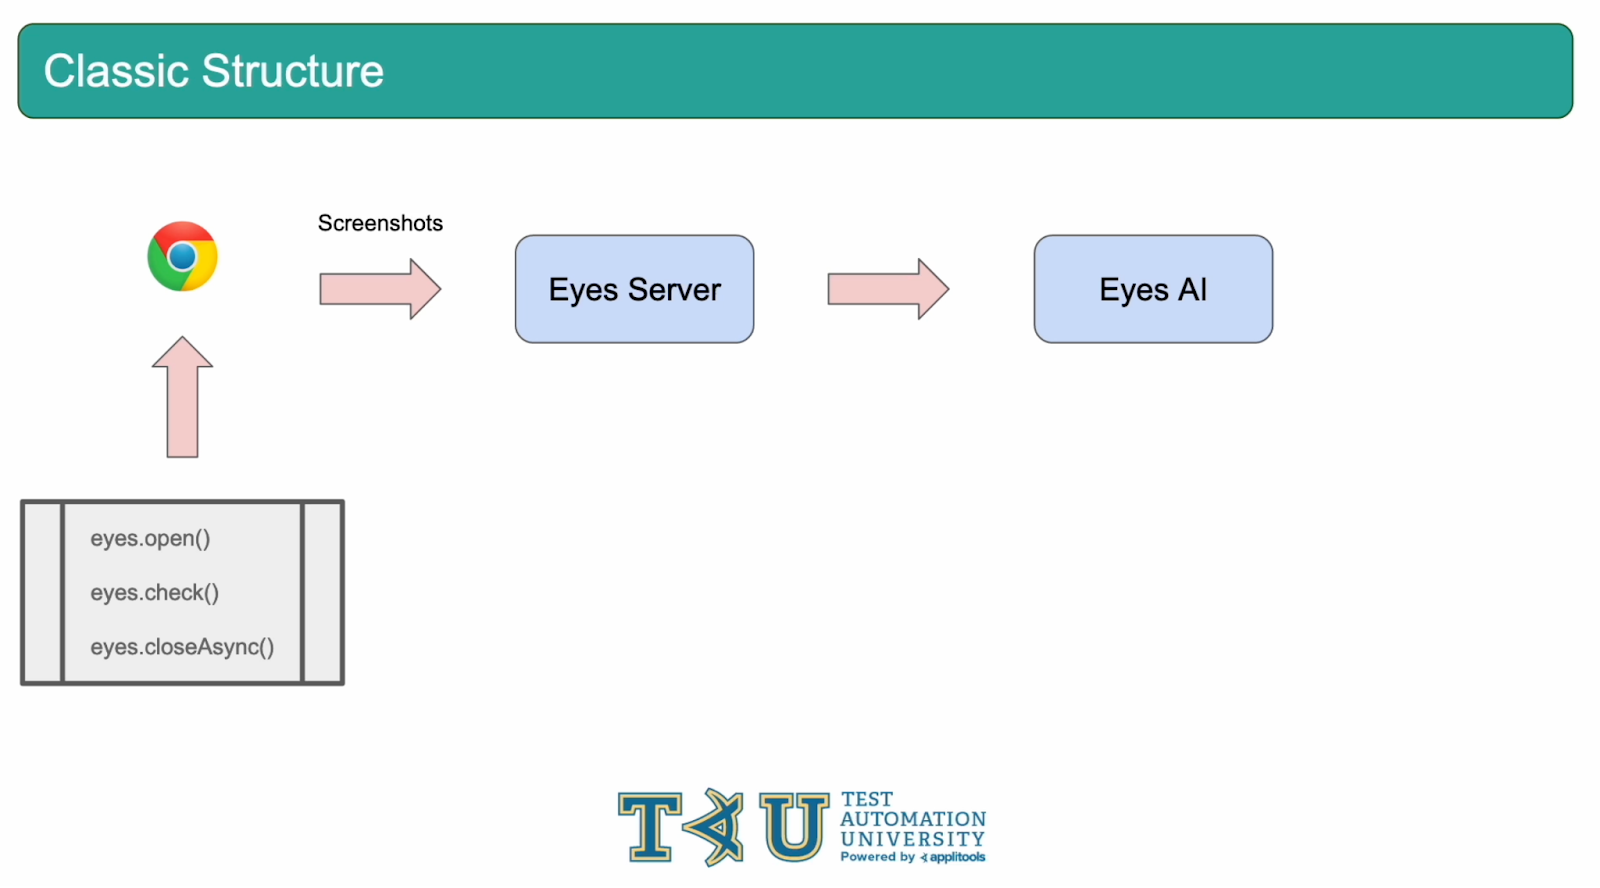
So far in this course, we've been running our tests using the Classic Structure that looks like this. When we run our tests, the automation framework captures a screenshot, uploads it to the Eyes server which then performs the visual validation with the Eyes AI.

With this structure, if we wanted to perform Cross Browser Tests, we'd need to run our test cases against all of the browsers that we're interested in. The complexity grows even more if we consider running on mobile devices as well as various viewport sizes for our desktop browsers. This forces us to end up running our code framework over and over again on each of these environments.
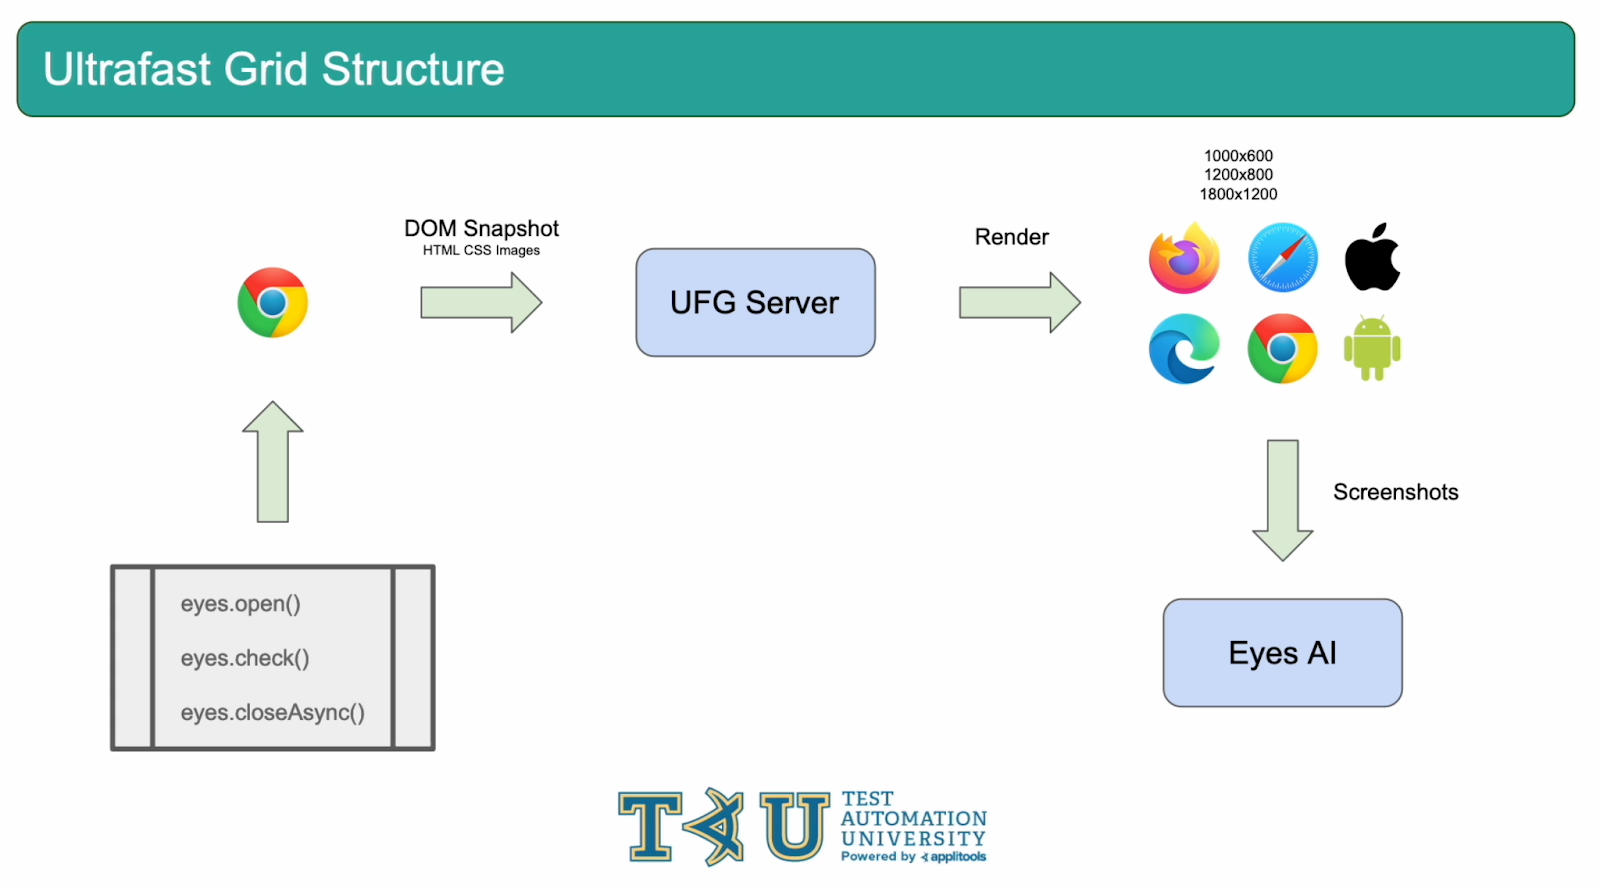
With the Ultrafast Grid, it's only necessary to run your tests to run once. Instead of capturing screenshots and uploading them to the Applitools server, the Eyes SDK captures what's known as a DOM snapshot. The DOM snapshot contains all of the resources for the page including, HTML, CSS, Images and more. The DOM Snapshot is then dynamically rendered across all of the environments specified by the user. Then, those renders capture screenshots and send them to the Eyes AI for visual comparison.
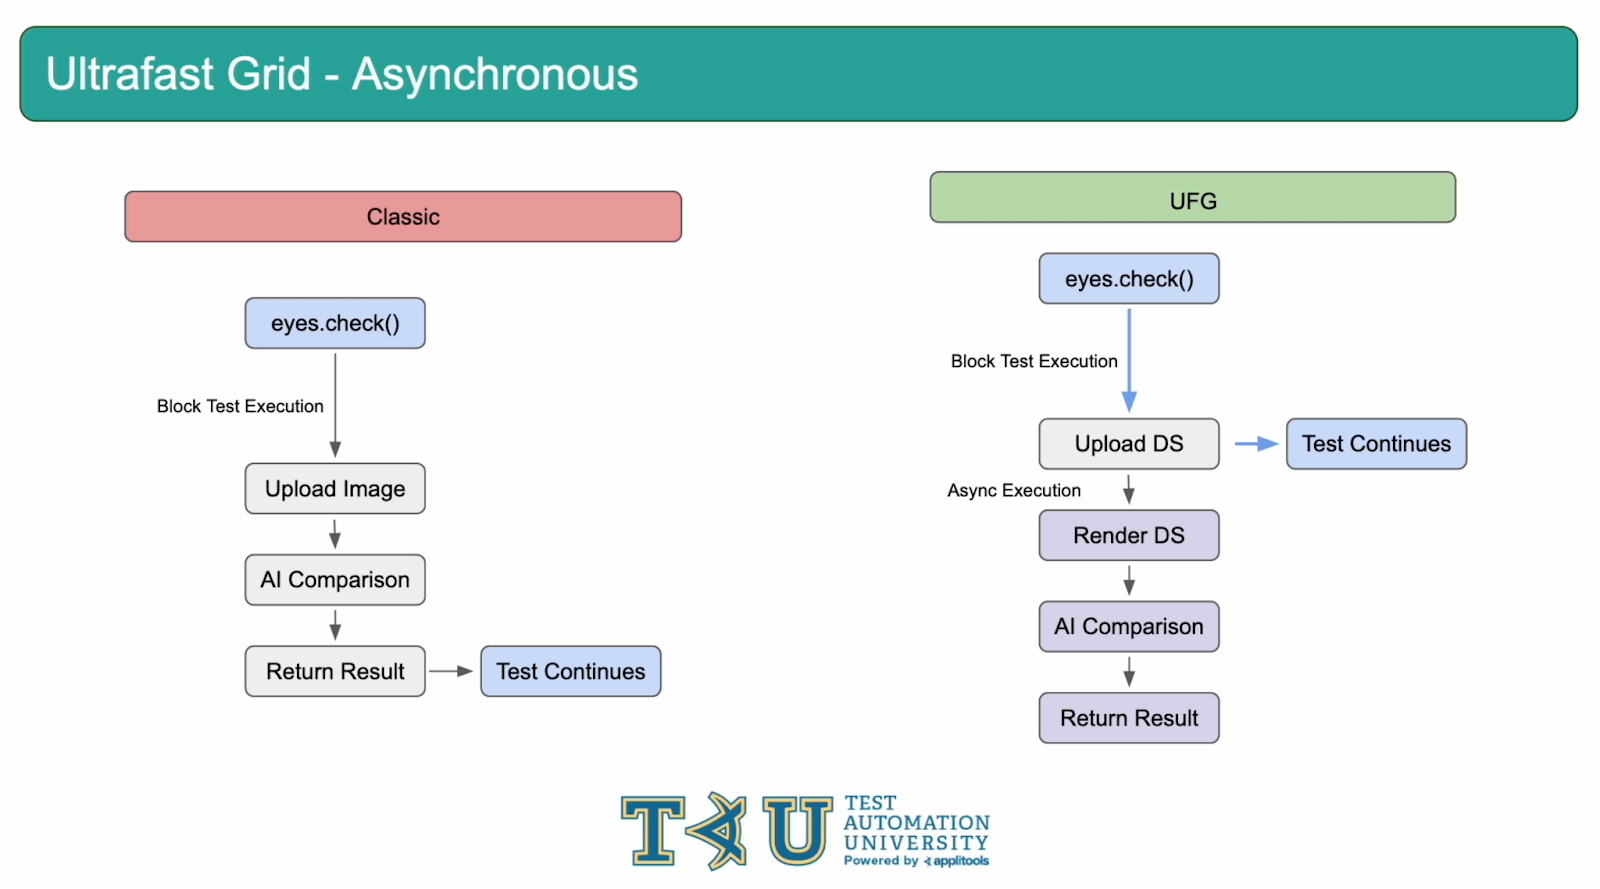
One of the main benefits of the Ultrafast Grid is that all of this happens asynchronously. With the classic method, eyes.check() is a blocking call. This means that your tests are halted until the screenshots have been captured, uploaded and analyzed. Only after all that does the test execution continue. With the Ultrafast Grid, once the DOM snapshot has been captured, which takes a fraction of the time compared to capturing and uploading a screenshot, the test immediately moves on and execution continues. All of the render jobs occurring on the backend happen asynchronously. This results in incredibly fast cross-browser tests with a single run of your test code.
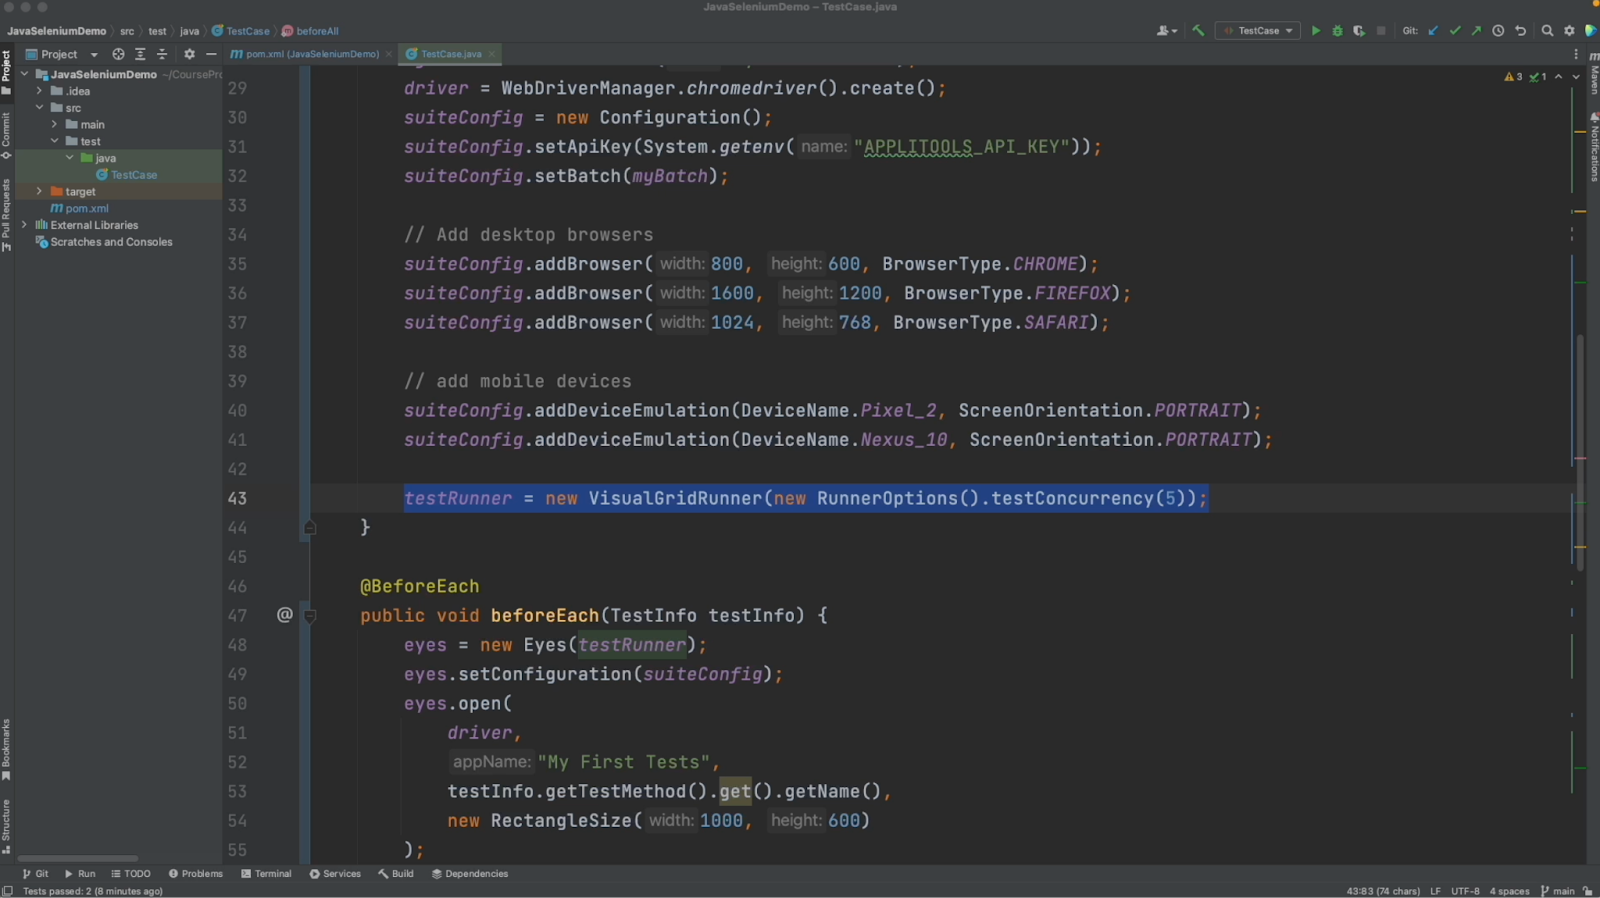
Now that we understand how the Ultrafast Grid works, let's go ahead and modify our code so that it runs with the Ultrafast Grid. Let's go over all of the changes that I made. Firstly, I changed our runner object from ClassicRunner to VisualGridRunner. This is how we tell our Eyes instance to run tests with the Ultrafast Grid. We also passed in some options and specified the concurrency for our render jobs.
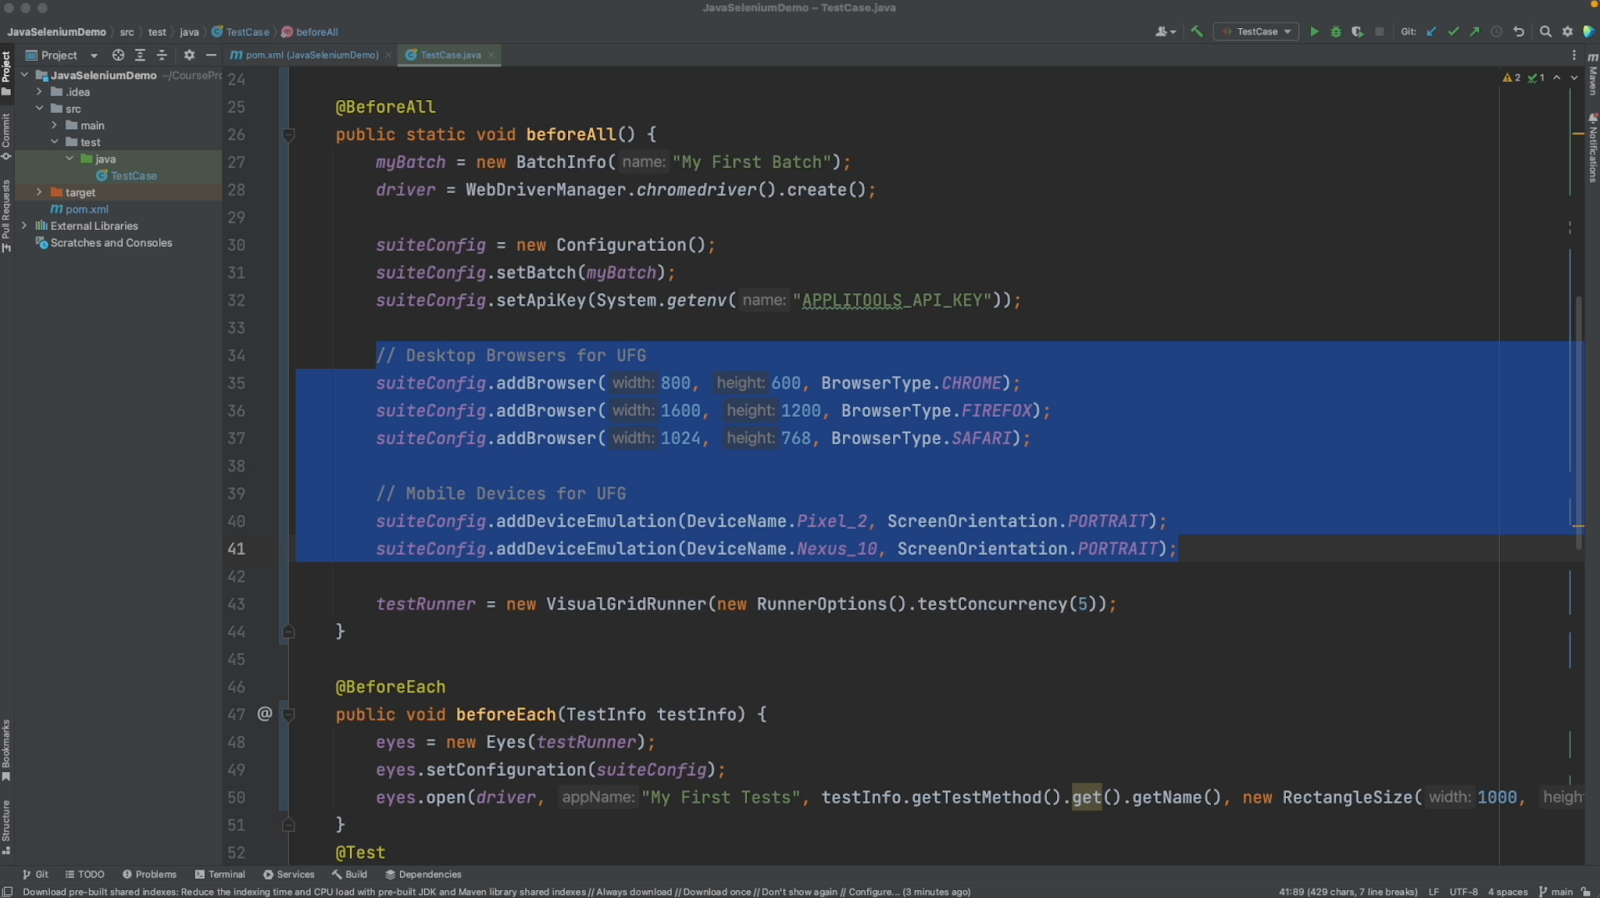
After changing the runner object, all that's left is to add some browsers to our Configuration object. This is where we can tell the Ultrafast Grid which environments we want our tests rendered on. We added in 3 desktop browsers as well as 2 mobile devices. Let's now run our tests a final time and review our results on the dashboard.
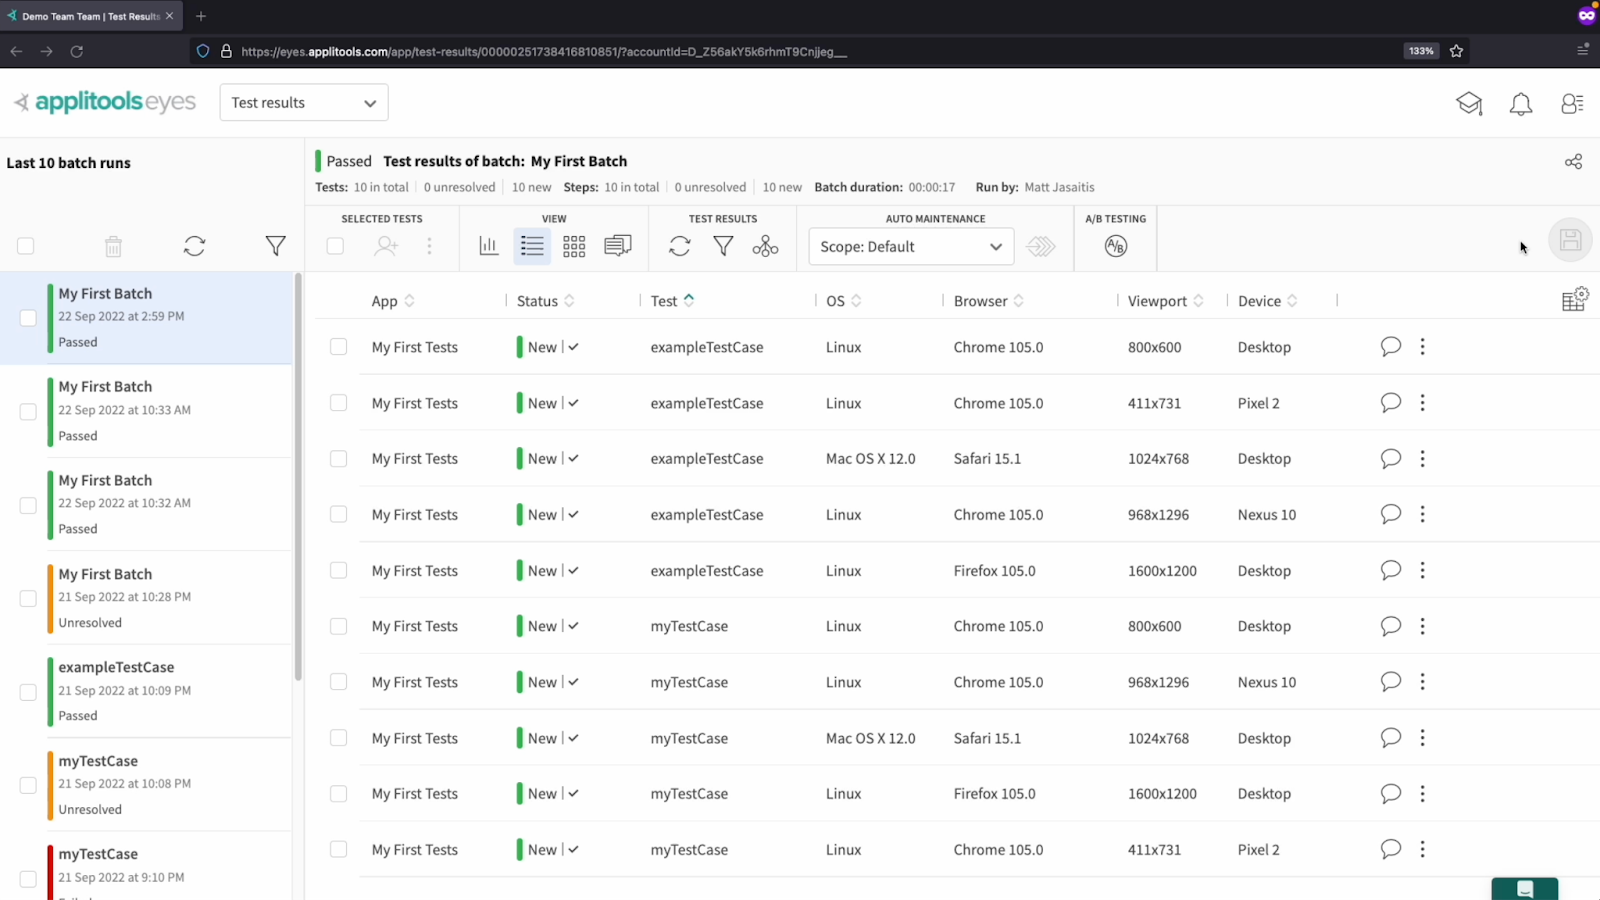
On the Applitools dashboard we can see that even though we ran our test locally only on chrome, we get 5 different results across all the environments we specified. We have Chrome Desktop, Pixel 2 device, Safari Desktop, Nexus 10 Device and Firefox Desktop. Additionally, take note of the time this test took to run. That's 17 seconds for 5 environments! Our test that ran earlier in ClassicMode took 7 seconds but that was only 1 environment. This means for 10 extra seconds, we get all of this cross browser coverage. This is the power of the Ultrafast Grid.
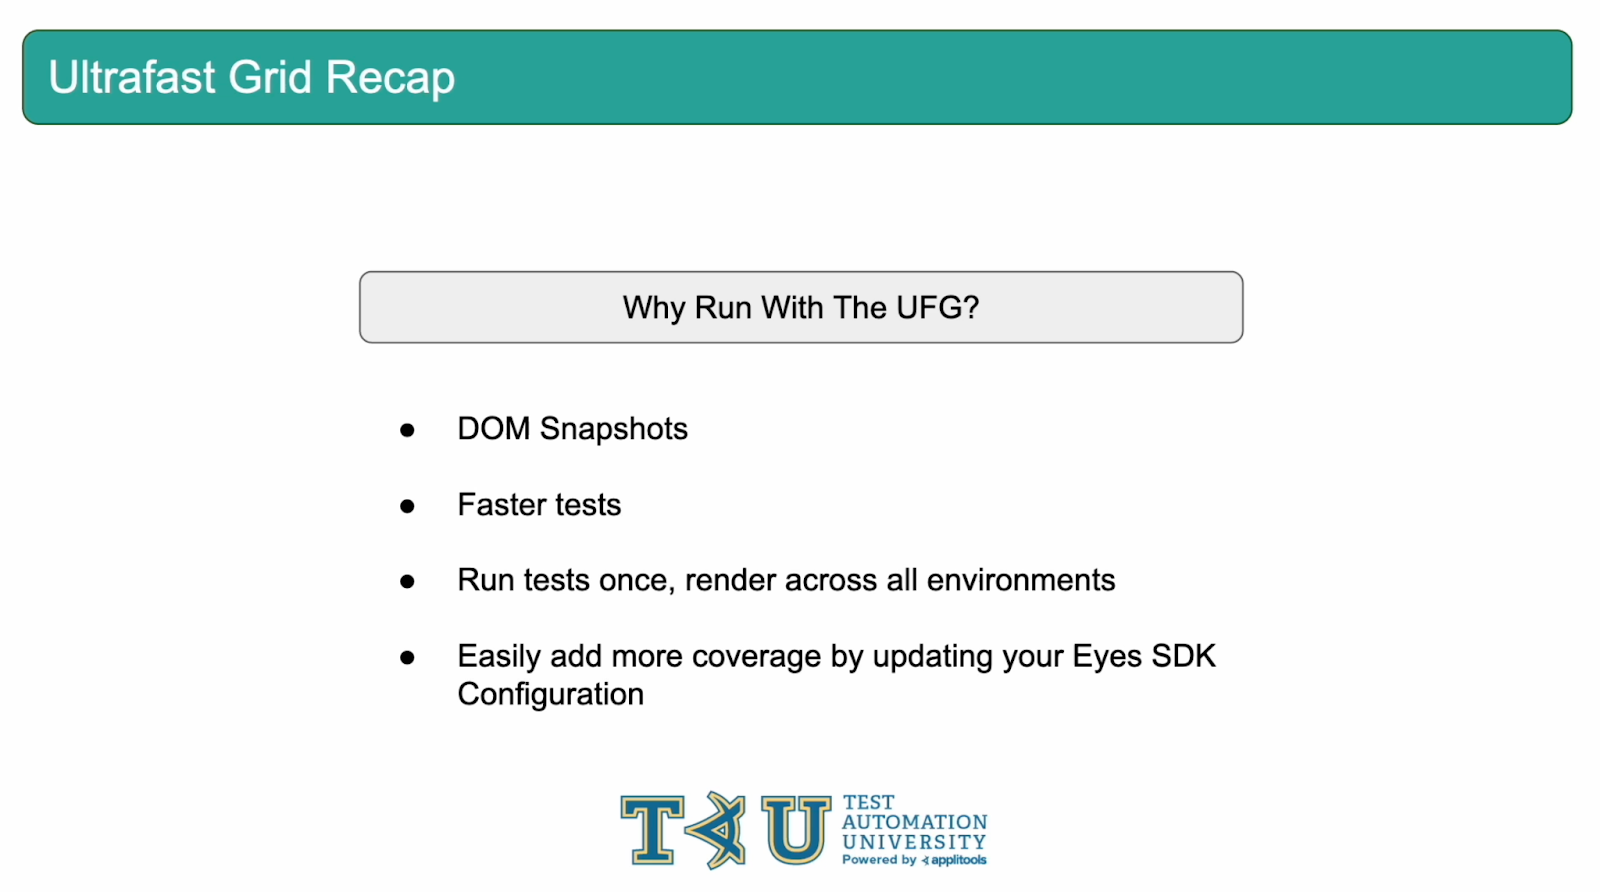
Let's go ahead and recap what we just learned about the Ultrafast Grid: The Ultrafast Grid works by bundling the resources of the page into what's known as a DOM Snapshot. It then asynchronously renders this DOM Snapshot across all the environments that you want to test against. This greatly speeds up your Cross Browser tests by allowing you to run your test suite once rather than having to run it multiple times for each browser you want to test. We also saw how easy it was to configure our tests to run against the Ultrafast Grid. All we had to do was change our runner object and then add in the browsers and devices we wanted to test against to our Configuration object. The Ultrafast Grid is aptly named as it provides incredibly fast Cross Browser Tests requiring very minimal set up. I've placed some more documentation around the Ultrafast Grid in the write up down below for those who'd like to learn more about it.
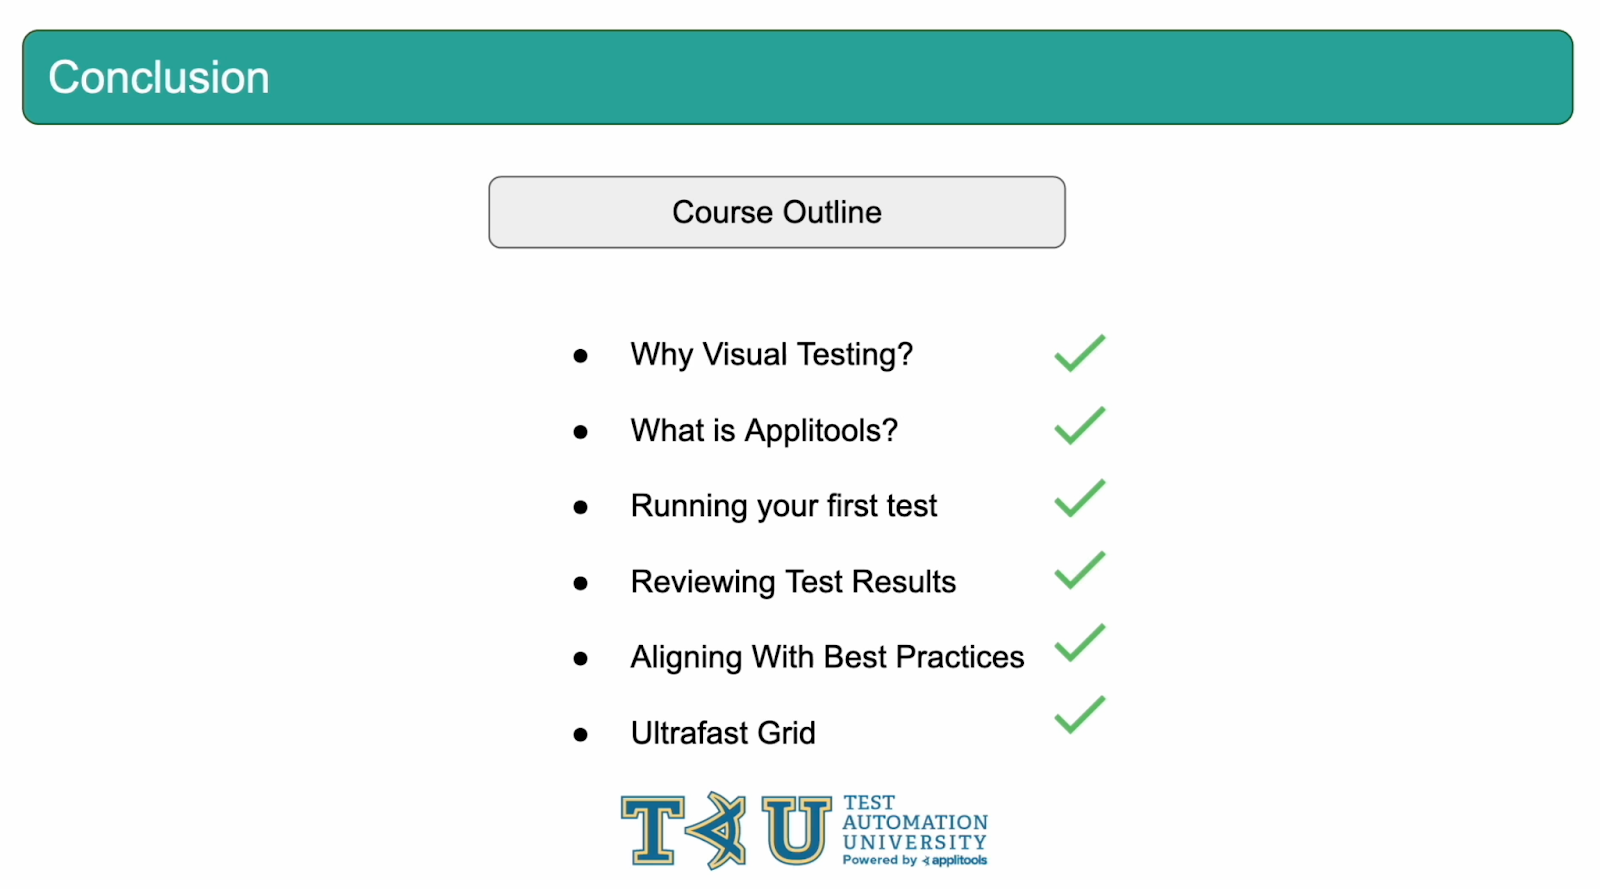
Amazing, Amazing work completing this course! We've learned so much along the way about the basics of visual testing with Applitools. We've learned about what visual testing is and why it's important. We got a high level overview of Applitools and how it provides functional and visual testing coverage. We set up and ran our first test using an Applitools SDK. We learned how to review our tests on the Applitools dashboard. And finally, to wrap it all up, we modified our tests to align with best practices and ran them against the Ultrafast Grid. You now have all of the basics needed for working with Applitools. In future courses, we will build on top of these basics and take a deep dive into all of the capabilities that Applitools provides. If there's anything you'd like clarification on or just want to discuss something, please remember to reach out to us via the support channels mentioned at the beginning of this course.
