

Transcripted Summary
Today we will be looking at how to install the packages for our React App and implement the React Testing Library, and also Cypress.

Jest comes as a default when you use Create React App. We don't need to install that; we just need to configure it to run as part of our run commands. We'll be doing that as step 2.
We can use Create React App and one of its templates to be able to set up our app, and it will have all of the implementations that we need.
I've set up a template, so you can take a look at the npm package and the GitHub repo.
You can copy the command from here.
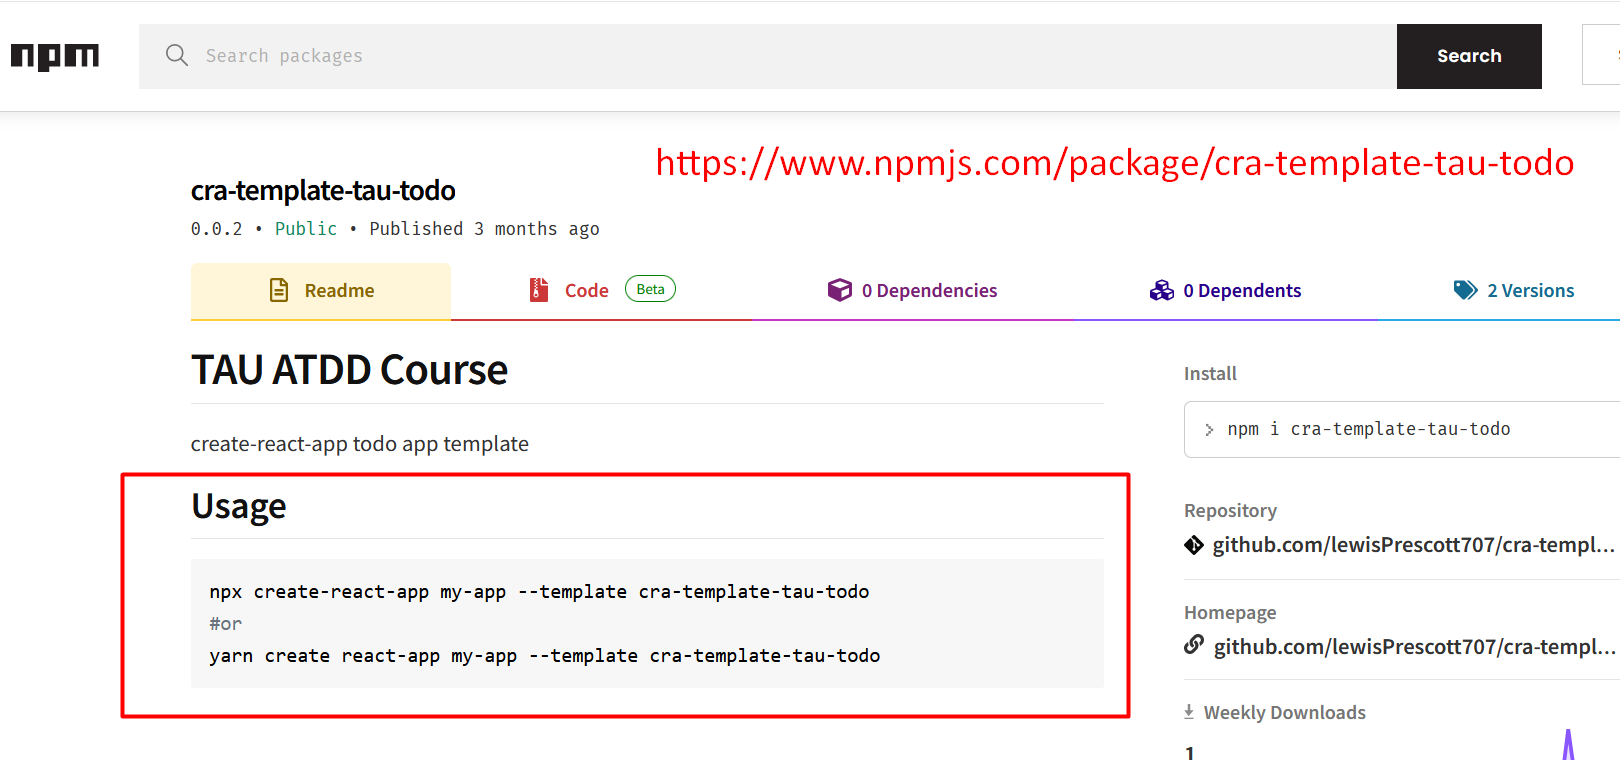
We can just copy that into our terminal and change the name (where it says “my-app” to the name of the app. I'm going to call mine “tau-todo-app” and just hit enter.
npx create-react-app tau-todo-app --template cra-template-tau-todo
Use all the defaults.
If you come across this issue.

Then what you can do is you can just tell Create React App to use @latest and then pass use-npm.
npx create-react-app@latest tau-todo-app --template cra-template-tau-todo --use-npm
This will take a few minutes to go through and install all the dependencies, set up our React App with the basic “todo” implementation, and also get our scripts ready to be able to start our app.
I'm going to fast-forward this a little bit.
Here we go.
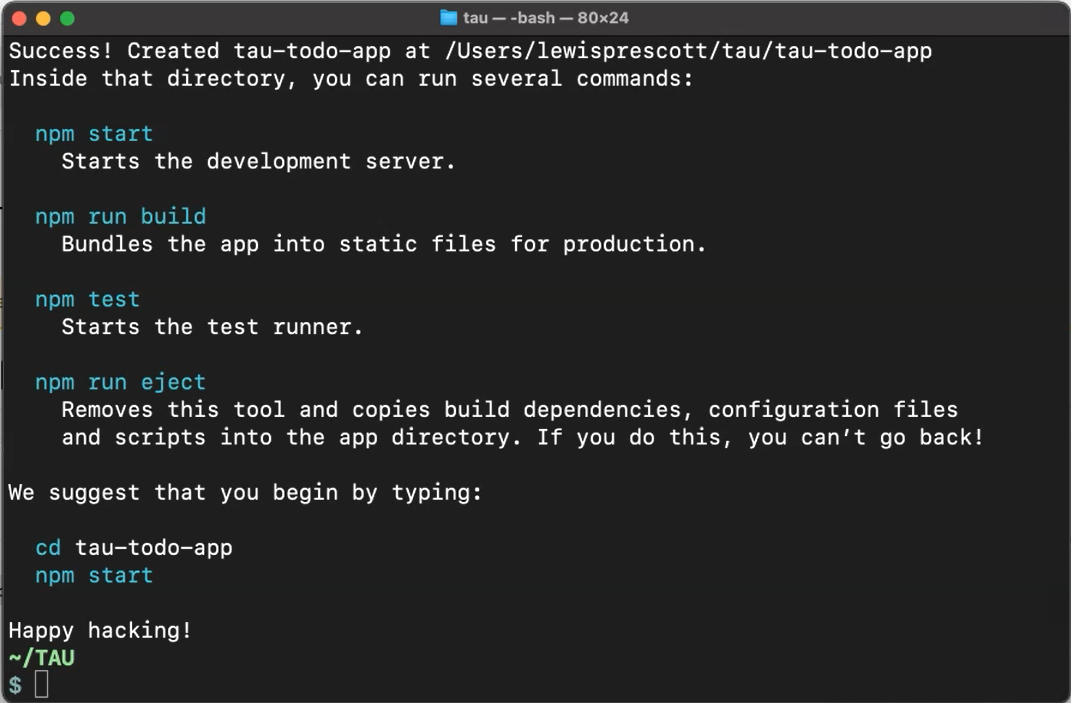
Once we have finished the command, it shows you all of the commands.
So, if we cd into the folder we just created, which is the name of the app you provided, cd tau-todo-app we can just hit npm start.
It'll be empty as we've not implemented anything.
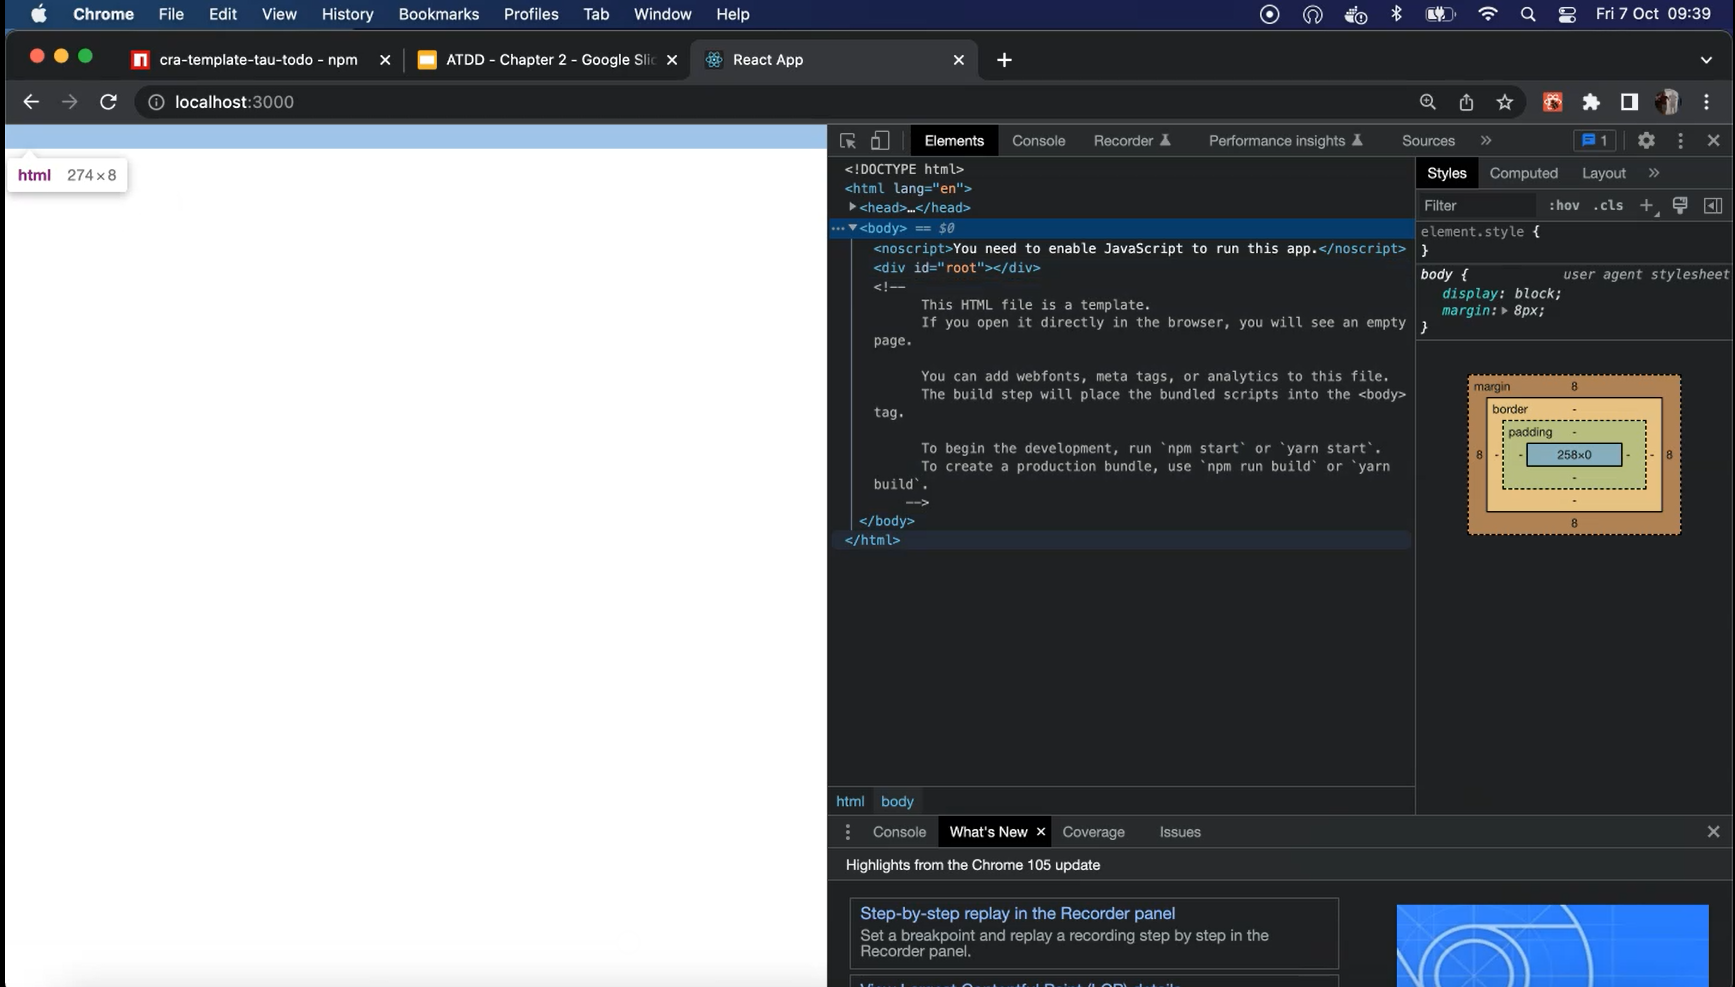
But as you can see, it's got a body ready for us to implement some code.
If we launch Visual Studio Code and if we have a look at the dependencies that we've got here (in the package.json).

We've got our react, we've got our react-dom and we've got our react-scripts.
This allows us to run our React App, and Jest is hidden in the background.
React Scripts has the Jest command, so we just run react-scripts test.
We need to install some additional packages in order to have React Testing Library, Cypress, and some additional packages, as well to configure everything nicely with Jest.
We're going to do that now.
If we jump back to the terminal, we're going to install some additional packages for our Testing Libraries.
We're going to save them as devDependencies as these won't make it into the app.
We've got @testing-library/jest-dom, @testing-library/react, @testing-library/user-event, and we've got cypress.
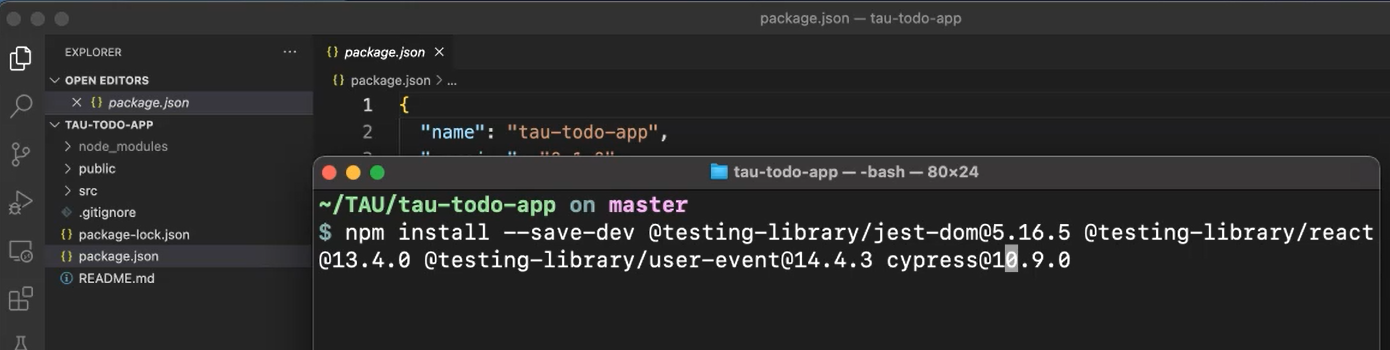
We're pinning all these versions, so we don't have any nasty surprises.
What are these packages doing?
So, testing-library/react, is the main one that we would like. This allows us to render our application within our tests and render our components so we can test those components easily.
The user-event allows us to have certain commands which make it much easier for us to interact with the application as if we were the user.
The jest-dom adds that additional functionality so that we can interact with the Jest library as well.
And then, obviously, we have Cypress, which is going to do our acceptance testing and test from the browser interactions. So, we're going to install those.
Now again, we can skip ahead.
New to Jest or Cypress?
Make sure that you check out the course on Test Automation University, the Jest JavaScript Testing Framework. So, you've got a basic understanding of how Jest works before you get involved in this course. Also, check out the Introduction to Cypress course so you have a basic understanding of the fundamentals of Cypress, as we won't be covering that in this course.
Now we've got all our packages ready.
We need to add our scripts for Cypress, so that we can run those within our tests.
I'm going to add in a couple of scripts here — cy:open which will launch the Cypress window and cy:run which will run our Cypress tests headlessly for running in CI, for example.
  "scripts": {
    "start": "react-scripts start",
    "build": "react-scripts build",
    "test": "react-scripts test",
    "ci:test": "cross-env CI=true react-scripts test --coverage",
    "eject": "react-scripts eject",
    "cy:open": "cypress open",
    "cy:run": "cypress run"
  },
Once you've installed Cypress, as you probably already know, you need to run it in order to create the Cypress folder [npm run cy:open].
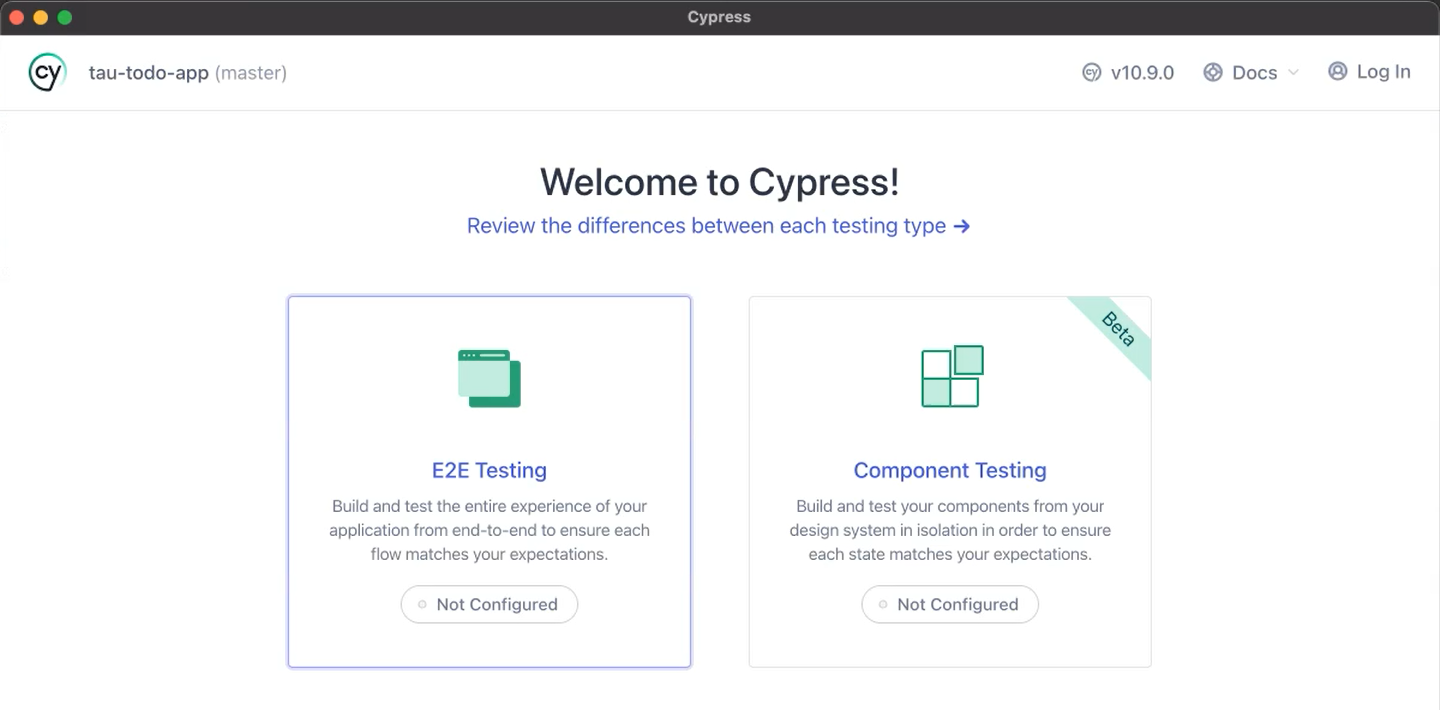
So, we're going to be using the end-to-end testing solution (E2E Testing).
We want it to set up all the default files for us.
We're going to use Chrome.
Create a new empty spec, you can just call it “todo” for now.
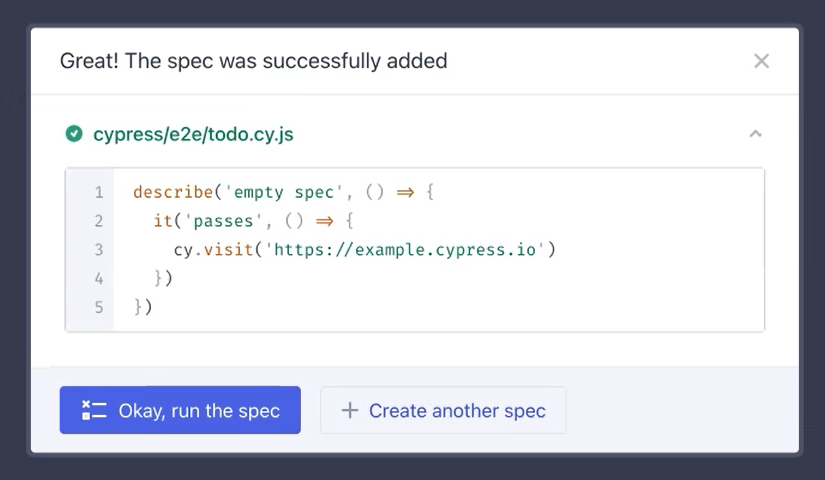
And we can run the spec.
Great. Now we can close the Cypress window.
And now we've got our Cypress folder, which has our test scaffolded for us and all our support files.
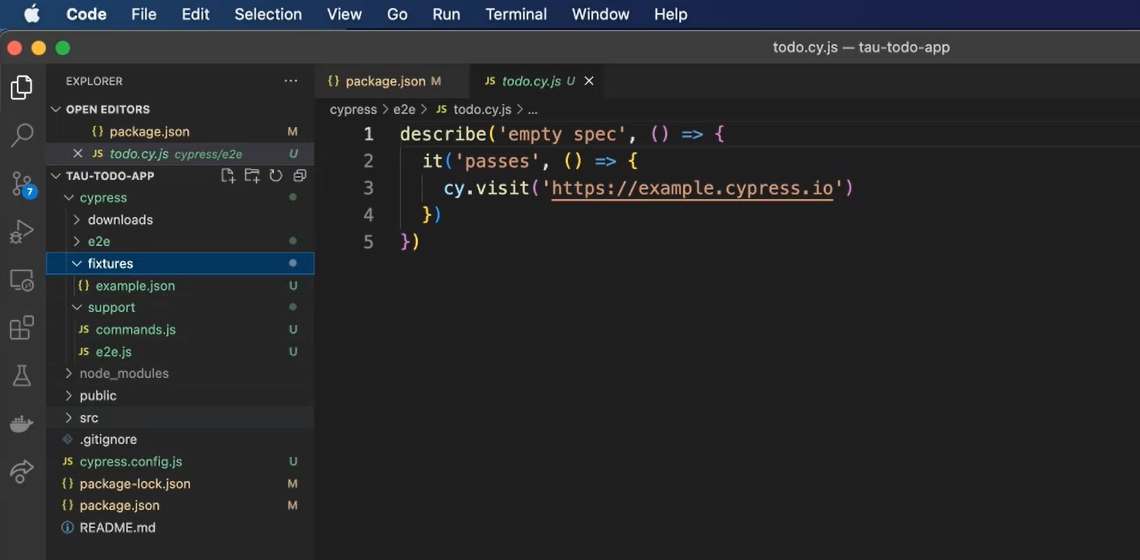
We can now jump into the next chapter and get ready to start creating our tests for our acceptance tests.
See you in the next chapter.
Resources
- Git Repo for Course Code
- Create React App website
- Create React App-template
- Create React App Docs
- Cypress Docs
- Testing Library Docs
- Jest Docs
- TAU Course: Jest JavaScript Testing Framework
- TAU Course: Introduction to Cypress
