

Transcripted Summary
In this chapter, we will look at the unit testing part of the ATDD cycle.
The first Jest unit test we will write will be exactly the same as we did for our Cypress test. We’re going to be using the same element selectors using test IDs. And again, our test will fail as the application code doesn't exist yet.
# Jest Key Functions
As I mentioned, make sure you've checked out the core functions, but we will be using React Testing Library. That may be slightly different from what you've seen before.
The key functions we care about within Jest will be the assertions and how we interact with the test, so the structure of the test and how we break it up.
# Testing Library Key Functions
Testing Library has some great resources. Go and check it out.
We're going to be looking at how we select using test IDs and how we use the User Events Library to interact with our elements.
If we have a look at the terminals, I've now got three terminals open.

I’ve got one which is running the application.
I've got one which is running Cypress in the background because that's constantly watching for changes, so that will rerun if I change my application code.

And then, we're also going to run the test command for Jest, so that will watch for any changes as well.

As part of our Jest test, we're going to put them in a “tests ” folder.

So, within the source folder (src) we're going to create a new folder which has our test inside — “src/tests/add.spec.js”.
We're going to call this one “add” again, but we're going to call it a different syntax. Either spec or test will be picked up by the Jest default configuration.
I'm going to add in the imports that I prepared earlier.
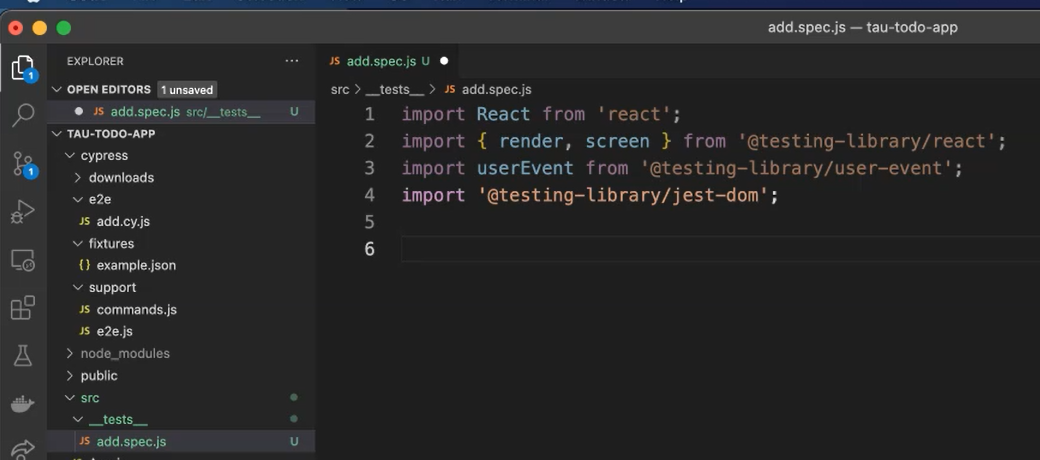
We need to import React to allow us to render the component.
The testing-library/react comes with the ability to render and use the screen directly so we can navigate to the screen and access the information that we need.
The userEvent is, as I mentioned, this is how we can interact with the application as the user would.
And the jest-dom import allows us to use the Jest configuration within Testing Library.
# Let's create our test.
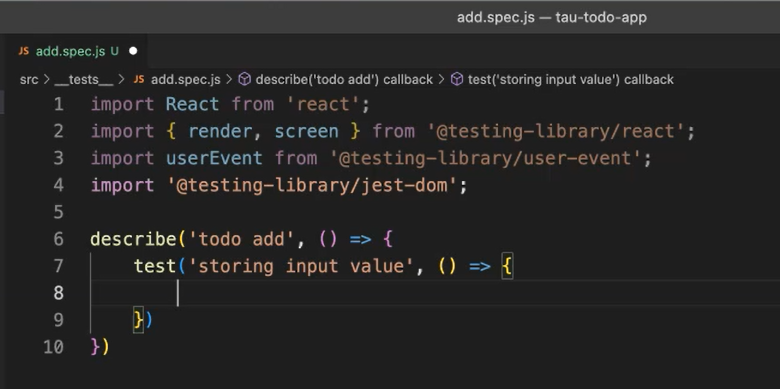
We're going to add our describe block, and this is for our “todo add” functionality.
We're going to create our callback function and add our test. This is “storing input value”.
Now we need to render our component. We can use the React Testing Library render.
And we pass the component that we want it to render, which will be our Add component.
We can also use the shorthand and auto-close it.
We don't have the Add component yet, so we need to import it.

But as you can see in the source directory, we don't actually have that component yet.
At this point, if we pull up the Jest, it cannot find the module, so that's your first failing test.

Let's go ahead and add the component.
Let's go ahead and add it (“src/Add.js”) so it doesn't fail just for the file not existing.
Let's just add a default component in there for now. We can just add an empty function for Add.
export default function Add() {}
Back in our test, make sure to reference it with the folder location — import Add from '../Add';
Currently it passes because we're not providing any actions.
Now we're going to create our action using the userEvent.
This has all the native commands that a user could do to interact with the page.

We're going to type some text into our input.
How do we get our elements that we're going to type into?
We're using the screen as this is provided by React Testing Library to allow us to grab the elements that have been rendered.

We're going to getByTestId, as we know this is going to be on the page.
And this is the “todo” input, which we used within our Cypress test.
We're going to use exactly the same attribute to grab our element. And we're going to getByTestId,
So, what are we going to type? We're going to type a "second todo item" as this is the second time we are doing it.
We've got our action. Now we need to assert what the value is on the input value.
We can expect. We're going to grab the screen again after the action.
And we're going to getByDisplayValue on the screen.
And we can use a regular expression here to look for our “todo item” that we just added or input.
And we're going to expect that toBeInTheDocument, with the document being the page or the component that we've just rendered.
# Example Code - add.spec.js
import React from 'react';
import { render, screen } from '@testing-library/react';
import userEvent from '@testing-library/user-event';
import '@testing-library/jest-dom';

import Add from '../Add';

describe('todo add', () => {
    test('storing input value', async () => {
        render(<Add />);

        await userEvent.type(screen.getByTestId("todo-input"), "second todo item");

        expect(screen.getByDisplayValue(/second todo item/)).toBeInTheDocument();
    })
})
We'll hit save on that, and we can check our terminal again.
At this point, you can see it's unable to find the element of data-testid because we have not implemented that.

So, we've got our failing test again.
In the next chapter, we'll look at actually implementing our React component.
Resources
- Git Repo: add.spec.js
- Git Repo: Add.js
- Github: Chapter 4 Starting Point Code
- Github: Chapter 4 Complete Code
- Jest async
- React Testing Library API
- Testing Library User Event
