
Transcripted Summary
In this chapter, you’ll learn about multiple ways to visually check your application. Eyes checkpoints allow you to visually assert as broadly or as specifically as needed. You’ll learn how to visually assert an entire window or a specific element, frame, or region.
Applitools offers various ways to check your application. We call these checkpoints.
# Check Window
So far, we've looked at the checkWindow checkpoint. Let’s review this in more detail.
eyes.checkWindow();
We've used this against applications where we can see the entire page within a single eye view. However, there are cases where pages may extend much longer and wider than can be contained within a single screen shot.
For example, let's look at this webpage: The Internet - Large & Deep DOM
The DOM (Document Object Model) is very long, meaning we would need to scroll vertically; and then it's also wide, meaning we would also need to scroll horizontally if we wanted to fully verify this page.
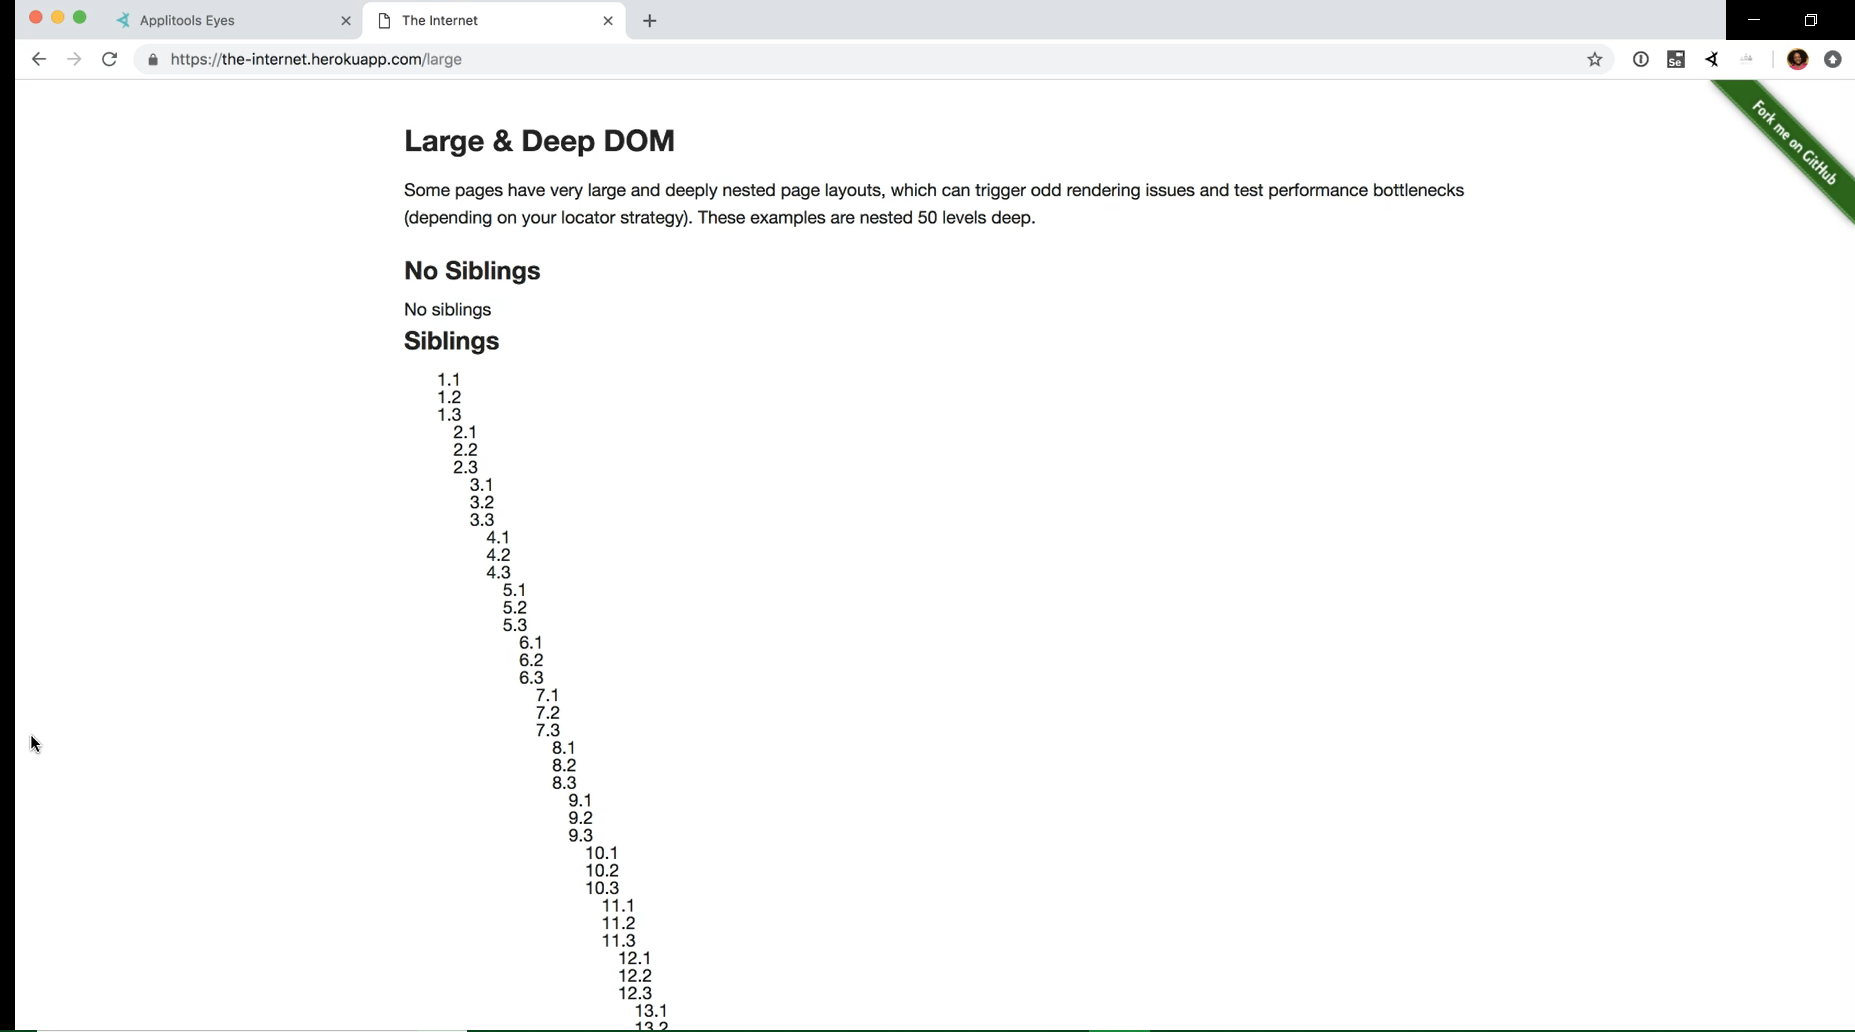
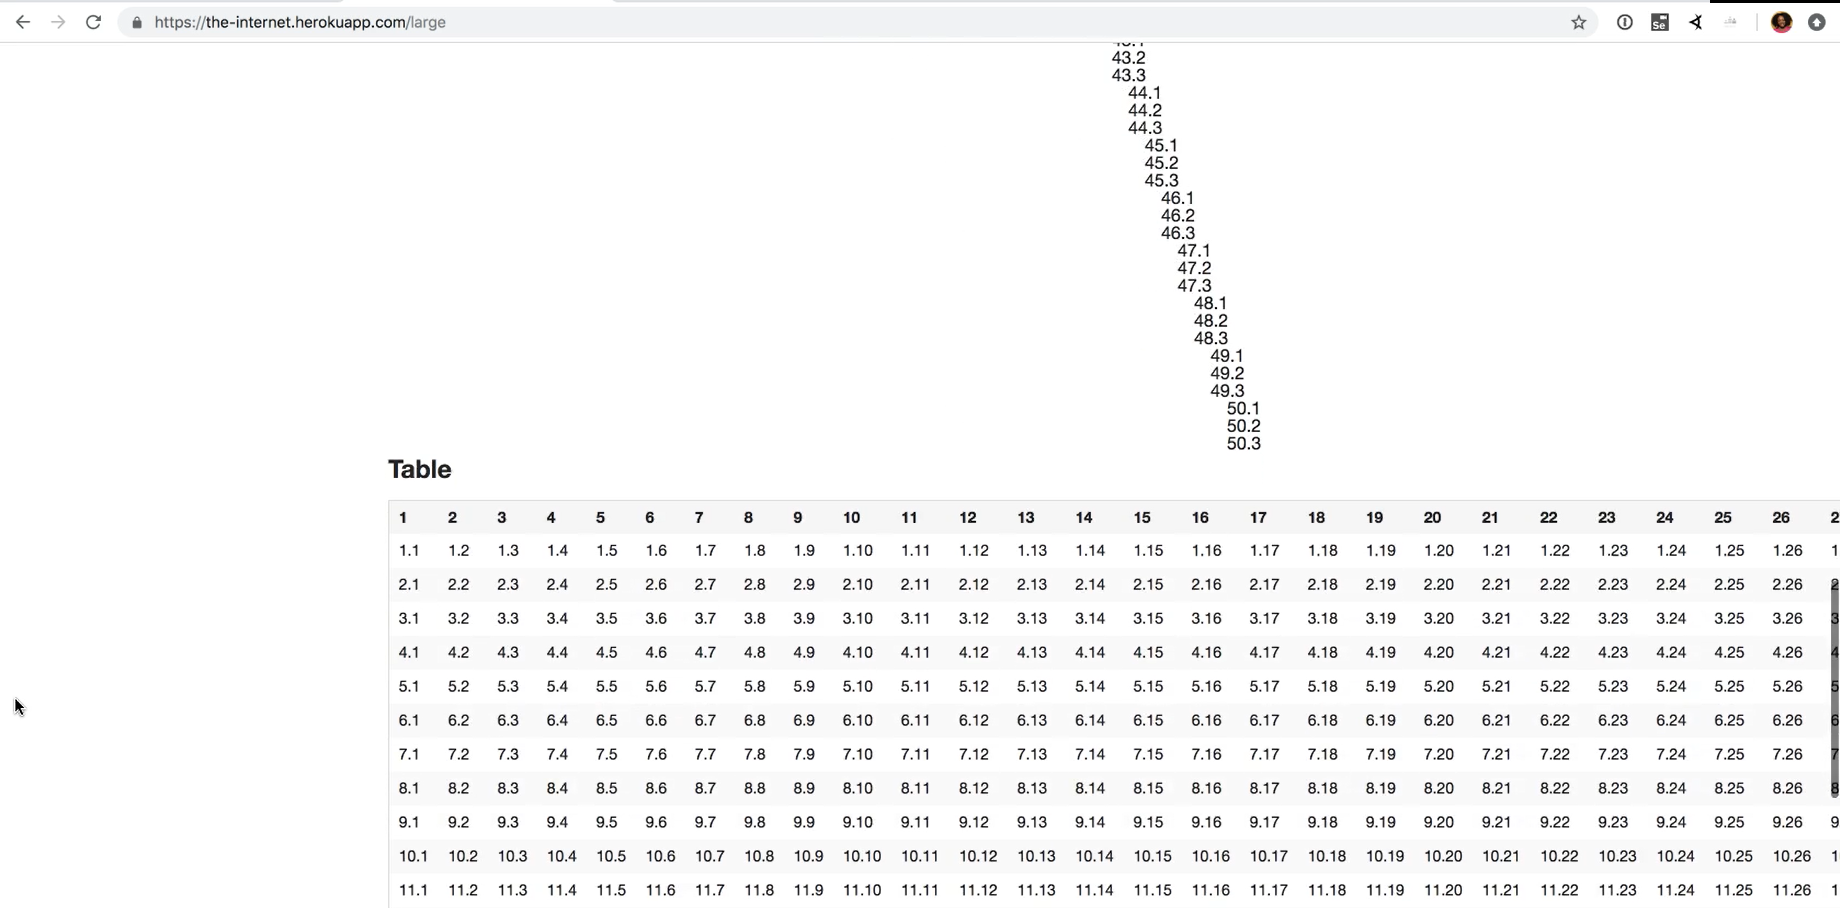
Back in our automation code, I've written a new test called testLargeDom:
    @Test
    public void testLargeDom(){
        validateWindow();
    }
}
which calls our validateWindow method:
    public void validateWindow(){
        eyes.open(driver, "The Internet", Thread.currentThread().getStackTrace()[2].getMethodName());
        eyes.checkWindow();
        eyes.close();
    }
Again, this will simply check the window and when we run this test, it will create a new baseline. These are the results we would see in the Test Manager.
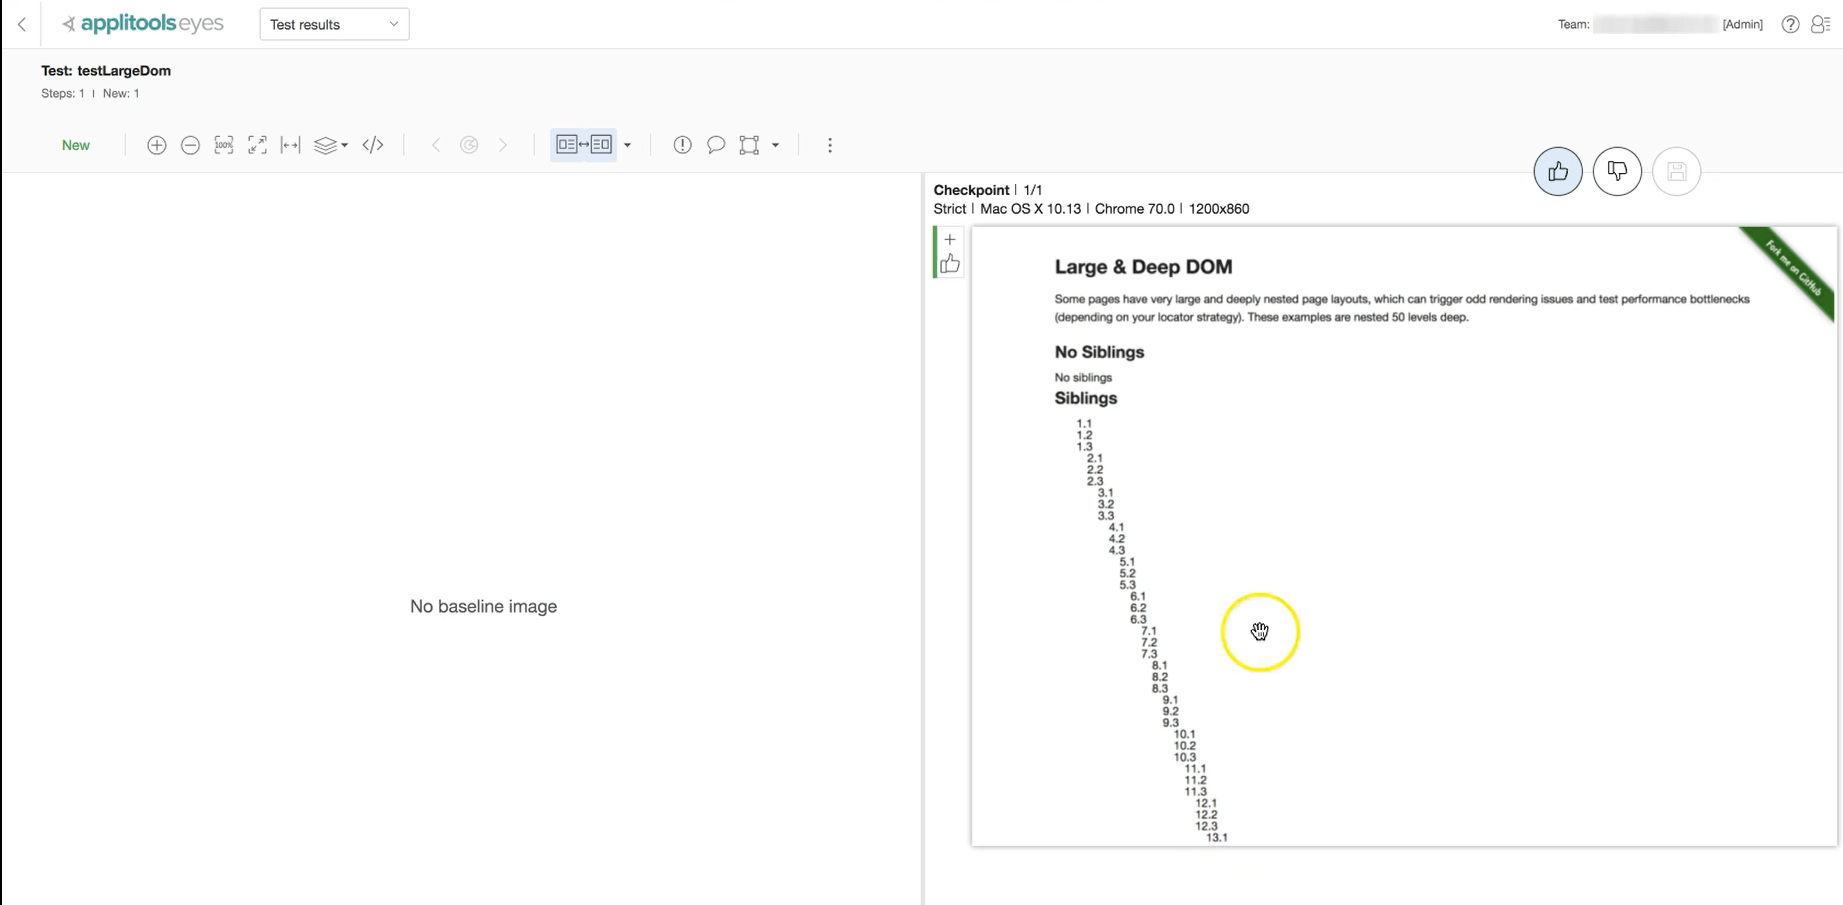
Notice that the screenshot only shows what was in our viewport.
# If we want to fully capture the page, then we'll need to enhance our visual check.
There is a setting that we can use within eyes called setForceFullPageScreenshot which we pass a true argument.
eyes.setForceFullPageScreenshot(true);
This will scroll through the page both vertically and horizontally to make sure that it captures screenshots of the entire page.
When we run this test, the page will scroll and take new screenshots that will be stitched together to make a single screenshot. Our test will fail (be unresolved) this time because the new screenshot will be different from the baseline we had from our previous test.

Let’s take a look at the results.
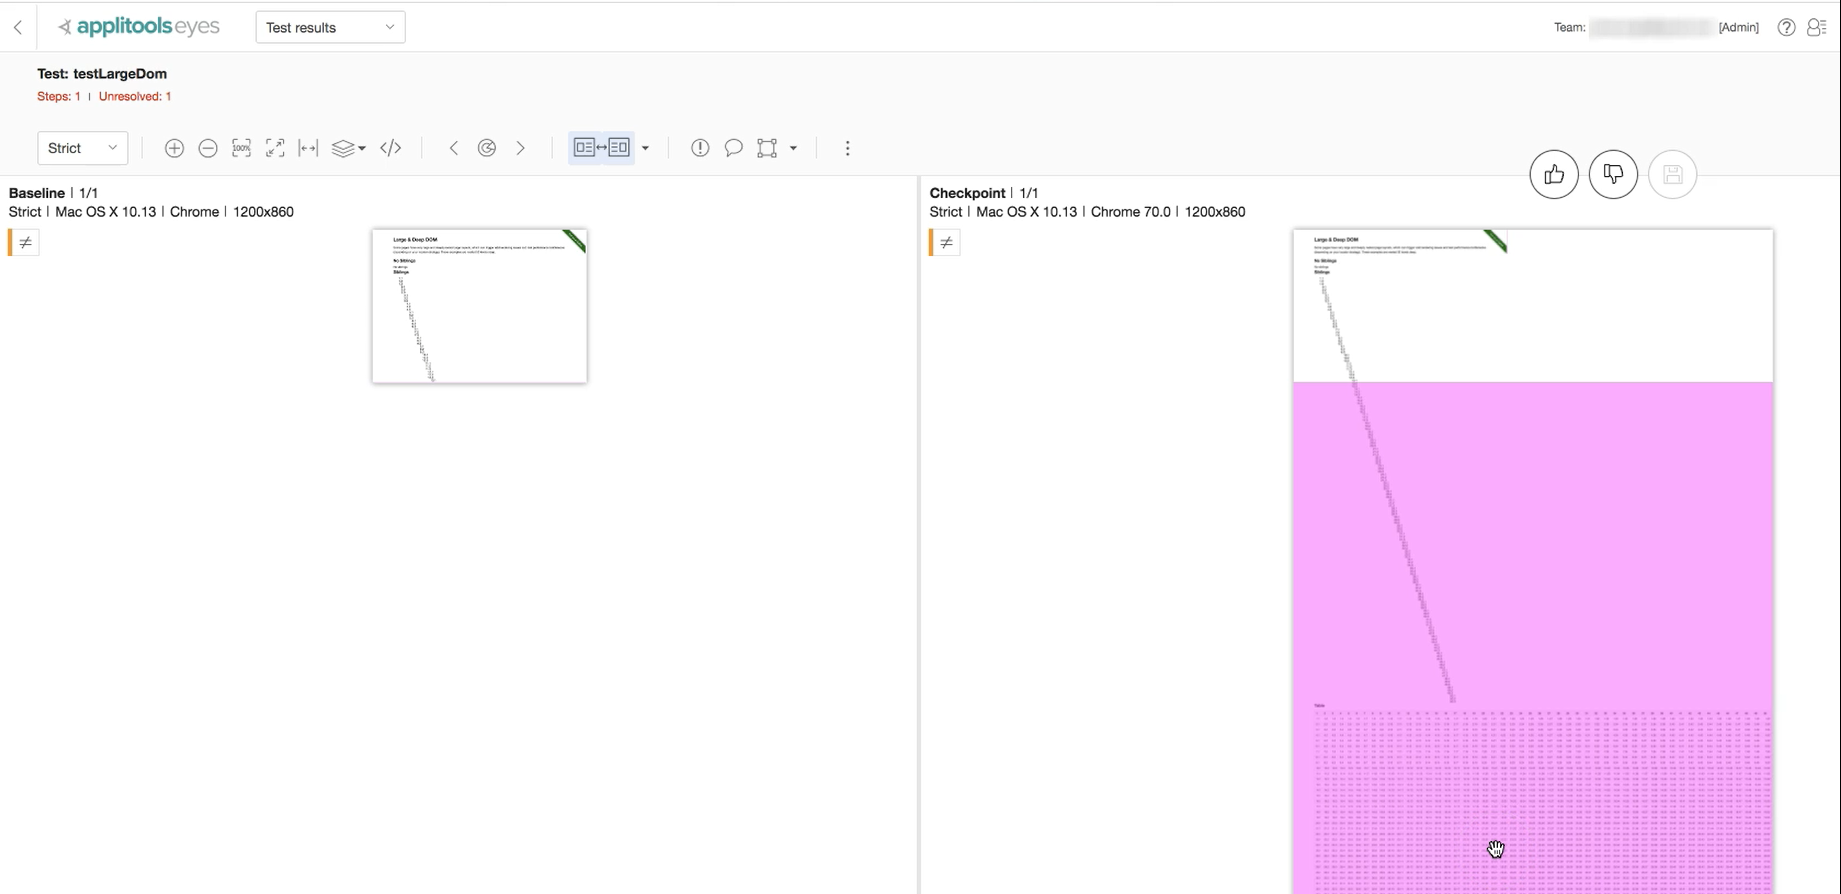
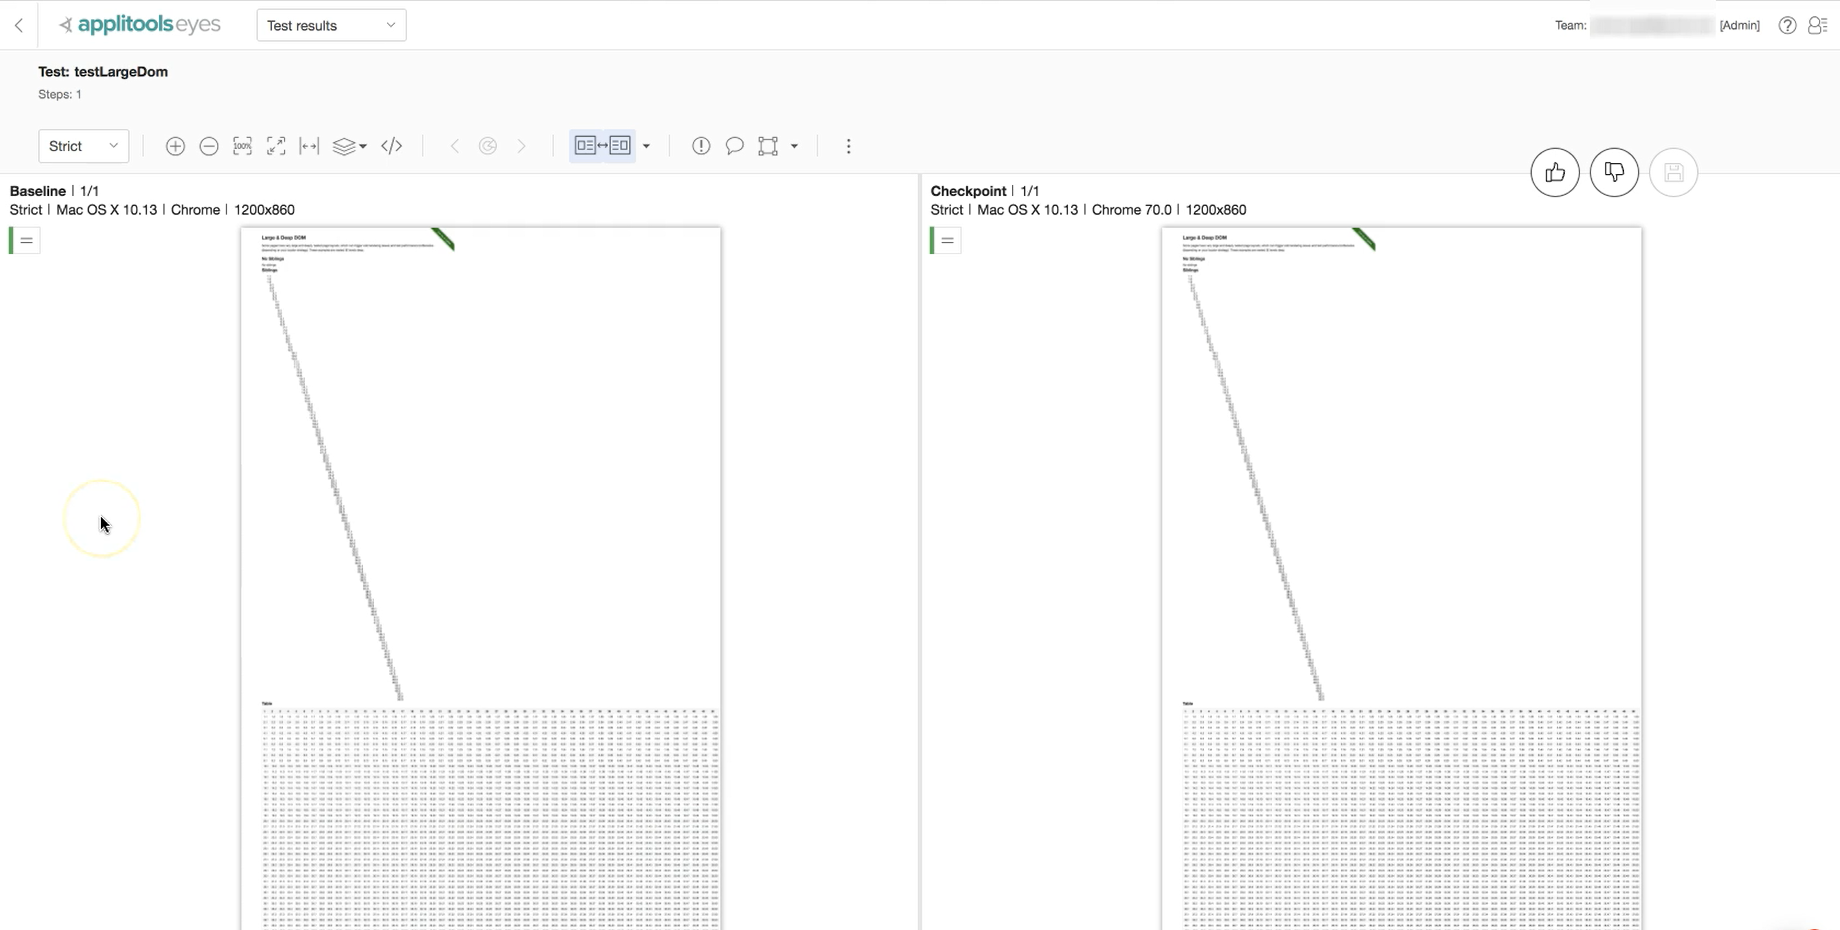
Notice now that it shows everything that's new here that wasn't in the initial image. So, we want to say yes this should be our new baseline, by clicking the “thumbs up” and saving it.
We can now go back to our automation framework and run the test again and it should pass this time. When we view the results, we will see how the comparison images are much larger.
# Check Element
eyes.checkElement();
Another type of checkpoint is checkElement. When using checkWindow you're capturing everything on that window and comparing it. If your application is under constant development and that particular webpage is being changed a lot, it might not make sense to do checkWindow because you'll get a lot of churn.
It might be better to just check a specific element that you're interested in. Let me show you an example.
Here's our Bookstore application we have been using for our tutorials (first introduced in Chapter 3). Let's go ahead and filter this down to a specific book.
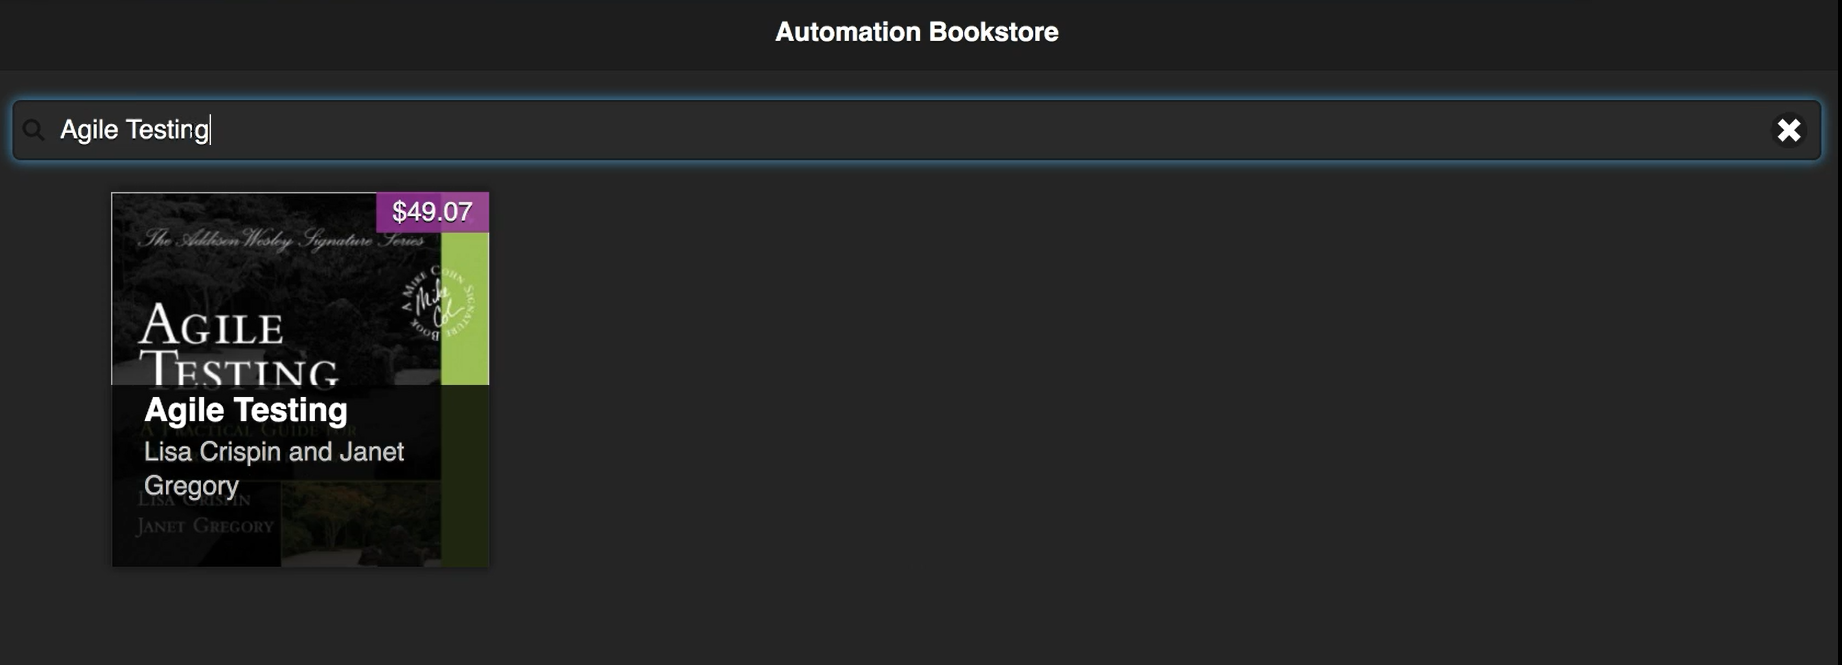
We have this one book element. We could run checkWindow here, but maybe the only thing we're concerned about is this actual book. So we can scope our visual validation to just check the book element.
In order to do that, I'm going to make another validate method, but this time not for the window but instead, we are going to make it for an element. You can do this by using the WebElement object or a using a By locator, which is what we are going to do here.
public void validateElement(By locator){
    eyes.open(driver, "Automation Bookstore", Thread.currentThread().getStackTrace()[2].getMethodName());
    eyes.checkElement(locator);
    eyes.close();
}
This will validate at an element level.
Next, we need to make a new test, with a few changes. Instead of doing the validateWindow, we'll do validateElement:
@Test
public void testSearchByFullTitle_Element(){
    page.search("Agile Testing");
    validateElement();
}
In order to call the `validateElement` method, we'll need to pass in a locator. Let's go to our application to get the locator for the Agile Testing book.
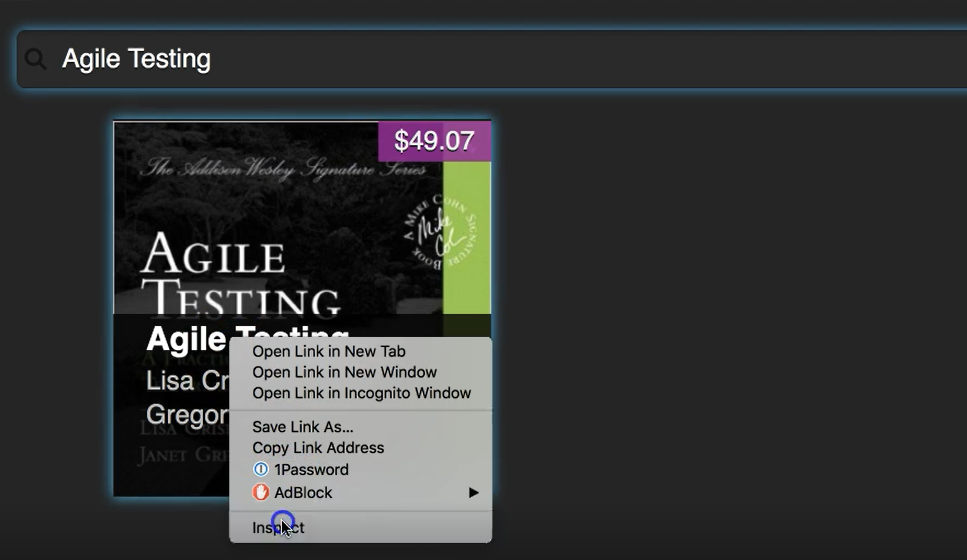
If I right click on the book element, then choose to Inspect, notice here is the element for this book and it has an id of pid3.

We will add this to our automation code.
@Test
public void testSearchByFullTitle_Element(){
    page.search("Agile Testing");
    validateElement(By.id("pid3"));
}
If we run this test, it'll only take a screenshot and make comparisons of that element. Let's look in the Test Manager.
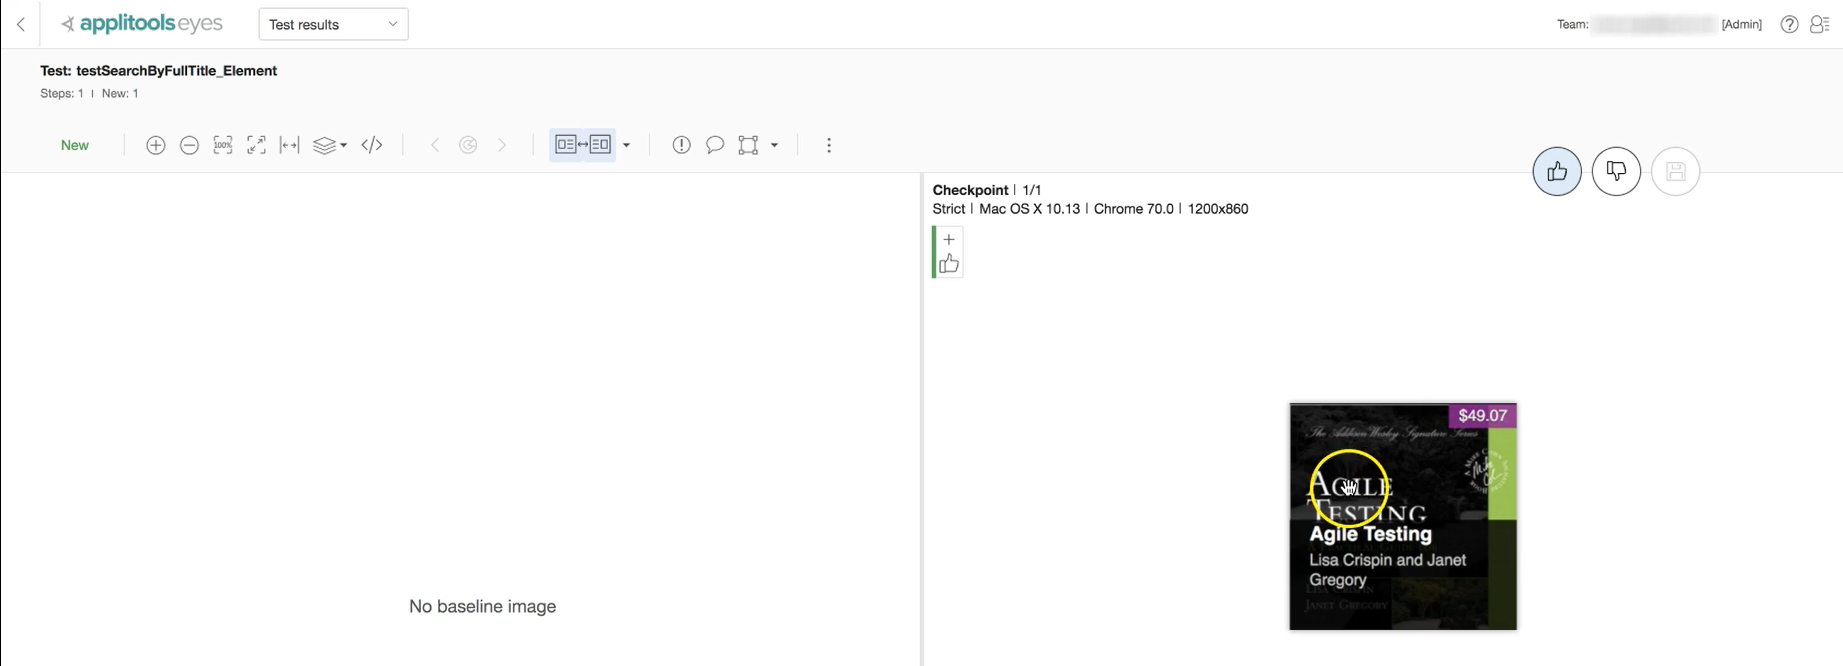
Here's our new baseline, and notice this screenshot is only of the book, not of the entire page.
Now this works great for verifying a specific element, but the drawback is that if there are any other books that are erraneously shown, this would not be caught in our visual assertion.
In cases like this, it's a good idea to couple your visual validation with functional ones as well. Let's take a look at how we can do that. In addition to visually verifying that single book, let's also add a Selenium-based assertion to make sure that it's the only book that's present.
@Test
public void testSearchByFullTitle_Element(){
    page.search("Agile Testing");
    validateElement(By.id("pid3"));
    Assert.assertEquals("Number of books returned",
            1, page.getNumberOfVisibleBooks());
}
Now that we've coupled our visual validation with a functional assertion as well, our test is very powerful.
# Check Region
There are additional checkpoints as well, such as checkRegion.
eyes.checkRegion();
This is very similar to checkElement, but it is also overloaded to accept integers as points. If you have an application and you only want a certain region of that application checked and it's not scoped to just an element, you can utilize checkRegion by specifying the coordinates of the region.
checkRegion also accepts WebElement and By locators, so it's pretty flexible.
# Check Frame
Another checkpoint is the checkFrame which will check iFrames within a certain page.
eyes.checkFrame();
Let's look at an example: The Internet - Nested Frames
This page has multiple frames within it. If we look at the source, we see that there's a frame for the top and also a frame for the bottom, and within it there are multiple other frames.

Let's say that we want to just verify this bottom frame. The first thing we need to do is add a method to the BaseTests class for validateFrame.
    public void validateFrame(String locator){
        eyes.open(driver, "The Internet", Thread.currentThread().getStackTrace()[2].getMethodName());
        eyes.checkFrame(locator);
        eyes.close();
    }
With checkFrame, we are using a String locator to find the frame by ID or by name, but you have many options. For example, you can pass in an index, or the WebElement.
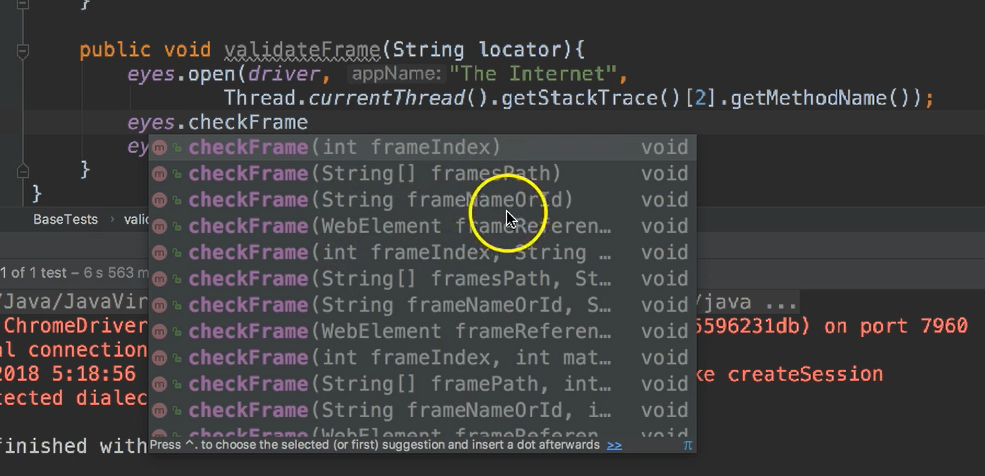
Now that we've added the verification method, let's add a test for it. We will need to go back to the application to get the name of the locator for the frame we want to test. You will see that the name is frame-bottom and we can add that to our test script.

public class TheInternetTests extends BaseTests {
    @Test
    public void testBottomFrame(){
        validateFrame("frame-bottom");
    }
}
When we run this test the first time, it will capture the baseline image. A second run of the test will provide a comparison. The results from this test show that only the bottom frame was captured in the screenshots.
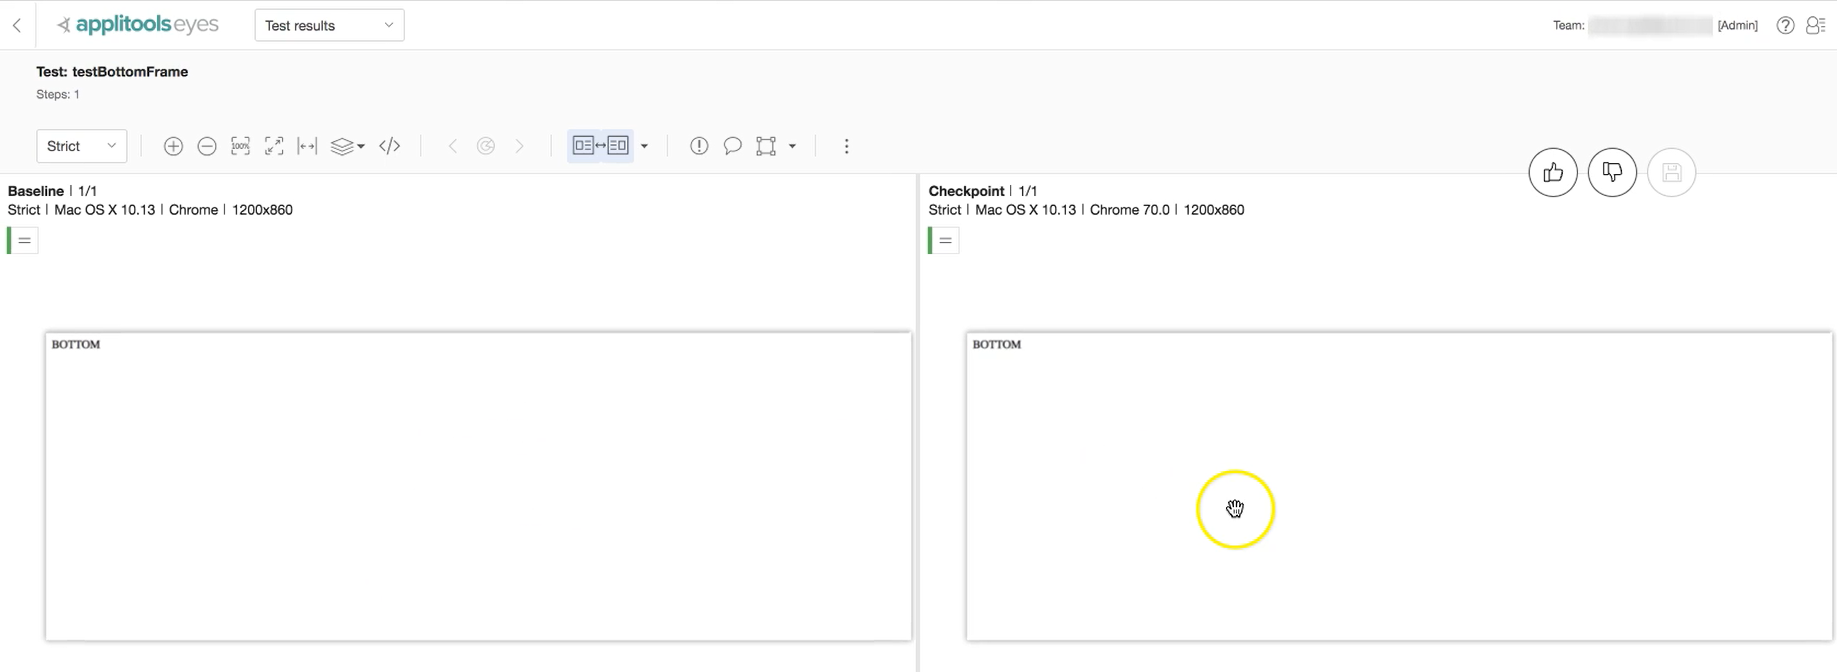
We were able to scope this check down to the frame level.
