

Transcripted Summary
There are different ways to install Jenkins based on the platform you are using. It can be installed on a Docker container or on any Java-supported operating system using a WAR file, or by using supported installers available for specific operating systems. In this tutorial we will use a WAR file to install Jenkins.
# Prerequisites
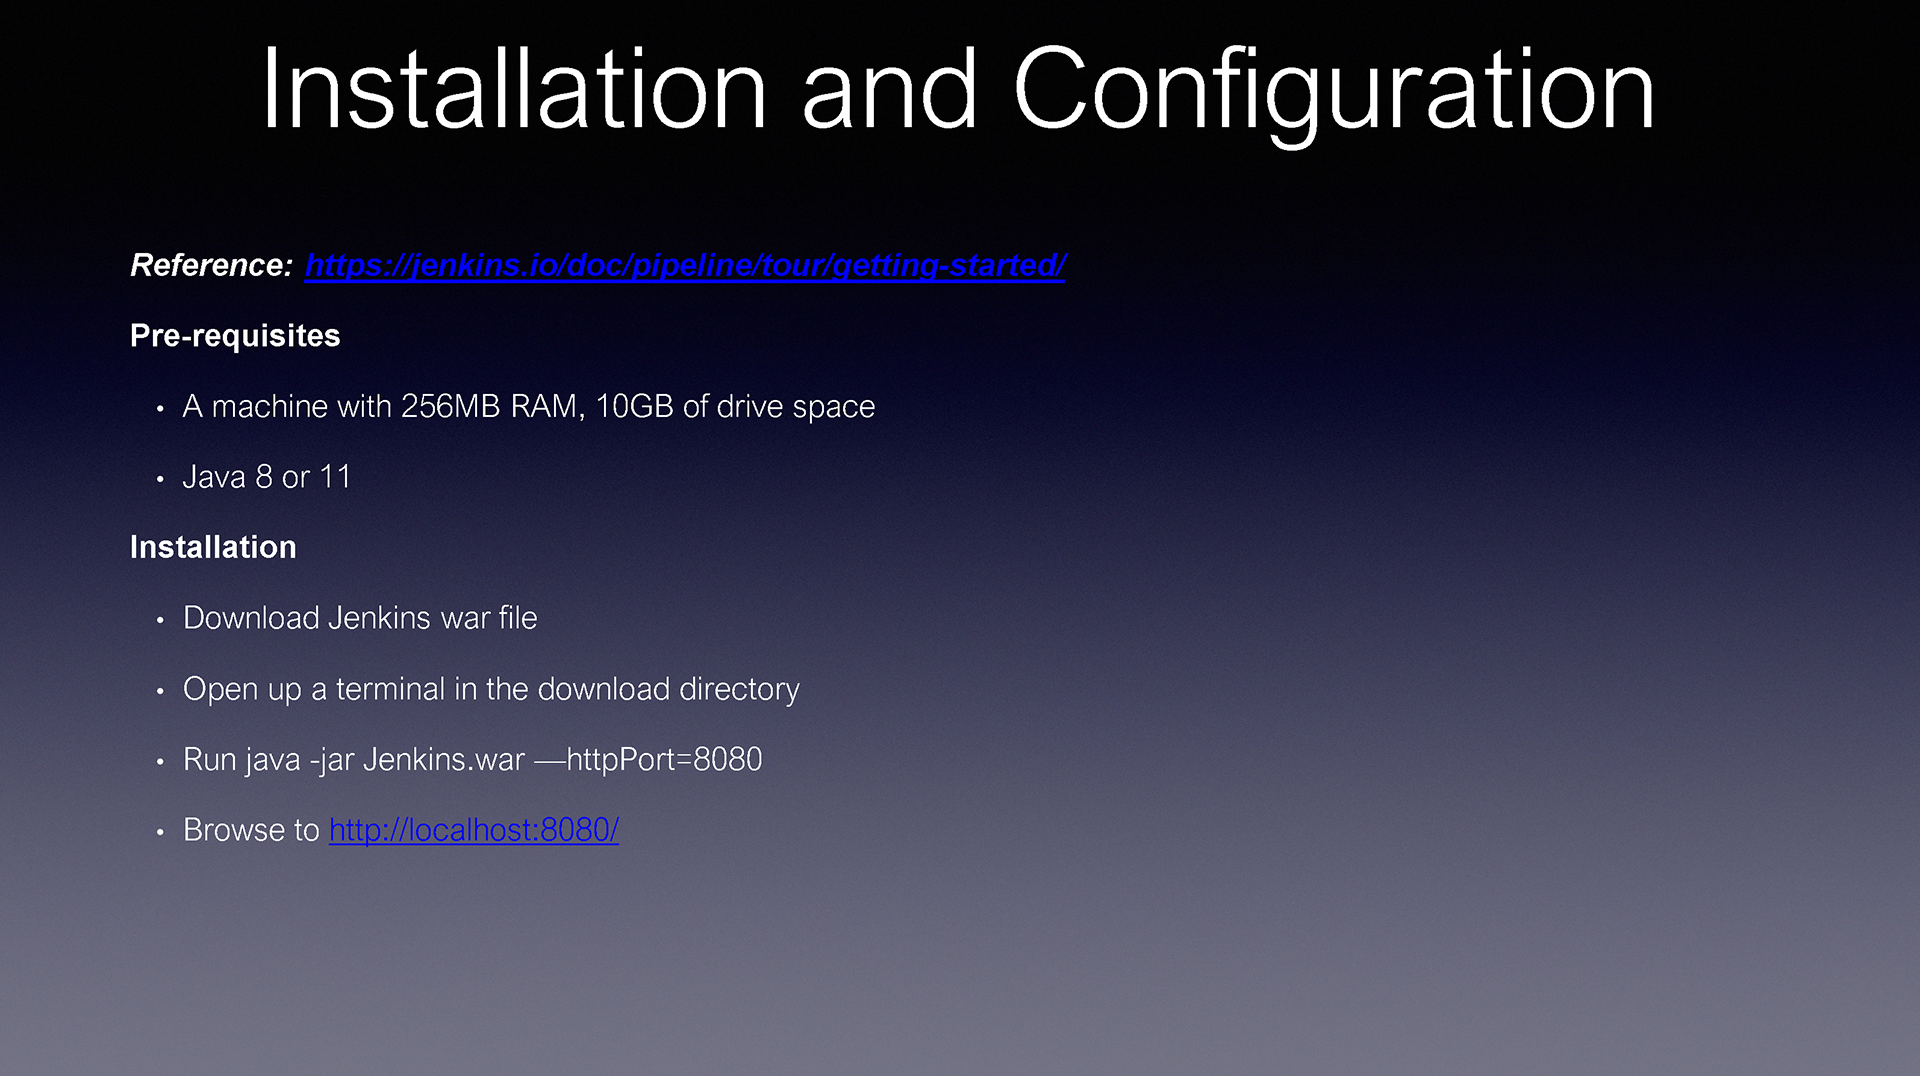
Some prerequisites are required prior to installation. Jenkins is built in Java and the environment we install Jenkins in must have Java installed. To check if Java is already installed, open a terminal and type the following command:
java -version
Then hit enter. If Java is installed the terminal should print out build information about the installed version. If not, it will print "unknown command" or "not recognized".
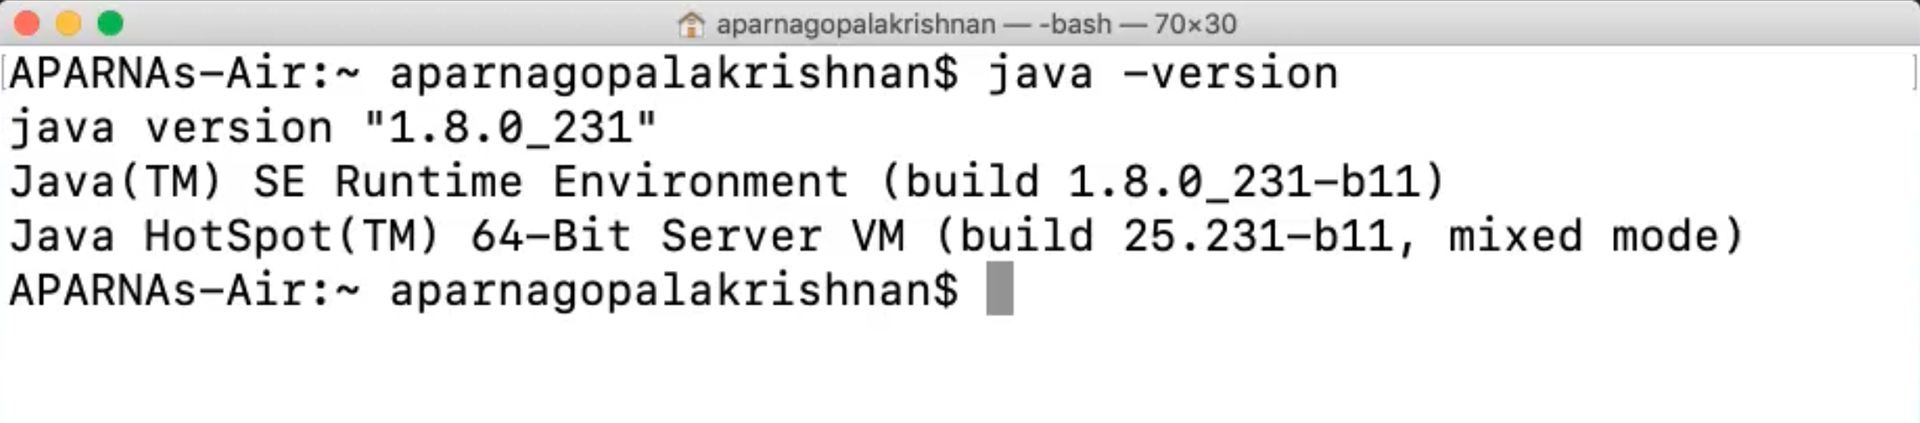
Java is installed in the above screenshot. If it isn't, you must download the JDK from Oracle and add the JDK to your system path.
# WAR File
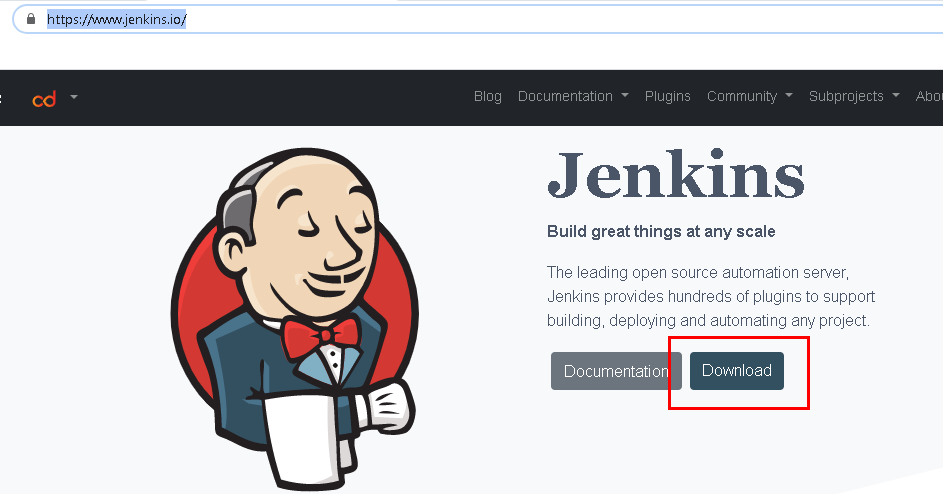
Now that we have Java we may proceed with the Jenkins installation. As I said before, we are using a Jenkins WAR file for installation. We can download this WAR file from Jenkins's official website. From here, click on the "Download" button.
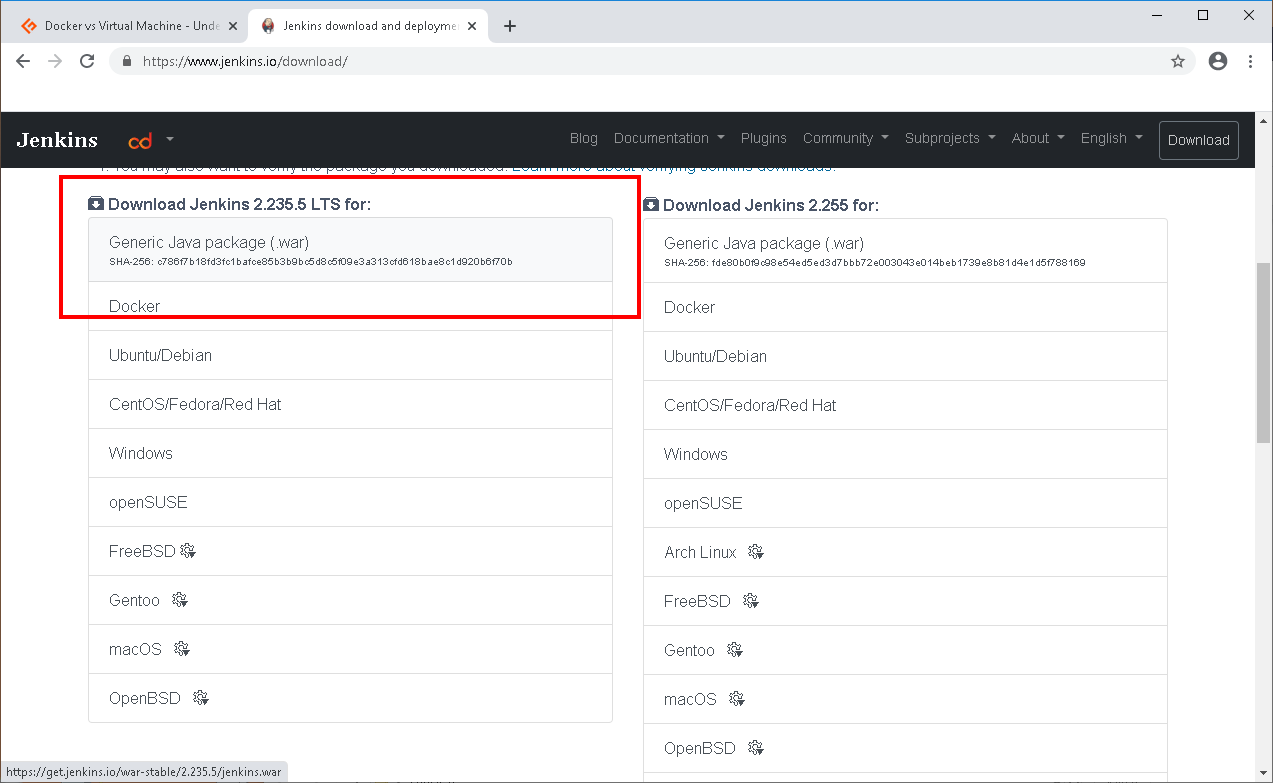
If you scroll down the page you will see many options for downloads. Look for the option "Generic Java Package (.war)" and click on that. Now wait for the WAR file to finish downloading.
# Installation
Now Java should be installed and the Jenkins WAR file should be downloaded. Let us start the Jenkins setup. Open a terminal and navigate to the directory containing the downloaded WAR file. Enter the following command and hit enter:
java -jar jenkins.war --httpPort=8080
The value of parameter httpPort is where the Jenkins server will start. You can set any port that you wish. When Jenkins starts for the first time, it creates an admin user and a password which will usually be available in the system where the Jenkins home is created.
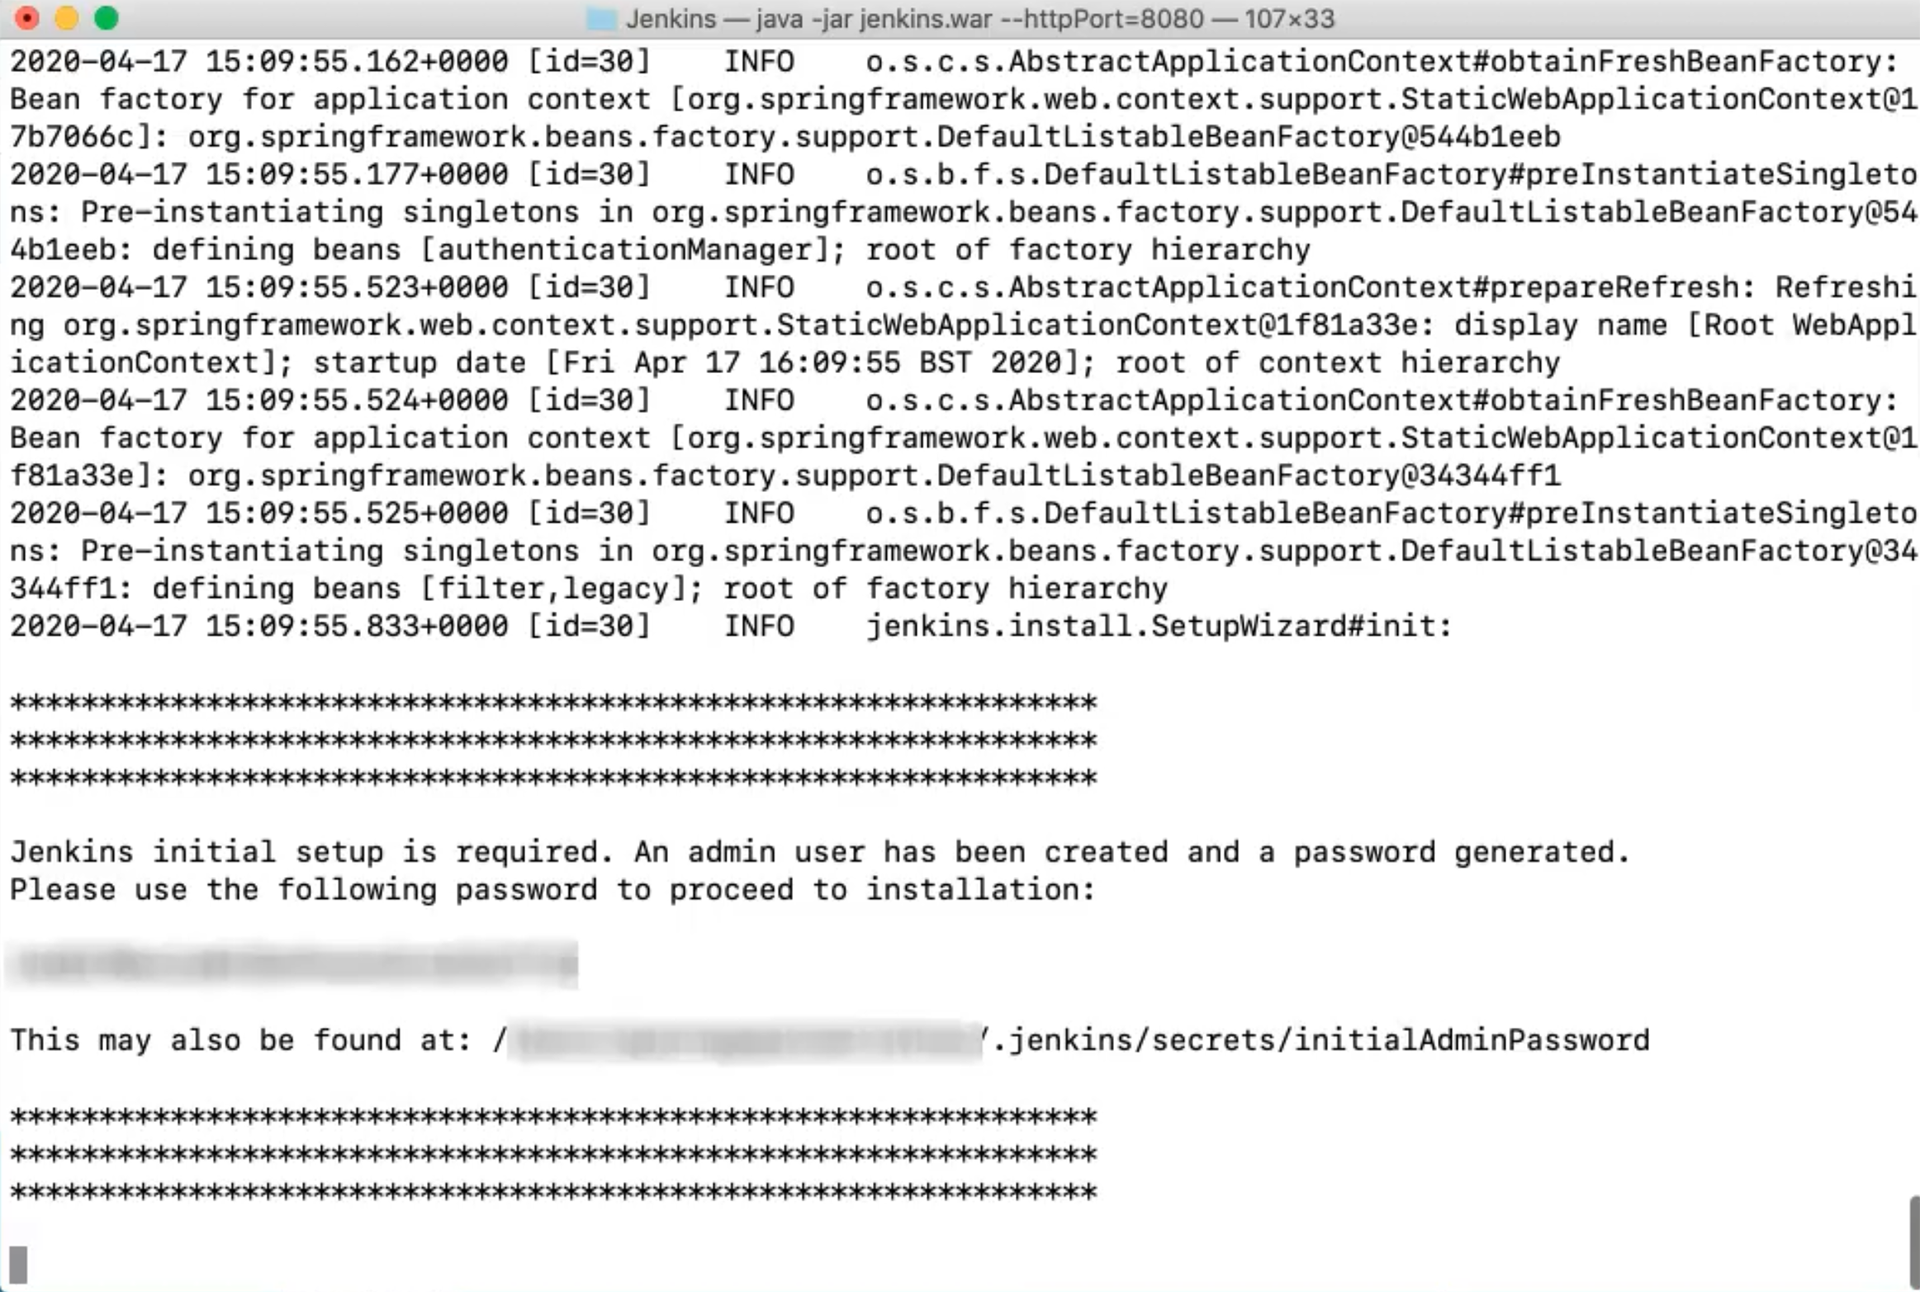
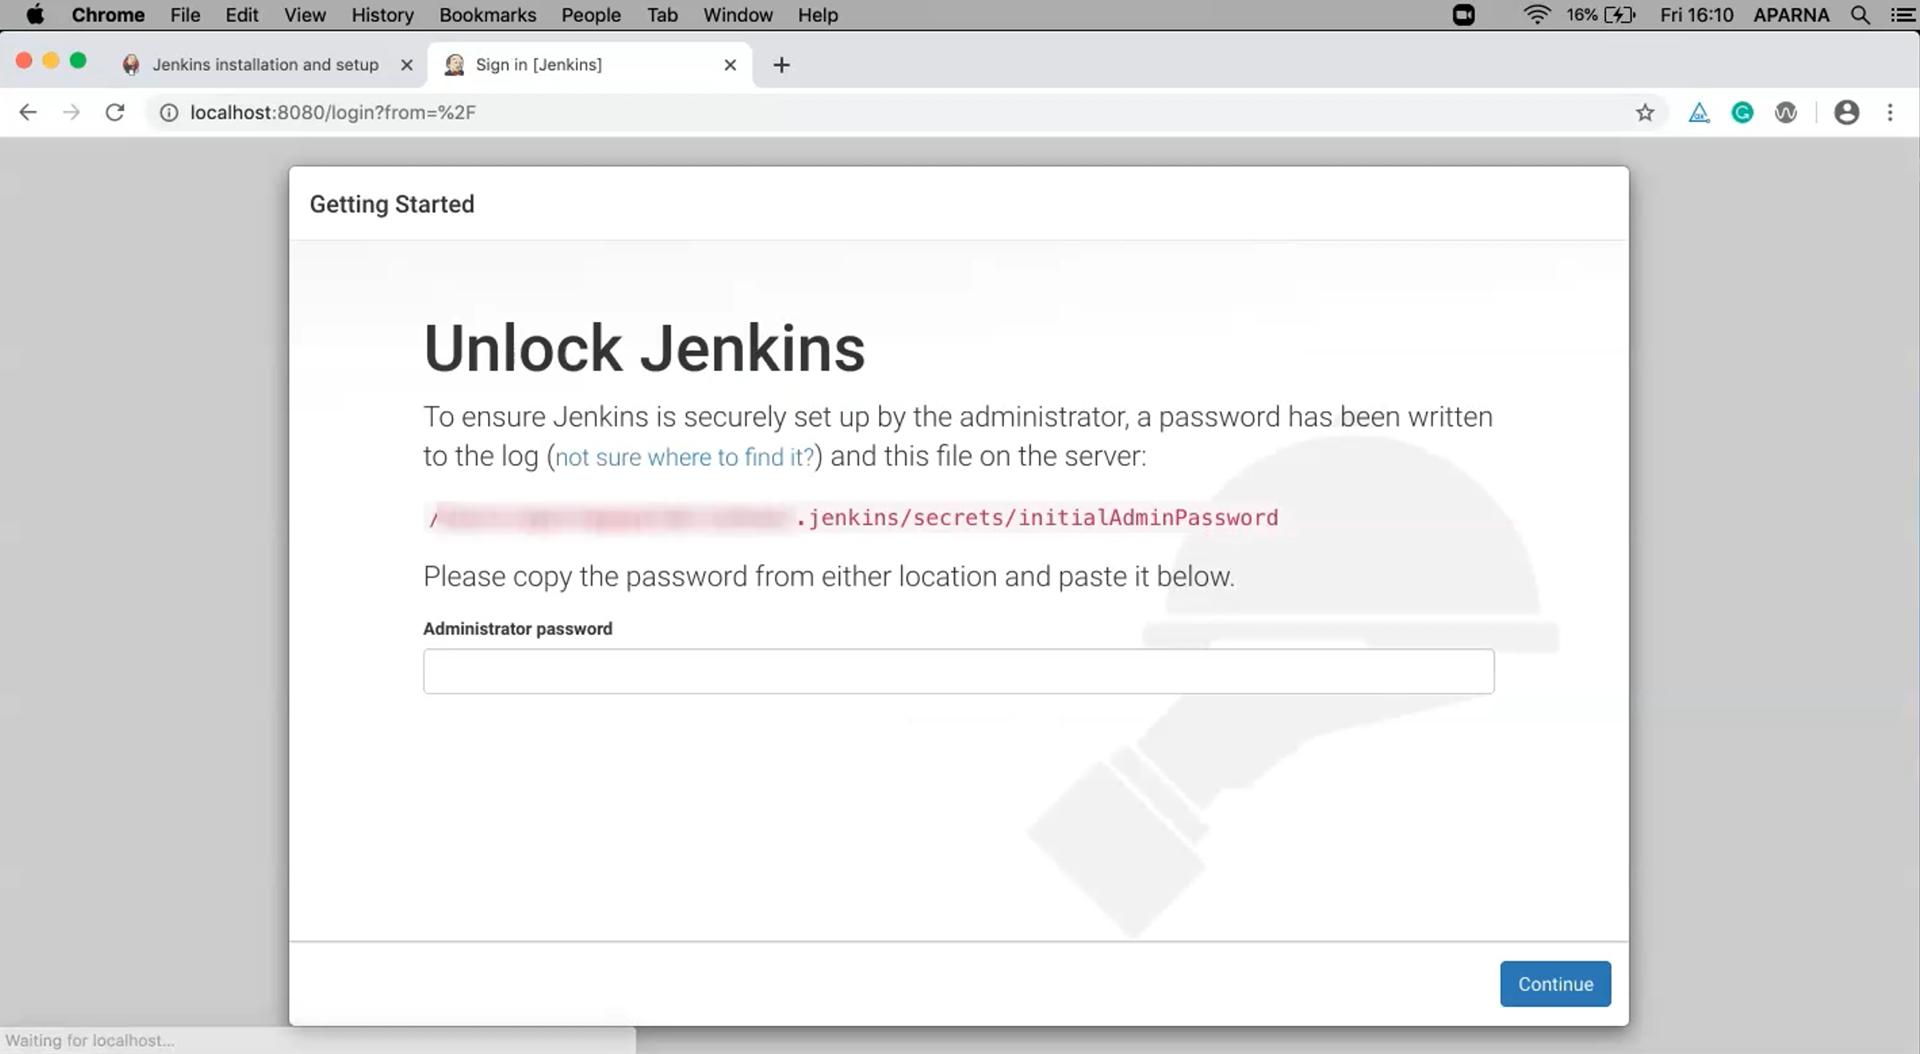
Once the terminal output reads that "Jenkins is fully up and running", open a browser and enter the URL localhost:8080. We will be prompted to enter the generated admin password.
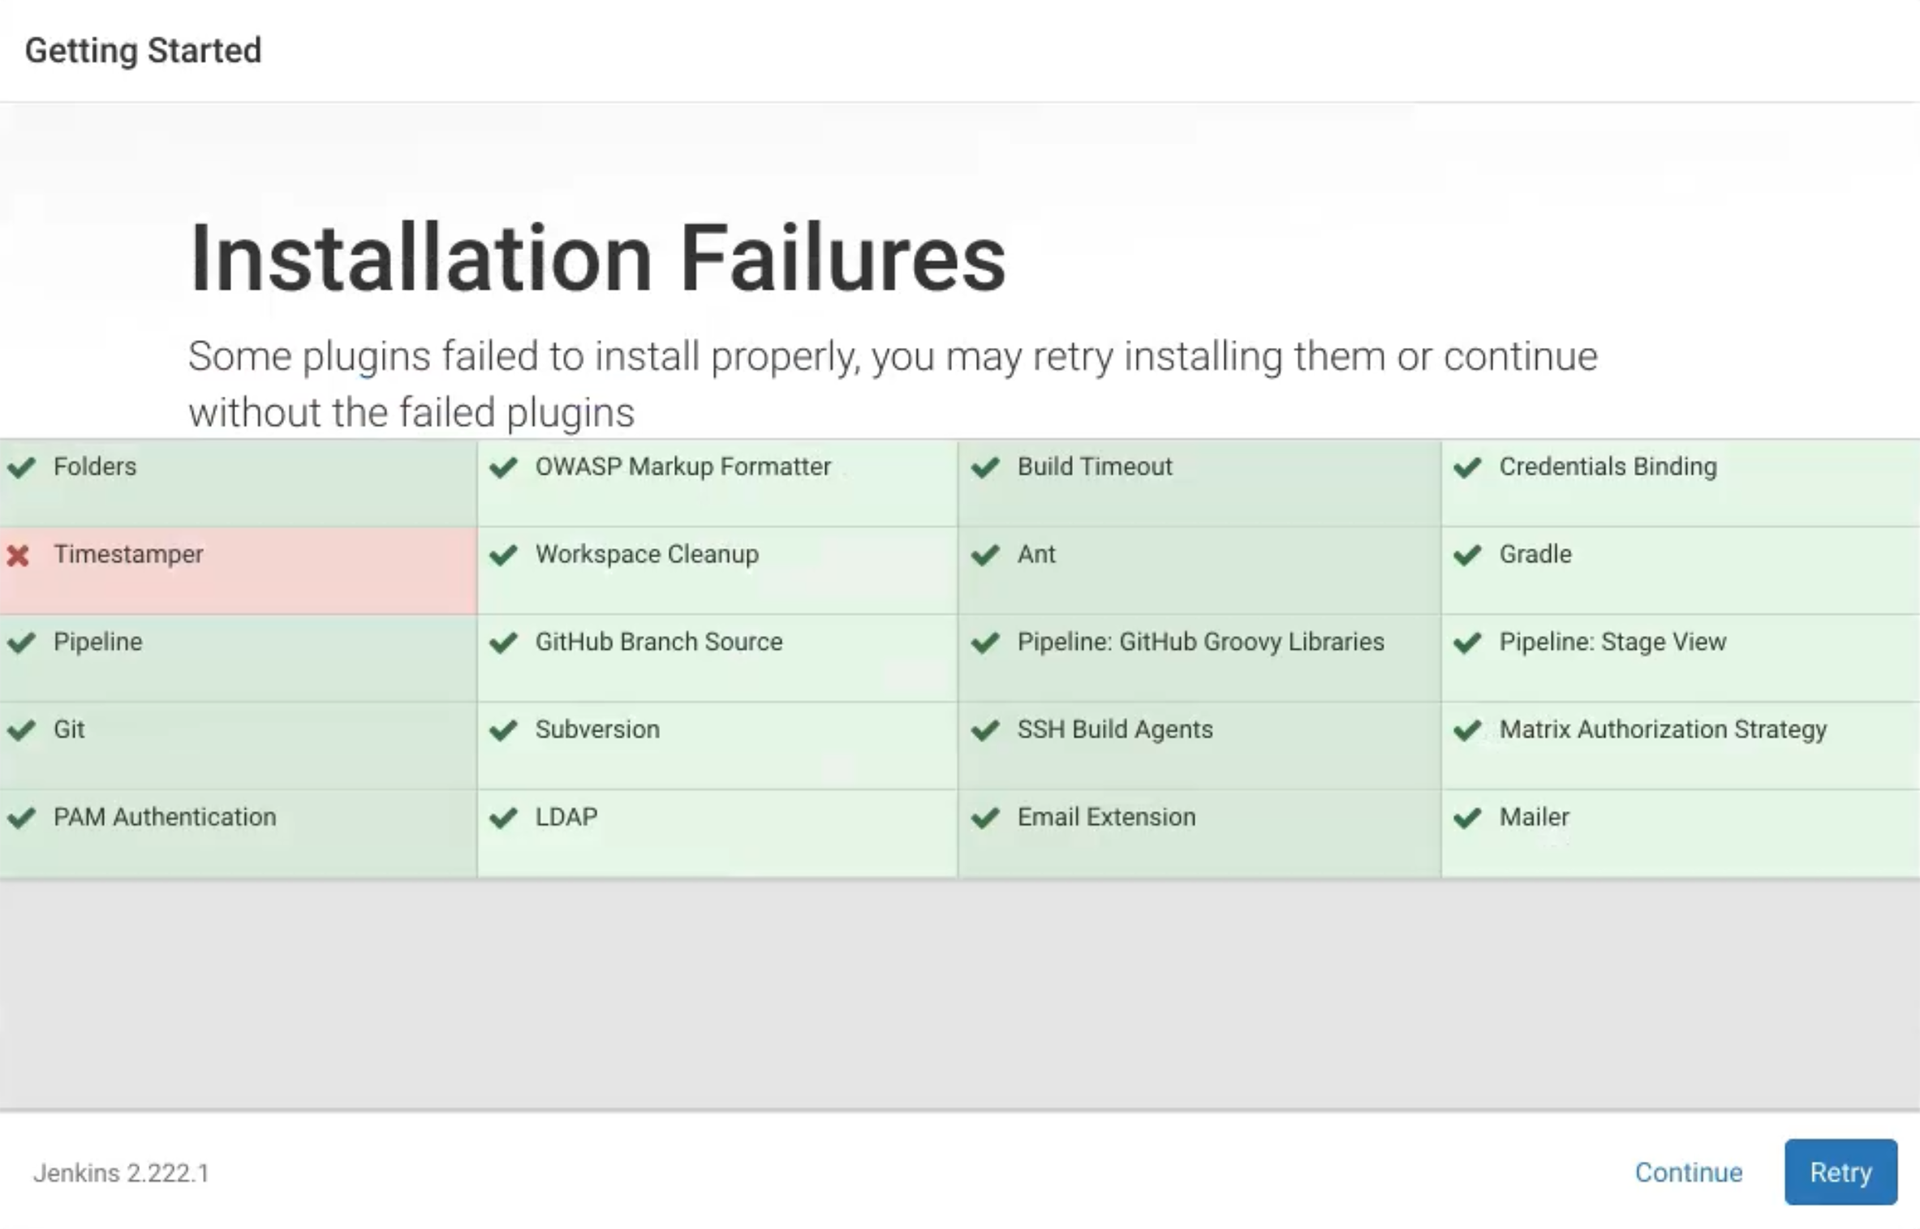
On the next page it will ask how you wish to customize your Jenkins plugins. Select the option "Install suggested plugins" for now. It will take some time to download all of the plugins.
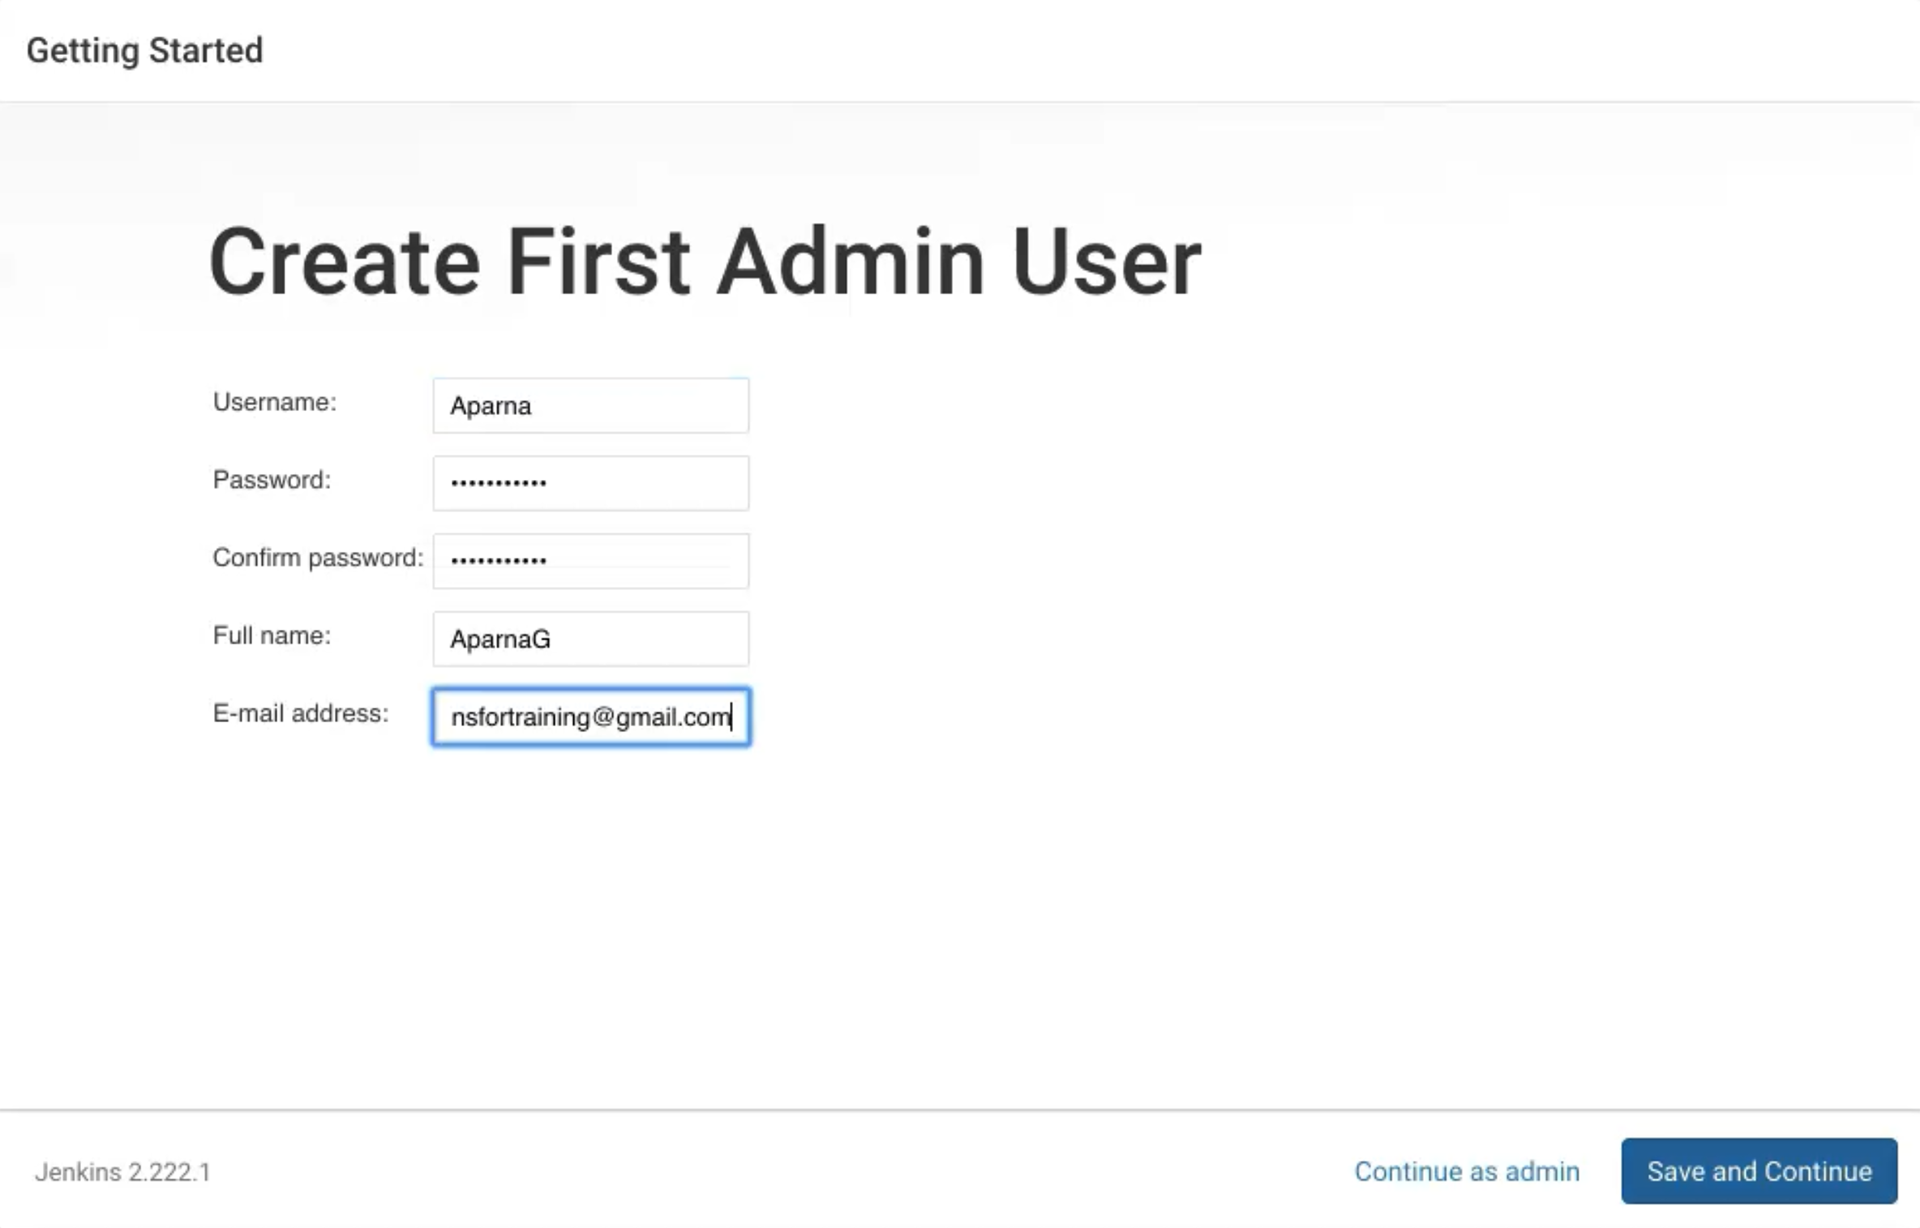
Once finished, click "Continue". Jenkins will prompt us to set up an admin user. Provide your details.
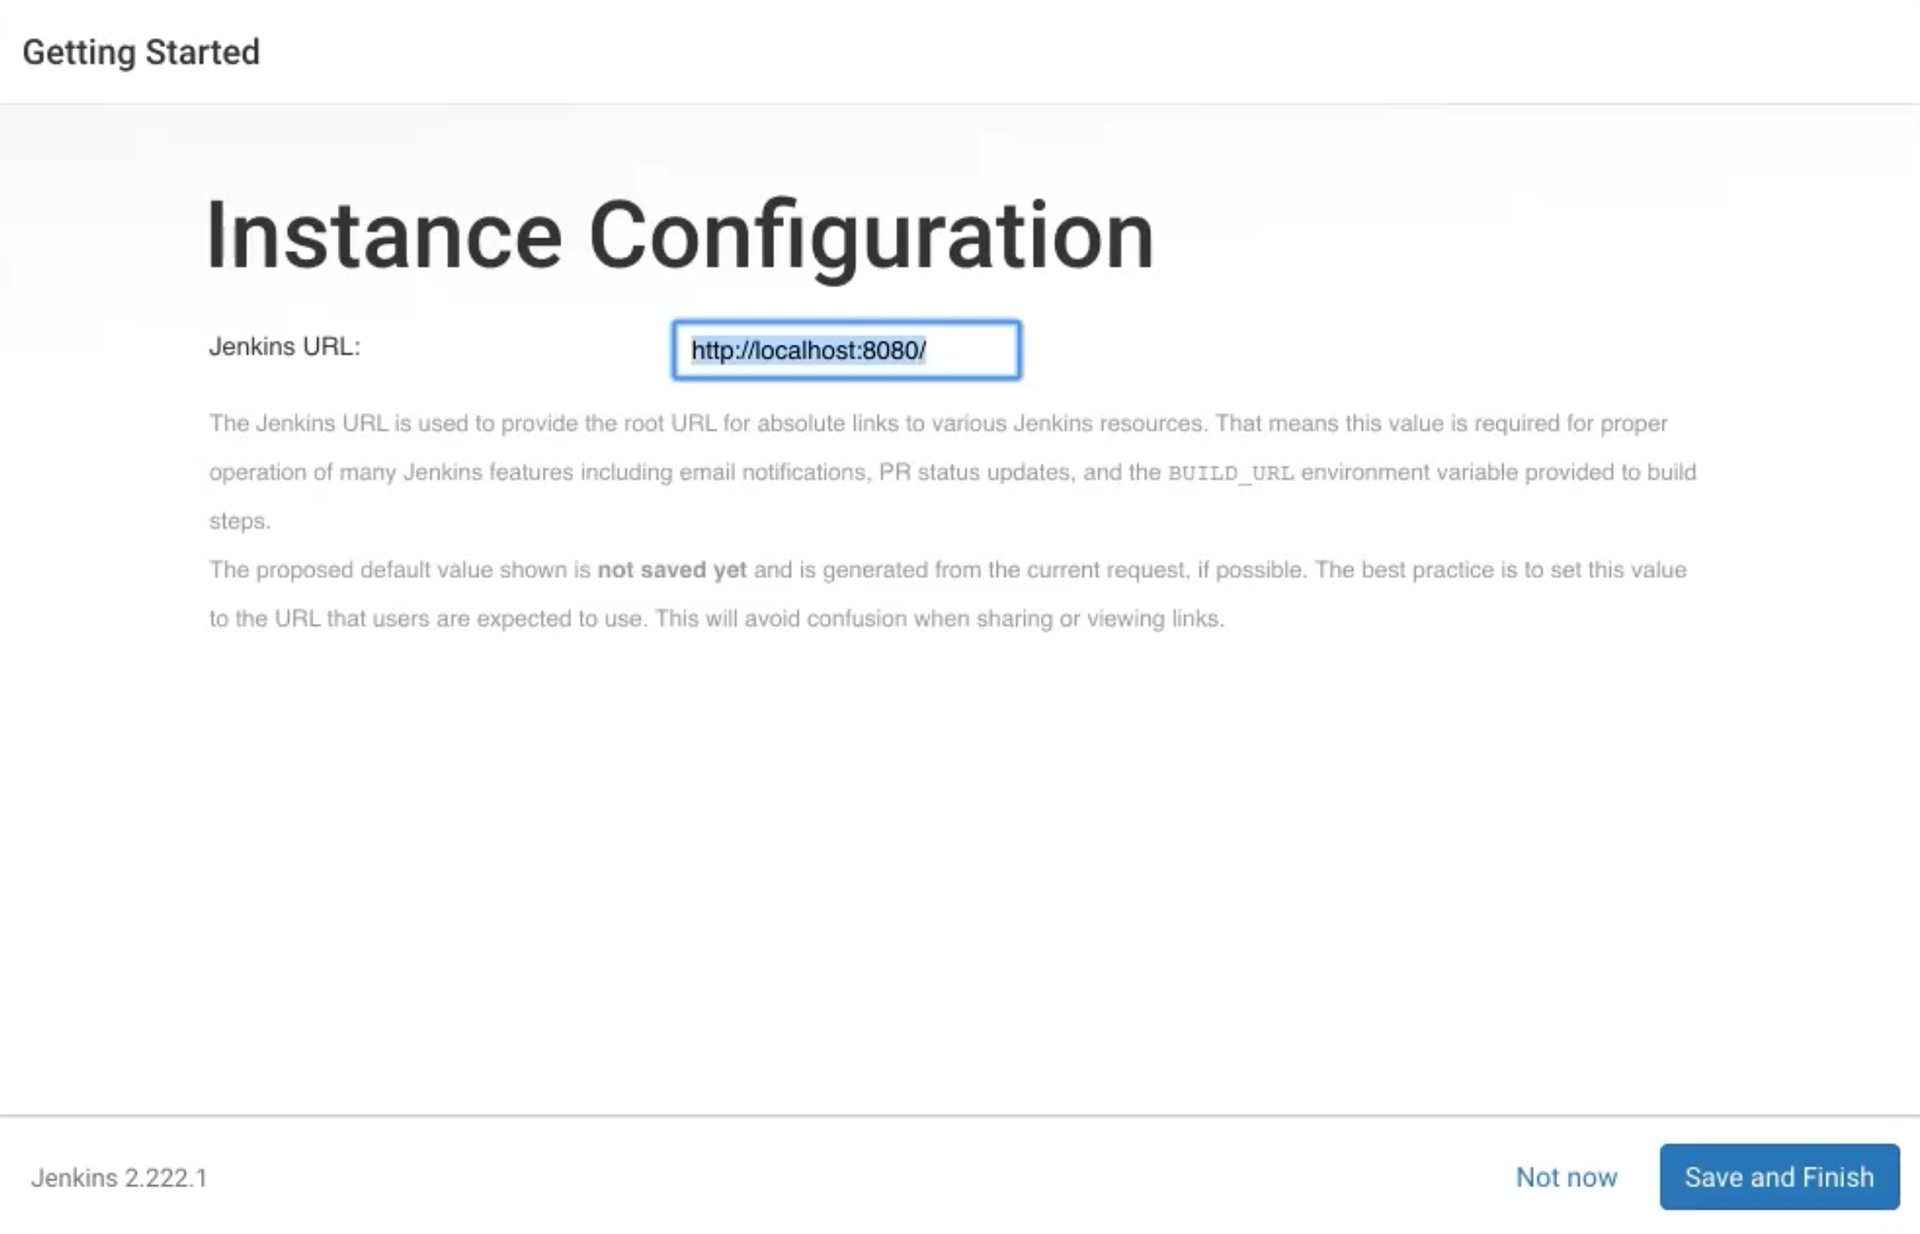
The next page ("Instance Configuration") gives us the option to define our instance with any URL that we want. By default, it is localhost.
Finally, the page displays that Jenkins is ready to use.
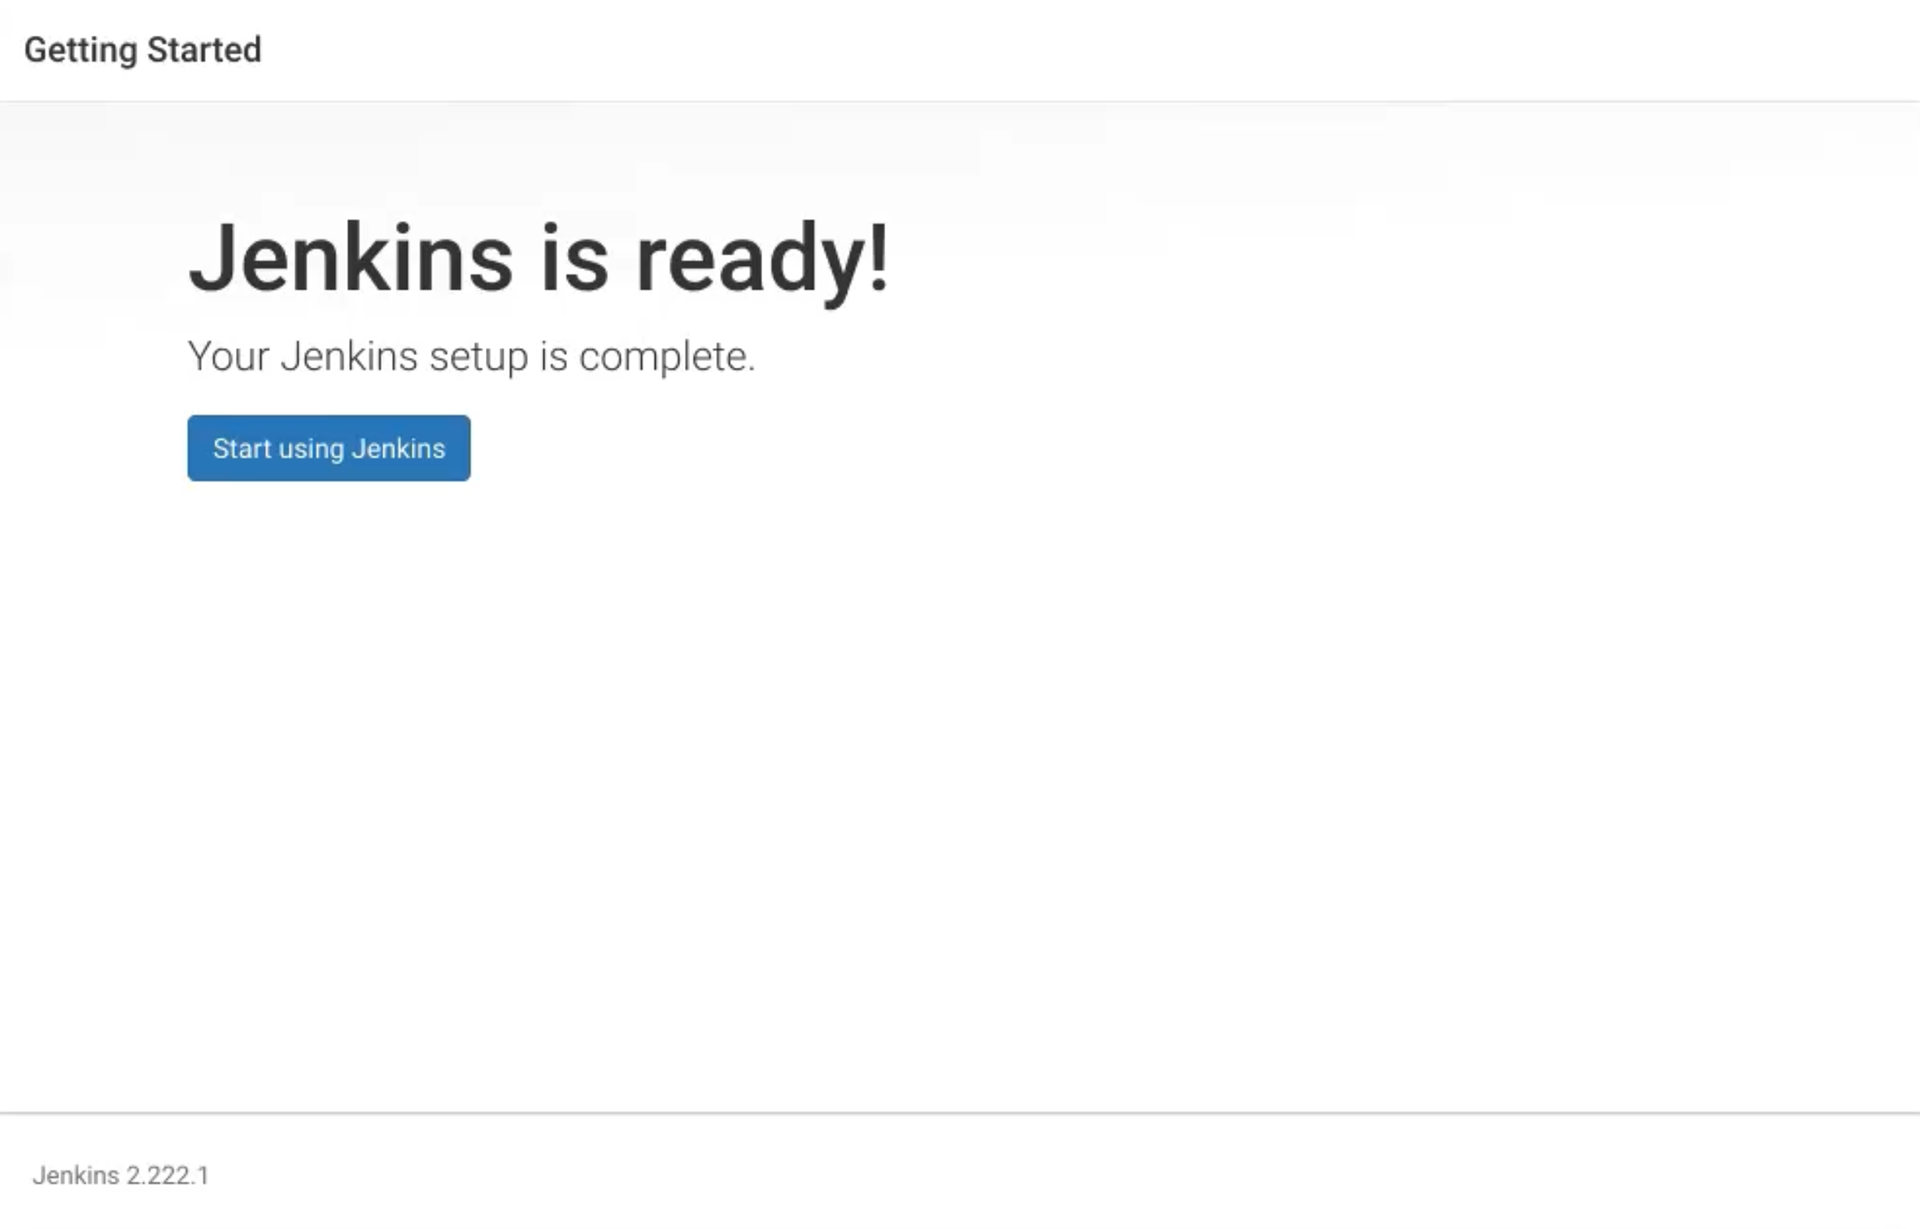
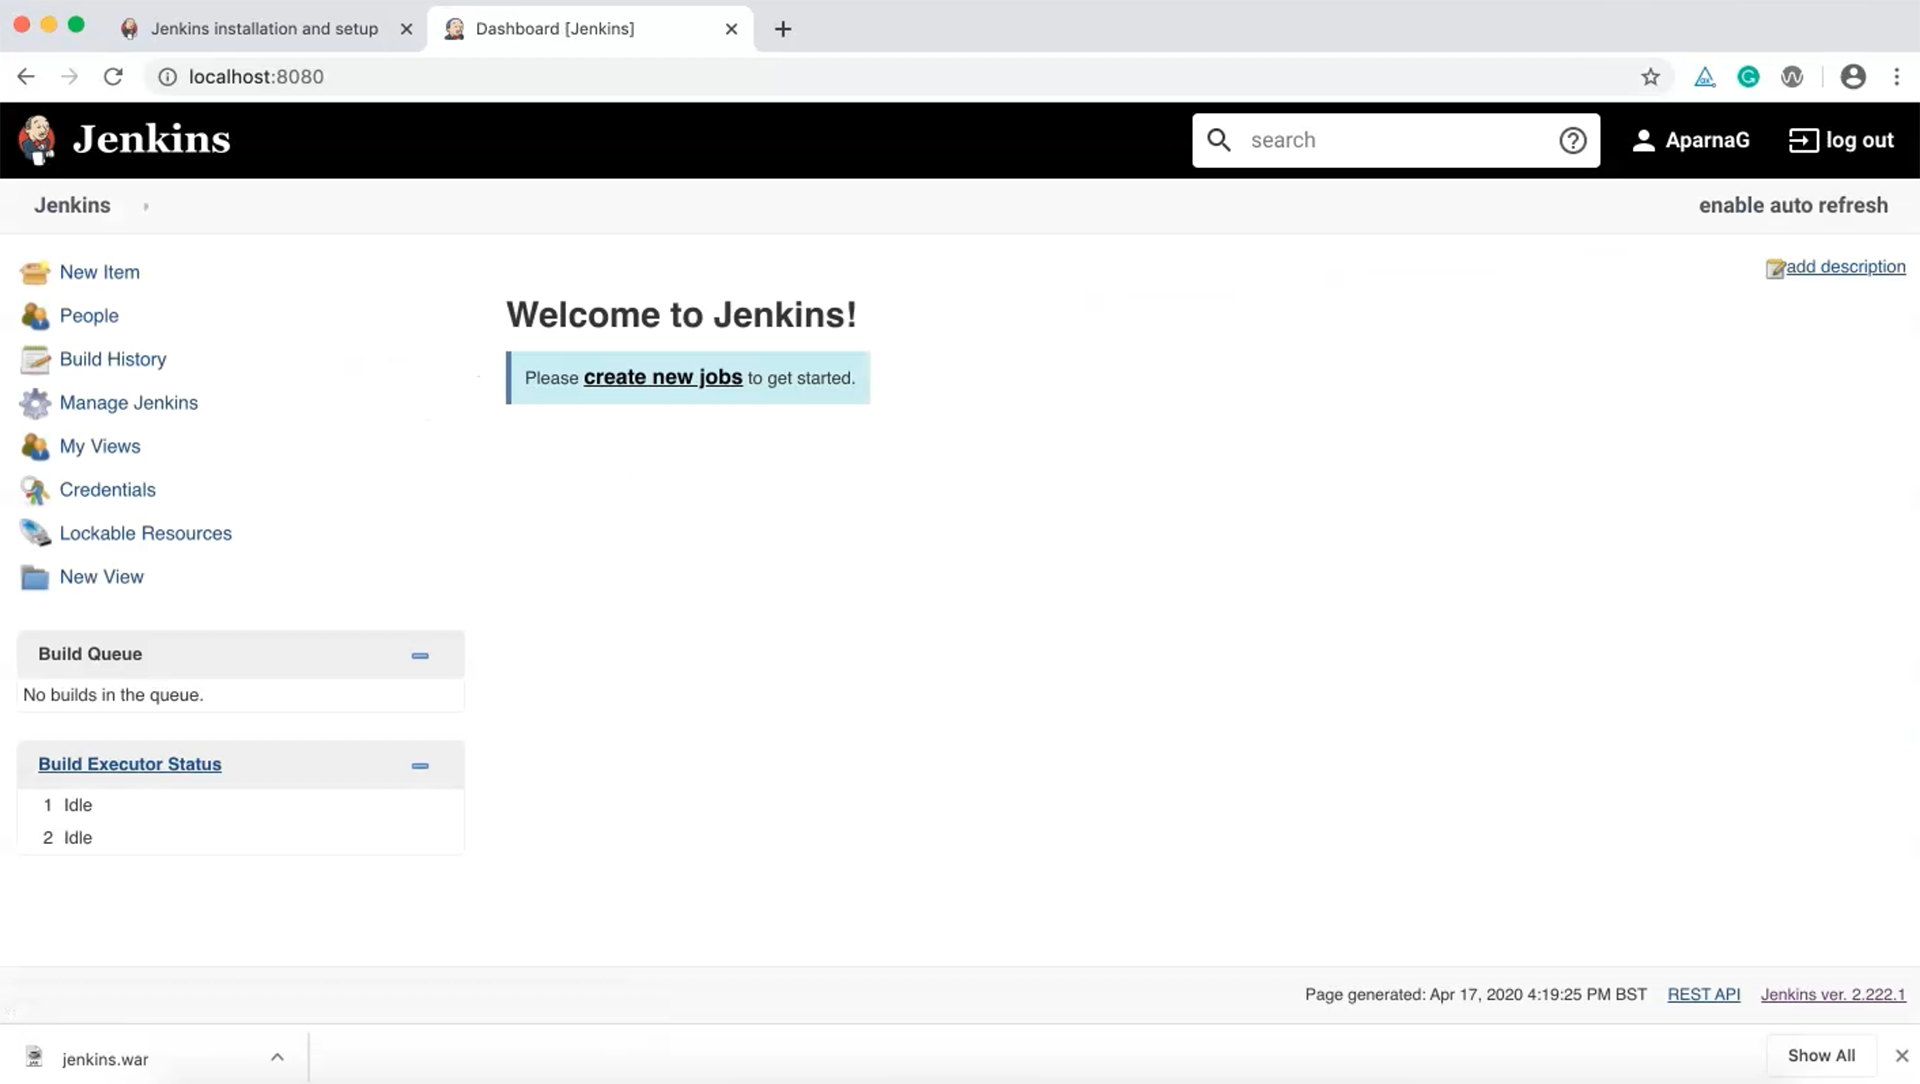
Click on the "Start using Jenkins" button to bring up the Jenkins dashboard which is now ready to use.
Quiz
The quiz for this chapter can be found in section 2.4
