

Transcripted Summary
Now, we will take a look at how to create your TestZeus project, import the framework from GitHub, and understand the folder structure - so let's get going.
# Set up the boilerplate Java project
To get a copy of the TestZeus framework, head over to a browser of your choice.
This is Chrome for me - could be Firefox or Edge in your case - and navigate to http://www.testzeus.com, as per the URL shown over here.
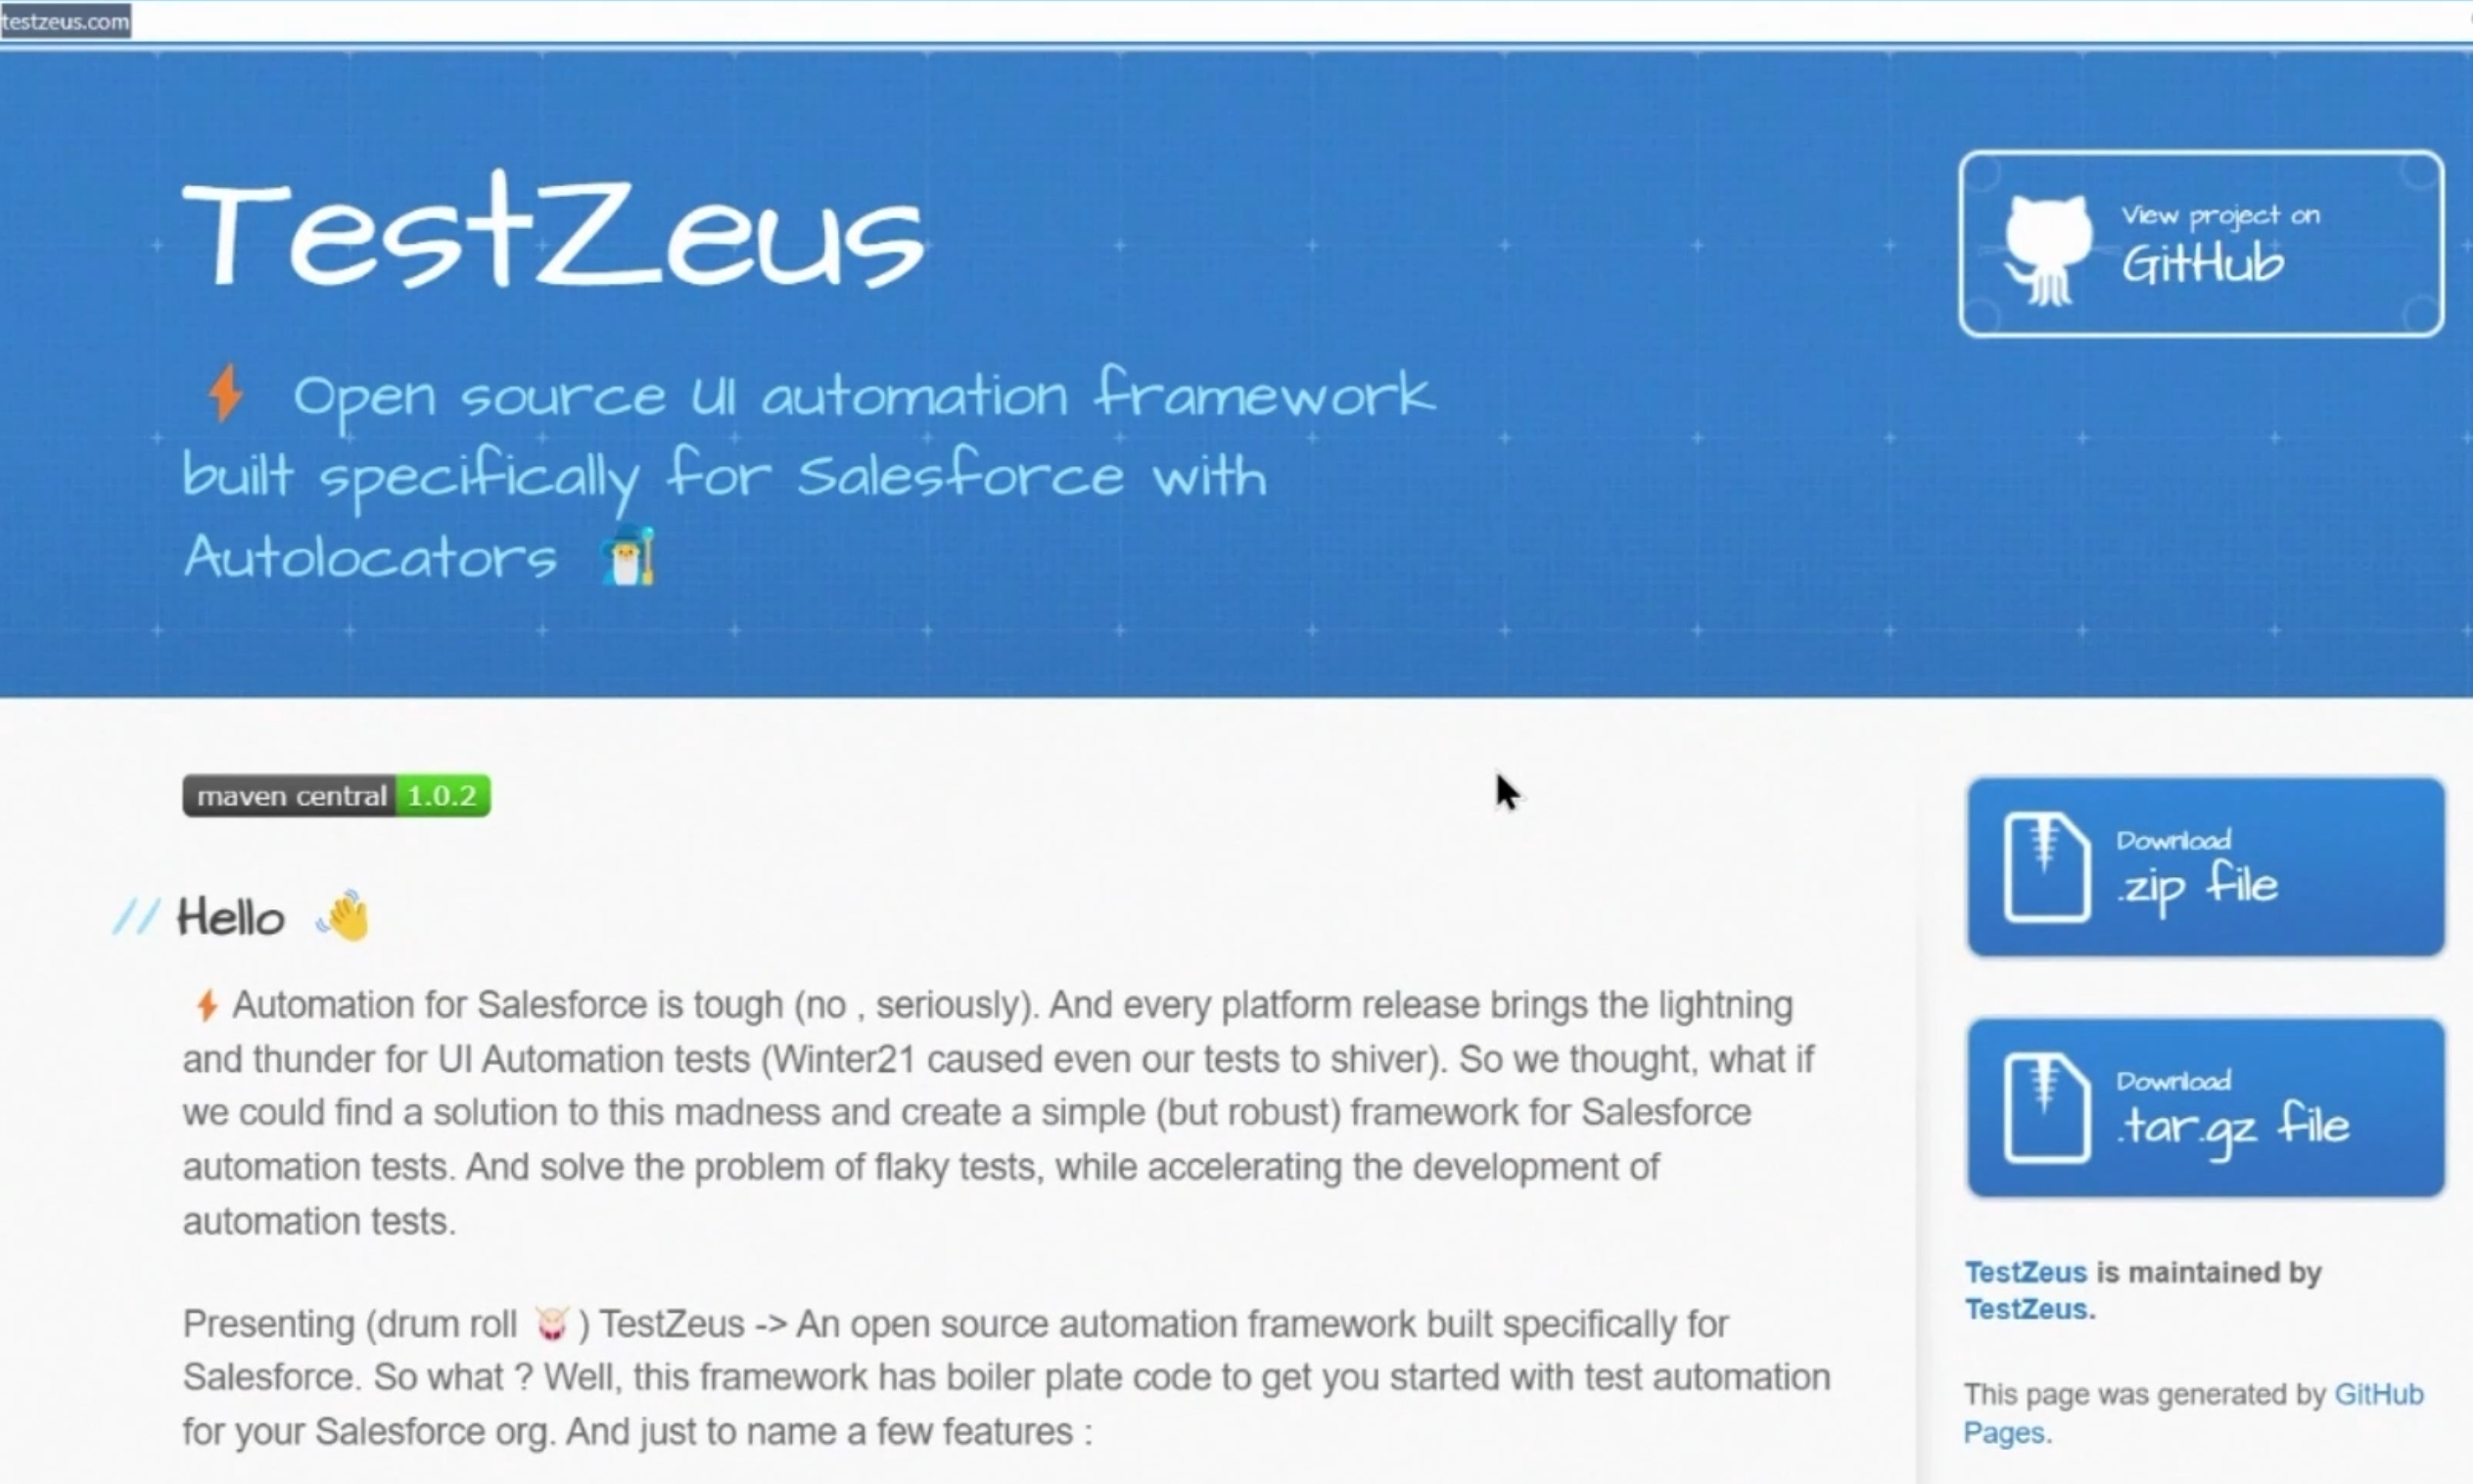
This is the home website for the TestZeus framework.
All the details around the framework, internals, architecture diagram, and support can be found over here.
# Import the TestZeus library from Github
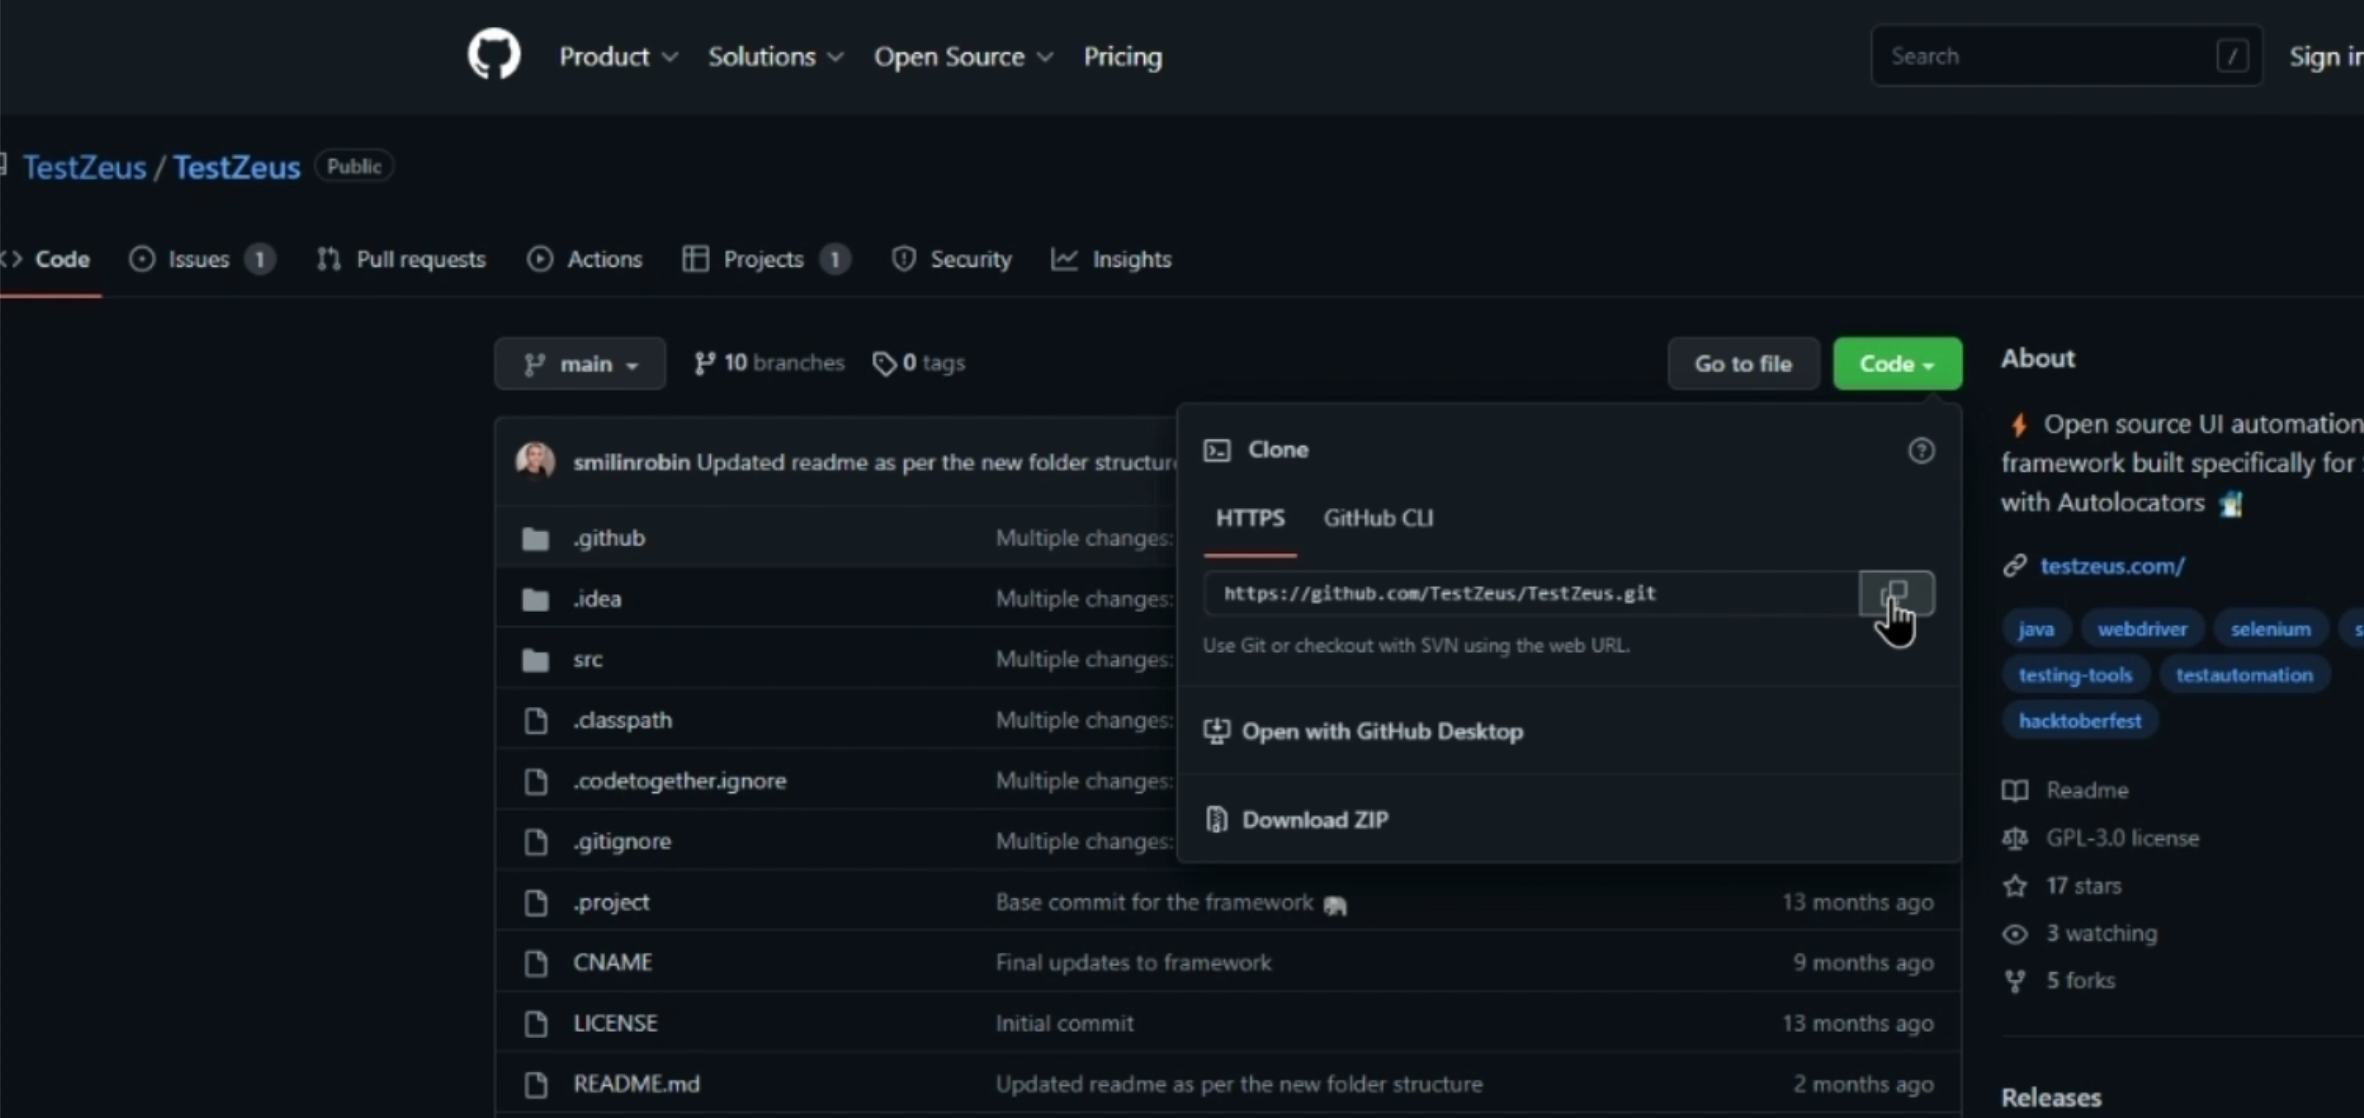
Let's look up this project on GitHub.
Click on the top right hand corner, and this will take you to the GitHub project.
Over here, click on this button called Code, and it will expose to you the URL to be used for importing the TestZeus framework, or technically, cloning a copy into your IDE.
Once you have this value, go back to Eclipse and test it over there with the Smart Import.
So, that is how we got the URL for importing our TestZeus project into our IDE over here.
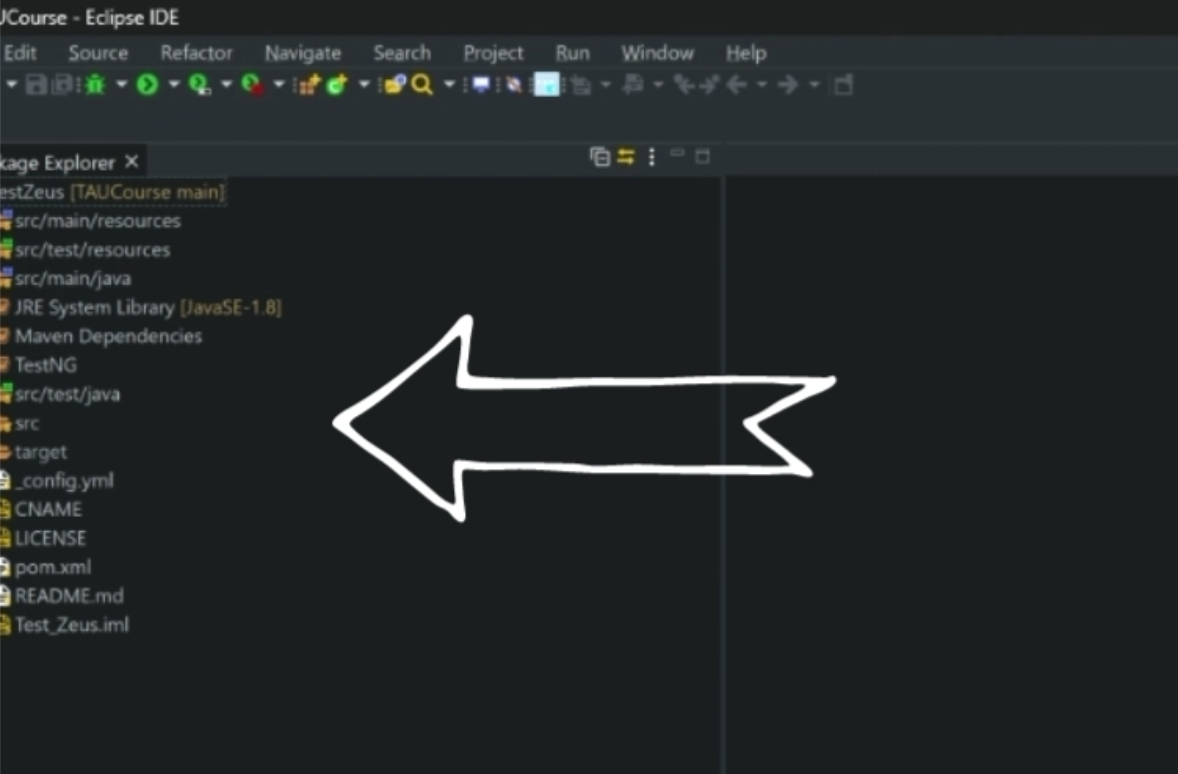
We imported the project into Eclipse and did a clean of the project - that is how we got all these folders over here.
Let's understand what these folders are up to and what is inside our next chapter.
Resources
- TestZeus** **
- GitHub - TestZeus/TestZeus** **
