

Transcripted Summary
We've come a long way in the preceding chapters!
We've seen how Behavior-Driven Development can help us get more clarity on what we want to build. We've covered the 3 main phases in the BDD process, and we've seen how we can get started using SpecFlow to help us verify whether the software we've built meets the behavior we discussed and agreed on before we started developing.
In the previous chapter, we tied all that together by adding several popular test automation libraries, turning our executable specifications into proper automated acceptance tests.
In this final chapter, I'd like to talk about 2 more things we haven't really talked about — automating the execution of our SpecFlow-based acceptance tests and reporting.
Let's start with automating the execution of our acceptance tests.
# Continuous Integration — Automating Acceptance Tests
So far, we have only executed our scenarios and Feature files directly from within Visual Studio.
That's all well and good when you're developing your acceptance tests, but at some point in time, you will want to make these tests part of an automated build pipeline using a Continuous Integration orchestrator like Azure DevOps, GitHub Actions, Jenkins, or any of the many other CI platforms available.
This means we'll need to be able to run our SpecFlow Scenarios from the command line, too, as this is the typical way you'll run tests in a Continuous Integration pipeline.
In our case, the heavy lifting is done for us by the .NET framework and NUnit, the test runner we added to our project when we started writing our code back in Chapter 4.
With the way our project is set up, all we need to do to run all the scenarios in our project from the command line is run the command dotnet test.
Note that I've added the @userinterface tag to the Feature file again, meaning that our executable specifications will run against the graphical user interface of our online banking system.
After the scenarios have finished running, you can see that once again, one Scenario, or rather one example of our Scenario Outline, passes while the other one fails.

Before we start creating a Continuous Integration build pipeline for our scenarios, there's one other thing that is important to mention.
In the previous chapter, we talked about SpecFlow tags as a means to group and filter Scenarios and Feature files. There will be many situations where you will only want to run a subset of your scenarios.
Fortunately, the seamless integration between SpecFlow and testing frameworks such as NUnit, MSTest, and xUnit makes this a walk in the park.
Tags are translated to test categories at compilation time, which means that we can use the --filter flag in our dotnet test command to indicate which tags we do and do not want to run.
For example, if I only want to run the Feature files and Scenarios tagged with the @userinterface tag, we can do that like this.
dotnet test --filter Category=userinterface
And as expected, 2 Scenarios, or rather one Scenario Outline has been executed with one example passing and another example failing [just like before].
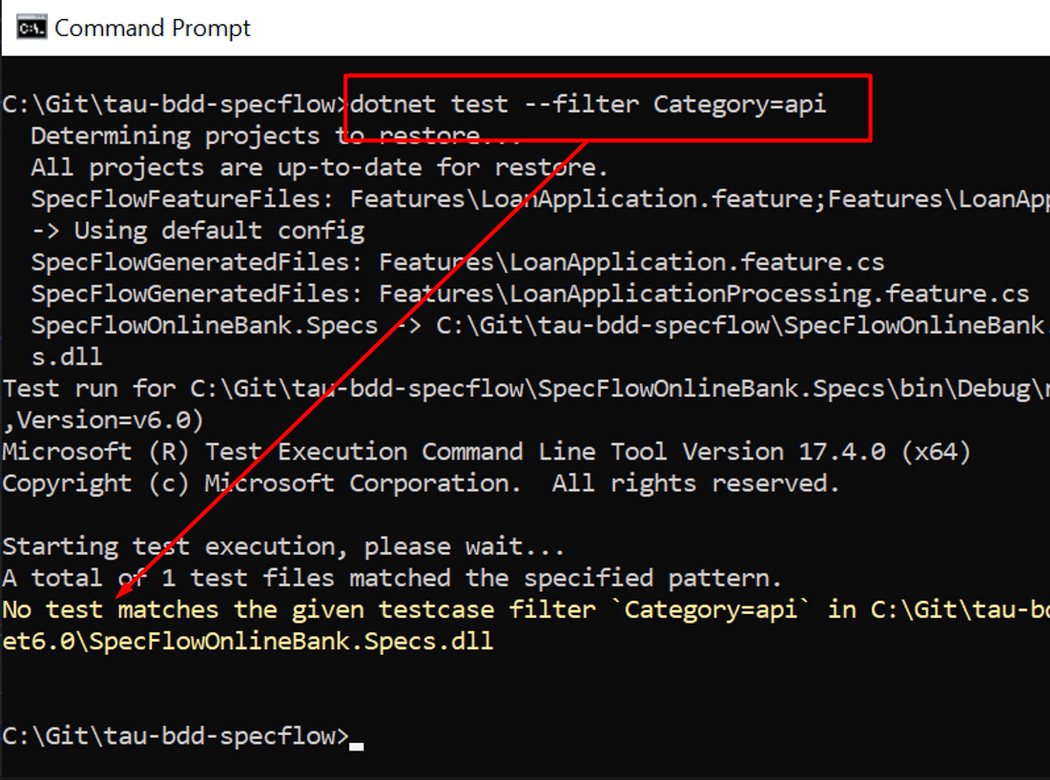
To show you that this really works, let's change the Category value from “userinterface” to “api”, another tag that we also used in the previous chapter but is currently not added to any of the Features or Scenarios in our project.
If we tell dotnet to only run tests with the “api” flag, it tells us, as expected, that there are no tests matching the filter we supplied.
The next step is making our SpecFlow scenarios run as part of an automated Continuous Integration pipeline.
In this example, I'm using GitHub Actions to do that, but you could do the same thing with pretty much every other CI orchestrator out there.
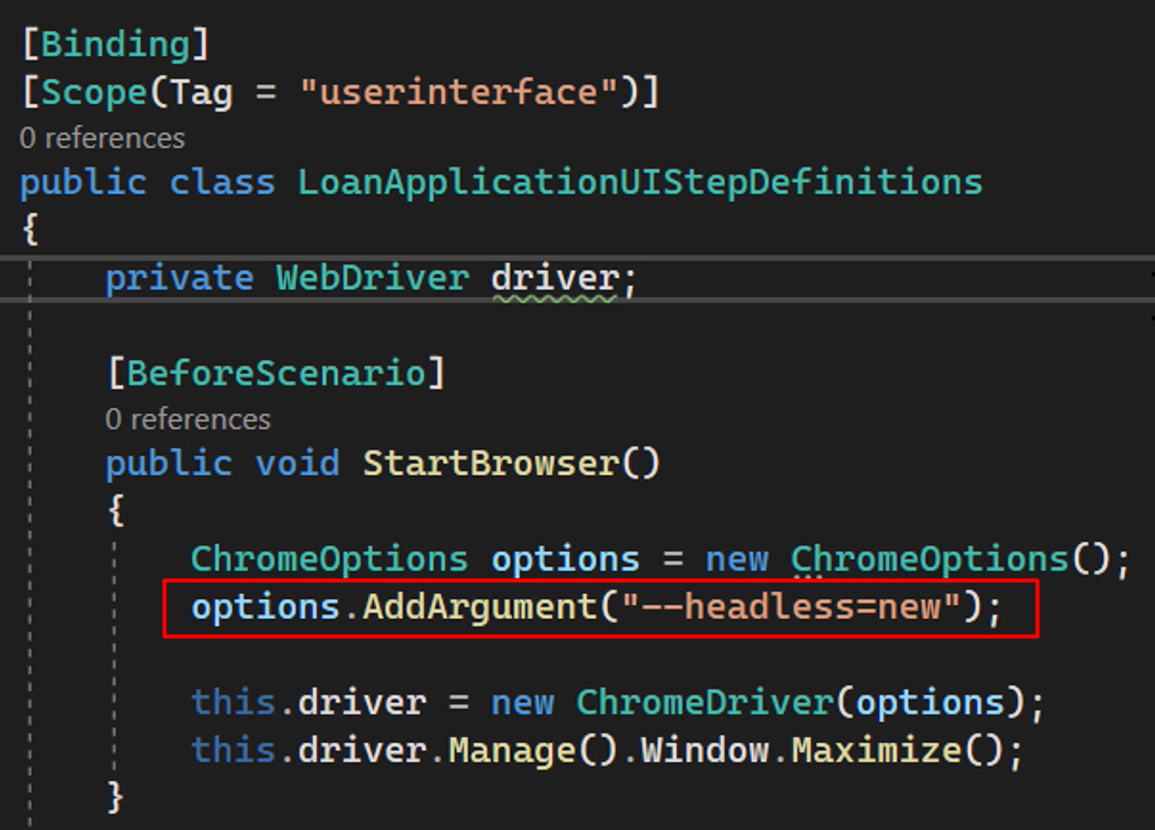
Before we define and run the steps that make up our build pipeline, it's probably a good idea to consider making the tests you're running against a web browser run in headless mode.
Most agents that are used by modern CI orchestrators don't have a graphical user interface available, so running your tests in headless mode is a great way to address that.
Here you see how to start your Selenium-based tests, driven by SpecFlow, in headless mode.
# Reporting
Next, let's take a look at the yml file that defines our build pipeline.
This example is a pretty straightforward pipeline, as all it does is check out the latest version of the code from GitHub, set up the environment using the .NET framework you want to run your tests against (which is .NET 6 here, the current long term stable .NET version at the time of recording this video), and run the tests, including passing in the filter to make sure only Scenarios with the “userinterface” tag are run in our build.
# based on https://docs.github.com/en/actions/automating-builds-and-tests/building-and-testing-net
name: CI

on:
  push:
    branches:
      - main
  pull_request:

concurrency:
  # For pull requests, cancel all currently-running jobs for this workflow
  # https://docs.github.com/en/actions/using-workflows/workflow-syntax-for-github-actions#concurrency
  group: ${{ github.workflow }}-${{ github.head_ref || github.run_id }}
  cancel-in-progress: true

jobs:
  build:

    runs-on: ubuntu-latest
    strategy:
      matrix:
        dotnet-version: [6.0.x]
        include:
          - dotnet-version: 6.0.x
            framework: net6.0

    steps:
      - uses: actions/checkout@v3

      - name: Setup .NET Core SDK ${{ matrix.dotnet-version }}
        uses: actions/setup-dotnet@v3
        with:
          dotnet-version: ${{ matrix.dotnet-version }}

      - name: List installed .NET SDKs
        run: dotnet --list-sdks

      - name: Restore project dependencies
        run: dotnet restore

      - name: Build (${{ matrix.framework }})
        run: dotnet build --framework ${{ matrix.framework }} --no-restore

      - name: Run tests (${{ matrix.framework }})
        run: dotnet test --framework ${{ matrix.framework }} --no-restore --no-build --verbosity normal --filter Category=userinterface
As you can see, we have set up our pipeline to run every time new code is pushed to the main branch of our repository.
When we do that, GitHub Actions will trigger a new build, set up the environment for us, and run the SpecFlow scenarios slash acceptance tests.
When we inspect the logs produced by GitHub Actions, we can see that the results are still the same — one example in our Scenario Outline passes while the other one fails.
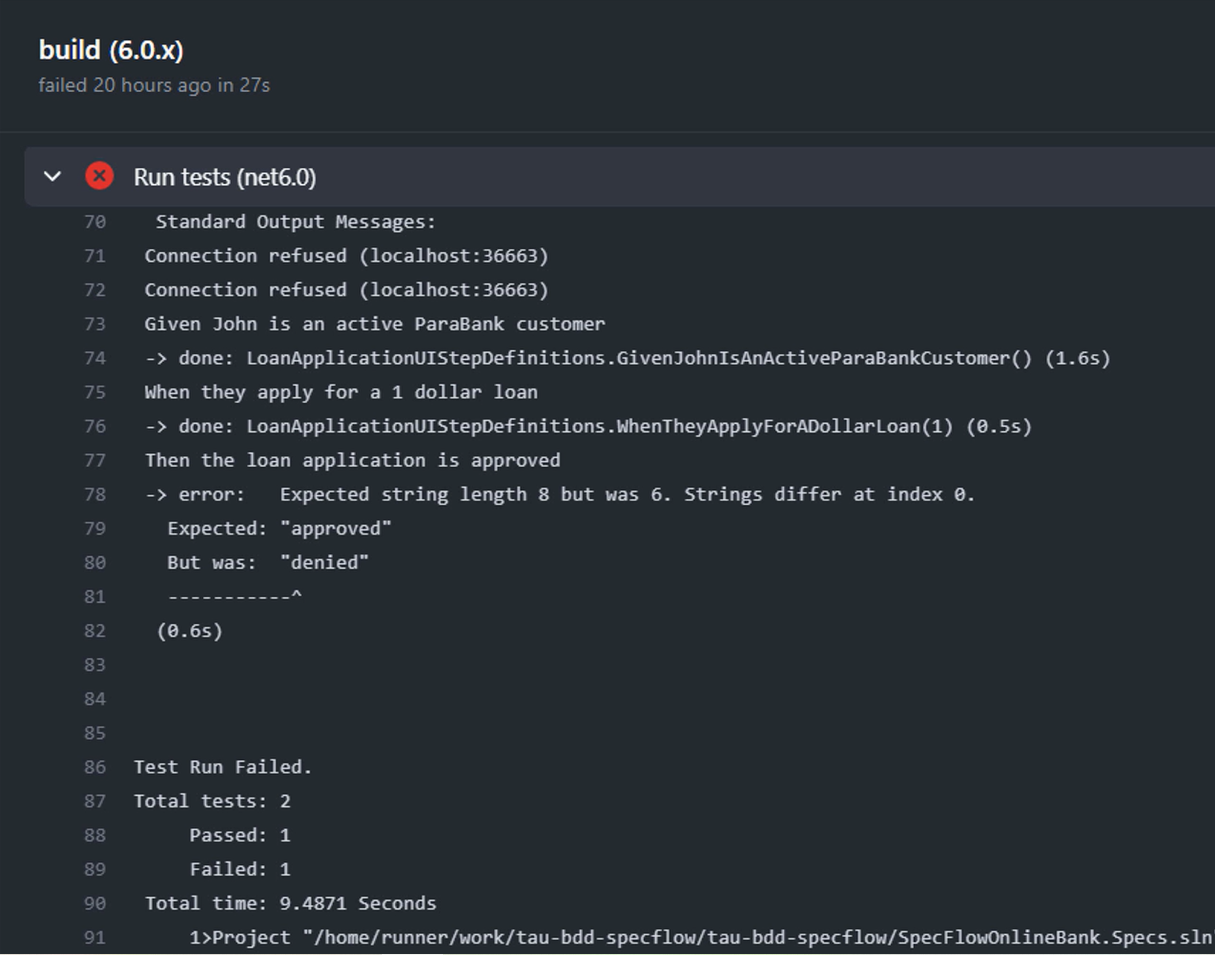
Exactly the same as when we run the Scenarios on our local machine, which of course, is exactly as we would expect it to be.
You can find the GitHub Actions build pipeline definition in the repository under Chapter 10.
Because of the seamless integration of SpecFlow with common and popular testing frameworks, like NUnit in this example, this is all it takes to make the execution of your SpecFlow scenarios slash acceptance tests part of a build pipeline.
From here on, you can add other steps to your pipeline, including adding frameworks or libraries to generate more human-friendly reporting.
One way to do that is by using the SpecFlow LivingDoc generator, which is part of the SpecFlow ecosystem of tools.
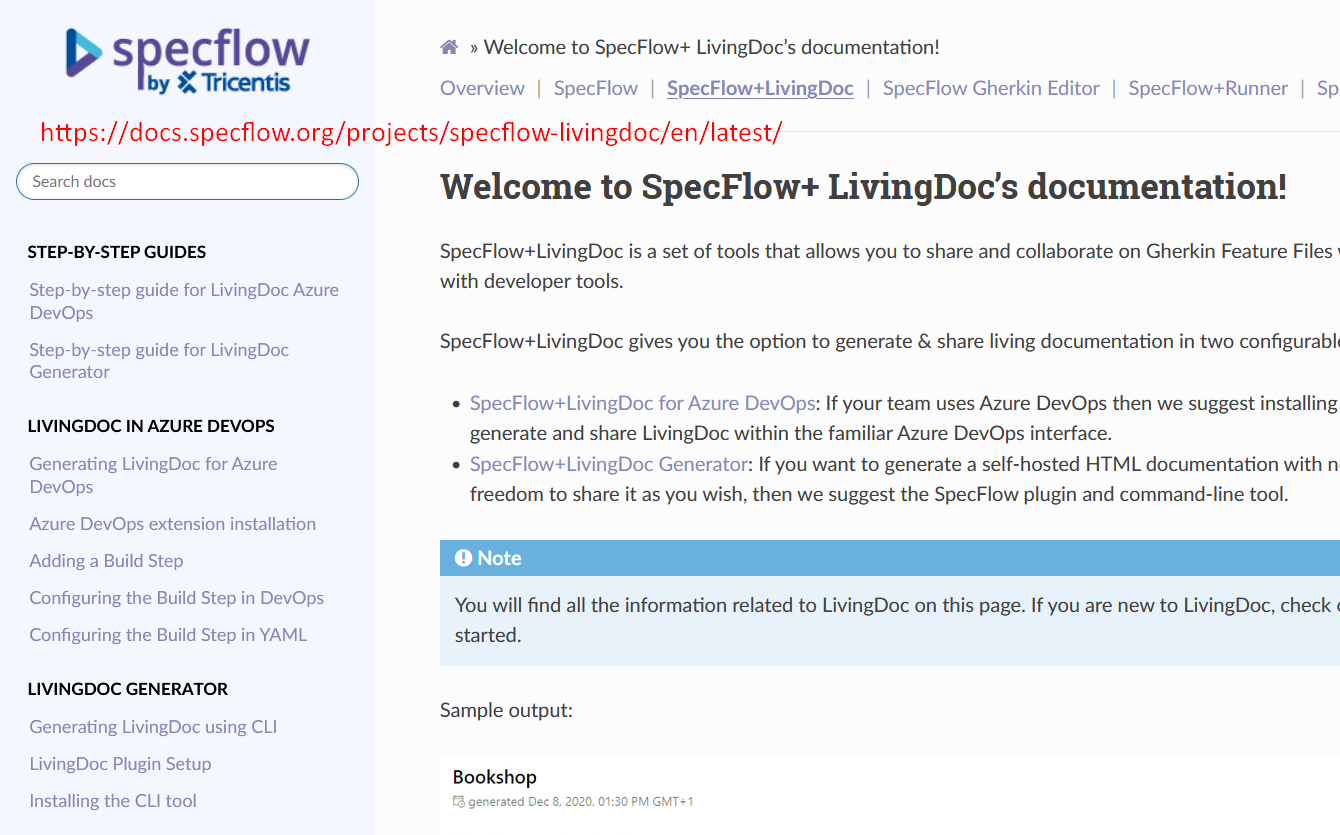
You can find everything you need to know to set up SpecFlow LivingDoc and how to use it to generate great-looking HTML reports when you run your SpecFlow Scenarios on the website.
This concludes our time together in this course on getting started with Behavior-Driven Development and SpecFlow.
As I said at the beginning of this chapter, we have covered a lot of ground together. I really do hope you enjoyed the course, and I wish you all the best in your BDD and SpecFlow endeavors.
Cheers!
Resources
- Git Repo for Entire Course
- Git Repo: Chapter 10
- SpecFlow Documentation Home
- SpecFlow+ LivingDoc’s documentation
