

Transcripted Summary
In the previous chapter, we learned 2 things.
- How we can use hooks to write setup and teardown code to run before or after our Features, Scenarios, and Steps; and
- How to use Tags to group Features and Scenarios and how to scope hooks, bindings classes, and individual Step Definitions to Tags.
In earlier chapters, we learned a lot about the BDD process and how SpecFlow can be used to support that process.
And we saw how to get started with SpecFlow and create executable specifications from our requirements and expected behavior documented in the Gherkin format.
To create proper acceptance tests that interact with your application under test — be it through the graphical user interface, an API, a database, or even directly with the code — SpecFlow and the test runner you use to run your Feature files and Scenarios often are not enough.
SpecFlow does not offer any classes, methods, or other types of utilities to do this. It is great at turning specifications into executable code, but that's where its responsibilities end.
Therefore, to properly turn our specifications into automated acceptance tests, we will need additional libraries that can help us do exactly that.
In this chapter, we are going to look at 2 different ways of implementing the Step Definitions we created earlier for our loan application system.
- First, we're going to use Selenium WebDriver to turn our specifications into an automated acceptance test that operates on the graphical user interface of our online bank, which is accessible through any modern web browser.
- Next, we're going to implement the same Scenario as a test at the API level by directly performing the HTTP API calls that the browser would make anyway, using a library called RestAssured.Net.
But let's start by creating a user interface-driven acceptance test using Selenium WebDriver.
NOTE
By the way, instead of Selenium, I could have used Playwright, another very popular open-source web UI automation framework, as well as other UI automation libraries for desktop, web, or other types of graphical user interfaces. I've chosen Selenium because it is a very commonly used library and it is specifically targeted at web applications, and we're testing an online bank here.
# Selenium WebDriver
The Given, When and Then Step Definitions implement the actions described in the corresponding steps.
        [Given(@"John is an active ParaBank customer")]
        public void GivenJohnIsAnActiveParaBankCustomer()
        {
            new LoginPage(this.driver)
                .LoginAs("john", "demo");
        }

        [When(@"they apply for a (\d+) dollar loan")]
        public void WhenTheyApplyForADollarLoan(int loanAmount)
        {
            new AccountOverviewPage(this.driver)
                .SelectMenuItem("Request Loan");

            new RequestLoanPage(this.driver)
                .SubmitLoanRequest(loanAmount, 1000, 12345);
        }

        [Then(@"the loan application is (approved|denied)")]
        public void ThenTheLoanApplicationIsApproved(string expectedResult)
        {
            Assert.That(
                new RequestLoanPage(this.driver).GetLoanApplicationResult(),
                Is.EqualTo(expectedResult)
                );
        }

        [When(@"their monthly income is (\d+)")]
        public void WhenTheirMonthlyIncomeIs(int monthlyIncome)
        {
        }
In the Given, everything is set up to ensure that our user can start filing a loan application. In this case, all they need to do is to log in to the system.
In the When step, the actual loan application is submitted.
And in the Then step, the loan application result is compared to the expected result in an assertion.
I will not go into further detail about the implementation of the code, and especially that of the Page Objects used here, as that is beyond the scope of this course.
Also, once we start to dive deeper into this code, we move away from the responsibilities of SpecFlow and into the responsibilities of our UI automation library.
Next in the Step Definition code, there's also a BeforeScenario and AfterScenario hook.
In this case, the hooks take care of managing the driver object that is used by Selenium to send instructions to our browser.
In the BeforeScenario we start a new Chrome instance and maximize the window.
        private WebDriver driver;

        [BeforeScenario]
        public void StartBrowser()
        {
            this.driver = new ChromeDriver();
            this.driver.Manage().Window.Maximize();
        }
And in the AfterScenario method, we close the browser and all connections that Selenium opened to it.
        [AfterScenario]
        public void CloseBrowser()
        {
            this.driver.Quit();
        }
Again, it's good to remember, as we've discussed in the previous chapter, that After hooks like this AfterScenario one are guaranteed to run, even if our acceptance test fails, which means that the browser will always be properly closed in this way.
When we run this Scenario Outline, with its 2 examples, we see that 2 tests are run.
One for the loan application of $999 and one for the loan application of $1.
Looking at the results, we see that the example for the loan application for $999 passes, but for some reason, the loan application for a loan of a single dollar is denied.
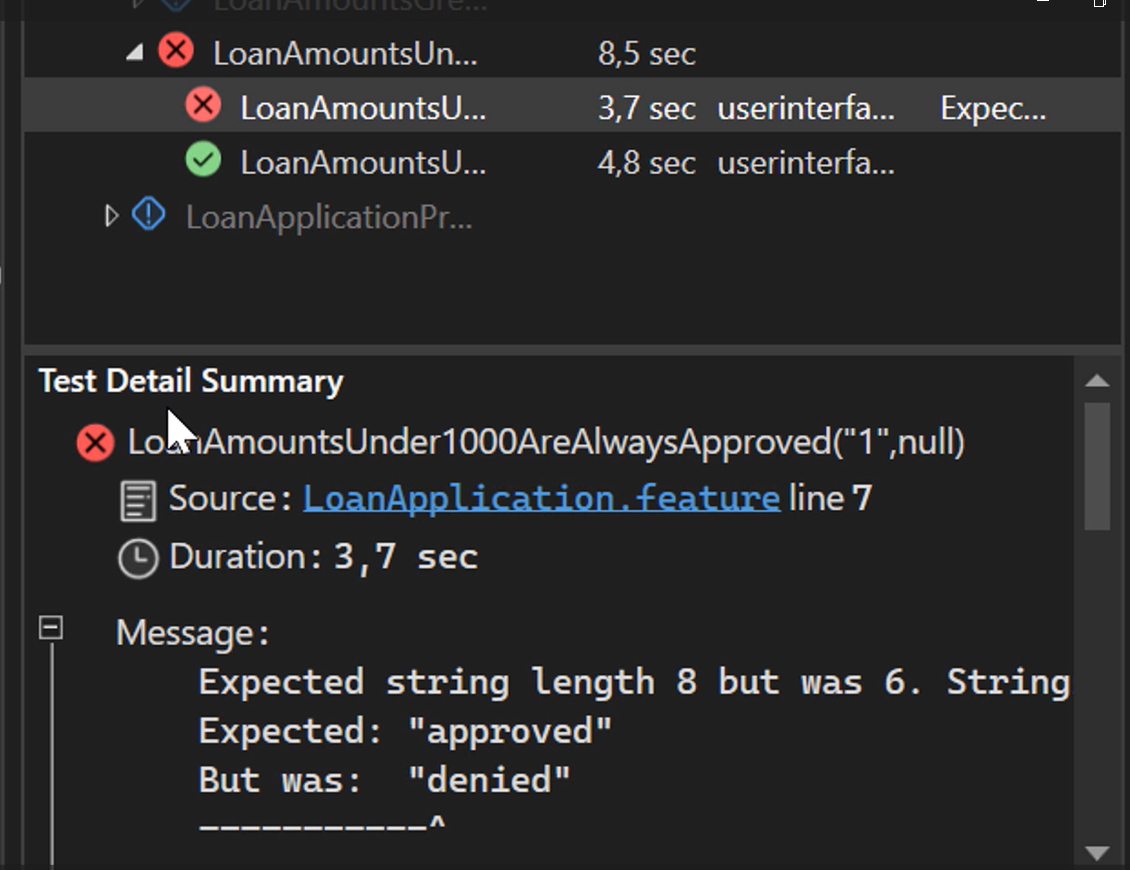
It's safe to assume that there's probably some work to be done here still!
# REST API Testing
Next, let's have a look at how to implement the same Scenario with an API testing and automation library.
I have chosen to use RestAssured.Net here for its readability and ease of use, but I could have picked any other C# HTTP library, such as RestSharp, just as easily.
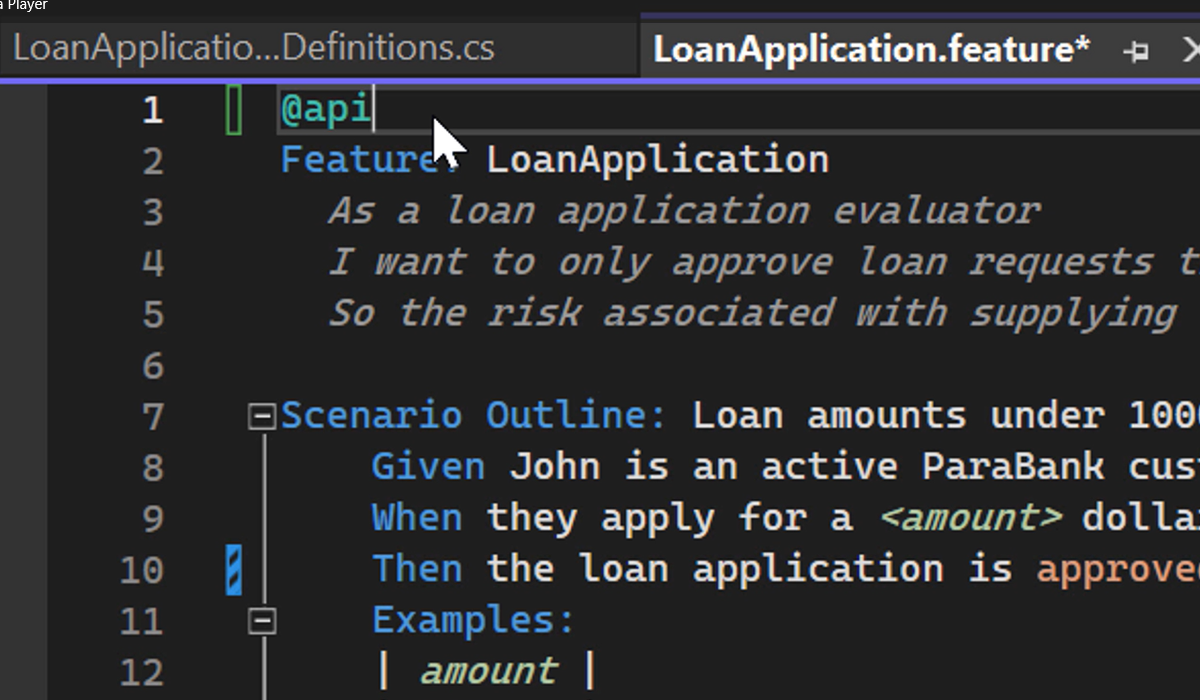
To tie the Steps in our Feature file to the Step Definitions using RestAssured .Net instead of those using Selenium, all I need to do is change the Feature-level Tag from @userinterface to @api.
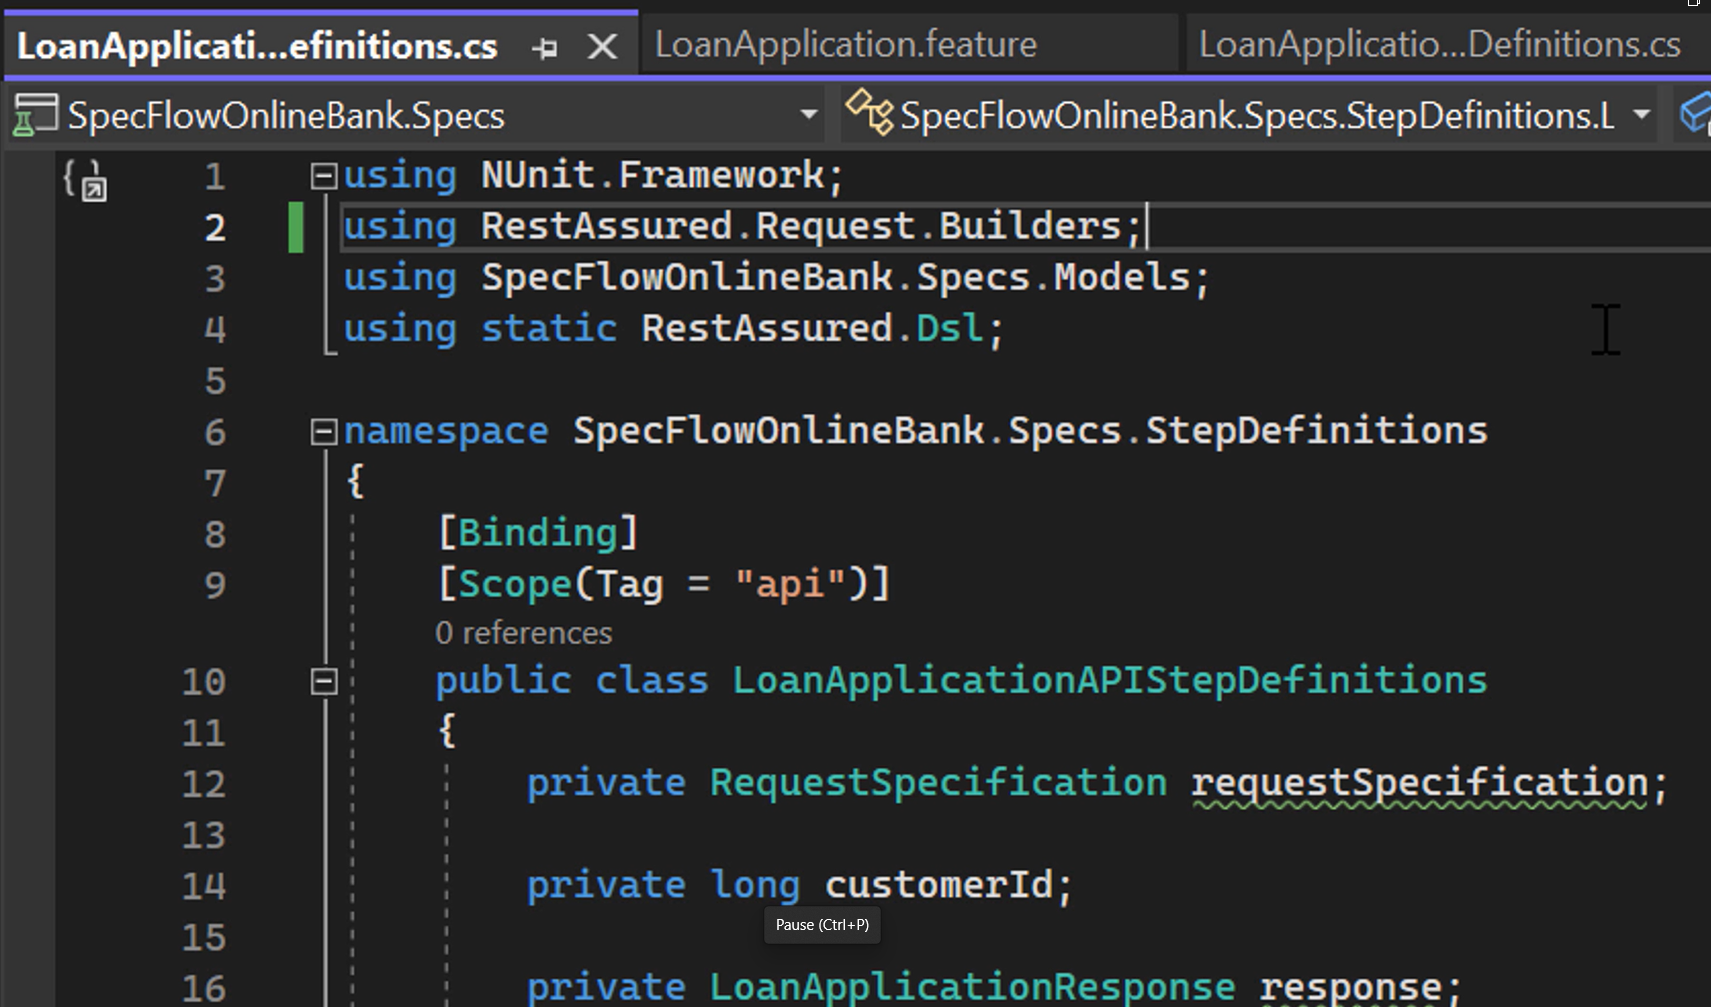
I've scoped 2 separate StepDefinitions classes to one of these Tags each, as you can see here.
When I run the Scenario again, SpecFlow will now use the Step Definitions in this class instead of the one used in the UI automation with the Selenium example we just saw earlier.
In these Step Definitions, I'm performing the same steps as I did at the UI level, but now using APIs.
Given performs the login.
        [Given(@"John is an active ParaBank customer")]
        public void GivenJohnIsAnActiveParaBankCustomer()
        {
            this.customerId = (long)Given()
                .Spec(this.requestSpecification)
                .PathParam("username", "john")
                .PathParam("password", "demo")
                .When()
                .Get("/login/{{username}}/{{password}}")
                .Then()
                .StatusCode(200)
                .And()
                .Extract().Body("$.id");
        }
When performs the loan application submission.
        [When(@"they apply for a (\d+) dollar loan")]
        public void WhenTheyApplyForADollarLoan(int loanAmount)
        {
            this.response = (LoanApplicationResponse)Given()
                .Spec(this.requestSpecification)
                .QueryParam("customerId", this.customerId)
                .QueryParam("amount", loanAmount)
                .QueryParam("downPayment", 1000)
                .QueryParam("fromAccountId", 12345)
                .When()
                .Post("/requestLoan")
                .Then()
                .StatusCode(200)
                .And()
                .DeserializeTo(typeof(LoanApplicationResponse));
        }
And Then checks that the response contains the proper result, that is, either approved or denied.
        [Then(@"the loan application is (approved|denied)")]
        public void ThenTheLoanApplicationIsApproved(string expectedResult)
        {
            bool expectedApproved = expectedResult.Equals("approved");

            Assert.That(this.response.approved, Is.EqualTo(expectedApproved));
        }
Similar to the UI automation with Selenium example, I’m using a BeforeScenario hook to set up a request specification containing some shared properties that apply to all the requests that I make in these tests.
        [BeforeScenario]
        public void CreateRequestSpecification()
        {
            this.requestSpecification = new RequestSpecBuilder()
                .WithHostName("localhost")
                .WithBasePath("/parabank/services/bank")
                .WithPort(8080)
                .WithHeader("Accept", "application/json")
                .Build();
        }
If we now run the same Scenarios using our Step Definitions using the ParaBank API, we see the same test results: one Scenario passes, while the other one fails.
There are many more examples that I could have given here, using different libraries and tools, but the gist of the story remains the same.
SpecFlow can be combined with many different tools and libraries in the C# test automation space to implement acceptance tests driven by your Gherkin Feature files and Scenarios as you see fit.
In the final chapter of this course, we'll have a look at how to make our Scenarios part of a CI/CD pipeline.
And we'll take a look at SpecFlow+ LivingDoc, a tool that can help you provide human-friendly reporting on the desired and actual behavior of your application.
The code you have seen in this chapter is available on GitHub in the Chapter 9 branch of the repository.
