
Transcripted Summary
Now, we're at the last layer in our Cucumber automation, Page Objects.
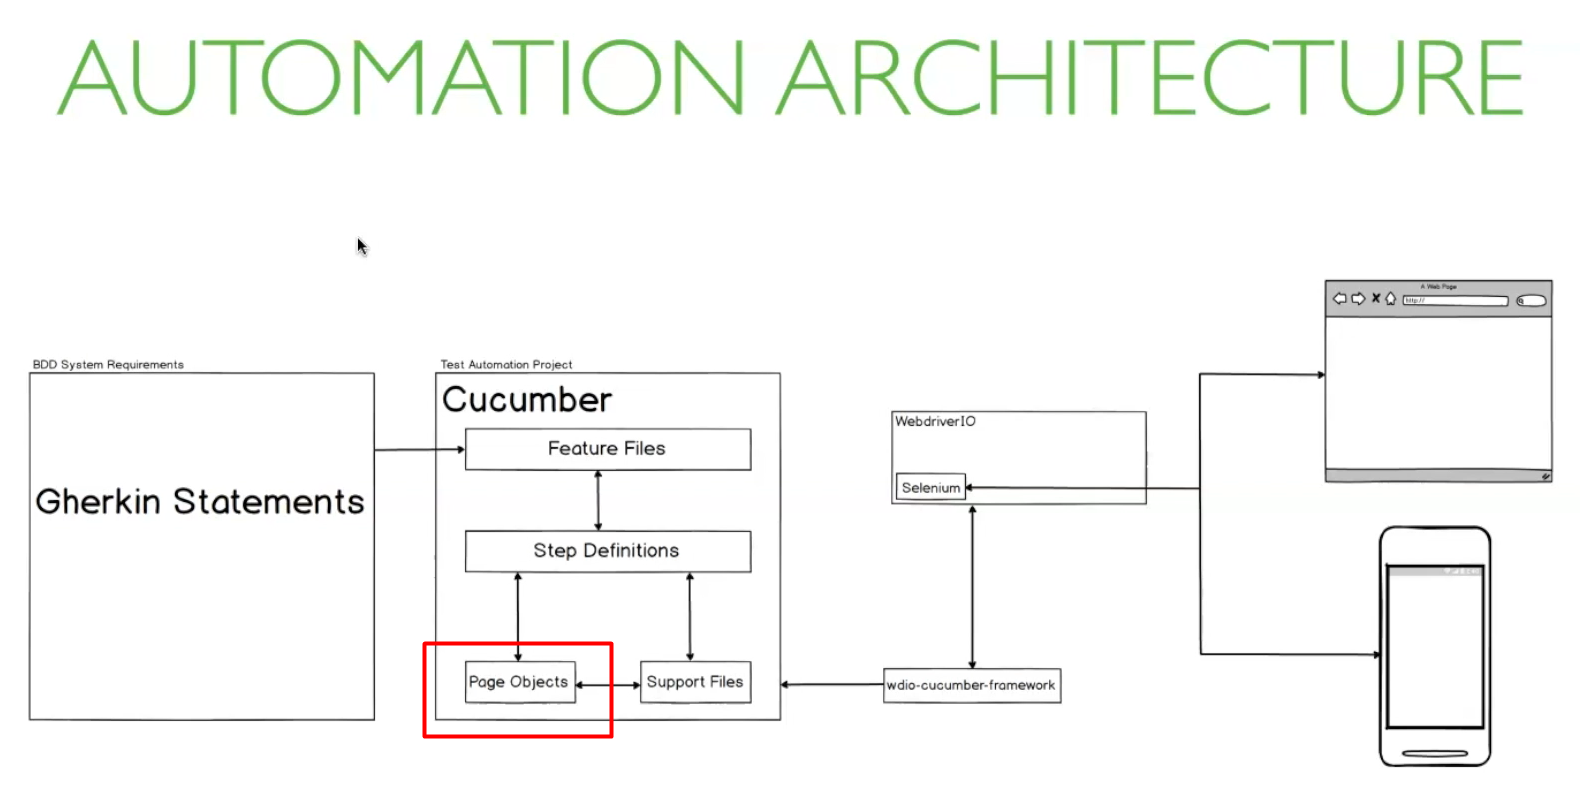
Page Objects are a representation of a page in a website or application.
It contains selectors for elements on the page, and methods responsible for interacting with the page. Basically, it allows us to separate the logic of our tests from the static nature of our pages.
It's a very good way to have a maintainable automation project for 2 big reasons.
The first reason is, if some element on a page changes it's selector, we can pretty easily update the Page Object without having to worry about modifying any test.
Secondly, if we decide we want to move away from Cucumber to a different framework, we can easily do so and still retain our Page Objects, and only focus on changing our tests to match that new framework.
Like our Support files, WebDriver IO doesn't really care where these files are.
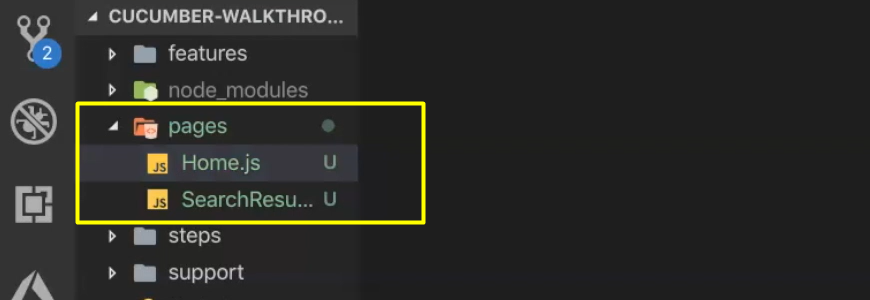
Let's create a folder called “pages” in the root.
Let's just create 2 Page Objects: one for the search page, and one for the results page.
I'll call one “Home.js” and the other “SearchResults.js”.
The only elements we have from the Home Page are the input field and the search button.
We can use the getter syntax [get] to make it easy to access these elements later.
Another thing I like to include in my Page Objects is a path to get to the page relative to the base URL, if possible.
The only action that we do on the Home Page is search, so let's create the method for that.
# pages/Home.js
class Home {
  get url() {
    return "/";
  }

  get searchField() {
    return $(".gLFyf.gsfi");
  }

  get searchButton() {
    return $(".aajZCb .gNO89b");
  }

  search(keyword) {
    this.searchField.waitForDisplayed(5000);
    this.searchField.click();
    this.searchField.setValue(keyword);
    this.searchButton.waitForDisplayed(5000);
    this.searchButton.click();
  }
}
module.exports = new Home();
If you realize we ended up duplicating the action that we already have in our search action file; you can choose to handle this in one of two ways.
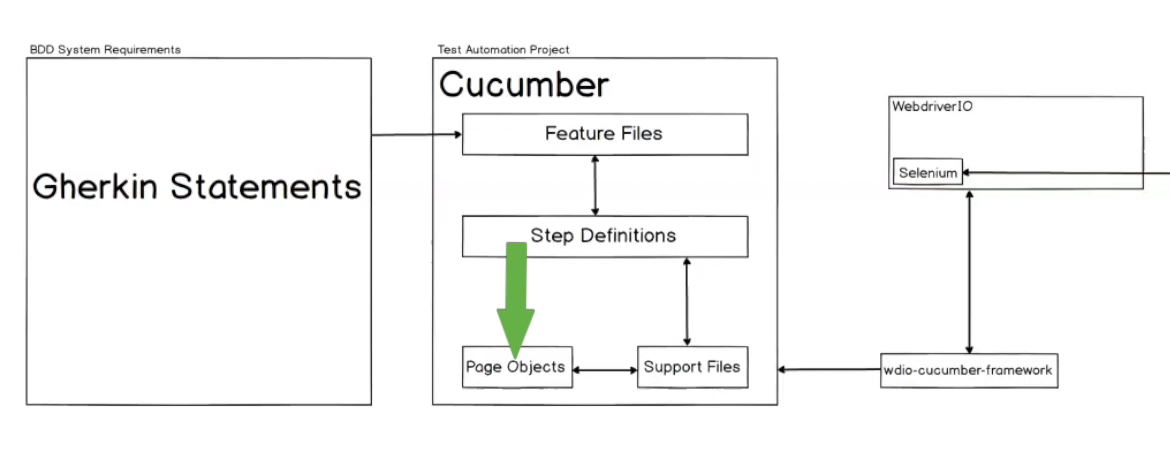
You can choose to let the Step Definition call the Page Object function directly.
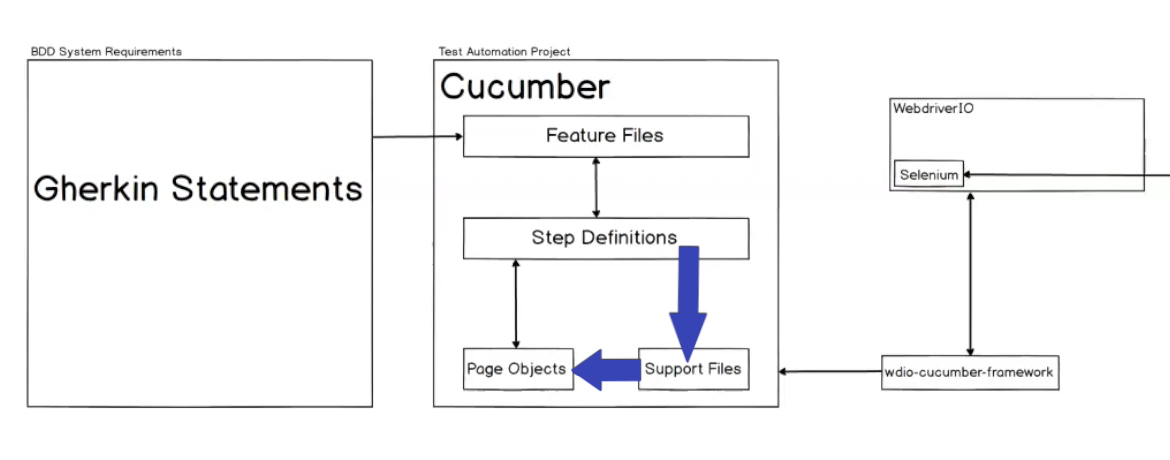
Or, you can choose to let the Step Definition continue to call the Support file and then let the Support file call the Page Object method.
You may be asking yourself, "Why about to go through an extra step?"
And the truth is, both ways are fine. This comes down to a personal preference.
What I prefer to do is maintain the flow of logic; so I prefer to have my Step Definition call my Support files which calls my Page Object.
There will come a time where you may want some logic to be handled outside of the Page Object. This approach allows you to keep a clean Page Object by making the functions in there do actions that purely interact with the page.
An additional benefit is you can now build test workflows outside of your Page Objects and Step Definitions.
Putting most that complex logic in my Support file helps me to maintain a modular Step Definition and Page Object file.
With that decided, let's create our SearchResults Page Object.
This one will only have one thing in there — they getter for the search results link.
# pages/SearchResults.js
class SearchResults {
  get searchResultsLinks() {
    return $$(".LC20lb");
  }
}
module.exports = new SearchResults();
We can't have a static URL, since the URL is based on what you've searched for. And we don't have any functions, because we don't do any auctions on our results page.
# So, the next updates are Step Definitions and Support files, to use these getters and methods.
In our given.js file, I’ll replace the static URL with a URL from our homePage Object.
import { Given } from "cucumber";
import homePage from "../../pages/Home";
import goToURL from "../../support/actions/goToURL";

Given("A web browser is at the Google home page", () => {
  goToURL(homePage.url);
});
In our search action, I’ll replace everything here and just called the search function from our homePage Object.
Since our Page Object has all the elements it needs to interact with the page, I'll only be passing the keyword paramount to the function.
import homePage from "../../pages/Home";

/**
 * Search for a keyword
 * @param {String} keyword keyword to seasrch for
 */
export default keyword => {
  homePage.search(keyword);
};
Let's update our Step Definition file to reflect this change.
The when.js file becomes:
import { When } from "cucumber";
import googleSearch from "../../support/actions/search";

When(/^The user enters "(.*)" into the search bar$/, keyword => {
  googleSearch(keyword);
});
From the last lesson to this one, I changed the function import name from “search” to “googleSearch”, just for clarity.
In our verifyLinksContain assertion, we'll import thesearchResultsPage and use the links getter to iterate over the elements.
That means we no longer need to pass a links element to this function. Instead, we can rely on our Page Object to provide that for us.
import assert from "assert";
import searchResultsPage from "../../pages/SearchResults";

/**
 * Ensure link text includes keyword
 * @param {Array.Object} links list of WebdriverIO elements
 * @param {String} keyword Search keyword
 */
export default keyword => {
  searchResultsPage.searchResultsLinks.forEach(link => {
    const linkText = link.getText().toLowerCase();
    if (linkText) {
      assert(
        linkText.includes(keyword),
        `Link ${linkText} does not include ${keyword}`
      );
    }
  });
};
And finally, we need to update our Then step to reflect this.
import { Then } from "cucumber";
import verifyLinksContain from "../../support/assertions/verifyLinksContain";

Then(/^links related to "(.*)" are shown on the results page$/, keyword => {
  verifyLinksContain(keyword);
});
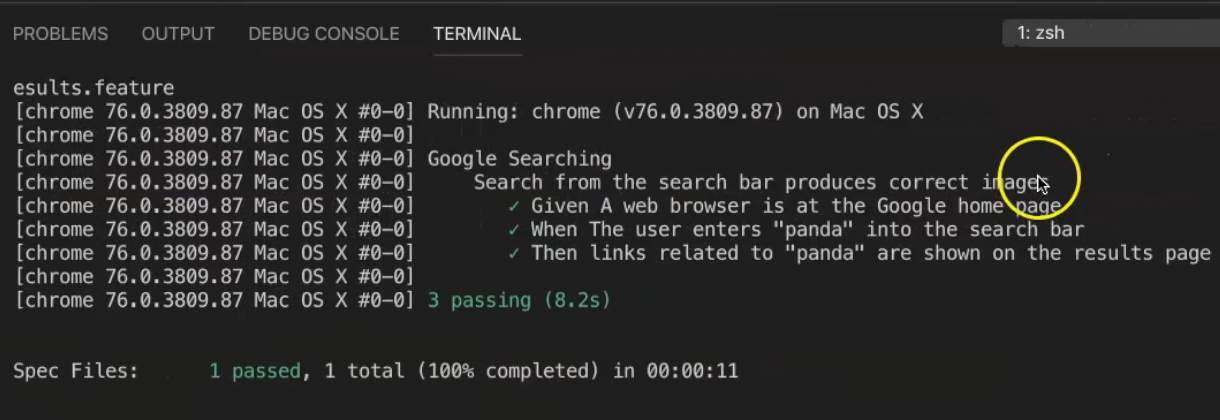
Let's check that all of those changes didn't break our test.
# Great, you've completed our automation architecture.
Let's go through this diagram one last time.
When we start WebDriver IO, it searches for our tests which are our Feature Files
It then uses our Step Definitions to know how to execute each step. Based on how we code it, our Step Definition can either call our Page Object or Support File
Our Support File relies on data from our Page Object, whether that's an element or a method
You can find the source code for this and the future chapters at my GitHub page (links are in the resources section for each chapter so you can try it all out on your own).
Congrats on making it through Chapter 4.
In the next chapter, we'll be using everything we've learned in this and previous chapters to start writing automated tests for an application. Let's get started.
