

Transcripted Summary
In this section we'll be focusing on data files, tags, and NPM scripts.
So here we have two scenarios.
Let's go through the first one.
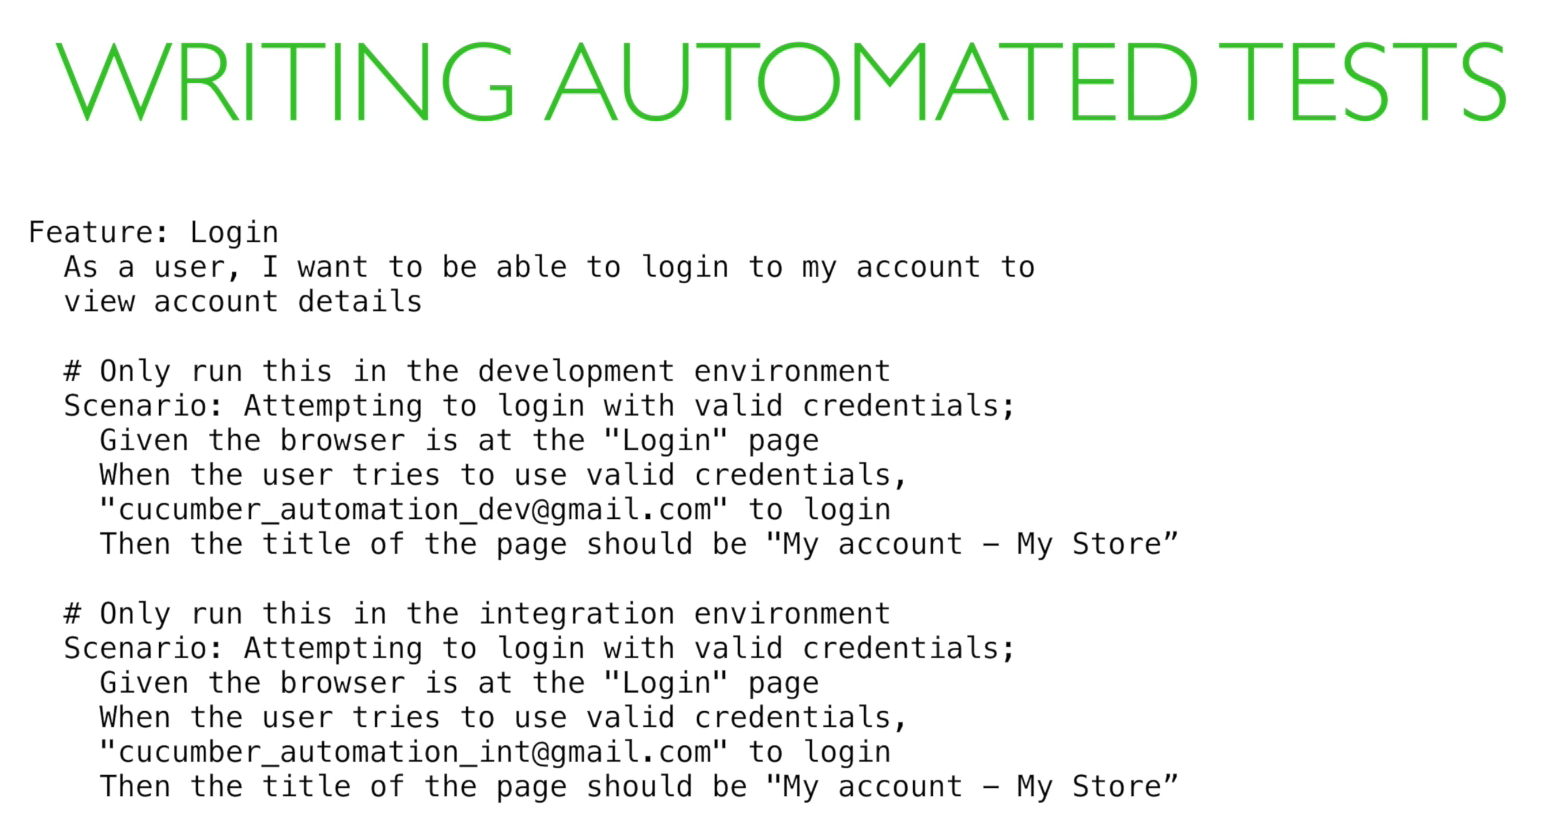
Feature: Login — As a user, I want to be able to log in to my account to view account details (Only run this in the development environment)
Scenario: Attempting to login with valid credential
- Given the browser is at the “Login” page
- When the user tries to use valid credentials, “cucumber_automation_dev@gmail.com”, to login
- Then the title of the page should be "My account - My Store"
Okay, now that we know how that behaves, let's automate.
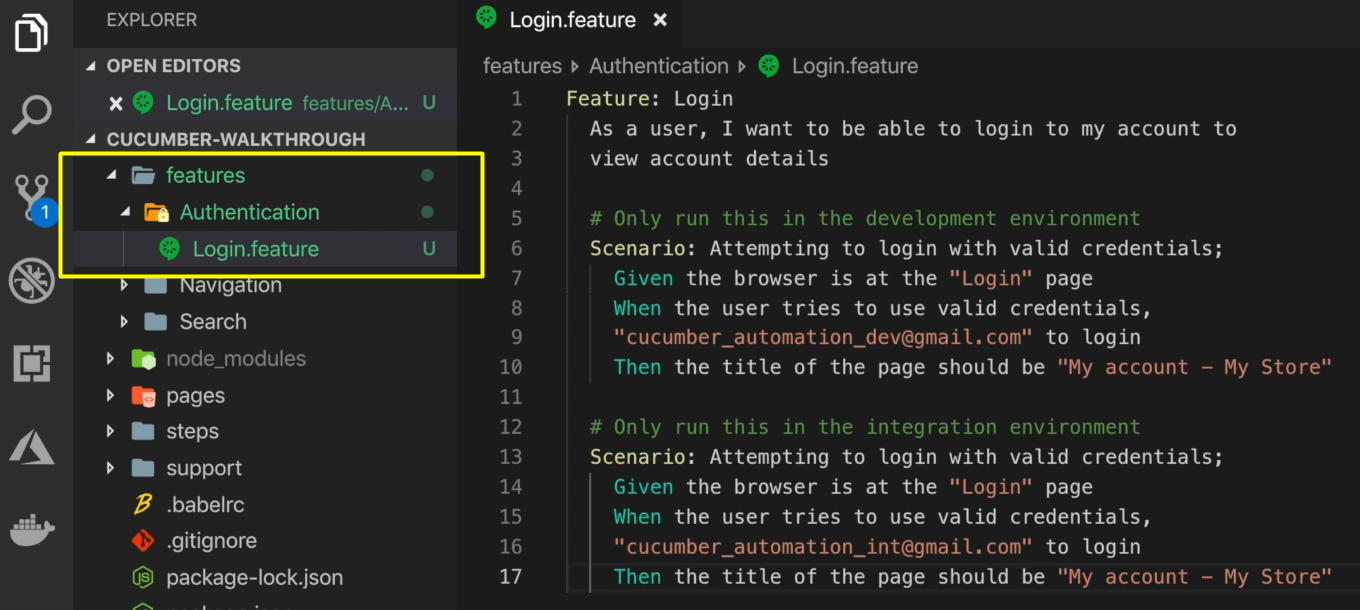
The first thing we'll do, as always, is copy this into a new Feature file.
I will create a sub folder called "Authentication", and I'll name my feature file "Login".
Both scenarios are identical, with the only difference being the email being used, so to make this a bit simpler, I'll use a Scenario Outline instead.
For now, I disregard the comments for each scenario. We'll get back to these later.
Feature: Login

  As a user, I want to be able to login to my account to view account details

  Scenario Outline: Attempting to login with valid credentials; <email>
    Given the browser is at the "Login" page
    When the user tries to use "valid" credentials, "<email>" to login
    Then the title of the page should be "My account - My Store"

    Examples:
      | email                             |
      | cucumber_automation_dev@gmail.com |
Okay, great.
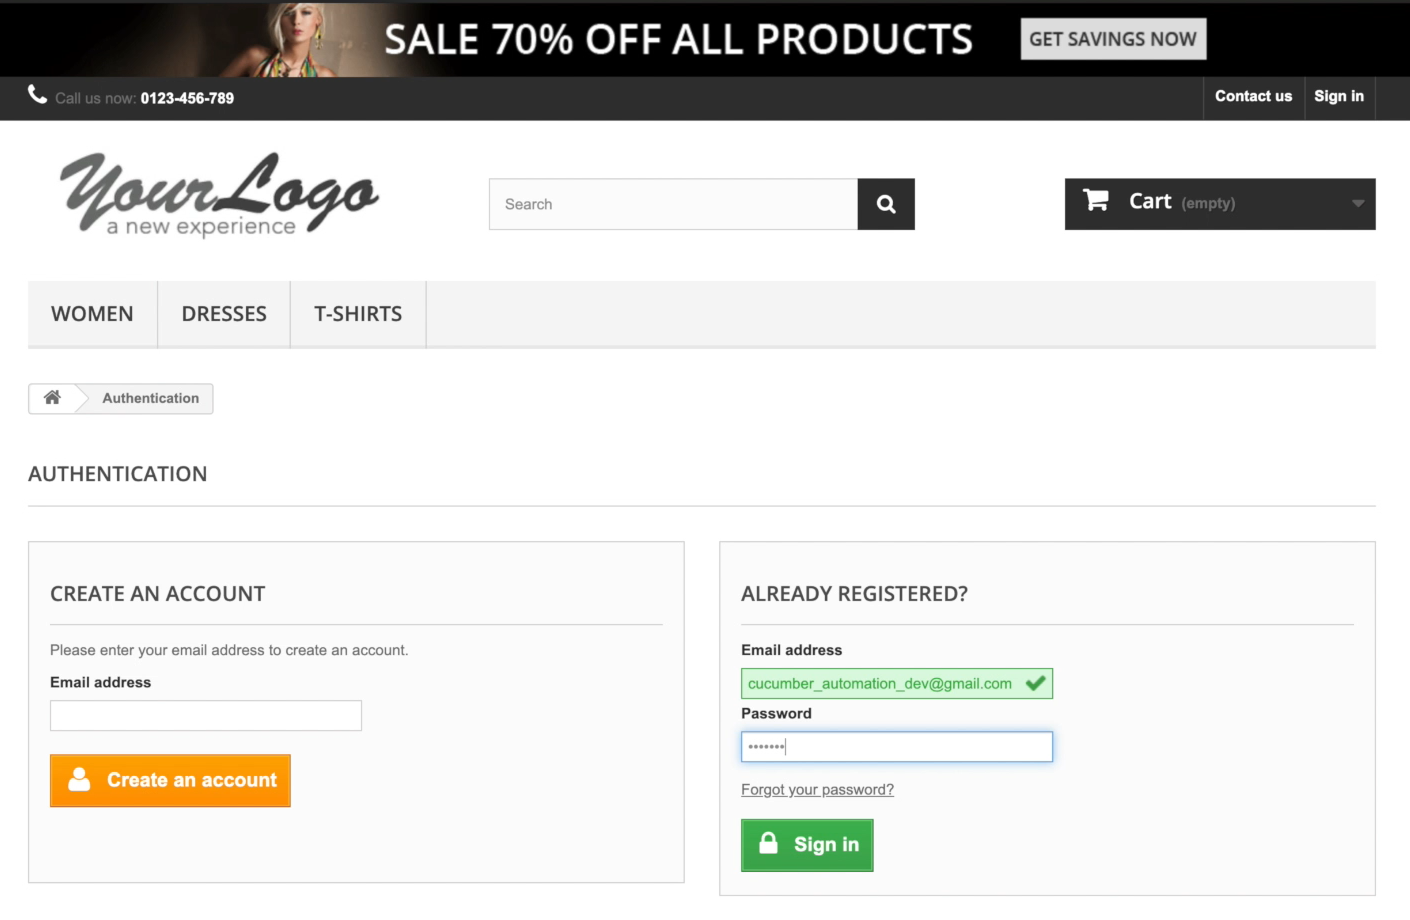
As we saw in the demo, this test operates on the login page — let's create the Page Object for that now.
The first thing I’ll add in here is a URL getter.
To be able to sign in our test needs access to 3 elements: the email input field, the password input field, and the submit button. I'll add those now.
And finally, let's add a method to actually sign in. This method will accept 2 parameters: An email and a password.
# pages/Login.js
class Login {

  get url() {
    return "?controller=authentication";
  }

  get emailInput() {
    return $("#email");
  }

  get passwordInput() {
    return $("#passwd");
  }

  get signInButton() {
    return $("#SubmitLogin");
  }

  get errorMessage() {
    return $(".alert.alert-danger > ol");
  }

  /**
   * Signs in
   * @param {String} email - Email
   * @param {String} password - Button
   */

  signIn(email, password) {
    this.emailInput.waitForDisplayed(5000);
    this.emailInput.setValue(email);
    this.passwordInput.setValue(password);
    this.signInButton.click();
  }

}

module.exports = new Login();
It will wait for the email input field to be displayed, set the value in it, then set the value in the password input field, and finally click on the sign in button.
Our first step in the Feature file is to require that the browser is at the login page.
Now if you recall, we already have a step for this. All we need to do is modify it to expect the “Login” page. Let's do that now.
I'll head to the step definition and add “Login” here.
# steps/Home/given.js
import { Given } from "cucumber";
import goToPage from "../../support/actions/goToPage";

Given(/^the browser is at the "(Home|Login)" page$/, page => {
  goToPage(page);
});
Then I'll head to the goToPage function, import login, and create a new case for it.
# support/actions/goToPage.js
import home from "../../pages/Home";
import login from "../../pages/Login";

export default page => {
  switch (page) {
    case "Home":
      browser.url(home.url);
      break;

    case "Login":
      browser.url(login.url);
      break;

    default:
      console.log(`Invalid Page ${page}`);
  }
};
Our next step says, "When the user tries to use valid credentials (email) to login." — let's define this step.
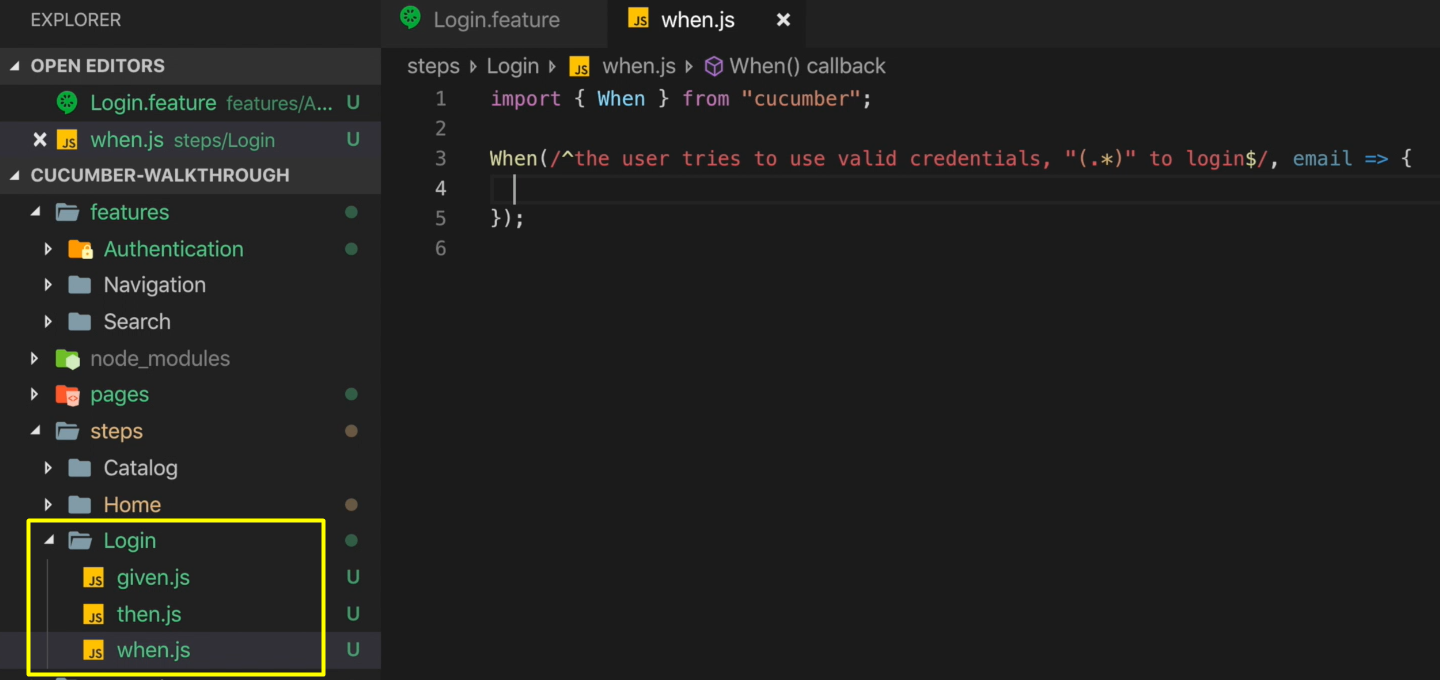
To start I'll create a “Login” folder inside “steps”, and create the “given”, “then”, and “when” files.
In the “when.js” file, I'll define my step, but we don't have a Support function just yet. I'll create one now. I'll call that function "signIn".
The first thing I'll do here is import the Login page, because I'll be using the signIn function from it.
But it seems we have a problem, because our when step only has 1 parameter, which is email, but our assigning function expects an email and a password.
This is where we will be using Data Files.
# Using Data Files
We can use Data Files to supply our test with external data that we may not want present in our actual test.
To start, I'll create a folder called "data" here in the root. In there, I'll create a file called "credentials".
I want to be able to access credentials for my test, so I'll create an array of objects to represent this. For the password, I'm relying on "process.env.DEV_PASSWORD" or "process.env.INT_PASSWORD".
# data/credentials.js
export default [
  {
    email: "cucumber_automation_dev@gmail.com",
    password: process.env.DEV_PASSWORD
  },
  {
    email: "cucumber_automation_int@gmail.com",
    password: process.env.INT_PASSWORD
  }
];
NOTE
If you're new to Node, this may be unfamiliar to you. All this is saying is we will pull the dev and integration passwords from our environment variables. I can create environment variables by creating a .env file in the root of my project, and then rely on a module to load those environment variables for me. I'll do that right now.
So, I've created my .env file and created my variables.
# .env file
DEV_PASSWORD=cucumberpassword
INT_PASSWORD=cucumberpassword
NOTE
Do not use unnecessary spacing in your .env file. Ensure the spelling and case of your variables are correct.
The module we'll be using to load this ENV file it's called dotenv. I'll install it now with the command npm i dotenv.
Now that that's done, I need to call the config function on the module for it to load our ENV file.
I call that here in my WebDriverIO configuration file (wdio.conf.js).
require("dotenv").config();
Great. Now we should be able to access or environment variables from our .env file, which is responsible for storing our dev and integration passwords.
Let's head back to our signIn function and finish creating it.
What I'll do now is import the credentials file.
In signIn I'll accept my 1 parameter. I'll create a variable to store the password and rely on the data in the credentials file to give me the password.
If you remember, we exported an array from the credentials file, so I should be able to iterate over the list of credentials, look for the one with the email that I have, and use that password.
Let's accomplish this with the find method.
NOTE
find() allows you to search any array and return an element that matches your search.
Now that we have the password, we can call signIn function in the login Page Object.
# support/actions/signIn.js
import login from "../../pages/Login";
import credentials from "../../data/credentials";

export default (isValid, email) => {
  const password = isValid
    ? credentials.find(creds => creds.email === email).password
    : "randomPassword";
  login.signIn(email, password);
};
Great.
Back in my when step definition, I'll import the signIn function and call it.
# Steps/Login/when.jhs
import { When } from "cucumber";
import signIn from "../../support/actions/signIn";

When(/^the user tries to use valid credentials, "(.*)" to login$/,  email => {
    signIn(email);
  }
);
Now that should be everything we need to get that When step to work.
Our Then step is already defined from the previous section.
With all of our steps defined, let's look back at the comments we deleted.
The first one says we should only run this scenario in the development environment
And the other one is saying the same for the integration environment.
This type of conditional execution of tests can be handled pretty easily with tags.
# Using Tags
Tags are an easy way to group tests, Features, or Scenarios in Cucumber. It allows us to group Features, Scenarios, and even Examples, so we can run them together, individually, or not at all.
Let's try to implement some tags now. What I'll do here is I'll create 2 different Examples tables in our Feature File.
- I'll have the first one only contain the dev email
- The second one contains the integration email
Now I'll simply attach a tag to each example.
- For the first tag, I'll call it "dev"
- the second tag, I'll call it "int"
The way that we create tags in Cucumber is by simply putting an @ sign, followed by the tag name.
# features/Authentication/Login.feature
    @dev
    Examples:
      | email                             |
      | cucumber_automation_dev@gmail.com |

    @int
    Examples:
      | email                             |
      | cucumber_automation_int@gmail.com |
Now that we're using tags, we need to update our WebDriver IO configuration file to expect tags.
So, in our WebDriver IO configuration file, I'll head to the cucumberOptsobject.
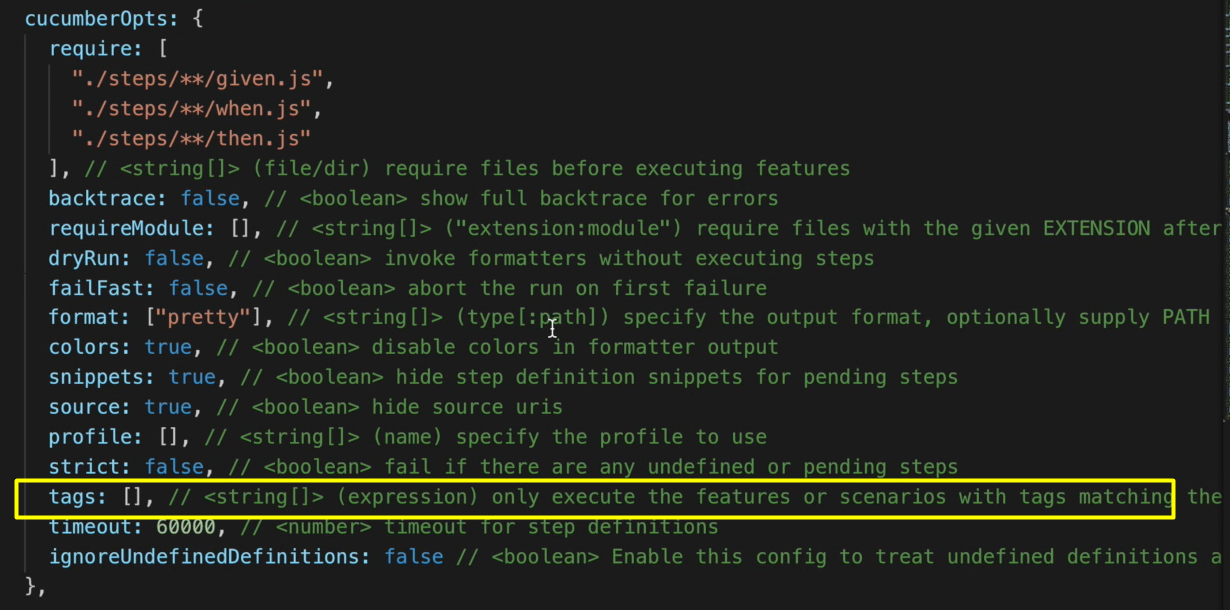
I'll replace “tags” here with “tagExpression”.
A tag expression gives us a bit more control over constructing which tags we want to run. You can read more about tags and tag expressions on the Cucumber IO site.
To test these out, I'm going to try to get only the dev tags to run.
So, in my tag expression in the configuration file I'll simply put “@dev”.
tagExpression: '@dev',
So, it seems like only one scenario ran.
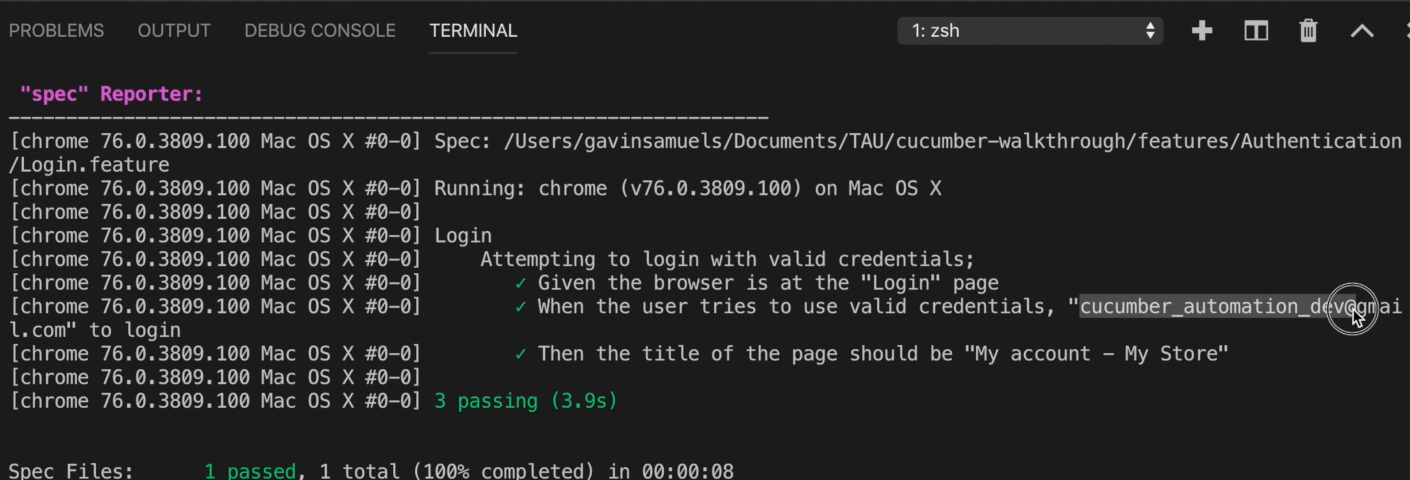
And based on the When step it seemed to have run the scenario with the dev email. Okay, that's good.
Let's try to run the other example with the integration email.
I'll change the tag here to say "@int". Okay great.
So, this time it ran the example with the integration email. Looks like our tags are working pretty well.
What I'll do now, though, is, instead of hard coding the expression here, I'll rely on an Environment Variable to decide which tags to run.
I'll rely on an environment variable called “ENVIRONMENT”.
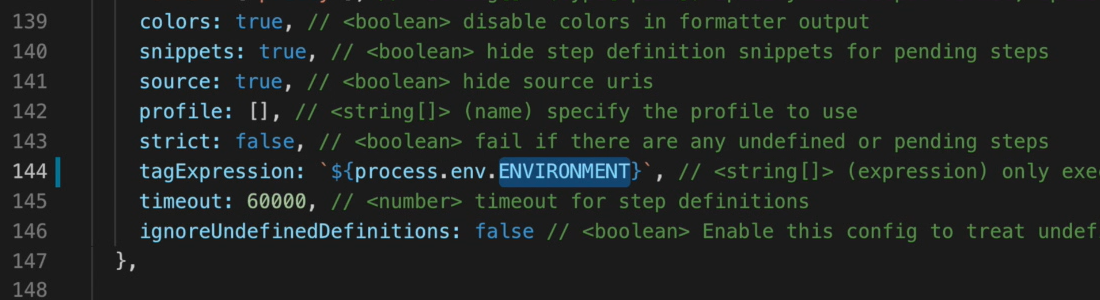
So, I'll just copy that, and place that in here, in our .env file.
And for now, I'll leave it at dev.
DEV_PASSWORD=cucumberpassword
INT_PASSWORD=cucumberpassword
ENVIRONMENT=dev
What I'll do now is I'll try to run all the tests we have so far, which should include the tests in our Authentication folder, our Navigation folder, and our Search folder.
But it seems like only 1 test ran, which is the one in “Authentication”. That happened because, based on our tag expression, it's only running tests that are tagged with our dev environment.
We can get around that pretty easily by modifying our tag expression here.
What I'll do is I'll add a new tag, and I'll call it "@regression", and I'll put "or".
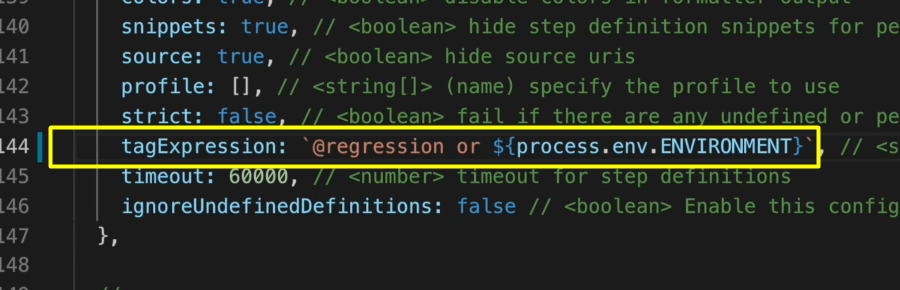
So, what this is saying is WebDriver IO should run all tests that are tagged with “regression” or our environment tag.
Now, I need to update all of our existing tests with the regression tag.
I'll just add the @regression tag at the top of all of our feature files.
Okay, great. Now let's try to run our tests again.
So, this time we have all 3 tests running, that menu navigation, the search, and authentication. And we have all green so far. Looking good.
# NPM Scripts for Running Tests
Now if you're like me, you'll probably get tired of typing out or remembering these long commands — to make this a bit easier, we can utilize NPM scripts.
We can create some NPM scripts to hold these long commands.
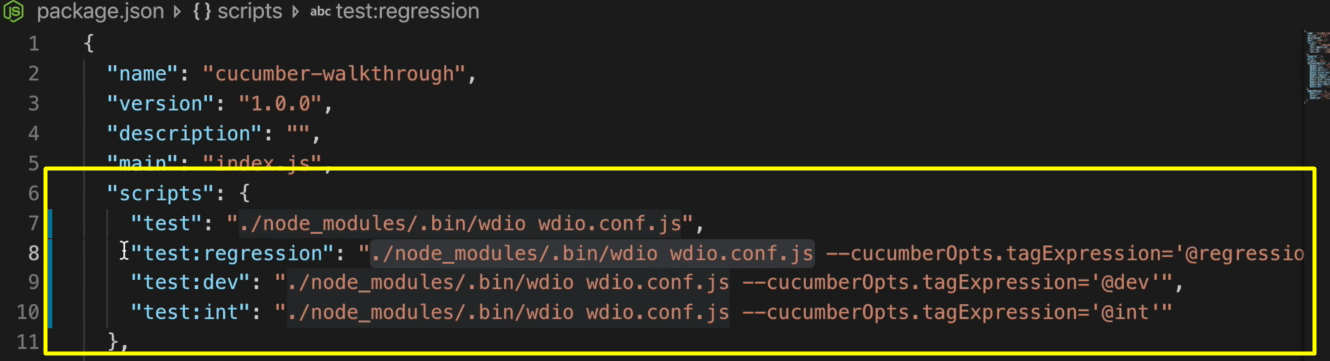
I'll head to my package.json file, and in the scripts section I'll create my first script.
I'll call it this one "test". And this is essentially running all of our tests using the command that we've been using all along.
What I'll do as well is I'll create 3 more scripts.
"scripts": {
    "test": "./node_modules/.bin/wdio wdio.conf.js",
    "test:regression": "./node_modules/.bin/wdio wdio.conf.js --cucumberOpts.tagExpression='@regression'",
    "test:dev":"./node_modules/.bin/wdio wdio.conf.js --cucumberOpts.tagExpression='@dev'",
    "test:int":"./node_modules/.bin/wdio wdio.conf.js --cucumberOpts.tagExpression='@int'"
}
Here we have our “regression” script, a “dev” script, and an “int” script. The command starts out the same as the previous command, except for one addition. We're able to pass a tag expression here at the command line, so I can specify which tags I want to run.
So, in the regression script you can see we're only passing in the regression tag. And similarly, for the dev and integration script.
Let's try to run the dev script and see if it works.
So, to do that, I'll just type npm run test:dev.
Now what I'm hoping for is that this should only run tests that are tagged with “dev”. So, let's see if that works.Looking good.
Let's try to run our test script for that one.
All we need to type is npm test. This one should run all of our tests.Okay, that looks good as well.
So just to recap here, what we're doing here with the regression, dev, and integration scripts is essentially overriding our tag expression at the command line.
And that's pretty much it.
Exercises
Now I have some tasks for you to do.
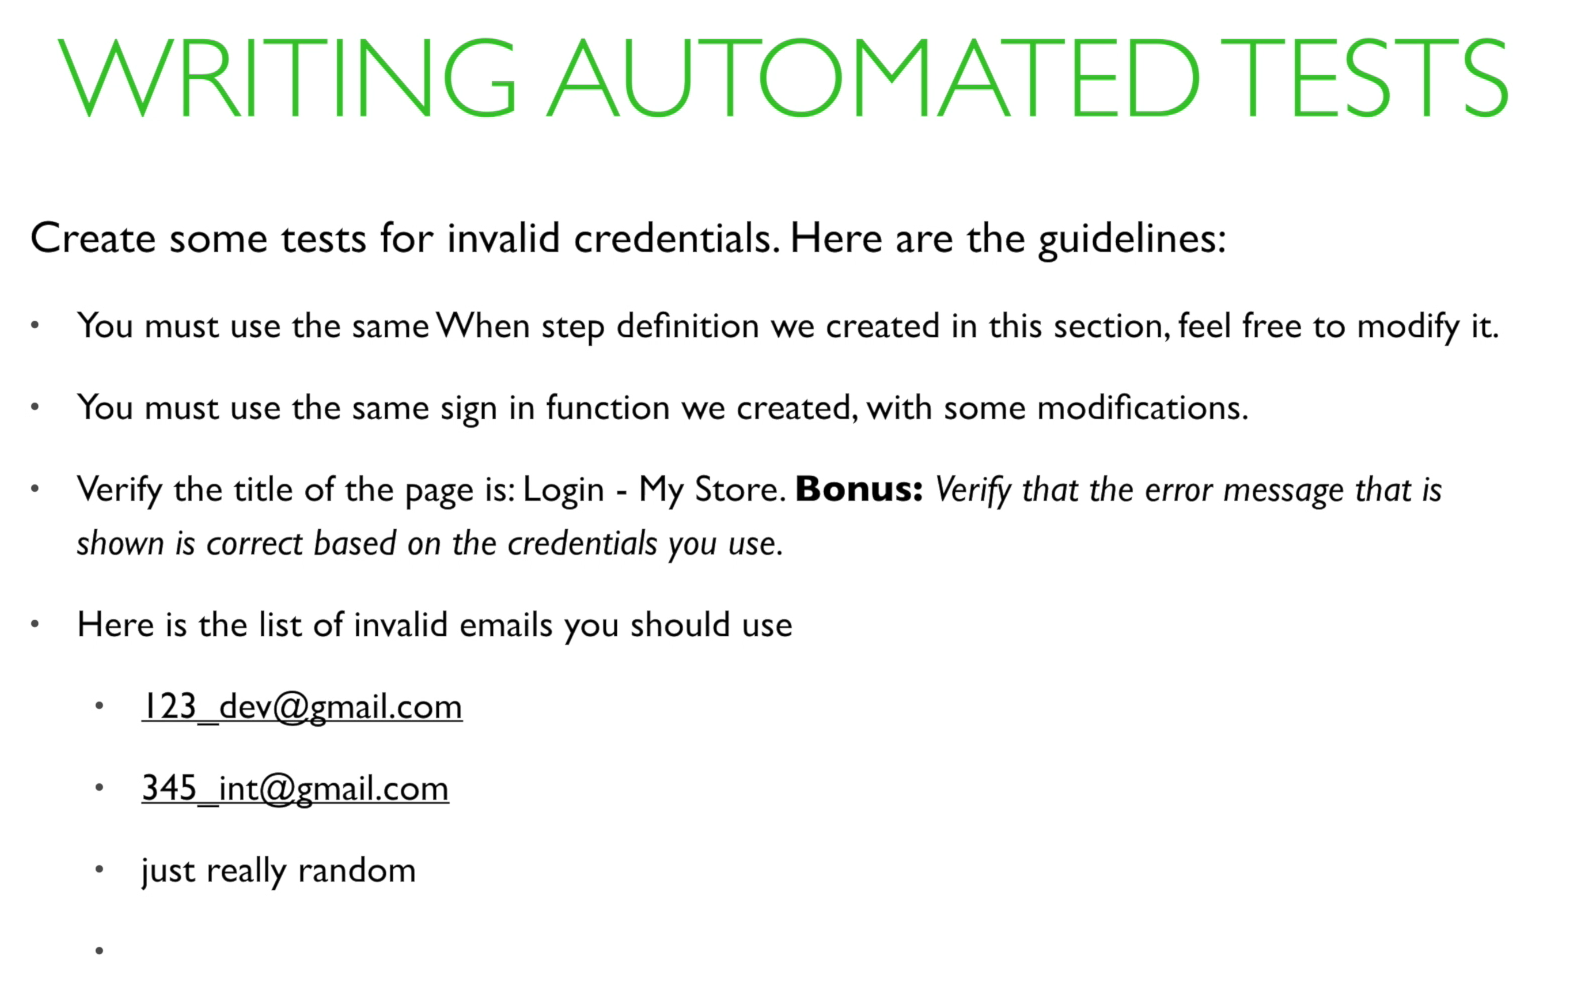
Create some tests for invalid credentials on the login page, but here are the guidelines.
You must use the same
Whenstep definition we created in this section.You must use the same sign in function we created.
In your tests, I want you to verify the title of the page is "Login - My Store".
And you get bonus marks if you can verify the error message is correct based on the type of email you used.
Here is a list of invalid emails I want you to use:
The first one is 123_dev@gmail.com
And then 345_int@gmail.com
The next one is just really random
The next one is a blank email
The code for this section, and also the assignment, can be found on Github: Feature | When | Sign In
