

Transcripted Summary
In this chapter, we'll be focusing on visual validation with Applitools. I'll be going over how you can set up Applitools to do visual validation in your Cucumber automation project.

Let's get into it.
So, your first question might be, what exactly is Applitools?
Applitools is a product that offers AI-powered visual validation testing. What this means is it can detect and report changes in the UI of your applications.
It pretty much works in two steps.
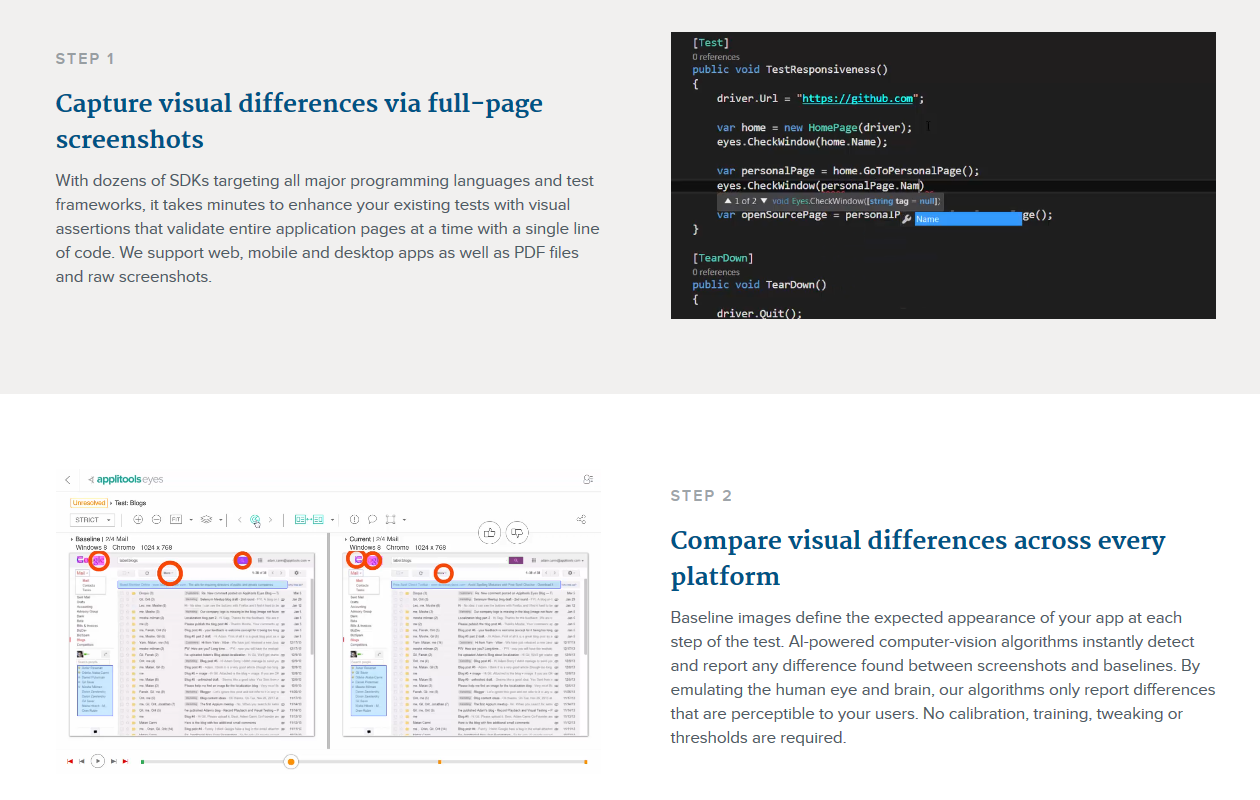
You can take screenshots throughout your application, and then Applitools will create a baseline and compare any future screens to the baseline. If any differences are spotted, it will report these to you.
It provides a fast, efficient and accurate way of doing visual validation for your applications.
Let's get started.
The first thing you need to do is create an account in Applitools.
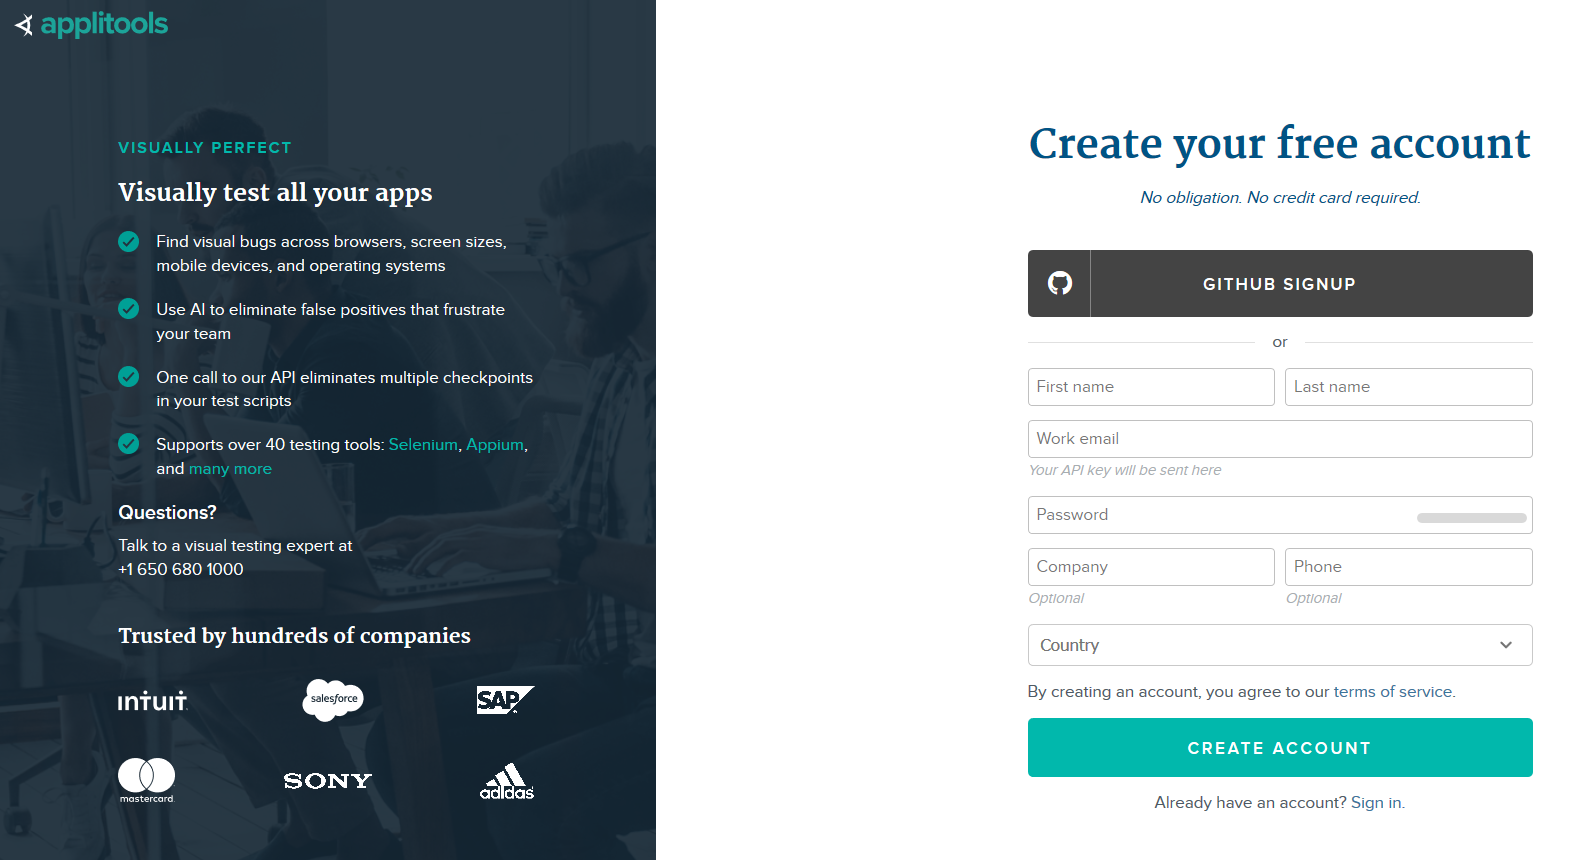
This gives you access to the dashboard, where you can manage and view your tests.
It also provides you with an API key that will be important when we start writing code.
Once you create an account, you can open the menu in the top right corner and copy your API key.
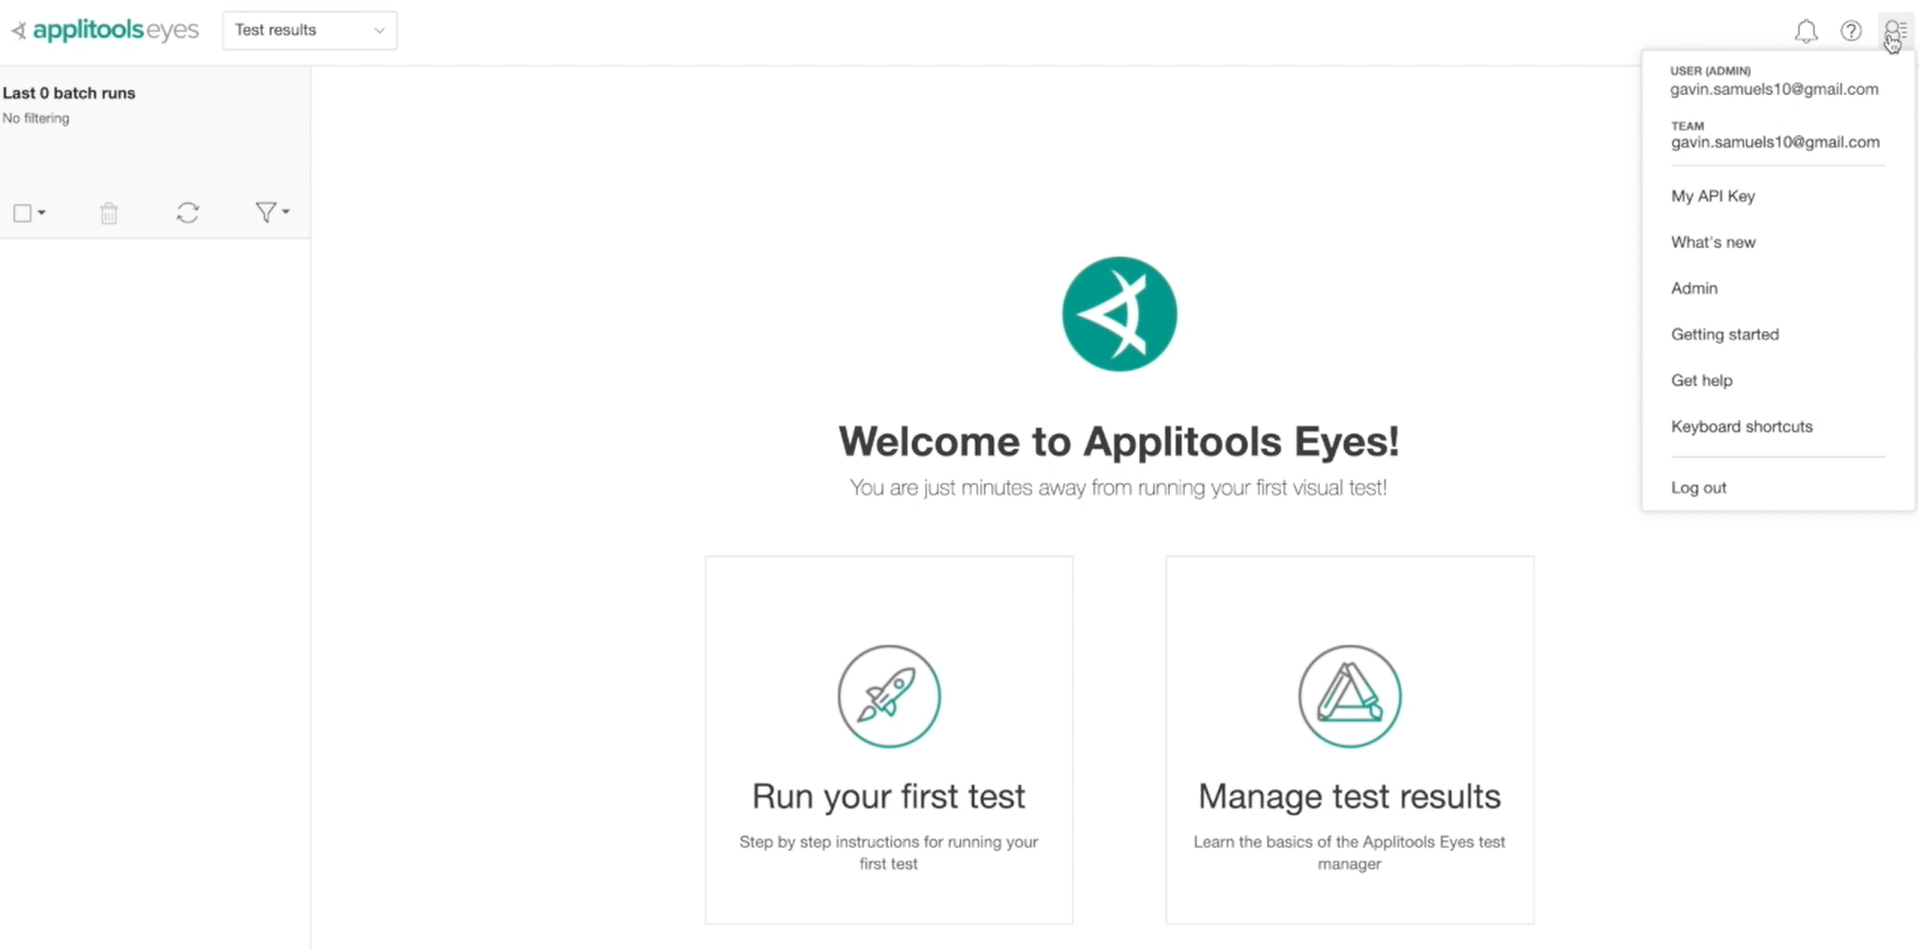
You can place it in your .env file. We'll be referencing this later.
Okay, on to the code — I'll be using the same project from the last section in the previous chapter.
I will copy my API key in my Environment file and get started.
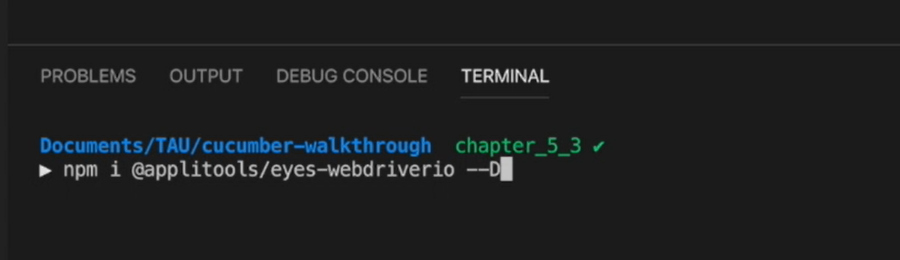
The first thing we need to do is install Applitools WebdriverIO library.
The name of the library is @applitools/eyes-webdriverio
Now, Applitools provides a wealth of knowledge for their libraries.
They have libraries for quite a few test automation frameworks. So, feel free to go through the documentation on their site to become familiar with all the functionalities of Applitools.
For this chapter, I'll be following the Web Driver IO 5 Tutorial.
The first thing we need to do after installing our library is import it in our Web Driver IO configuration file.
I'll be importing all of these classes:
const {
  Eyes,
  Target,
  ClassicRunner,
  Configuration,
  BatchInfo
} = require("@applitools/eyes-webdriverio");
And then we need to configure it — we can do this in the beforeSession hook.
This is run before initializing the WebDriver session.
The first thing I'm doing here is define 3 variables —
eyes,batchInfo, andconfiguration— all coming from the Applitools library.Then, I'll set my batch name (
setBatch). You can think of a batch as a group of tests, and with this, we are labeling our group of tests.Then we need to set our batch app name (
setAppName), test name (setTestName) and API key (setApiKey) in theconfigurationobject.Once that's done, you need to
setConfigurationof theeyesobject using ourconfigurationobject.Lastly, I'd make the
eyesobject and theTargetclassglobalso I can use them easily throughout my automation project without importing anything else.
beforeSession: function(config, capabilities, specs) {
    require("@babel/register");
    const eyes = new Eyes(new ClassicRunner());
    global.eyes = eyes;
    global.Target = Target;

    const batchInfo = new BatchInfo();
    batchInfo.setSequenceName("Cucumber Tests");

    const configuration = new Configuration();
    configuration.setBatch(batchInfo);
    configuration.setAppName("Automation Practice");
    configuration. ("AppliTools Sample: Login");
    configuration.setApiKey(process.env.APPLITOOLS_KEY);
    eyes.setConfiguration(configuration);
}
Now that we're all configured, let's modify our test to do some visual validation checks.
I'll head to our Login feature and update our first scenario in here. For this example, I'll actually be replacing our Then step to read “they are successfully logged in”.

This does a better job of capturing what we are asserting. It's more in line with our Cucumber guidelines and it's where we will be adding our Applitools functions for visual validation checks.
Great, now, let's define this step.
Once that's defined, it's just a matter of calling our Applitools library to do the checks.
Since we defined eyes as global in our wdio.conf file, we can call it anywhere in our project.
I'll be using a Web DriverIO function called call to wrap up these asynchronous calls.
The first one is
eyes.open(browser). This is what actually initializes Applitools to expect some actionThen we can call the
checkfunction. We provide a name for ourcheckas well as a region of the screen you want to test. For now, I'll test everythingAnd then we call the
closefunction. Passing “false” here prevents it from throwing an exception
Then, in our finally block, we'll call abortIfNotClosed. This ensures Applitools closes correctly, especially if errors thrown by previous steps prevented the test from reaching the close step.
# steps/Login/then.js
import { Then } from "cucumber";
import checkAuthError from "../../support/assertions/checkAuthError";

Then(/^an authentication error message should say "(.*)"$/, errorMessage => {
  checkAuthError(errorMessage);
});

Then("they are successfully logged in", () => {
  try {
    browser.call(() => eyes.open(browser));
    browser.call(() => eyes.check("Login Page", Target.window().fully()));
    browser.call(() => eyes.close(false));
  } catch (e) {
    console.log(e);
  } finally {
    browser.call(() => eyes.abortIfNotClosed());
  }
});
And that's pretty much it.
Let's try to run our test.
Okay. Looking good.
Let’s check our Applitools dashboard.
So, I have run this test a few times before, so it already generated a baseline screenshot for me.
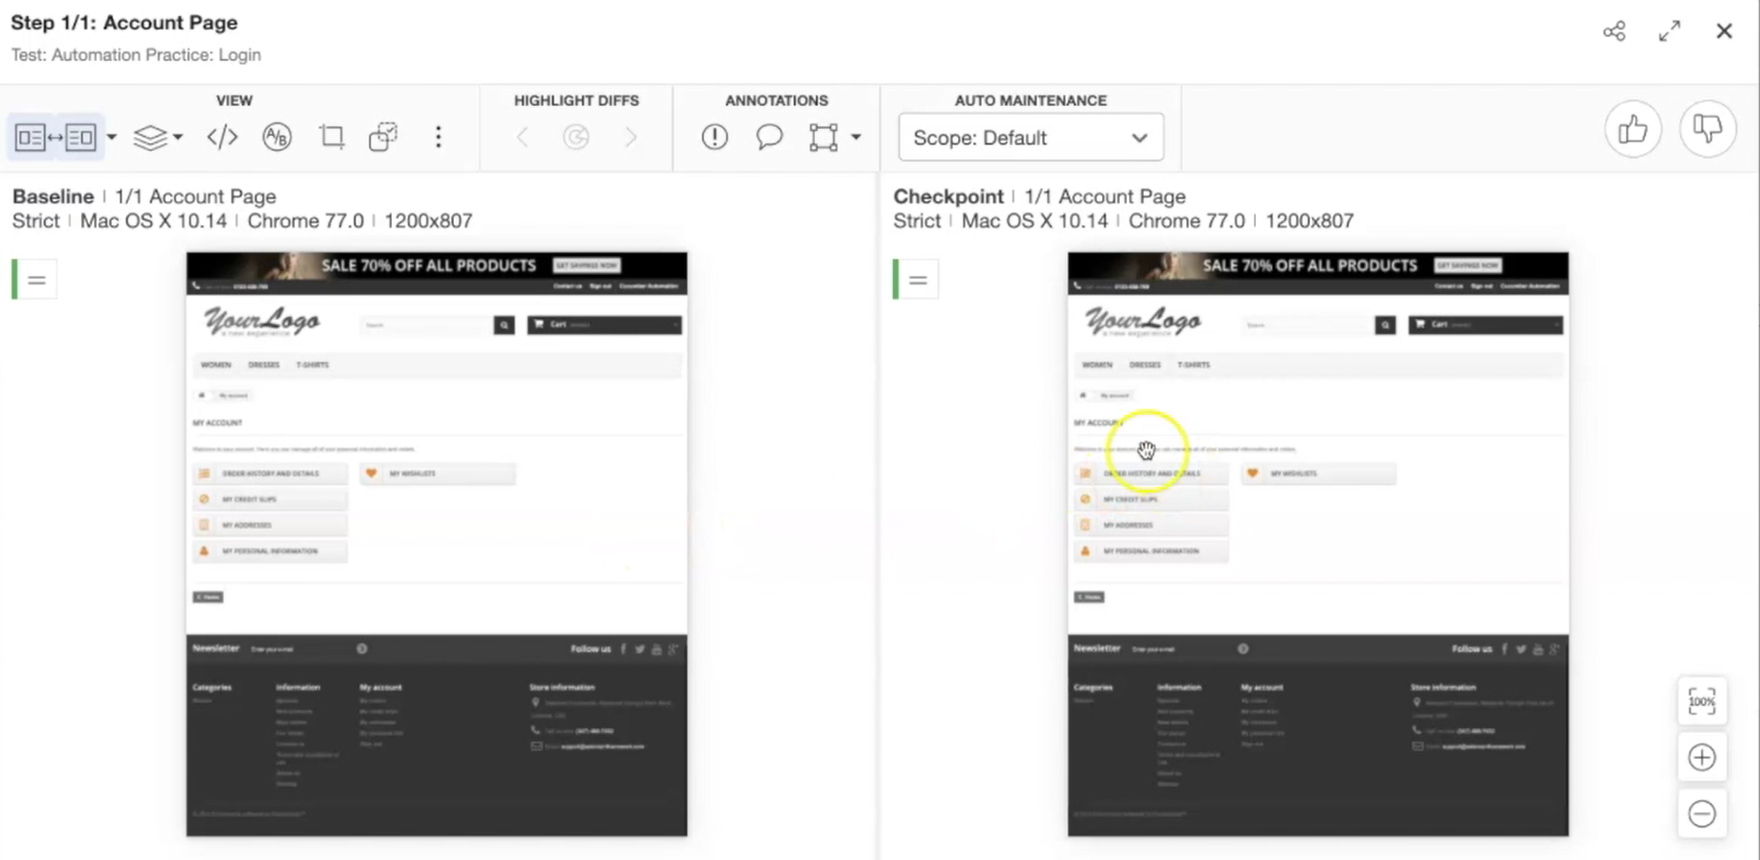
Here we can see the comparison between the baseline and the current test.
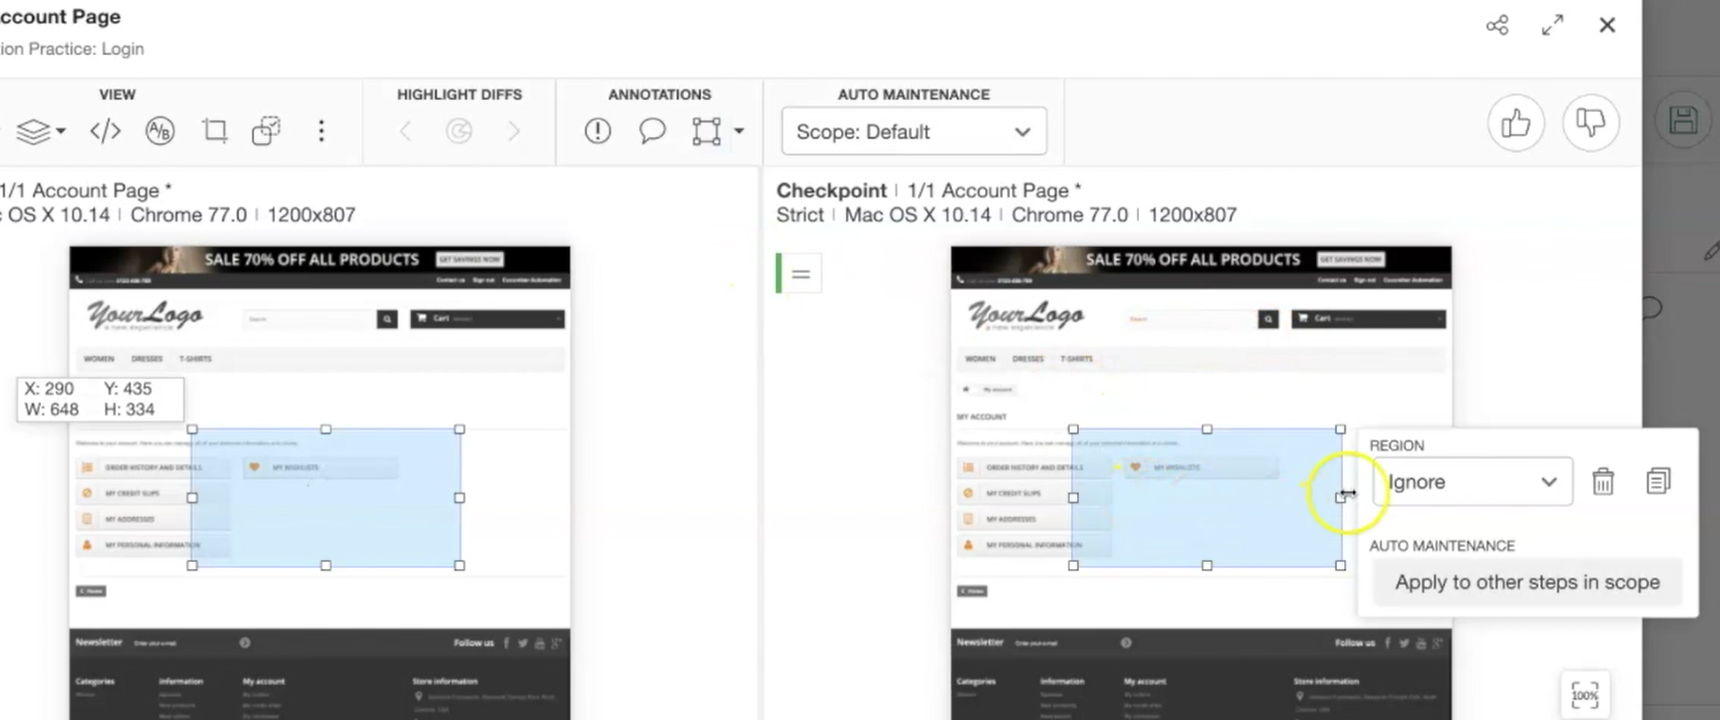
There are a ton of features you can do with Applitools.
For example, you can make certain regions be ignored by the test and you can even add this to your deployment build.
I encourage you to explore and do a bit more research around the extent and power of Applitools.
There are some Test Automation U courses in the resources that are great introductions on using Applitools.
You can find the source code for this and in previous chapters at my GitHub page (the link is in the resources).
And we've reached the end of this course.
I really want to thank you all for watching. I hope you learned a lot about Cucumber, Gherkin, WebDriverIO, and even Applitools.
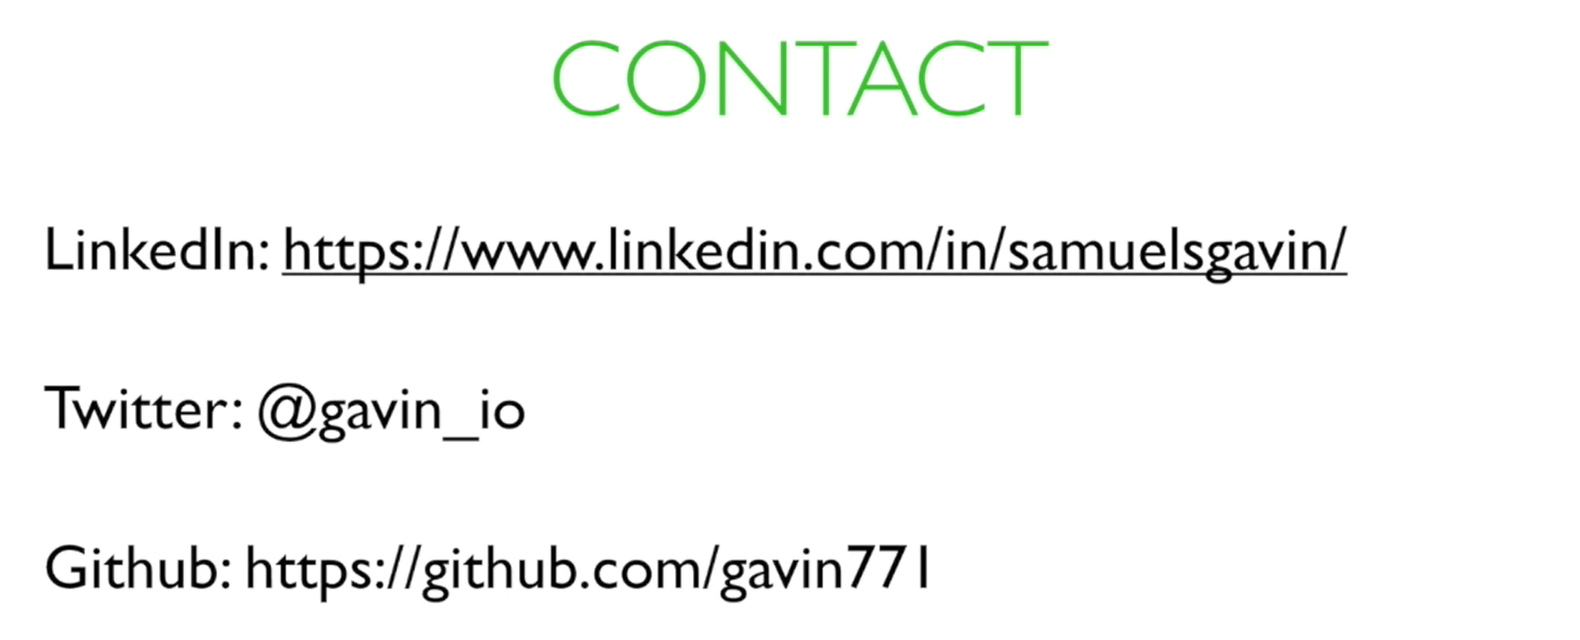
Feel free to reach out to me on LinkedIn, Twitter, and even GitHub.
Bye everyone.
