

Transcripted Summary
One of the best things about Cypress is that it is part of the Node ecosystem.
The way that it is built means that it can leverage from this Node ecosystem and use the huge variety of plugins that were either built by the community or by other professionals.
Many of these plugins come with TypeScript support, which can be a huge help, especially if you're trying something new.
# Installing Eyes-Cypress
In this chapter, I would like to install the Applitools' eyes-cypress plugin.
We'll go step-by-step with the installation and then we'll take a look at how TypeScript helps us navigate through different Applitools Eyes options and commands.
I'll start with the first step and install the package.
I'll open a new Terminal and paste in my command and I'll follow the steps for a successful configuration.
npm i -D @applitools/eyes-cypress
Usually, plugins require us to either import something into our support file, which is the e2e.ts, or add something to our Cypress config.js.
This plugin actually requires us to do both.
I'll do the first step and include the Applitools Eyes module in the cypress.config.ts file.
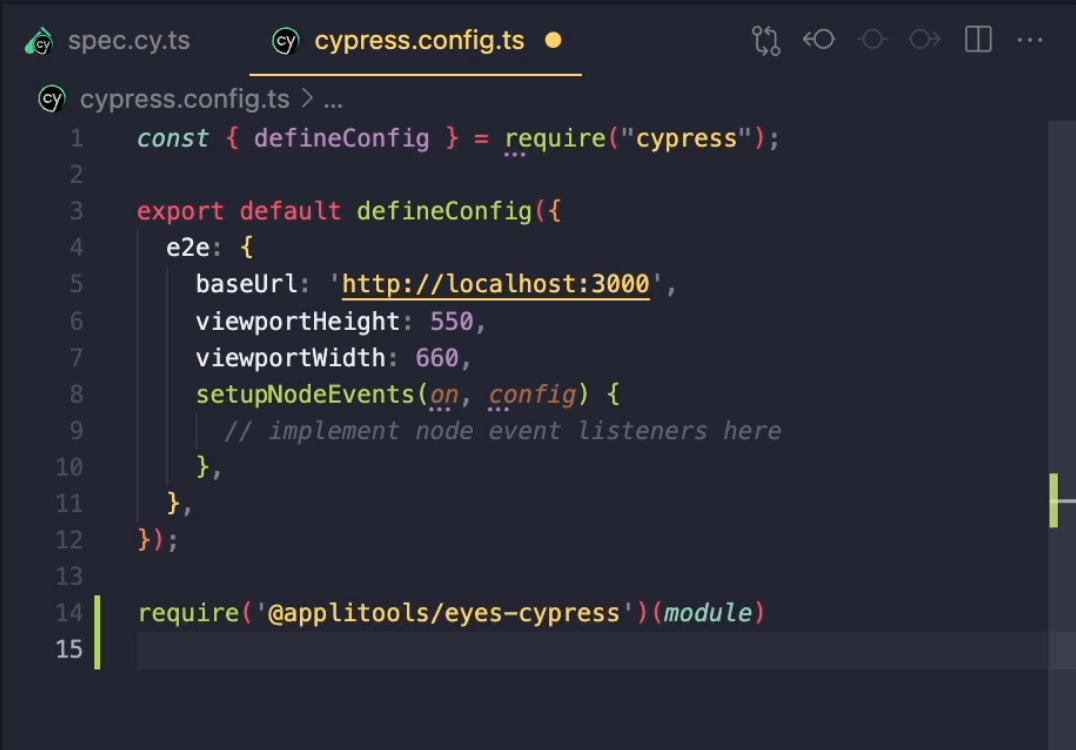
Paste it in here and save my file, and then do the same with this second import statement that is supposed to be in the support file.
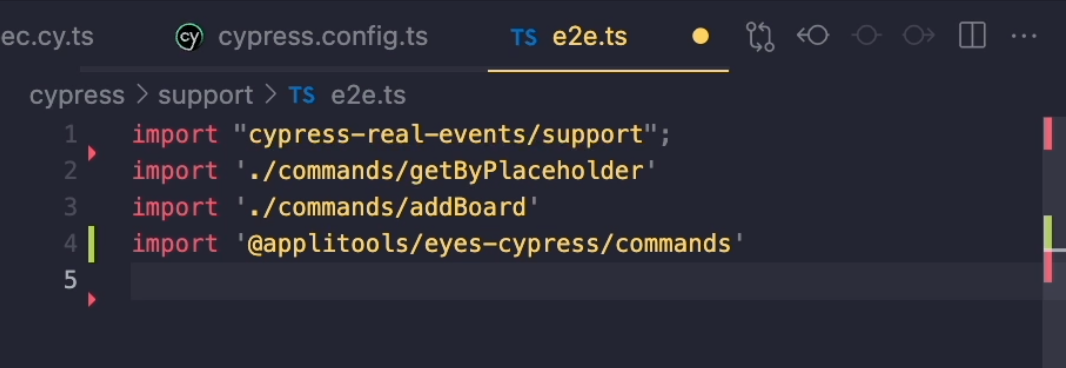
Since we are in Cypress version 10, we'll go to e2e.ts, add it in here and save the file.
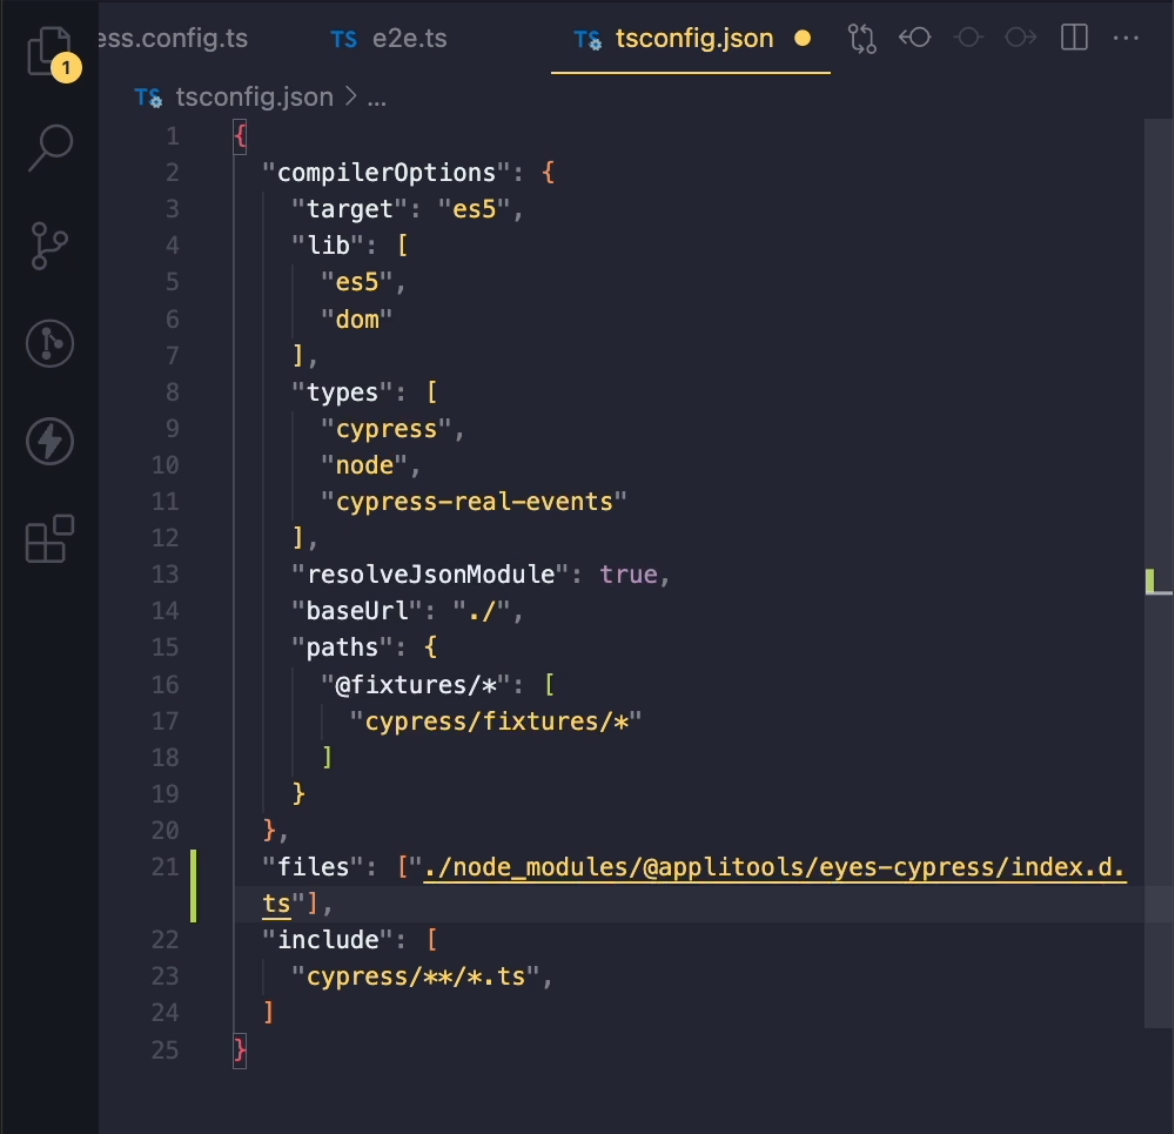
This plugin comes with TypeScript support, but in order to make it work, we need to include a reference to the type definitions inside our tsconfig.json file.
I'll copy this, open my tsconfig.json, and I'll add this line over here.
From now on, when I go to my test and start using some of the Applitools Eyes commands, I get the auto-complete features.
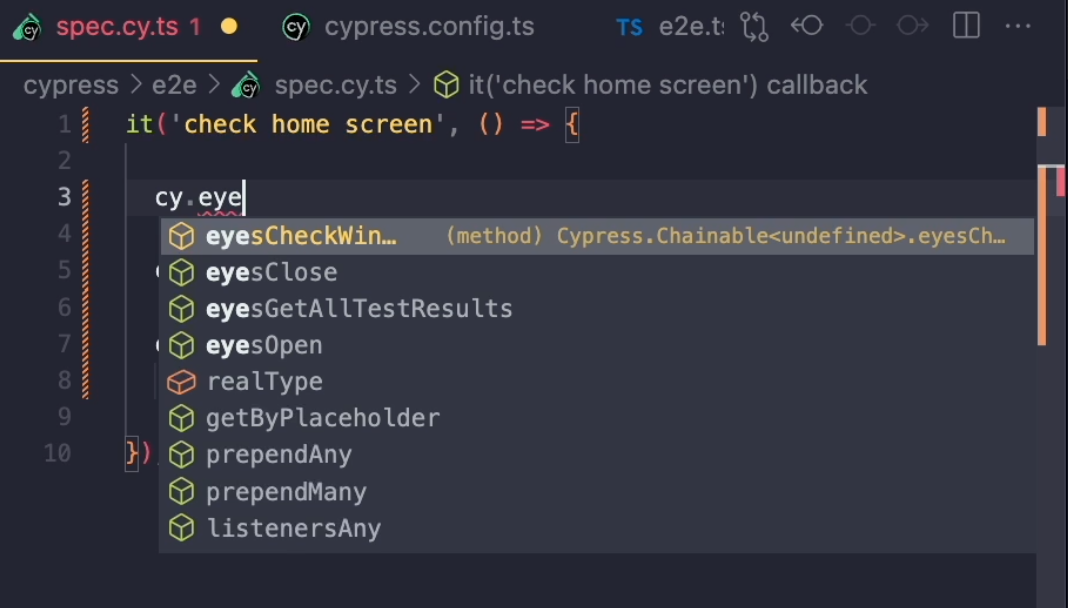
You can see I have eyesOpen and other eyes commands available for me.
But, in order to make our tests work, we need to log into Applitools' dashboard and retrieve the API key.
To get my API key, I need to go to applitools.com and then register with my email.
To get your free account, you can just fill in the information that's over here - your last name, your email, create a password, and enter the country.
As you can see in the registration, your API key will be sent to this email.
If you already have an account, as I do, you can just go ahead and click on "Sign in", enter your information, and then sign in.
This will take you to the dashboard.
Here in the Applitools dashboard, to retrieve the key, you'll click on the top right corner, and there's a section, my API key.
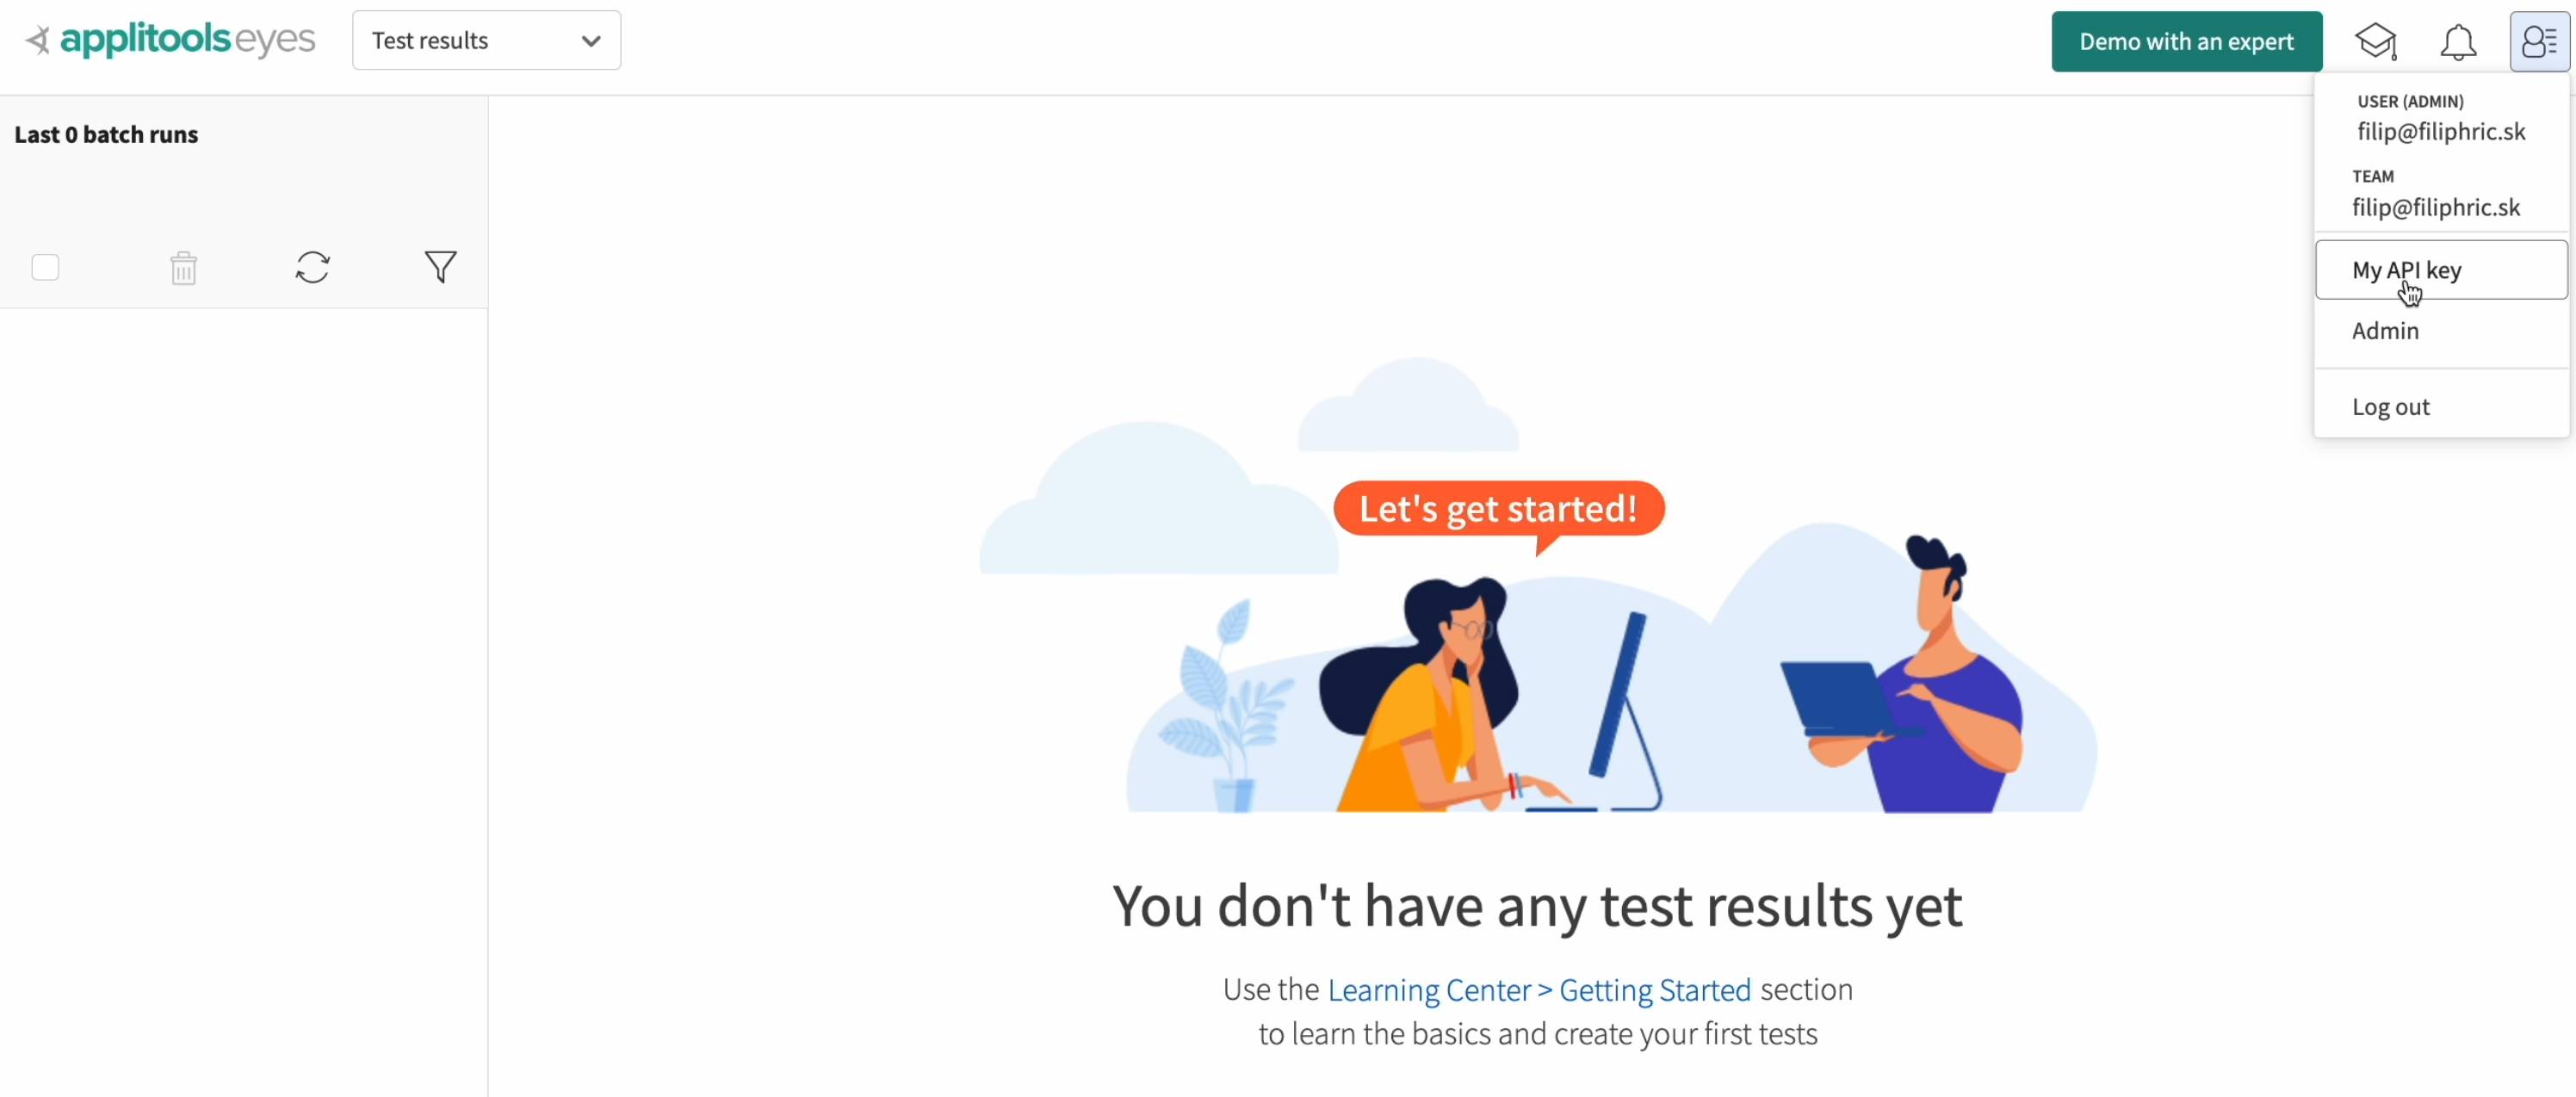
This usually needs to stay secret.
If your organization uses Applitools, you'll need to make sure that this key will not become part of your repository, but is used in the environment only.
This means that you shouldn't paste it into a file that you would later commit.
I'll copy this and go into my Terminal.
I'm going to close Cypress, and now I need to make sure that I include this API key in my test run.
The easiest way is to define the Applitools API key before I run my npx cypress open process.
I'm defining it over here, assigning it the value to APPLITOOLS_API_KEY, and then running npx cypress open.

There are, of course, many ways of how we can define environment variables, but this is probably the easiest one.
# E2E Visual Testing with Applitools Eyes
Let me go ahead and start with end-to-end testing.
I'll open my spec and let's go ahead and add a visual test to our existing end-to-end test.
The first thing I'm going to do is to add some options into this eyesOpen command.
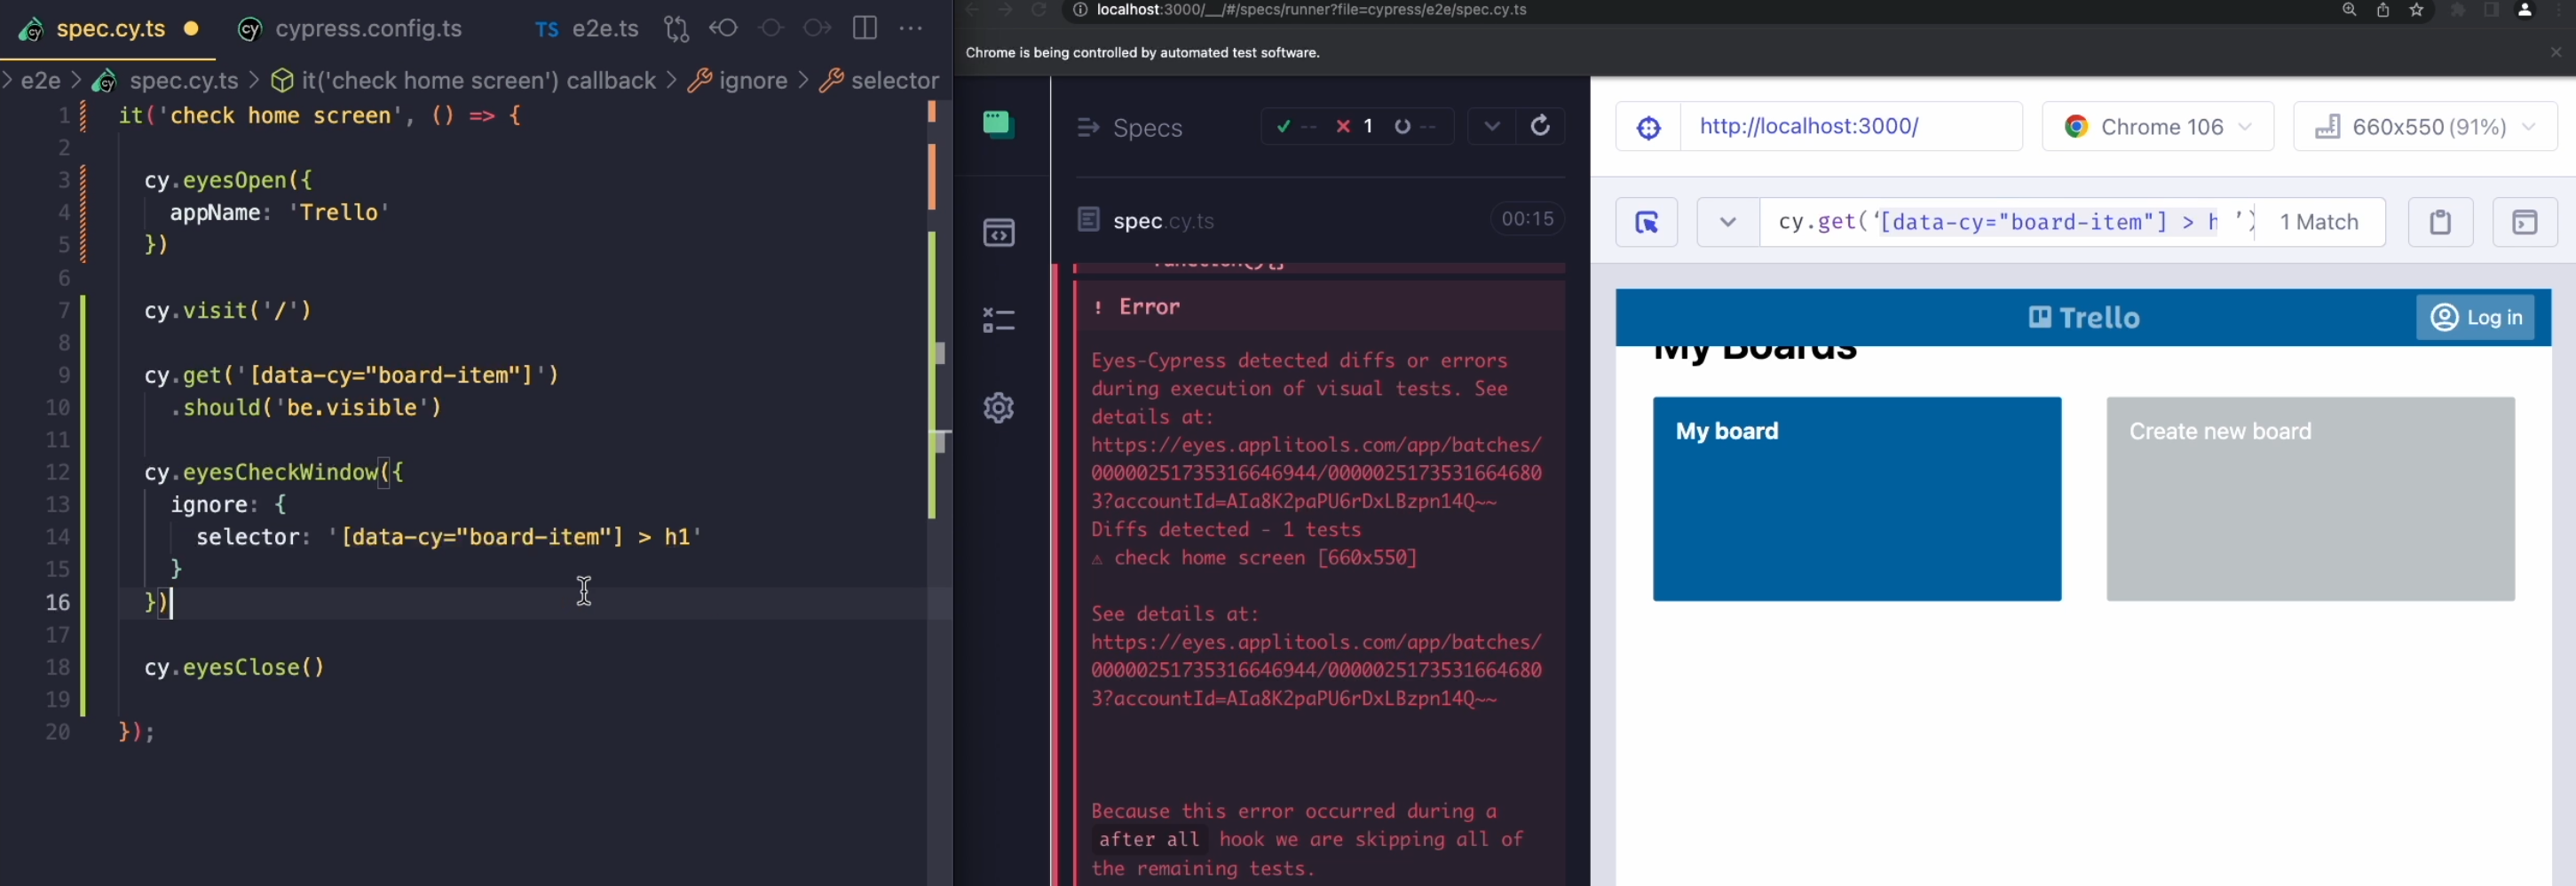
To keep it simple, I'm just going to add an appName, which I'm going to call "Trello", and then the next two steps will be calling the commands eyesCheckWindow() and eyesClose().
The eyesCheckWindow() is going to check the stage of our application right after we finish with our previous commands.
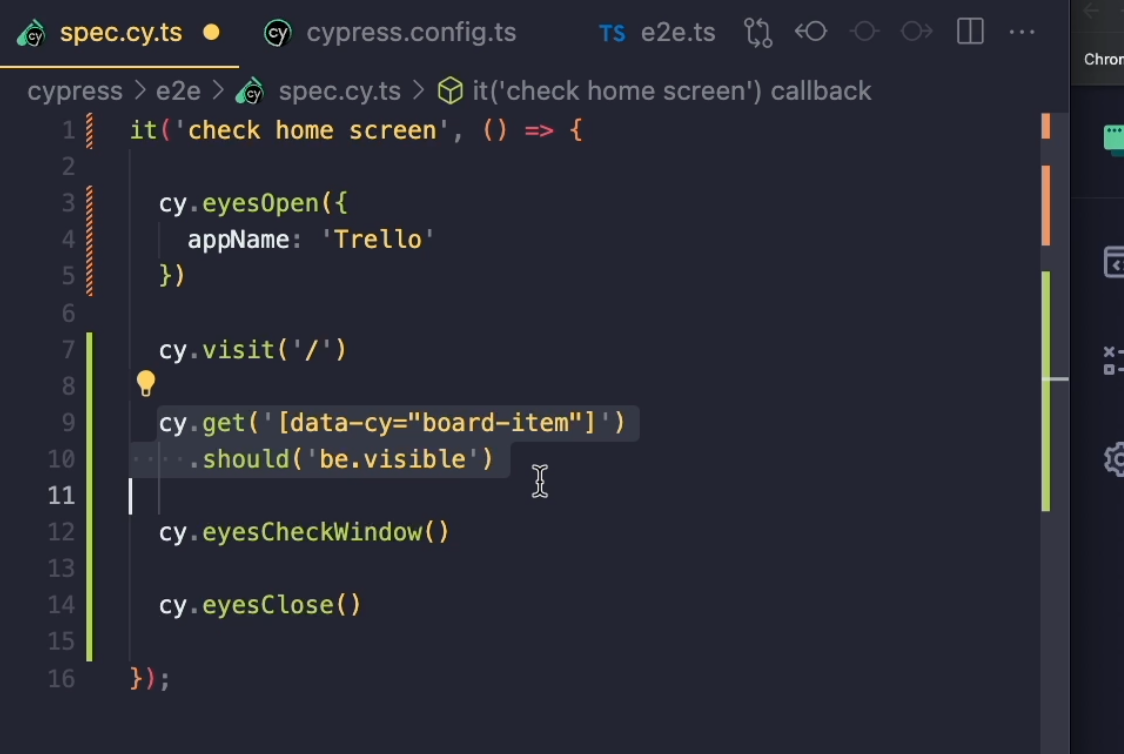
When we see the board-item and it is visible, we'll proceed to make a snapshot of the whole DOM that's currently inside the test.
After that, we close our eyes and finish our test.
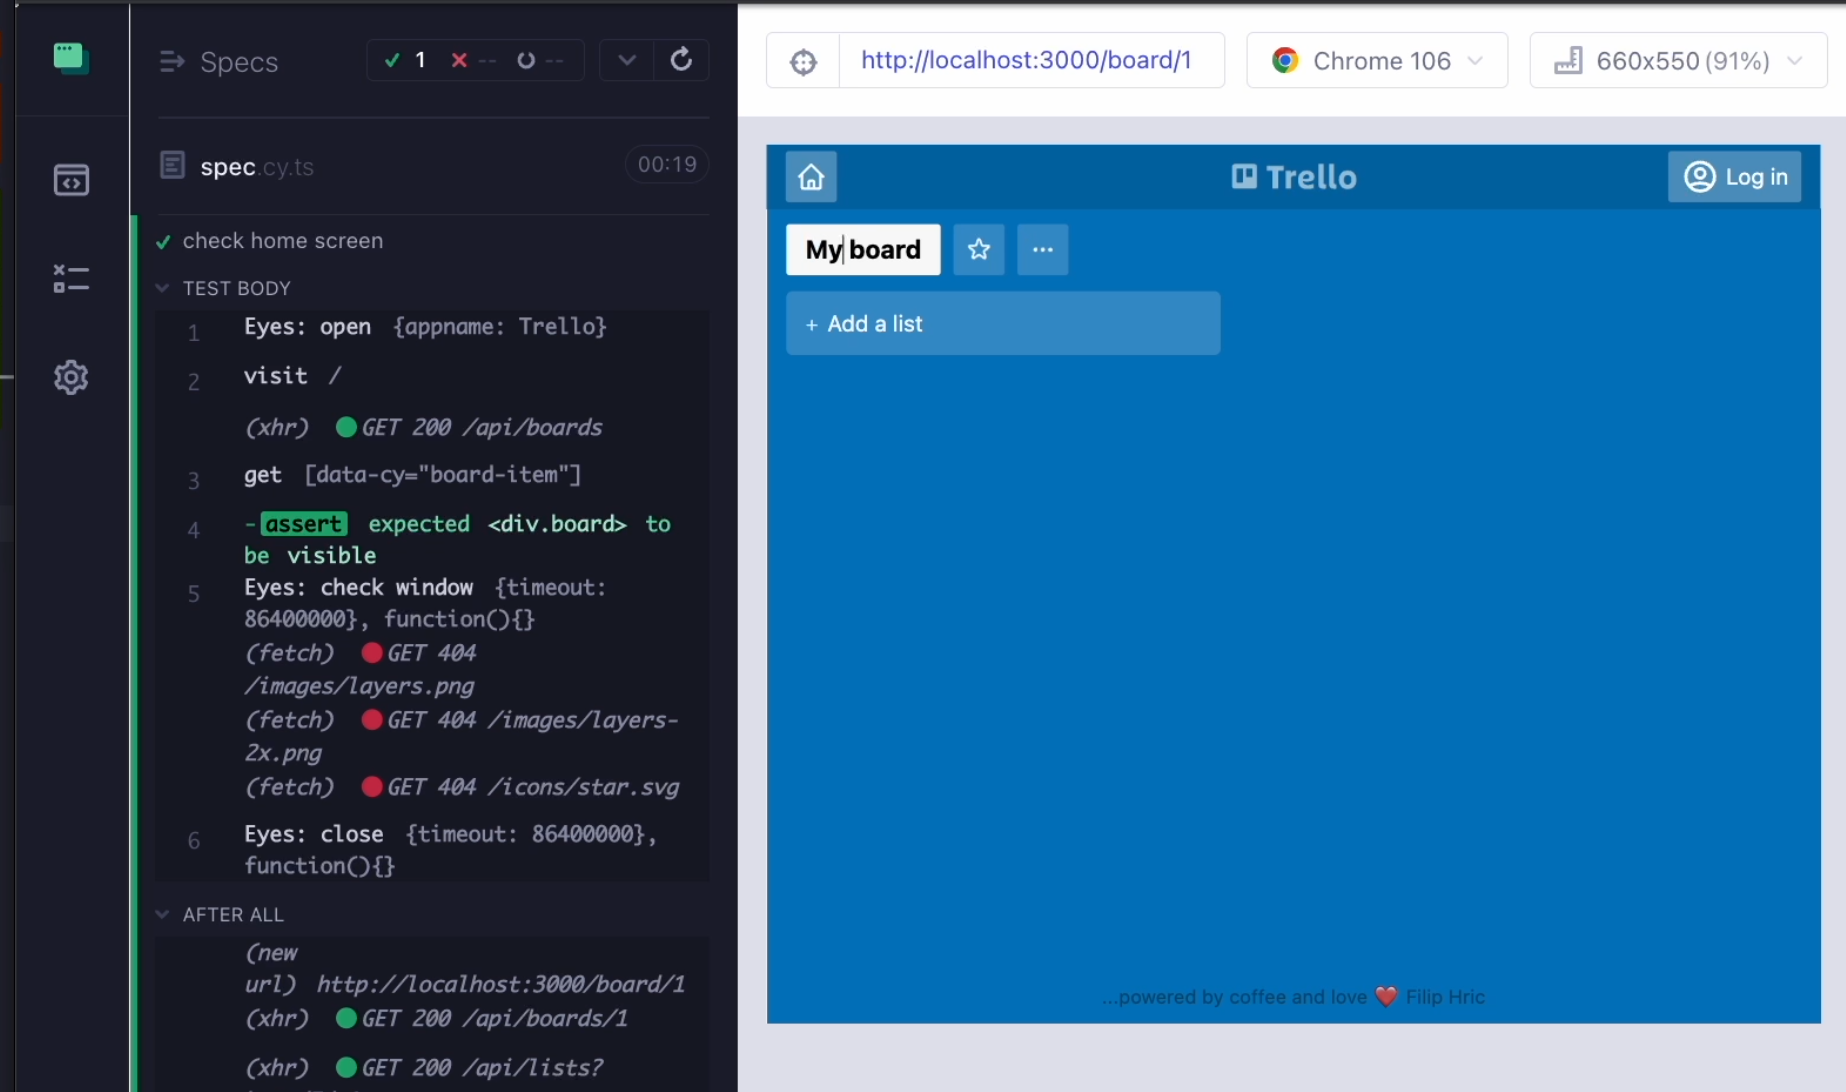
Now, when I save my test, it is going to include a visual check of the application that I'm testing.
I'll head over to the dashboard, and if I load the latest batches, I can see my tests appearing over here.

Let's now take a look into visual testing in action.
What I'm going to do is I'll open this board and I'm going to rename it from "New board" to "My board".
When I now run my test, it is going to fail.
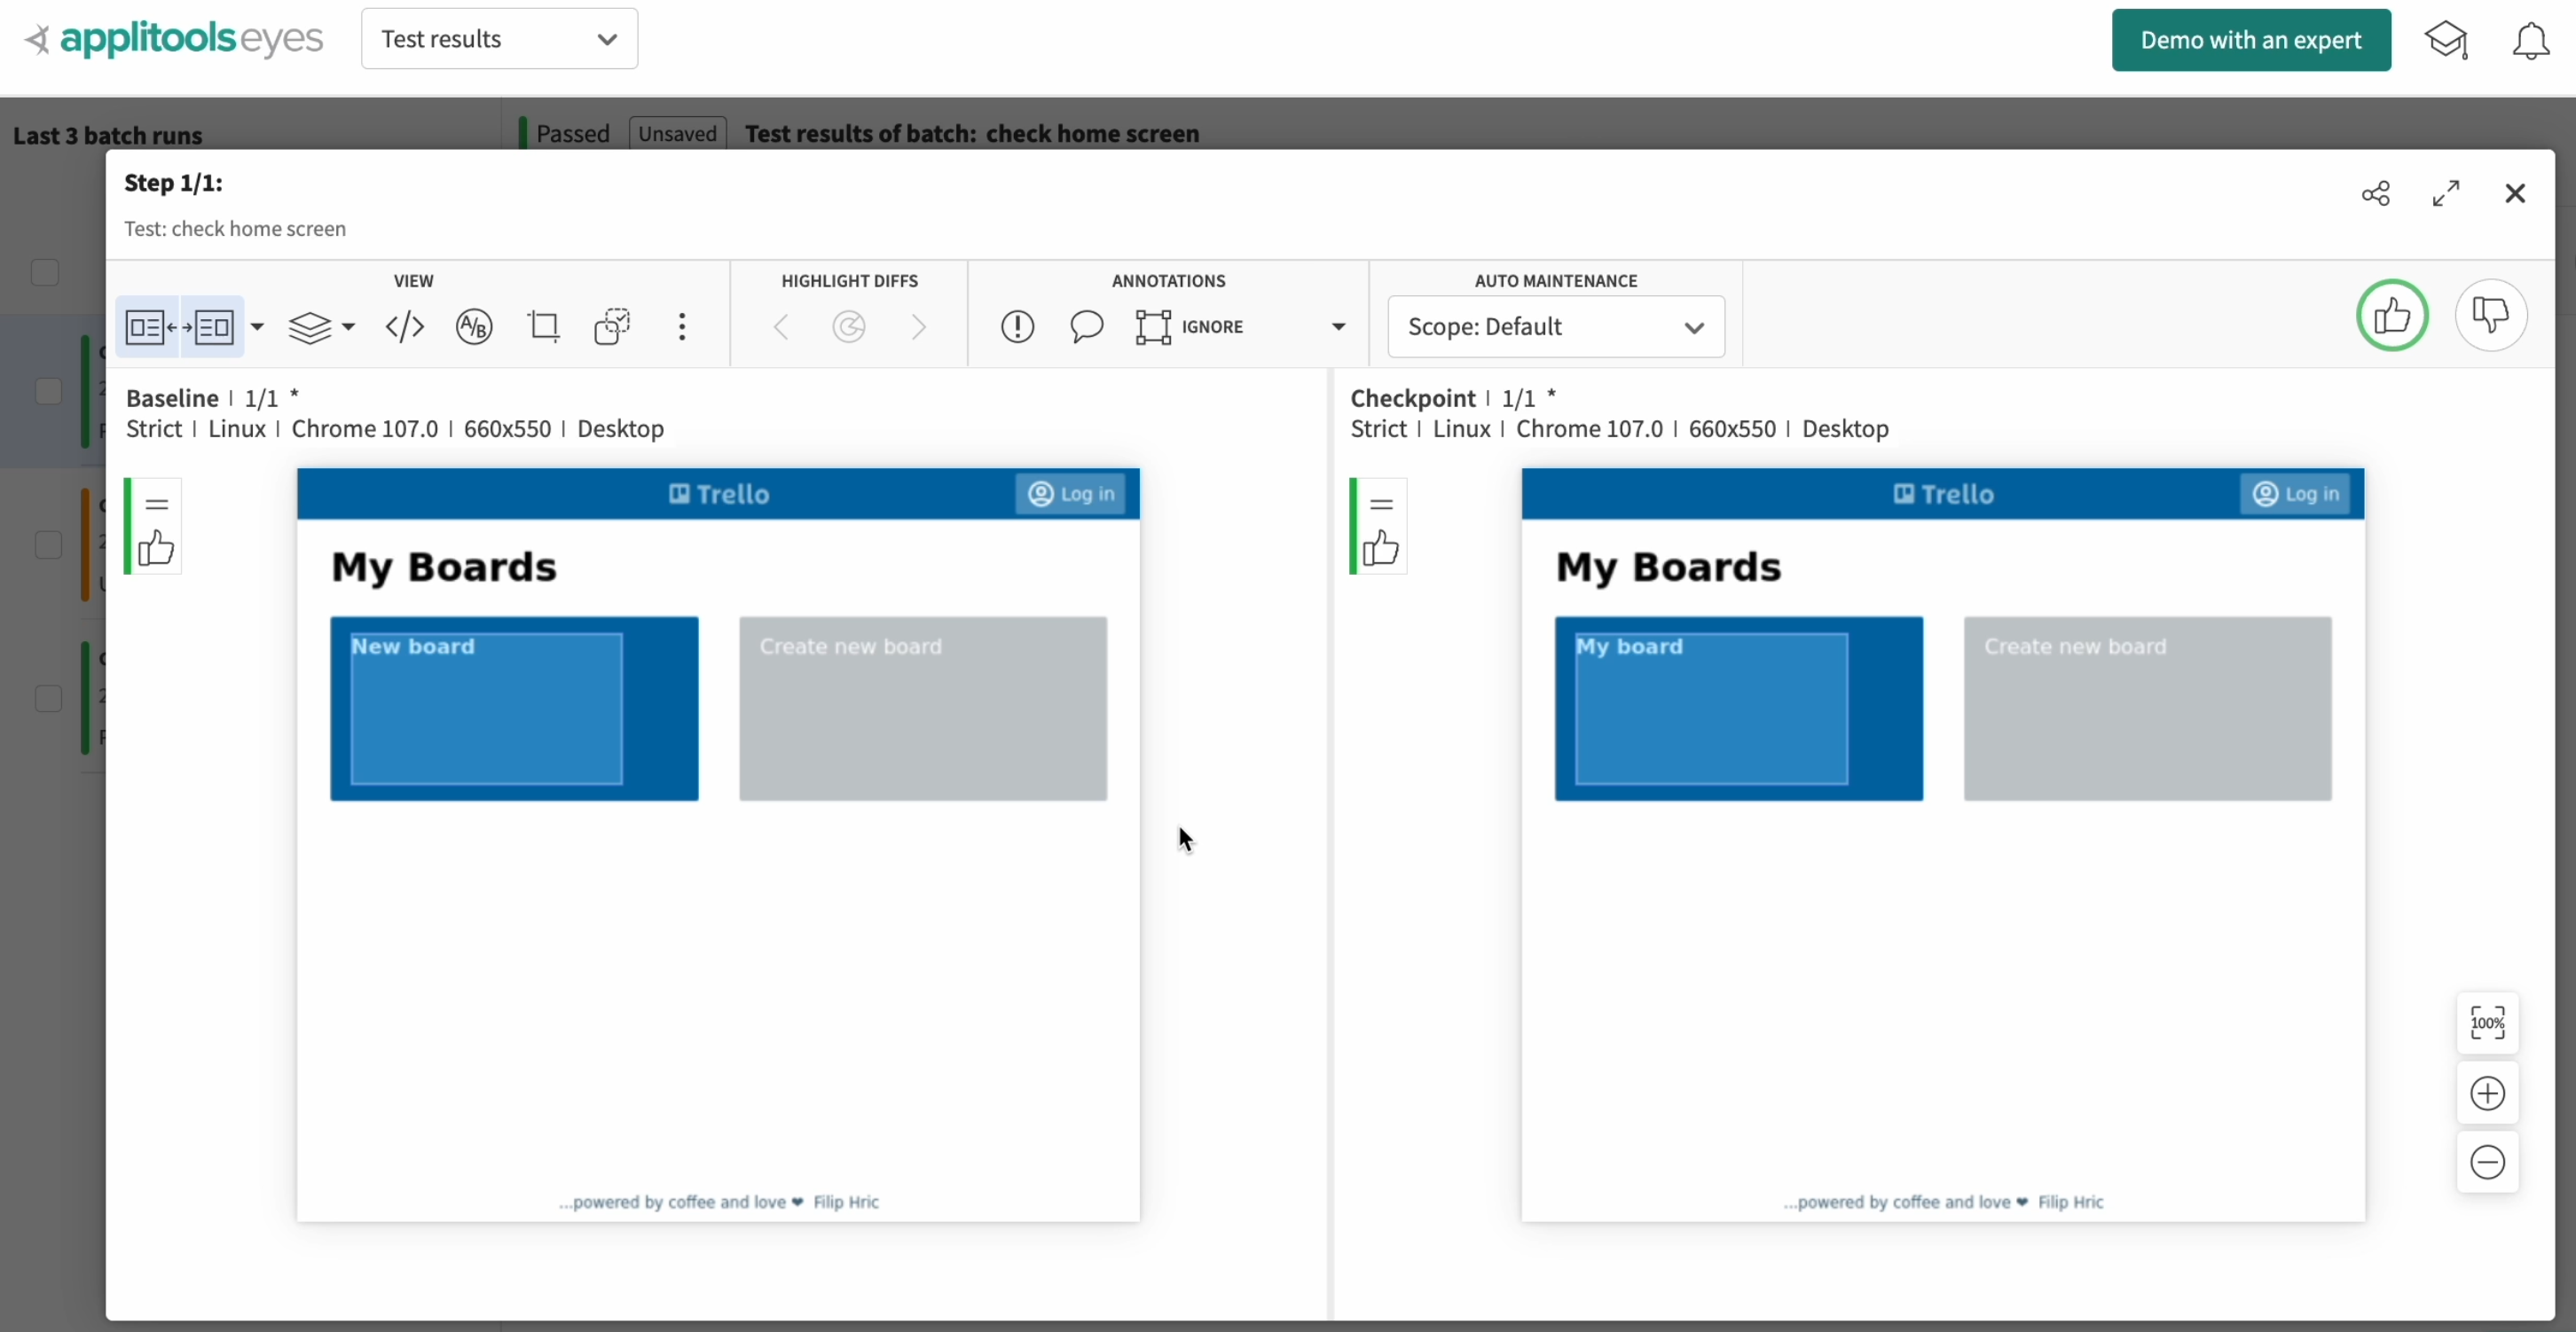
Let's take a look into our dashboard and see what has changed.
We, of course, already know.
When I take a look into the detail, I'll see that the text of the board item is now different.
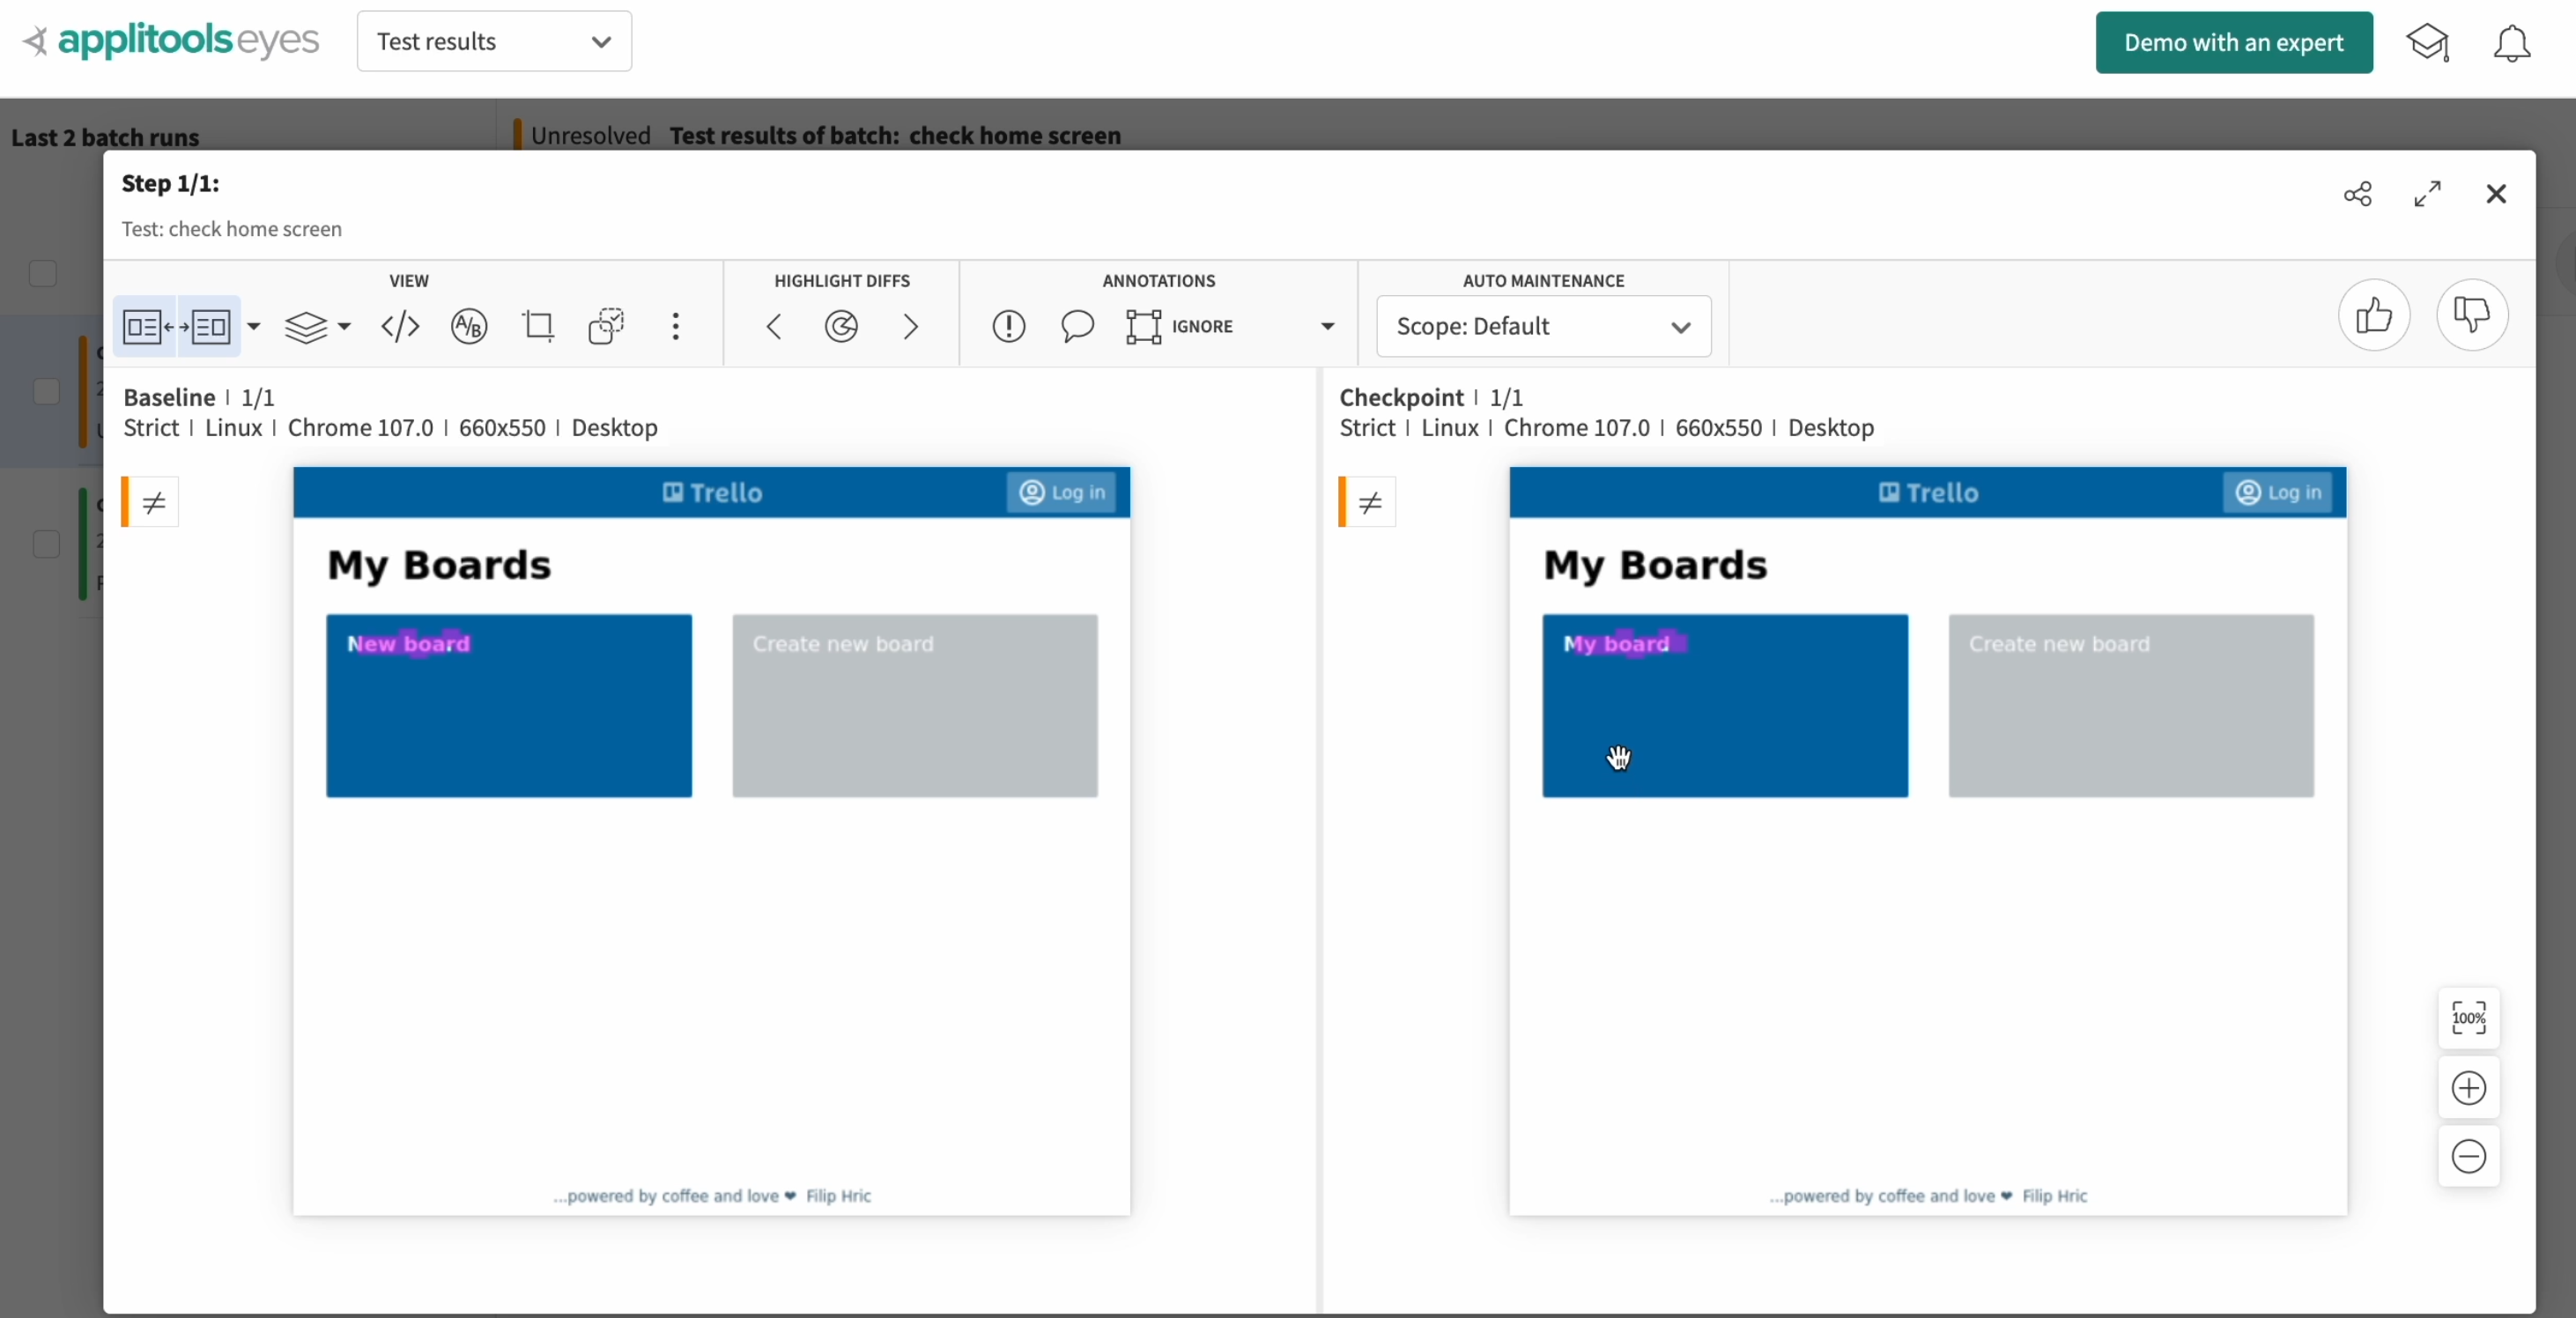
It's even highlighted in this side-by-side view.
What I can do now is to add some more configuration options into my eyesCheckWindow.
Ideally, I would like to add an ignore region, and that's exactly what I can do.
From the variety of the options that I have here, I'm going to choose ignore, and these attributes will have the value of object, and I'm just going to take a selector and define this selector of the element that I would like to ignore.
I'll use my selector playground to select this text, copy the selector, paste it in here, and run my test again.
This time, my test is going to pass and I can head over to the dashboard to take a look into the details of this test run.
When I open the details, I can see that the text in the ignored region was different, but since it was ignored, Applitools is going to evaluate the snapshot as valid.
Now, as I mentioned, you should not be sharing your API key with anyone.
The very last thing that I'm going to do is go to the "Admin" dashboard, take a look at "API keys", and I'm going to delete all of the keys that I have shown you in this video.
After I stop recording, I'm going to create myself a set of new keys that I'm definitely not going to share with anyone.
Be sure to stay safe and if your keys get leaked, don't panic, just delete them and generate a new one.
