

Transcripted Summary
As of now, we have added a few XCUITest . We have also added a visual validation test using Applitools XCUI SDK. In this chapter, we will add a continuous integration to our XCUITest so that we can run our XCUITest on continuous basis to get some feedback from our test.
Before we jump into the continuous integration, let's try to run the XCUITest from the command line.
If we can run the XCUITest from command line, then we can configure them on possibly any continuous integration server — you may have Jenkins, TeamCity, Xcode Server or any call-based CI service like Travis CI, CircleCI, Nevercode, Bitrise — you can configure your test on any CI server.
We have seen that in our app, we have a TAU scheme, so you can check what's the scheme is doing, so you can click on the test action. So, it runs the unit test as well as UI test. We can disable unit test or disable UI test from the scheme. In order to enable test on continuous integration, we have to make sure that the scheme is shared. If the scheme is not shared, then your continuous integration server won't see your scheme.
Let's go back to the command line and run the command, called xcodebuild -list — so this will basically list the configuration of your project.
You can see that you have three targets, two build configurations and one scheme. So that means we have a TAU scheme.
In order to run your UI test from command line using native Apple Developer Tools, you need to write some long command, something like this. So basically, you need to pass the workspace, the test.
If you run this command, basically, it will take some time and at the end of the test, at the end of the compilation and building, you will see the test running. So, this is one way to run XCUITest from the command line and we will cancel it for now.
Another easy way is using a tool called Fastlane.
So with fastlane, you can install using
gem install Fastlane
Or if you are using system Ruby then you probably need to do
sudo gem install Fastlane
Fastlane is also available with Homebrew, so if you are using Homebrew, then you can use
brew install Fastlane
Now if you want to run XCUITest from command line using fastlane, then the commands become very easy. We just need to pass our scheme and device, so let's pass iPhone XR simulator because that's what we have open over here. And we need to pass it to the fastlane tool called scan. Scan is basically a tool to execute test.
fastlane scan --scheme TAU --device "iPhone XR"
If you run this command, you can see that fastlane is actually building and testing our app. Everything is now happening from the command line without using Xcode. So basically fastlane will build, compile and run our test.
You can see fastlane also generates the reports in HTML and JUnit format and we can get into that directory.
Now you can see that the fastlane is started running our test, I did the API key, so it's also running the Applitools Eyes test, so hopefully the test has been started on Applitools Test Manager as well. Also, tests started in the simulator as well.
In this way, using fastlane we can execute our tests very easily. You can see that all of our tests have been passed and no failures.
So probably fastlane has created a directory called “test output” and within that test output, we have HTML report as well as the JUnit reports.
If you open the “report.html”, we can see the report, our test report, in nicely done format.
The report has been generated with tool called XCpretty.
Also you have options to configure this JUnit report on any CI server like Jenkins or TeamCity. With fastlane, it becomes very handy to run a test on command line. So now, we have the set up for fastlane.
Let's configure our test on any CI service.
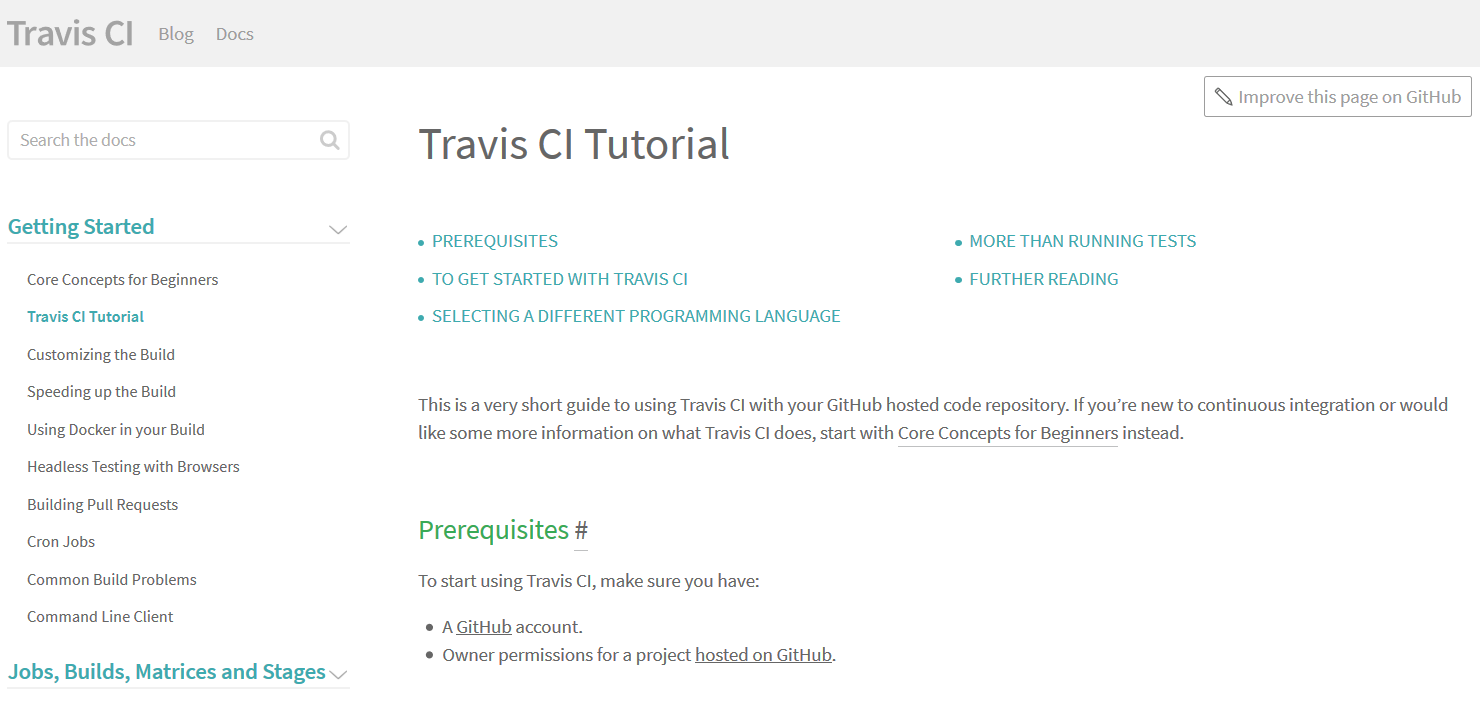
For this demo, we will use Travis CI because Travis CI offer free macOS images to run our test in the cloud. However, you can use any CI server.
Let's go to the Travis CI and Travis CI has a great tutorial on how to get started.
We just need to sign up with the GitHub and we need to authorize the project, and after we authorize the project, we just need to add the .travis.yml file and we need to tell which script we have to run.
So let's go ...
This is my GitHub. I logged into travis-ci.org. So, let's add our project, then search for our TAU ... XCUITA.
We have found our repository (XCUITest-TAU) and we just need to enable that repository, so now Travis CI can see our repository.
At the moment, there is no build training for this one.
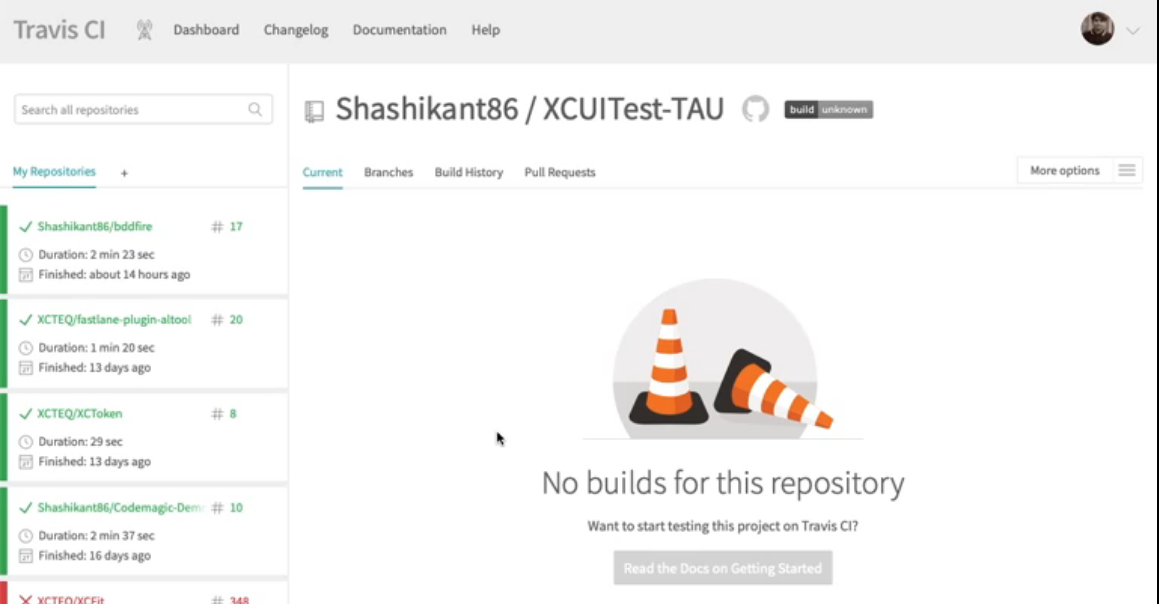
But if we add a .travis.yml, then the build should be running all this.
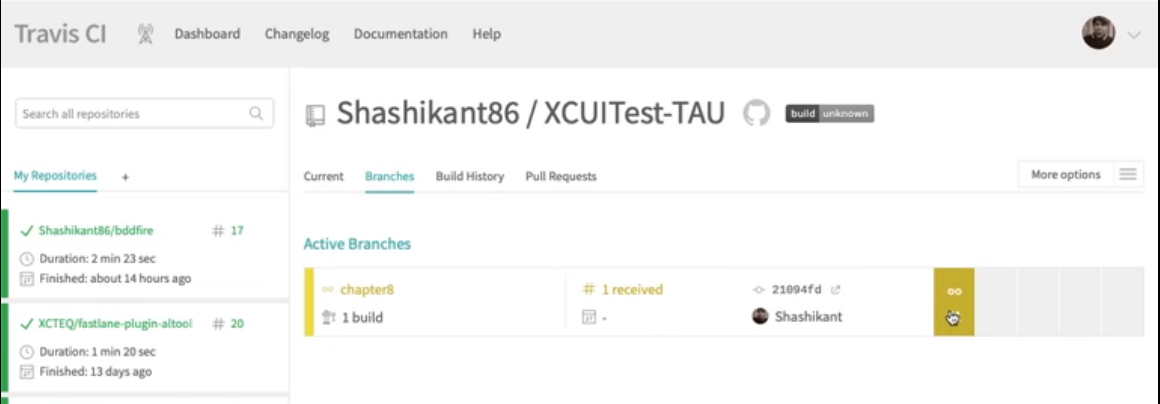
We have some settings as well — so we have enabled branch builds and pushed build as well.
Let's go back to our project and add a file called .travis.yml.
And what really this file is which branch you have to build, so which language you are using and which image you're using. So basically, you have to tell Travis that okay, use xcode10.1 image for this execution.
language: swift
ssx_image: xcode10.1
branches:
only:
- chapter8
So before install, so basically Travis launch fresh VM for every build, so we need to install fastlane and after fastlane, what we need to do is basically, we need to add a scheme, scheme is TAU and our devices iPhone XR.
- gem install fastlane --no-ri --no-rdoc --no-document
install: true
script:
  - fastlane scan -s TAU
  - fastlane scan --scheme TAU --device "iPhone XR"
If we save this and add those files to the GitHub and let's commit Travis CI integration, let's push this.
Now if you go to Travis CI and refresh your page and you go to the branches, then you will see our build had been started on Travis CI.
Travis CI usually takes some time to boot the VM and for the job to be queued, so wait until the build has been launched and get our test executed on Travis CI.
Now, our build job has been started on Travis CI, so you can see that Travis CI is doing its stuff. So basically, it's executing the same command that we have run from our local machine. So, it will try to run our test.
Now you can see it's is running the tests. Eyes test has been passed. You can see the latest report in the Applitools Test Manager plus you can see that all of our tests have been passed on Travis CI as well.
In this way you can execute your test on Travis CI. You can get benefit on continuous integration server by running the test on every command or every image to specific branch or every build request so that you can find the bug earlier or get a feedback of your test earlier.
Now we've seen that all of our tests have been passed on continuous integration server, however to run the Applitools test, I have done some setups, following Travis CI documentation on Applitools.
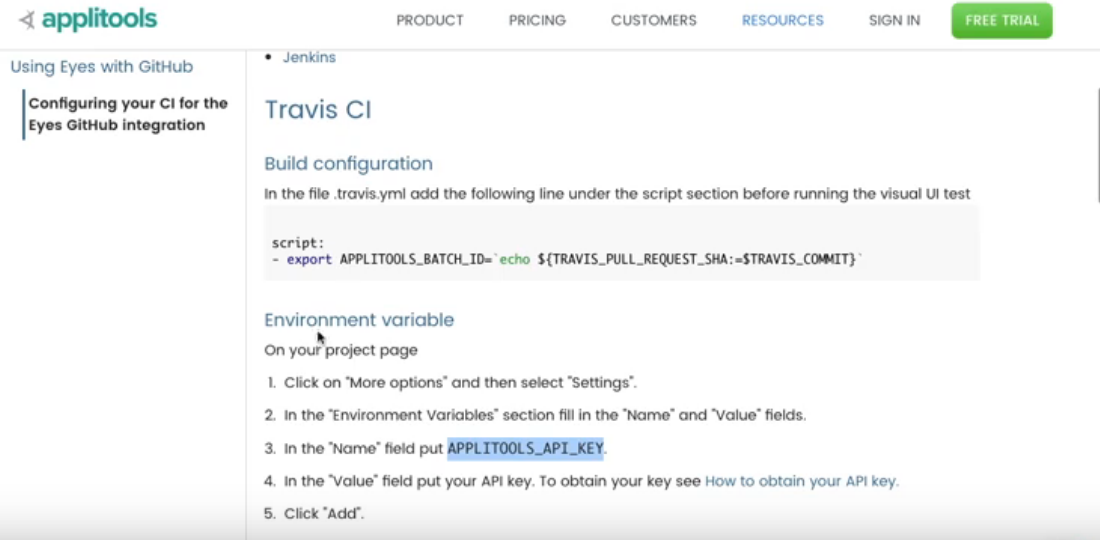
I made some changes to settings, I added my Applitools key and also done some iOS selected settings.
But If you want to disable the test running on continuous integration server, for example, if you want to disable this “testTAUApplitoolsEye” test on CI server, we can do that by updating the scheme.
We just need to go to scheme > edit the scheme, Click on the test and in our UI test we have the list of the tests. We need to find which test to be enabled or disabled. So, at the moment, I will disable this test: “TAUEye test”. So, this is a test class, I will disable this entire test class (or I can disable individual test method within the test class). So, I close it.
Now, I will commit these changes to GitHub, so let's say, "Disable Eyes test on CI".
And if I push it, Travis CI, as you can see the new build has been started — job has been received is being queued now, and let's wait for the build to be executed. This build will not execute the Eyes test, but it will only execute our XCUITest . So, let's wait for the results when Travis CI finish the build.
Our build has been started on Travis CI, now you can see the UI test has been started on iPhone XR simulator on Travis. Travis will first boot up the simulator image and then started executing our UI test.
Now we can see that our UI test has started running on Travis CI, so we finished the BDD test, it's now starting the TAUUI test and you can see that it is now, it has only executed three tests and it has skipped the Applitools Eyes test.
So, using this technique, if you find any test flaky, or if you want to disable those tests, or if you want to disable temporarily on CI, then you can do that by updating the schemes.
So that's it for this chapter and this will be the last chapter of our TAU course on XCUITest . We will have a summary of our course and we will provide some resources as well as add the source code on GitHub. Thanks.
