

Transcripted Summary
Welcome to the final chapter in this video series on how to build an automation framework with Python.
In this chapter, we are going to look at how to run our tests in parallel.
I've already written a blog on this topic on automationhacks.io.
Often, automation engineers make the mistake of setting up their CI pipelines or their frameworks to run in parallel very late, at which point making modifications into your framework is very difficult.
We all realize that a suite that runs well serially might not run so when in parallel.
It is very important to consider parallelization very early into your framework development, wherein let's say you have written a couple of cases - they should be able to run in parallel.
If you are someone who's new to all these concepts around concurrency threads, multi-process synchronization and whatnot, I would suggest you go ahead and do some reading on this.
I would recommend you check out this chapter in this MIT course on software construction.
This course has a lot of good information on basic software construction principles.
It mostly reads from a Java perspective, but I think you could easily follow it along.
There are a couple of dedicated chapters on just concurrency and thread safety.
Reading these would give you a good idea on what this concept means and how could you essentially design a framework which adheres to these principles of confinement, immutability, use of thread safe data types, and how to ensure whether your framework is thread safe or not.
You could also read this very useful post by Andrew Knight, wherein he talks more about parallel testing within a Python context.
Once you're done reading this, you should have a fair idea of what it actually takes to make your test suites parallel, but let's discuss some specifics within this chapter.
To run our framework in parallel, we use pytest-xdist, which is a very useful plugin developed by Pytest devs.
Let us just take a look at how it is.
# Setup
As you can see, this is under pytest-dev.
This plugin abstracts a lot of these capabilities, so you don't have to write code for threading or multiprocessing, for that matter, and it has a really nice README, which exposes a lot of the capabilities that this plugin actually offers.
If you come back to the project that we have been working on so far, I've already gone ahead and added this plugin.
If you just open the Pipfile, you'll notice that I've already installed pytest-xdist, as well as a couple of extras called psutil, in case we want more granular details.
All of these changes were merged in the branch for this chapter, 09_running_tests_in_parallel.
Let's check it out.
If you have been following along in this tutorial series, to ensure that pytest-xdist is installed in your environment, you would either do:
pipenv install
If you are doing it on your own, then you need to install these two packages:
pipenv install pytest-xdist
pipenv install pytest-xdist"[psutil]"
Another gotcha here is if you want to install the psutil extra package, you need to ensure that it is enclosed within double quotes so that it works on a Mac.
So, with pytest-xdist installed, it is quite easy to run our test suite in parallel.
Let me show you how it runs serially currently.
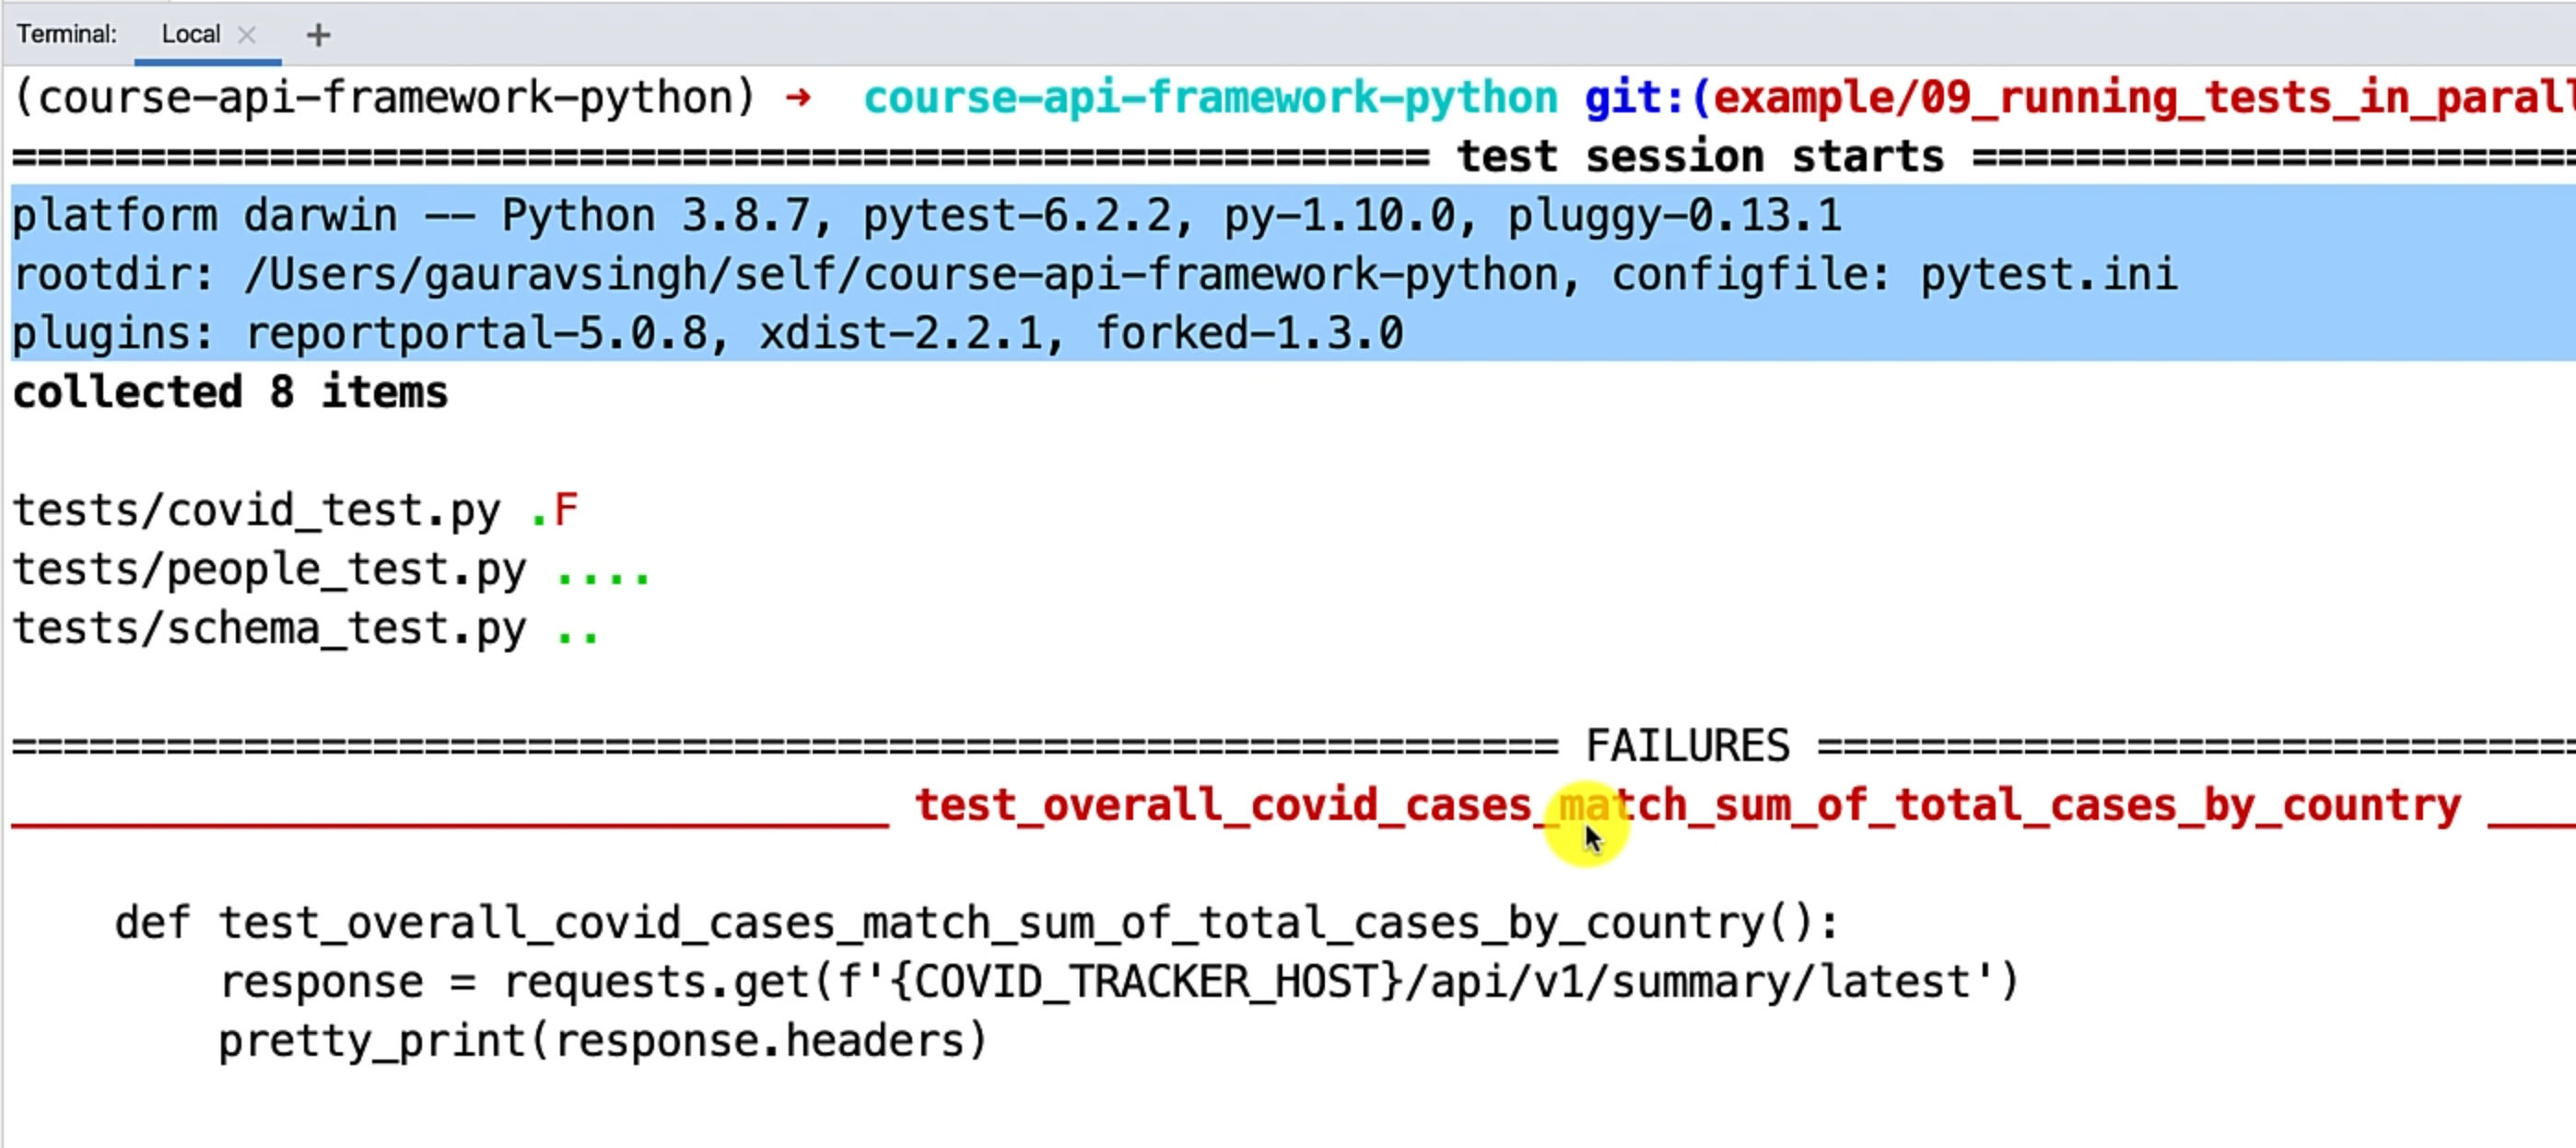
As you can see, this is running them in a serial fashion, and this is the way we have been operating so far.
But what if we want to run this in parallel?
# Running in parallel
The process is quite easy.
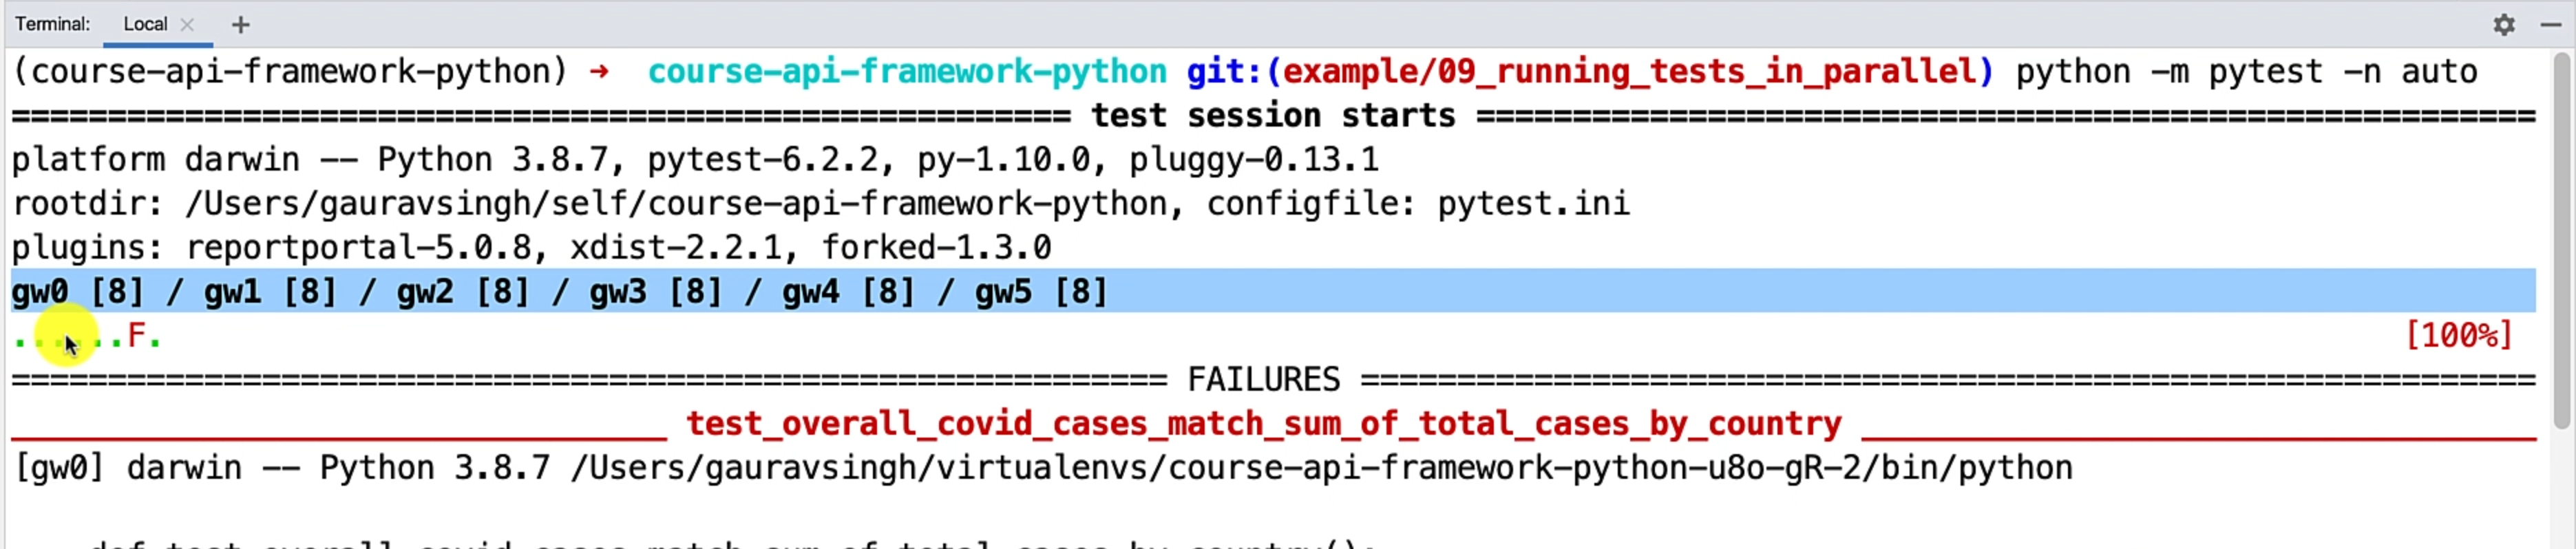
We need to add another argument -n and here we have a couple of options.
We could either specify the number of worker processes we want, or we could let Pytest determine that, so I'm going to let Pytest determine that.
python -m pytest -n auto
As you can see, it's now running these tests in parallel, and quite strangely, it actually took more time than it used to take serially.
This is because there is actually a cost to switching between these processes.
However, if your test suite is large enough, then this cost is going to be less.
As you can see, now we initialized a couple of worker processes and it ran the tests in parallel.
This is all fair and good, but what if we want to run our test suite in parallel and also report the results into ReportPortal?
Let's make sure our ReportPortal is up with the command that we used earlier.
docker-compose -f docker-compose.yml -p reportportal up -d
We have our people-tests project, and it has certain runs.
Let's make sure that we are able to run our test suite in parallel with reporting.
You can just run this command:
python -m pytest -n auto ./tests --reportportal
Our test suite ran, and let's see if the results are in ReportPortal.
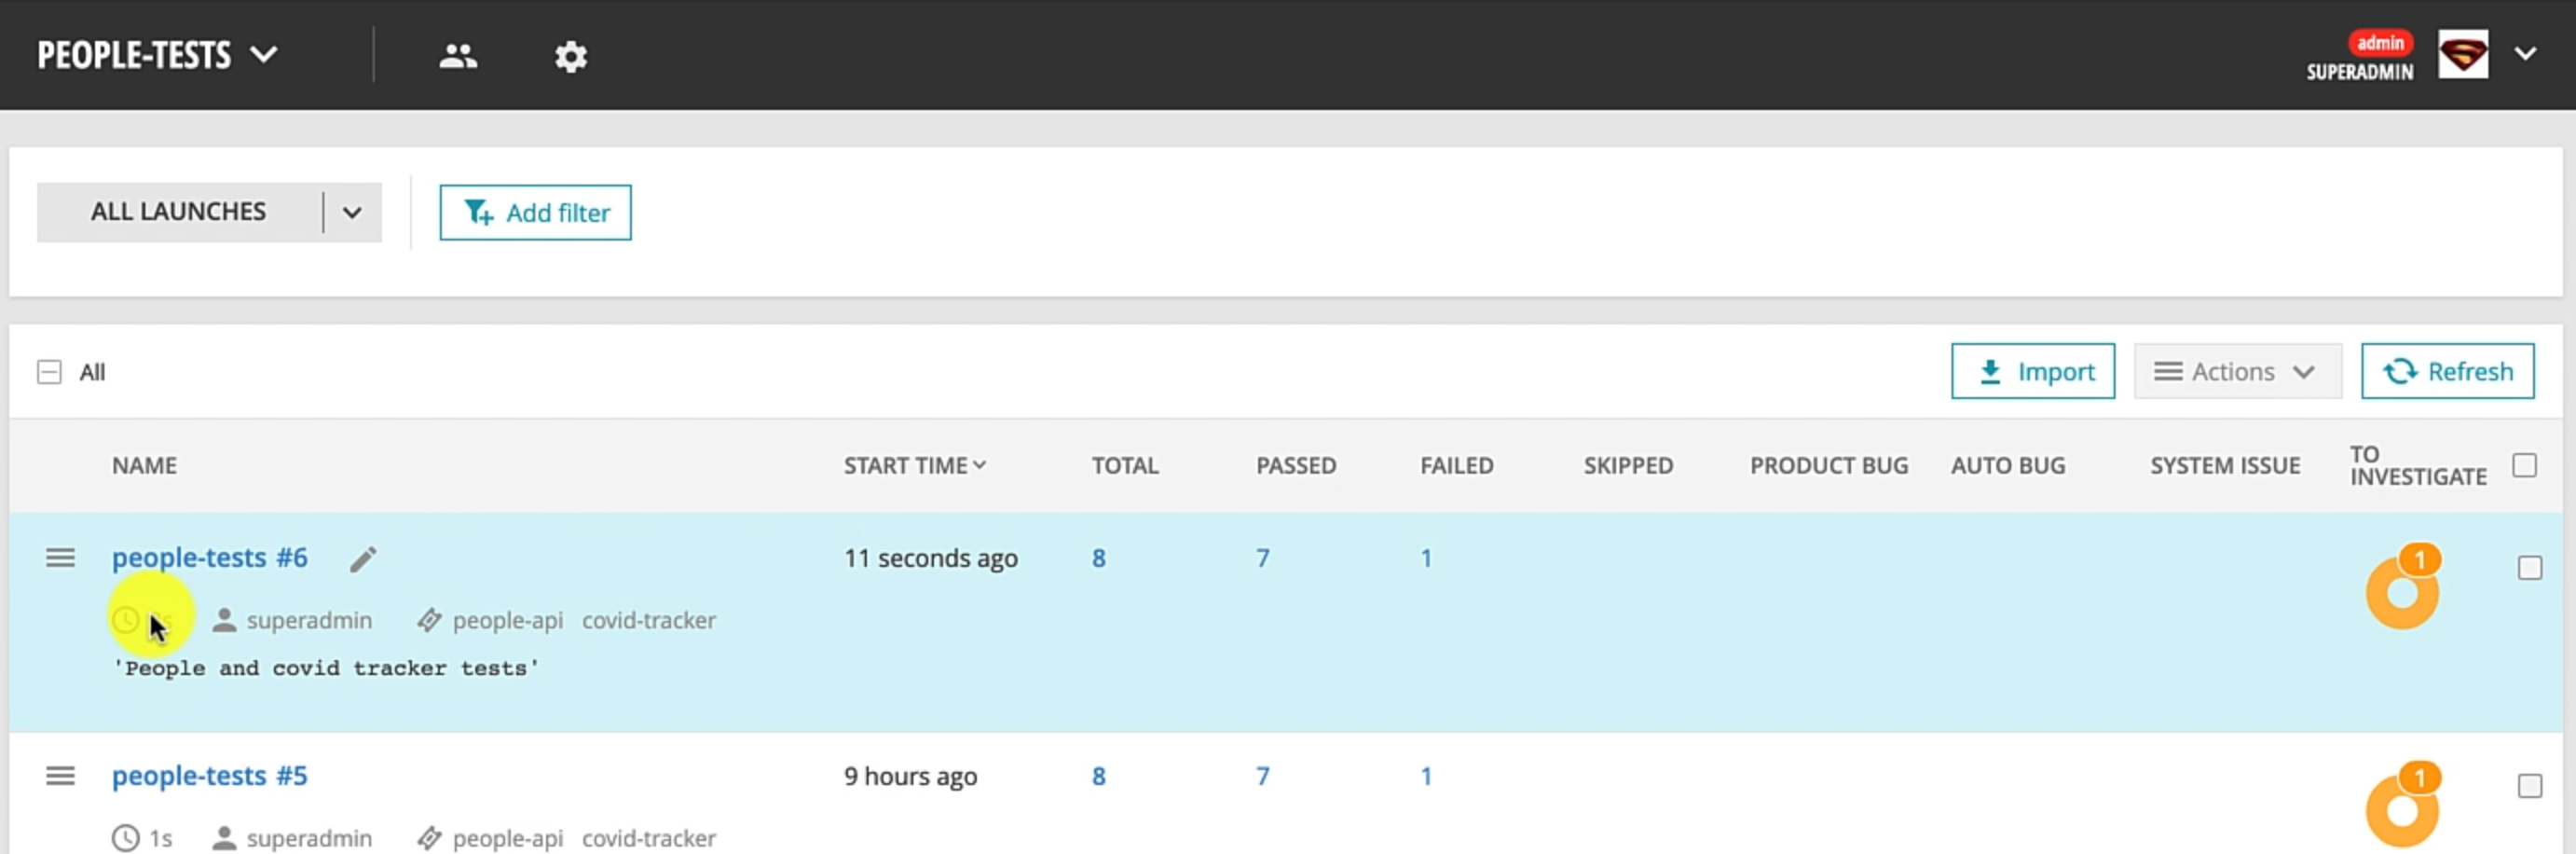
We can see that our test suite ran and it worked fine.
Pytest-xdist provides a lot of useful features for you to run your tests in parallel.
Let's say you want a constant running process, which constantly runs your tests and as soon as something fails, you could use --looponfail, and there are a bunch of additional options.
For instance, you could run your tests in Python subprocess, if needed.
You could send your test to a remote SSH, or you could potentially even just identify the worker processes and distribute your tests across different platforms.
The README calls out a lot of useful use cases that you might have, in case you want to run your tests in parallel in many different configurations.
I would suggest you check this out - this is going to be a very useful read for you.
So with that, we come to an end to this tutorial series.
Honestly, I had a lot of fun making these videos - it helped me also clarify some of the concepts around these framework components.
Again, I want to reiterate that this is not the perfect framework and it is not going to be so, because your framework is largely dependent on your specific needs and context.
However, in this series, we understand what are some of the basic blocks that we should understand.
You could take this further and understand additional components, make your framework richer, and so on.
Also, you could find the blogs for all these video series on my blog, automationhacks.io where I have written a blog on every chapter that we have discussed - feel free to go through them.
In case you still have any questions or comments, you could address them there in the comments section of these blogs, or you could also use their discussions tab in GitHub, if you want to give specific feedback about anything in this course, and I'll be happy to help you there.
I also have a dedicated GitHub repo called ama, or Ask Me Anything, and you can use this to create certain issues wherein you might need some answers, and I promise I'll try to get back to them as soon as I can.
With this, we wrap up this video series and wish you all the best in your automation journey using Python requests and all the other tools that we discussed in this series, and I hope to see you in a future video.
Thank you.
Resources
pytest-dev/pytest-xdist: pytest plugin for distributed testing
Python API test automation framework (Part 9) Running tests in parallel
