

Transcripted Summary
In this video, we are going to learn how to set up Python and the required dependencies to start with our visual validation automation.
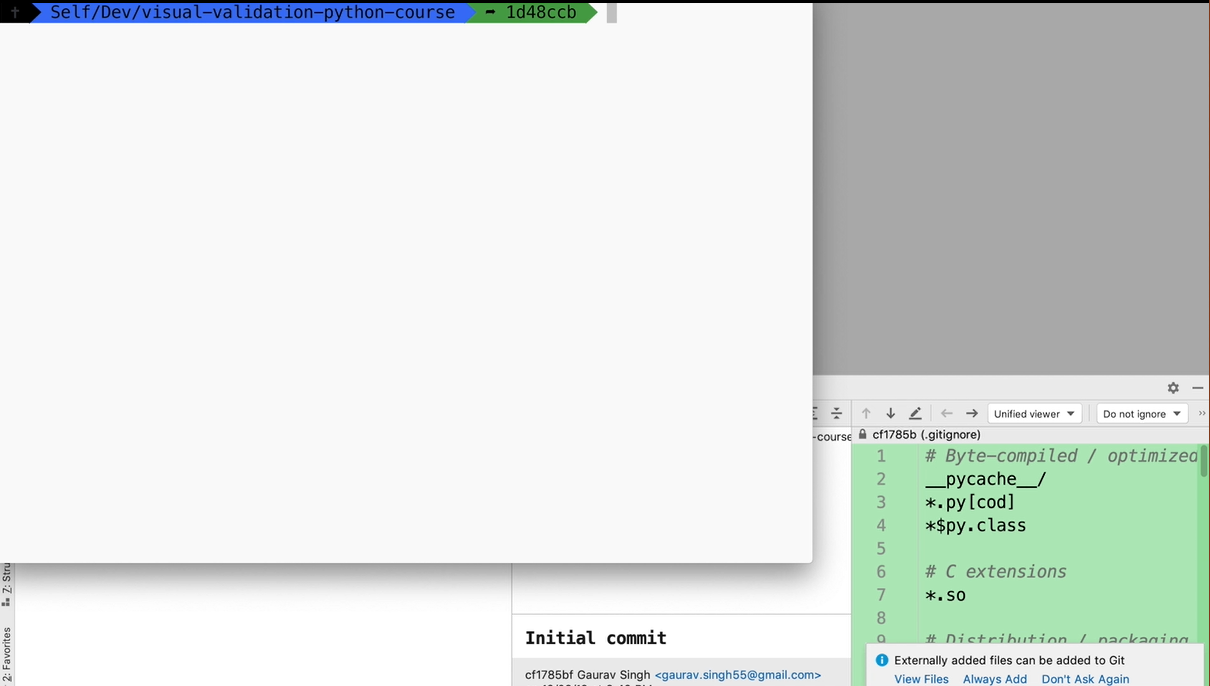
NOTE
We are going to assume that you have Python 3 installed on your machine already. If not, you can easily install it via Homebrew. Just execute brew install python. Alternatively, you can also take a look at the links in the resources to help you in this regard.
# install pipenv
We need to have a consistent reproducible environment to store all the dependent modules.
For this, we will make use of pipenv, which is an awesome library, and wrapper over virtualenv and pip.

To install pipenv on your Python installation, just execute pip install pipenv
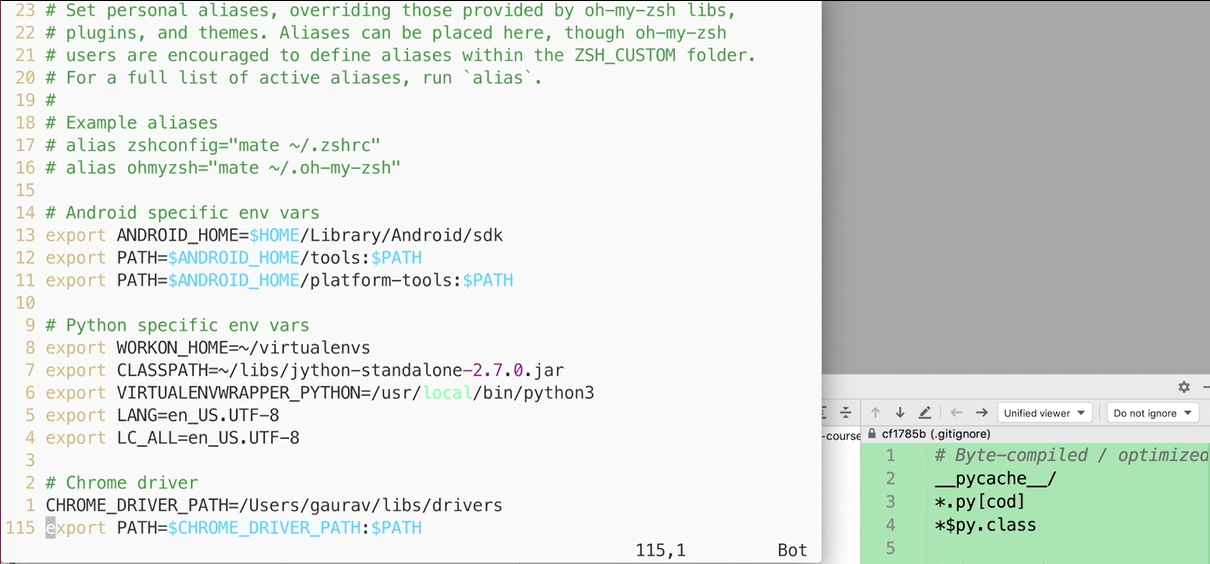
Also, it is recommended to update the below environment variables in either your .zshrc or the .bash_profile and then source them.
Here WORKON_HOME is the directory where all the virtual environments will be stored after creation.
# python-specific env vars
export WORKON_HOME=~/virtualenvs
export VIRTUALENVWRAPPER_PYTHON=/usr/local/bin/python3
export LANG=en_US.UTF-8
export LC_ALL=en_US.UTF-8
The next step is to install and create a virtual environment and then set up the required dependencies.
Let's see this in action. Now, cd to the directory where the project folder is situated.
We will be using PyCharm as the editor of choice for this course.
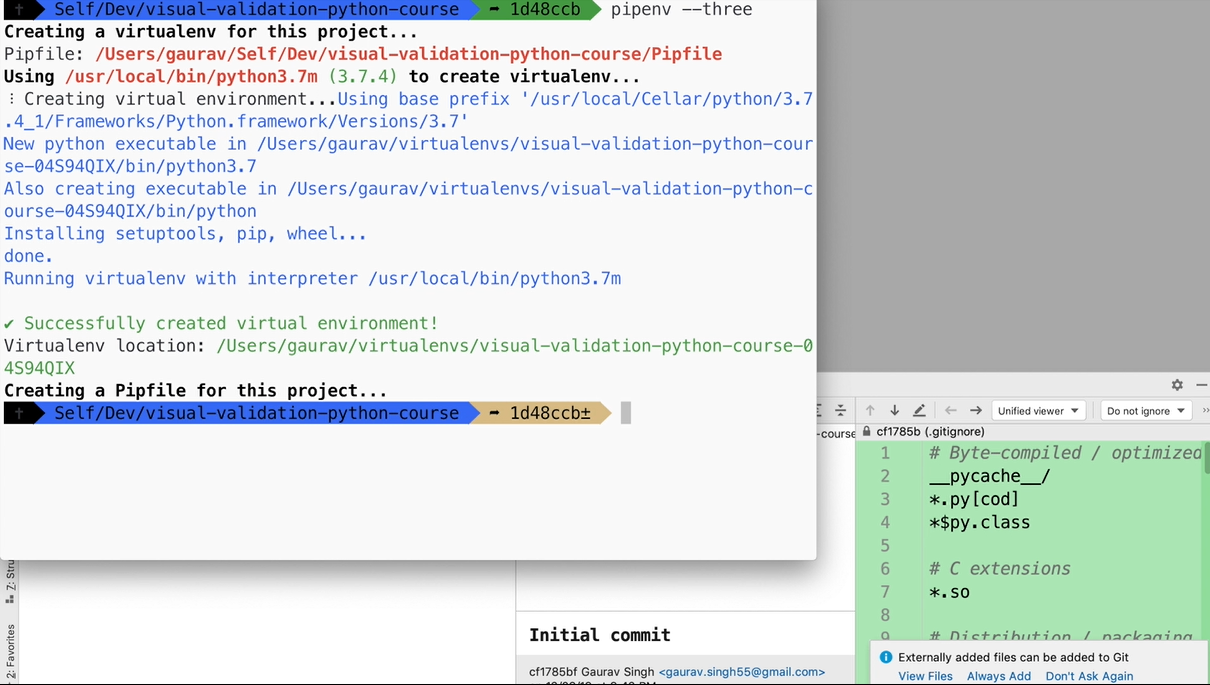
The next step is to run the command below to initialize an empty virtual environment (virtualenv) for us. We will pass the argument “three” to create a virtual environment with Python 3 as the base image.
pipenv --three
Great, looks like this has set up in empty virtual environment for us.
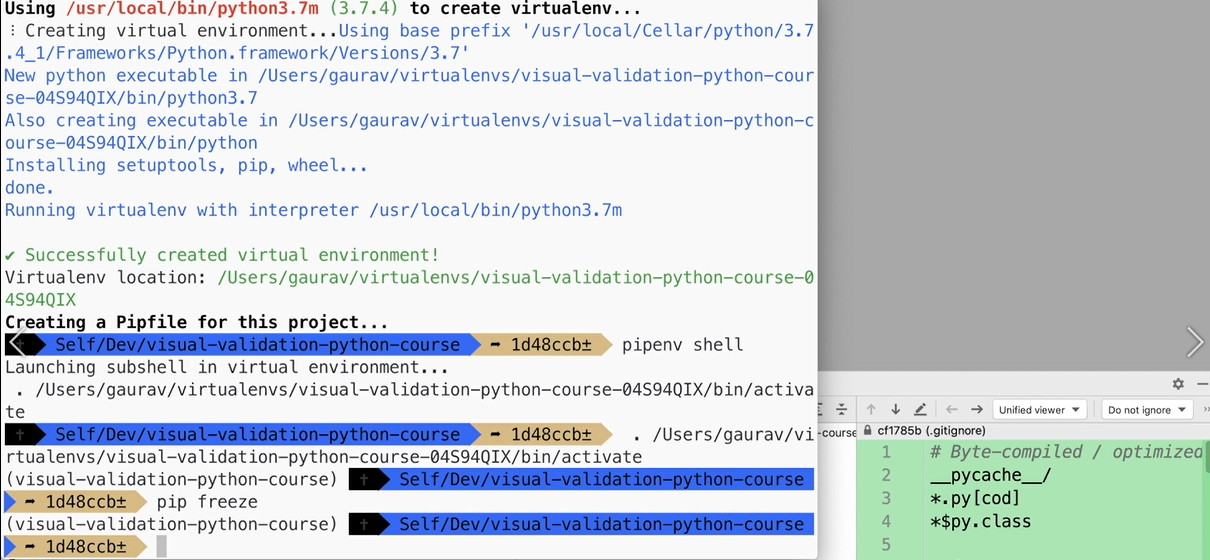
To activate the environment, just execute pipenv shell.
You can see that the name of the virtual environment is mentioned on the left-hand side.
If we inspect what modules are installed currently you see there is nothing installed.
# Install eyes-selenium module
Next, we need to install the eyes-selenium module for using our visual validation.
To install just type:
pipenv install eyes-selenium
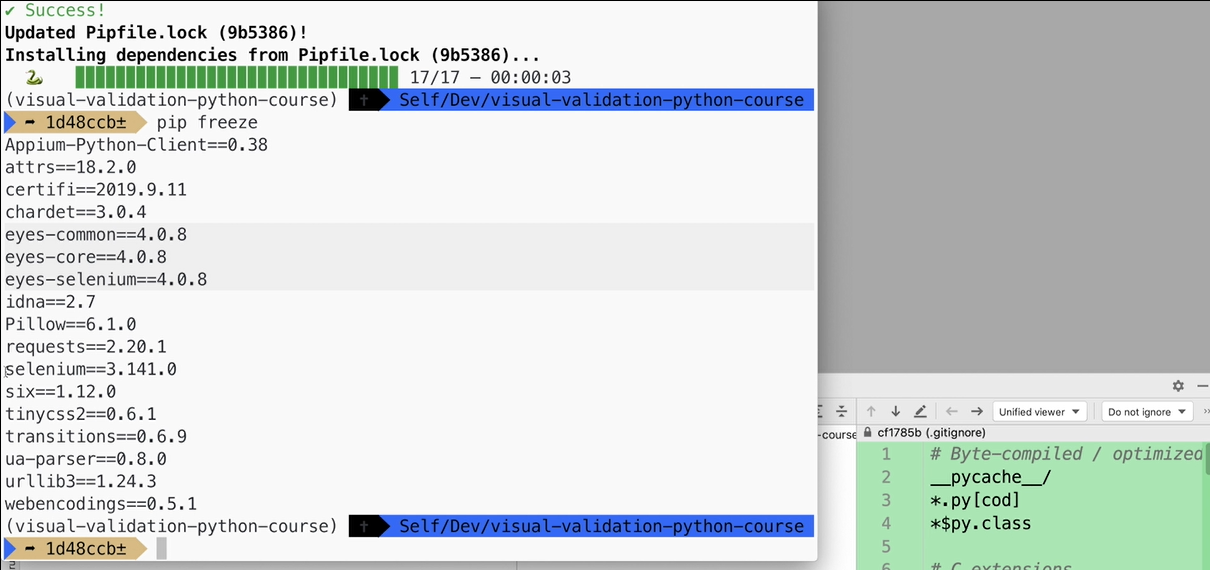
As you can see, Pipenv for the installed that required Applitools SDKs for Python as well as all the transitive dependencies, which are needed for successful installation.

Cool.
To inspect if all the modules are installed successfully, just type pip freeze.
You can see that it has installed eyes-core, eyes-selenium, as well as a transitive dependency of selenium.
Amazing.
# Install ChromeDriver
The last step is to install ChromeDriver and put it in the path.
You can download ChromeDriver from Google's website and put it in a directory where you feel comfortable.
The directory where you have put the ChromeDriver binary, you can put the path as an environment variable and add it in your .zshrc or the .bash_profile file.
This would ensure that it is easily accessible for a test.
# Chrome driver
CHROME_DRIVER_PATH=<path_to_dir>/libs/drivers
export PATH=$CHROME_DRIVER_PATH:$PATH
That's it.
All the dependencies are setup and we are good to go.
