

Transcripted Summary
Welcome to Chapter 3. Let's put the workflows and events into focus.
# What will you do and learn in this chapter?
- You will create your own workflows.
- You will understand how you can store artifacts in a workflow.
- You will learn to distinguish between caching and artifacts.
- You will develop a “lint” check for the pull request.
- You will trigger an API call for a workflow and also much more.
Let's dig into the workflow topic.
As a reminder, a workflow is a configurable, automated process that gets executed if an event occurs.
So, you know already that a workflow gets triggered by one or more events.
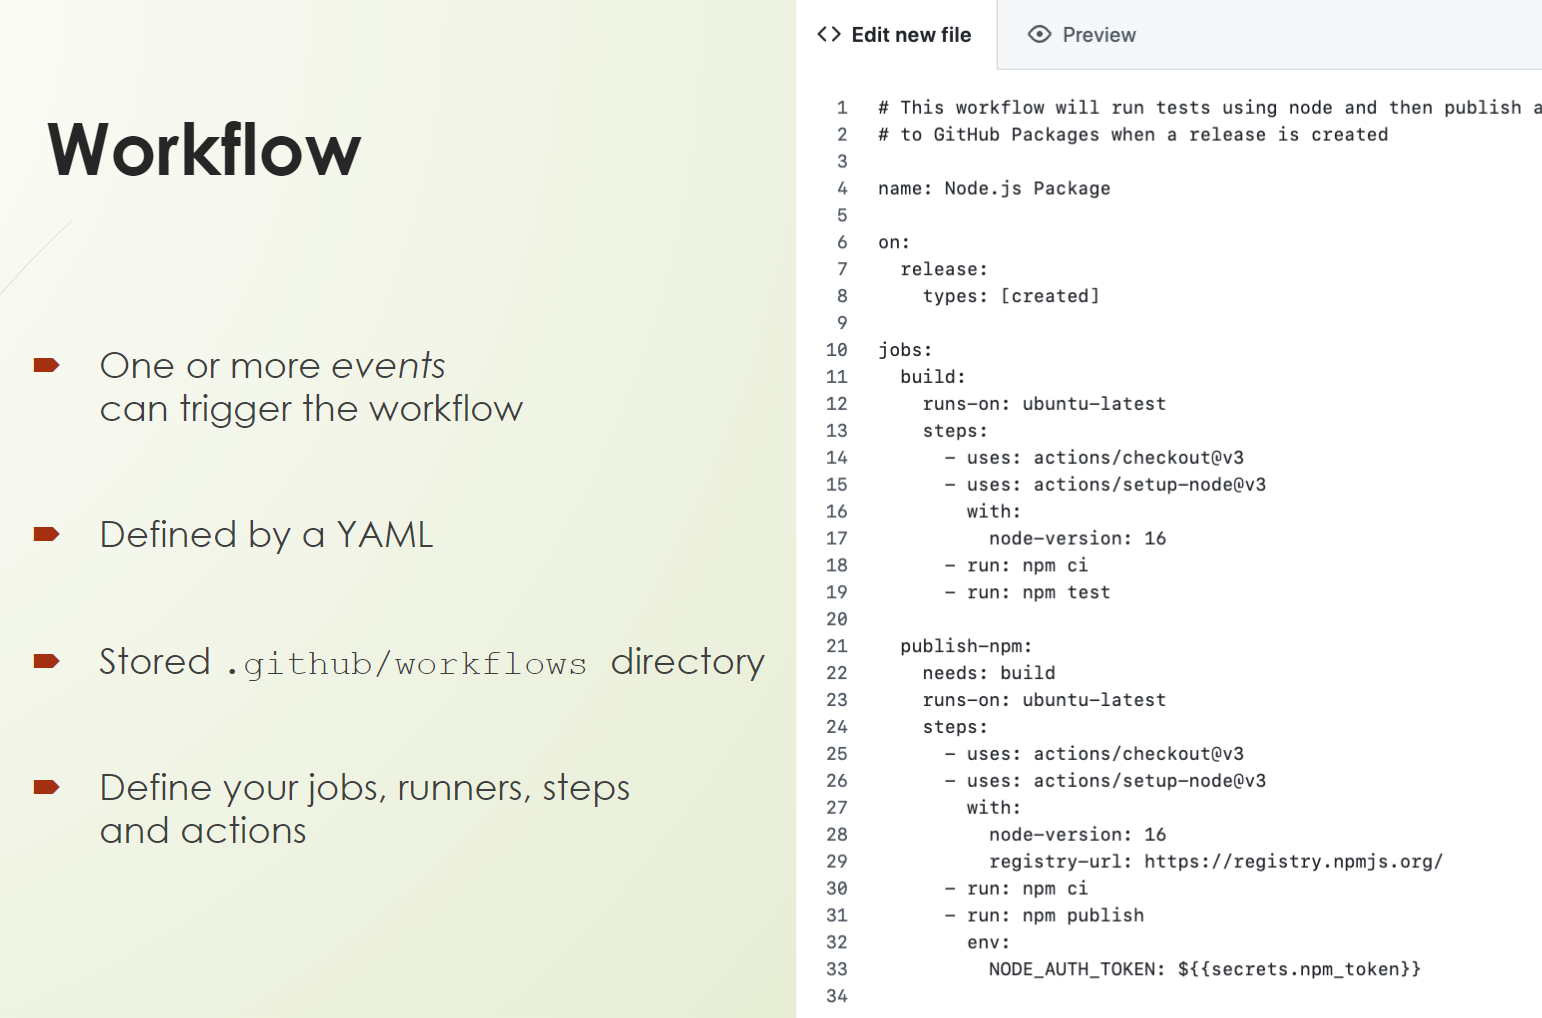
It is defined in the YAML file, so we have to use the YAML syntax and store it under the “.github/workflows” directory.
And in the workflow, you define your jobs with the runners, the steps, and the actions you want to use.
Let's come now to more functionality about workflows.
# Enable and Disable Workflows
One feature which is very often used is that you enable or even disable a workflow, especially if you're trying something out.
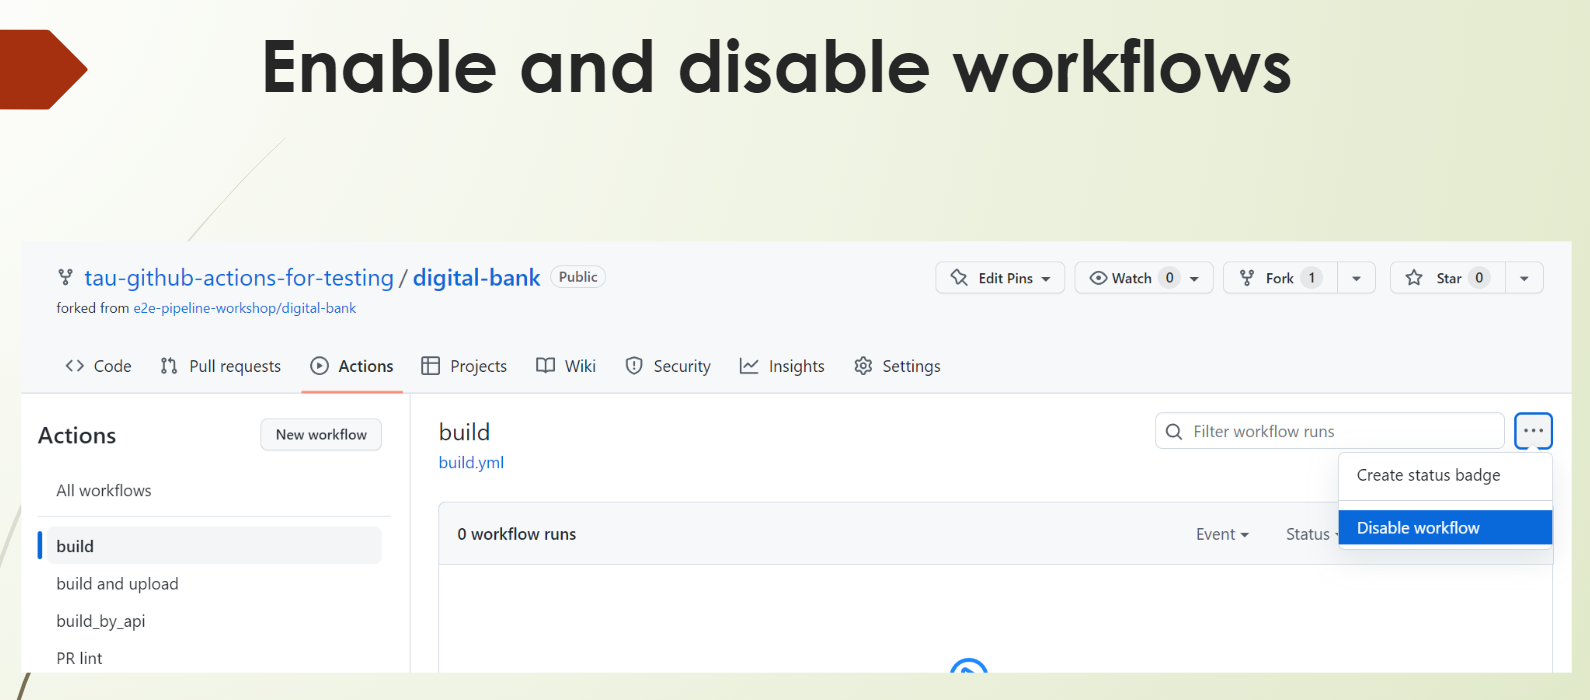
For example, if you want to build or run the unit tests after each code change, you can develop a development workflow, and after your development is finished, you can disable it.
So, there is no need to delete it. You can just disable it.
You can see it on the slide where you can find it in the GitHub UI on the Actions. If you click on the Actions, there is the Disable workflow button.
# Workflow Artifacts
Now we come to workflow artifacts.

What is an artifact? Let me share some of the common artifacts that you can upload.
For example, some log files which get generated during your workflow run. Or some test results, which of course is an artifact out of your test execution. Or some compressed files like ZIP, JAR, or WAR files out of your build results, or some code coverages which you generate during your unit tests.
GitHub stores these artifacts for 90 days, at least here at the free version, which I am using.
To share data such as artifacts between jobs, you have to use these 2 actions — the actions/upload-artifact and actions/download-artifact.
- The
upload_artifactaction gives you the possibility to upload files with a certain name to the workflow. - The
download_artifactaction gives you the possibility to download these artifacts, which were generated during this same workflow run.
And you can reuse these artifacts.
Let me provide you with an example.
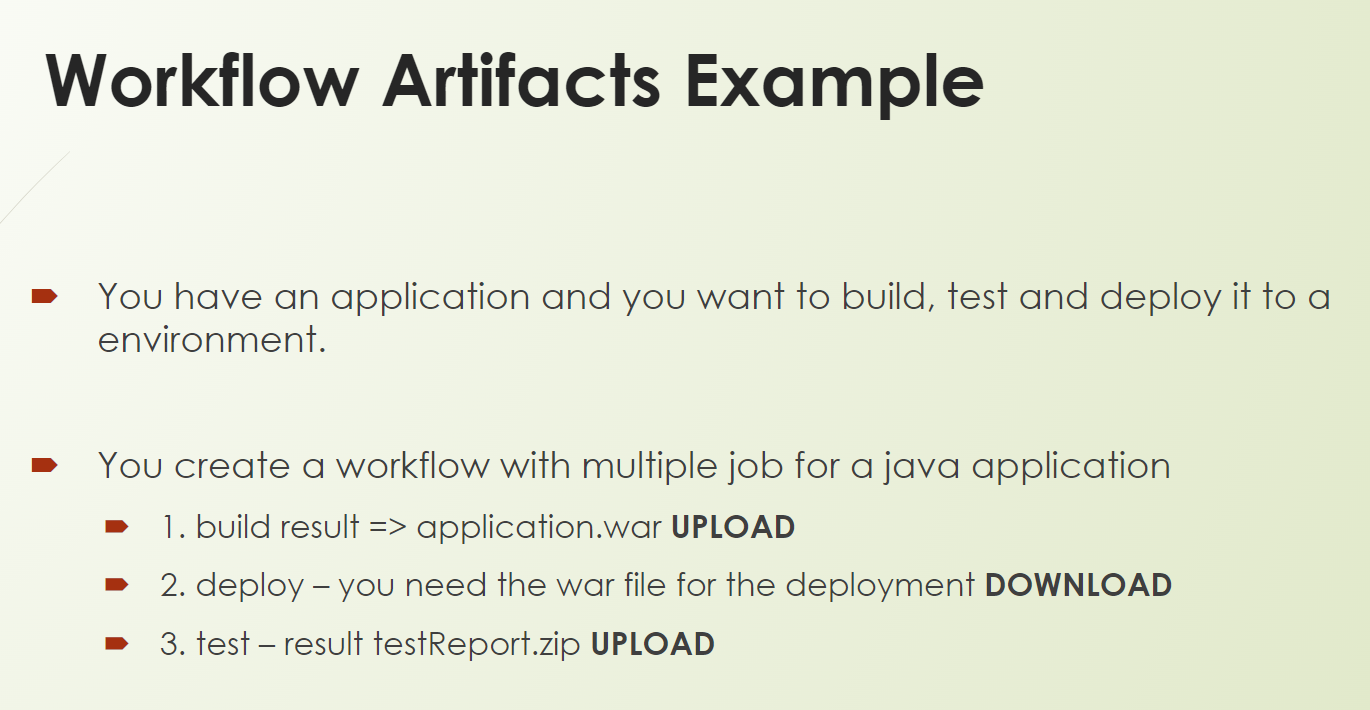
You have a job where we build our application and another one where we download it to our runner to deploy to our test environment.
So, you will create a workflow with multiple steps and multiple jobs, of course, for a Java application.
Here we will have a build result, for example, “application.war”, which we will upload.
And in the next job, we will deploy exactly this application. So, we need to download it first to our runner to deploy it, then to our test environment.
Afterward, we will trigger our tests. And these tests will produce some test reports, for example, “testReport.zip”.
We want to upload this — because otherwise, they will be lost because the runner is destroyed after execution — so the data is available at the workflow.
Good.
# Workflow Caching
Let's focus now on caching.
Artifacts and caching are quite similar because they provide the ability to store files on GitHub.
But each feature offers different use cases and cannot be used interchangeably.
So, when to use what?
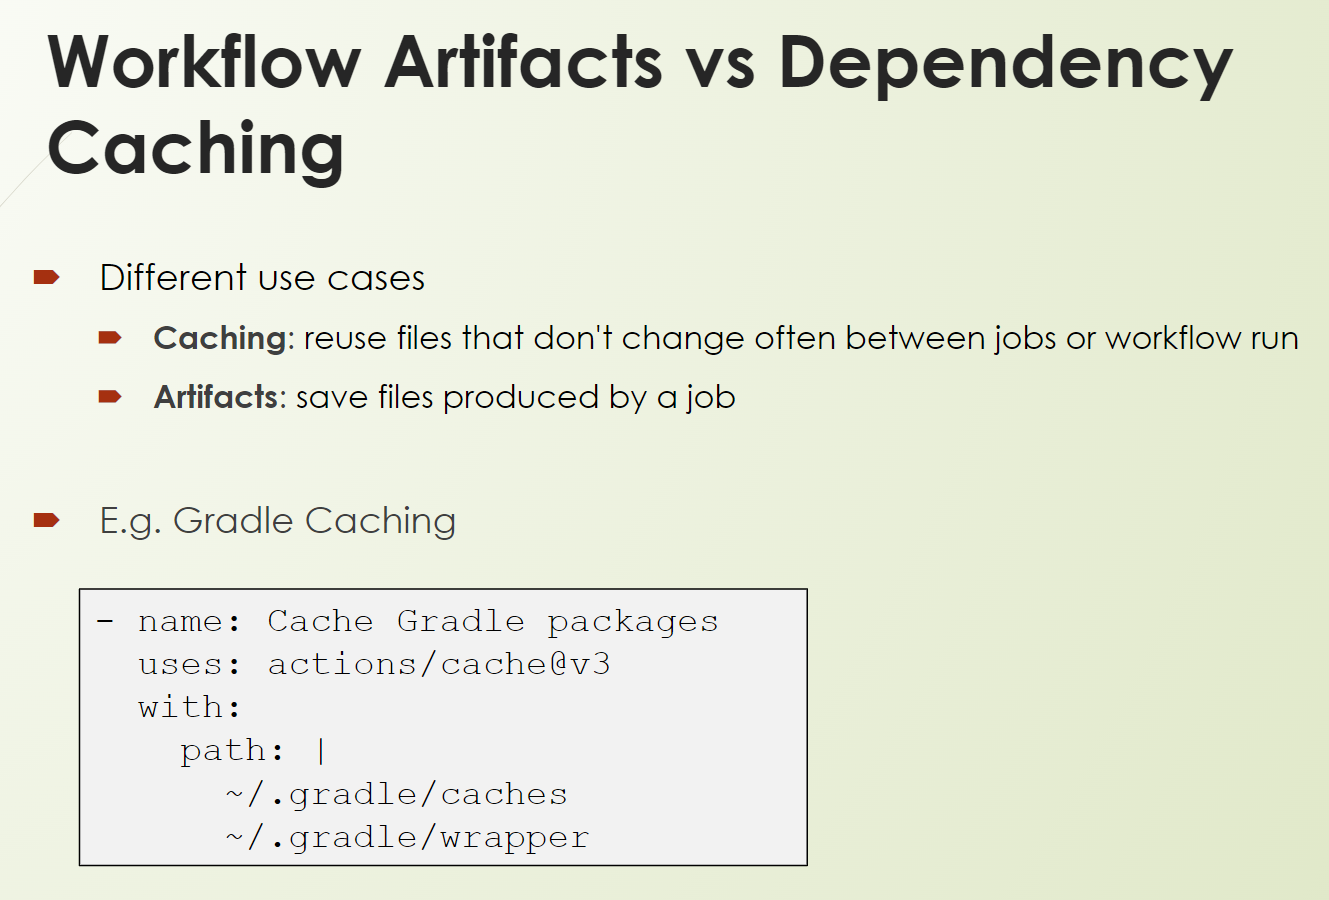
Use caching when you want to reuse files that don't change often between jobs and workflow runs, such as build dependencies from package management systems like NPM or Gradle or Maven, and so on.
Use artifacts when you want to save files produced by a job to view after a workflow run has ended, such as some build binaries, test results, and so on and so forth.
An example of Gradle caching, you can see here.
- name: Cache Gradle packages
        uses: actions/cache@v3
        with:
          path: |
            ~/.gradle/caches
            ~/.gradle/wrapper
There is a dedicated action for caching.
The caches you can also look at with the UI. So below the Actions, you can see, at the bottom left corner, the Caches.
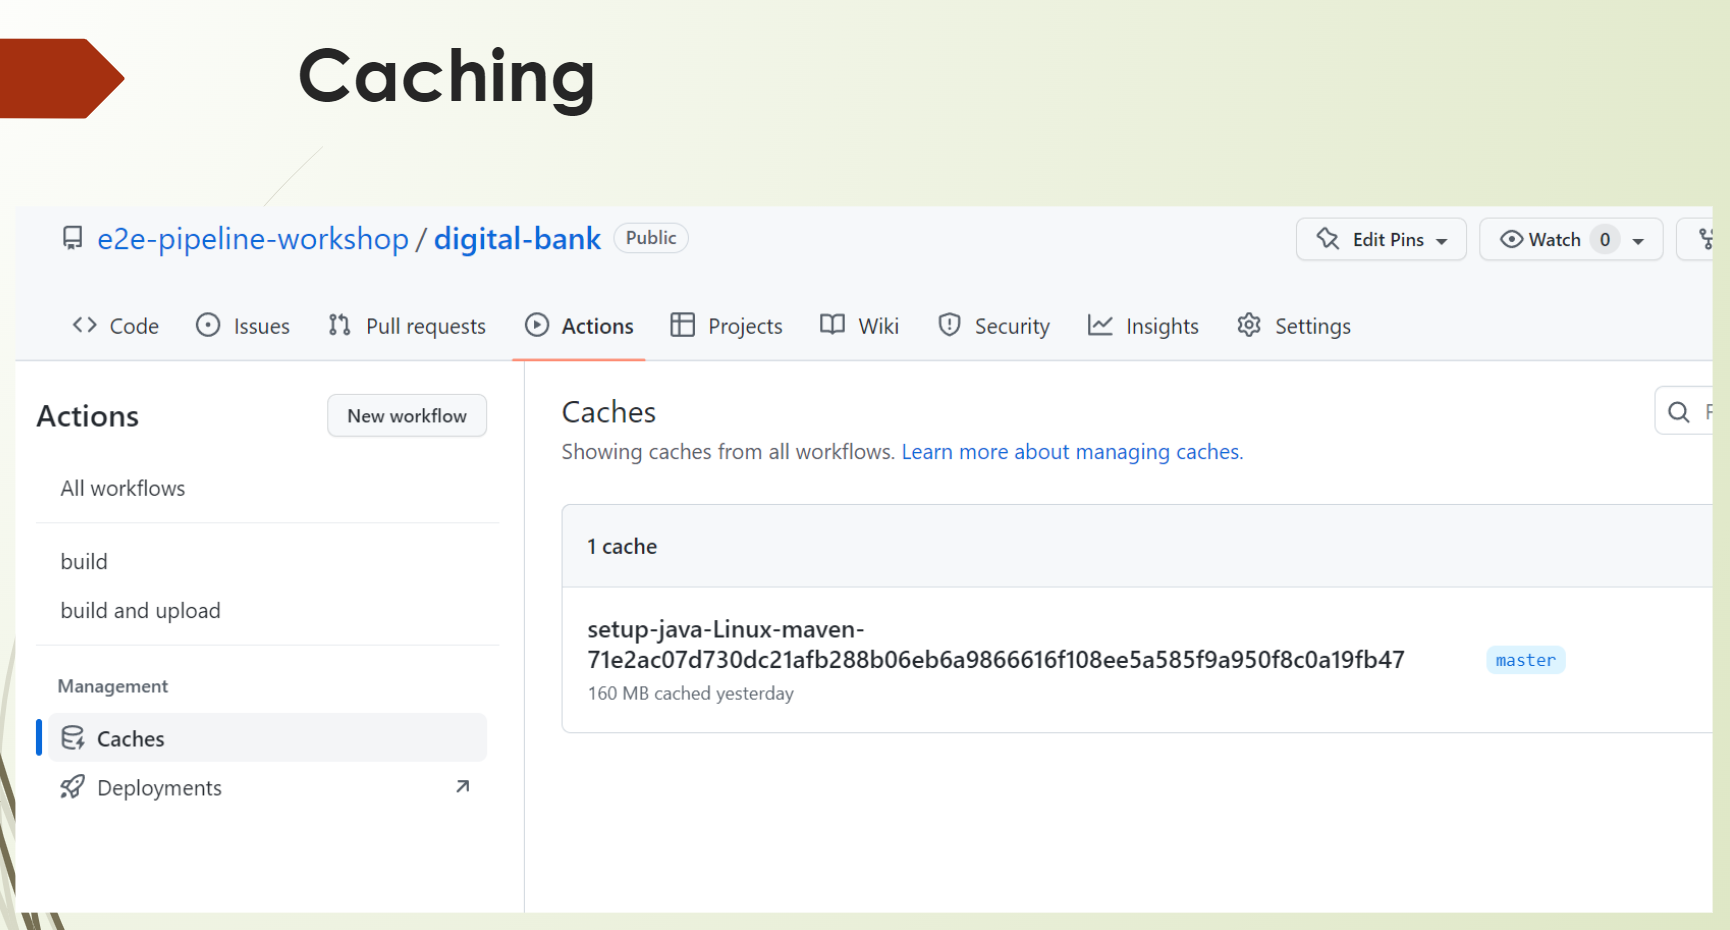
And in there is an overview of the caches which you currently use. In this example, it's a Java Maven dependency cache.
Let me give you an example of caching.
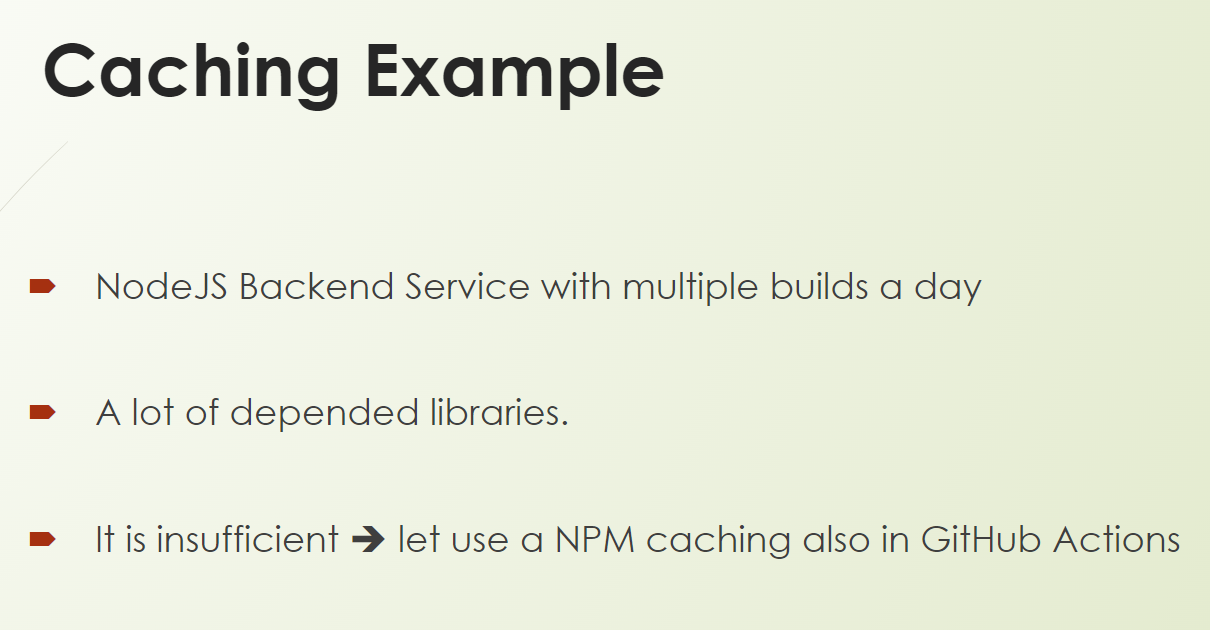
In your team, you have a Node JS Backend service, and it gets frequently developed, and you have multiple builds a day.
I'm sure a lot of you know NPM. And if you have quite a lot of dependencies, especially then nested dependencies, you have to download really a lot, and it's just insufficient to always download it newly.
You also don't do this locally – we have caches. And let's use these caches in GitHub Actions.
And therefore, we highly recommend for all these package management of systems to use caching.
But of course, also more if you have your own caches.
Let's come now to the commonly used events.
We will create 4 examples.
- One with the
pushevent, - One with the
scheduledevent, - One with the
pull-requestevent, and - One with the
repository_dispatchevent.
Resources
- GitHub Documentation: Events that trigger workflows
- GitHub Documentation: Storing workflow data as artifacts
- GitHub Documentation: Caching dependencies to speed up workflows
- Git Repo Course Code: workflows
Quiz
The quiz for this chapter can be found in section 3.2
