

Transcripted Summary
That was the build phase. Now we'll come to the continuous delivery
For the delivery phase, what are we going to do?
# CI/CD Pipeline: Deliver
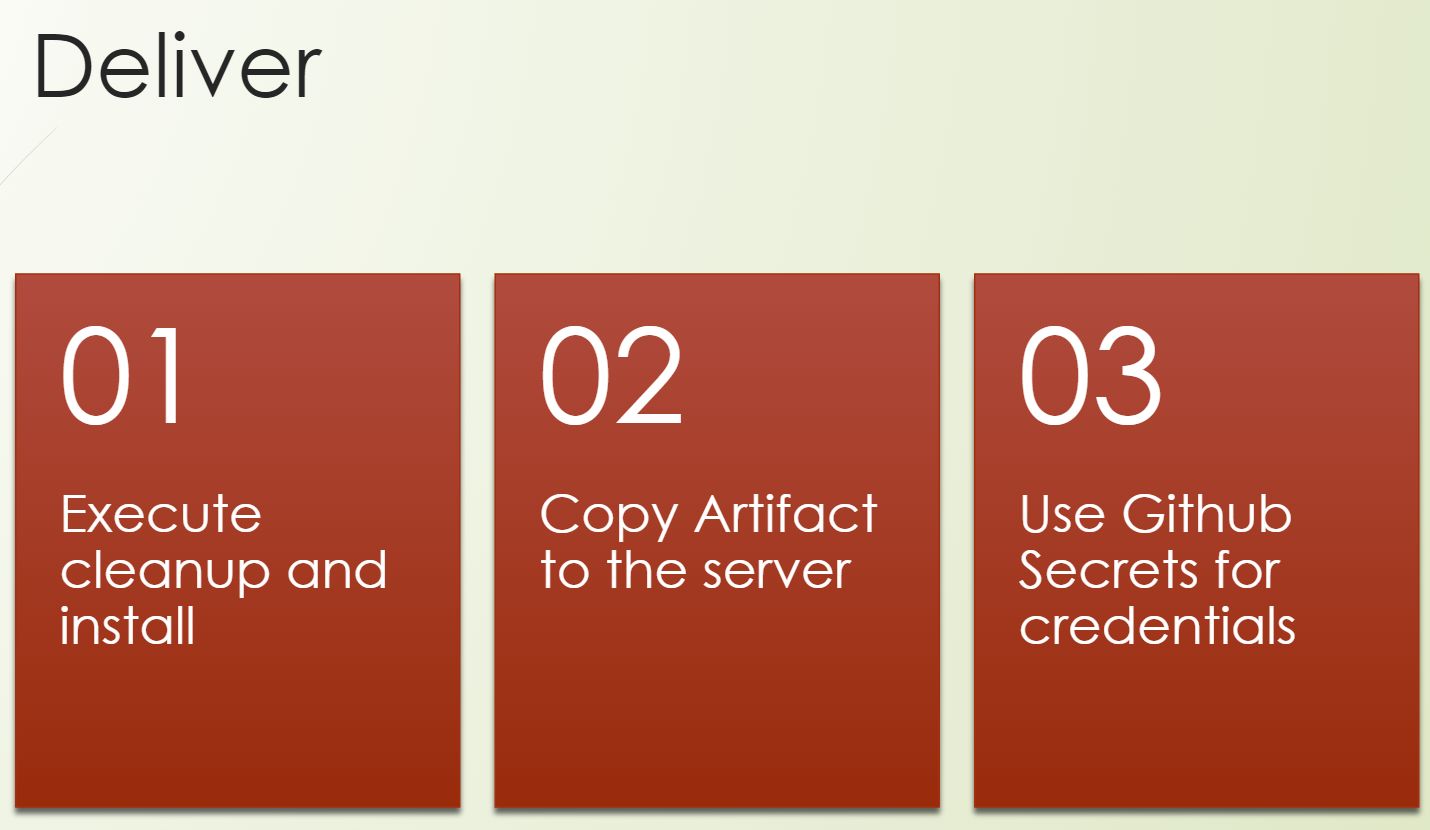
First, we want to execute and clean up our destination — our test environment or our user acceptance test environment, for example — because we don't want to have any interferences or leftovers from the previous deployment.
So, we need to clean it up and install it to prepare everything.
Of course, we also need to copy our artifact to the server and execute the steps which are needed to configure it, to install it.
And for all this, we need credentials.
We need secrets and credentials.
Let me elaborate on how to use secrets and credentials in GitHub and how to configure them so that you learn it.

In GitHub you can configure environments with different protection rules, with different secrets, with different variables, and this we need here.
You can configure the environment in the workflow on the job level.
you need to use the keyword environment followed by the name of the environment.
As in the example here, you can see it is "production".
Quite common environments are production, user acceptance, test environment or development or system integration test environment, just to name some prominent ones.
As I mentioned, you can store secrets and variables there.
So, what is the difference between secrets and variables?
A secret is encrypted. After you store it, it gets encrypted, and no one can read it anymore, except GitHub, of course itself.
Also, if you output a secret or write an echo or whatever, you only can see asterisks, so you cannot read it.
An example of a secret is a password or credentials or a token. So, things that no one should be able to read.
After you save it, you can still read it. That's the sense of a variable.
And you can store the different values depending on the environment. To provide some examples, a backend URL, IP addresses, and so on. Some passwords which are different in each environment. But, of course, nothing which needs to be encrypted or hidden.
Then we have protection rules which you also can configure on the environment.
Quite prominently, you say which deployment branches are allowed to go to this environment or which reviewers are mandatory so that a deployment will be executed to this environment.
Good.
For the user assessment test (UAT) environment, I have it already prepared in GitHub.
So, let's go to GitHub.
This is the repository we are working with, still the same.
Let's go to the Settings and to the Environments.
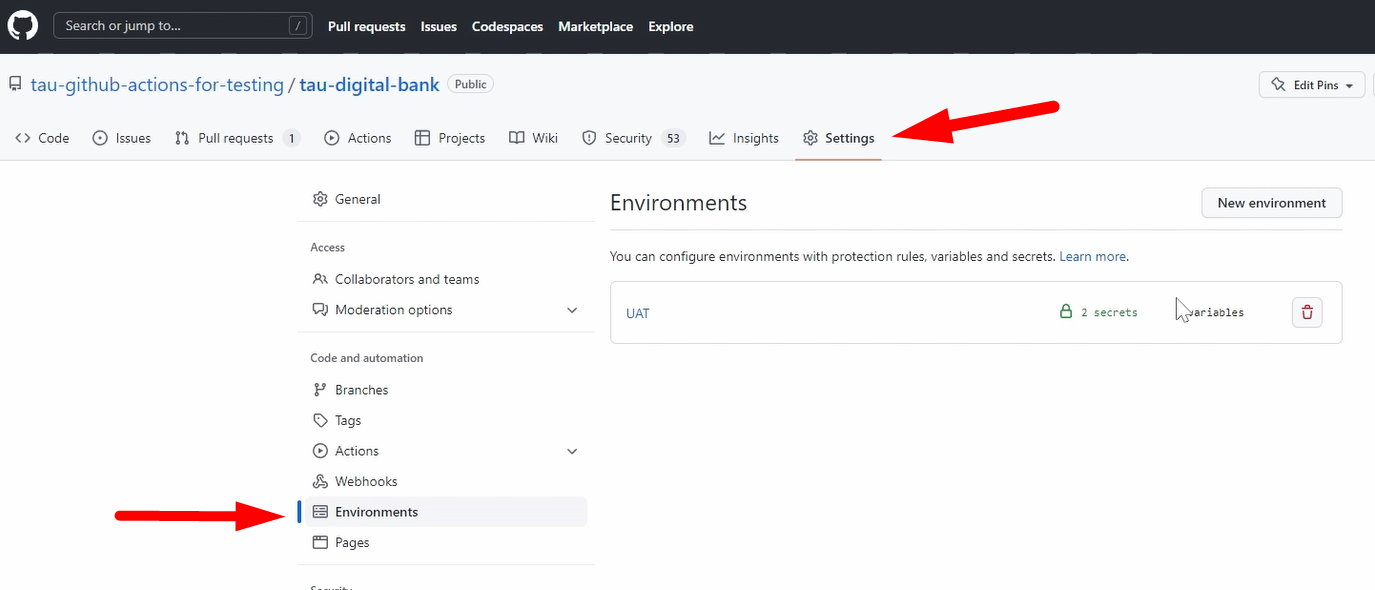
As I already mentioned, for the UAT, I already pre-configured, so I created 2 secrets and 3 environments.
And for the production one, we will do it in a few minutes.
Let me go inside it. What is it about?

I imagined already these protection rules.
We don't need it for UAT.
Here you can see deployment branches.
We also don't need it here.
And here you can already see some secrets.
I created here the SSH key and the user.
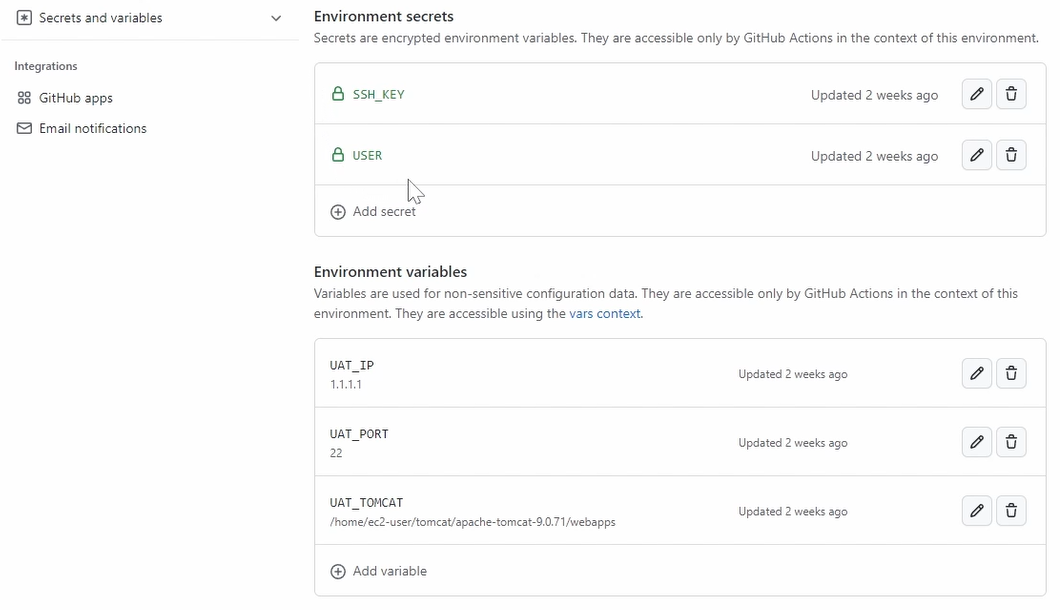
And this one you cannot read. You also can see here that it's locked.
For the environment variables, you can already read them.
So, I created here the IP address, a port, and the destination of the Tomcat installation where we need to copy our artifact to because there it will run.
Here you can see also that this is a fake IP address.
Let me just change it. Of course, I need to enter the password of GitHub.
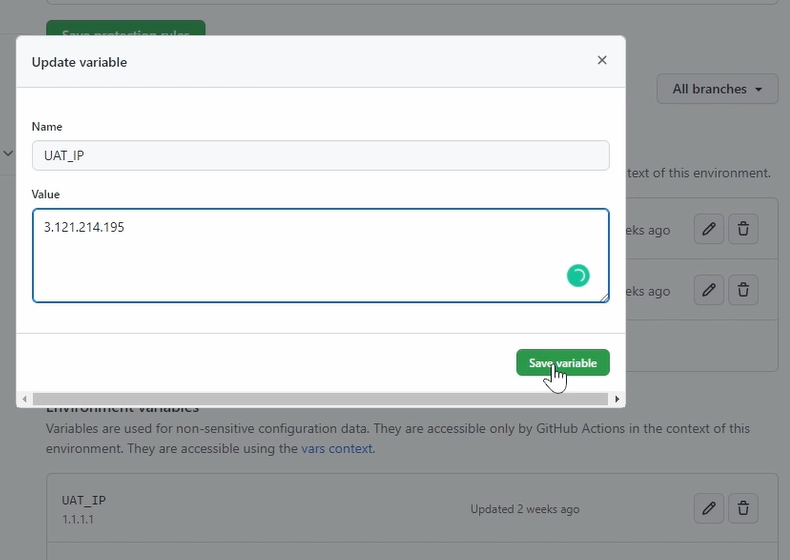
Just take our IP address from, just use your simple EC2 instance, nothing on it, just Java Tomcat.
Good. So, I've updated this one because there we will deploy it now.
Let's go on to our workflow and let's do the CD part.
Let’s start with the cleanup.
Let me copy the code here for the cleanup, the YAML configuration.
  cleanup:
    needs: [build]
    runs-on: ubuntu-latest
    environment: UAT

    steps:
      - name: "cleanup destination at ${{ vars.UAT_IP }}"
        uses: appleboy/ssh-action@master
        with:
          host: ${{ vars.UAT_IP }}
          port: ${{ vars.UAT_PORT }}
          username: ${{ secrets.USER }}
          key: ${{ secrets.SSH_KEY }}
          script: |
            rm -rf ./deployment/*
            rm -rf ${{ vars.UAT_TOMCAT }}/digi*
You see, I have here another job called "cleanup", which depends on the build one.
And here we use our environment. We use the environment “UAT”, so we have access to the credentials.
The steps, you can see what I'm doing.
First, I want to “cleanup destination”, and here I already put out the IP address. I can here vars.UAT.IP so I have access to the variable context and use the IP address.
And here, we use an external GitHub Action called ssh-action@master developed by Appleboy.
If you want to know the Action, you can always Google it; check it out on GitHub.
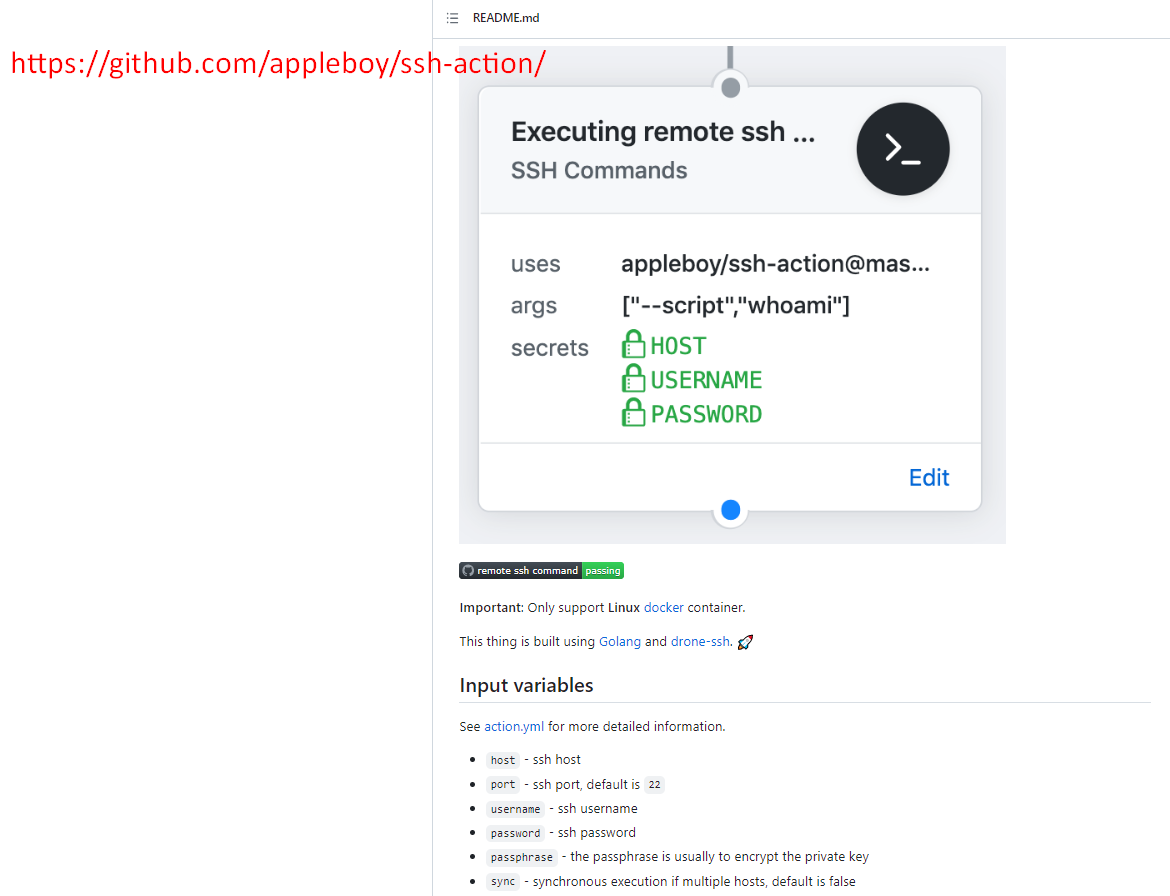
This is now the code from the Action. Very often or mostly with very good documentation, the written file, so, you know what this Action is about.
With this action you can run a remote SSH command on a server and you just need to have the host, username, password, and a lot of other parameters which you can set.
So, this is how we use it.
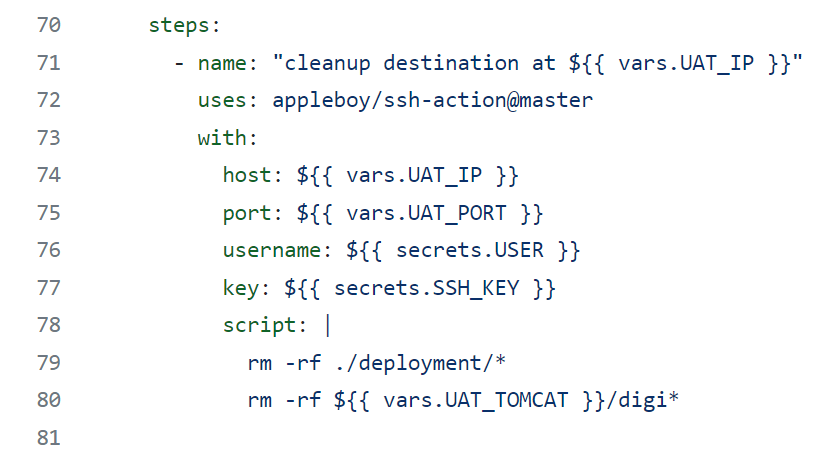
We set the host with our UAT IP.
We set the port with our port.
Here, is the username and key. These are secrets, so we have to use the secrets context — secrets.USER and secrets.SSH_KEY
And we run here a multi-line script.
We remove everything in the “deploymen”t folder, and we remove our Digibank installation in the Tomcat instance.
So, this is step one, as you remember, we need to clean up.
The next step is that we deploy.
Let's immediately write our code for deployment.
So, this is the deploy job.
  deploy:
    needs: [cleanup]
    runs-on: ubuntu-latest
    environment: UAT


    steps:
      - uses: actions/download-artifact@v2
        with:
          name: digibank.war
          path: ./deploy


      - run: ls -ltr ./deploy


      - name: deploy
        uses: appleboy/scp-action@master
        with:
          host: ${{ vars.UAT_IP }}
          port: ${{ vars.UAT_PORT }}
          username: ${{ secrets.USER }}
          key: ${{ secrets.SSH_KEY }}
          source: './deploy/digibank.war'
          target: 'deployment'
Here we are, depending on the cleanup. Cleanup, of course, we only want to deploy after everything is removed from the previous deployment.
We again run our UAT here or use here our UAT requirement.
First, we need to download the artifact.
To share artifacts between jobs, you need to use upload-artifact and download-artifact.
In the build phase, we upload our artifact. As you remember here, we uploaded the artifact.
      - uses: actions/upload-artifact@master
        with:
          name: digibank.war
          path: ./target/digibank*
Now we download it to our runner, to the path: ./deploy.
For a Deploy, I always like to do run: ls -ltr ./deploy. It lets us see what is there, what isn’t there. It's good for debugging.
And then we deploy it.
Here we use another Action, which is from the same guy — uses: appleboy/scp-action@master.
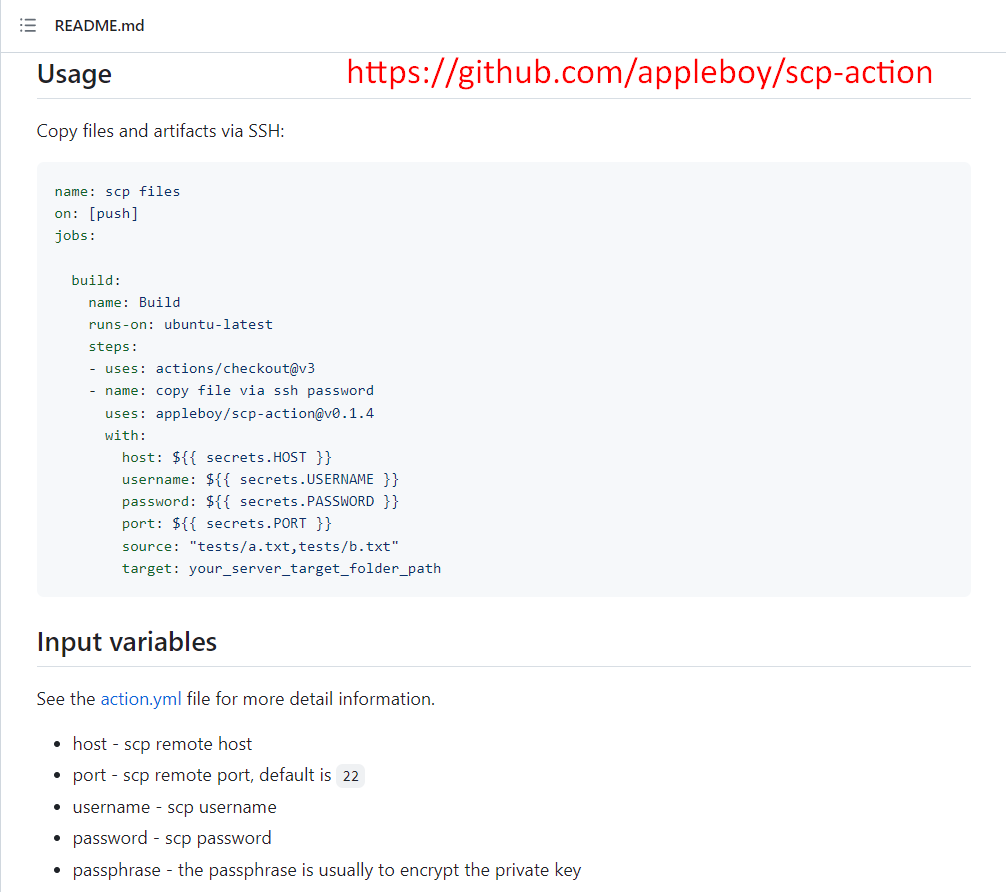
You can see this is for copying files and artifacts via SSH.
That's exactly what we want it to do. And we could do it with this code snippet, similar to the previous one. So, with the configuration of host, username, et cetera. And here we have the source and target.
Good.
Let's see how we use it.
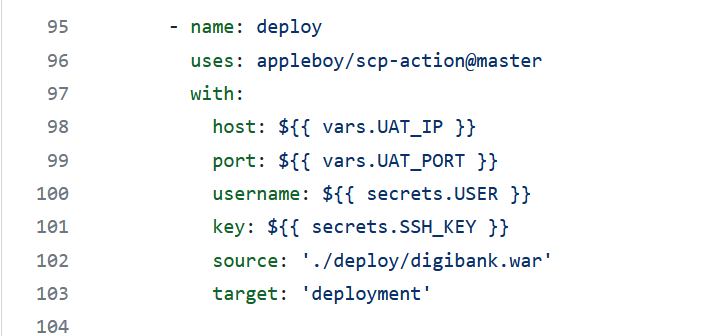
We use the same parameters, and we copy our Digibank to the deployment folder on our system.
Good, so we clean it up, and we deploy our artifact to our server.
Now we need to run the install, so we need to install our application.
This is a commonly used step because you need to do some configurations and so on. And we need to copy our artifact to the Tomcat.
  install:
    needs: [deploy]
    runs-on: ubuntu-latest
    environment: UAT

    steps:
      - name: "cleanup destination at ${{ vars.UAT_IP }}"
        uses: appleboy/ssh-action@master
        with:
          host: ${{ vars.UAT_IP }}
          port: ${{ vars.UAT_PORT }}
          username: ${{ secrets.USER }}
          key: ${{ secrets.SSH_KEY }}
          script: cp -f /home/ec2-user/deployment/deploy/digibank.war ${{ vars.UAT_TOMCAT }}


      - name: Sleep for 10 seconds
        run: sleep 10s
        shell: bash
You see we have here our install, which depends on the deploy.
And we run here again, our ssh-action.
So, we do here a copy from the deployment path to our Tomcat instance.
And afterward, we do here just a sleep. We sleep for 10 seconds so that the Tomcat has time to run and spin up the instance.
Usually, in your products, you need to do some configurations or you need to do some “copy-pasting” things.
Usually, what you do, you run a script, which is part of your repository or something like this, part of your artifact, and which cares about the installation and configuration.
Let's Commit this, and of course, let's run our action.
We go here to our “e2e-pipeline”, and we Run it.
Let's wait here for a second until it starts. It started, and you can see this is what we expect.
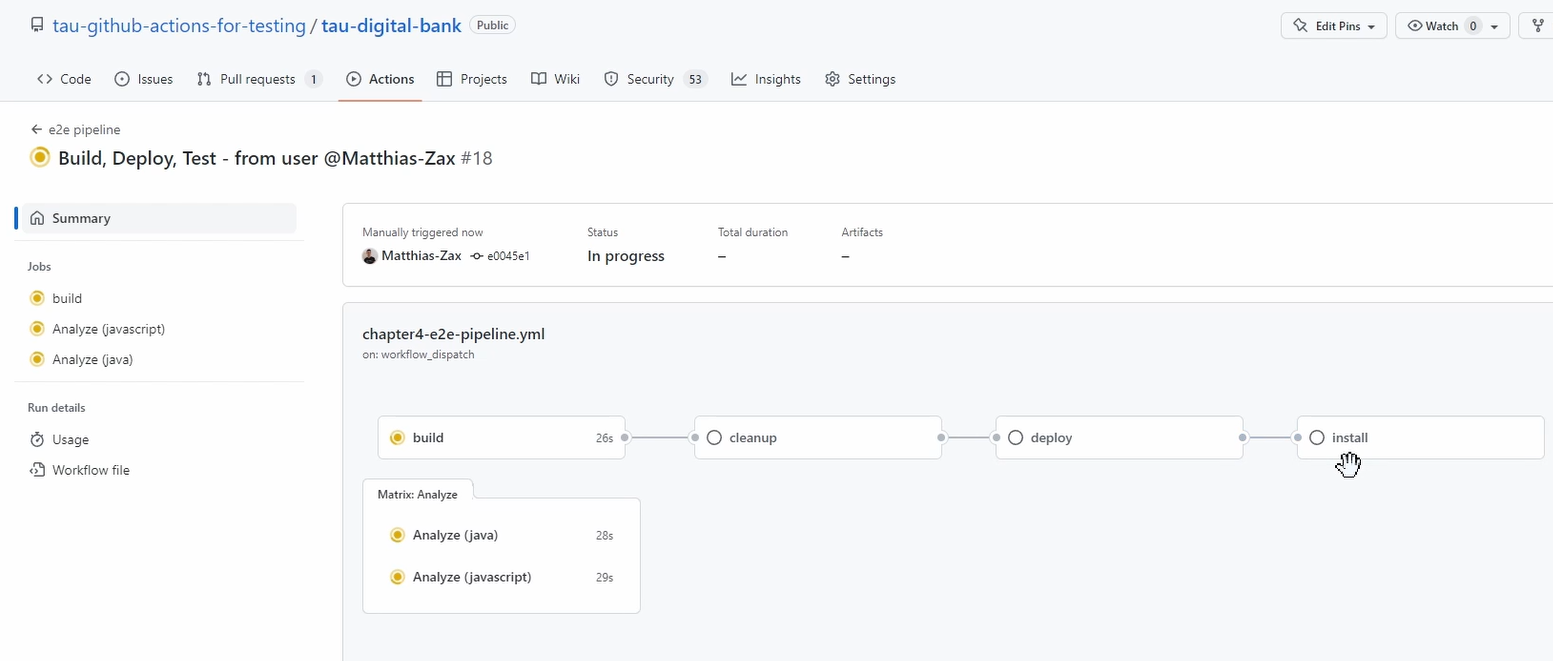
You see still the Metrics Analyzers, they have no dependencies, so they run independently.
We will then of course make them most dependent.
So now there runs the build.
After a successful build, of course with unit test, it'll run a cleanup.
So, it'll clean up our environment.
Then we will deploy our artifact to the environment, which is the build result.
And afterward, we do some installation.
After everything is green, we should be able to connect to our environment.
Everything should be there, and we should be able to access our Digibank. So let's wait.
The build is finished; now the cleanup is triggered.
The cleanup finished, so this means we have access to our server.
If we go here, you can see it and access it, it runs our script.
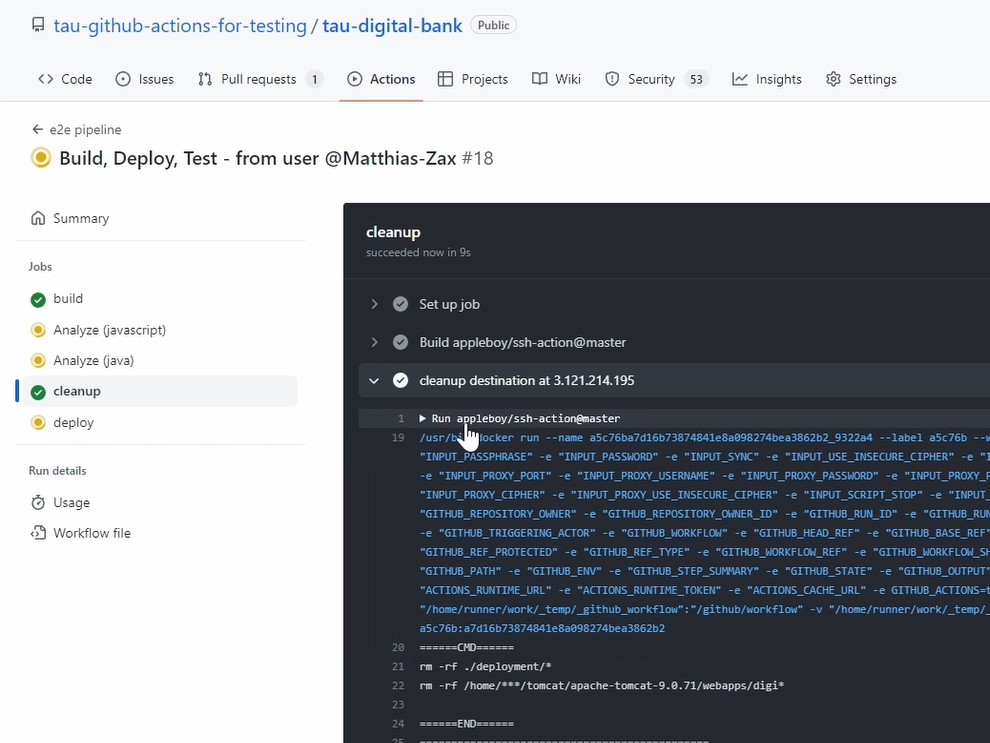
So, this is working. That's great.
Now we deploy.
So, what are we doing here? First, we download our artifact.
You can see we download here our Digibank, and then we run here our ls -ltr ./deploy.
You can see here the WAR file is here on the runner.
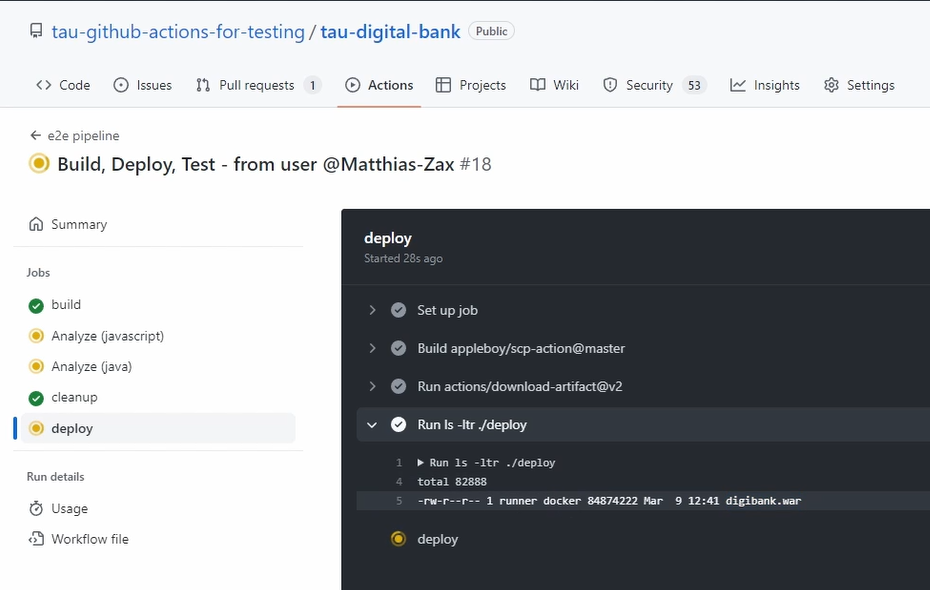
And now we deploy it.
So, we deploy it to our user acceptance test environment.
Of course, this takes some time because of the internet. We need to deploy to our “e2e” instance successfully.
Now we do an installation, which will be very fast because it's just a copy paste from one folder to the next.
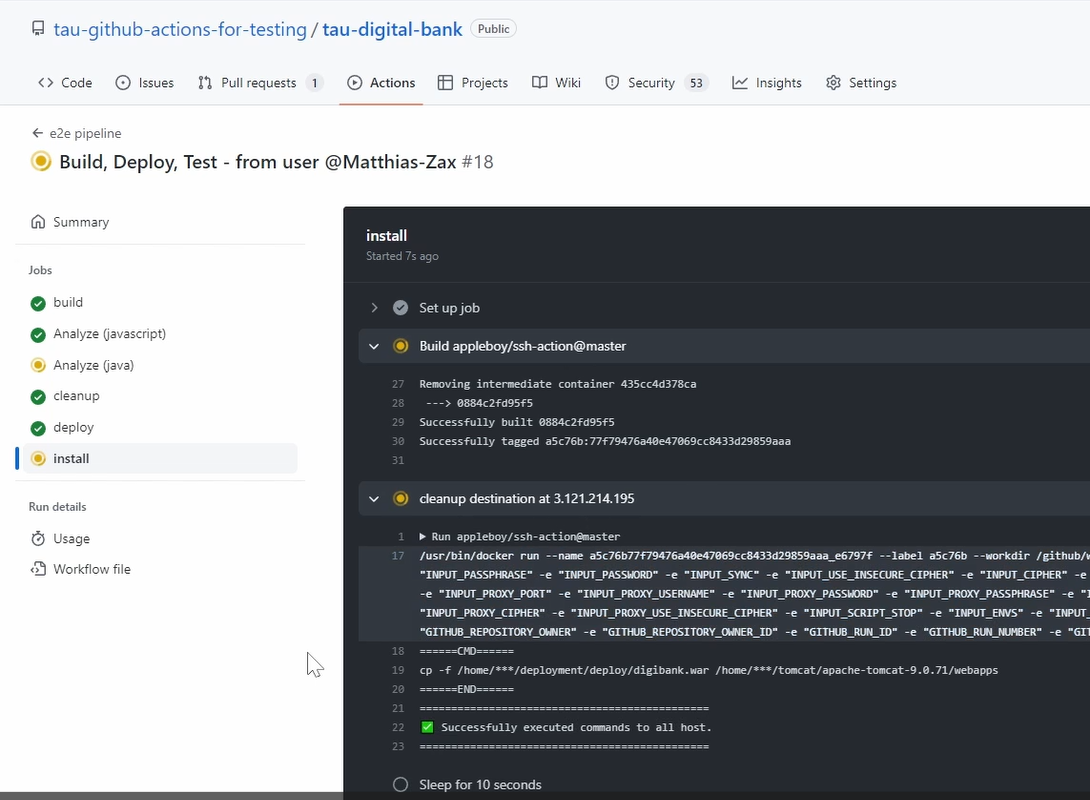
And see here, this is our cp (copy-paste) command. Again, successful.
Now we do the sleep.
This will take 10 seconds just to give the Tomcat a little bit of time to spin up. Again successfully.
Great.
Just to clarify if everything worked, let's check our server.
Tomcat is up and running and we also check if our Digibank is here.
Yes, everything is up and running.
So, we are ready to go to the next step, which is executing the tests.
Resources
- Git Repo Course Code: workflows
- Git Repo Course Code: Chapter 4 End-to-End Pipeline
- GitHub Documentation: Secrets
- Github Documentation: Variables
- Github Documentation: Appleboy/ssh-action
- Github Documentation: Appleboy/scp-action
Quiz
The quiz for this chapter can be found in section 4.3
