

Transcripted Summary
Let's start with the Push Event.

The push event runs your workflow when you push a commit or a tag to your branch.
What we want to do, we want to trigger the unit tests when the source code of our feature branch changes.
Let's go to the GitHub UI.
So, we have here our organization with the repository, “tau-digital-bank”.
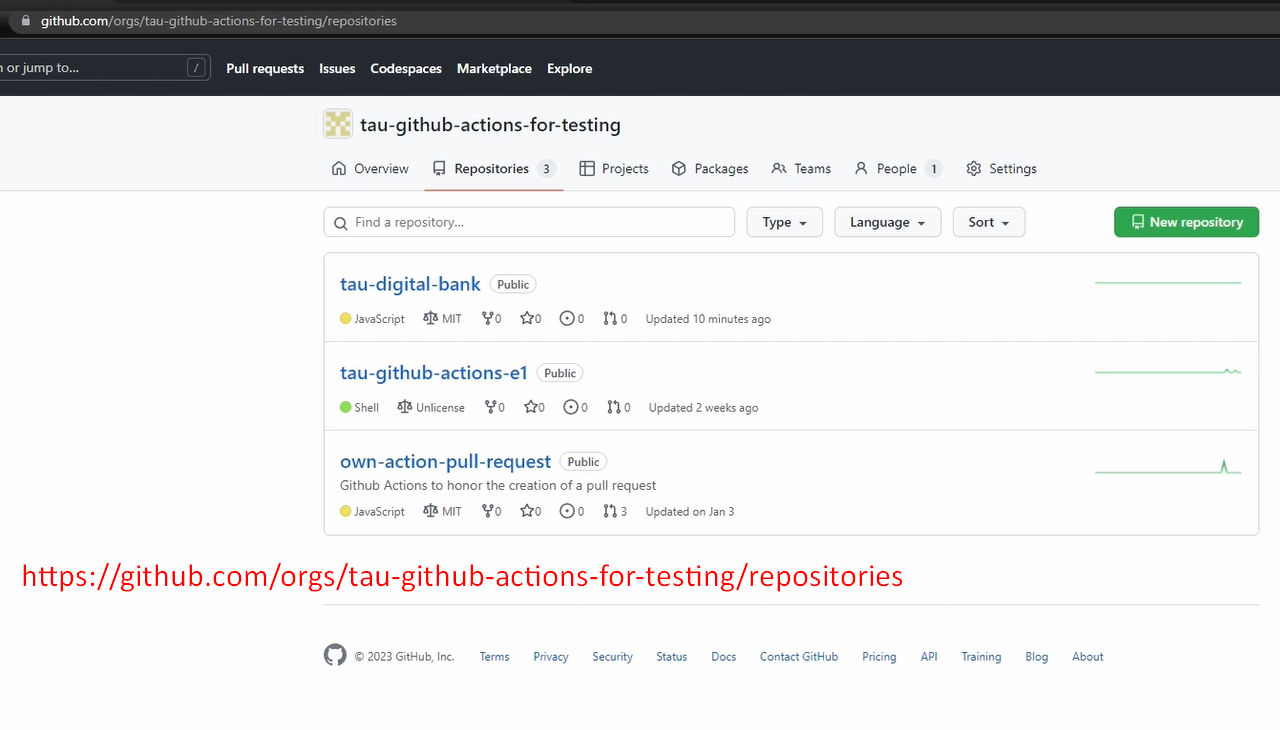
This will be used for our tests and for building our pipeline.
It's a simple application written in Java. And if you want to look at how it looks like, this is the login of the page.
No need to go into the details because we focus on the CI/CD part. Good.
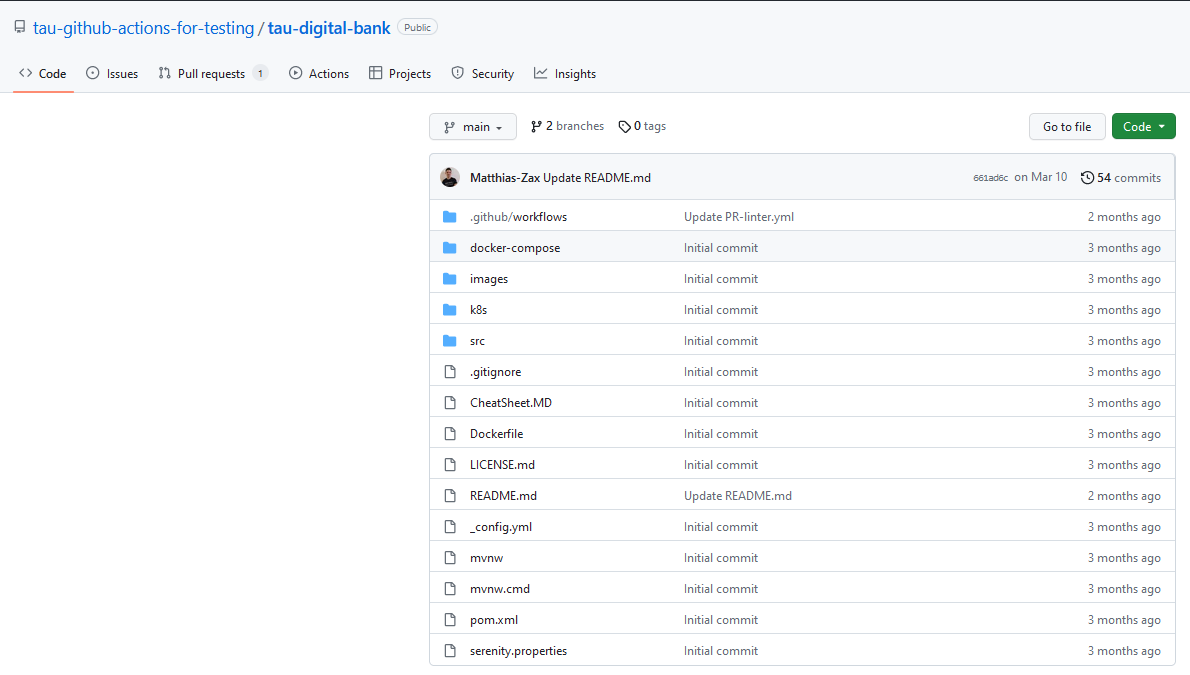
Let's go to Actions because we want to write a new action that gets executed after each source code change from our branch.
Go to: Actions > New workflow > set up a workflow yourself.
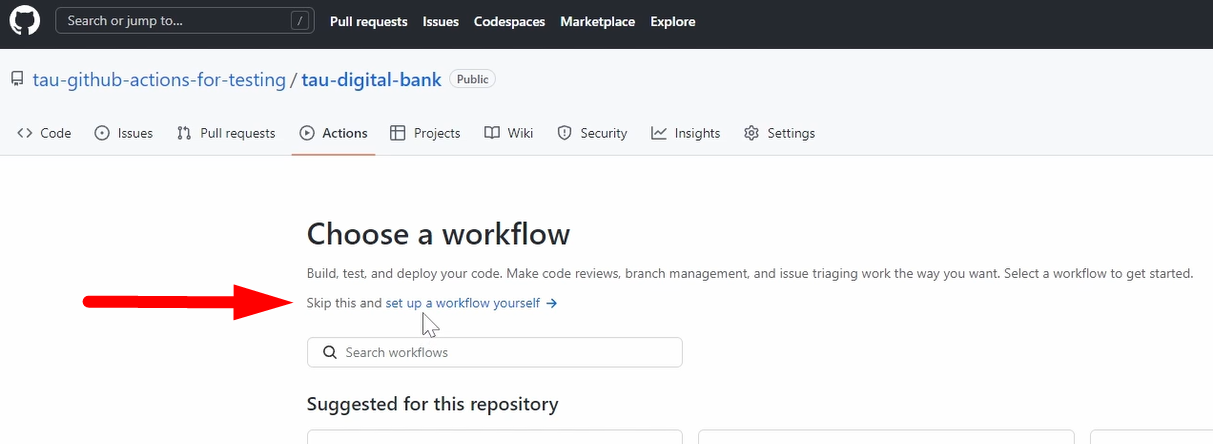
We will not use any starters.
We use a blank free page.
The main is “run-unit-tests.yml”.
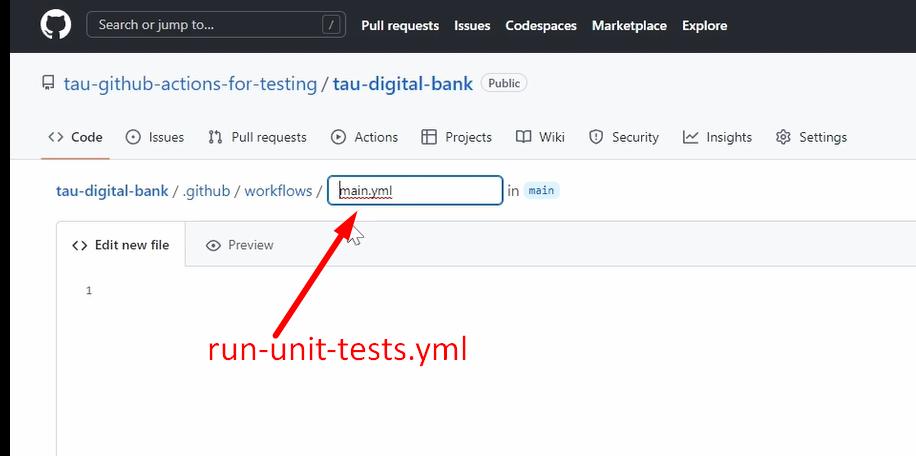
We give it the name “run unit tests of feature branches”.
So, what do we need to do?
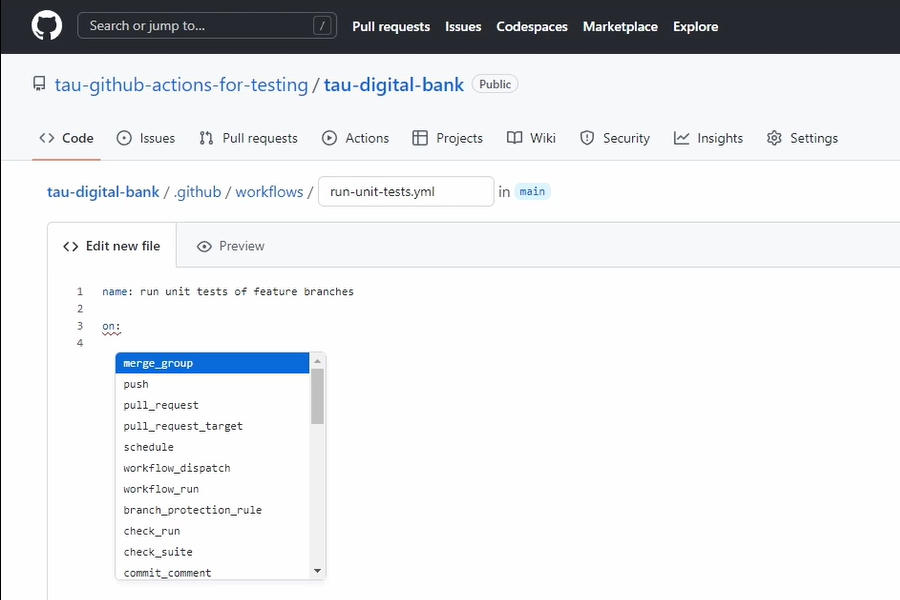
We need to first use the keyword on because here we can define the event.
Then if you're here, always click control space, you always get the list of recommendations, of how to follow.
For example, here we want to push, then this is branches.
And here we want to use branches which start with 'feature/*'. Cool.
So, this you already have.
Now we need our job.
We need to define the job, so we need to keyword jobs.
And here, as we all remember, the job ID is free text. So, it can be “run-unit-test” followed by a colon (double point).
Then we need to define where it should run on.
You can control space for options.
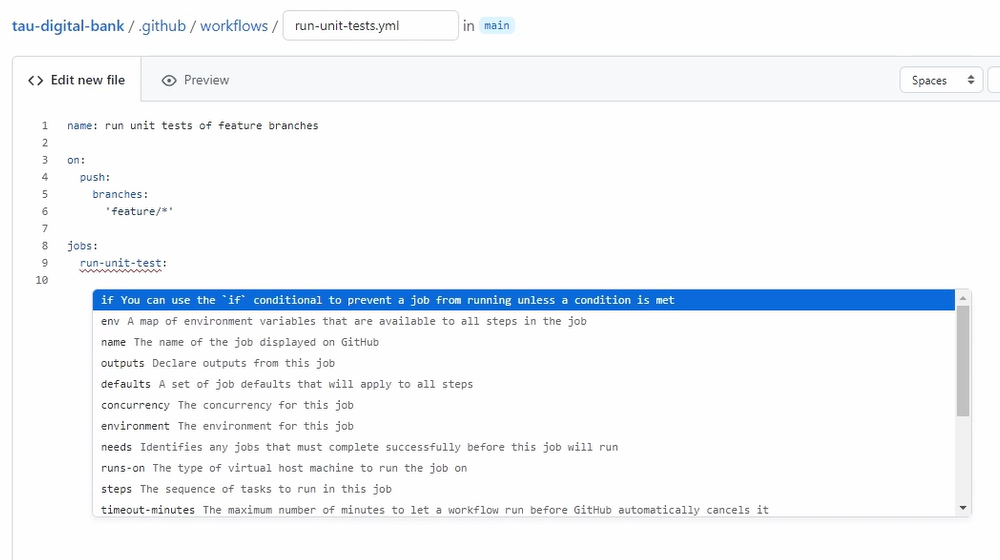
We will use runs-on: ubuntu-latest.
Then we need to define the steps.
The first step, we need to “Checkout”, otherwise we cannot run the unit test.
And here we can even use the marketplace, the checkout.
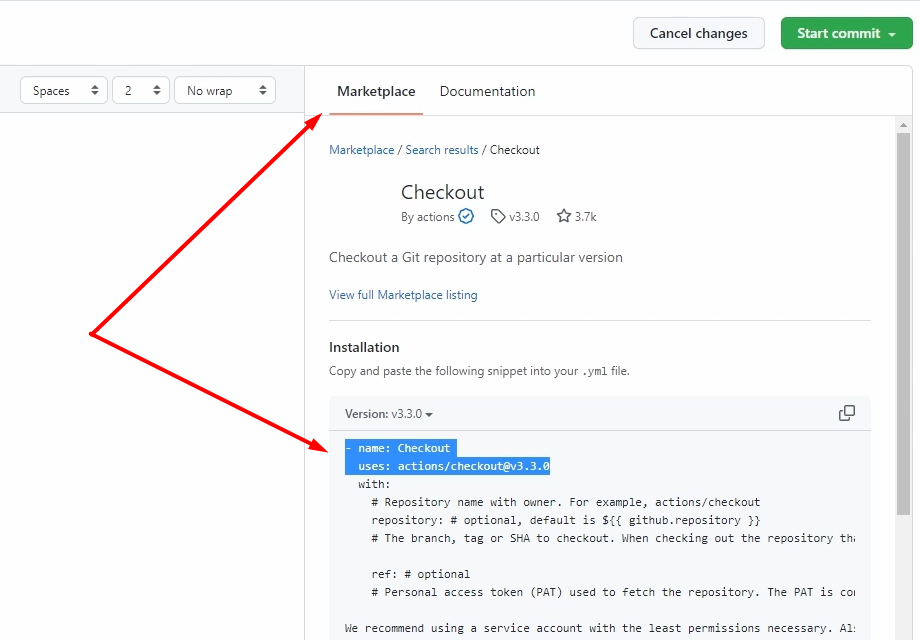
This workflow I personally recommend. so, there is no chance to do any typos.
And then we have another step — “run unit test” — and here we run the script.
So, we use the keyword run and we do here the mvn test.
How simple is that?
Commit the file to the main branch.
name: run unit tests of feature branches

on:
  push:
    branches:
      'feature/*'


jobs:
  run-unit-test:
    runs-on: ubuntu-latest


    steps:
      - name: Checkout
        uses: actions/checkout@v3.3.0


      - name: run unit test
        run: mvn test
Then we go back to our source code.
We do a short change. We go here into the README file and add your test.
We create a new branch with the prefix “feature” and Propose changes.
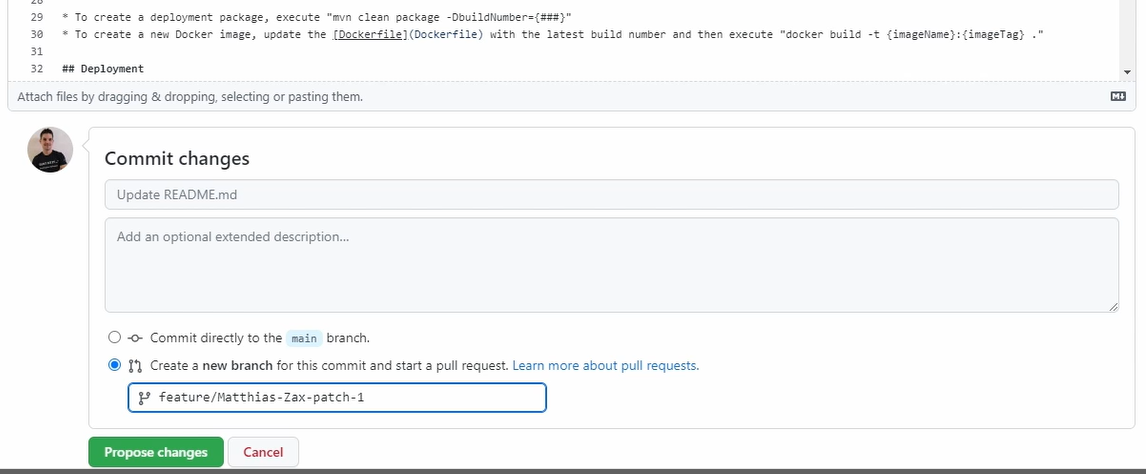
We will not create a pull request here; we just created the branch.
And if you go to Actions, we can see it's already triggered.
Yeah? Because here you see it's triggered for this branch, it's going to be executed, it triggers the job.
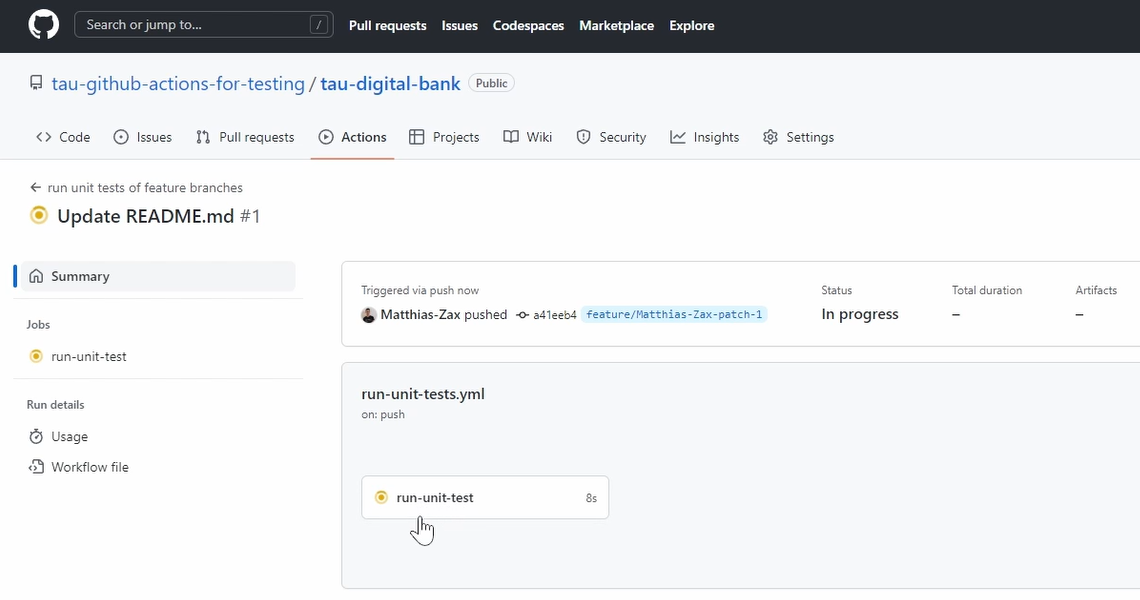
You run unit test.
Here can see the steps. It has already been checked out. It already started the unit tests.
Let's wait now.
So, it's finished. After a little bit more than one minute you can see everything on your screen.
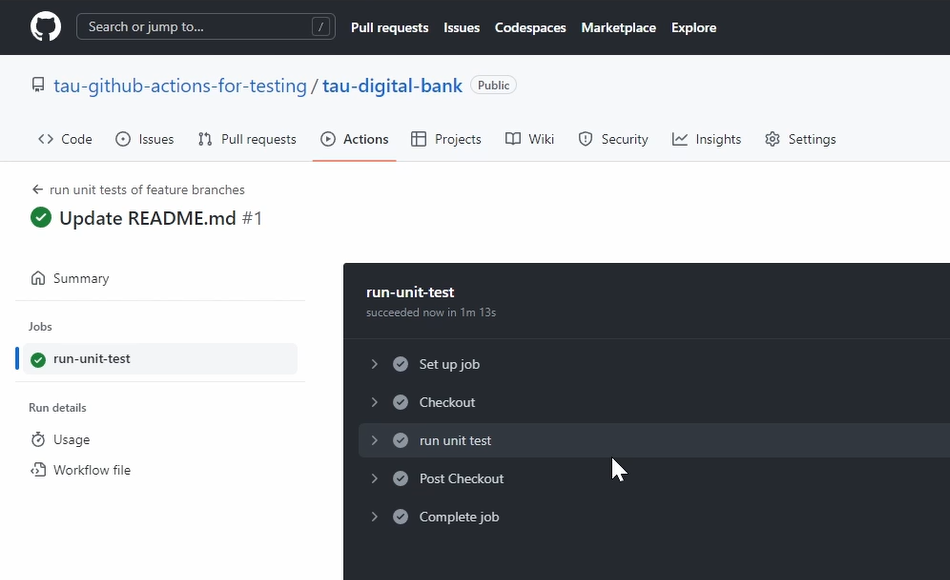
Unit tests were successful.
If you dig into you can see the full standard output of everything, but no need to dig into this details right now.
And if it fails, the whole job fails.
And you can also get notifications, it depends on how you have it set up in GitHub.
Good. The first exercise was achieved.
Let's go back to our slides.
Let's come to the next event, which is the Scheduler Event.
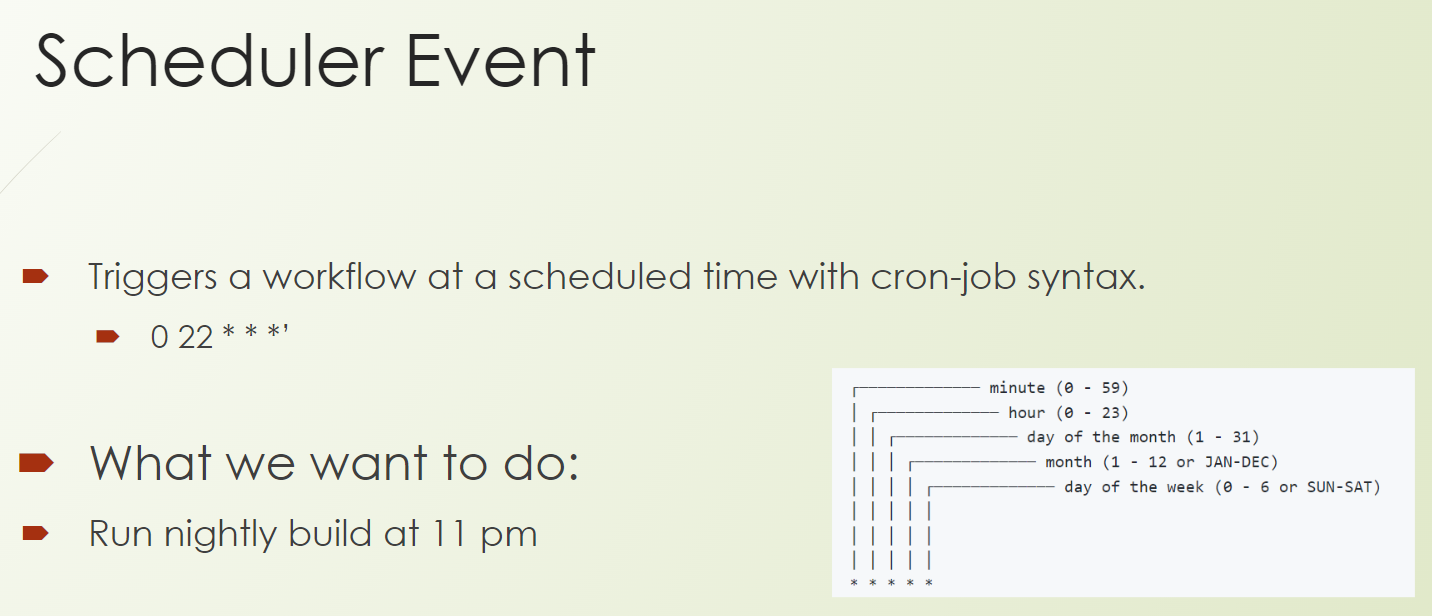
The Scheduler triggers an event at a scheduled time, which you define in cron-job syntax.
So, you notice with the positions, each position is for minutes, hours, days, and so on with the asterisks.
And what we want to do is run a nightly build, and let's say we run it at 11:00 PM.
Let's go back to our GitHub.
This workflow I have already prepared because it's not so fancy to watch me typing.
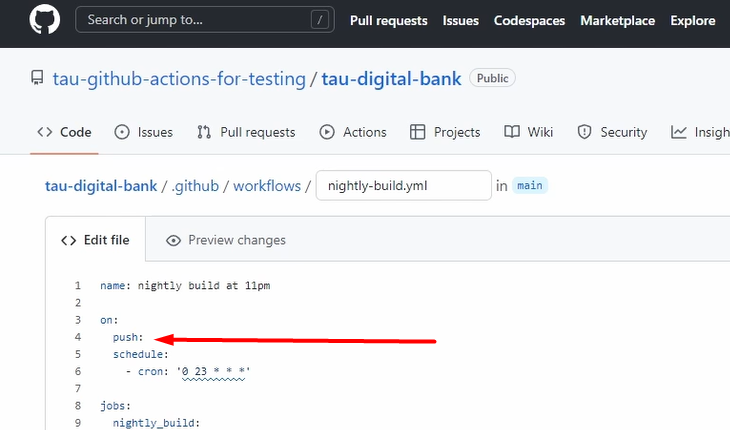
We created a workflow “nightly-build.yml” with the name, “nightly build at 11pm”.
name: nightly build at 11pm

on:
  schedule:
    - cron: '0 23 * * *'

jobs:
  nightly_build:
    runs-on: ubuntu-latest
    steps:
      - name: Checkout
        uses: actions/checkout@v3.3.0


      - name: Run Unit Tests
        run: mvn test

      - name: Build with Maven
        run: mvn -DskipTests -B package --no-transfer-progress --file ./pom.xml

      - uses: actions/upload-artifact@master
        with:
          name: digibank.war
          path: ./target/*digitalbank*.war
Here you can see it's not 11, it's at 22, so let's put it to 11 pm, which is 23 (24-hour time).
We run it on ubuntu-latest.
We check it out, we run our tests.
Afterward, we run our build of the package, and then we upload-artifact to the workflow.
This means that after every day, we produce our artifact, and it's available for everyone at our workflow.
So, if someone needs it to run it locally or wants to deploy it manually somewhere, the artifact is available, which is pretty cool, I have to say.
Let's save this.
And we need to wait now, of course, until the scheduler is triggered at 11 pm.
So just for dev purposes, let's add the push event.
If we go to the Actions, you can see it's already triggered because we added another push event.
I always like to do that, especially in the development of the action, so that I can test it quite fast without having any restrictions or dependencies on the event itself.
Good. You can see it started running the unit tests.
Then it built it, and we artifact it. So, let's wait here again.
So, you see, everything is finished. The job is green, so everything's successful.
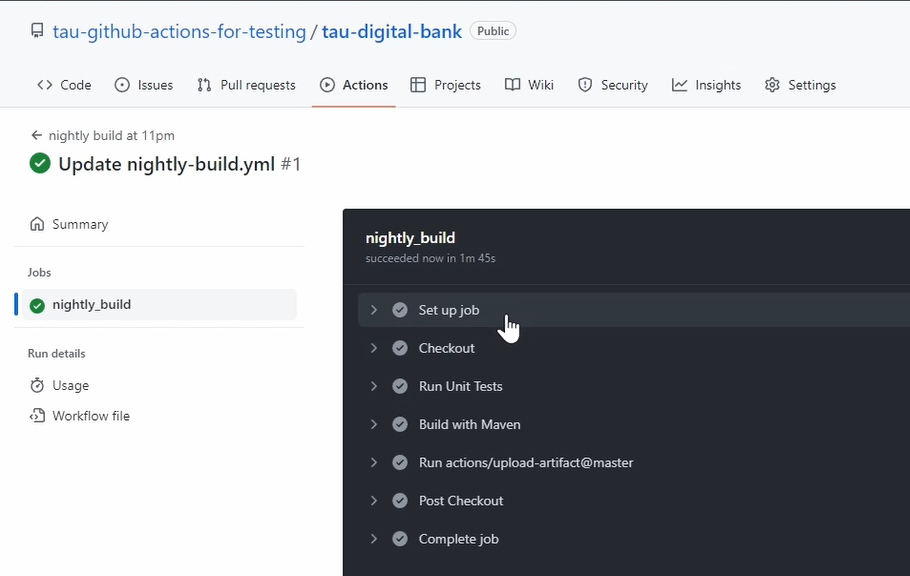
It runs the unit test, it runs the build, it runs the upload.
And now if you go to Summary, you can see here the “digibank.war” file. And of course, you can download it from here directly.
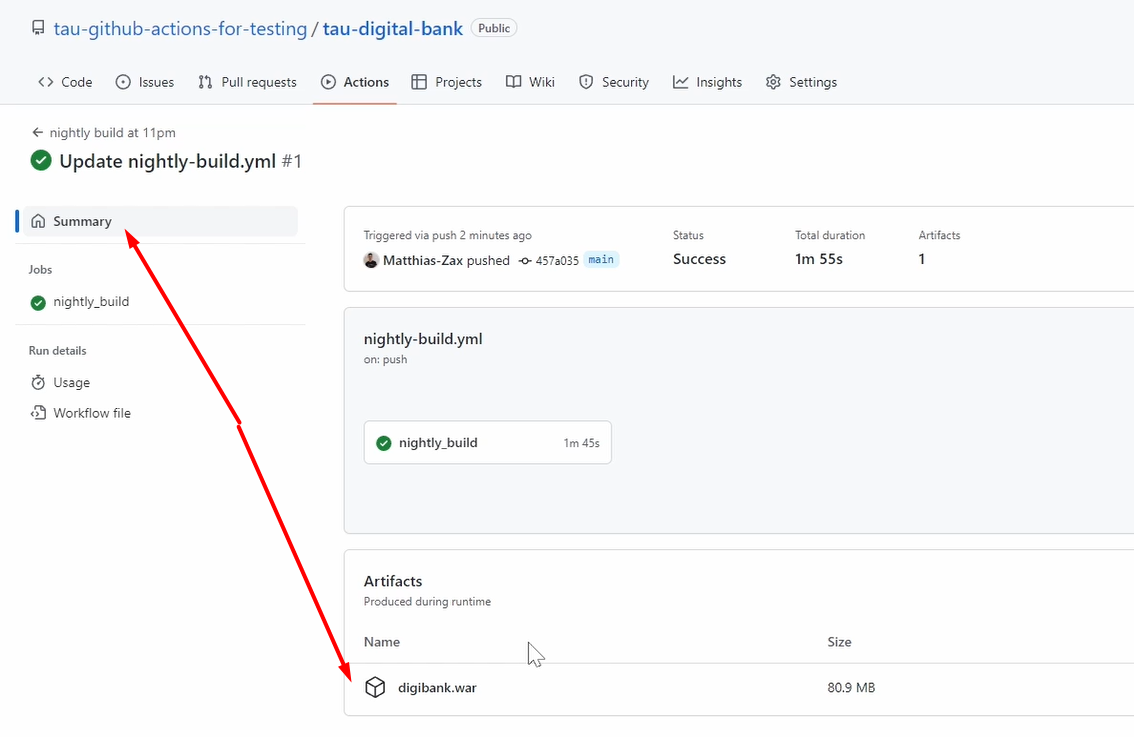
Then you have the WAR file and you can run your application.
Good.
Let's go back to our workflow because it works. So, what we need to do is of course remove the push event, and commit the change directly to the main file.
Good. Let's go back to the slides.
Let's come to our next event, which is the Pull Request Event.
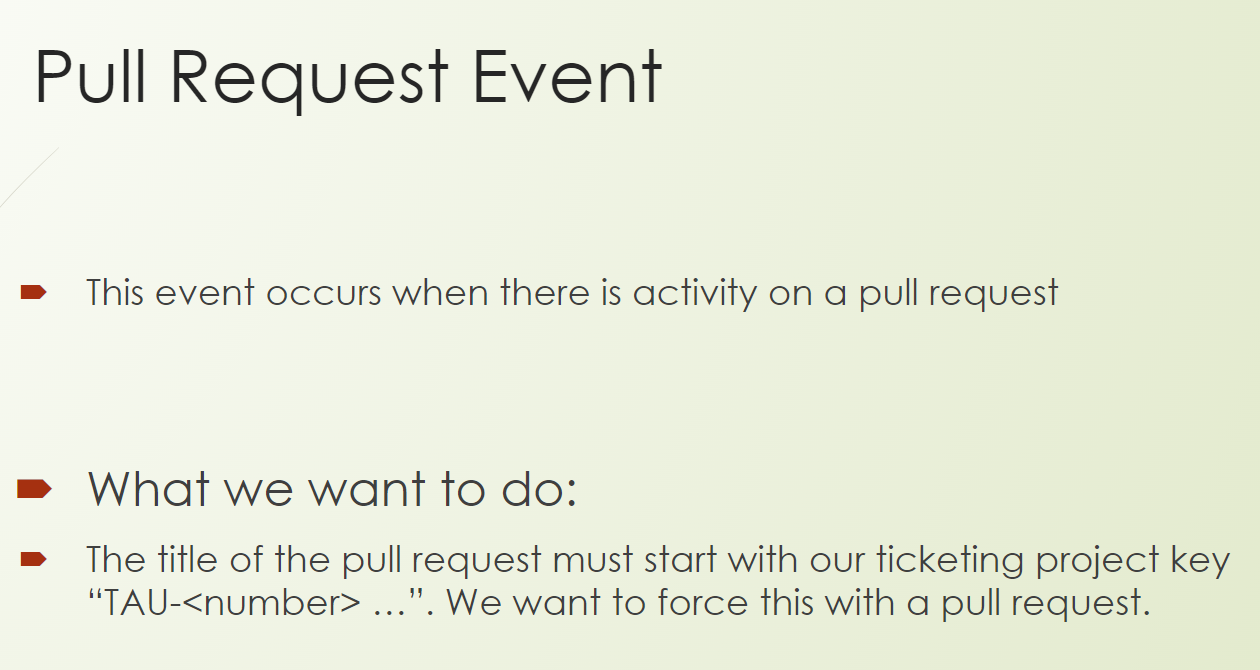
This event occurs when there is an activity on a pull request.
The title of the pull request must start with our ticketing project key.
So, for our purposes, it means it has to start with TAU, dash, and a number — "TAU-<number>"— followed by a free text.
And we want to force this with a pull request.
Let's go back to our source code to the workflows.
And here we have a pull request linter workflow (“PR-linter.yml”).
What do we do here?
We use here our beautiful event pull_request and we have it specified on the types.
name: PR check naming convention

on:
  pull_request:
    types: ['opened', 'edited', 'reopened', 'synchronize']

jobs:
  pr-lint:
    runs-on: ubuntu-latest
    steps:
    - uses: seferov/pr-lint-action@master
      with:
        title-regex: '^TAU-\d+\s.+'
        error-message: 'Add Ticket ID to your title e.g. "TAU-1"'
We only want to have it when it's opened, when it gets edited, when it gets reopened, and synchronized.
So, on those 4 types of the event pull_request — opened, edited, reopened, and synchronize — we want to run this workflow.
What we'll do, we will run a third-party workflow from this guy here, because we can do here some regular expressions.
So, let's create a pull request.
We did a change before, so we can exactly do this, Open a pull request here, and we just Create pull request.
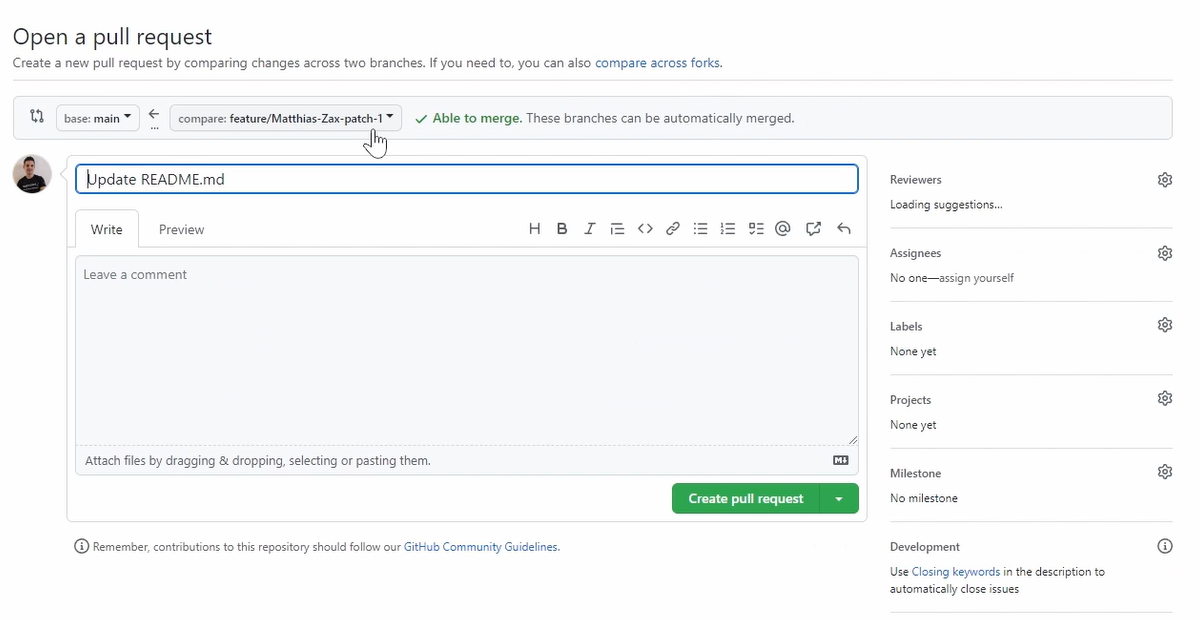
It's not about the content.
And you can see these are the checks from GitHub, and now you can see it has already triggered our workflow.
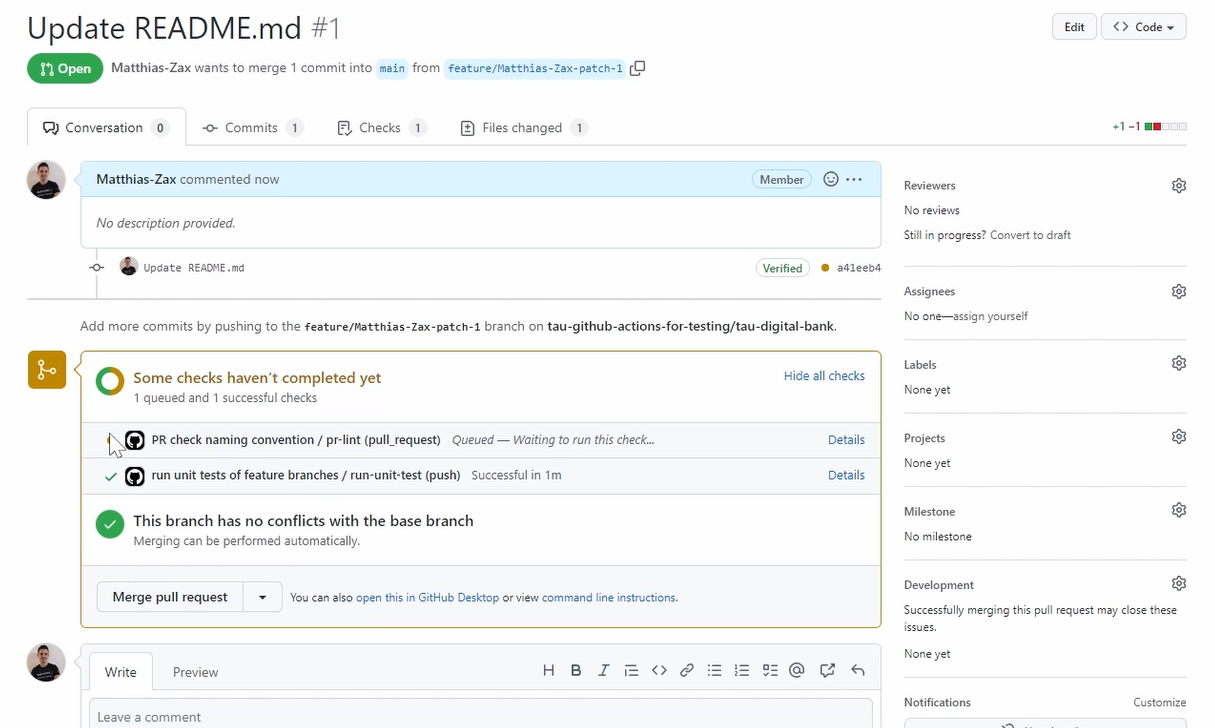
This is the “pull request check naming convention” workflow.
If we jump here on details, we can see all the details, what it's doing.
With the title I have used, it should fail, which is fine. That's what it's here for.
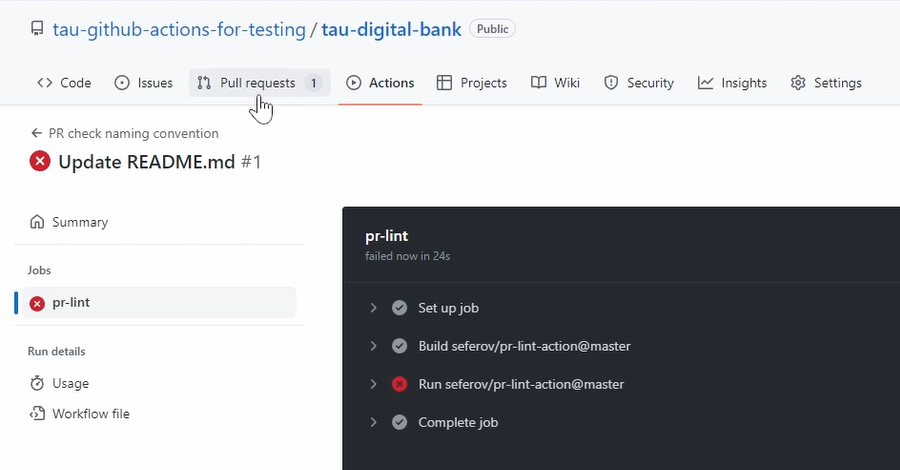
You can see it fails.
Now if we go back to our progress, it fails because the name is “Update README” file and not “TAU-1”, space, and the free text (“TAU-Update README”).
And if you save it now, you can see it gets triggered again.
So, I guess you got the functionality. This is very powerful.
Whatever you want to do, you can do now with the pull_request event. Is it doing some static checks, doing some auto-assignment, doing some validations of naming conventions?
This is very, very powerful and very often used.
So, let's wait until it's finished.
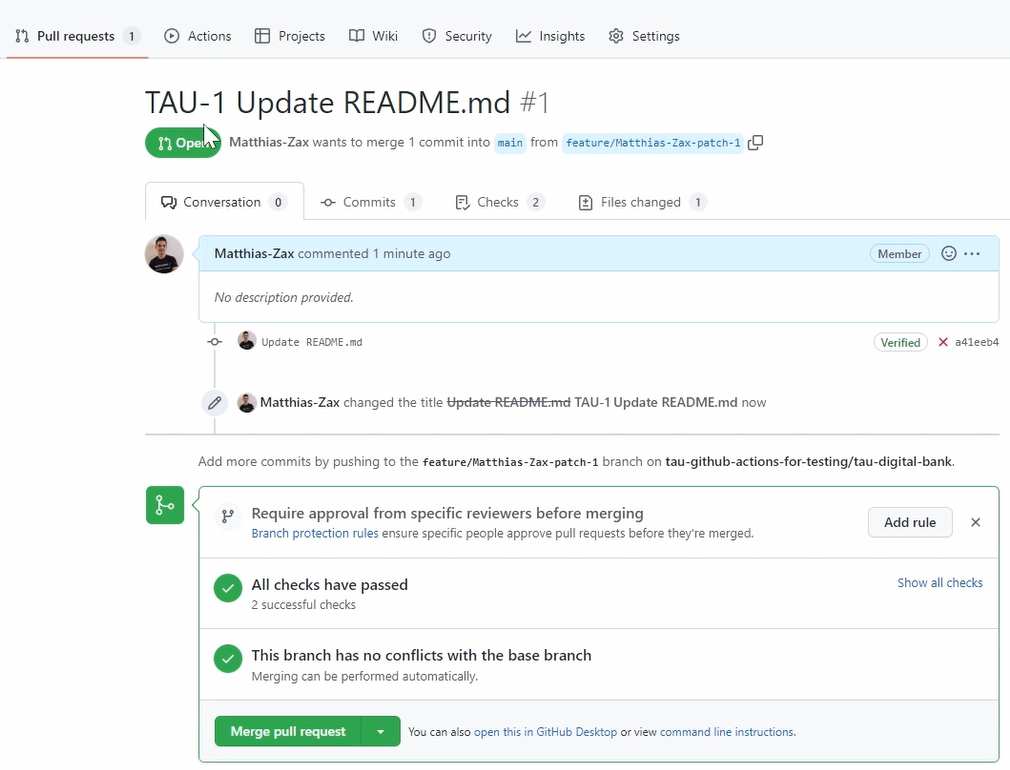
It's finished now; it's passed because we used the right naming convention.
Awesome. Now we have also converted. Good.
Let's go back to the next example.
And the last event we want give an example of is Repository Dispatch.
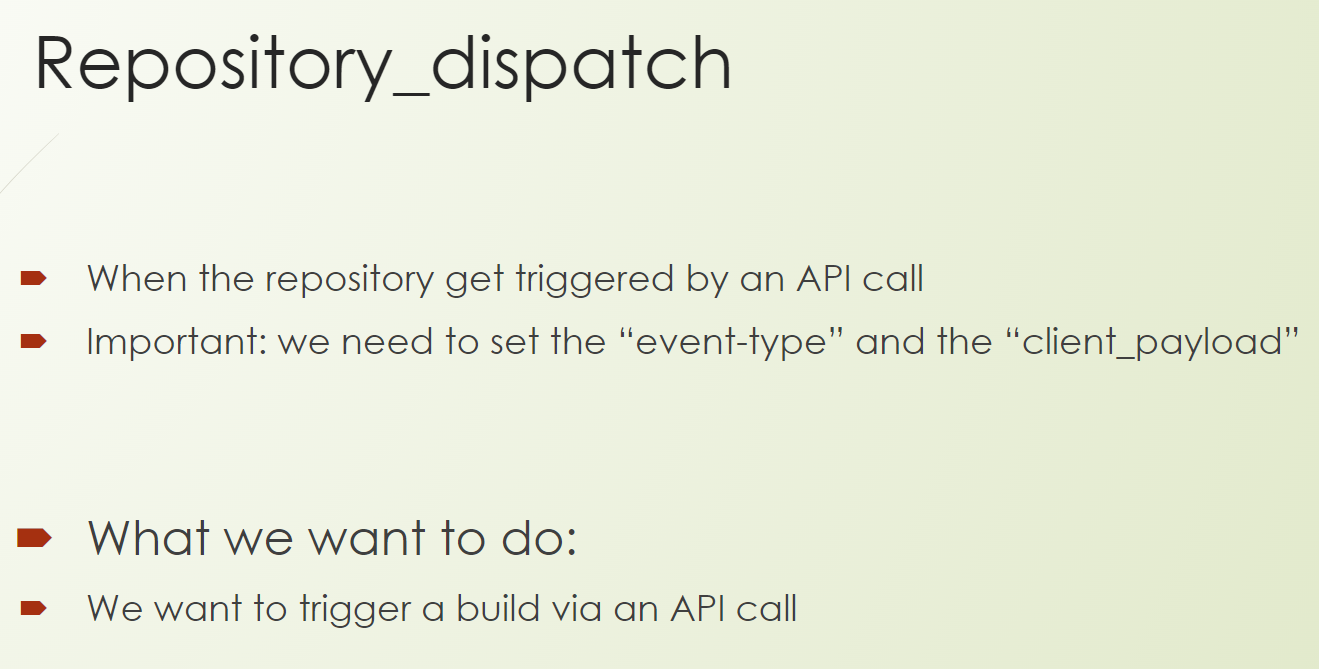
This event gets triggered when you receive an API call to your repository.
What is important here is the “event type” and the “client payload”, which you will see in the example.
What we want to do is to trigger a build after we receive a specific API call.
Let's go to our GitHub.
Let's go workflows and to the prepared “API-build.yml”.
name: build_by_api
run-name: Build by API from user @${{ github.actor }}

on:
  repository_dispatch:
    types: api-build

jobs:
  build:
    name: Build Job
    runs-on: ubuntu-latest
    steps:
      - uses: actions/checkout@v3

      - name: Run Unit Tests
        run: mvn test

      - name: Build with Maven
        run: mvn -DskipTests -B package --no-transfer-progress --file ./pom.xml

      - name: rename Artifact
        run: mv ./target/*digitalbank*.war "./target/${{ github.event.client_payload.artifactName }}.war"

      - uses: actions/upload-artifact@master
        with:
          name: ${{ github.event.client_payload.artifactName }}.war
          path: ./target/*.war
You can see here our beautiful name, “build_by_api”. And we also have a run-name defined, which calls “Build by API from user”.
And here we use the github.actor which is a parameter we can use from the GitHub context.
There are a lot of parameters and this one is just the one that triggered the workflow.
You will see this later on.
Then we use our repository_dispatch event.
And here, we define the type, the event type, which is types: api-build.
The rest is from the workflow already.
Just the last one here, here rename our artifact.
So just do a move (mv), and we rename it to github.event.client_payload.artifactName.
The artifactName is the parameter of the payload.
And also, here, in the actions/upload-artifact, we use it for the artifact name.
I have prepared here a current script to trigger the API. It's a curl, and here you can see the ”event_type”: “api-build” and the client_payload and we define the artifact name.
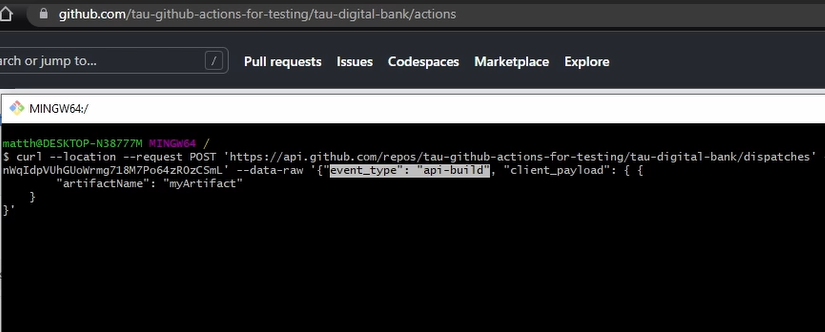
So, we trigger that one. Awesome.
Now we just see if it will appear here. And it's already here. Cool.
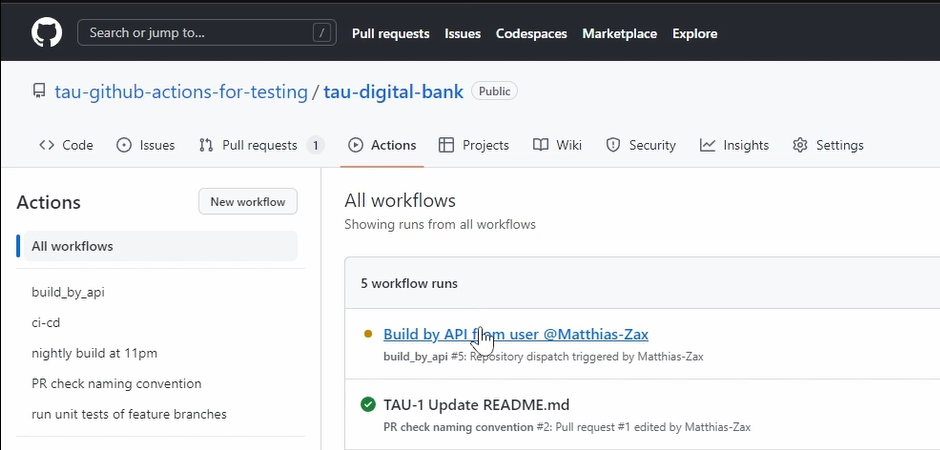
And also, here you can see “build_by_api”. And here you can see my name because I was the one who triggered it with my credentials. Good.
Let's go inside. Look what is happening.
So, it'll run all the steps.
And afterwards there should be an artifact uploaded, which has the name, "myArtifact". This is what we had in our payload.
Good. We see the job has finished.
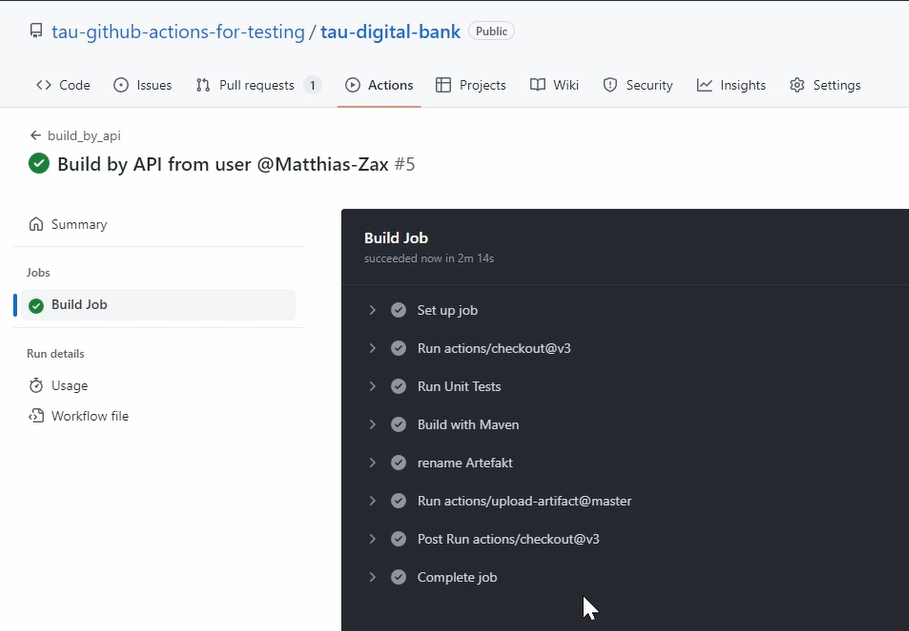
We ran through all the steps successfully, everything is green
And now, we should have here in the Summary an artifact, which is called "myArtifact.war".
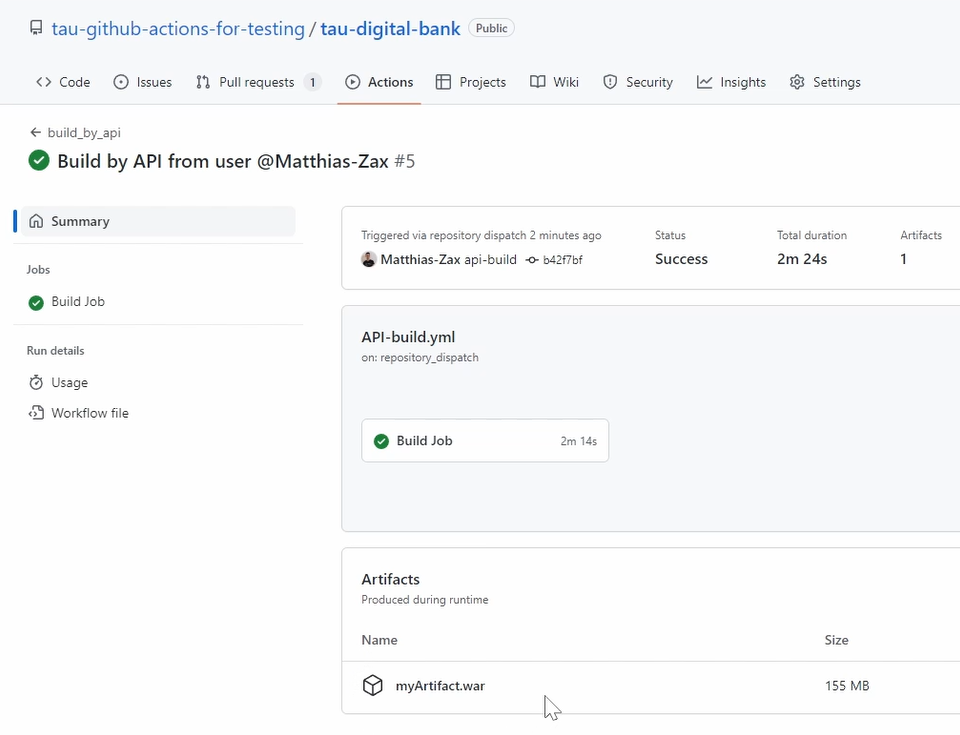
Awesome. We have here everything together. It worked.
This was the end of this chapter.
You learned a lot about workflows, about events and how to use them with hands-on examples.
In the next chapter, we will build a full CI/CD pipeline.
- We will build the product,
- We will deploy the product,
- We will install it,
- We will execute our tests, and
- We will look into our test summary report.
Happy to see you there.
Resources
- GitHub Documentation: Events that trigger workflows
- GitHub Documentation: Caching dependencies to speed up workflows
- Git Repo Course Code: workflows
- Git Repo Course Code: Repositories
