

Transcripted Summary
Up until now, we had been adding test after test and using simple examples to illustrate functionality.
As we start looking at how to structure your tests, I think it would be more useful to use a more real-world example of test automation.
To do this, I'm going to use the Restful-Booker platform, which is a web app for booking rooms at a bed and breakfast. And this is backed by a Restful API and it's created by the folks at Automation in Testing, Mark Winteringham and Richard Bradshaw for the purpose of helping people learn and practice automation.
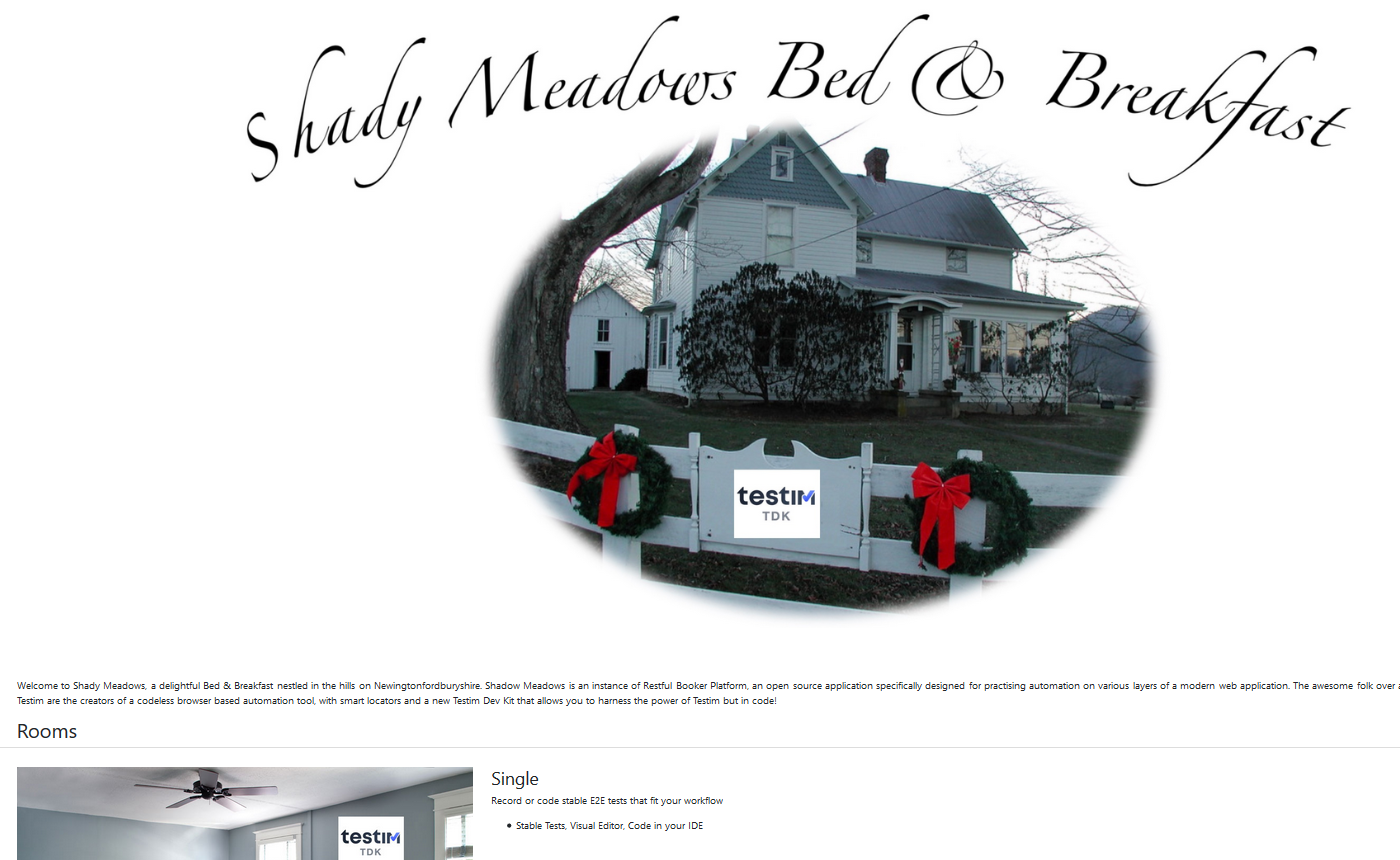
The website is Automationintesting.online and you can see, we can view and book rooms from here.
But if we go to slash admin, you'll see that there's an admin page and this is what we'll be looking at.
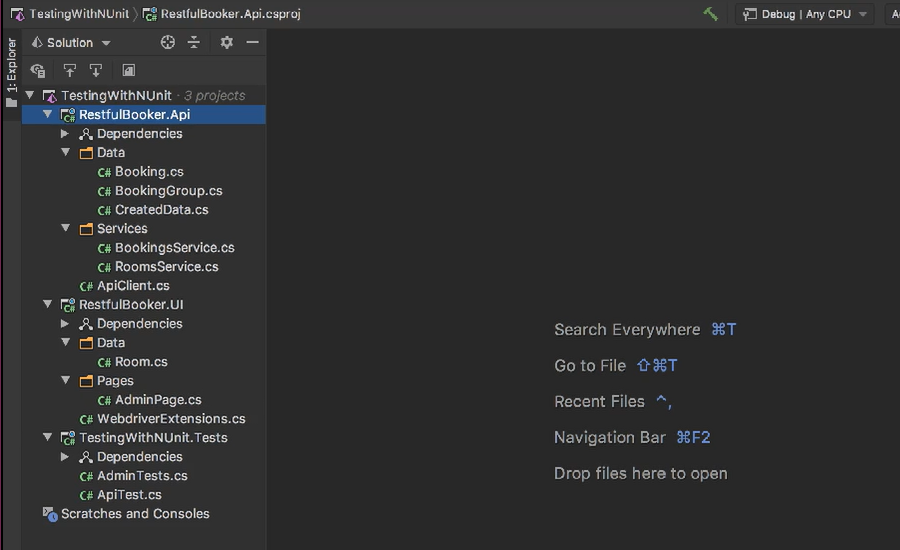
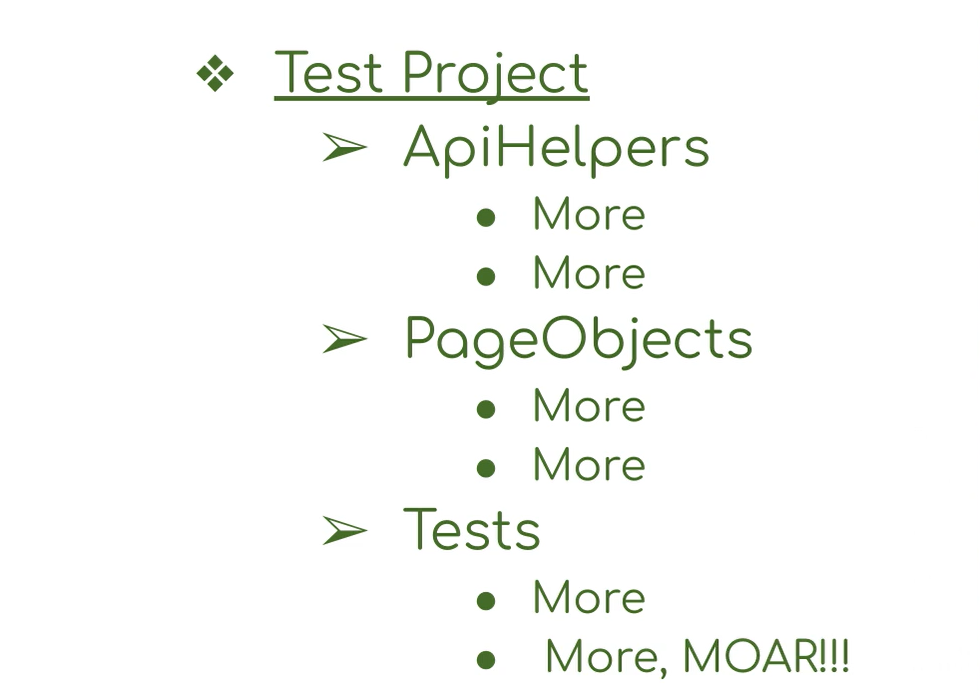
Turning back to our IDE for testing this I've created three projects.
RestfulBooker.API and this is an API client built on top of Rest client to make consuming the API simple and intuitive.
There's also RestfulBooker.UI and this has the page objects for automating the website.
Finally, I have my test project with our test inside.
Before we get into specifics about how to structure our tests using NUnit, I want to talk for a moment about the structure of the solution as a whole.
You might be wondering why use three separate projects when you only really need one?
Because if it's just about organization, the page objects could be in one folder and our API helpers in another folder.
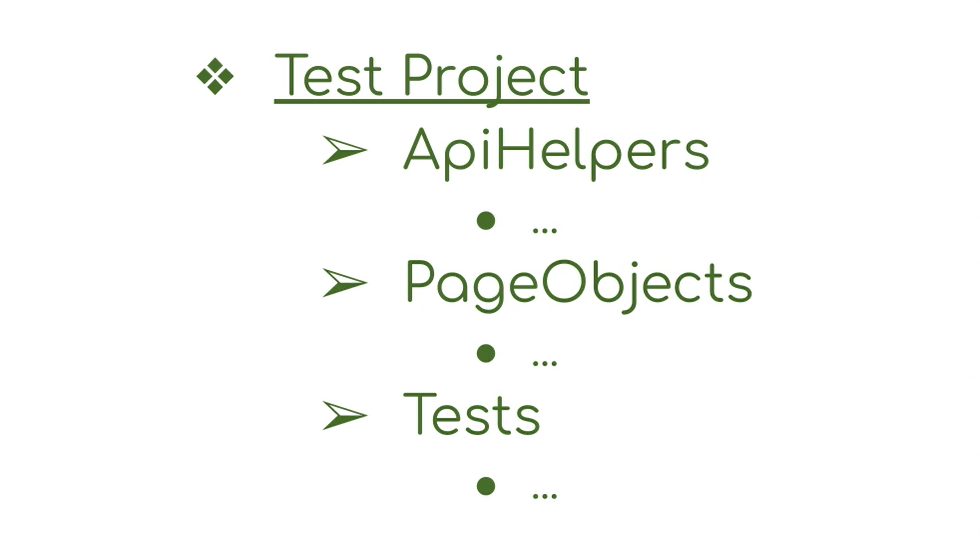
And then have our tests grouped in another folder and then all your test code would be in one place.
Or maybe you could have a project for API testing and a project for a UI testing where the API helpers are in the API test project and page objects are in the UI test project.
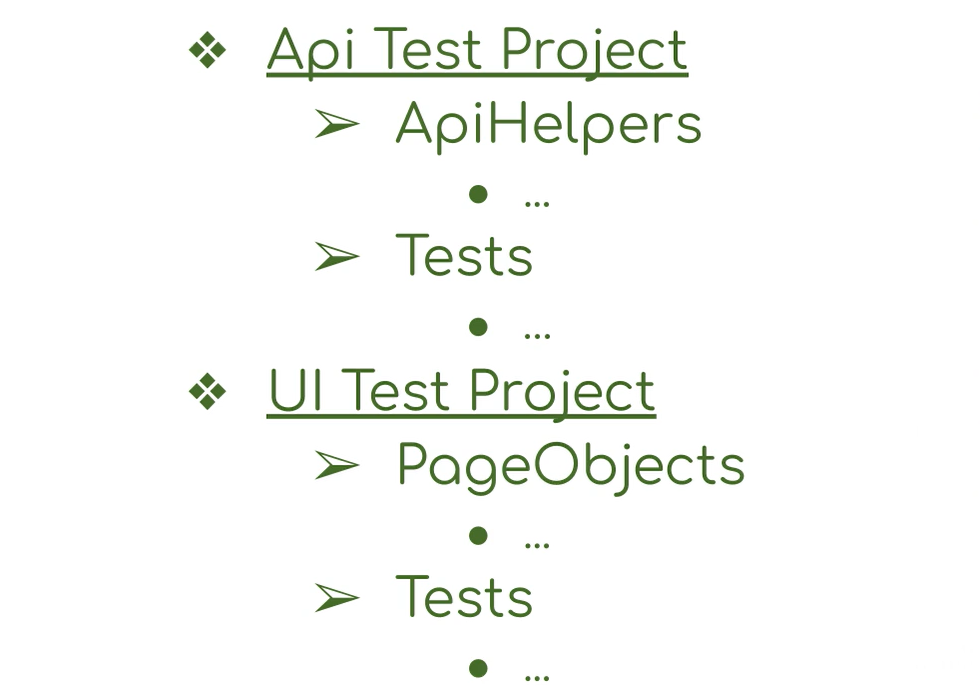
In that case, what happens when I want to use my API inside of the UI tests for data set up or reading results?
Do I reference my API test project inside of my UI project? That feels clunky to me because I'm referencing a test project just to share the API helpers. Plus, when anybody new comes to look at this code, it's going to seem odd to have a Using statement that references another test project.
And you might be thinking that isn't a problem if we have everything inside of one project.
It may not seem like an issue at first.
But what can arise as your project grows and you add more to your API support and more page objects and more tests for both of those is the project can get a little bit unwieldy and there's so much going on that it gets harder and harder to work on and to understand where things live.
The real reason I prefer to separate the components and the different projects like this is it becomes easier to create not just more tests, but tools that help you test.
So, you can think of RestfulBooker.API as the API driver for our application.
RestfulBooker.UI as the UI driver for the application.
Our tests can then consume those drivers individually or together.
There can also be any number of other consumers. Want to create an app that generates different data sets using the API to reduce time, setting up exploratory testing sessions? Simple.
Create a console app and add a reference to RestfulBooker.API and then wire up the combinations of data you need. Then you can share that app and not have to include NUnit, Selenium, and all of our tests assemblies.
That's just one example but creating a set of building blocks like this that people can use can be very, very powerful.
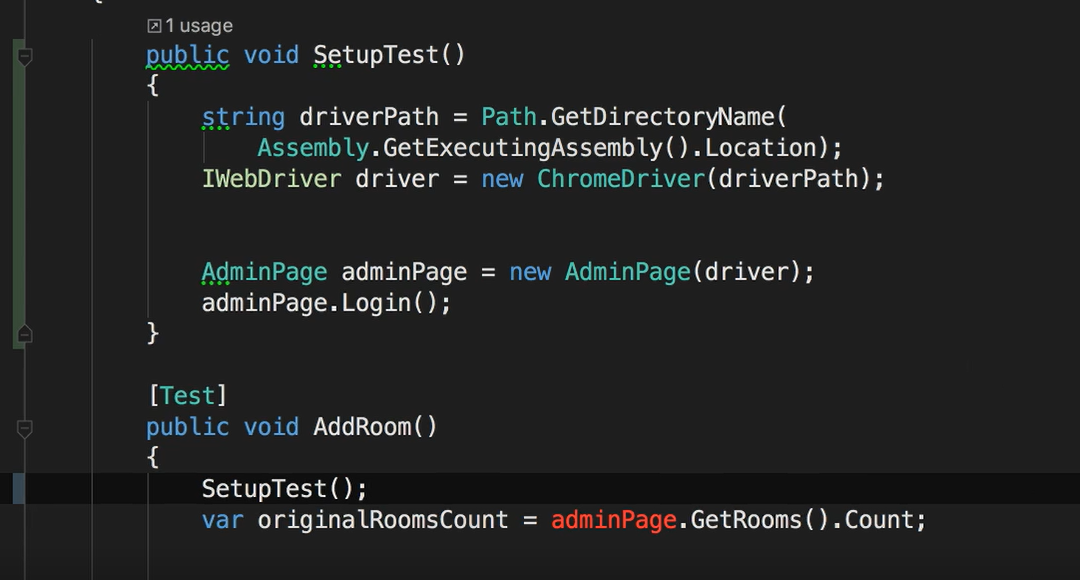
Turning back to structuring tests, let's take a look at AdminTests.cs.
Inside this file there's a single test called AddRoom.

This test spins up ChromeDriver and uses the UI to access the admin page for the site where it logs in and gets a count of the currently created rooms.
And then we create a new room with values that we set up on this room object.
Then we read back to the room data and have a set of assertions to verify that the room has been created successfully.
When we run this test, you'll see that it passes.

So, what's the problem?
Well, that one test is doing a lot and the meaning and intention of the test gets a little lost in the details.
If we had another test to create a different type of room, you can see how this file gets even harder to process and understand because the signal to noise ratio is out of whack.
The first thing that jumps out is we're setting up Chrome driver and logging into the admin page in both tests.
Let's clean that up by extracting the shared set up into its own method and we'll create one and call it SetUpTest.
With that done, we can cut and paste that common code into our setup function and update both tests to call SetUpTest.
Thanks to the red syntax highlighting our ID, you can see that our tests aren't happy.
So, let's fix that by adding a class variable for adminPage and driver.
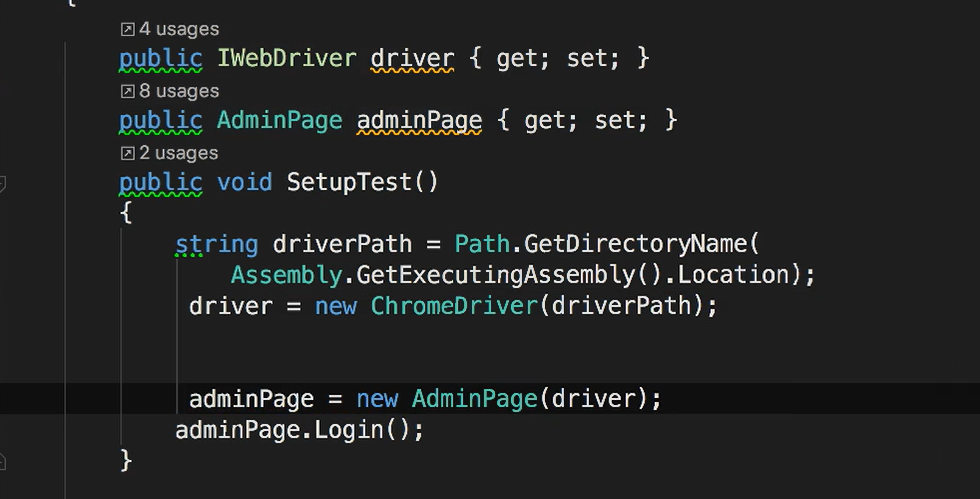
Well now our tests are happy but having to call setup in every test doesn't feel great.
# Test Setup/Teardown
This is where NUnit can help us. It provides two attributes:
SetUpfor code that you want to have executed before each testTearDownfor code that needs to run after each test
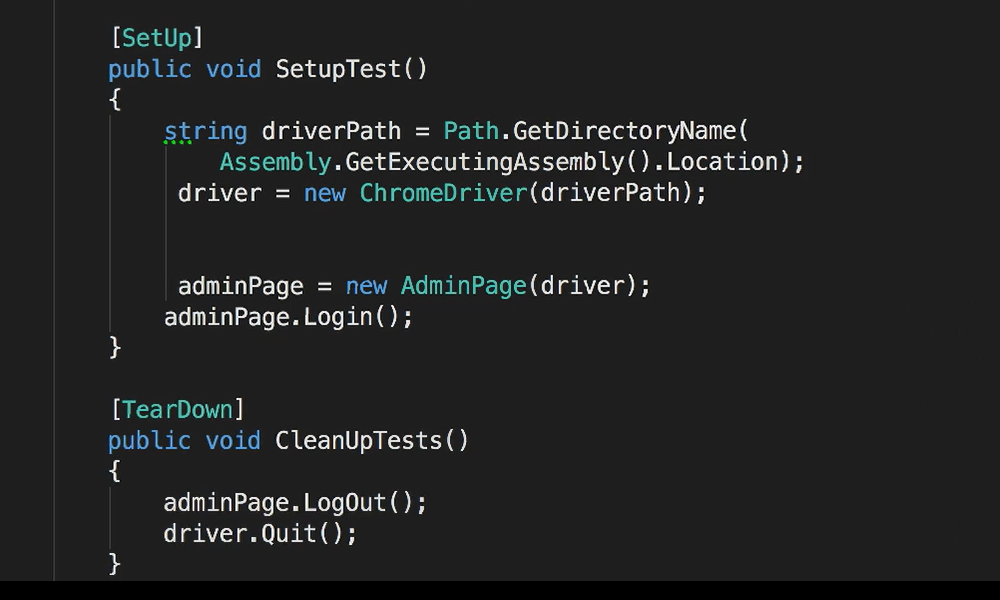
To see this, we add the setup attribute ([Setup]) to the SetUpTest method. Then we can remove the call to SetUpTest from inside of our tests
And if we run our test again, you'll see that they still pass.
Just to clarify the method you create for setting up your tests can be named anything you like.
It just needs to have this setup attribute — [SetUp].
You can even have multiple methods that use the SetUp attribute. Just be careful because the order they're executed isn't guaranteed.
Personally, for a case like that, I'd recommend one setup method that calls other methods as you need. Then all of your test set up is centralized in one place and easier to comprehend.
To see TearDown in action let's take a look at the Logout and driver.quit lines.
We'll create another method and call it CleanUpTest and extract those two lines from both tests.
Finally, we add the tear down attribute — [TearDown].
Now if we run our tests again, you can see that they still pass, and that the driver is closed.
# Fixture Setup/Teardown
Looking at the test setup and tear down, you might be thinking starting Chrome and stopping it between every single test might be too much and it will be nice to have a set up and tear down that only gets run once per fixture regardless of how many tests are present.
NUnit has attributes for these cases too.
Care to guess their names? If you guessed “TestFixtureSetUp” and “TestFixtureTearDown”, you'd be almost right. Those actually were the names prior to NUnit 3.
But the NUnit team wanted to make their purpose a little more clear and renamed them to OneTimeSetUp and OneTimeTearDown.
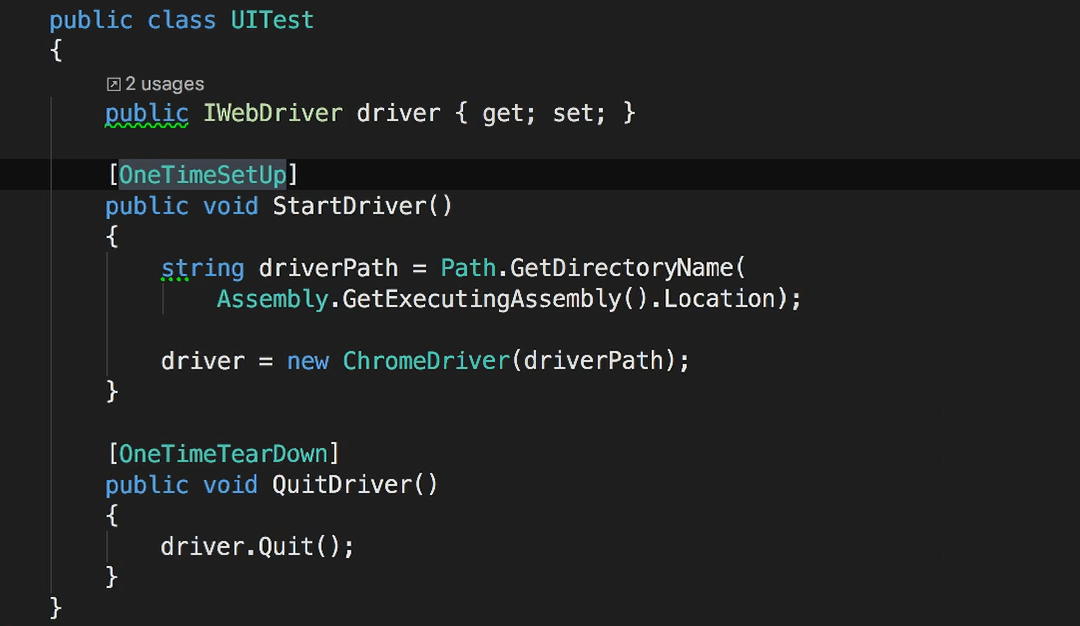
To demonstrate these, first we'll create a method called StartDriver and you add the [OneTimeSetUp] attribute. Then we'll extract the driver setup code and paste it here.
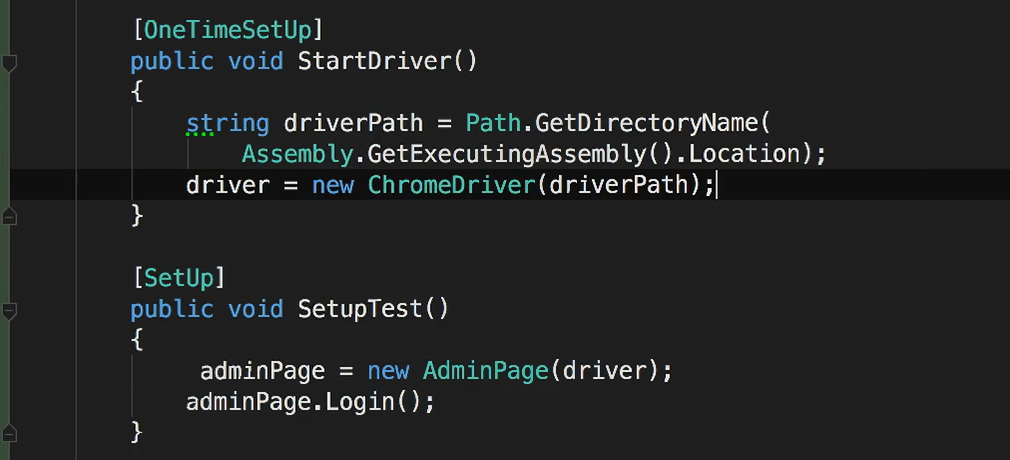
Then we can do the same thing but use [OneTimeTearDown] for quitting the driver.

I'm going to put a break point in both our OneTimeSetUp and our OneTimeTearDown methods and then run the tests.
You can see that the one-time methods are only run once.
# Inheritance
The driver for set up and tear down methods certainly seem like they would apply to more than just our Admin Page tests.
And it would probably make the most sense to be put inside of a base class.
NUnit supports the use of inheritance for SetUp and TearDown methods and if both the base class and derived classes haveOneTimeSetUp methods, the base class method will be run first and then those in the derived class.
To see this, I've created a test base class and I've copied the oOneTimeSetUp and OneTimeTearDown into it.
Now all I have to do is make our AdminTests inherit from that base class and I can remove our one time set up and tear down methods from this class.
public class AdminTests:UITest
You can also share a regular per test setup and tear down methods through inheritance and the same rules apply. Any methods from the base class set up or tear down will be performed first and then those in the derived class.
This is great. Our tests are more efficient and more importantly cleaner and easier to read.
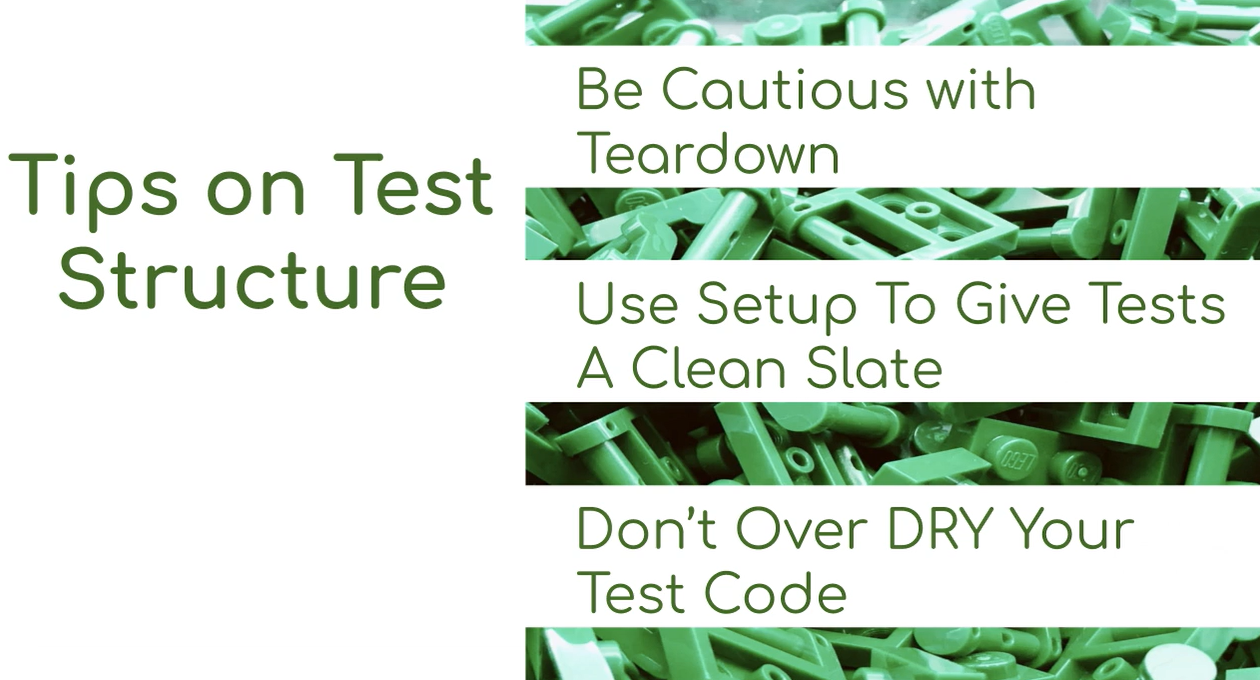
# Tips on Test Structure
Before we move on, a couple things to note.
I showed both SetUp and TearDown and use them pretty equally.
In practice though, be careful using TearDown. It's not that TearDown is inherently bad.
But if your TearDown fails or while you're debugging a test, you stop the debugger and the TearDown doesn't get run when you try to run your test again, they aren't running from a clean slate.
You can end up with duplicate or partial records that conflict with what your tests actually expect.
It may not be intuitive, but this is why it's a good idea to clean up your records inside of your test set up. That way every time you run a test, you're ensuring that they're starting from a clean slate.
It can also be attempting to use SetUp and TearDown methods or even inheritance to really DRY out your tests.
That's “DRY” as in the coding rule, Don't Repeat Yourself.
Again, it's not that these techniques are bad. It's just the test code is different from production code. So different rules apply.
The more we break up our tests to hide and abstract information, we're choosing to increase complexity for the sake of efficiencies. This can come at the cost of readability. So, it's okay to duplicate or repeat code in your tests.
Our real goal is to have tests that are reliable, maintainable, and also paint a picture of the behaviors that were being tested.
