

Transcripted Summary
Let's take a look at how NUnit executes our tests, the different test runners available, and how we can gather test result information to generate reports or for integration into your CI system.
Each NUnit test runs in its own execution context and this context includes information about the environment as well as the test itself.
# Test Context
The TestContext class allows the test to access certain information about the execution context. The TestContext in NUnit may refer it to the individual test case or a test fixture.
Within your SetUp, TearDown, or Test methods, the context is that of the individual test case; but if you use OneTimeSetUps or OneTimeTearDown, the context is going to refer to the fixture as a whole.
We've been using Console.WriteLine to log information during our tests.
And this works because by default NUnit captures this output for display, but there are some limitations when logging like this.
The output's only going to be visible after the test completes. And the information is not going to be stored inside the output file of your tests.
Also, if you run your tests in parallel, you may run into console output that's out of sequence.
NUnit's test context has three methods that provide a text writer to help us work around the problems with logging information.
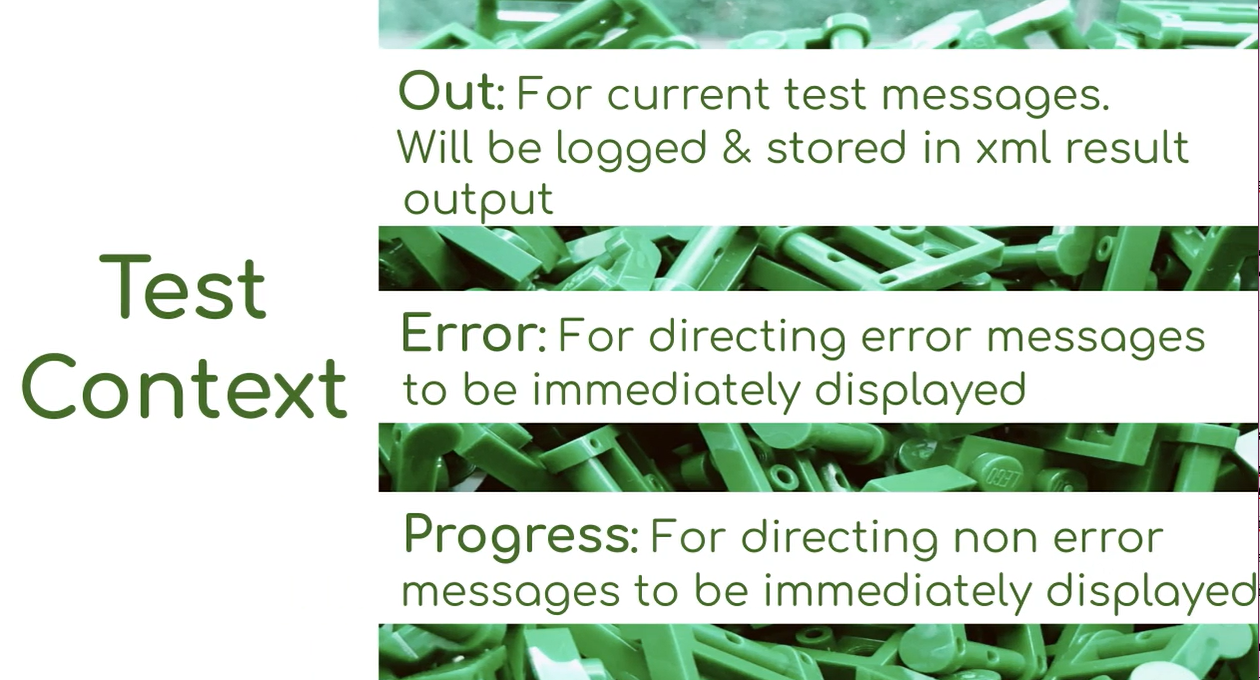
TestContext.Out provides a text writer for the currently executing test and this allows messages to be logged and stored in the NUnit XML results file.
TestContext.Error provides a text writer for directing error message to be immediately displayed in the test output.
TestContext.Progress is for non-error related messages that should be immediately displayed in the output.
There's also the TestContext.Write and TestContext.WriteLine methods.

These serve as a convenience method and a shortcut to the TestContext.Out.Write and TestContext.Out.WriteLine methods.
While NUnit provides the methods and describes their behavior, the actual display of the test output may vary depending on the test runner that you use.
TestContext also has the AddTestAattachment method which enables you to link files to your individual test results.

To do this, we just enter TestContext.AddTestAttachment and provide a file location and optional description.
TestContext houses information about the test that's currently being run inside of a property called current context.
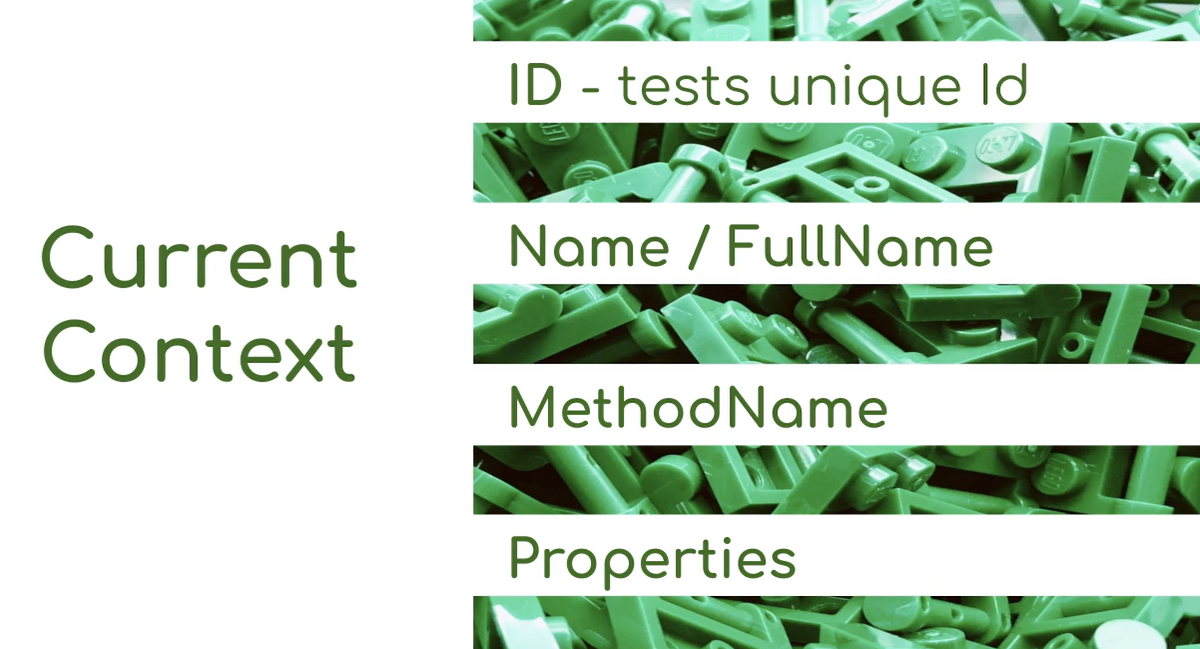
This includes static information about the test, like its name and any attributes that have been assigned to it.
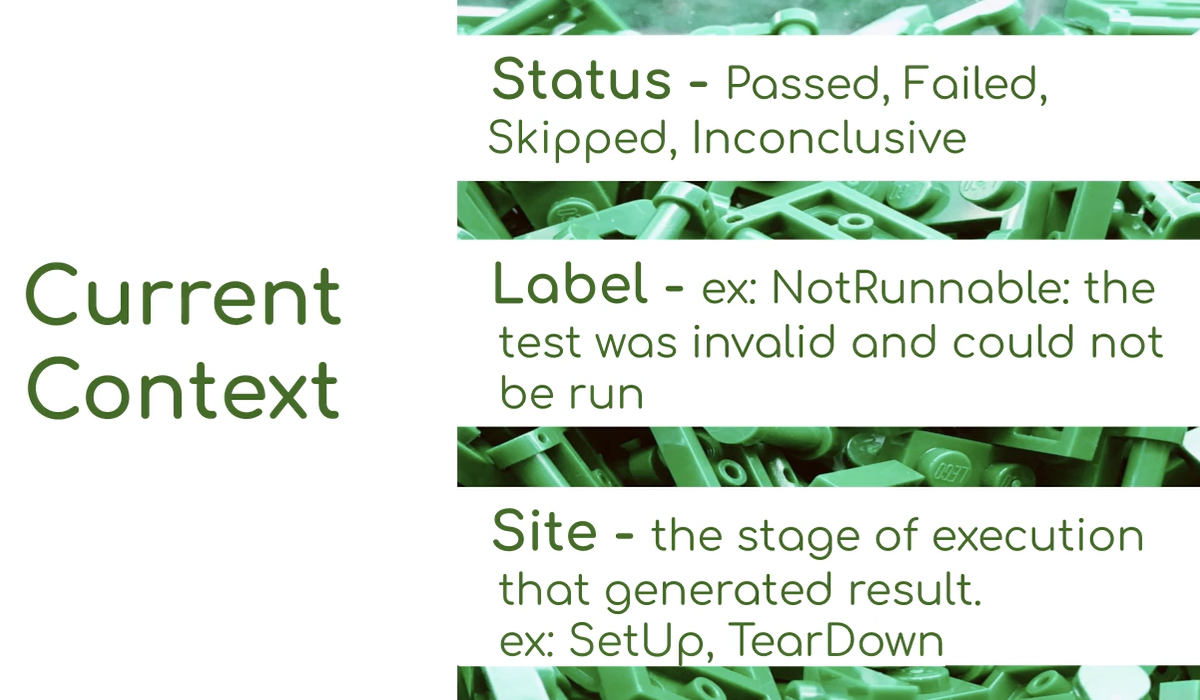
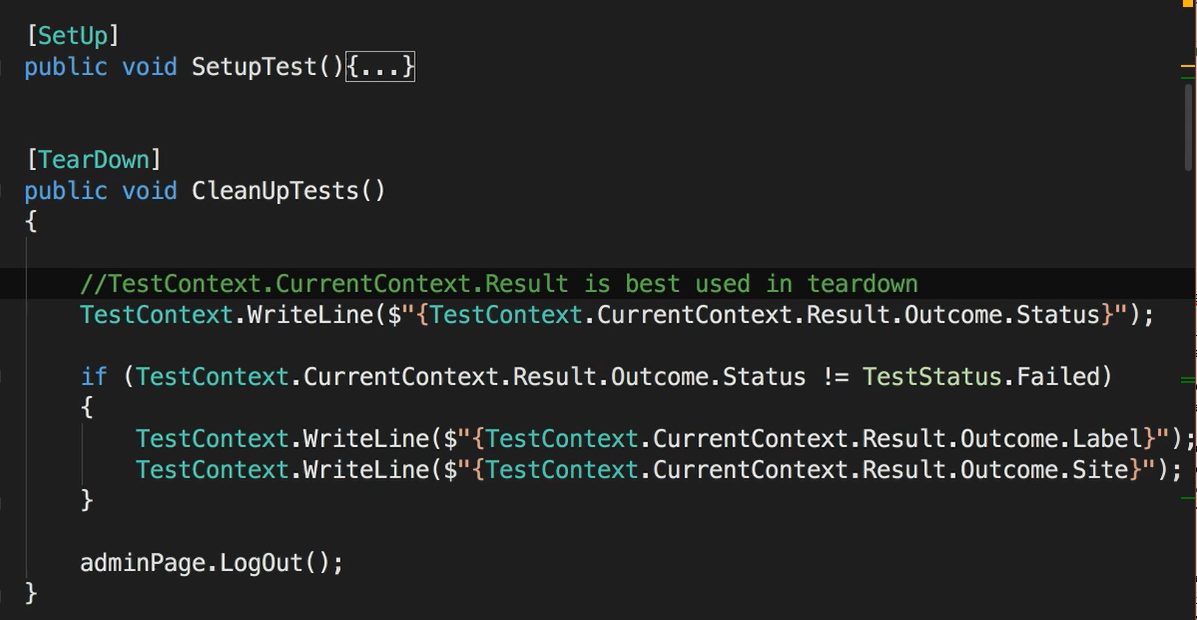
It also records the test result here, including the test status, a label for that status and the failure site to let you know if your test failed at the actual test, or if it was in its SetUp or TearDown methods.
This information can be really useful if you're data-driven testing or for naming screenshots or other files that your tests might generate or even if you have a separate logger for your test framework.
Just be aware that your OneTimeSetUp and OneTimeTearDdown methods are executed in a separate test context from your tests. So, some actions may not behave the same in SetUp as when they are performed inside of a test.
# Test Runners
So far, we've been running our tests using the test runner that's integrated into the IDE. And it works great when you're writing and debugging tests on your own local machine.
Once you start wanting to run your tests on a schedule or as part of your continuous integration or deployment pipelines, you're going to want to execute your tests outside of your IDE and be able to run your tests on the command line.
NUnit provides a console runner in a separate package that you can reference inside of your project.
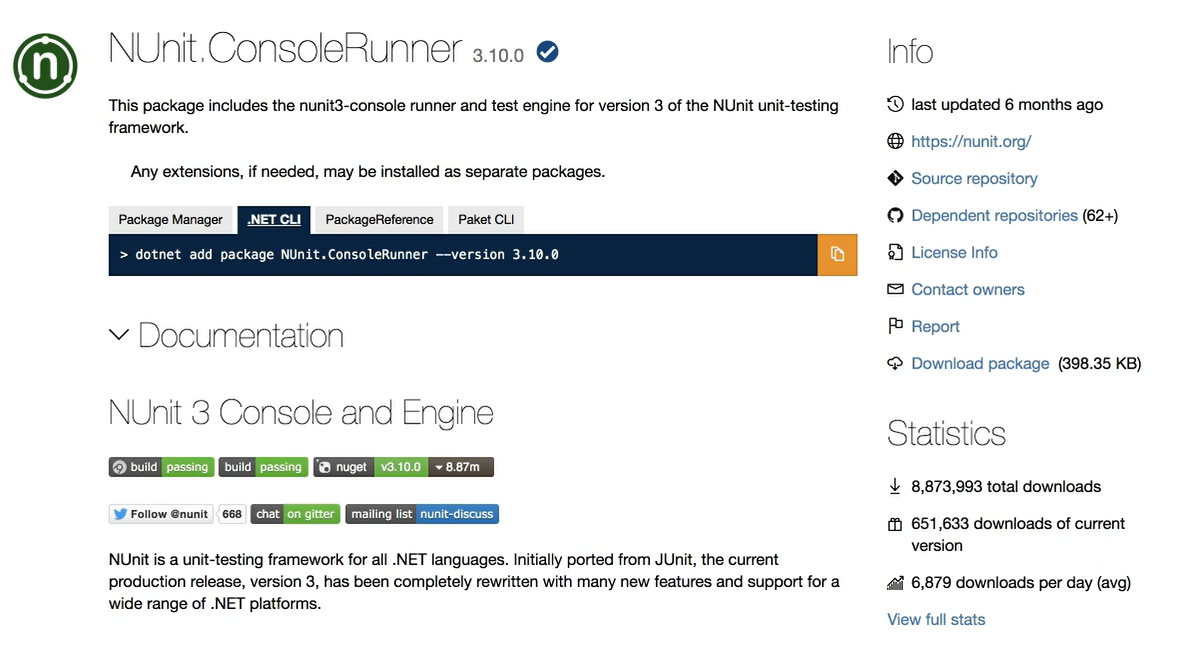
It works great, but it does require the full .NET framework and does not currently support .NET Core.
If your team is using .NET Core like we are in this course, we can use the dotnet test command (dotnet test).
What this means though is we'll need to use different console commands depending on the test runner that you're using.
# Running All Tests
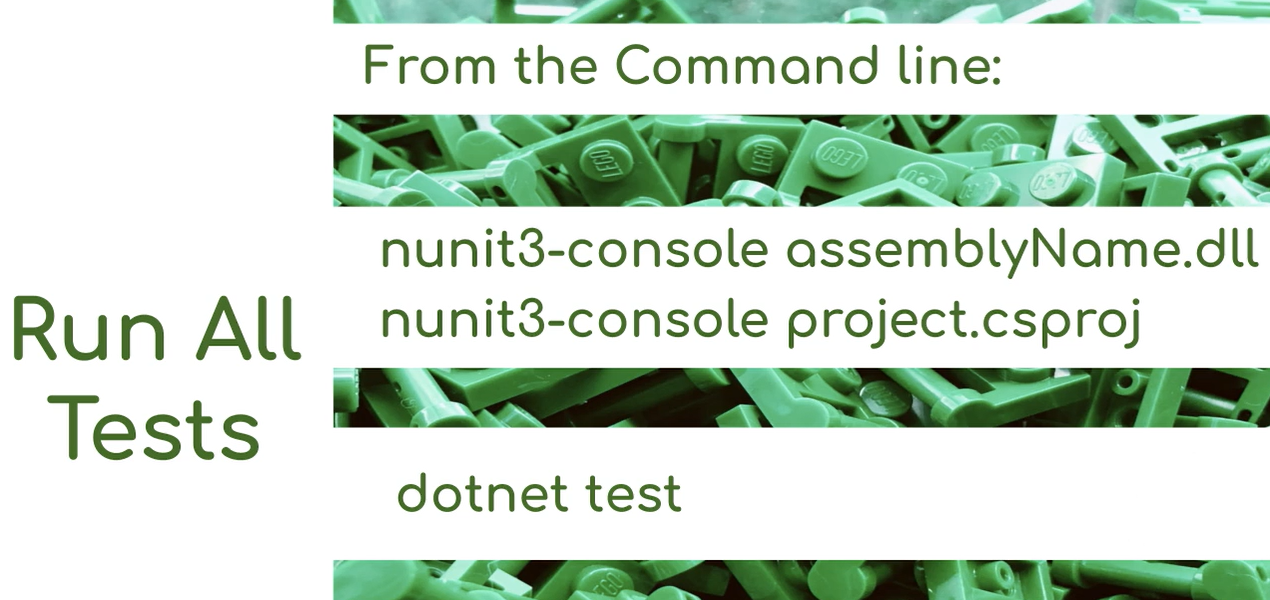
To run all tests using the NUnit console runner, we just need to specify the path to your test assembly or the test project file.
Or if you're using the .NET CLI, you can enter dotnet and use the test command.
# Running By Fixture
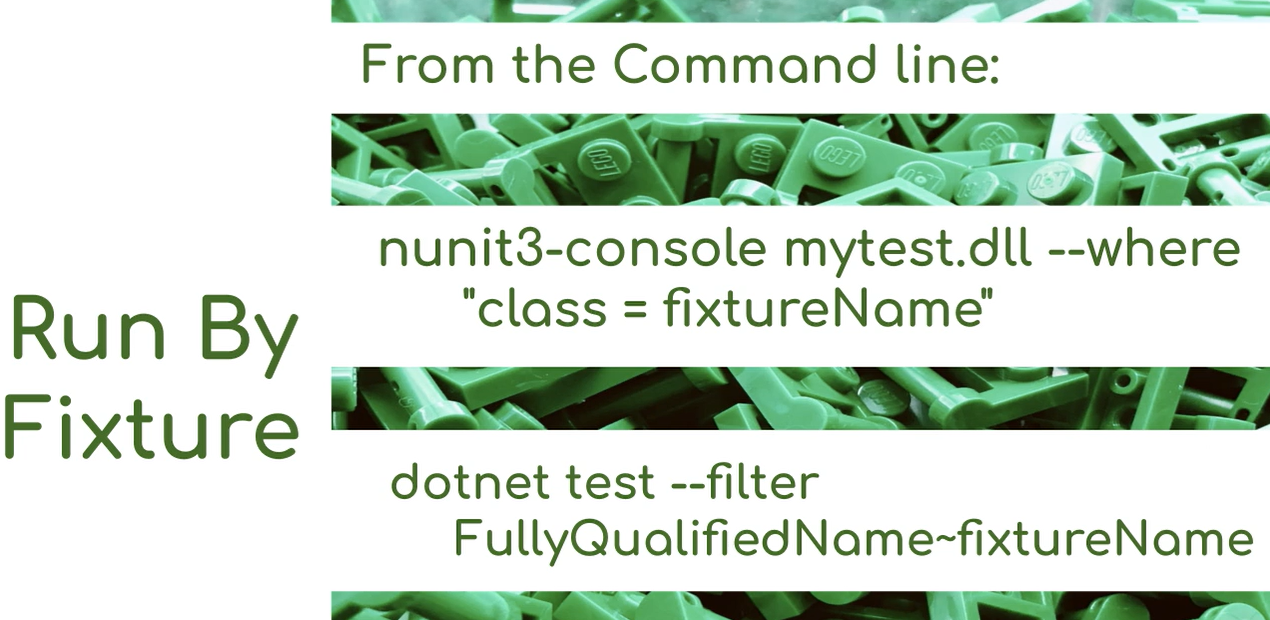
To execute tests only in a specific fixture with the NUnit console runner, we're going to specify the assembly or project again.
And then also include --where “class = fixtureName” and we're going to specify the FullyQualifiedName of our fixtures class.
Using the dotnet test command, we'll use --filter and then specify the FullyQualifiedName option. And then we'll also use the contains option, which is the utility character (~), and then we can provide the fixtures class name.
# Running Tests by Category
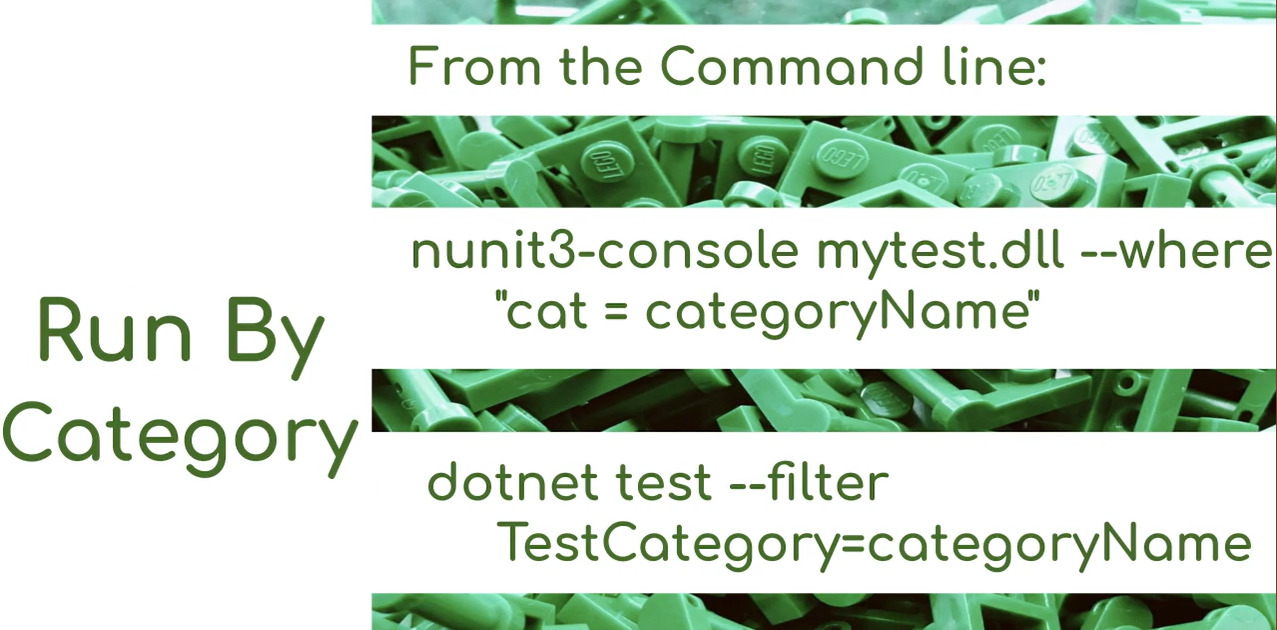
To run a specific category with the NUnit console runner we'll enter the assembly or project name again and include --where “cat = categoryName”.
Using the dotnet test command, we'll enter --filter with the TestCategory = and then we'll specify the category name.
If you're using Xamarin for your mobile apps, there is a dedicated NUnit Xamarin runner.
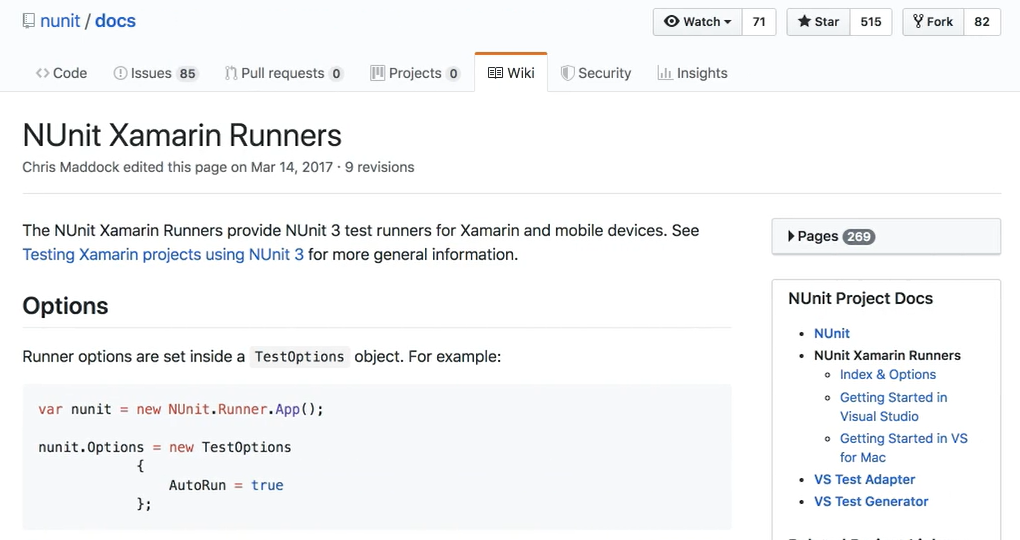
There is some additional setup required, so I've included some links in the chapter resources.
If you need a UI to execute tests but won't have access to the test runner instead of an IDE or editor, you can take a look at the TestCentric GUI runner and this test runner offers support for multiple test frameworks.
# Test Results
NUnit records test results in an XML file and this is important because it's what you'll need to generate so your continuous integration system like Jenkins or Team City or any tooling you have to generate test reports will consume.
XML results are created by default when you run your test using the NUnit console runner.
The results are stored in the TestResult.xml file.
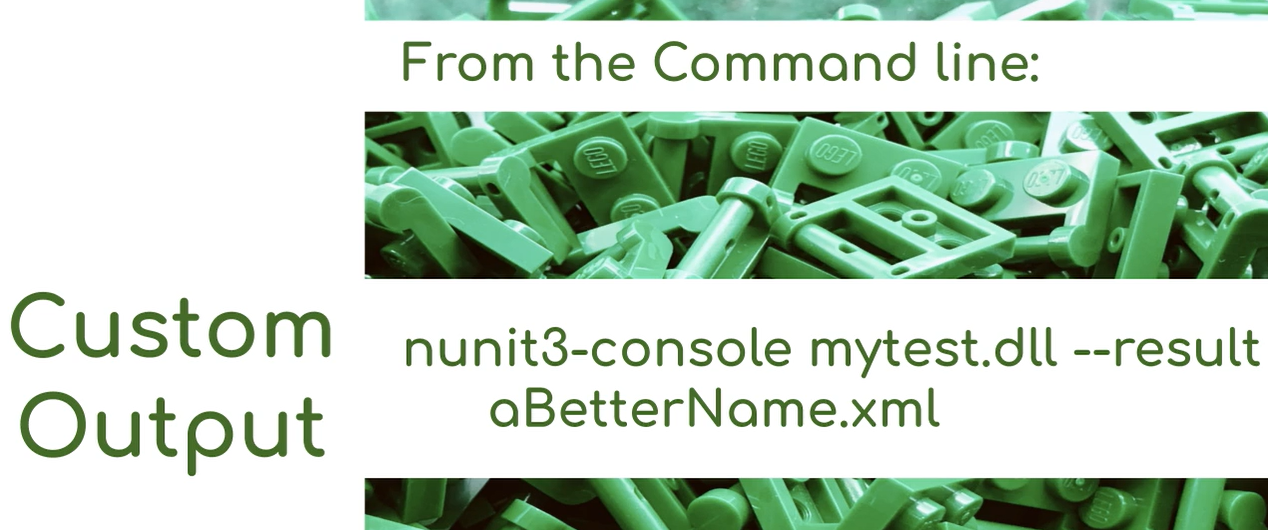
If you need to use a custom file name or a path, you're going to include the --result option when you run your tests and include the path or file name there.
And we can still generate this file with the dotnet test command. We just need to use the NUnit Test Logger package.
So, I went ahead and added a reference to the NUnit XML Test Logger package to our test project.
Now from the command line we just need to specify a tested adapter path and an NUnit Logger.
dotnet test --test-adapter-path:. --logger:nunit
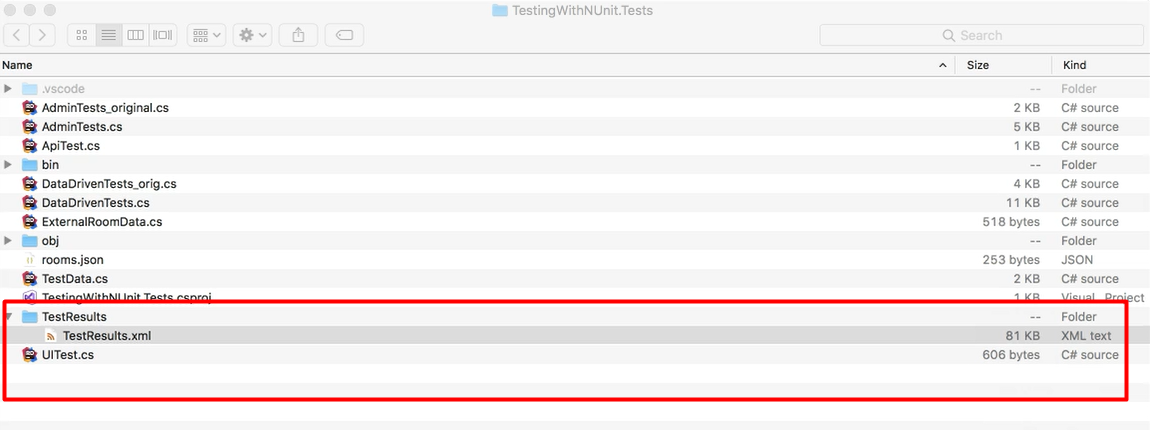
And using this package by default XML test results we generated in a test results directory relative to the test to CS project file.
# Running Tests in Parallel
By default, NUnit does not run tests in parallel.
In order to run tests in parallel, you're going to need to inform NUnit which tests are safe to run in this fashion.
We do this using the [Parallelizable] attribute.
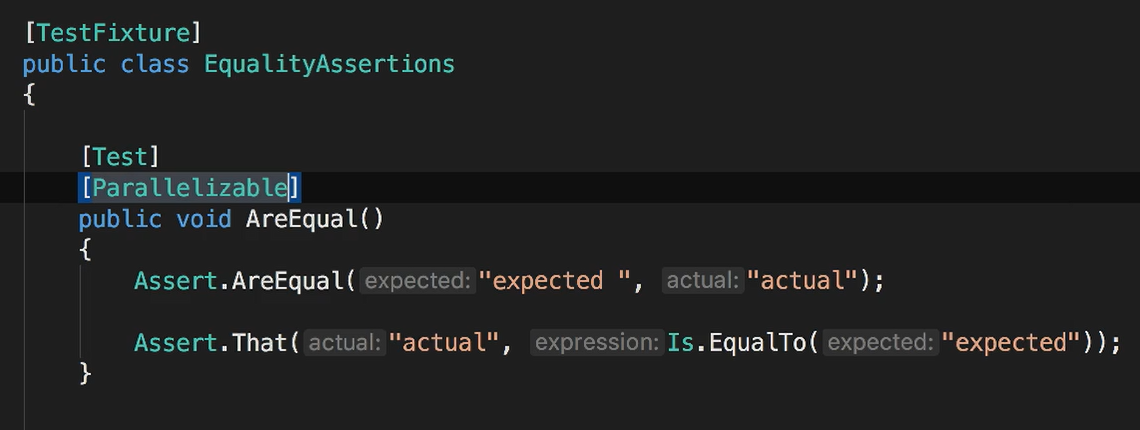
The [Parallelizable] attribute can be applied a test level, the fixture level or even at the assembly level.
NUnit also has the [Non Parallelizable] attribute to let you exclude tests, classes or fixtures from being able to run in parallel.
You can also control the maximum number of tests that run at the same time and this is done by setting the LevelOfParallelism attribute on the assembly.
This attribute is optional and if it's not specified, NUnit uses the processor account or 2, whichever is greater.
# Congratulations!
This concludes the test automation university course testing within NUnit.
If there's anything you would like to contact me about to ask me about NUnit, automation, or testing, contact me on Twitter, LinkedIn, or at my blog.

I hope you enjoyed the course now go forth and spread the testing love.
