

Transcripted Summary
Now I'm going to dig into how to get started with WebDriver. There are four tools that will be required to write and run test in this course, which are:
- Ruby
- Atom
- WebDriver
- ChromeDriver
# Ruby
First up is the programming language Ruby.
Ruby is required in this course in order to write and run the test examples. For more information on Ruby you can go to the home page and check it out.
There are several methods to install Ruby including:
- Package managers, which are the system provided tools that manage software packages;
- Installers, which install specific versions of Ruby;
- Managers, which help switch between multiple Ruby installations; and
- Directly from source code.
Using third party tools like, managers or package managers might be a better idea that allow you to more easily get set up with Ruby.
For OSX, Lenox, and Unix operating systems. I recommend using the manager RVM, which stands for the Ruby Version Manager.** **It is widely used, and it allows you to quickly and easily install Ruby.
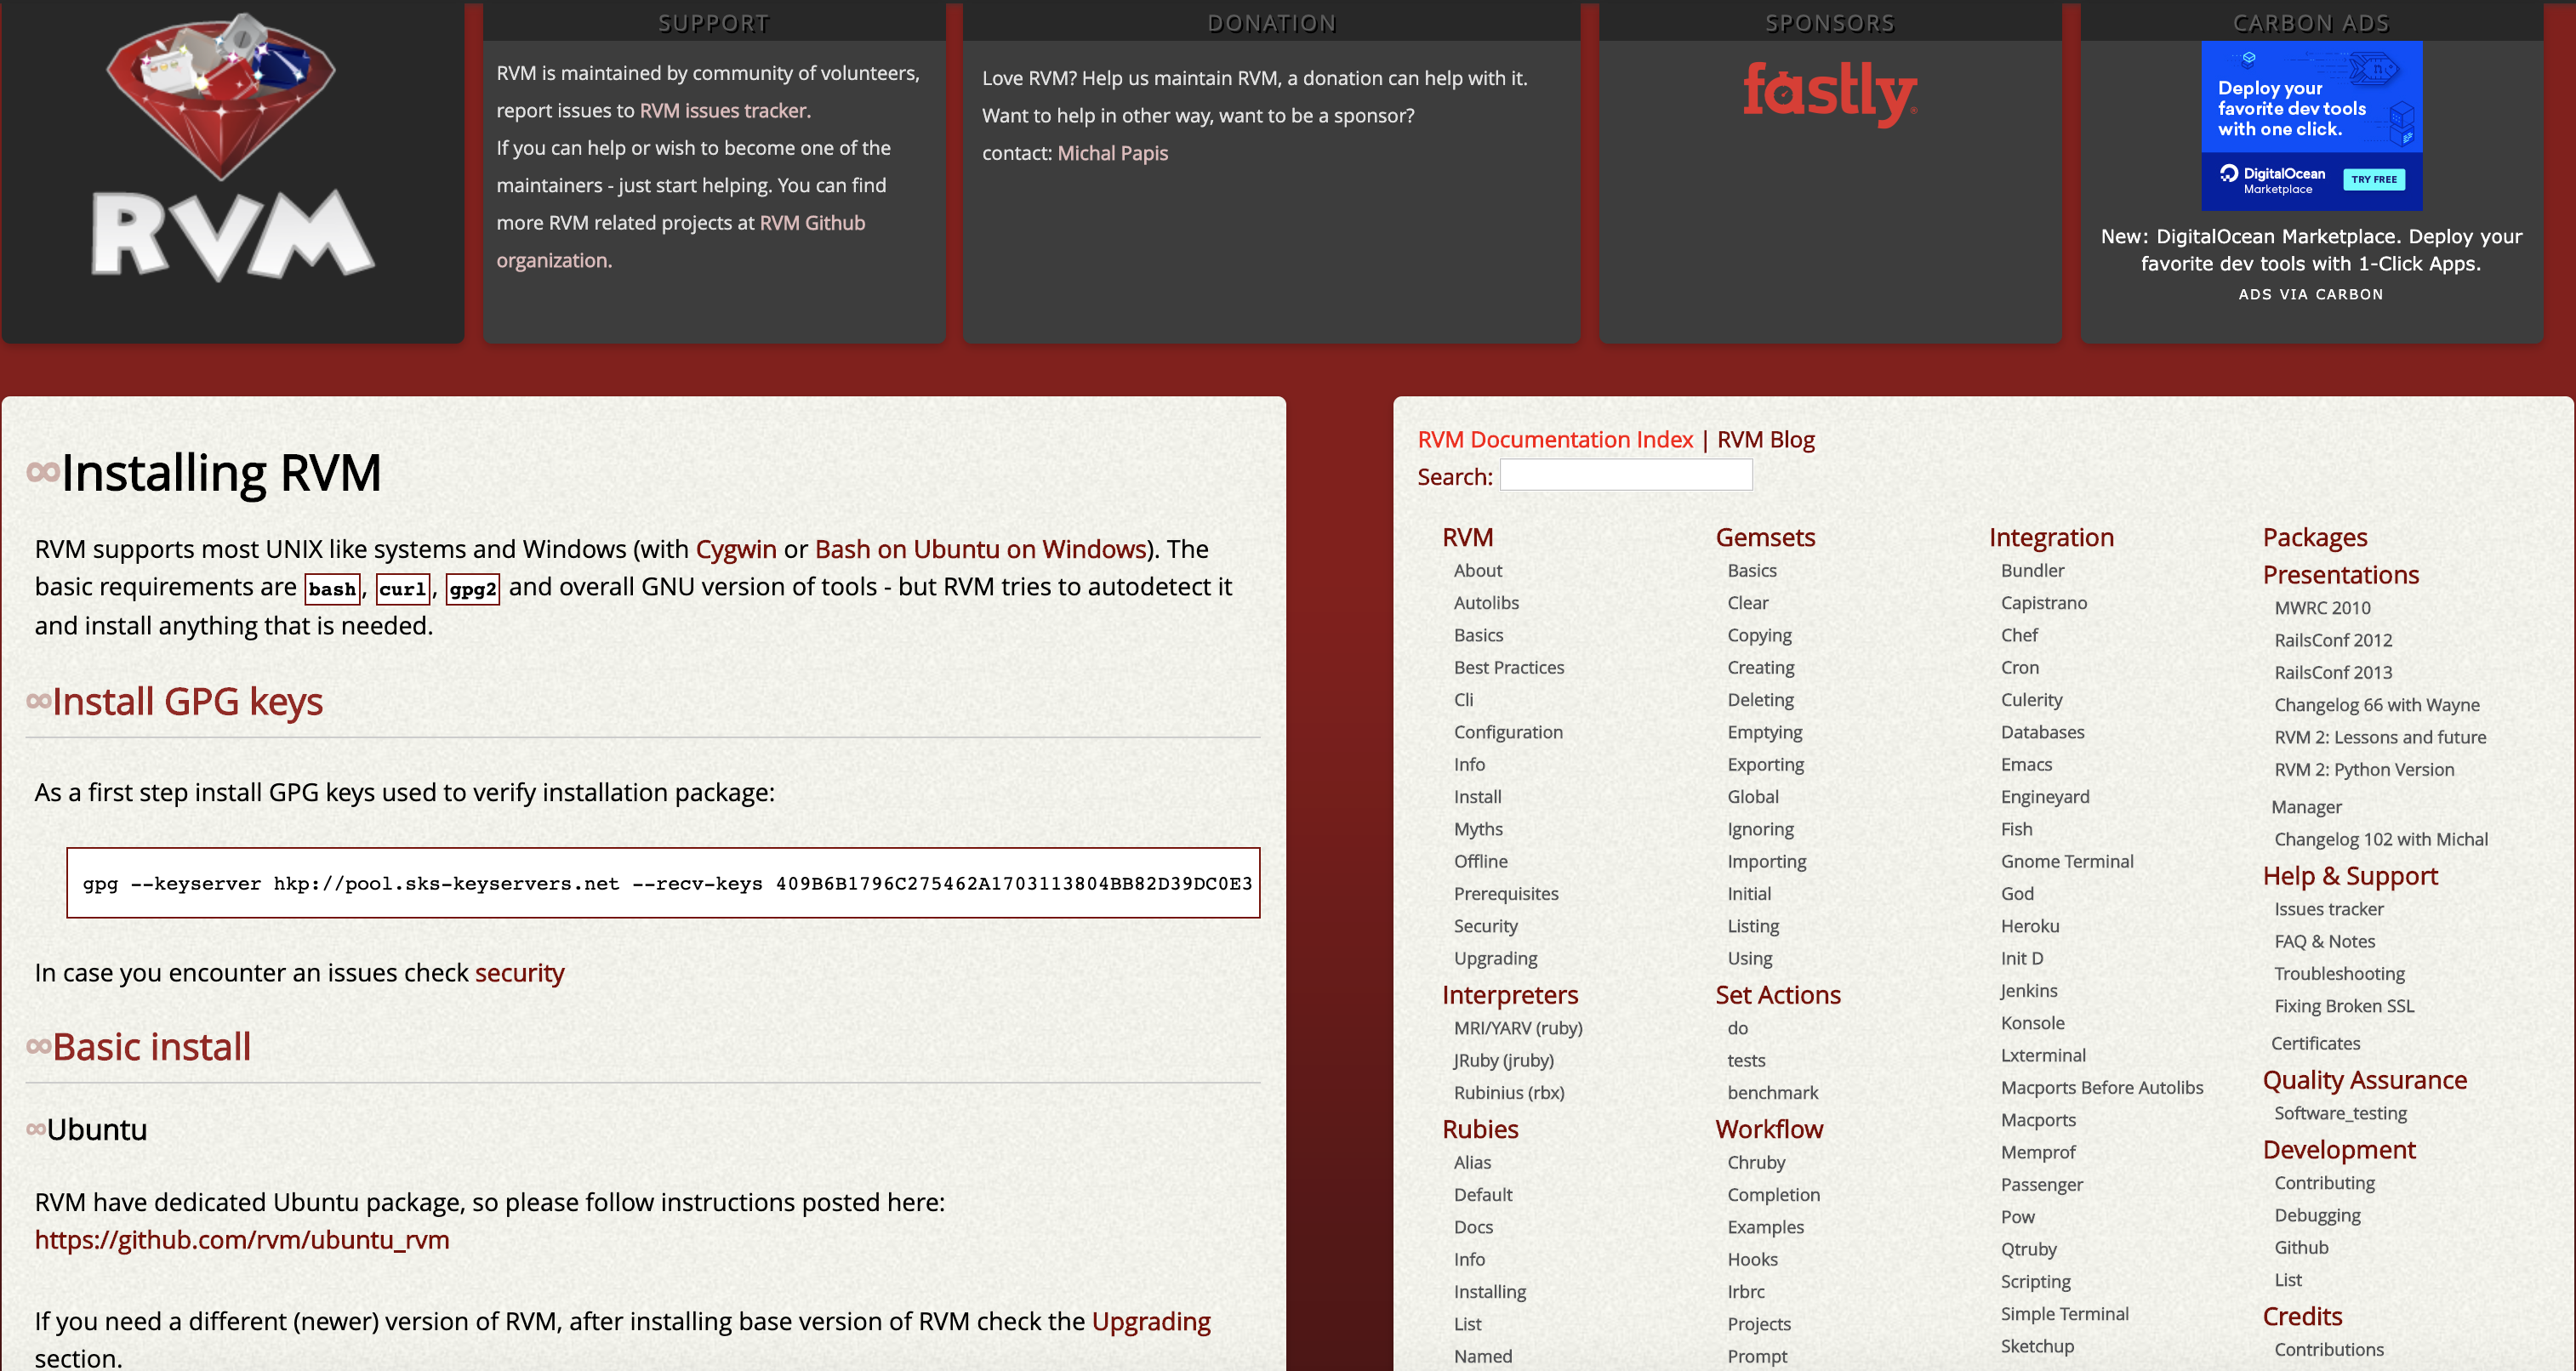
When I navigate to the installation page for RVM. I see instructions for how to install in multiple methods. I'm going to go ahead and select the option to “install RVM stable with Ruby”.
So, I highlight the statement and then copy it to my clipboard:
\curl -sSL https://get.rvm.io | bash -s stable –rubyNext what I want to do is open up a new terminal session, so I can install RVM there. Once I'm at the terminal, I'll go ahead and paste that command to install RVM with Ruby.
It should just take a minute to install RVM; and after doing that I can type:
rvm
to confirm that RVM was successfully installed and see all the different options available to use RVM.
- In order to install Ruby, I can use the Ruby Version Manager to install a specified version. I type:
rvm install
and then just put the version of Ruby. The current stable version now is 2.6.2
rvm install 2.6.2
And the installation will now begin to search for the binary Rubies, which might take some time, and complete the installation.
After a few minutes the installation will be complete. To confirm that I have successfully installed Ruby, I can type:
ruby -v
which will print out the current version of Ruby running with RVM.
# Atom
In this course I will be using the text editor Atom.

Atom is a very powerful text editor allowing easy code writing, project managing and collaboration.
Once I get to the Atom home page, I'll look for the download button in the middle of the page, which should show the current version of Atom as well as my operating system that I am using to download the Atom package.
So, I'll go ahead and select download, which will then start to download the zipped file for Atom.
Once the zip file is complete, double click to open it up, unzip the contents and walk through the set-up process for Atom.
I don't need Atom right now, but we'll come back to it shortly. So, make sure to complete the set up process.
# Selenium WebDriver
Next, we'll need to install Selenium WebDriver.
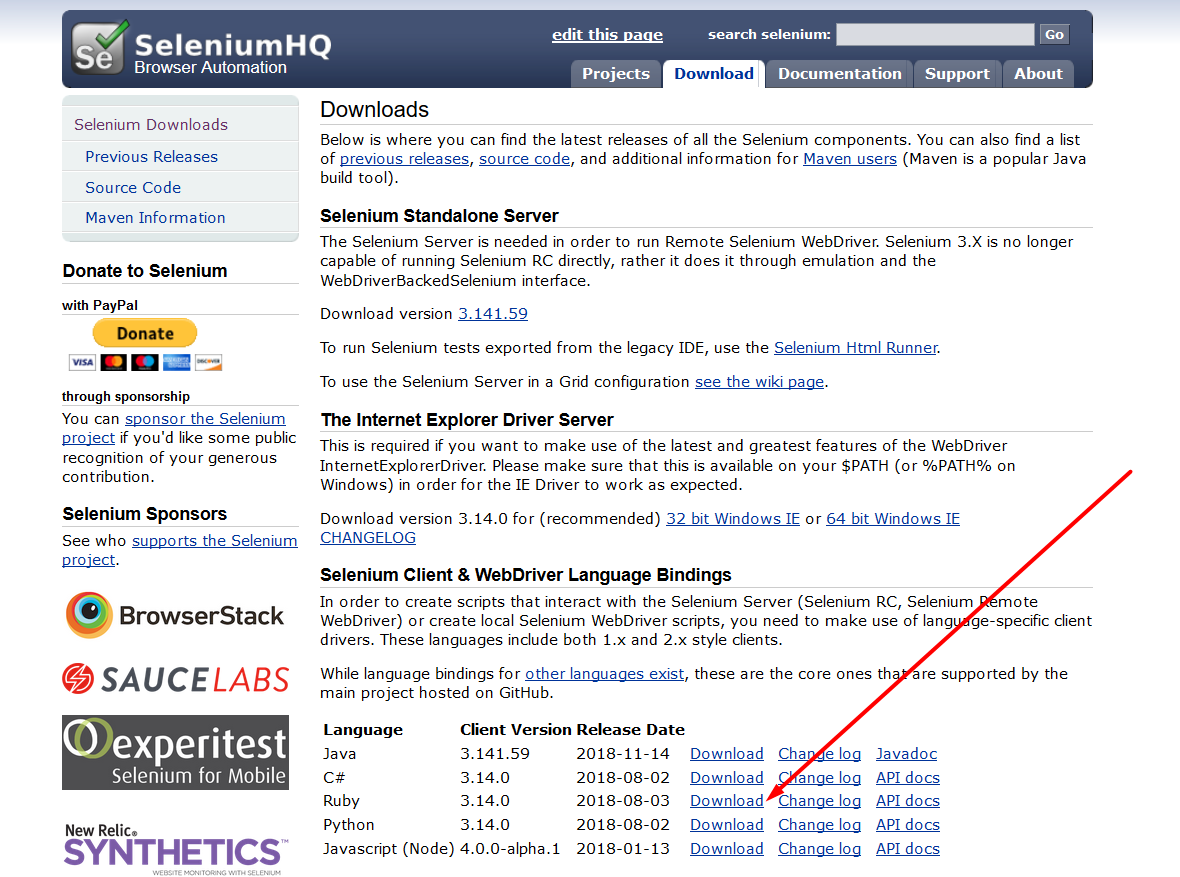
To get started I'll go to the Selenium HQ website and install the WebDriver language bindings for Ruby.
So once, I'm at the download page, I'll scroll down to the client and WebDriver language binding sections and click on the download option for Ruby.
After doing this I am redirected to the Ruby gems page for Selenium WebDriver.
Now let's take a minute to talk about what Ruby gems are.
- Gems are independent software packages. You can think of it as a library or plug in.
- RubyGems is the package management framework and each gem needs to be installed before using it.
- Gems can either be installed, via gem install or via the gem bundler
So, as I just mentioned there are two ways to install gems.
- Install gems from command line
gem install
is a command that comes built in with the RubyGems library and is included in Ruby by default. It is able to search the packages available and install the specified software packages into the local repository.
- Bundle install — when gems are installed with the help of a bundler, gems are defined in what's called a Gemfile. Those gems are specified in the file and can all be installed with the bundler. This is beneficial so that any other individual, or system that builds and runs the application, will be able to install the same versions of the gem easily. It is absolutely necessary for shared projects.
For this course I'm going to install gems directly, so that they will be available locally for a specific project.
So, from my home directory, what I want to do is to create a new directory called, WebDriver Ruby Practice. To do that I can type:
mkdir webdriver-ruby-practice && cd webdriver-practice
To create and switch to that directory.
And when I type:
pwd
I can see that my directory was changed successfully to “webdriver-ruby-practice”.
From that project I'll now install Selenium WebDriver.
So first let me hop back over to the Selenium WebDriver Ruby gems page and I look for instructions of how to install this to my project on the right-hand side of the page.
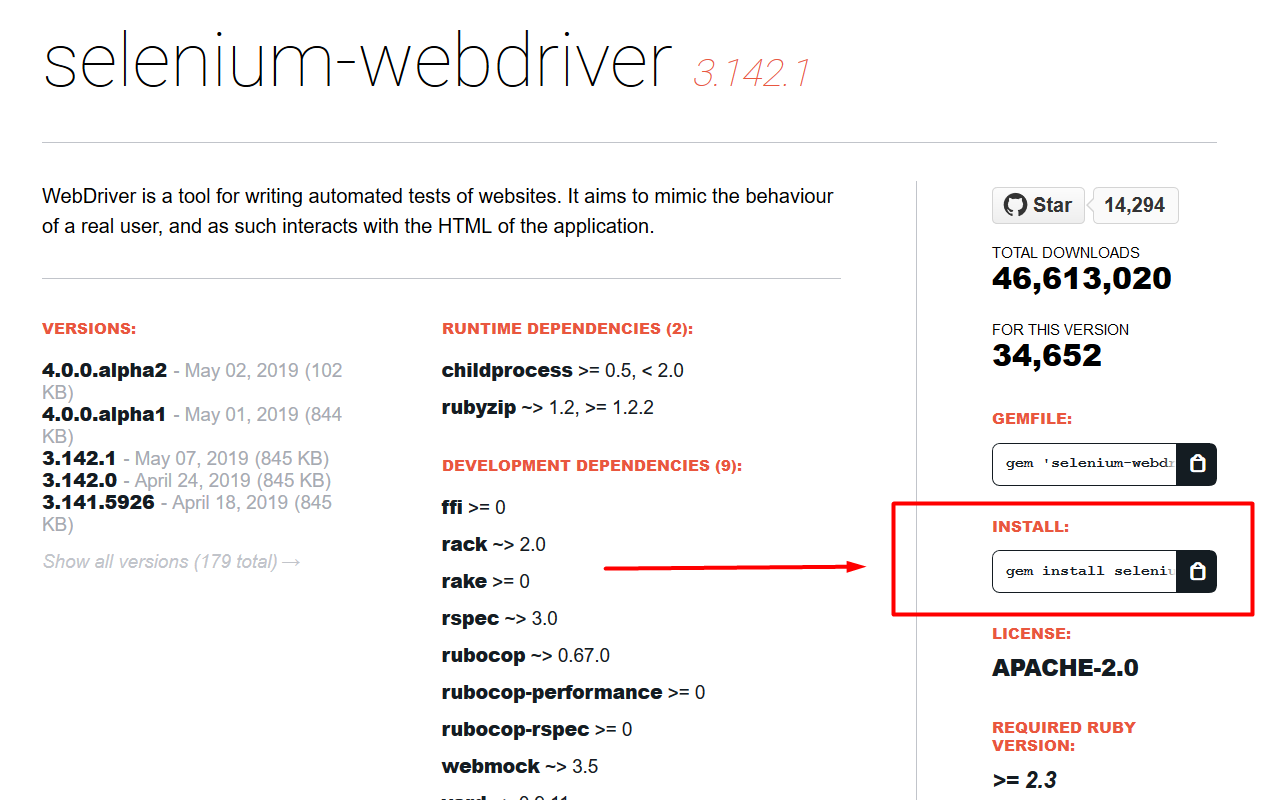
I see that there are two options for gem file and install. I'm going to go ahead and use the second option to use the gem install and copy that to my clipboard to save for later.
Then I will paste the command to install the Selenium WebDriver gem. This will likely take a few minutes:
gem install selenium-webdriver
After it's complete. I can type:
gem list “selenium-webdriver”
and press enter, which will then print out the local gem of Selenium WebDriver and the version that I am using.
# ChromeDriver
Now I'm going to take a minute to share more details about the browser driver used to run test in WebDriver.
Each of the major browsers has their own driver, which are maintained by the browser vendor and not Selenium
All the drivers are written in the same language as the browser
A thin wrapper is implemented around the browser, which makes it easy to use the bindings, without knowing how the code is working under the hood.
Information about the browser drivers can be found at www.seleniumhq.org/download.
In this course I'll be sticking to using ChromeDriver, and to use ChromeDriver specifically, I'm going to use a gem called chromedriver-helper.
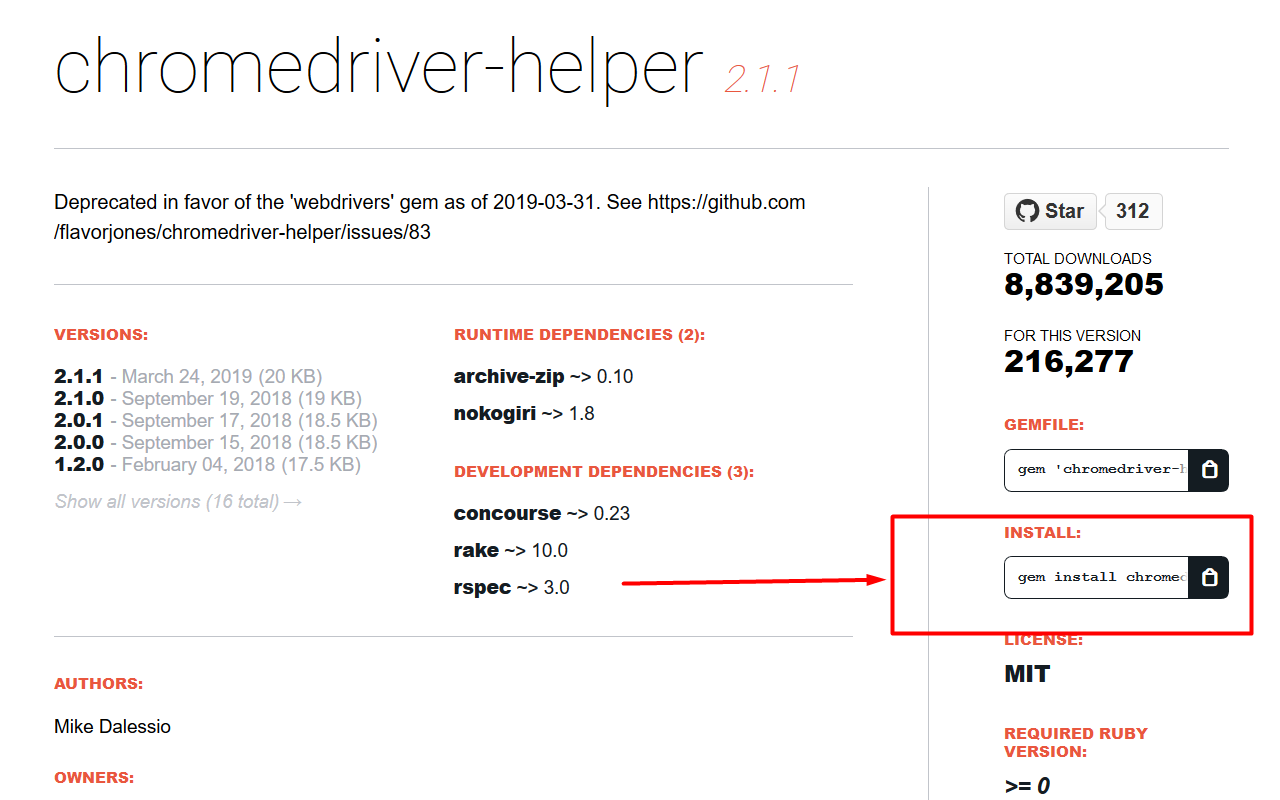
- Once I'm at the RubyGems page for chromedriver-helper, I want to look over to the right-hand side of the page again and copy to clipboard the option to install the gem directly.
- Once I have that copied, I'll go back over to my terminal and paste the command to install the gem for chromedriver-helper.
This will likely take a few minutes. Once that is complete, I'll type:
gem list chromedriver-helper
and press enter to confirm that chromedriver-helper was installed. And I see the version of the gem that was installed.
I can also type:
"chromedriver-helper”
on its own, which will then start up Chromedriver as a background process.
For now, I don't need this running but later once I run test, I will need that to be running in the background. So, for now I'll just press control C to end that process.
Now we're all set up to write and run test successfully throughout the rest of this course.
