

Transcripted Summary
Now that you have seen a basic test example with basic actions, let's focus on other examples of commonly actions that are automated in WebDriver test.
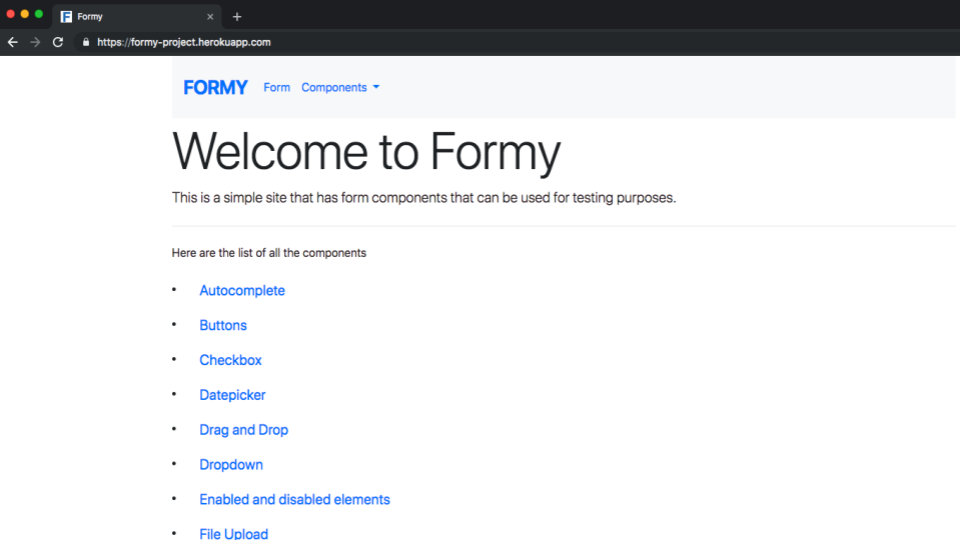
The goal is that you will become more familiar with WebDriver. I will be using a test application that I built called Formy, which is a simple site that has form components that can be used for testing purposes.
As I go through each example, I will first inspect the elements that I want to use in the test. Then I will drive actions on these elements.
Throughout this chapter I'll be focusing on examples for:
- keyboard and mouse input,
- autocomplete,
- scroll to element,
- switch context,
- and drag and drop.
First up, let's focus on keyboard and mouse input.
I'll start by navigating to the Formy application shown here at https://formy-project.herokuapp.com/.
Once I'm on this page, I want to call out a few different things.
All of the components are listed as radio button options down below. It can also be selected up top from the drop-down menu, and then there's also a form which we'll be automating later.
Let's go ahead and start on the first example for keyboard and mouse input.
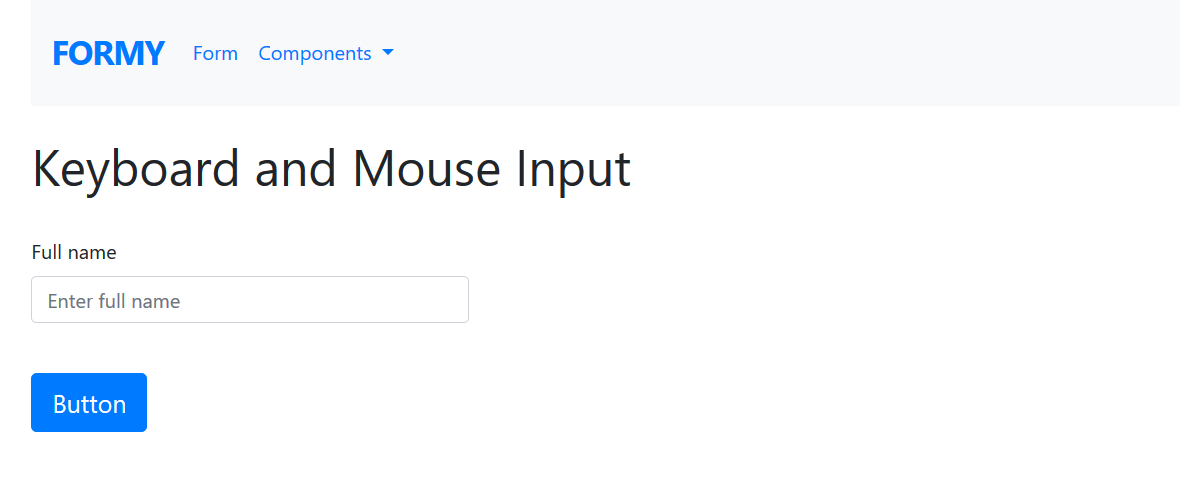
So, to do that, I'll start by pressing the “key and mouse press” option down below. And on this page, I see that there is a field for full name and a button called “button”.
So, let's start by automating an example for the keyboard and mouse input.
I'll start by opening up the project directory that I created earlier when I was installing Selenium WebDriver and chromedriver-helper.
From that directory location, I can type atom . (atom dot) to open Atom, and that will open the project directory.
If for some reason the command atom doesn't open Atom, you'll need to create a symlink. In your terminal, type the command that's shown here to create a symlink and then be able to use the command to open Atom from the terminal.
ln -s /Applications/Atom.app/Contents/Resources/app/atom.sh /usr/local/bin/atom
With the WebDriver Ruby practice directory open, what I want to do is to start adding tests to this project.
To do that I can type command N to create a new file, and command S to save the file — “keypress_mouse_test.rb” — and save.
# Keyboard Mouse Test Example Code
require "selenium-webdriver"

driver = Selenium::WebDriver.for:chrome

driver.navigate.to "https://formy-project.herokuapp.com/keypress"

name = driver.find_element(id: 'name')

name.send_keys('Meaghan Lewis')

button = driver.find_element(id: 'button')

button.click
Let’s walk through this test.
What I want to do is start out by requiring "selenium-webdriver", which I will do for any WebDriver test written throughout this class.
require "selenium-webdriver"Then what I want to do is to create a new instance of the driver to create a new instance of the ChromeDriver.
driver = Selenium::WebDriver.for:chromeAnd then what I'll specify the URL to navigate to. Going back over to the test application, I can go ahead and copy this URL (https://formy-project.herokuapp.com/keypress). Once I'm back at the test, I will paste that URL here on line 4.
driver.navigate.to "https://formy-project.herokuapp.com/keypress"And then what I want to do is to automate entering text into the name field. So, what I can do is to specify a new variable called
name. Then what I want to do is to specify how to locate that element. From the test application, I'm going to go ahead and choose to inspect the full name field, and I see that it has an ID of “name”.name = driver.find_element(id: 'name')And then what I'll want to do is to send keys to that
namefield. I'll just go ahead and use my own name in this situation, "Megan Lewis", but any name is fine though.name.send_keys('Meaghan Lewis')And then in addition to fields, mouse input is most commonly used to click buttons. So, I'll want to write a step to click the button on the test application. Going back to the test application, I will choose to inspect the button, and I see that this button has an ID of “button”. And then I will specify a new variable called “button”, and then tell the driver to find the element with an ID of button.
button = driver.find_element(id: 'button')And then I will click the button.
button.click
And with that, this simple test to send keys to a field and click a button is complete.
So, I'm going to go ahead and save this, and move on to the next example.
Resources
Quiz
The quiz for Chapter 3 can be found at the end of Section 3.5
