

Transcripted Summary
This chapter is all about interacting with components.
Sometimes even the most commonly used web components can be tricky to automate. Even if the component just requires input through the keyboard, there can be some nuances with how the component needs to be automated.
In this chapter, I'll show examples of how to automate some of those common components. This includes
- Radio buttons and checkboxes, which allow us to select a value
- Date pickers, which allow us to pick a date from a calendar menu
- Dropdown menus with options to select from the menus
Let's take a minute to talk about radio buttons.
They are used commonly in forms for selecting options. Since radio buttons are used widely in websites and forms, you inevitably need to automate them as well. Radio buttons can be located using a variety of strategies, depending on what HTML is defined for that component.
On this page, there are three different radio buttons available.
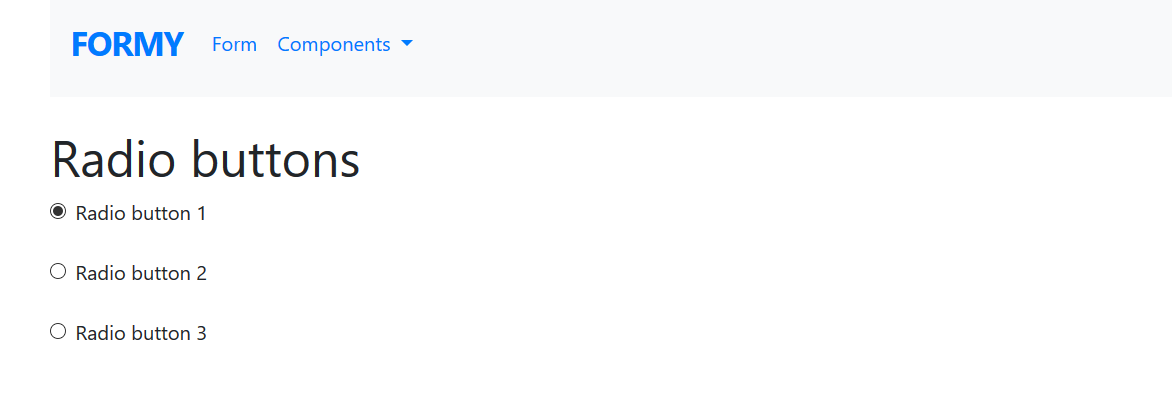
When I inspect these three radio buttons, I find that each button is defined in an input tag, and there are various attributes that define each button.
I want to start writing a test now to automate these three radio buttons.
I'll start by going over to Atom, and in the WebDriver Ruby Practice Project, creating a new class. I'll call this class “radio_button_test.rb” and save.
# Radio Button Test Example Code
require "selenium-webdriver"

driver = Selenium::WebDriver.for :chrome

driver.navigate.to "https://formy-project.herokuapp.com/radiobutton"

radio_button_1 = driver.find_element(id: 'radio-button-1')

radio_button_1.click

radio_button_2 = driver.find_element(css: 'input[value="option2"]')

radio_button_2.click

radio_button_3 = driver.find_element(xpath: '/html/body/div/div[3]/input')

radio_button_3.click
Let’s walk through this test.
First, I will:
require "selenium-webdriver"And then start filling out the body of the test, by first creating a new instance of the web driver
driver = Selenium::WebDriver.for :chromeLet me go back over and copy this URL and paste it in the test
driver.navigate.to "https://formy-project.herokuapp.com/radiobutton"
So now I want to start filling in the steps to automate the radio buttons.
I'll focus on the first radio button, so going back to the test application, I want to inspect that button.
Back at the test application, inspecting the first radio button, I see that it has an ID, so I'll go ahead and just copy this ID to use in the test.
Going back over to Atom, I'm now going to find the element with the ID of “radio-button-1”
radio_button_1= driver.find_element(id: 'radio-button-1')Then, what I want to do is click that radio button on line 7
radio_button_1.click
Next, I want to focus on the second radio button.
So, from the test application, I will go ahead and inspect that second button. For this radio button, there are no ID’s or classes. And the name that is shown is not unique, and is in fact, shared between other radio buttons. I'll go ahead and select to use the value to locate radio button two.
So, I'll copy this value now.
Then I will go back over to Atom, and start defining the second radio button. I'm going to go ahead and say use a CSS selector to look for the input value where the value is equal to option 2.
radio_button_2 = driver.find_element(css: 'input[value="option2"]')And then on the next line, I'm going to say
radio_button_2.click
Now back at the test application, I want to inspect the third radio button.
I see that the HTML is pretty much the same as with the second radio button. For the sake of this example, let's just say that there is nothing else to uniquely identify this radio button. I want to go ahead and use the XPath. This is not the most recommended locator strategy but sometimes, this might be one of the only options.
So, to find an XPath for an element, what I can do is right click and select the option to “copy the element’s XPath”. That will copy that to my clipboard.
Going back over to the test now, I wanted to define a variable called radio button three and tell the driver to find this element using XPath and then what I can do is just go ahead and paste that XPath
radio_button_3 = driver.find_element(xpath: '/html/body/div/div[3]/input')And then I want to click on that radio button.
radio_button_3.click
So, there are three different ways that you might go about automating radio buttons.
Again, it all depends on the application and the locators that are available. This just goes to show that a radio button can be found in a variety of ways using a variety of locator strategies.
Checkboxes can also be automated the same way as radio buttons using a variety of locator strategies that I showed throughout this video.
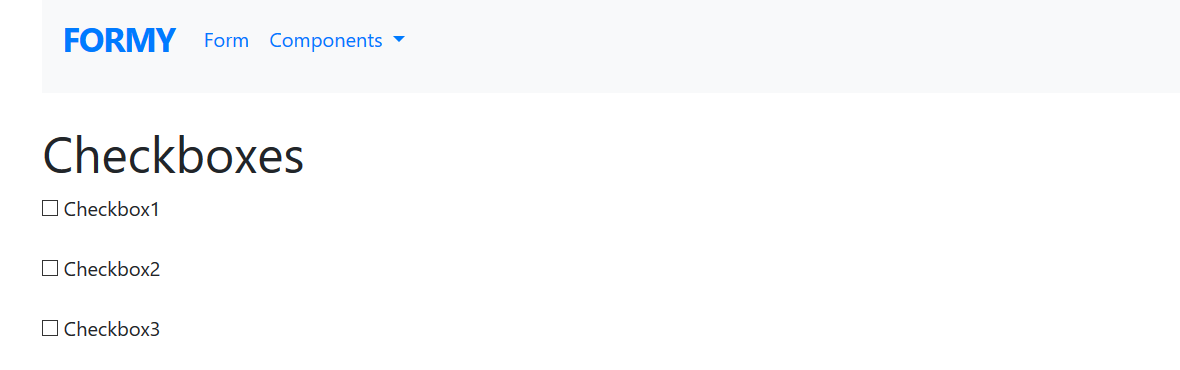
If you're interested in automating checkboxes, I encourage you to go to the checkbox page in the test application and run a test to automate the three checkboxes there.
Resources
Quiz
The quiz for Chapter 3 can be found at the end of Section 4.3
