

Transcripted Summary
In this chapter, we're going to focus on the IWebElement Interface.
With IWebDriver, we wrapped it into our own Driver class. We want to do something very similar with IWebElement.
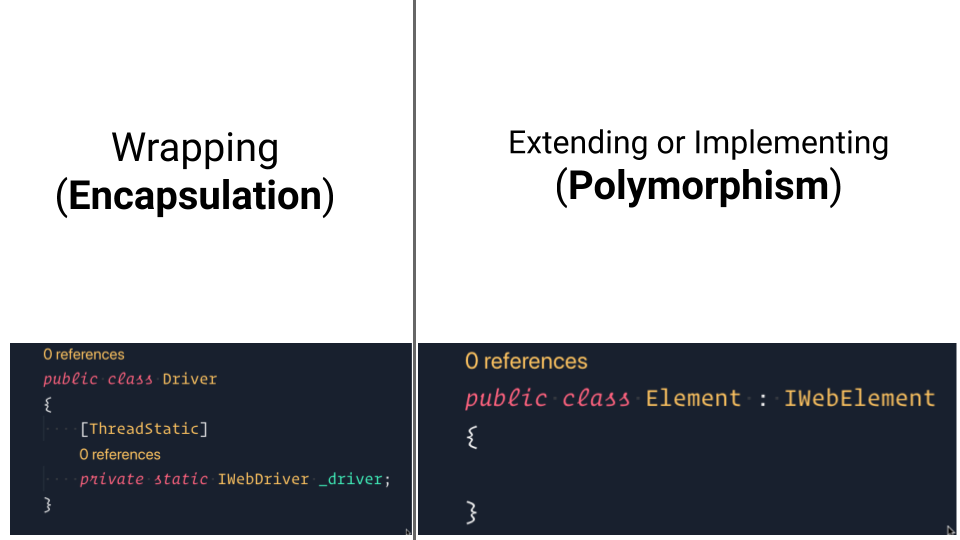
But instead of wrapping IWebElement, we'll be extending it.
Like Driver, logging was a good reason for this, but we can then create any functionality and tie it to the element object we use throughout our pages and tests.
In the last chapter, we added some logging to our DeckBuilderPage class, but all we were saying was “click this element” right before we actually clicked that element. It would be much cleaner to have the .Click log this step for us automatically.
We do not get that functionality out of the box, but we can add it once we extend IWebElement.
# Extending IWebElement
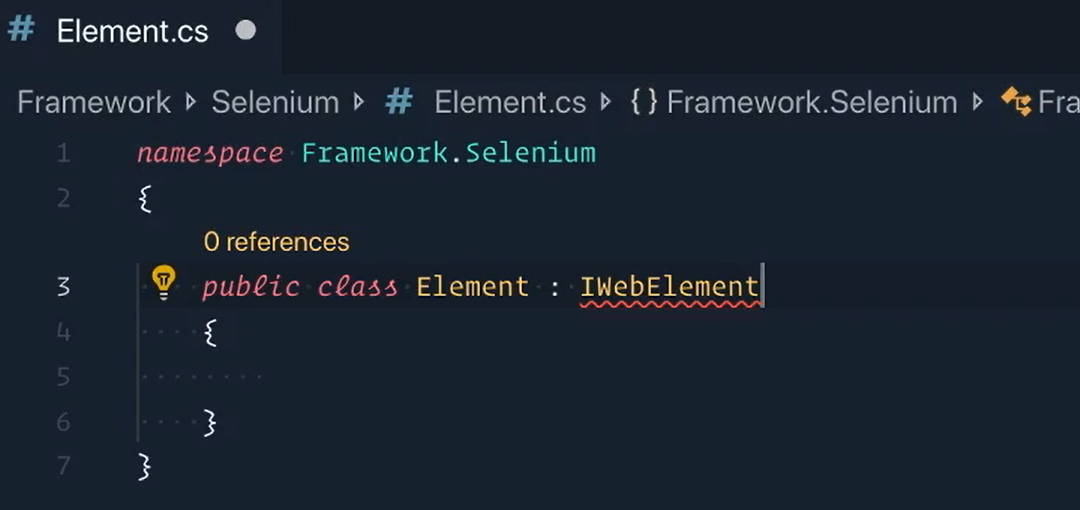
The first thing we'll do is to add the Element class inside of Framework.Selenium.
So right click > New File and it will be “Element.cs” and add our namespace = Framework.Selenium.
Then because we're extending it, or implementing the interface, let's make sure we do that with public class Element : IWebElement.
Let's make sure we solve these errors.
- The first one is to bring in
OpenQA.Selenium. - The second one is to Implement the Interface.
You'll see everything gets added automatically for us.
The first thing we'll do is to add a readonly IWebElement.
This'll be _element and it will be private to just this class.
private readonly IWebElement _element;
The second one we'll do is the current element and it's just going to be “Current”.
It will be whatever _element is.
But if it's normal, we'll make sure to throw a new System.NullReferenceException.
public IWebElement Current => _element ?? throw new System.NullReferenceException("Current IWebElement _element is null.");
There we go.
All right, the next piece is the constructor.
So public Element and we need to pass in in IWebElement.
Then our local _element will be whatever the element we pass in is.
public Element(IWebElement element)
{
    _element = element;
}
Great.
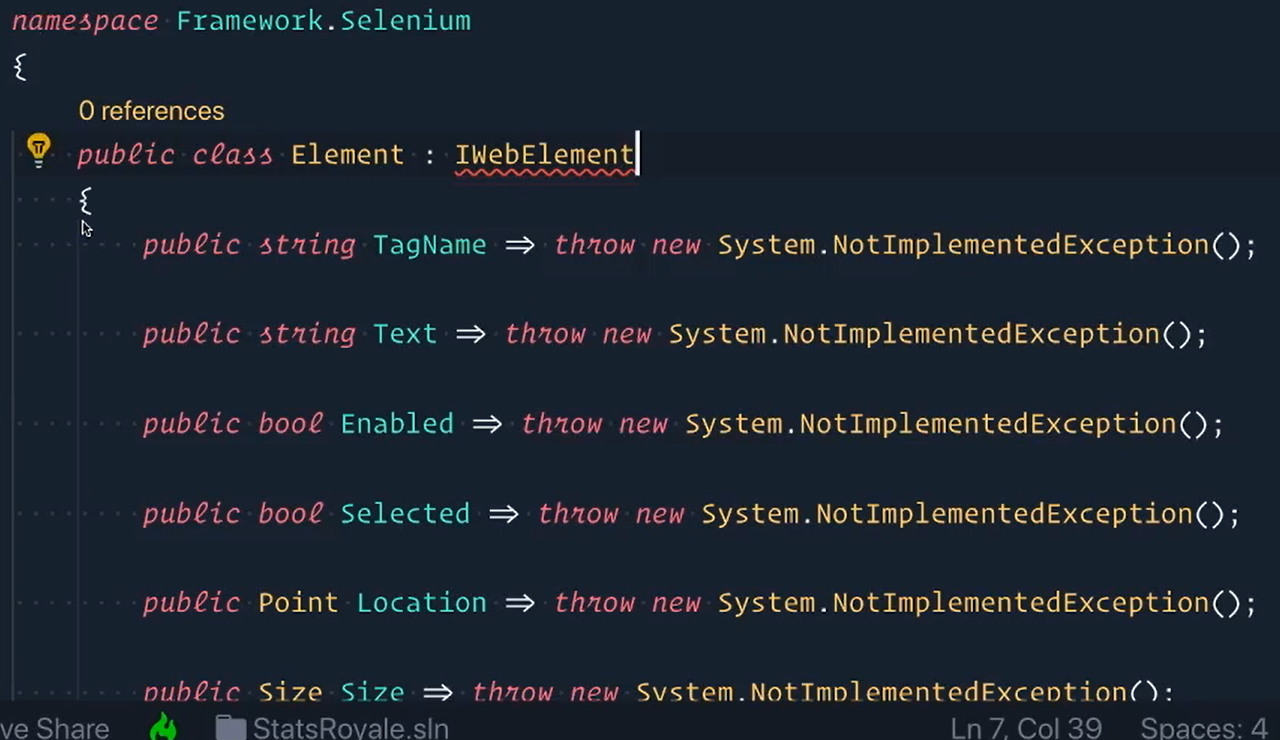
And now the next thing we'll do is right now all of these have a throw new System.NotImplementedException, we're going to replace it with the actual implementation.
For the first one, public string Text well delete that exception and we'll change it to Current.Text.
And you can see the pattern here.
We're going to do this for all of the other members and I'll just fast forward through this part real quick.
public string TagName => Current.TagName;
public string Text => Current.Text;
public bool Enabled => Current.Enabled;
public bool Selected => Current.Selected;
public Point Location => Current.Location;
public Size Size => Current.Size;
public bool Displayed => Current.Displayed;

public void Clear()
{
    Current.Clear();
}

public void Click()
{
    Current.Click();
}
Note
This is just a partial view of where I made the changes. You can see the full code in the Element.cs file in Git Repo link in the resources section.
There we go.
Let's scroll back up to the top.
We're now going to add another member — this one is going to be a String.
We're going to call it “Name” and this is going to be the name of the element.
public readonly string Name;
The last one is the By locator that we use.
So, public By, we'll call it “FoundBy”, and we'll make this a “get set” — so it's a property.
Then let's make sure anytime we find an element we give it a name (string name).
And now our upper-case Name will equal the name that we pass in.
public By FoundBy { get; set; }

public Element(IWebElement element, string name)
{
    _element = element;
    Name = name;
}
Great.
The last thing we'll do in this class is to add the logging.
Here in Click, we're going to say FW.Log.Step and then we're going to click on the elements.
So, we'll say “Click” and then whatever the current name of the element is.
public void Click()
{
    FW.Log.Step($"Click {Name}");
    Current.Click();
}
Awesome.
Now let's switch back over to our Driver.
In our Driver, we now need to find the elements.
Right now, we're finding IWebElements — we want to make sure we find our element.
So, let's remove this “IWeb” and make it just Element.
And now we need to also include the name of the element, so we use string, elementName.
Now that we have that we can now return an Element, not an IWebElement:
- The first argument is the element itself
- The second one is the name of the element
And then we'll also include the By locator that we used.
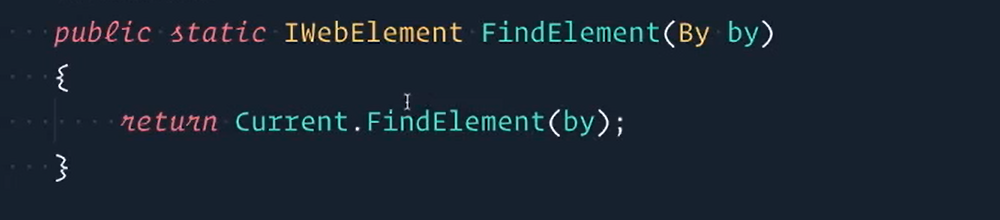
public static Element FindElement(By by, string elementName)
{
    return new Element(Current.FindElement(by), elementName)
    {
        FoundBy = by
    };
}
Yay. Beautiful.
The next step is to change the elements on our pages.
You'll see they're already red.
We'll start with the CardDetailsPage and then we'll scroll all the way down to our Map.
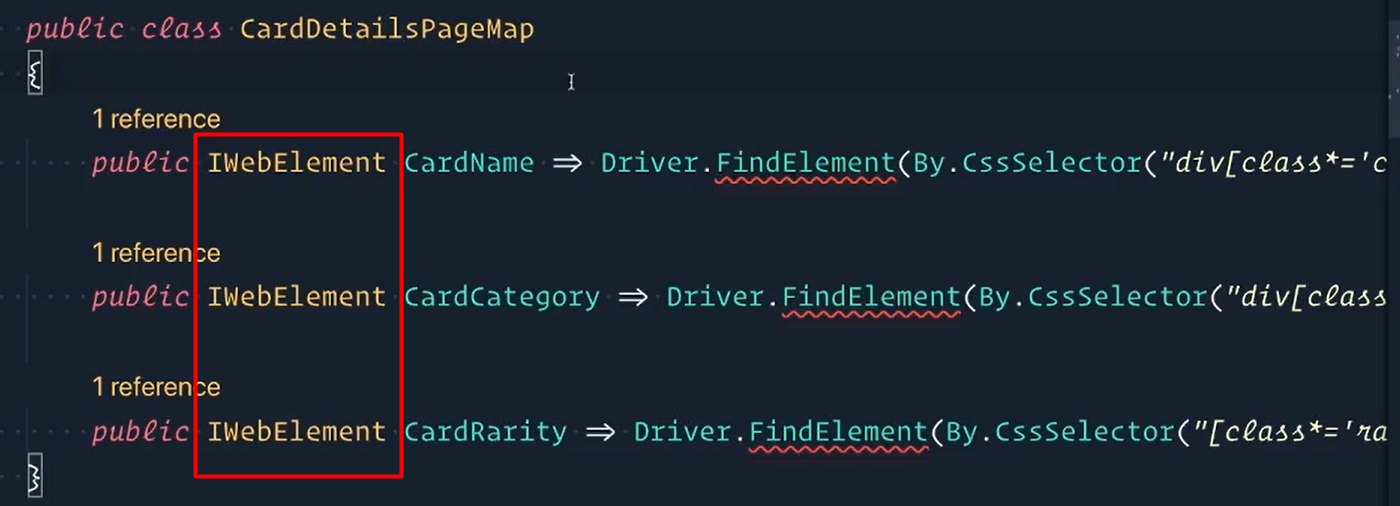
And we already get red “squigglies”.
The first thing we'll do is to add the names of the element for these — so, at the very end here we'll say comma and let's give them a name.
- This one is just “Card Name”
- The second one here, his one we'll just call “Card Category”
- And last one here, this one is just “Card Rarity”
There we go.
So, we got rid of that Find Element issue
Notice how nothing else changed, but we know that we want Element (not IWebElement).
I'm going to use SHIFT + OPTION and then click and drag so that we'll actually do a multi-line edit, which is pretty cool.
public class CardDetailsPageMap
{
    public Element CardName => Driver.FindElement(By.CssSelector("div[class*='cardName']"), "Card Name");

    public Element CardCategory => Driver.FindElement(By.CssSelector("div[class*='card__rarity']"), "Card Category");

    public Element CardRarity => Driver.FindElement(By.CssSelector("[class*='rarityCaption']"), "Card Rarity");
}
Now that we're done with that page, we can switch over to the next page which is CardsPage.
And we'll do the same thing here.
You'll see that we have two IWebElements, so we're going to do a different kind of replace.
We'll do Command F > Change “IWebElements” and then Replace it with “Element”.
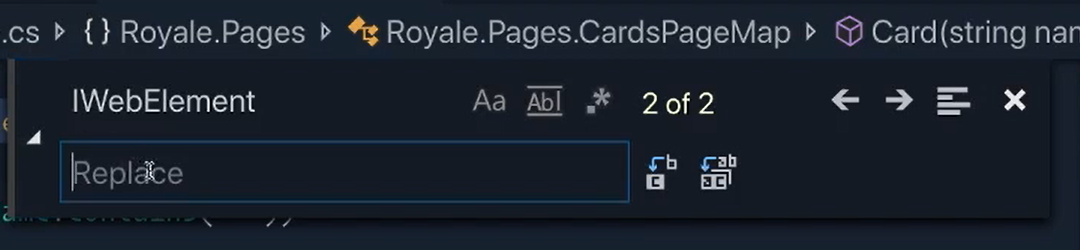
If I enter once, it only changes 1. Or I can click on this icon here to change all of them in the file.
Close this and now you'll see that both IWebElements have now been changed to just say Element.
Another pretty cool feature.
We'll go to the [last line of code] and at the end we're going to say “Card” and we can actually just use the name that we're passing in already.
    public Element GetCardByName(string cardName)
    {
        var formattedName = cardName;

        if (cardName.Contains(" "))
        {
            formattedName = cardName.Replace(" ", "+");
        }

        return Map.Card(formattedName);
    }
}

public class CardsPageMap
{
    public Element Card(string name) => Driver.FindElement(By.CssSelector($"a[href*='{name}']"), $"Card: {name}");
}
And there we go.
So, this page is done.
Onto the next page; we have our CopyDeckPage.
Same thing in here.
We'll scroll down and I'm going to go with the Command F to replace for this one — IWebElement I want to change to Element — and change all 7 of these. There we go.
I'll give these the names:
- So, this one is just “Yes Button”
- This one is “Copied Message”
- This is “No Button”
- And so on…
Feel free to call these whatever you'd like.
Here we go:
public class CopyDeckPageMap
{
    public Element YesButton => Driver.FindElement(By.Id("button-open"), "Yes Button");

    public Element CopiedMessage => Driver.FindElement(By.CssSelector(".notes.active"), "Copied Message");

    public Element NoButton => Driver.FindElement(By.Id("not-installed"), "No Button");

    public Element AppStoreButton => Driver.FindElement(By.XPath("//a[text()='App Store']"), "App Store Button");

    public Element GooglePlayButton => Driver.FindElement(By.XPath("//a[text()='Google Play']"), "Google Play Button");

    public Element OtherStoresButton => Driver.FindElement(By.Id("other-stores"), "Other Stores Button");

    public Element AcceptCookiesButton => Driver.FindElement(By.CssSelector("a.cc-btn.cc-dismiss"), "Accept Cookies Button");
}
And this page is now done.
On to the DeckBuilderPage.
We can get rid of these logs because we're already doing it within our Element.
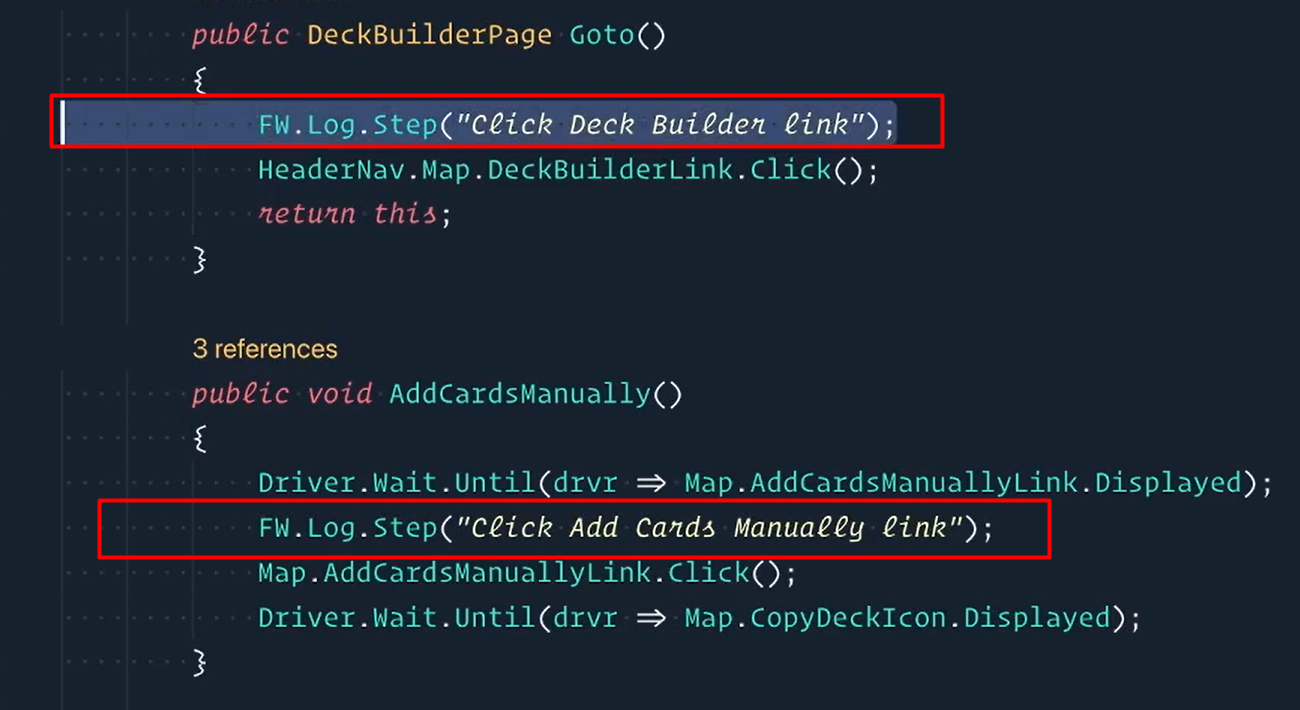
And this one too [in the CopySuggestedDeck method].
Let's clean a few things up and I think everything else looks good.
public class DeckBuilderPageMap
{
    public Element AddCardsManuallyLink => Driver.FindElement(By.XPath("//*[text()='add cards manually']"), "Add Cards Manually Link");

    public Element CopyDeckIcon => Driver.FindElement(By.CssSelector(".copyButton"), "Copy Deck Icon");
}
Awesome. On to the next page.
Let's go to our HeaderNav.
Same thing in here.
public class HeaderNavMap
{
    public Element CardsLink => Driver.FindElement(By.CssSelector("a[href='/cards']"), "Cards Link");

    public Element DeckBuilderLink => Driver.FindElement(By.CssSelector("a[href='/deckbuilder']"), "Deck Builder Link");
}
I think you guys are getting the gist.
All right, close that. Things are looking great.
Let's see if we can run our tests.
dotnet test --filter testcategory=copydeck
And let's see what output we now get inside of our text logs, now that we're using our Elements class and doing logging in there.
It looks like everything passed.
Now let's close this and let's take a look at those logs now.
Going down here, look at the first one and open this up.
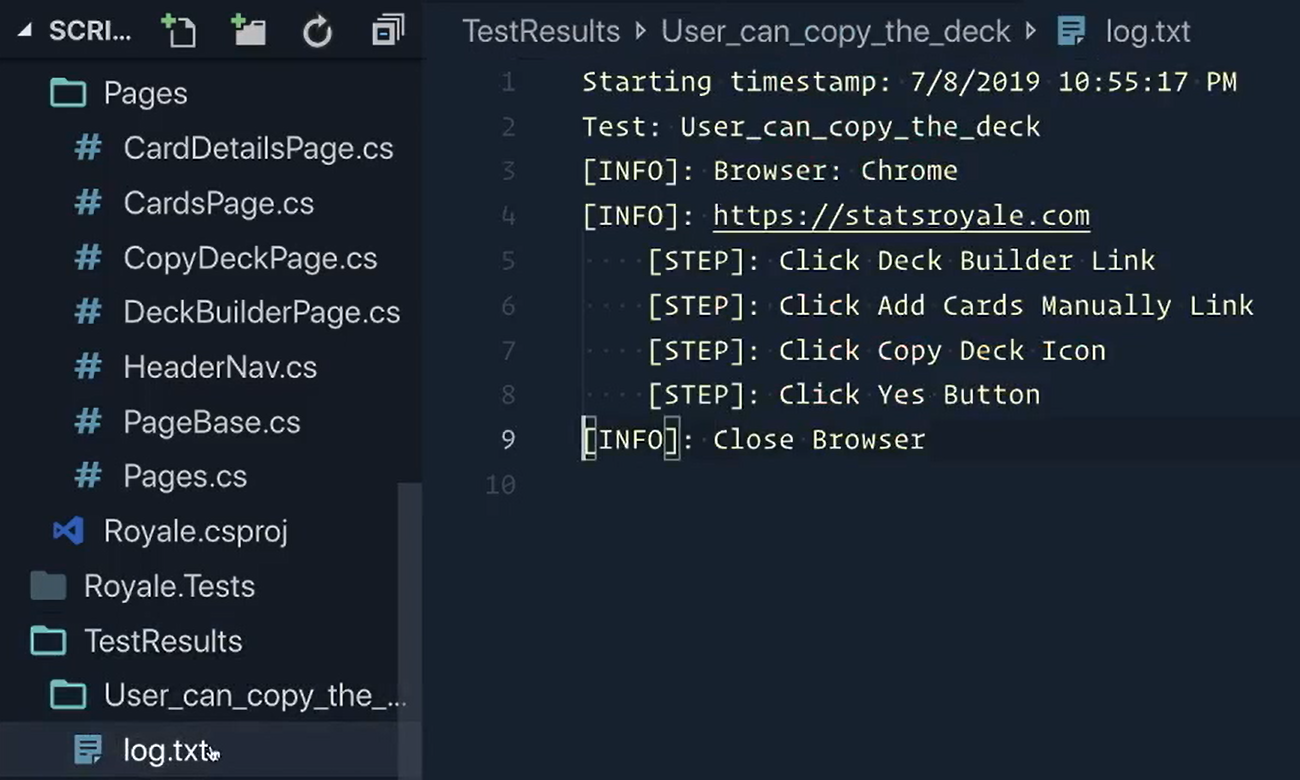
Take a look at that. Everything's still there if not more, still crisp and clean.
# Extending IList
We'll quickly wrap this chapter up by also extending a collection of IWebElements.
We aren't using this in our pages yet, but it's a great time to do it.
First thing we'll do is make a new class [inside our Selenium folder] called “Elements.cs” and make your namespace of course.
Once you have that, we're then going to define our class public class Elements and we're going to have this inherit from a ReadOnlyCollection of IWebElement.
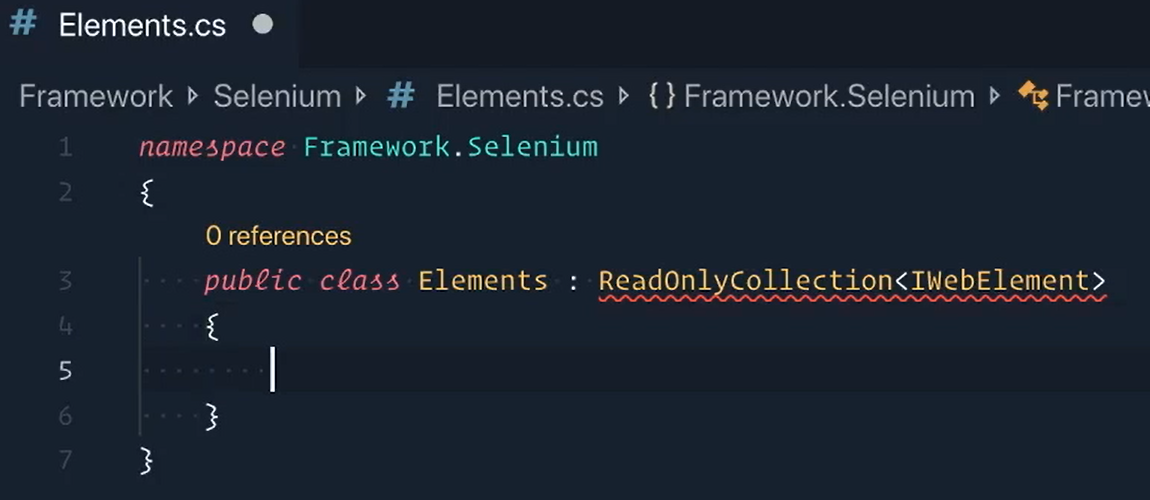
Now this is different than the Interface because we're not implementing it, we're inheriting everything inside of ReadOnlyCollection.
Let's solve these errors: bring in Collection to the Object model and then bring in Selenium.
Then we're going to create a constructor that's required by the ReadOnlyCollection.
Now that we have that, we're going to make it private member, private readonly and this is an IList of IWebElement.
Let's do IList<IWebElement> and we're going to call this _elements.
Sure enough, inside of the constructor we're then going to say our _elements is going to equal whatever list of elements we pass in.
Then we'll finish this up by making a couple of properties.
The first one we'll do is just the
By, we'll call thisFoundbyso we know how we found these elementsThe second one is a Boolean, we'll just call this
IsEmptyto check to see if this is an empty list.
using System.Collections.Generic;
using System.Collections.ObjectModel;
using OpenQA.Selenium;

namespace Framework.Selenium
{
    public class Elements : ReadOnlyCollection<IWebElement>
    {
        private readonly IList<IWebElement> _elements;

        public Elements(IList<IWebElement> list) : base(list)
        {
            _elements = list;
        }

        public By FoundBy { get; set; }
        public bool IsEmpty => Count == 0;
    }
}
Notice how the Count is already there because that's part of ReadOnlyCollection.
There we go.
Then we'll go over to our Driver class.
Here, instead of returning an IList<IWebElement>, we're now going to change this to just say Elements.
Just like the method above this, we now need to return a new instance of Elements — that is our list right there.
And then we'll also give our Foundby a value, it's just the by that we used.
Boom, all done.
public static Elements FindElements(By by)
{
    return new Elements(Current.FindElements(by))
    {
        FoundBy = by
    };
}
Hopefully you can already see the potential for the crazy amount of things we can do just by wrapping or extending objects.
Being able to name our element objects is just one thing, but I'm sure you can think of 2 or 3 more things right off the top of your head.
Go out there and customize those elements.
Challenges
Our Element class can now have any functionality we want!
This is a very powerful way for you to control what you can and cannot do with your elements. Let's add a "hover" method to the Element class.
The challenge is to add a Hover() method so that each element can then simply call .Hover()
Example: Pages.Home.Headernav.CardsLink.Hover()
HINT: The Actions class is in OpenQA.Selenium.Interactions
