

Transcripted Summary
In this chapter I’ll be looking at Checkpoints.
In automated visual tests, it's crucial to make sure that your screenshots are reliable and sound.
With a dependency on the browser, sometimes capturing a screenshot that resembles reality might be a bit more challenging, especially when using functions that include dynamic behavior.
Most browsers don't automatically get a full-page screenshot because the browser grabs only what is visible in the viewport while the test is running.
# Checkpoint – Full Page Screenshot
In order to get a full-page screenshot, we have to enable it with Applitools Eyes.
Let’s say we wanted to run a visual test for wikipedia.org
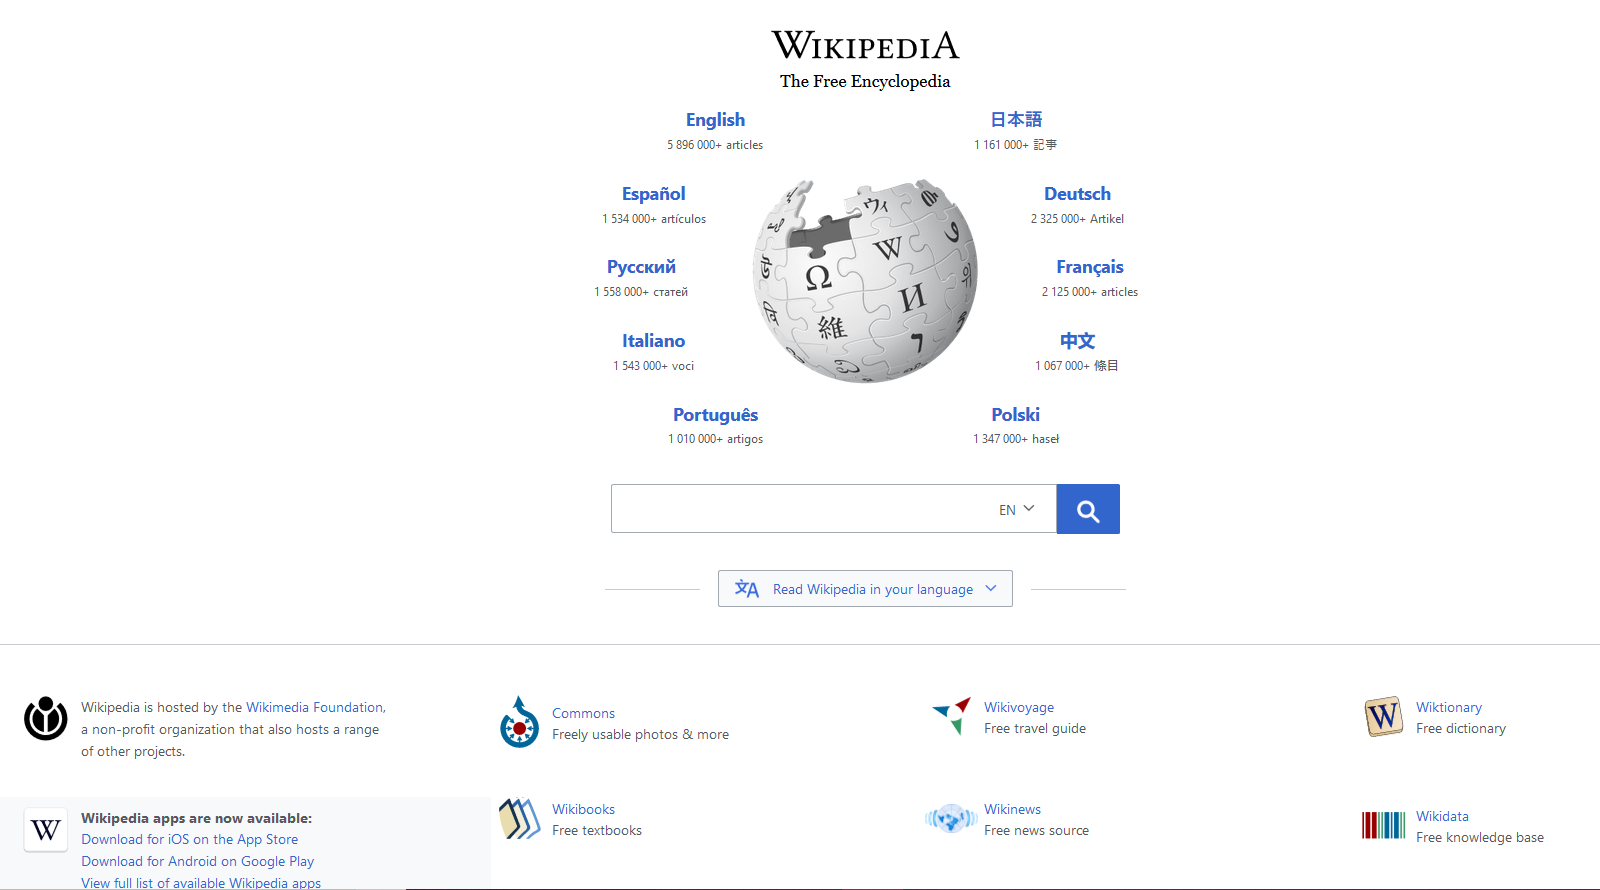
By default, the test would only capture the visible area within the viewport and neglect the content at the bottom of the page.
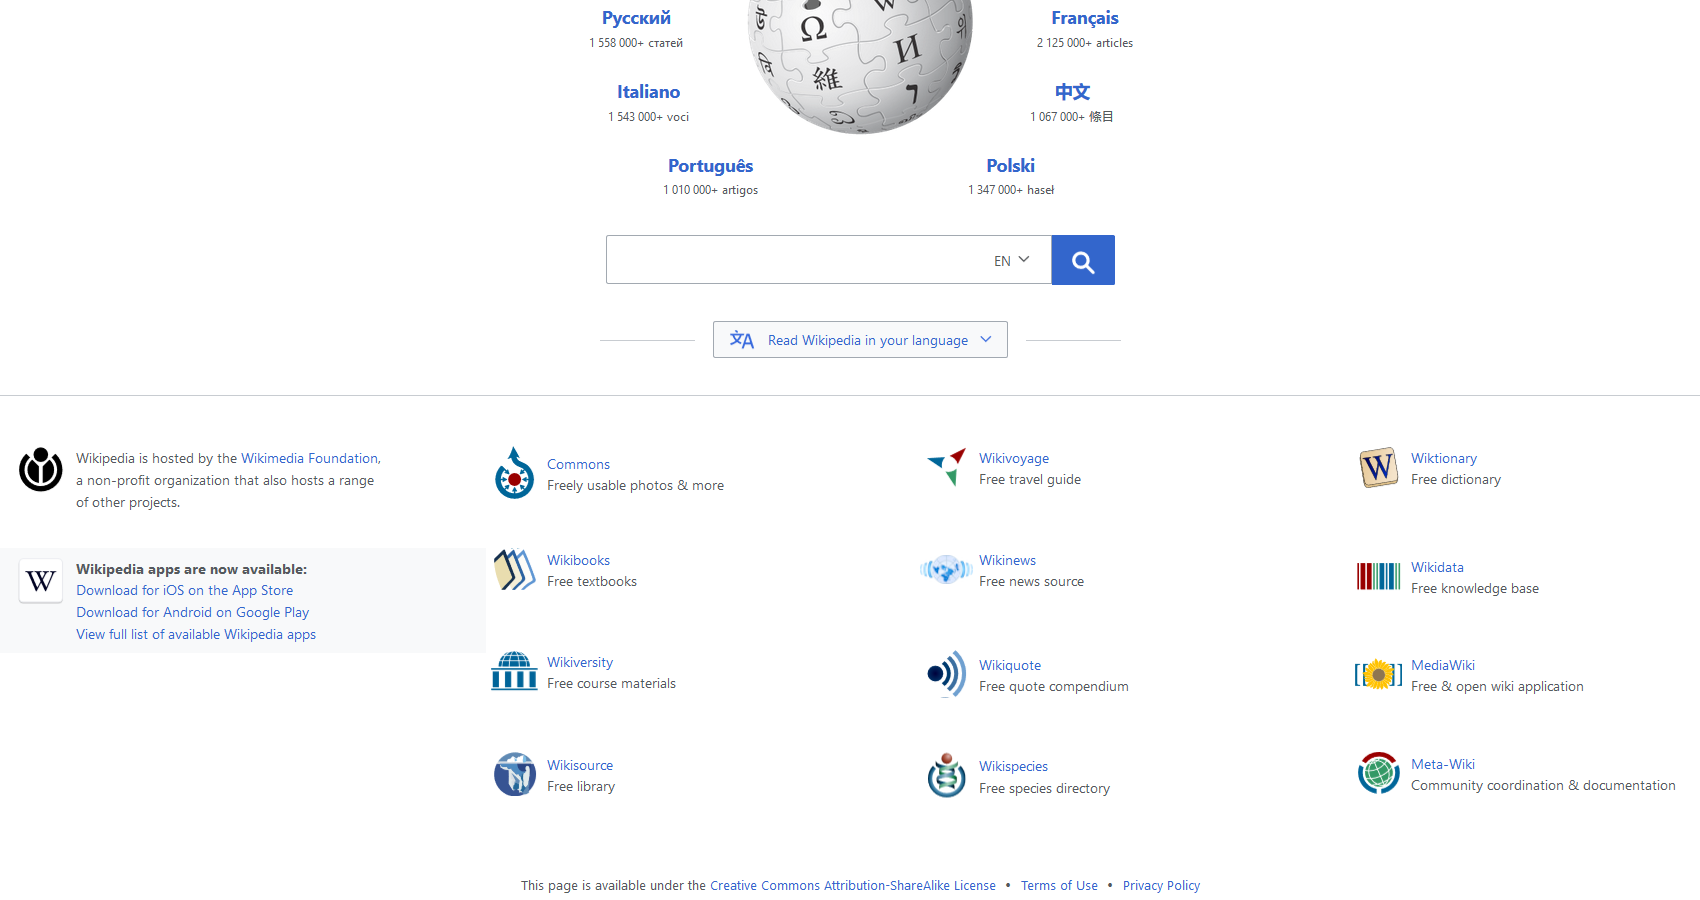
Let’s take a look at the code to see how we can capture the entire screen.
For Applitools to take a full-page screenshot you have to use the eyes.setForceFullPageScreenshot(true) and set it to true.
Once that has been set, we should be good to go.
# checkPoint.js – Full Page Screenshot
// Initialize the eyes SDK
const { Eyes, Target } = require('@applitools/eyes.webdriverio')
const eyes = new Eyes()

// set your private API key.
eyes.setApiKey(process.env.APPLITOOLS_API_KEY)

describe('Check Points Example', function () {

    it('Full Page Screenshot', async function () {
        // command to take full page screen shot
        eyes.setForceFullPageScreenshot(true);

        // Navigate to the required url
        browser.url('https://www.wikipedia.org/')

        try {
            // Set chrome to fullscreen
            browser.windowHandleFullscreen();

            // Get the current size of the screen
            const viewportSize = browser.getViewportSize()

            // Start the test and set the browser's viewport size to
            await eyes.open(browser, 'Full Page Screen Shot', 'Full Page Test Example', viewportSize);

            // Visual checkpoint #1.
            await eyes.check('Main Page', Target.window());

            // End the test.
            await eyes.close();

        } finally {
            // If the test was aborted before eyes.close was called ends the test as aborted.
            await eyes.abortIfNotClosed();

        }
    })
})
Let’s go ahead and run this test and analyze the result.
If we go to the Test Manager, we can see that the test has passed, and the entire webpage has been captured.
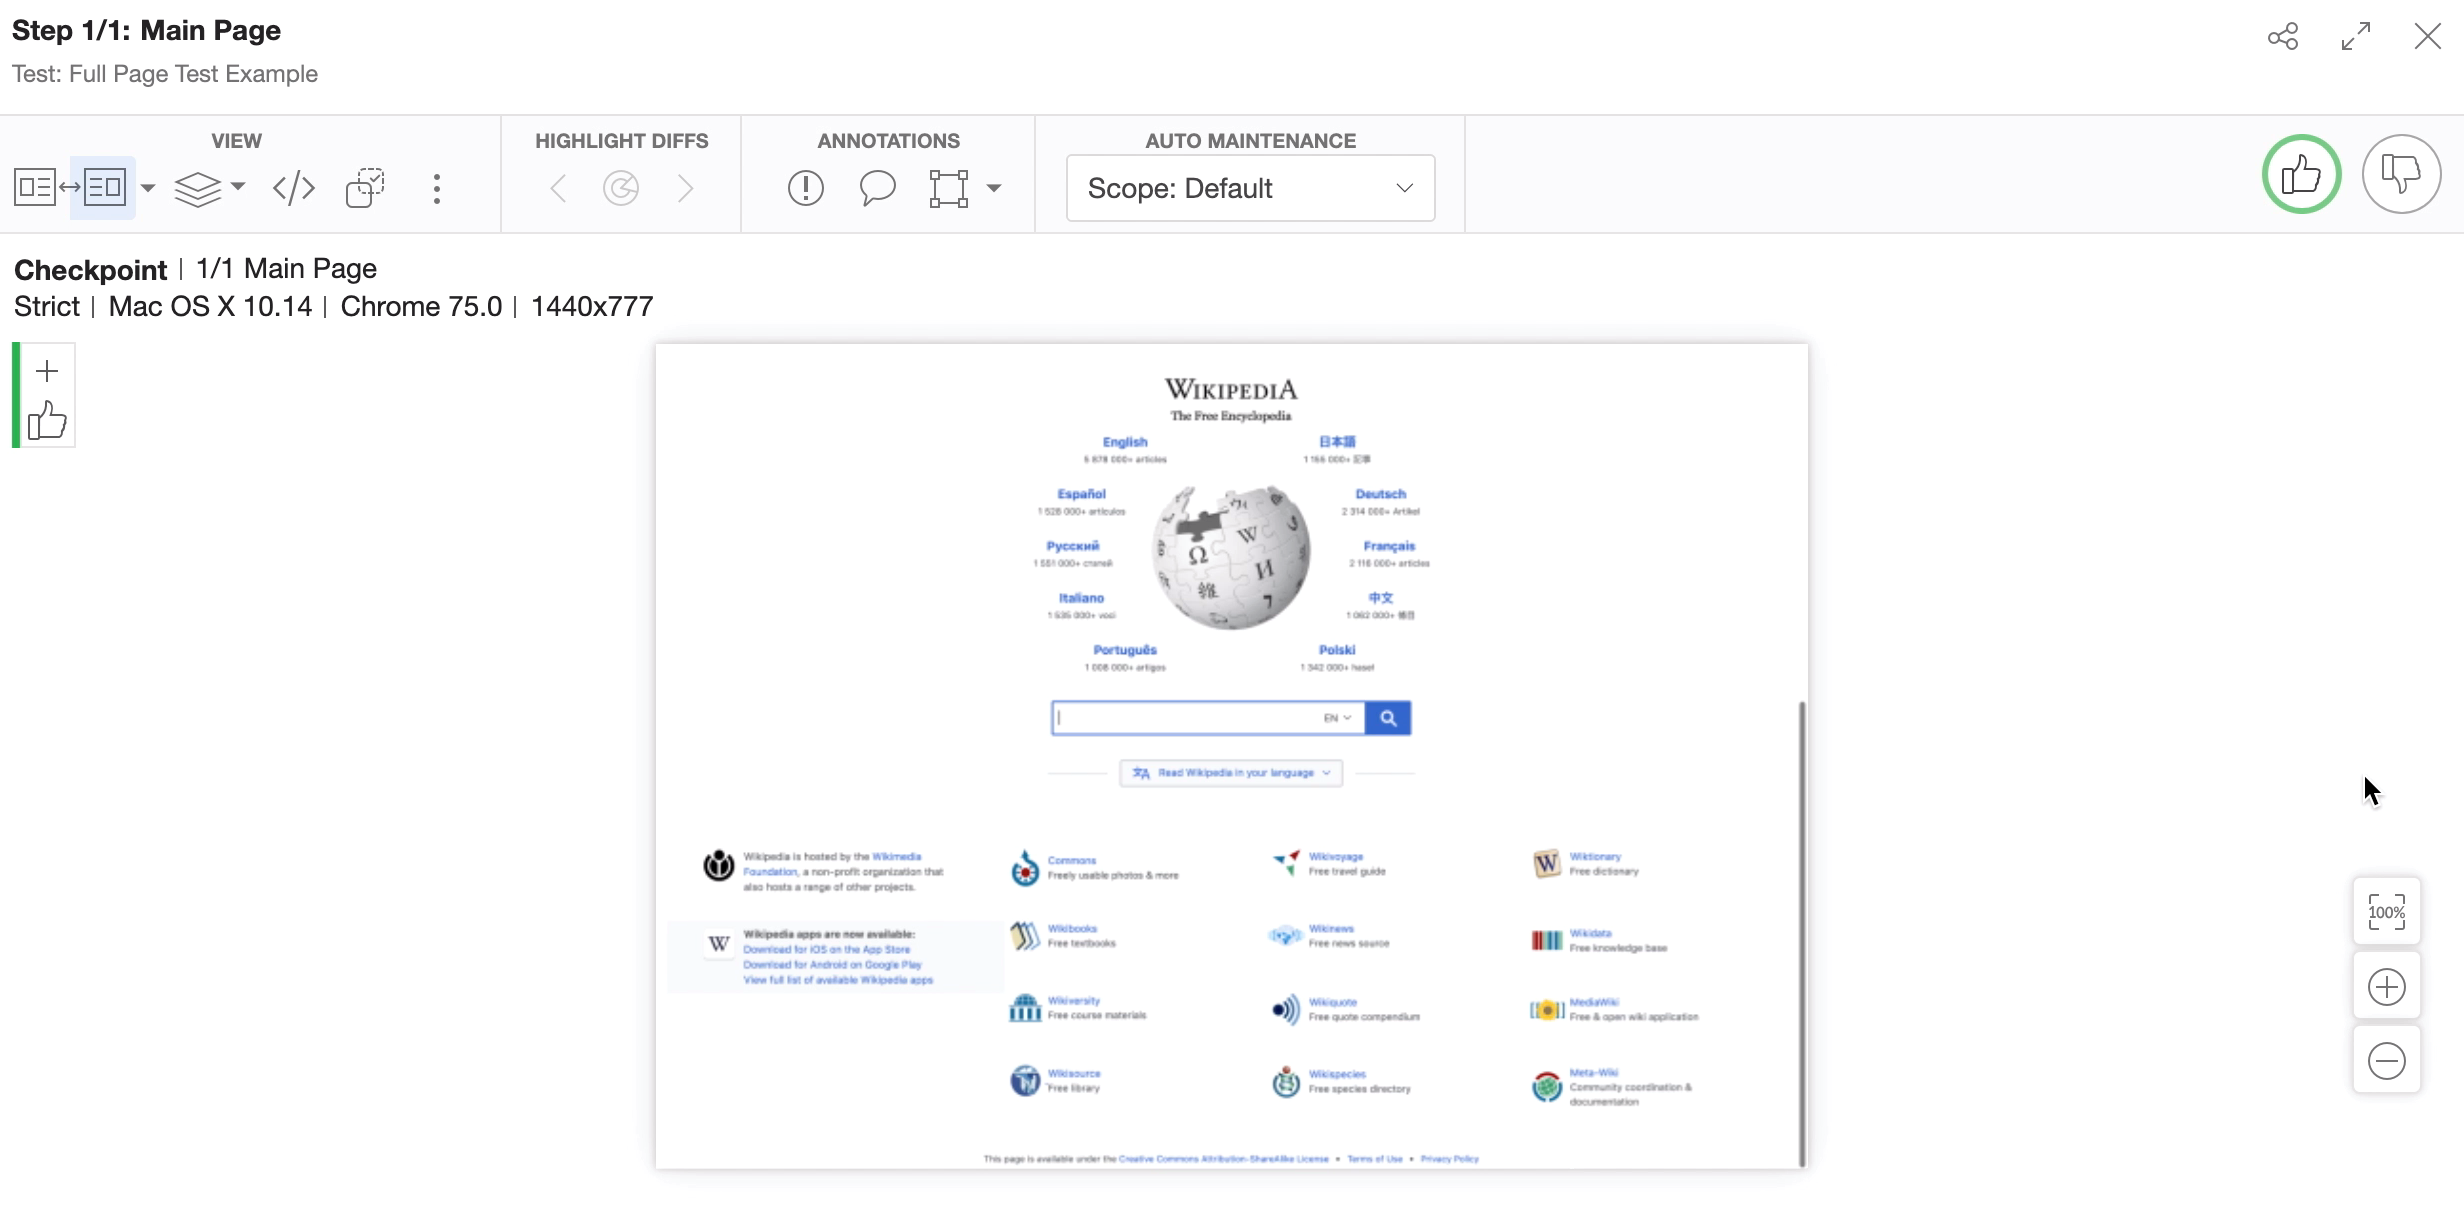
This command is especially useful when handling webpages where the DOM is extremely large.
There are other ways we are able to run checks against a webpage.
# Checkpoint – Check Window
By default, we have been using the checkWindow command.
This takes a snapshot of the application under test and matches it with the expected output.
# Checkpoint – By Selector
Another way to run checks against a web page is to use the checkElementBySelector command. This method takes a snapshot of a specific element on the page.
Let’s look back at the Wikipedia page and identify a selector we can use to test.
Finding Elements
If you are new to finding elements, and want to learn more about how to do it, Test Automation has a course Web Element Locator Strategies taught by Andrew Knight.
Let’s use the Wikipedia title [and Inspect it to find the selector].
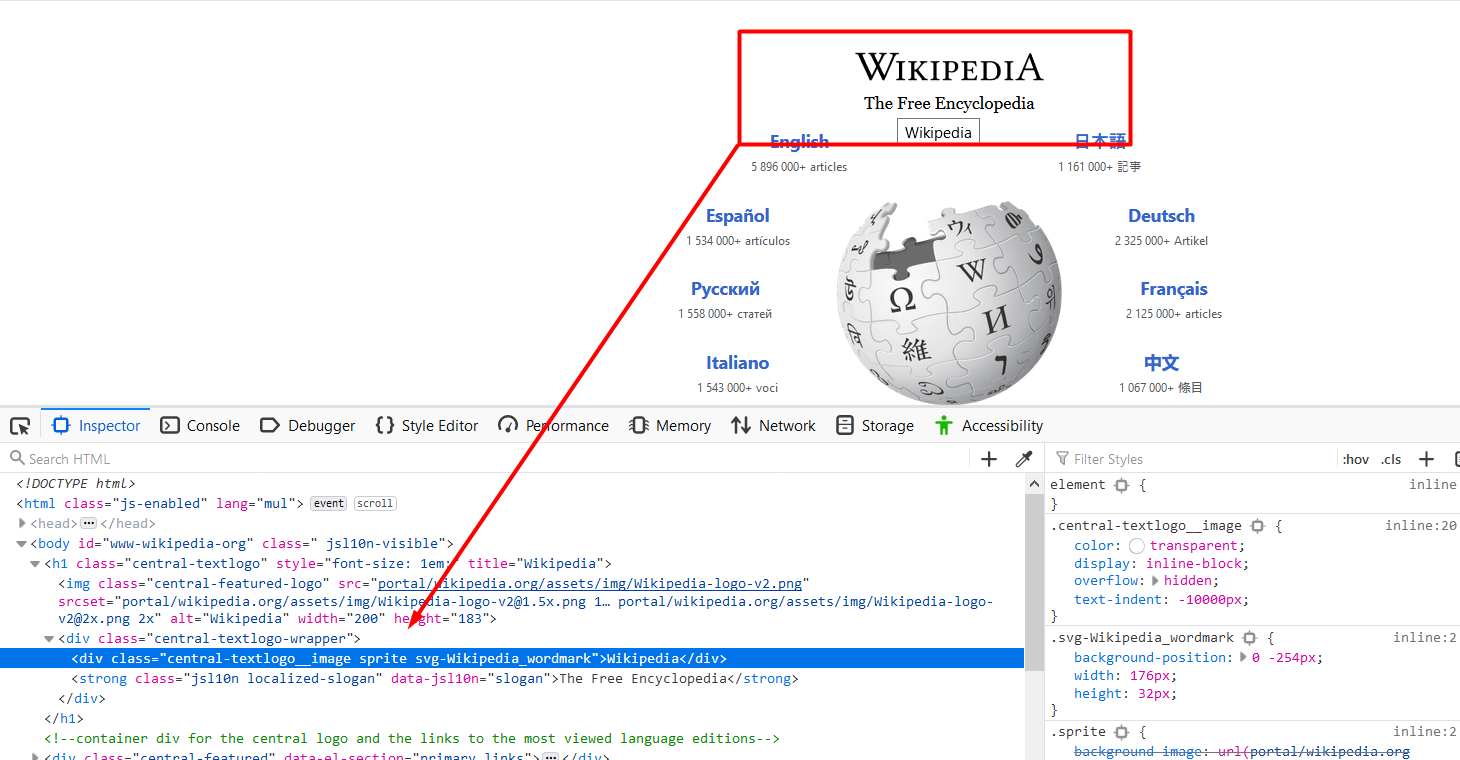
We will now add this selector in our checkElementBySelector function:
await eyes.checkElementBySelector('#www-wikipedia-org > h1 > div > div');
Let’s now run this test and analyze our results.
# checkPoint.js - Check Element
// Initialize the eyes SDK
const { Eyes, Target } = require('@applitools/eyes.webdriverio')
const eyes = new Eyes()

// set your private API key.
eyes.setApiKey(process.env.APPLITOOLS_API_KEY)

describe('Check Points Example', function () {

    it('Check Element By Selector', async function () {
        // Navigate the browser to the website.
        browser.url('https://www.wikipedia.org/')


        try {
            // Set chrome to fullscreen
            browser.windowHandleFullscreen();

            // Get the current size of the screen
            const viewportSize = browser.getViewportSize()

            // Start the test and set the browser's viewport size to
            await eyes.open(browser, 'Check Element By Selector Example', 'Wiki Selector Example', viewportSize);

            // Visual checkpoint #1.
            await eyes.checkElementBySelector('#www-wikipedia-org > h1 > div > div');

            // End the test.
            await eyes.close();

        } finally {
            // If the test was aborted before eyes.close was called ends the test as aborted.
            await eyes.abortIfNotClosed();
        }
    })
})
If we look at the test the only thing captured was the element for the selector we specified.
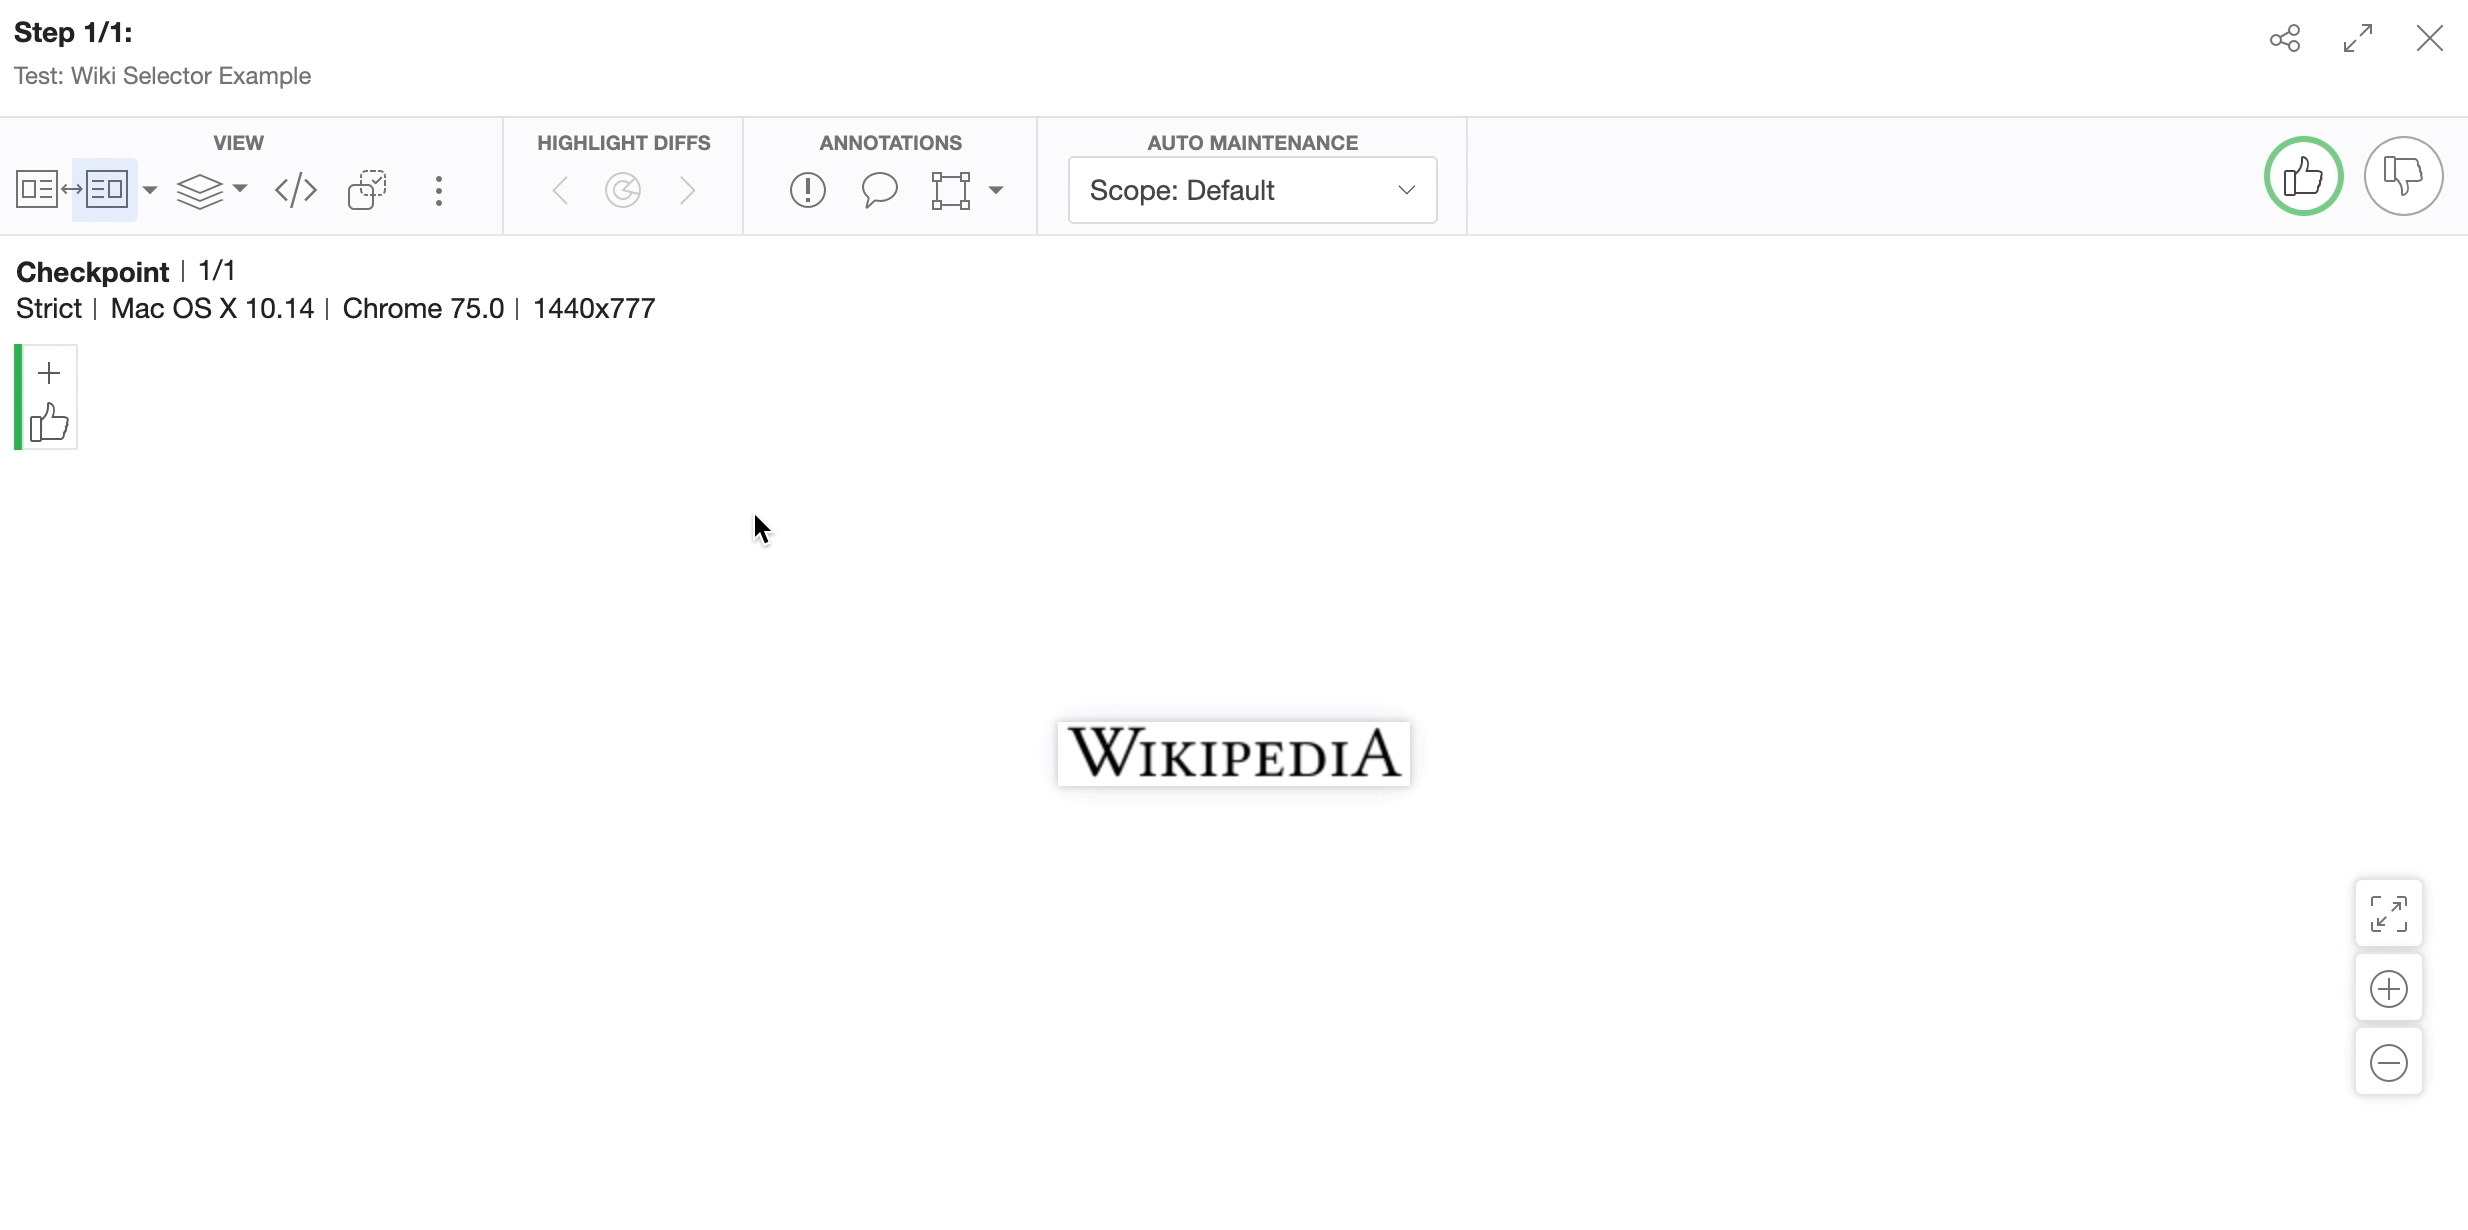
By using the checkElementBySelector command we have the ability to only target specific elements of a webpage that we want to run a visual test for.
# Checkpoint – Check Frame
The next checkpoint I want to look at is checkFrame.
checkFrame matches the frame given as a parameter, by switching into the frame and using stitching to get an image of the frame.
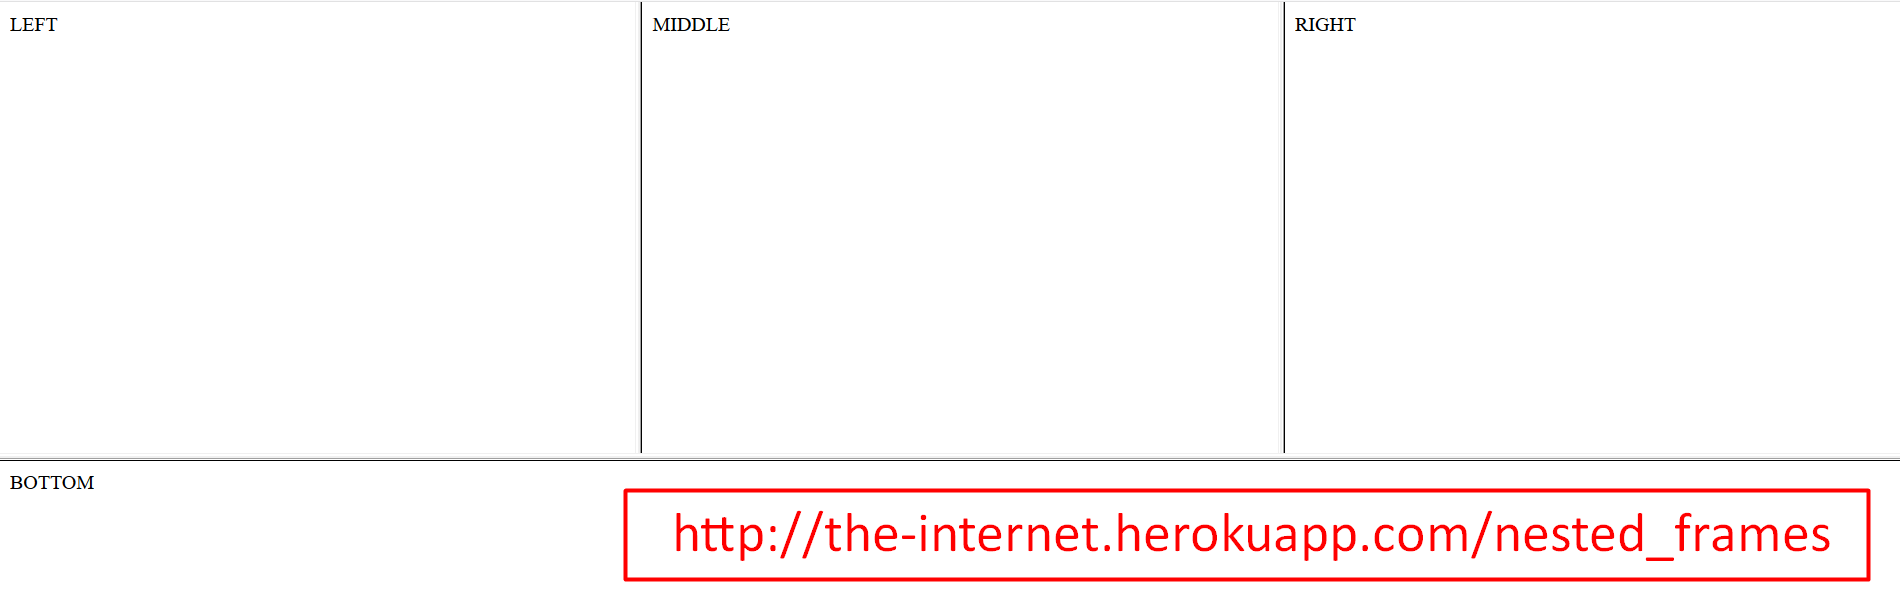
Here we have a sample page with 4 frames nested inside each other.
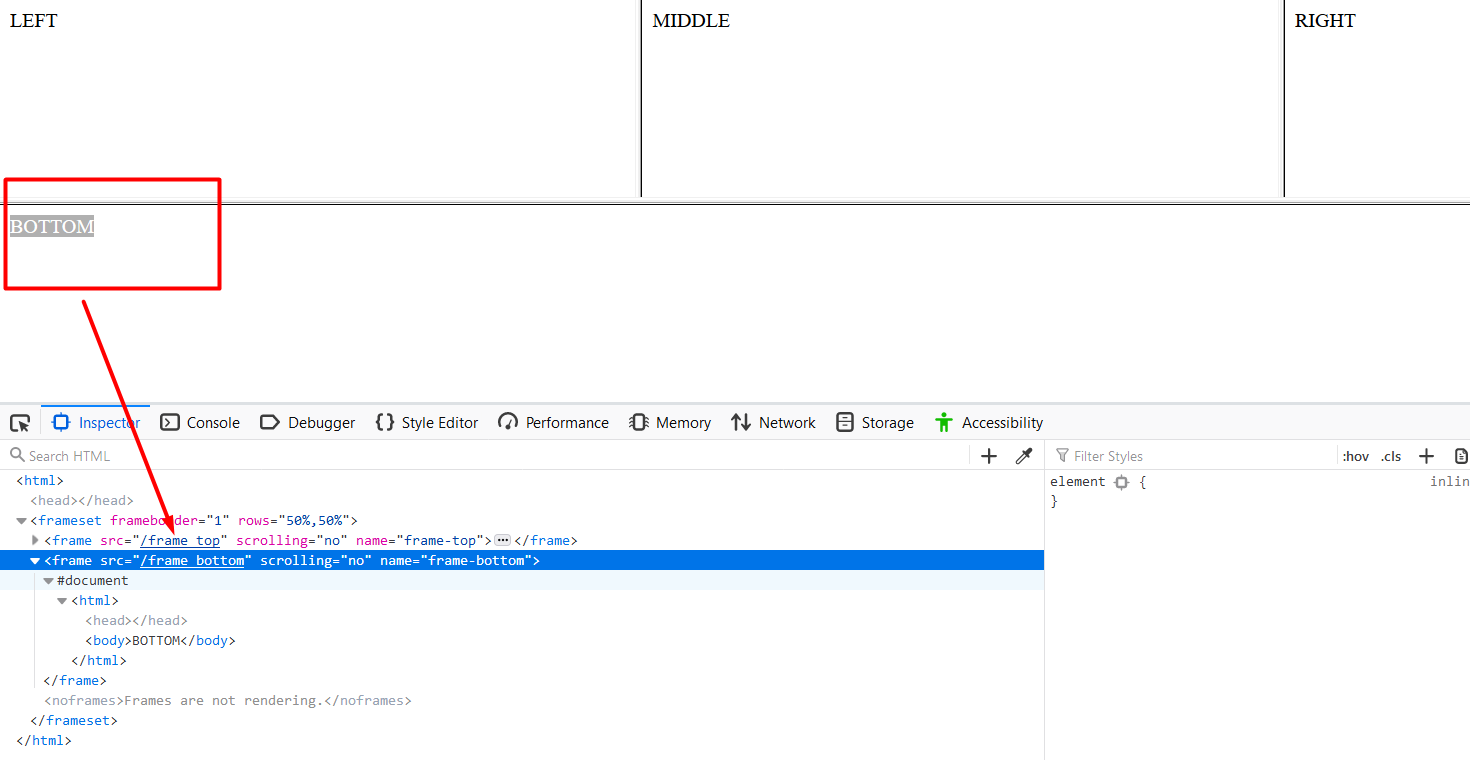
Let’s now retrieve the selector for the bottom frame.
We can see that the frame has a name “frame-bottom” and we can use this as our selector.
Let’s go to our code.
We will use the checkFrame function and add the selector from the sample page.
await eyes.checkFrame('frame-bottom');
# checkPoint.js - Check Frame
// Initialize the eyes SDK
const { Eyes, Target } = require('@applitools/eyes.webdriverio')
const eyes = new Eyes()

// set your private API key.
eyes.setApiKey(process.env.APPLITOOLS_API_KEY)

describe('Check Points Example', function () {

    it('Check Frame', async function () {
        browser.url('http://the-internet.herokuapp.com/nested_frames')
        try {
            // Set chrome to fullscreen
            browser.windowHandleFullscreen();

            // Get the current size of the screen
            const viewportSize = browser.getViewportSize()

            // Start the test and set the browser's viewport size to
            await eyes.open(browser, 'Check Frame Example', 'Check Bottom Frame Example', viewportSize);

            // Visual checkpoint #1.
            await eyes.checkFrame('frame-bottom');

            // End the test.
            await eyes.close();

        } finally {
            // If the test was aborted before eyes.close was called ends the test as aborted.
            await eyes.abortIfNotClosed();
        }
    })
})
Let’s now run this test and review our results.
From the Test Manager we can see a snapshot of only the bottom frame is captured.
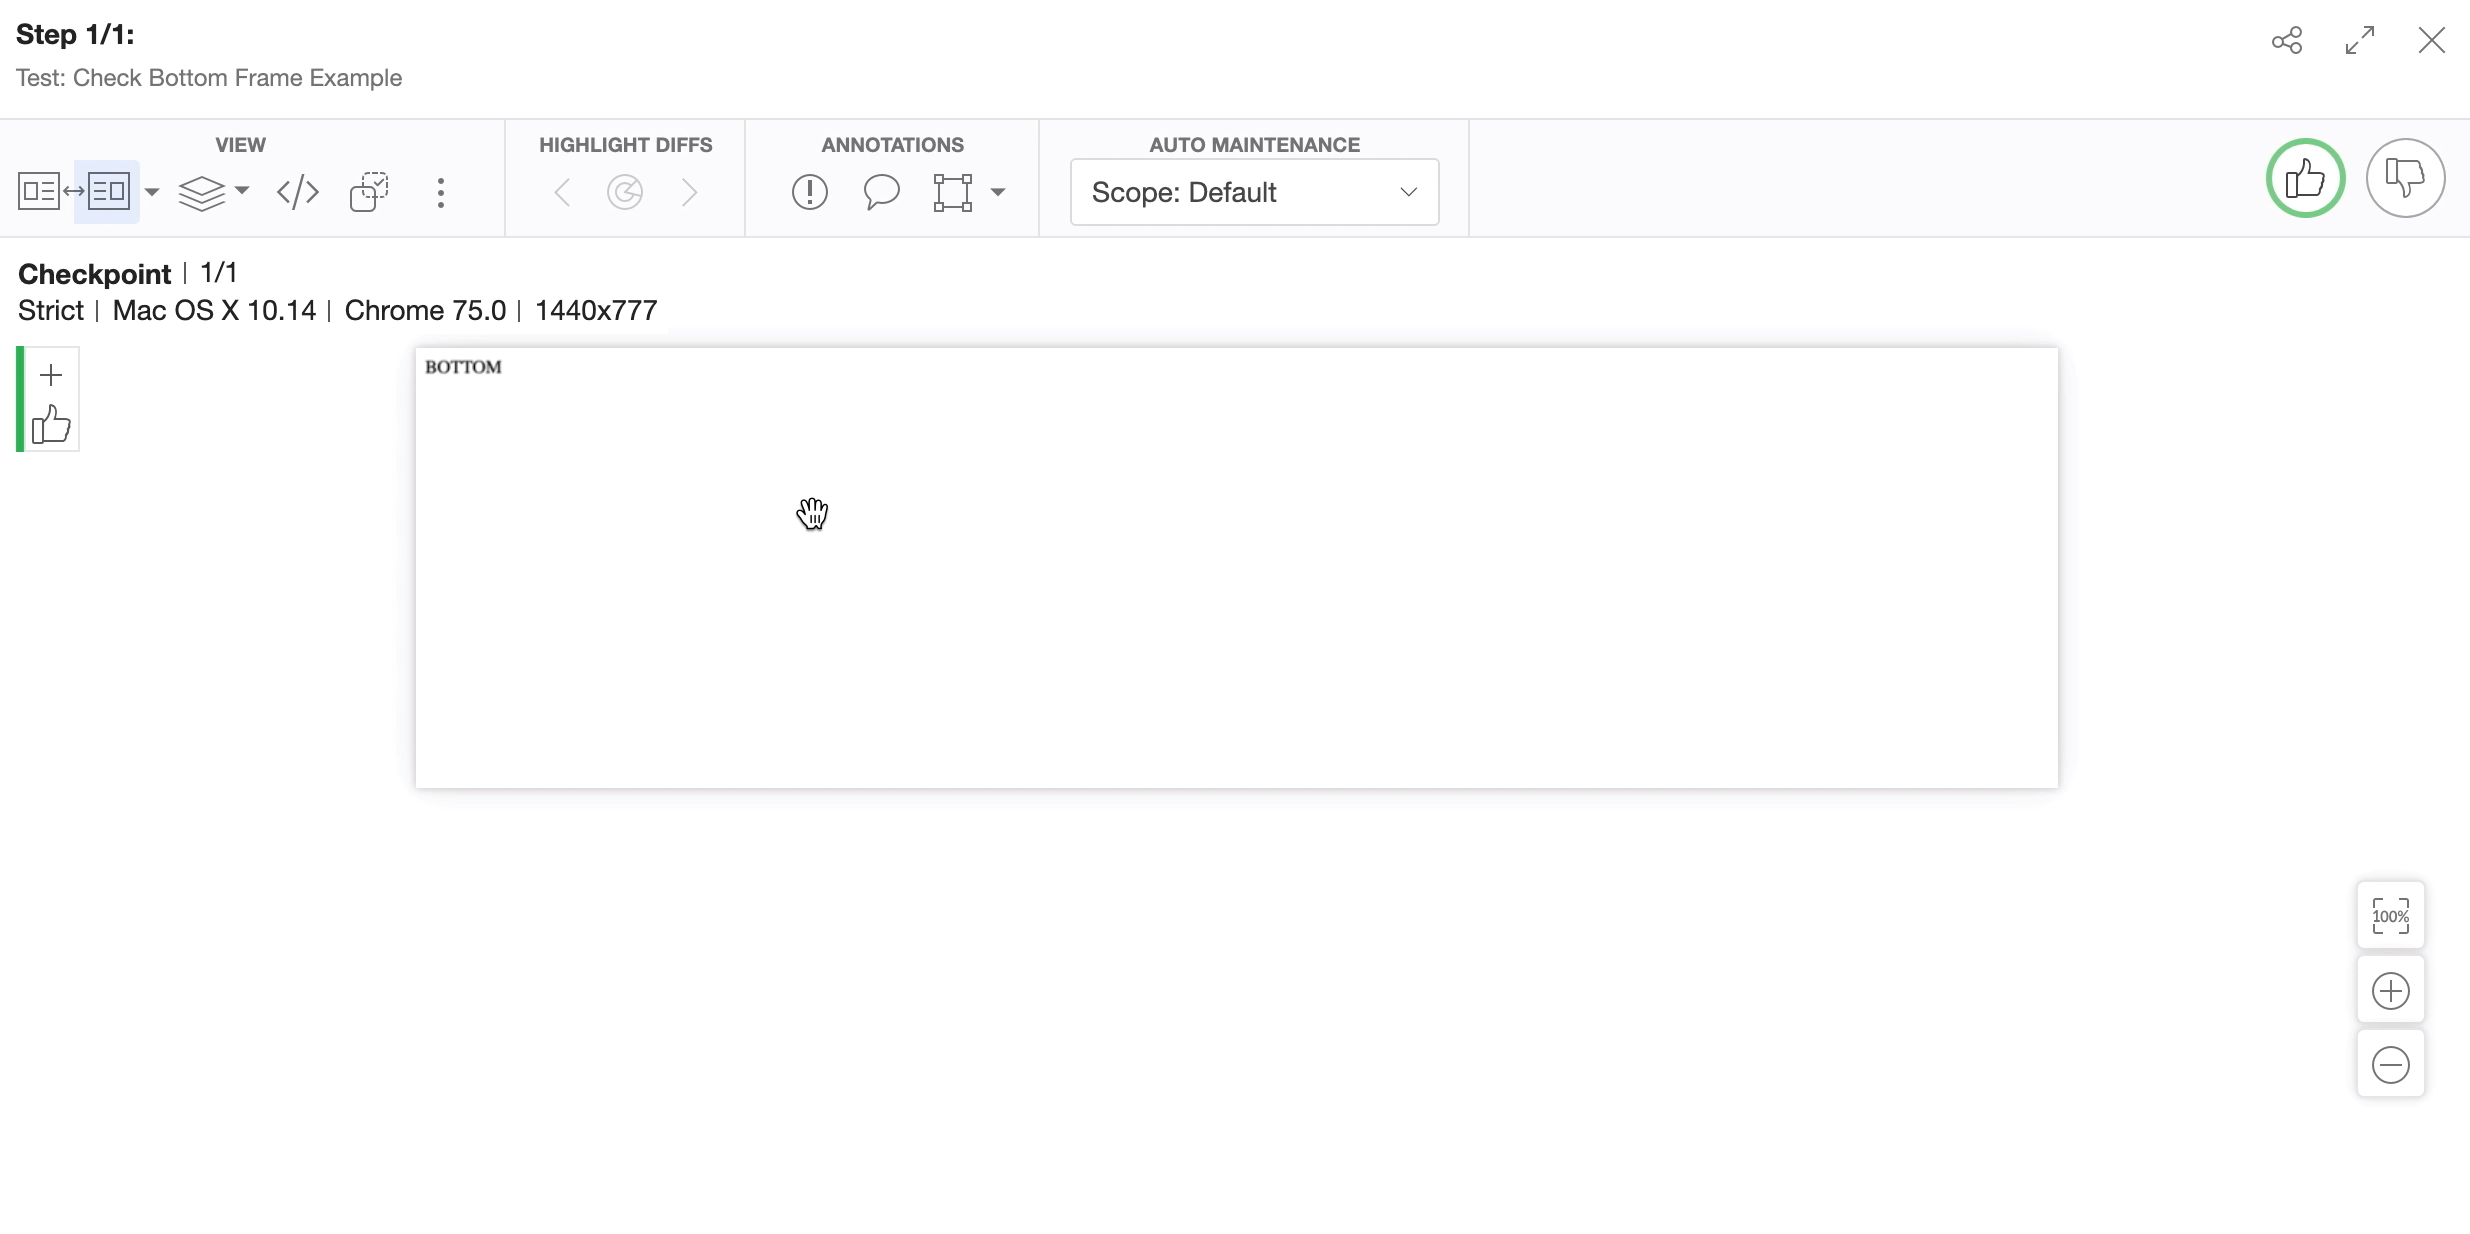
The checkFrame function is useful for when you have webpages that are divided into several different frames.
