

Transcripted Summary
In this chapter, we'll be adding our tests to our release pipeline.
I'm excited to finally have our tests part of the CI/CD pipeline.
Let's jump right into it.
I'm in my release pipeline.
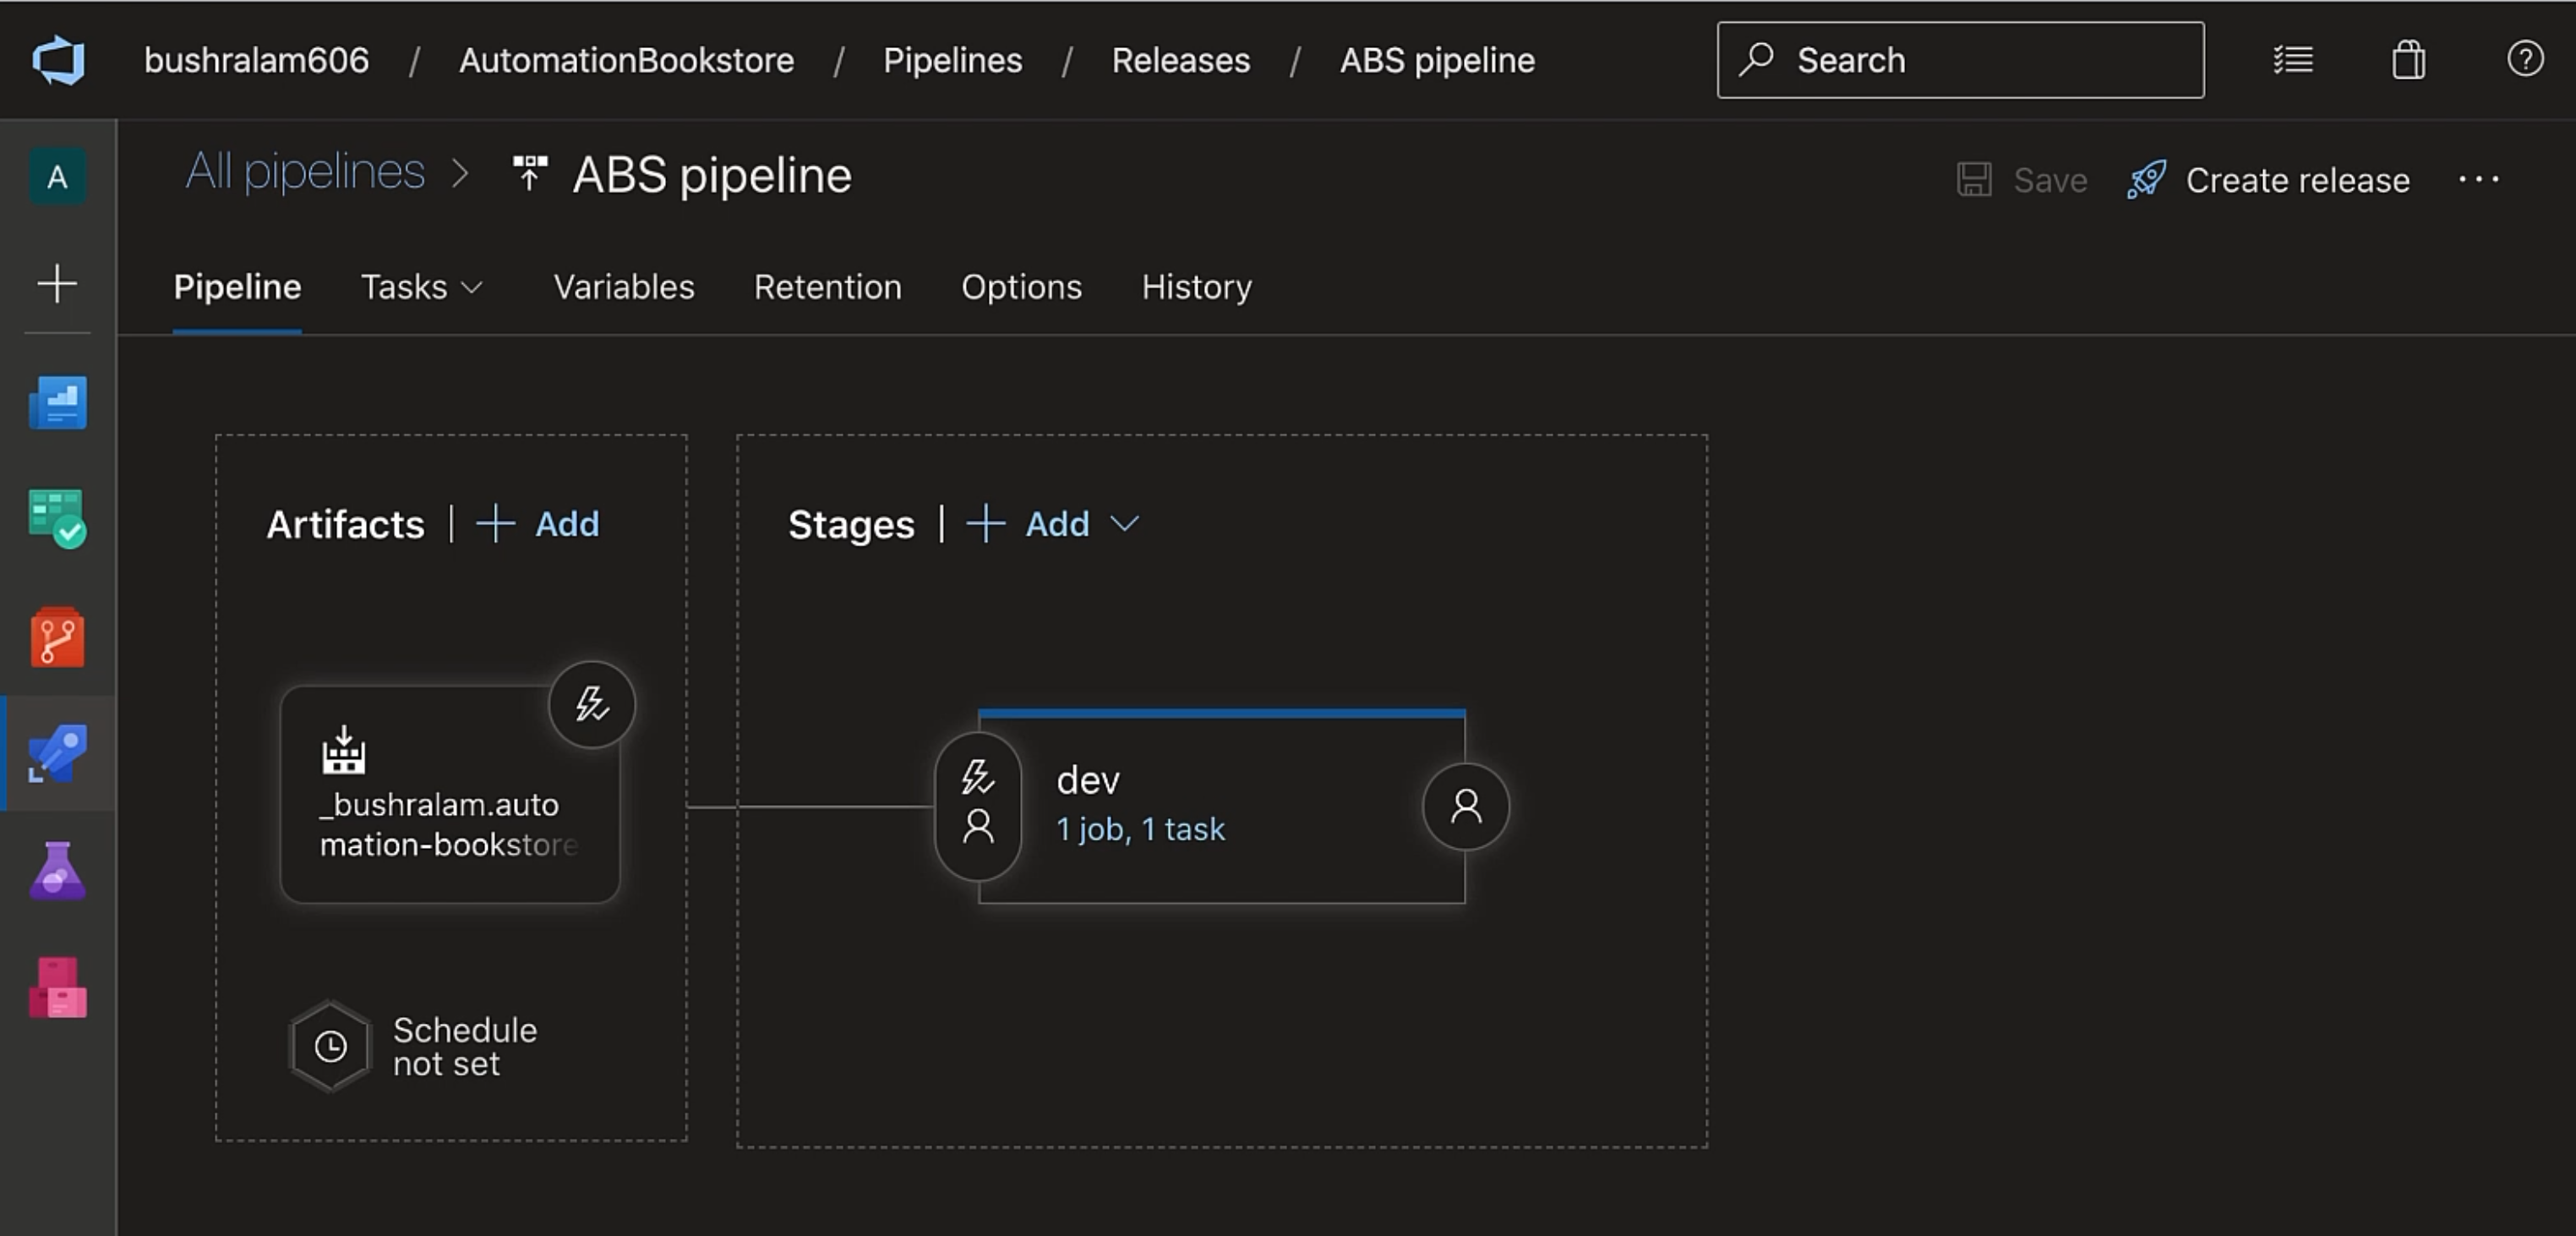
If you haven't followed the build and release of the AutomationBookstore project, and would rather start with adding tests, then you'll have to add your test project as an artifact.
Let's start with adding tests to our release pipeline.
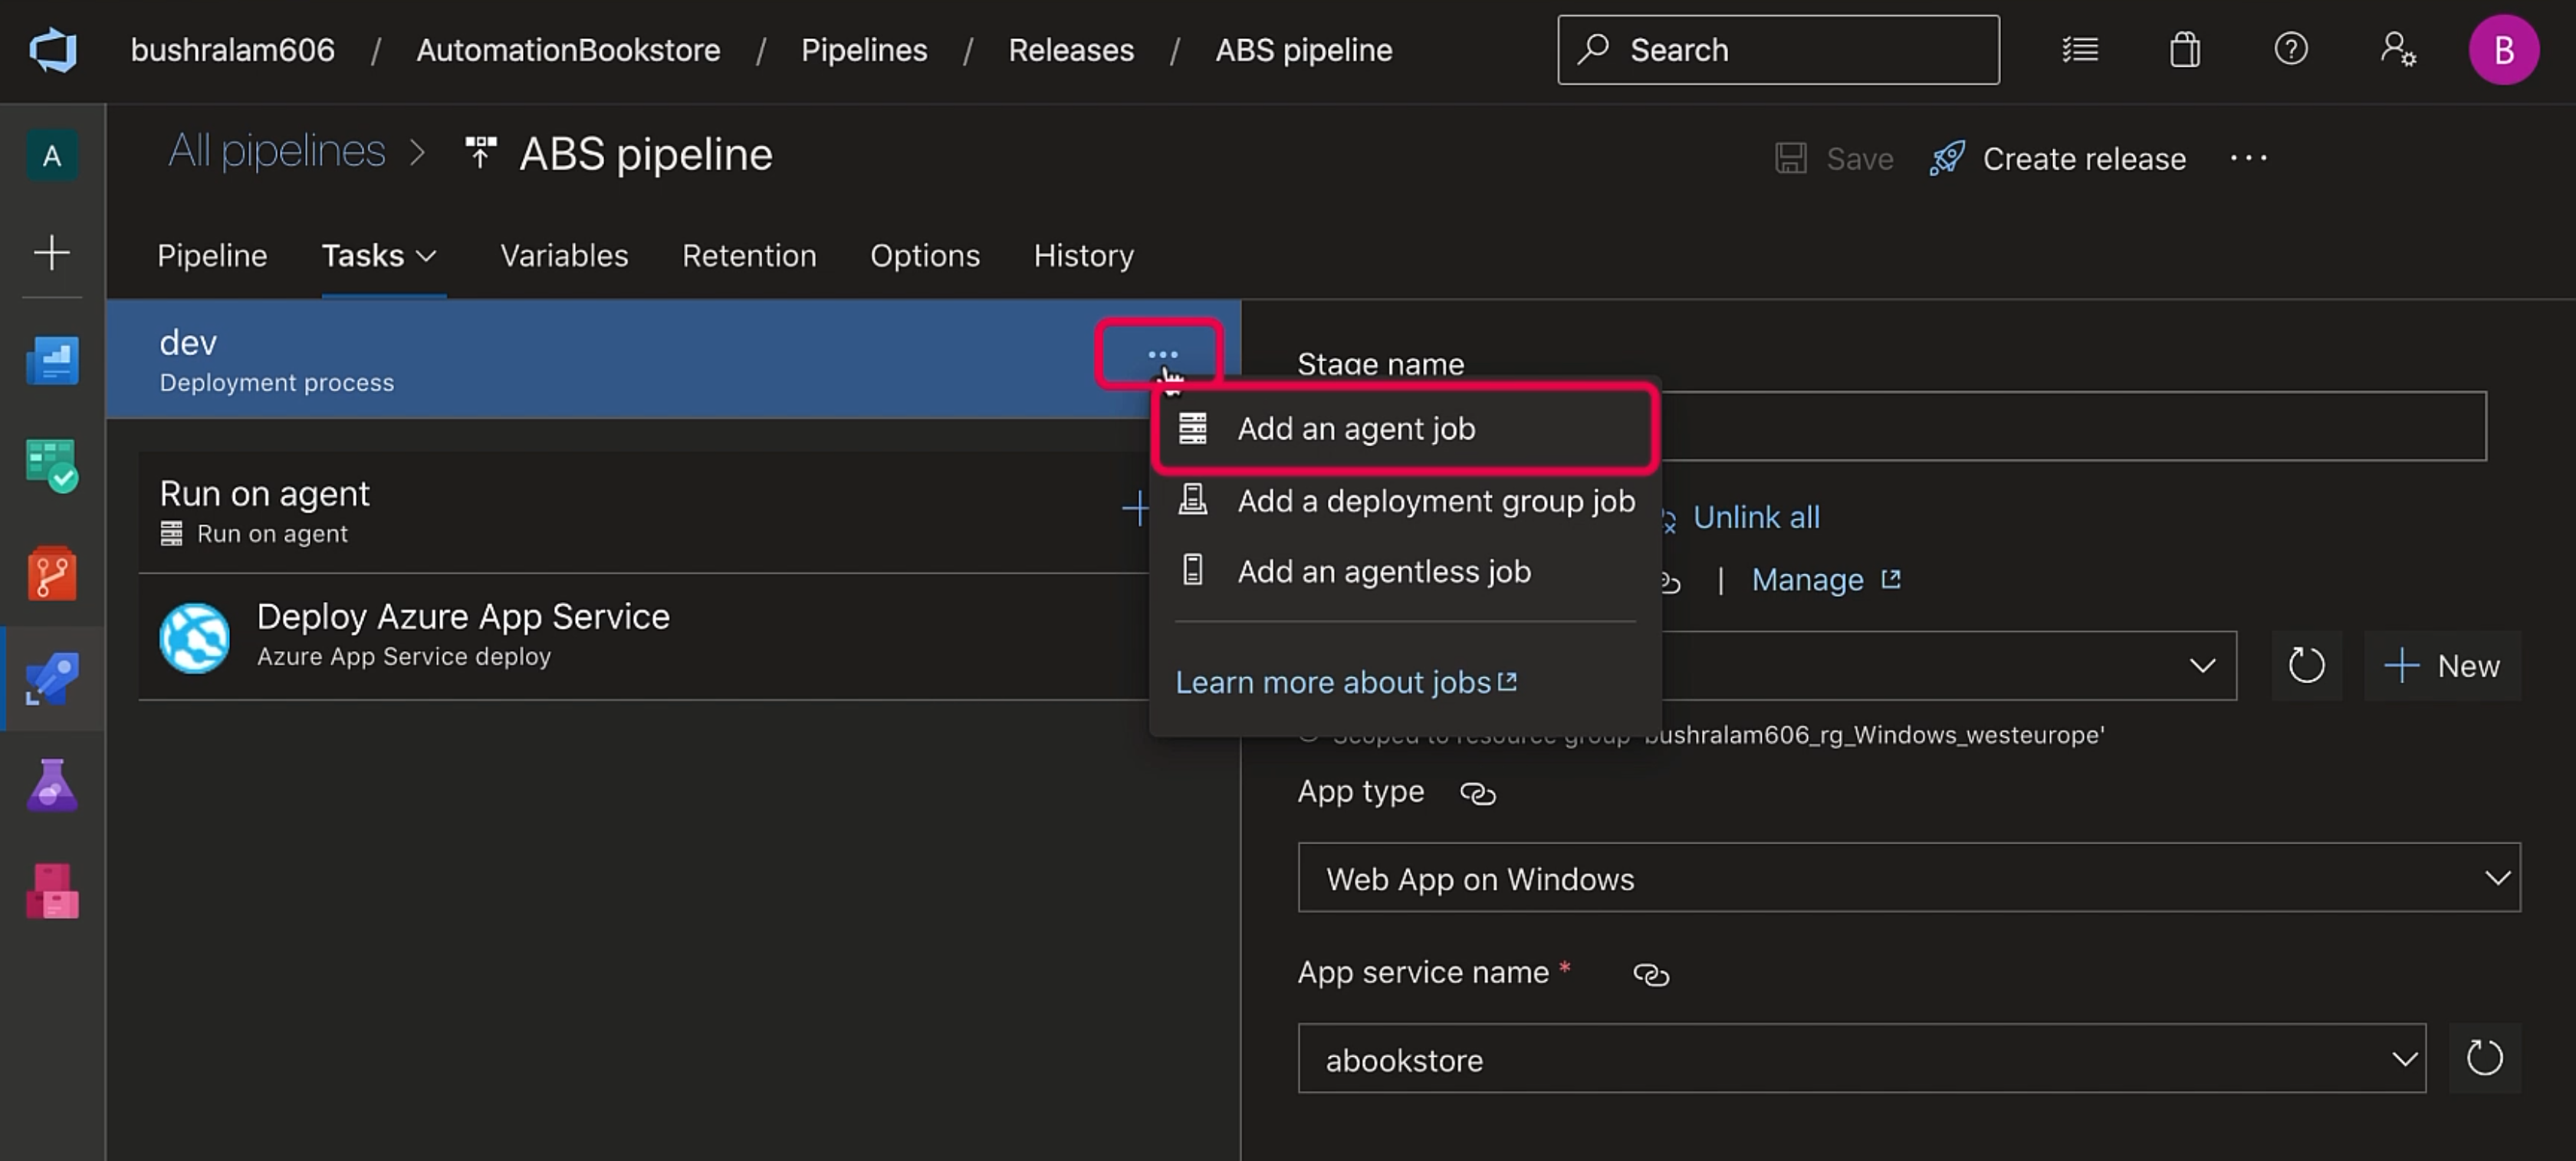
We'll go into our stage, and now I'll be adding a new agent job.
For that, click on the three dots next to the stage link and "Add an agent job".
Let's update the "Display name" and we'll set the "Agent specification" as ubuntu-20.04 - Ubuntu is much faster than Windows.
All right, now let's start adding tasks.
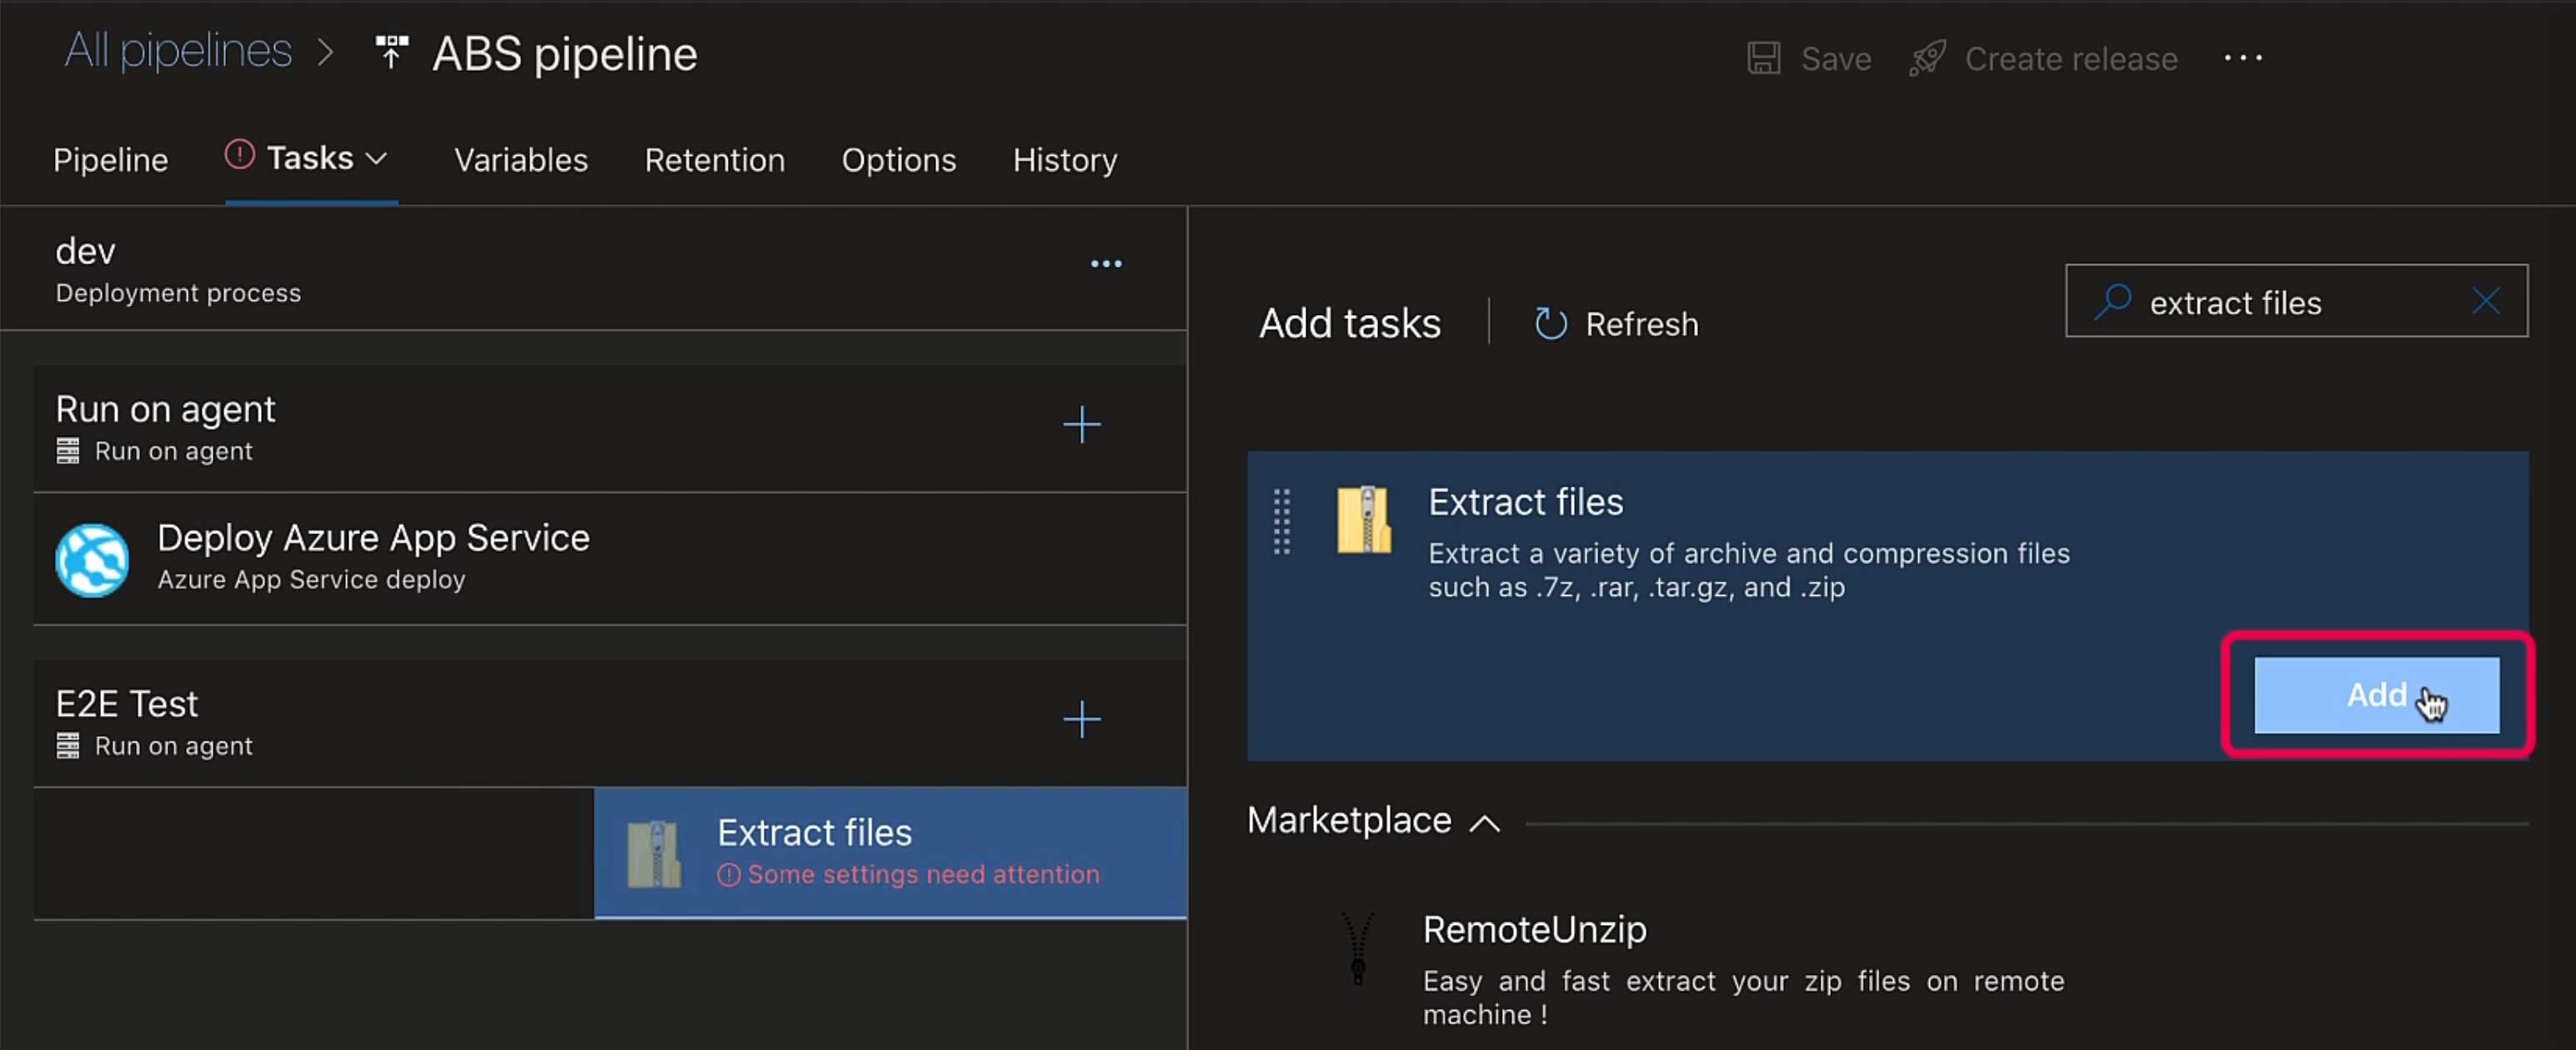
The first thing we need to do is extract our tests that the build archived.
We'll use the "Extract files" task for that.
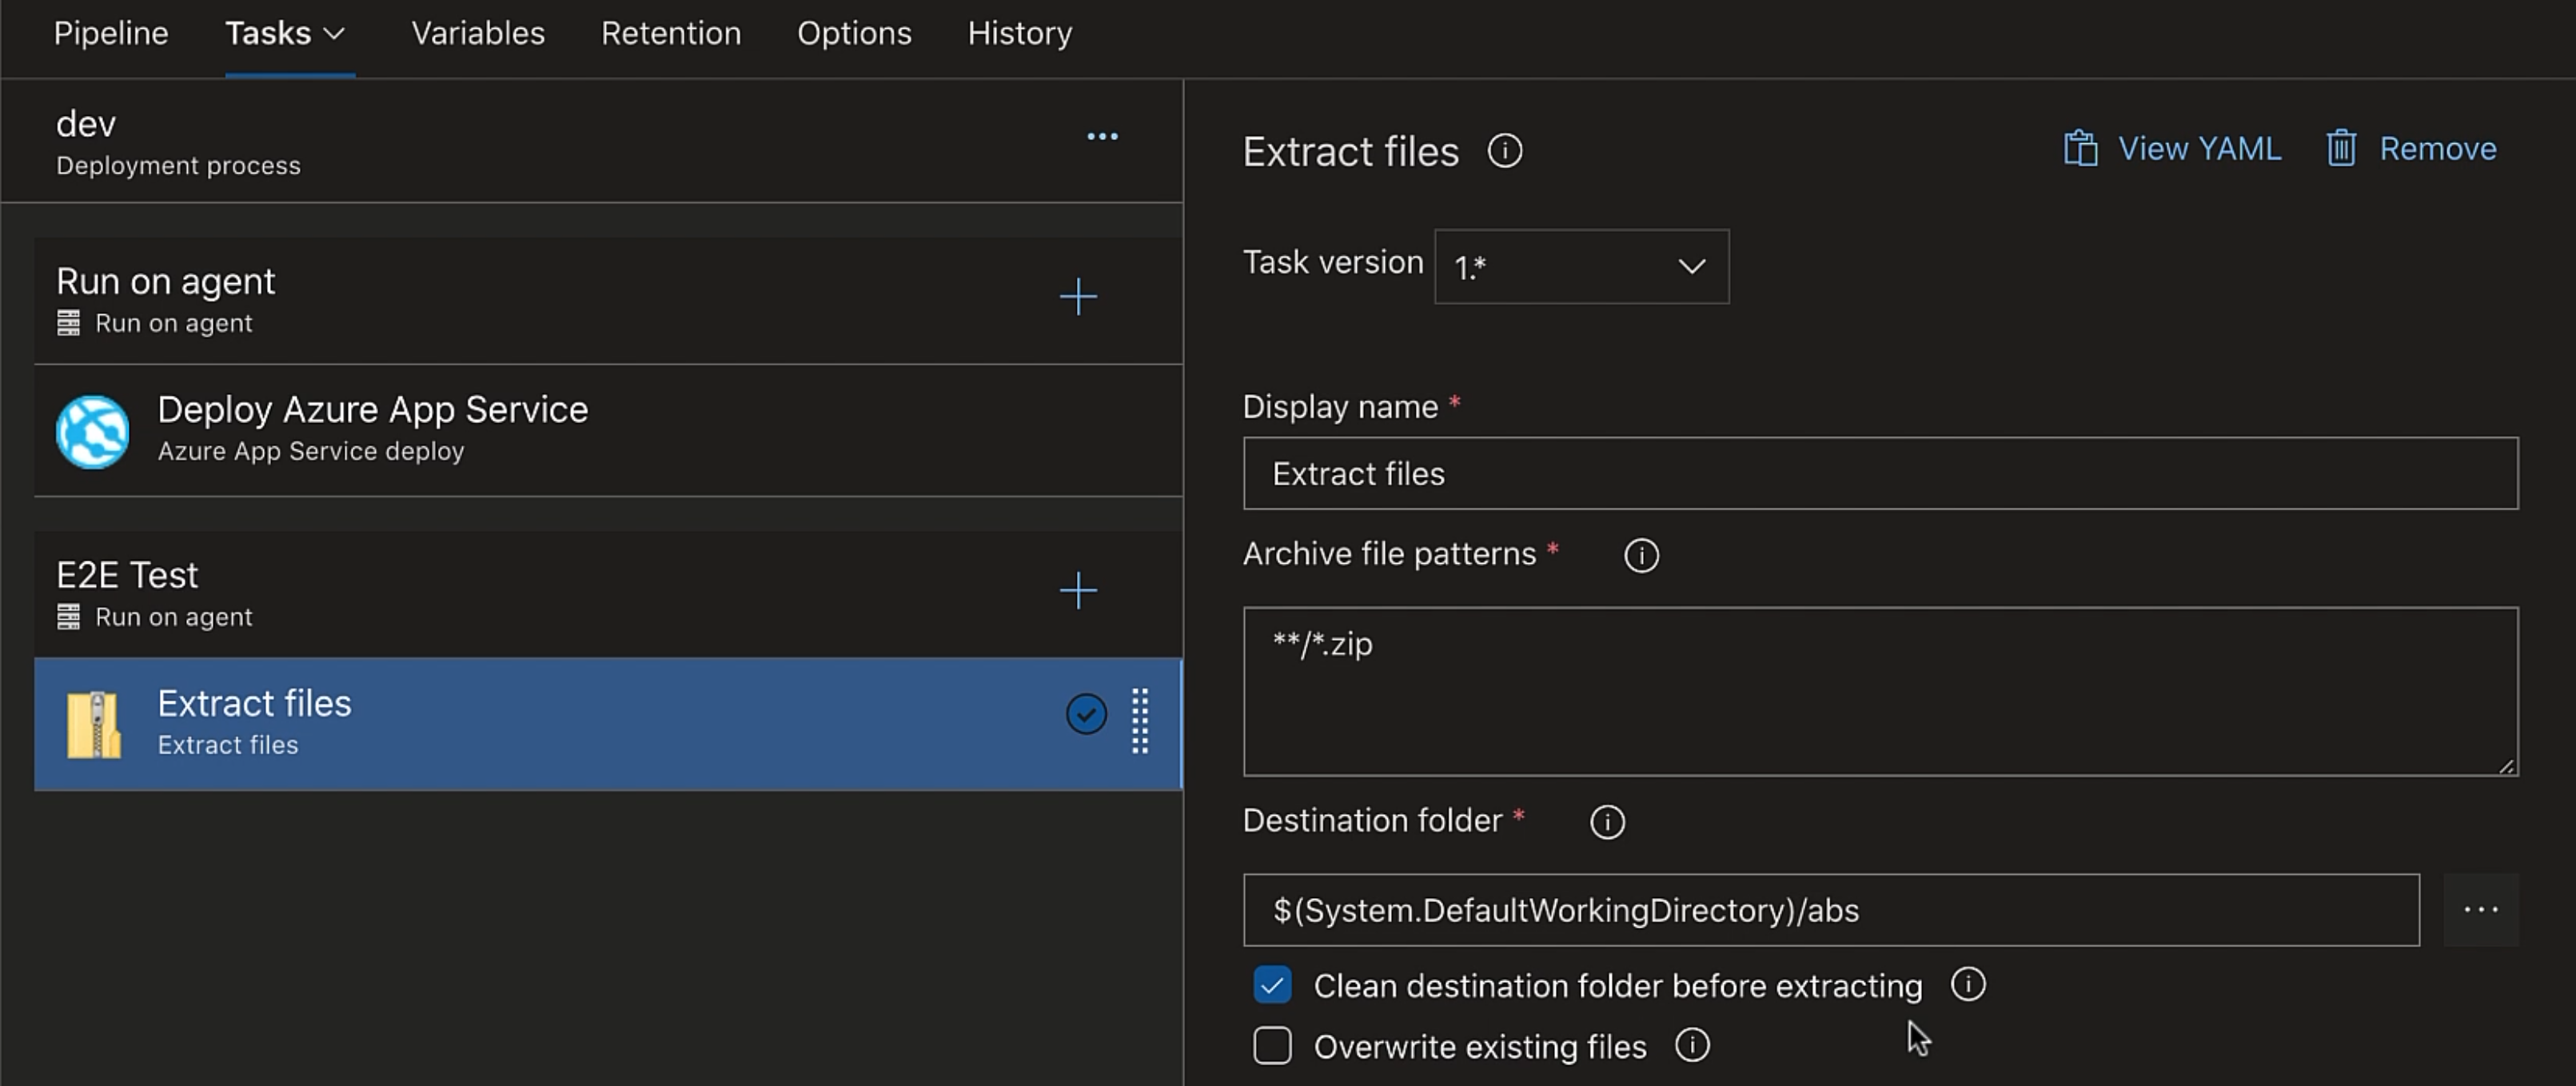
For the "Destination folder", we'll set it as $(System.DefaultWorkingDirectory)/abs - System.DefaultWorkingDirectory is a predefined system variable, and it holds the local path on the agent where the source code files are downloaded.
Because it's a variable, it is wrapped in $() and the abs folder will be created under that directory and will store the extracted project files.
And we would like to "Clean destination folder before extracting".
Okay, so this task is ready.
The next thing we would like to do is install node, as we need to run npm commands.
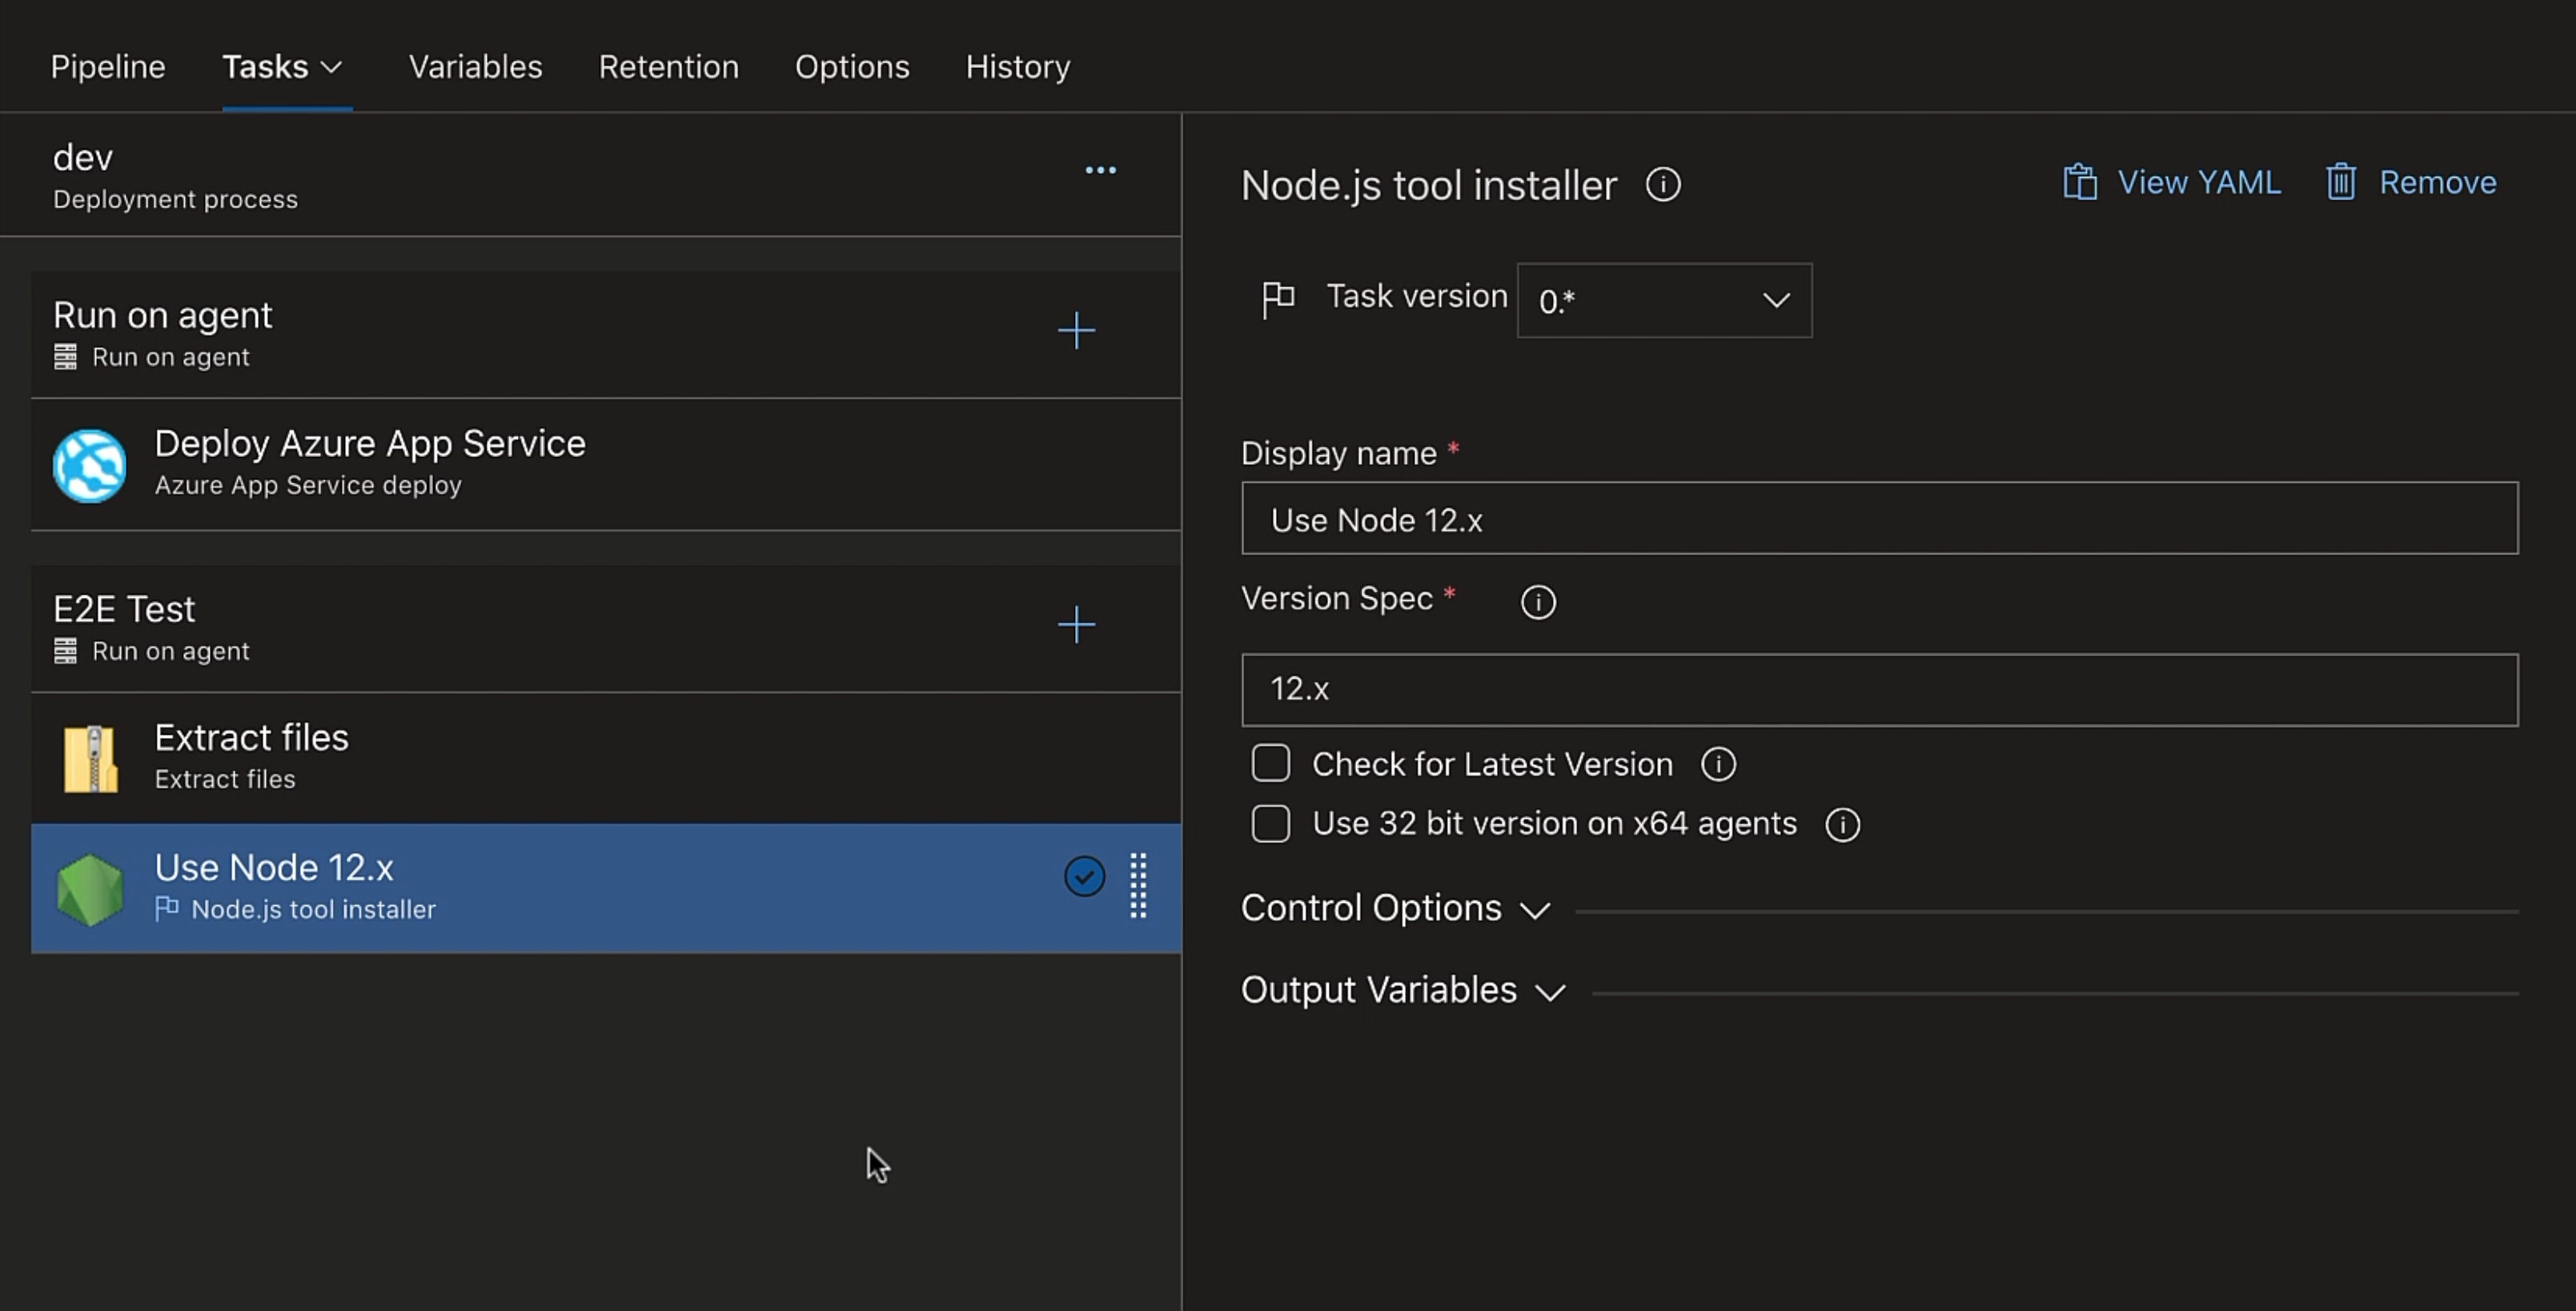
So we'll add the Node.js tool installer task.
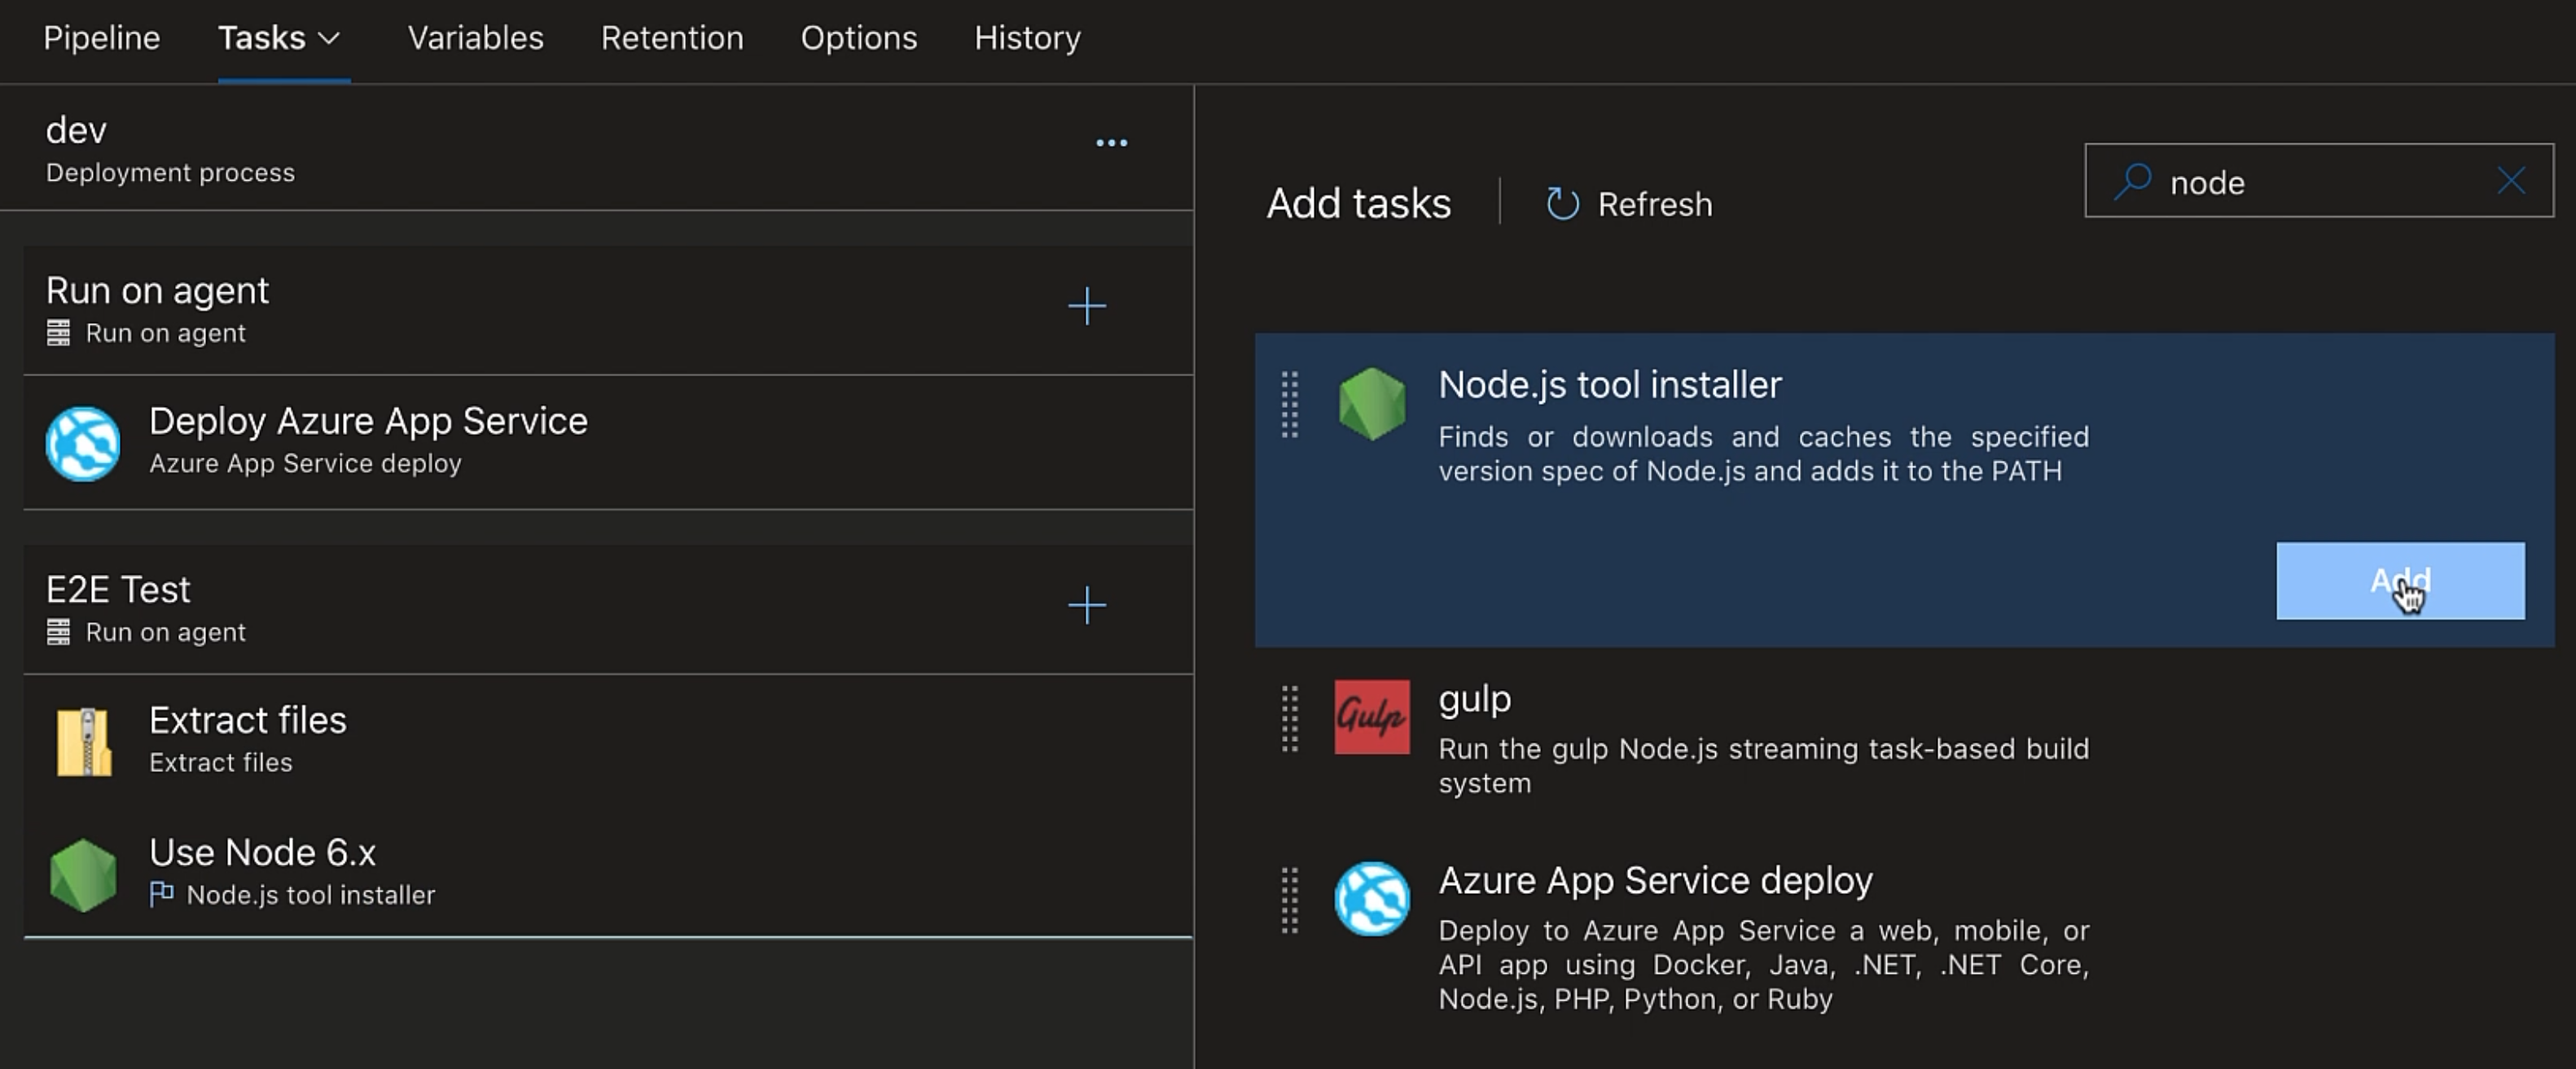
The node version is set to 6, but Cypress requires node version 10 or greater, so we'll set it to 12.
Now, there are some project dependencies like Cypress and eyes-cypress that we need to install before we can run our test.
So we'll add an "npm" task.
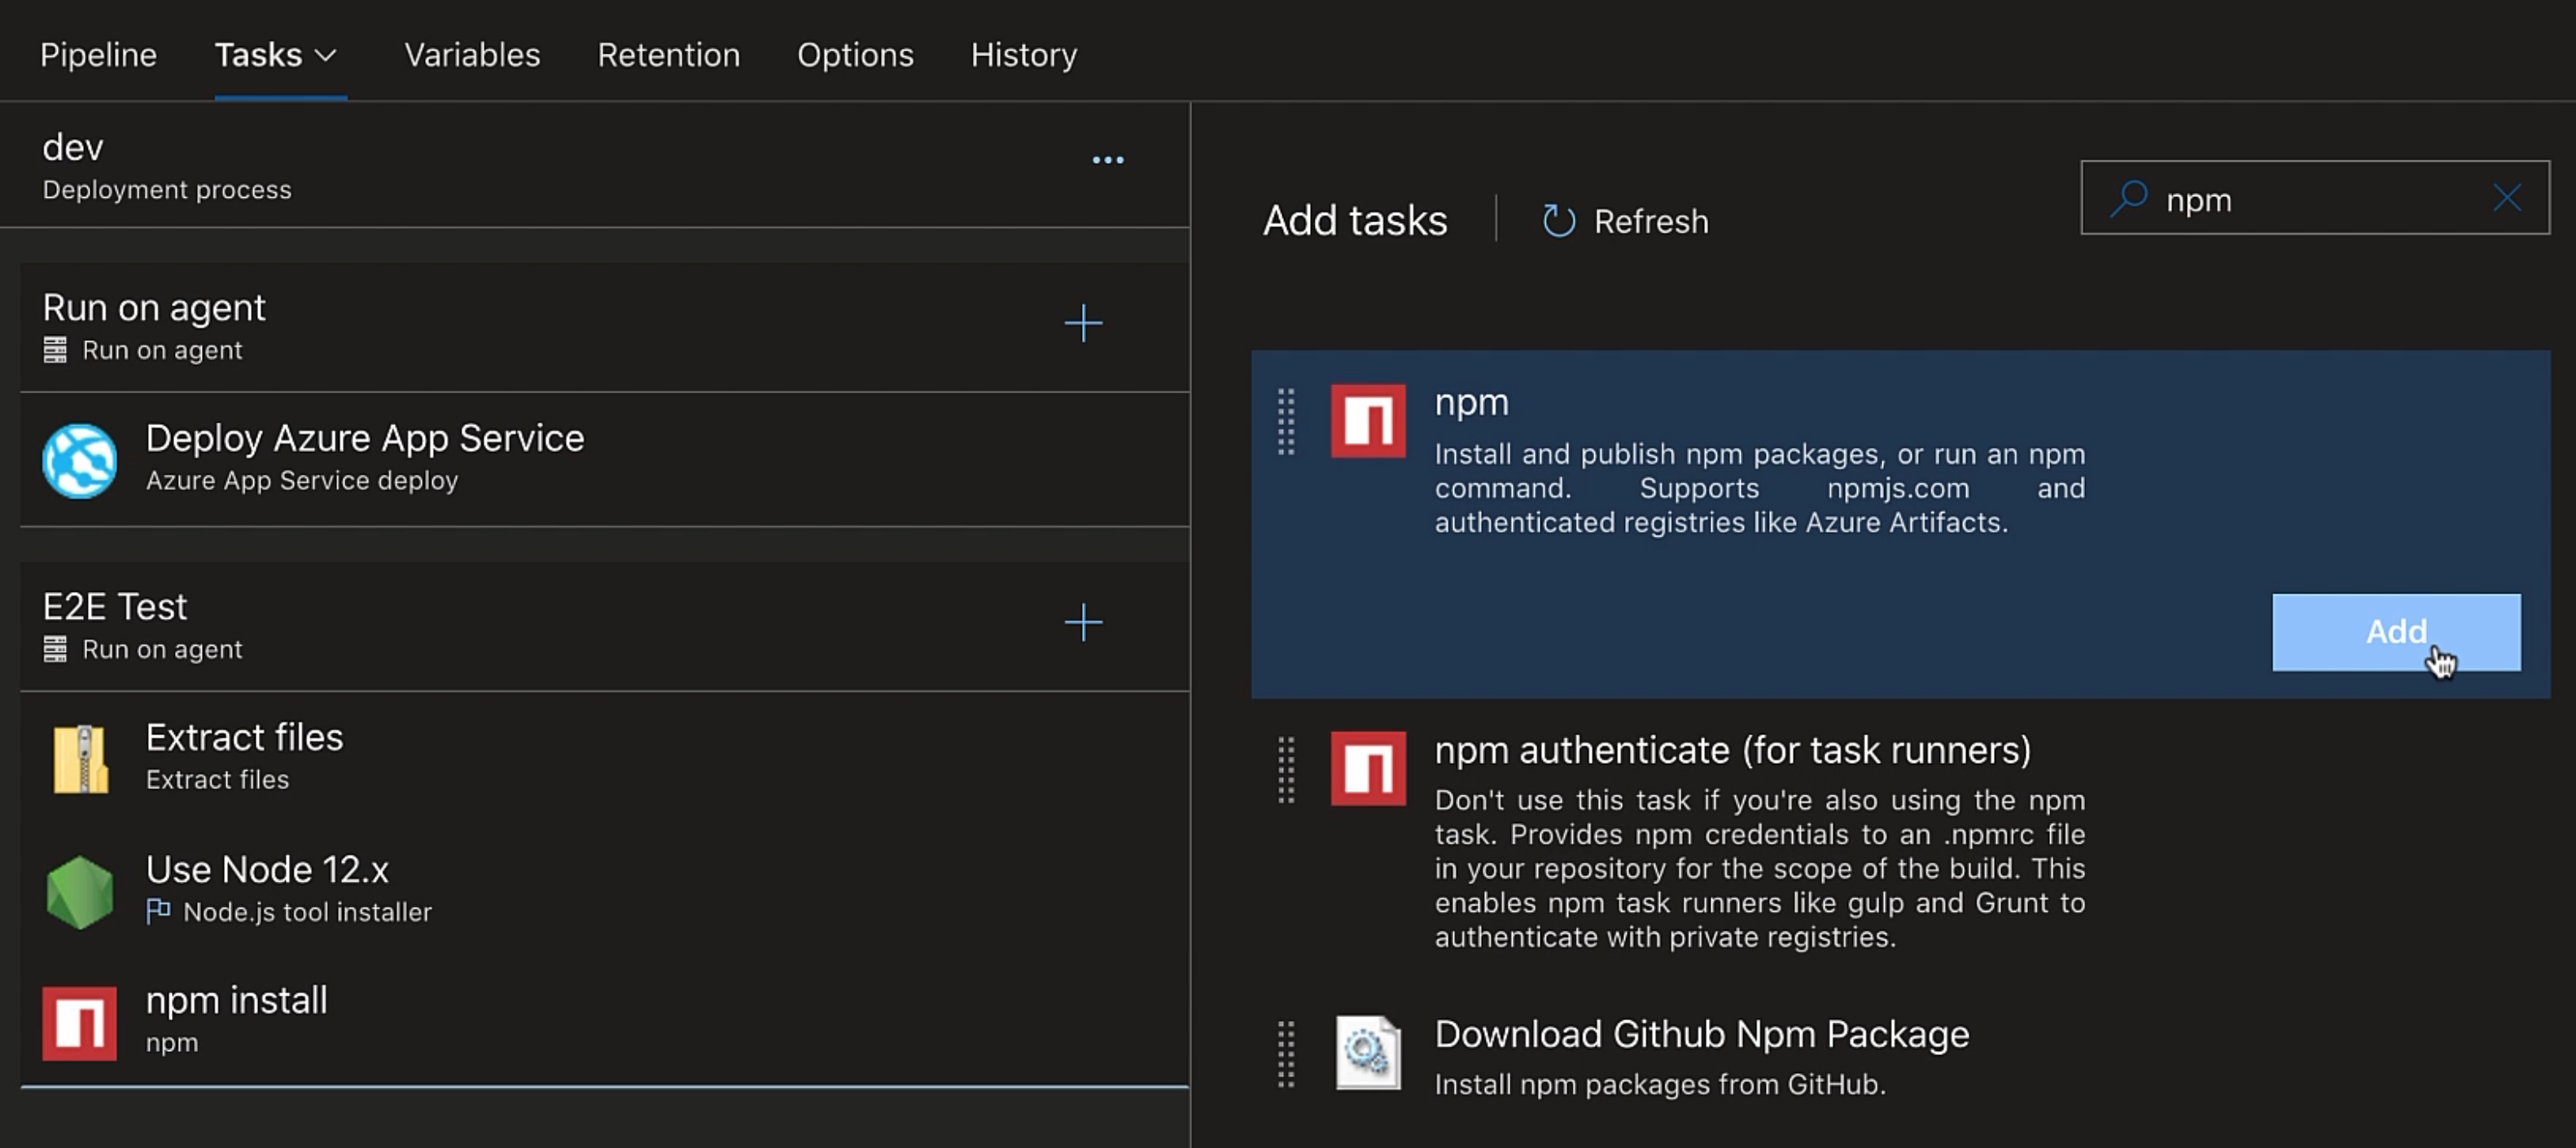
Let's update the "Display name".
Now we can install the dependencies either by using npm install or npm ci.
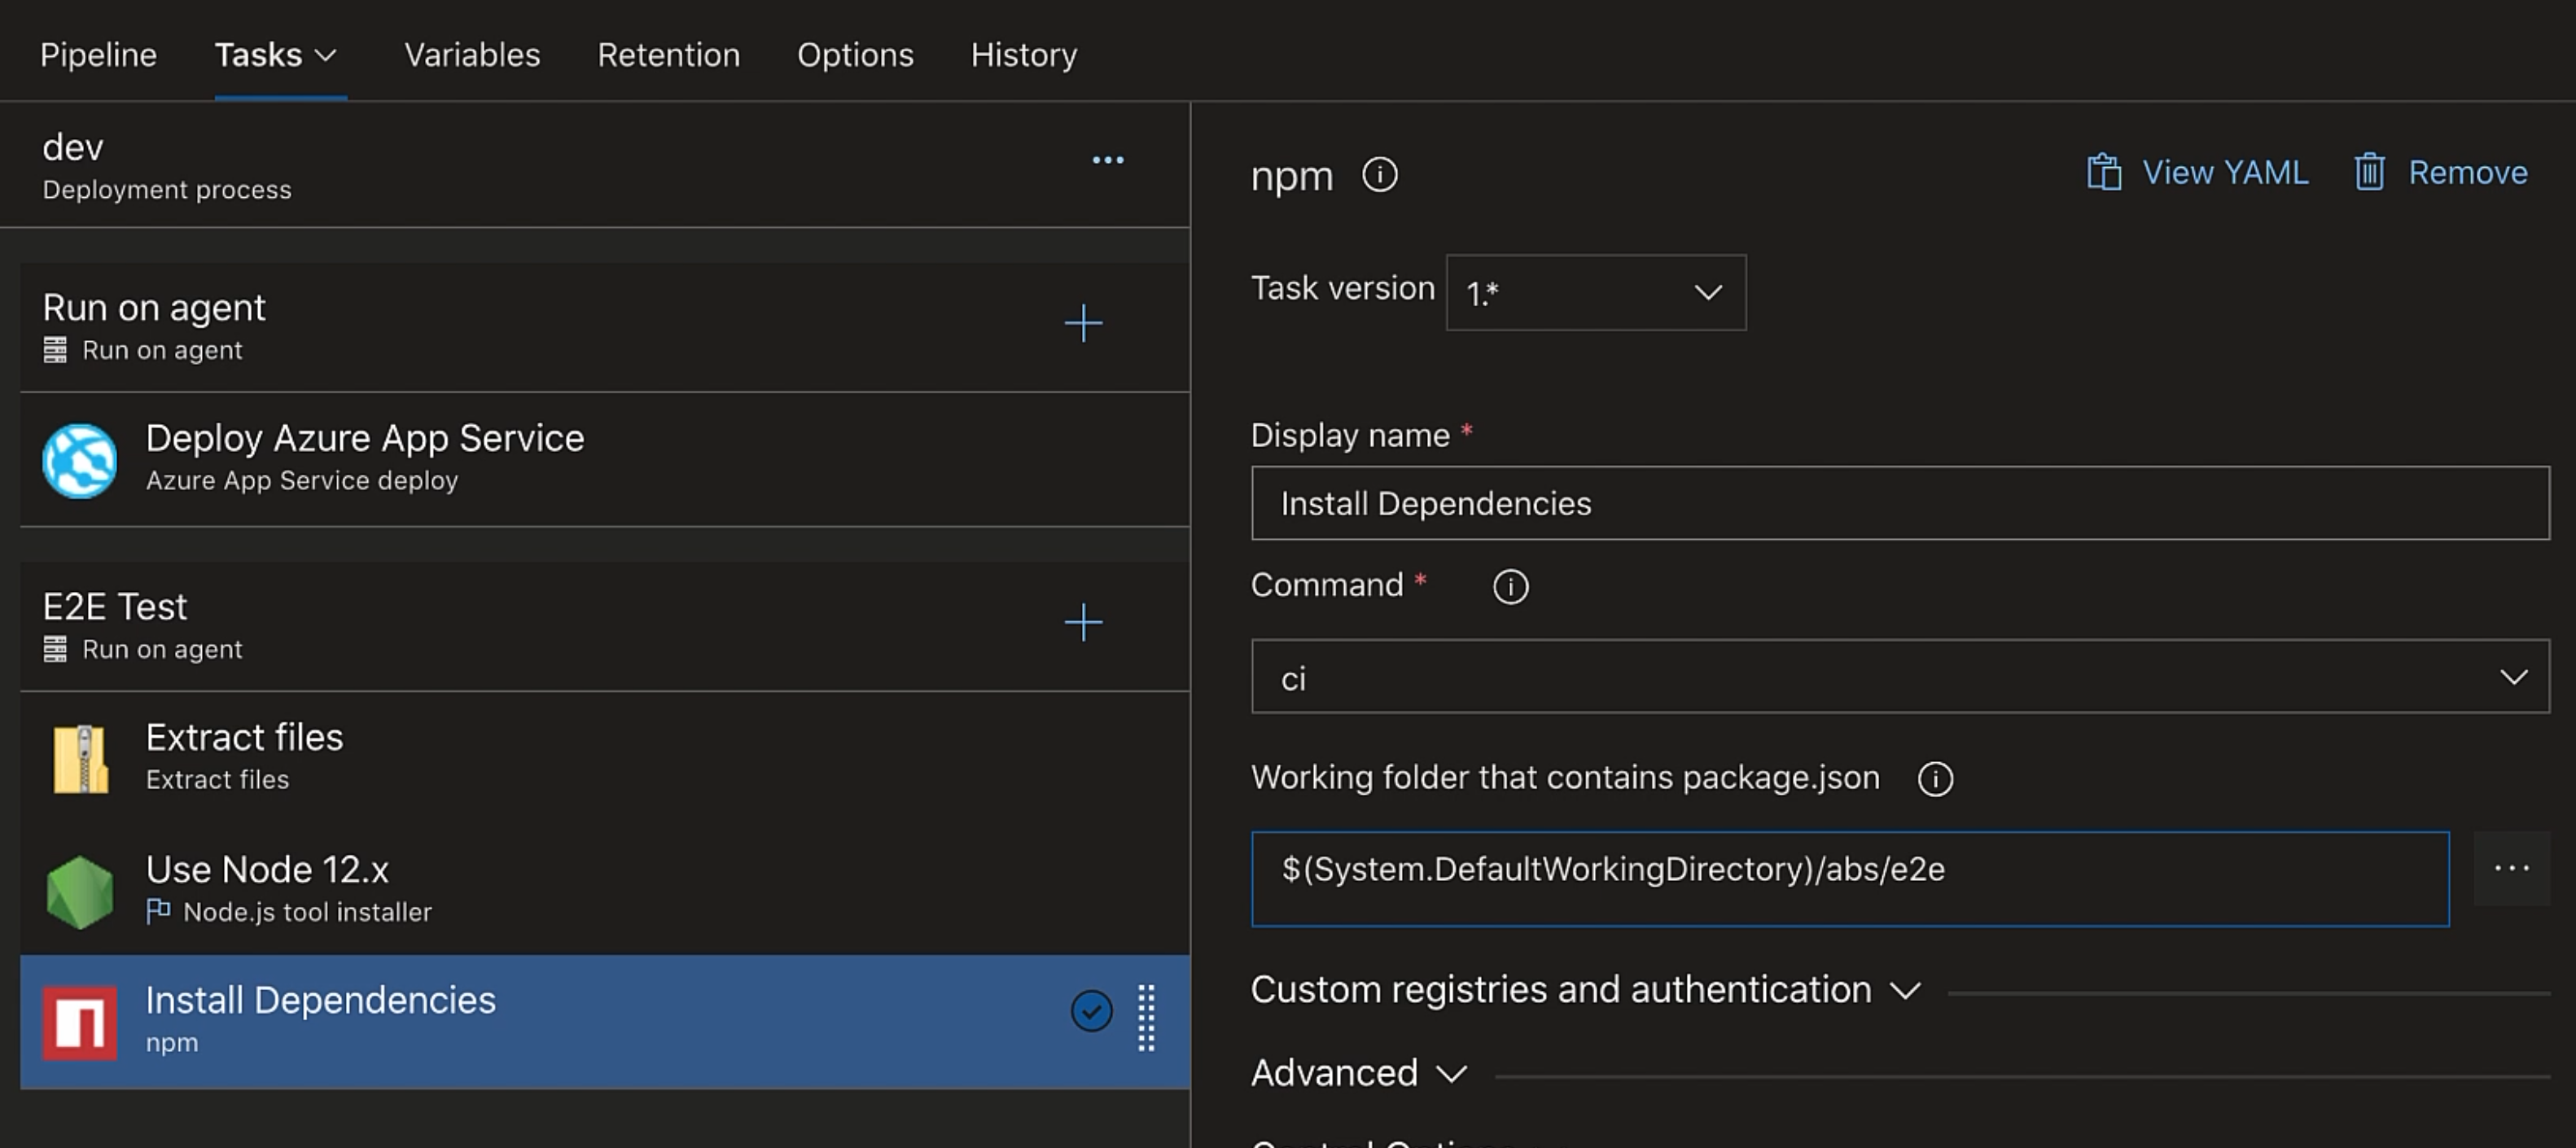
npm ci is used when we want to make sure that we are doing a clean install of the dependencies.
It requires package-lock.json.
If you would like to have more clarity over what package.json and package-lock.json do, I'll link a video as a resource that you can refer to.
We have pushed package-lock.json to GitHub, so we'll go ahead with npm ci.
Our working folder will be the folder that holds our project, /e2e because that is where our tests lie and we need to set a working folder that contains package.json.
Now with that done, then we can run our test.
To run our test, we will add a Command Line script.
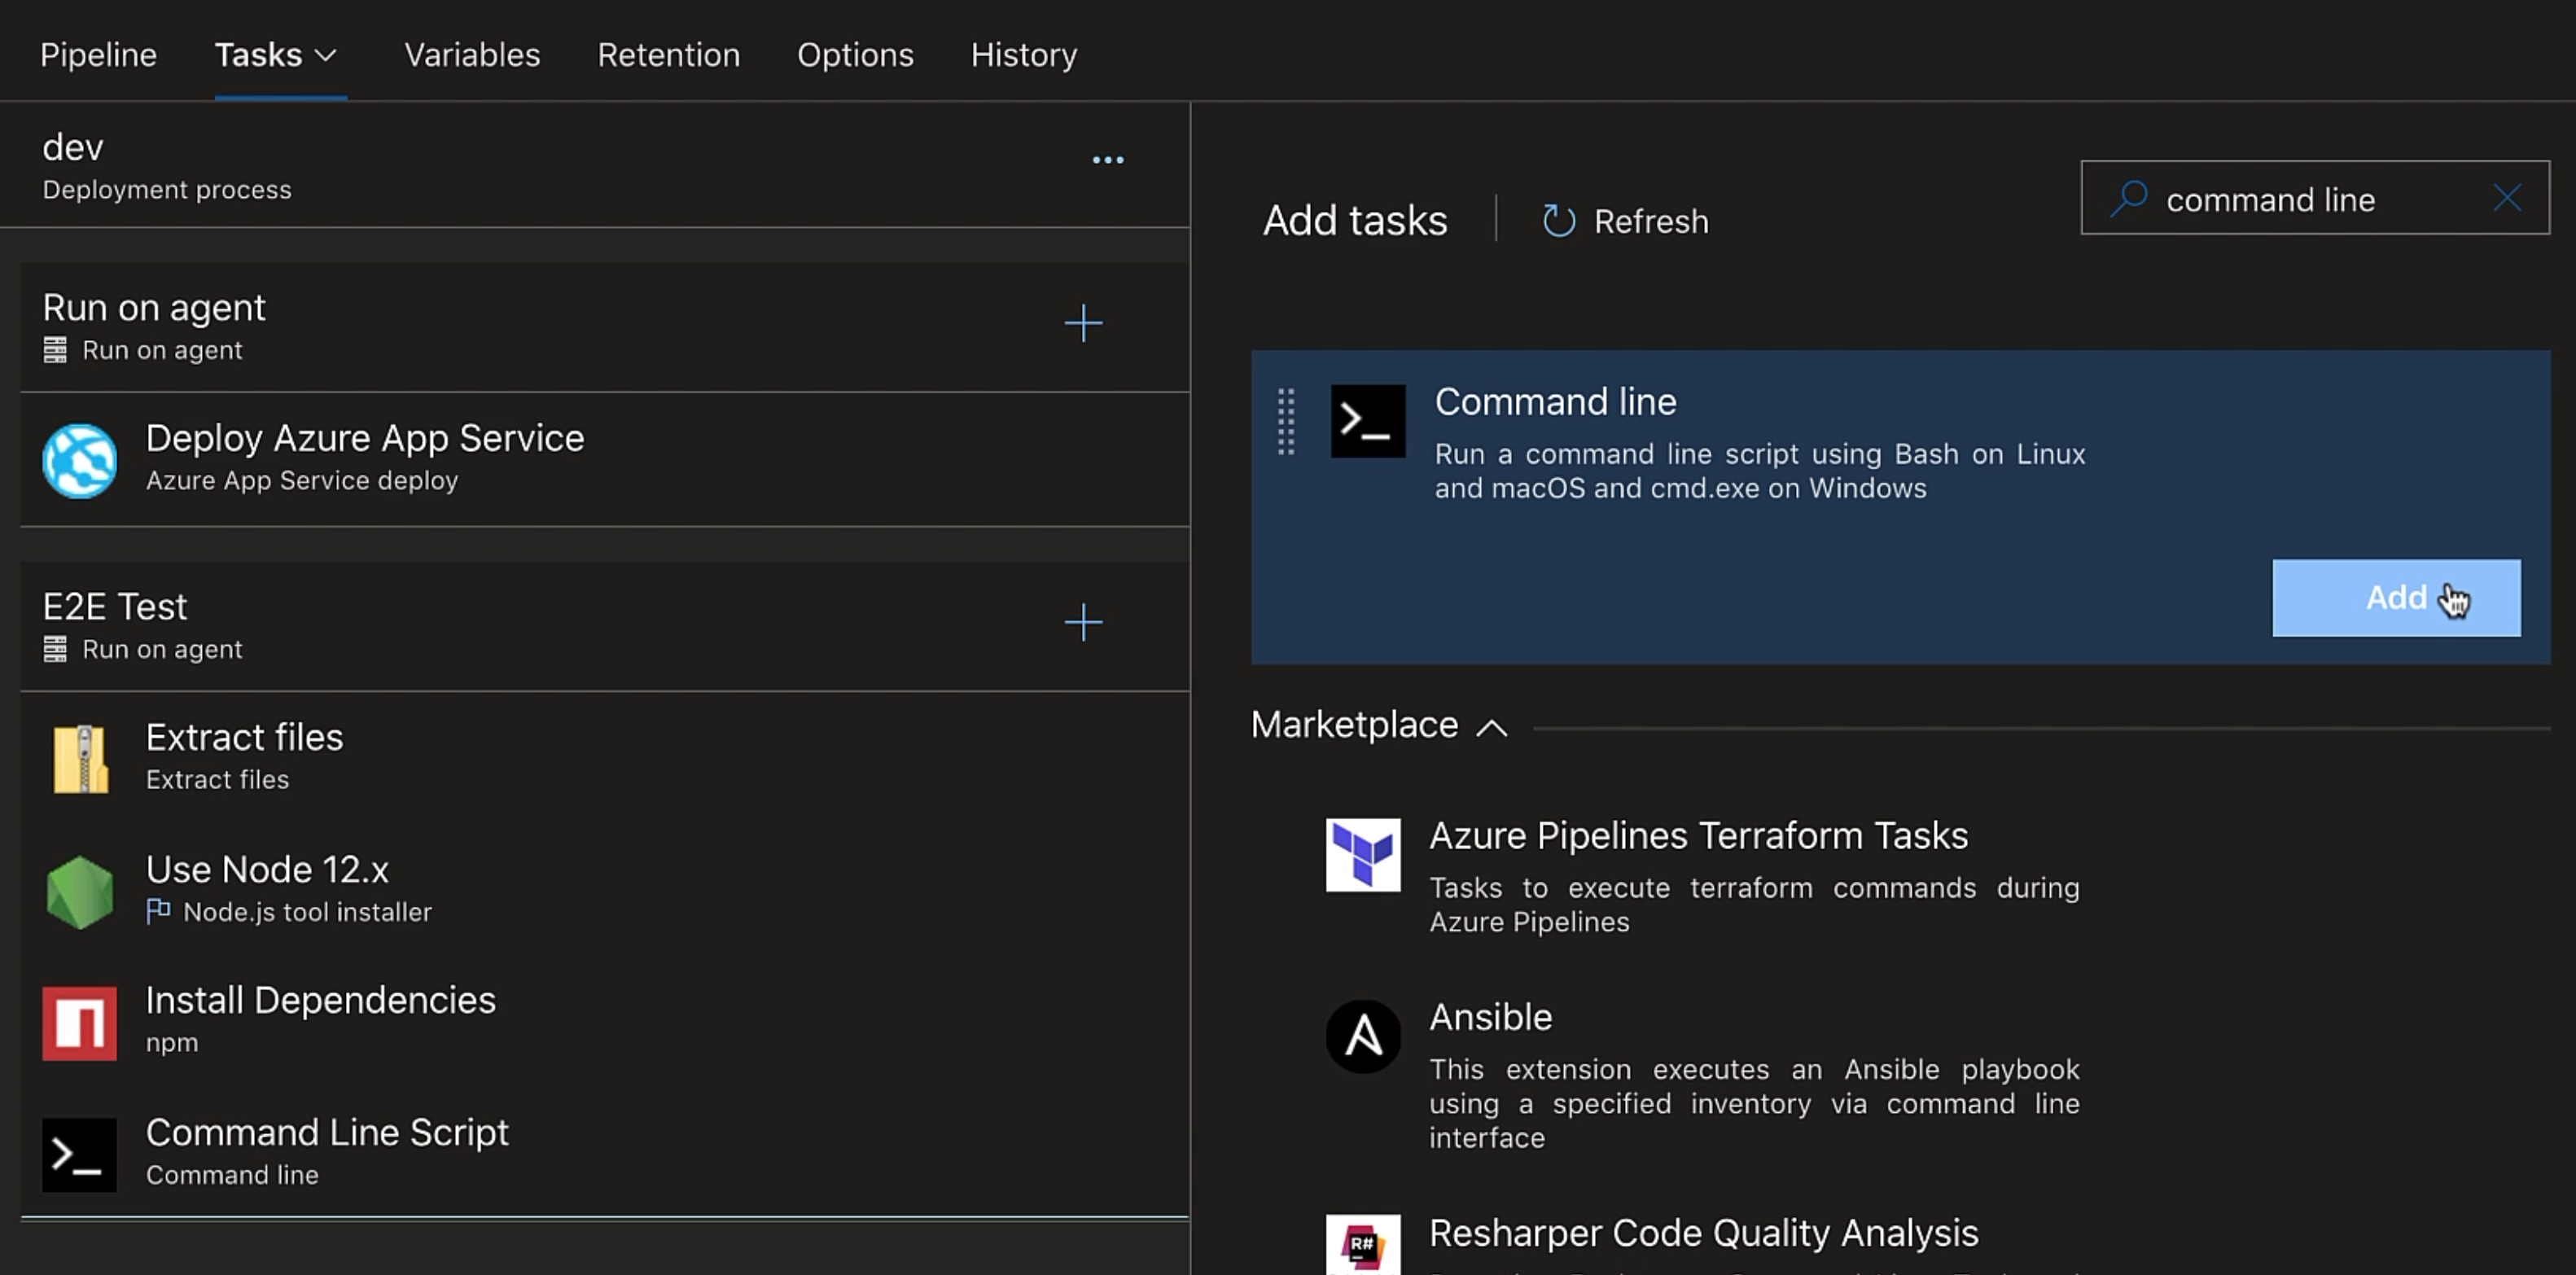
I'll tell you in a bit why we are using Command Line to run the test and not the npm task.
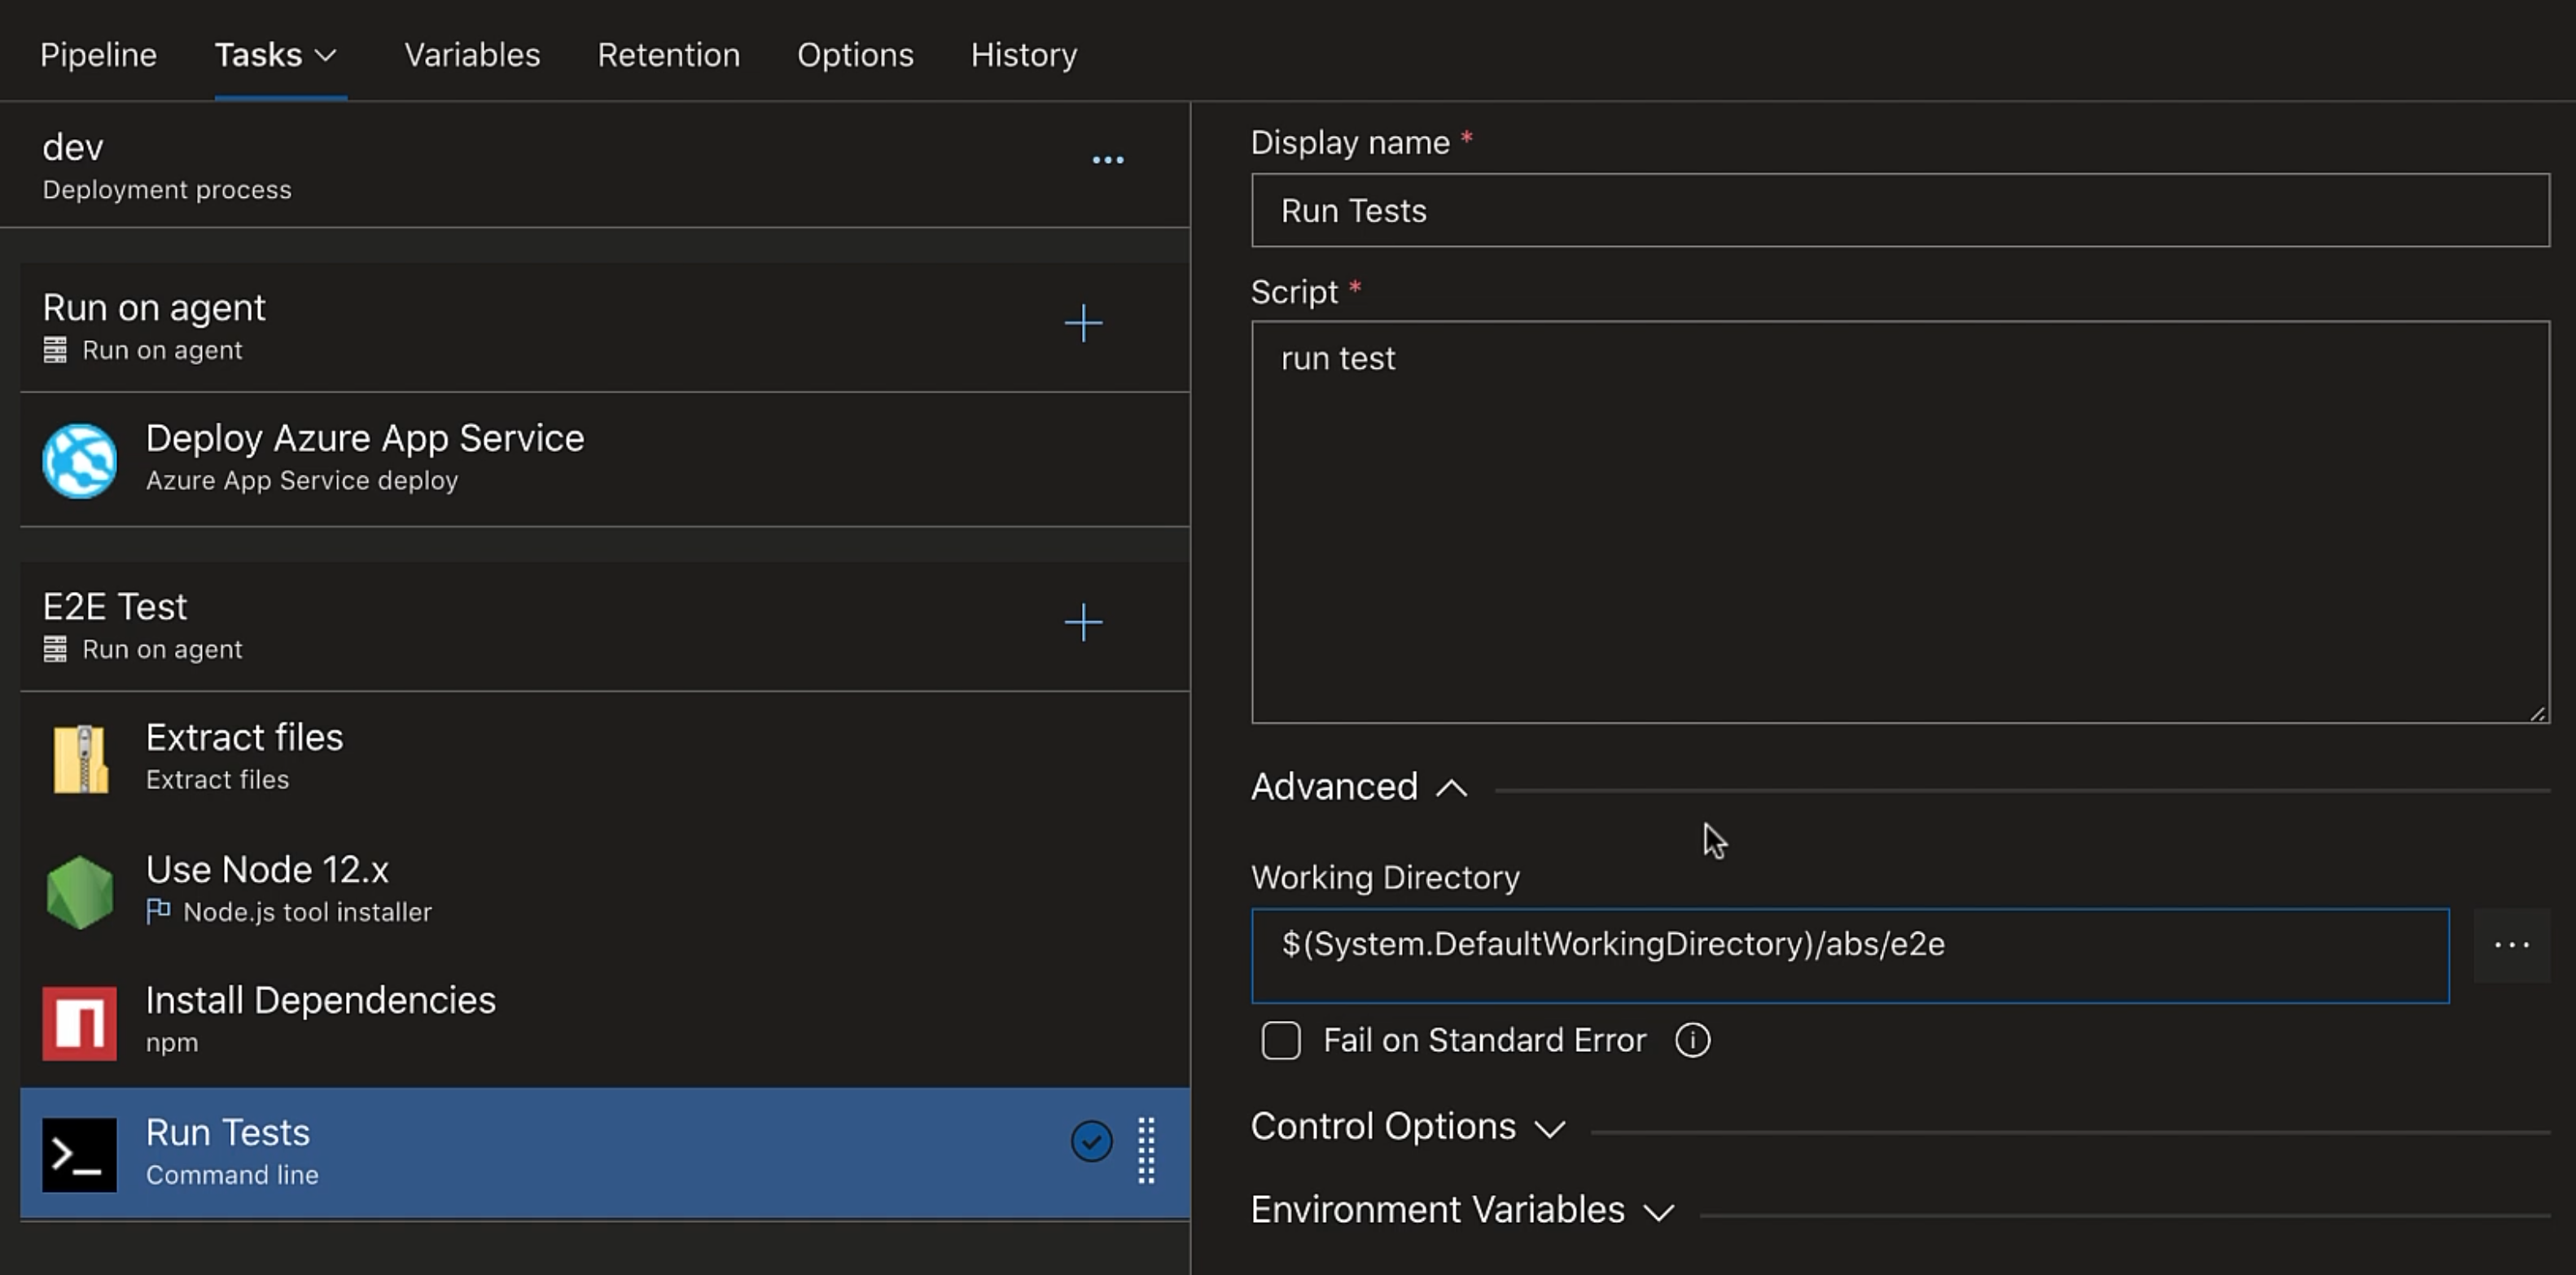
Let's rename it to "Run Tests", and our command will be npm run test.
test is the script in our package.json.
In the Advanced section, we'll set our working directory $(System.DefaultWorkingDirectory)/abs/e2e.
Now, to run our visual test, we need to provide the Applitools API key.
For that we'll create a variable.
Let's head over to our "Variables" tab and we'll add a pipeline variable.
The name we'll give it is Applitools_API_Key.
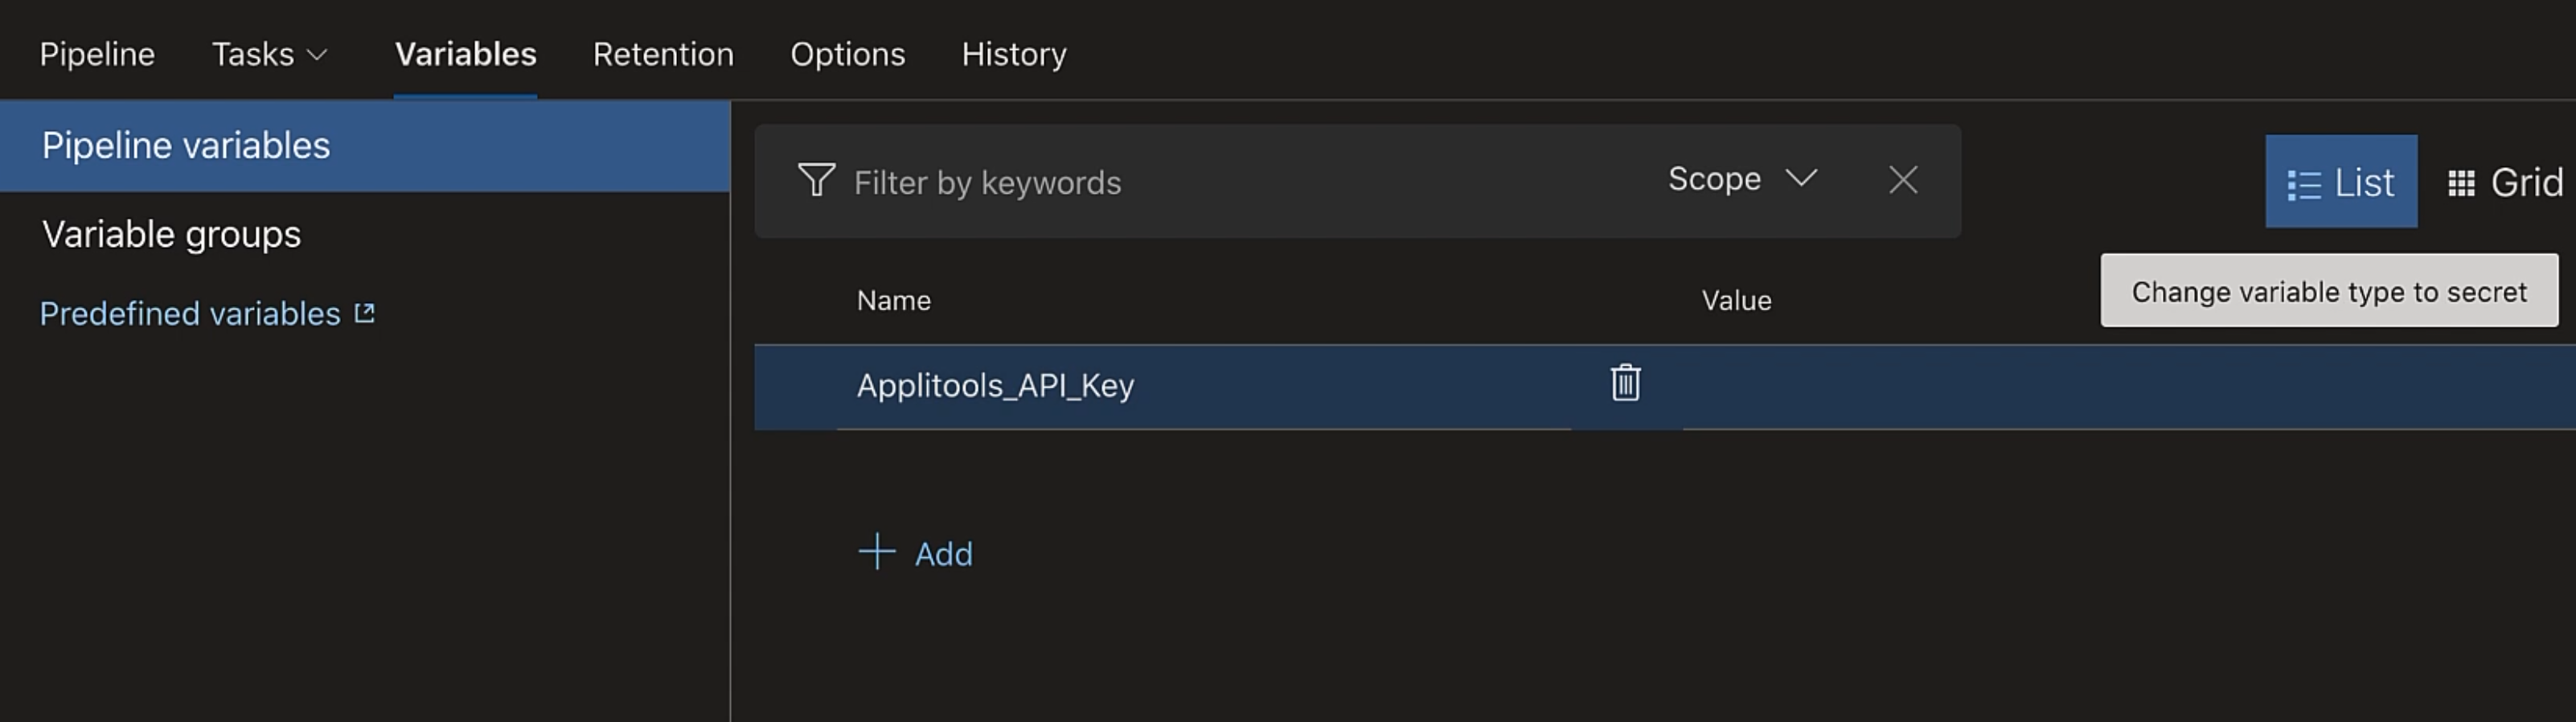
As we know, Applitools_API_Key is a secret, so we'll make this a secret variable.
To make it a secret variable, click on this lock icon.
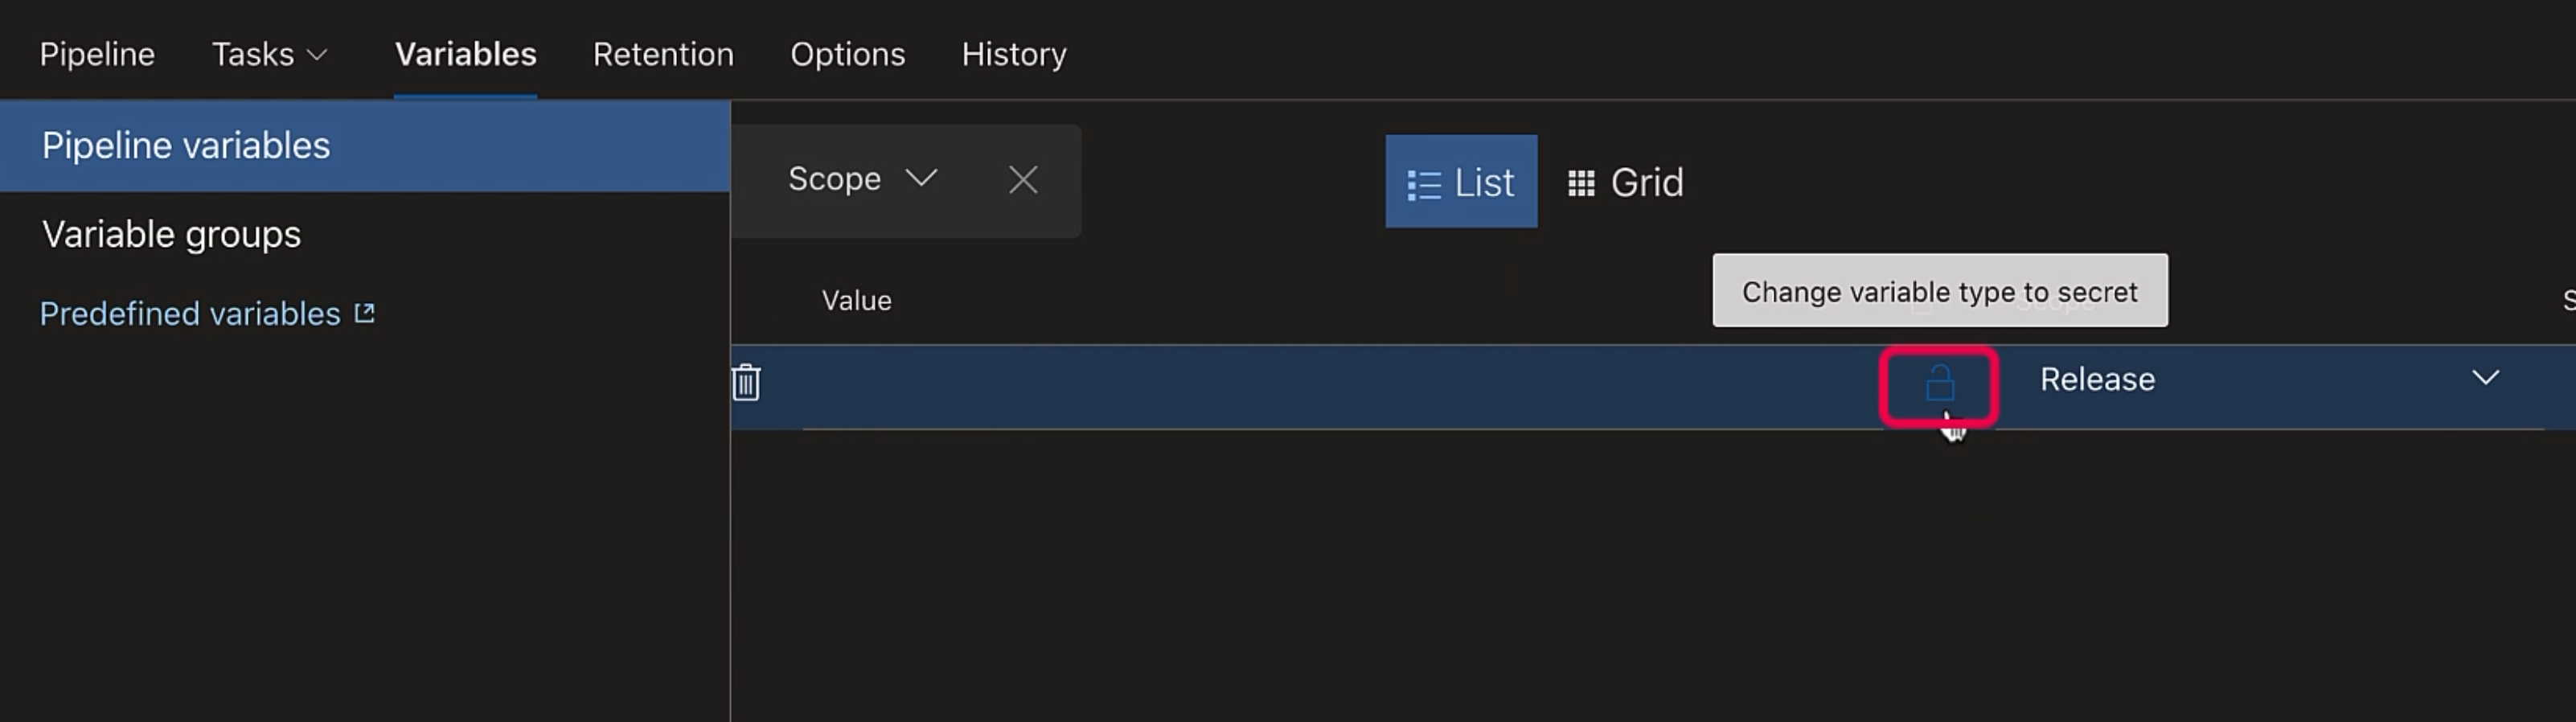
And now we'll add the value for our API key.
Secret variables are encrypted and are not automatically decrypted into environment variables for scripts or tasks.
Each task that needs to use the secret as an environment variable does remapping.
So our script that will run the test needs Applitools_API_Key as an environment variable.
So, in the "Environment Variables" section we'll map Applitools_API_Key to our secret variable.
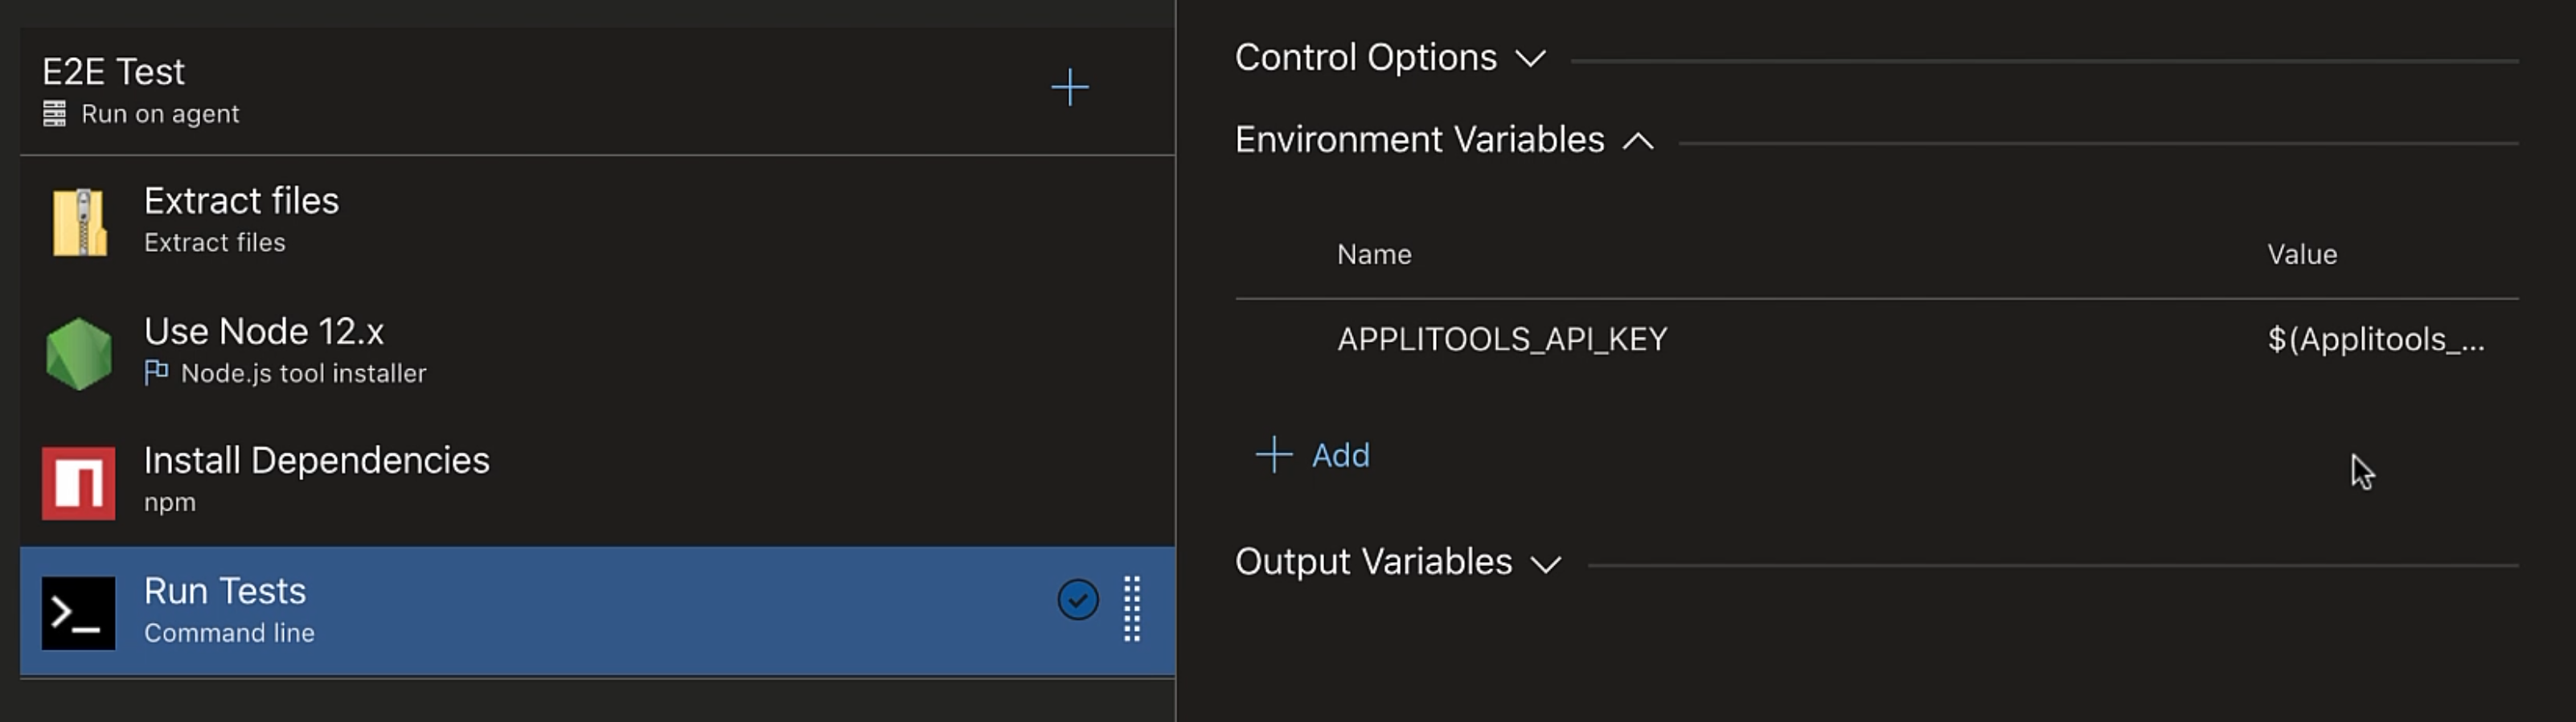
Now, if you're wondering why we didn't use the npm task to run our script, that's because the npm task doesn't allow creating environment variables, so we cannot use the secret variable Applitools_API_Key as an environment variable.
All right, let's save this and we'll create a release.
Let's go to our release, and the logs.
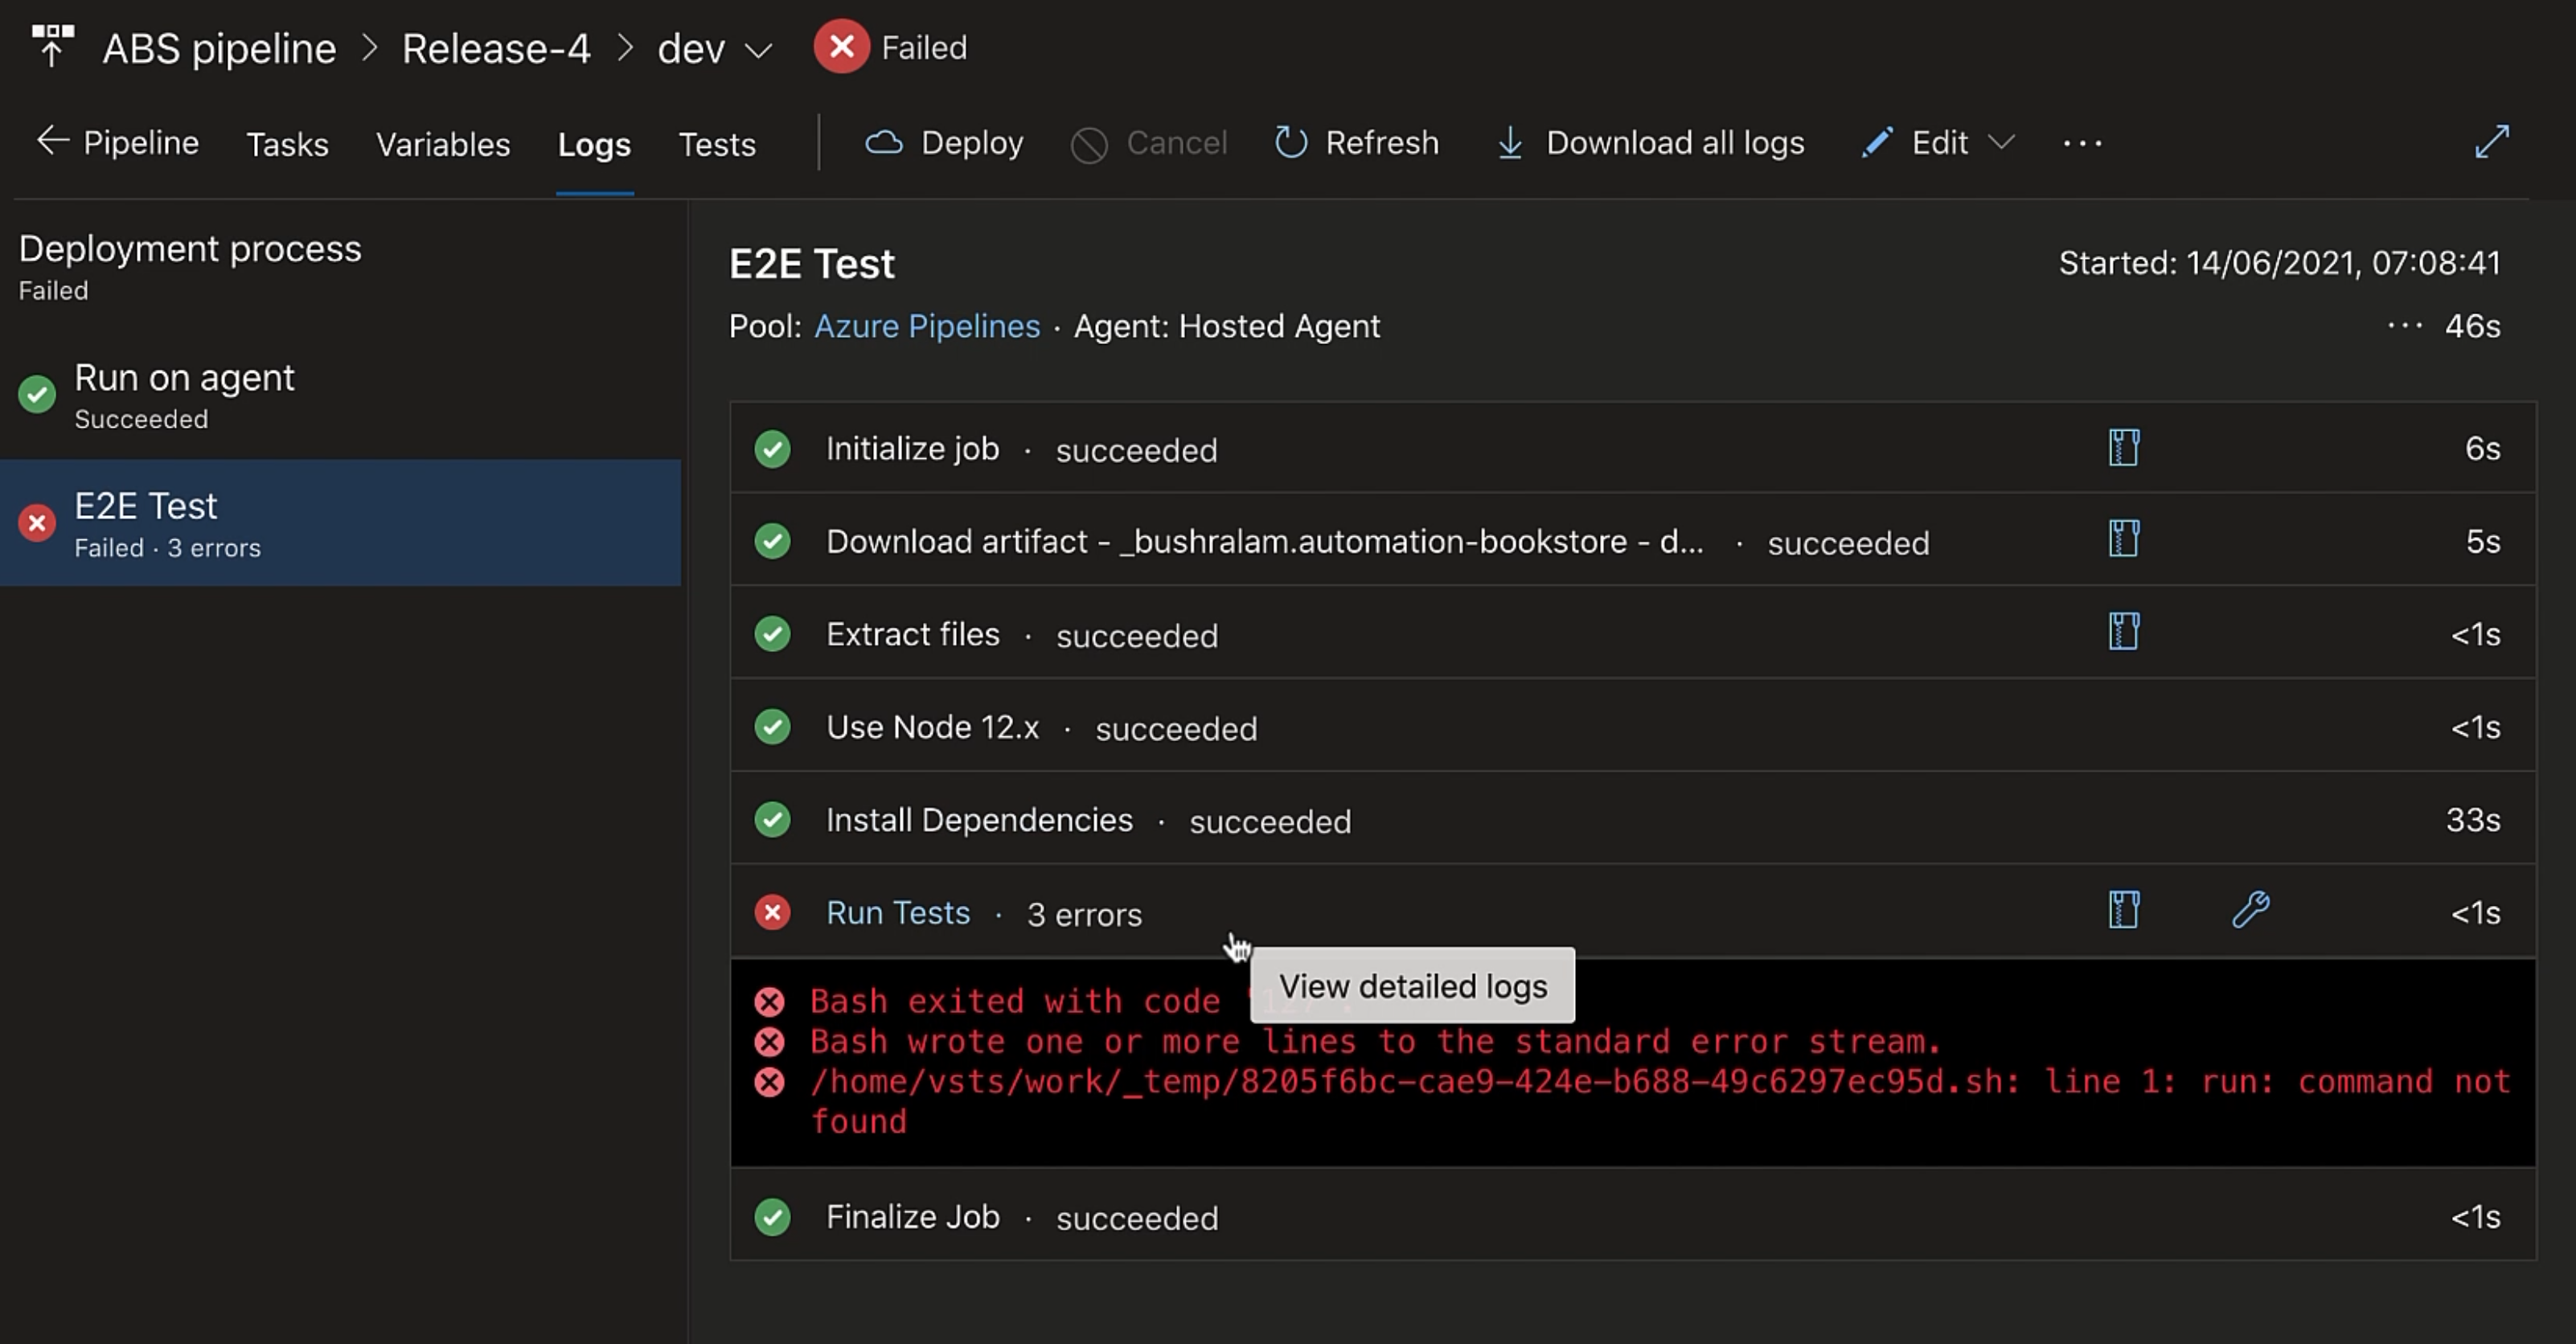
Let's see what the error is.
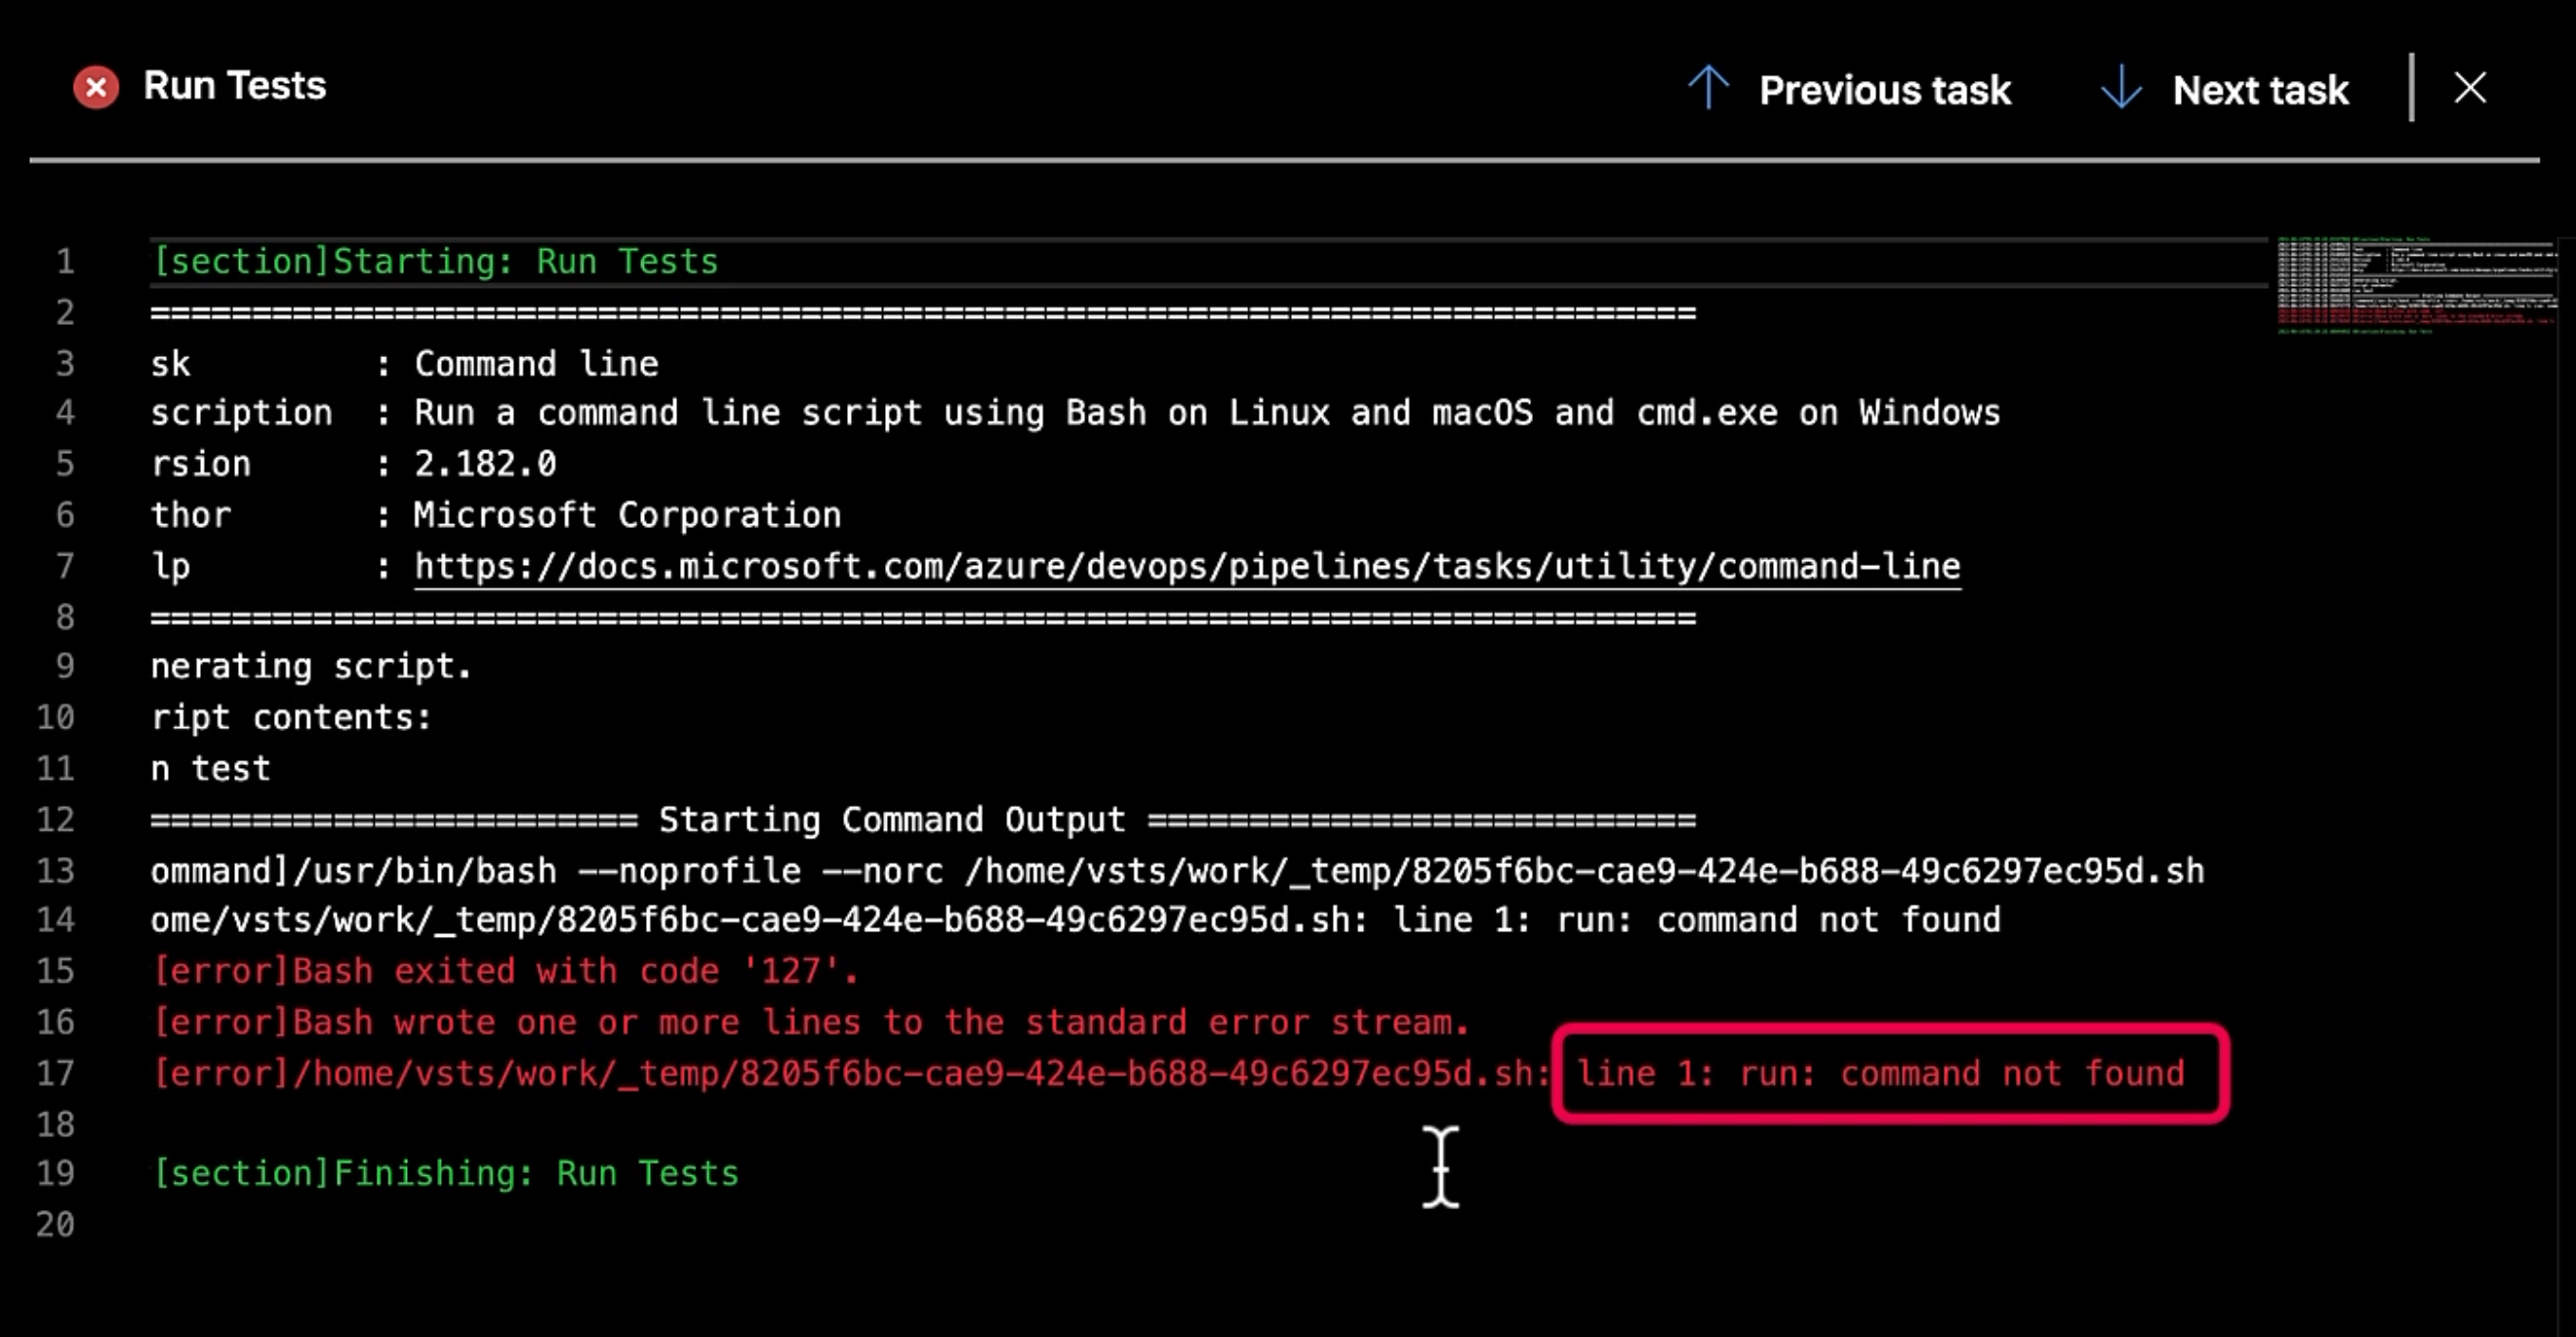
run: command not found - we need to add npm run test instead of just run test, because obviously this isn't the npm task. Let's go back and fix that.
We'll again create a release and our test executed perfectly in the pipeline.
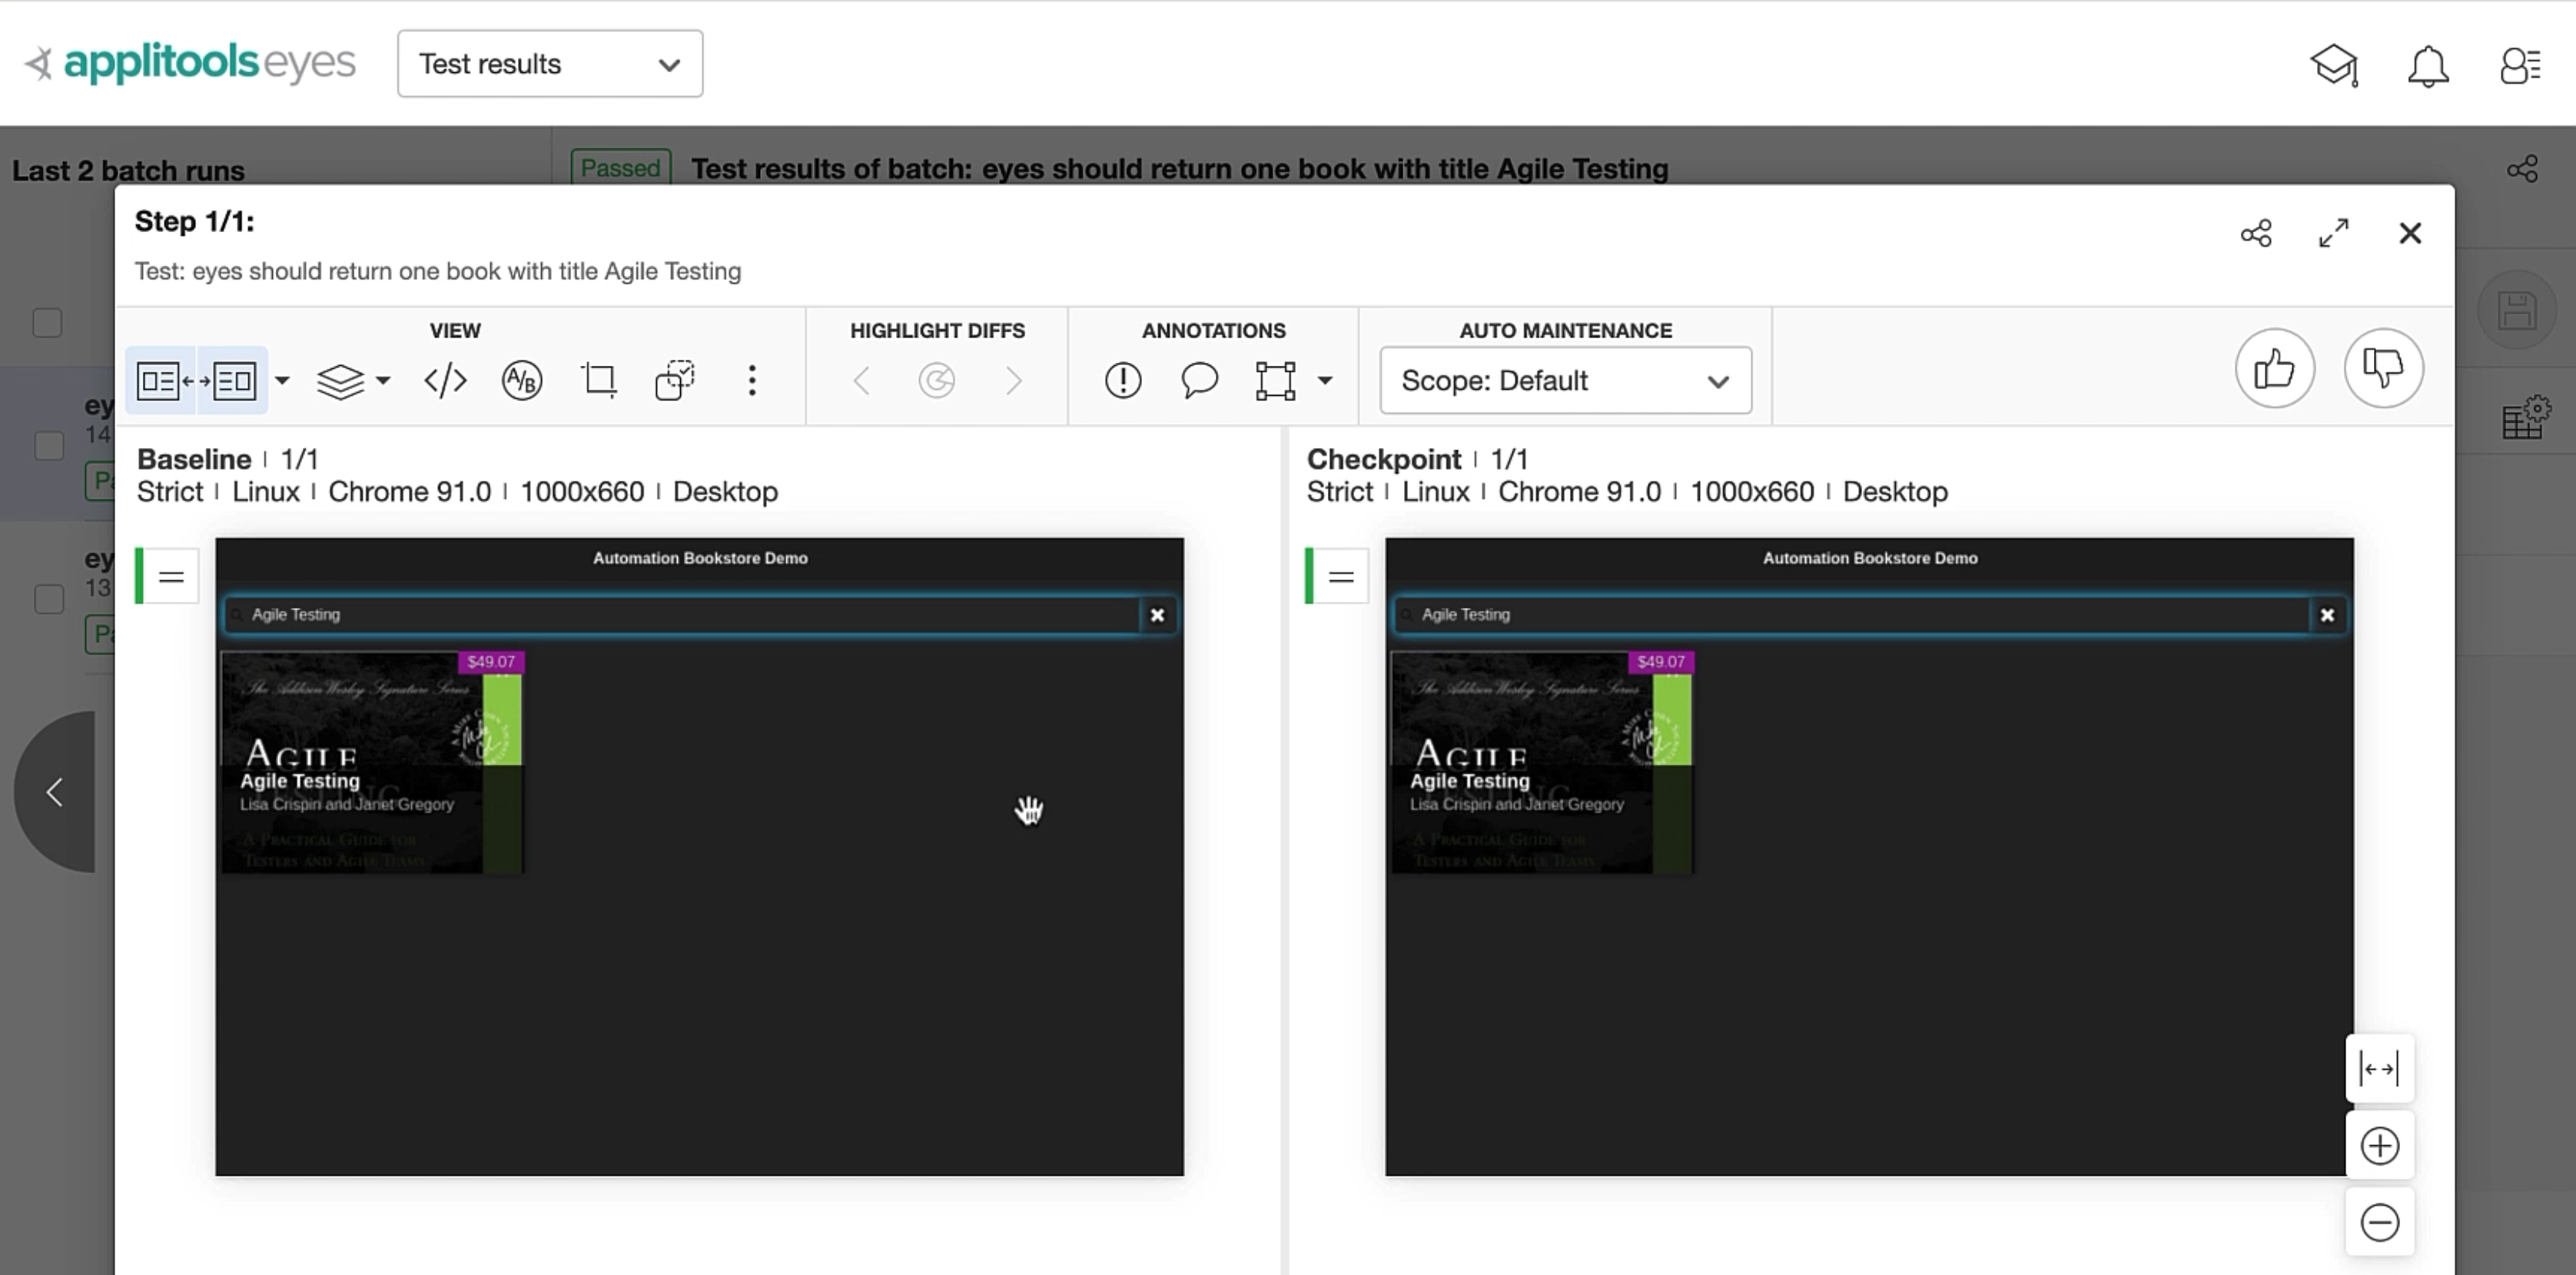
If you go to Applitools dashboard - let's refresh this.
So this is my batch that contains our two test results - both the tests are passing.
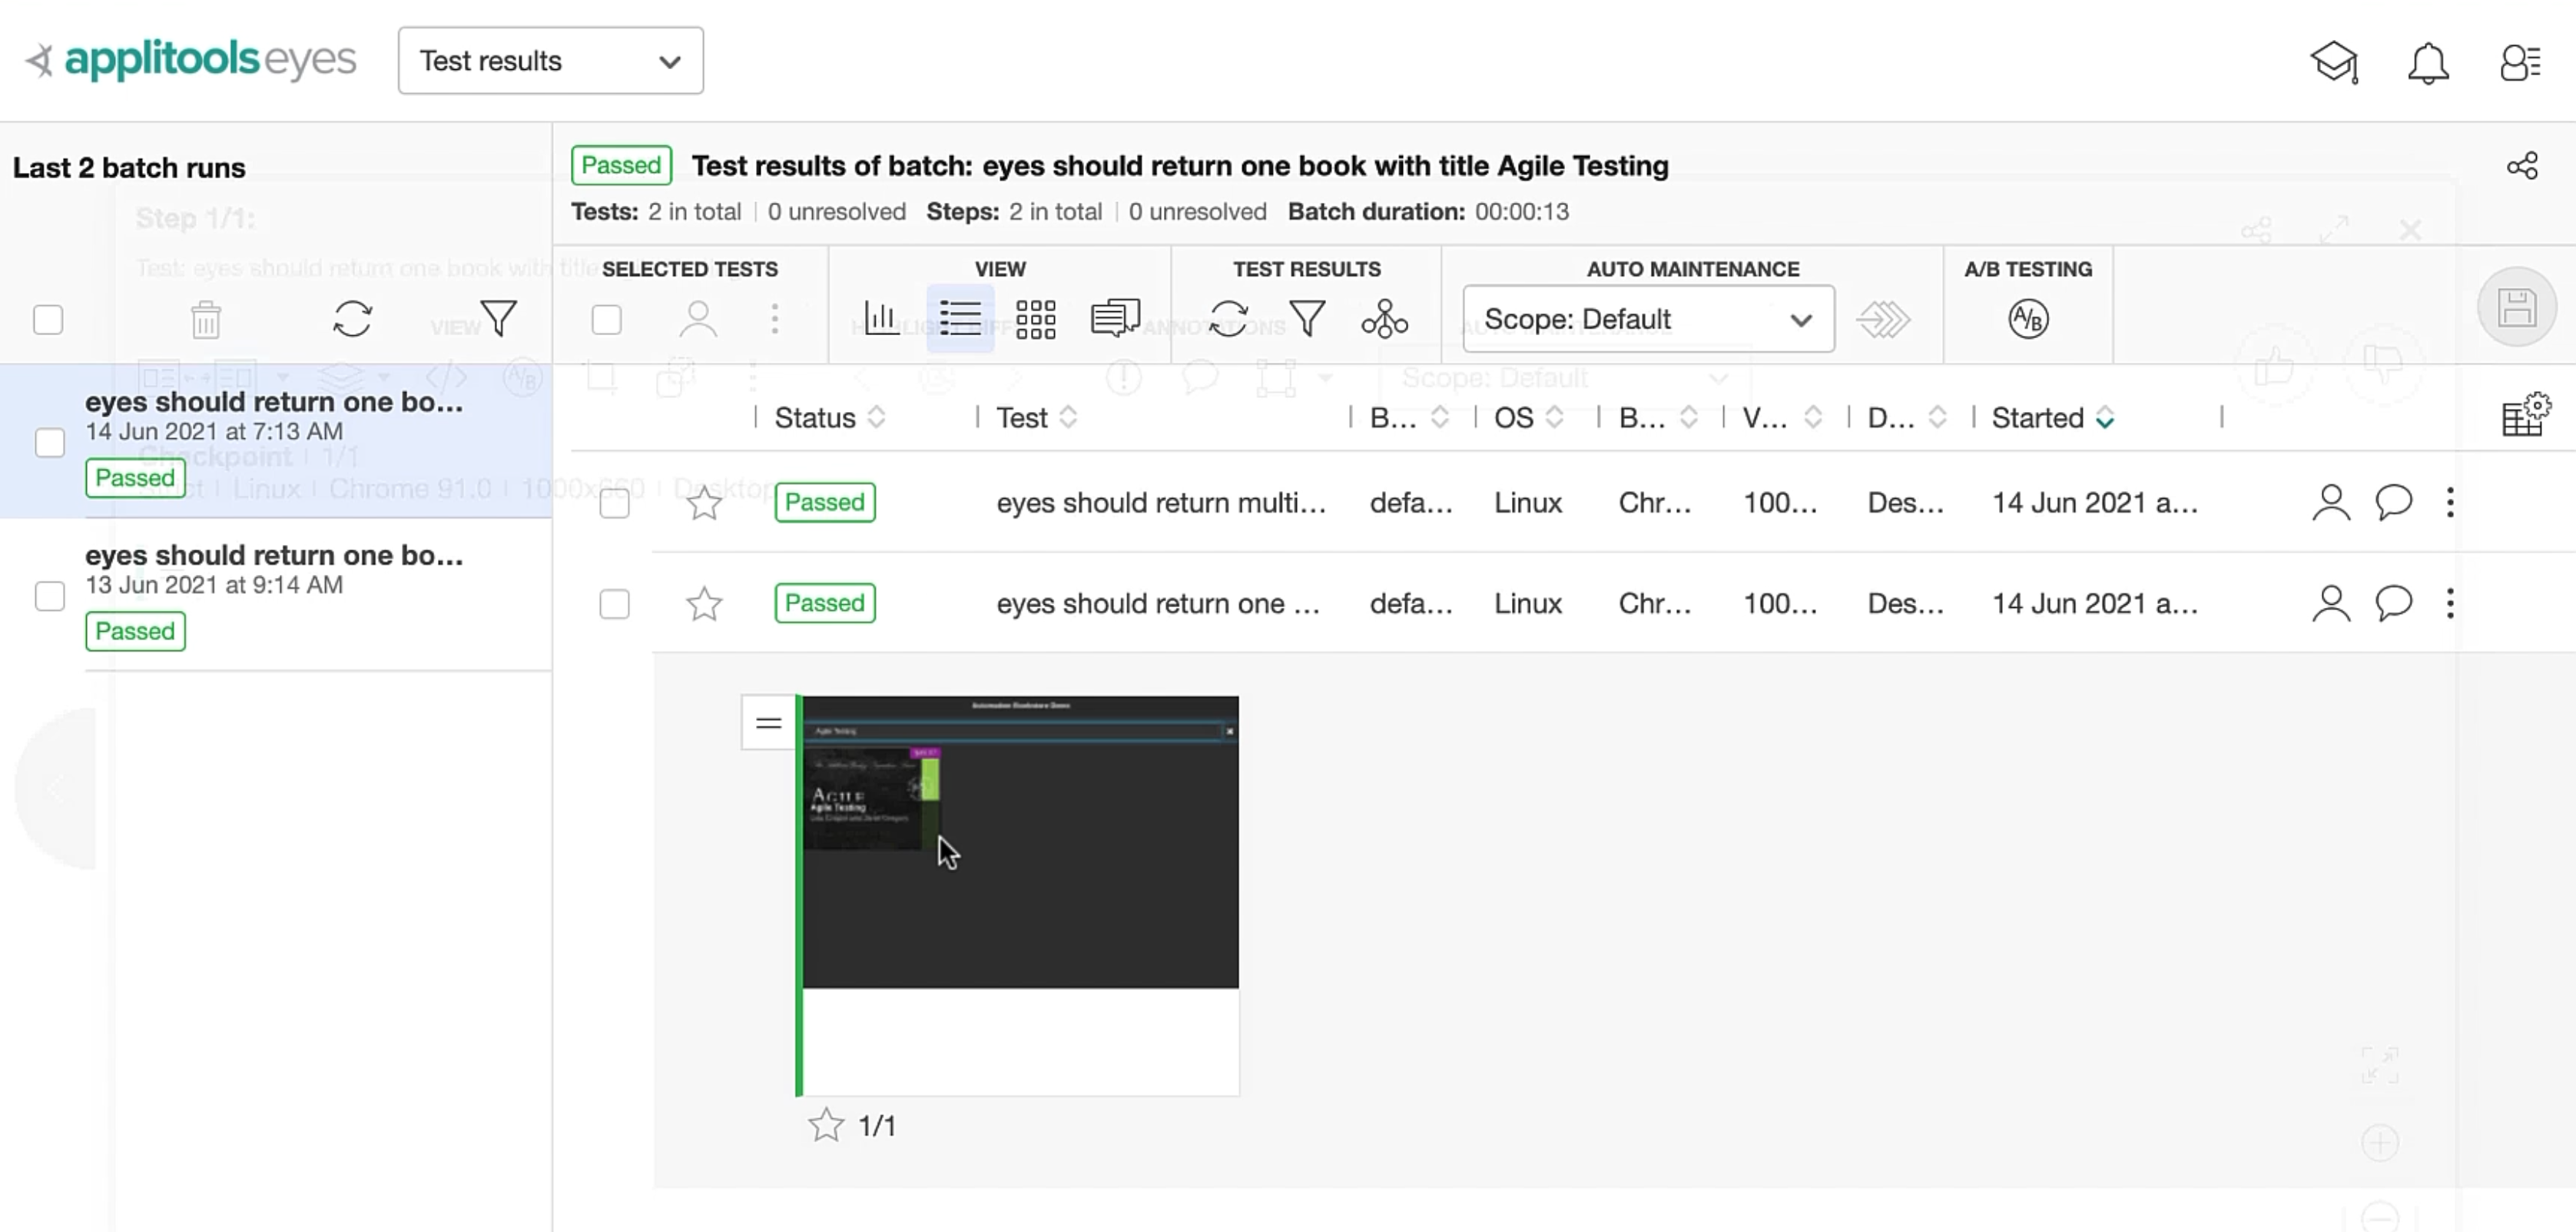
This time, we can see we have the previous checkpoint image set as the baseline, and our checkpoint image is verified against it.
Congratulations - we have successfully integrated our test in the pipeline.
But it's too early to celebrate - we still have quite a few things to work on.
The most important one is to have a proper report.
We wouldn't want to dig into the logs to see the results of our test run.
In the next chapter, we'll see how to generate a test report in Azure DevOps.
