

Transcripted Summary
Direct link to colab notebook -
https://colab.research.google.com/drive/1q-6A-6N5aJgZSUajmfKWga5JudQ3PT2t
A big part of AI quality is reliability, robustness, security, privacy, and safety. Lots of “ilities”.
As you've seen, ML models aren't perfect and can have weaknesses and it's sometimes hard to find vulnerabilities.
Adversarial attacks, or group of techniques to try and sniff out these weaknesses that could otherwise do a lot of damage.
This may cause inconvenient behavior like wrongly classifying a turtle as a rifle, as seen here.

Or cause harmful effects like discrimination or death. Self-driving cars might be fooled into thinking that a stop sign is actually a speed limit sign, just like in this example where adding some white and black stickers made the model think that this was a 45 mile per hour speed limit sign.
Or maybe your security system can automatically detect humans.
If the attacker was wearing something that made them look like anything besides a human, then they could walk right in.

This example shows that wearing a colorful square was enough to make the person on the right invisible to the ML system.
Data scientists and ML engineers need to prevent, mitigate, and defend against these attack’s weaknesses.
But that's easier said than done. Having a tester that looks at these quality attributes and can explore and design tests and attacks would be invaluable on the team.
In this Colab notebook, which you'll find the link for in the resources, we're going to use PyTorch to create a ResNet Computer Vision Model that classifies different animals, like pandas.

We'll use different attacking techniques to see how we can fool the model into predicting the wrong things.
All right, here we are in the Google Colab notebook.
Now don't worry about this first section, we're actually going to start right here.
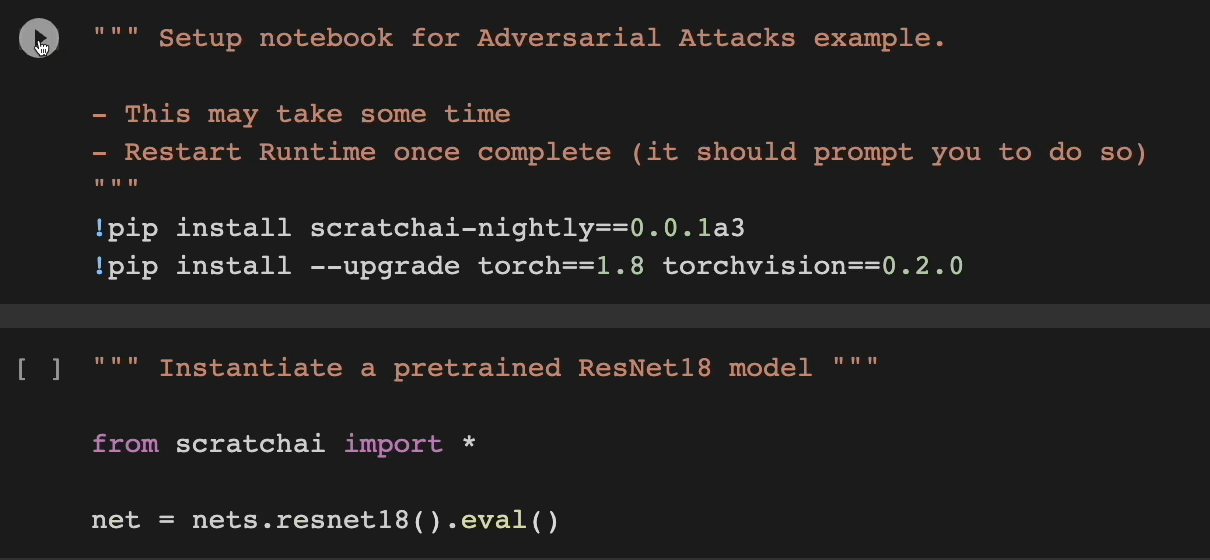
Let's run the first cell so we can get this thing started.
>>>>> gd2md-html alert: Definition ↓↓ outside of definition list. Missing preceding term(s)?
(Back to top)(Next alert)
>>>>>
TIP \
One thing that I want to mention, this is going to take a little bit of time, so I recommend that you watch me go through this in the video first and then you can try it out on your own. Otherwise, you might be waiting for different steps. \
Once completed, now we can go to the next one.
Don't worry about this pip dependency error. That is okay.
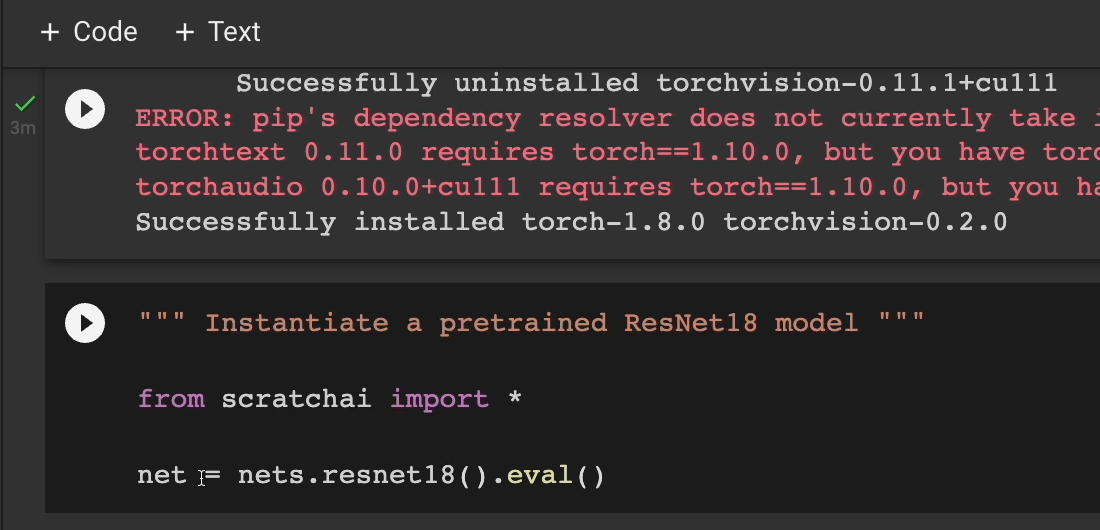
Let's keep moving on.
The next thing we'll do is we're going to use scratchai to create a ResNet and we'll just call it “net”.
Then run this cell here.
And with that, we now have a resnet8` model ready to go.
I'm going to do this myself using the images that I already have, but if you want to try some things out on your own, you totally can.
Here what you want to do is you want to go to this ImageNet Labels, and you'll see there are a ton of them.
I apologize. This is really small, but you'll have a lot of them.
Stingray, hen, jay, magpie, bullfrog, a bunch of different animals that this ImageNet model is trained on. It should be able to identify these. Pick one of them and then head back.
In my case, I picked a hummingbird. I searched for a hummingbird. I found an image, copied that image address, and I pasted it right here in this image URL line.
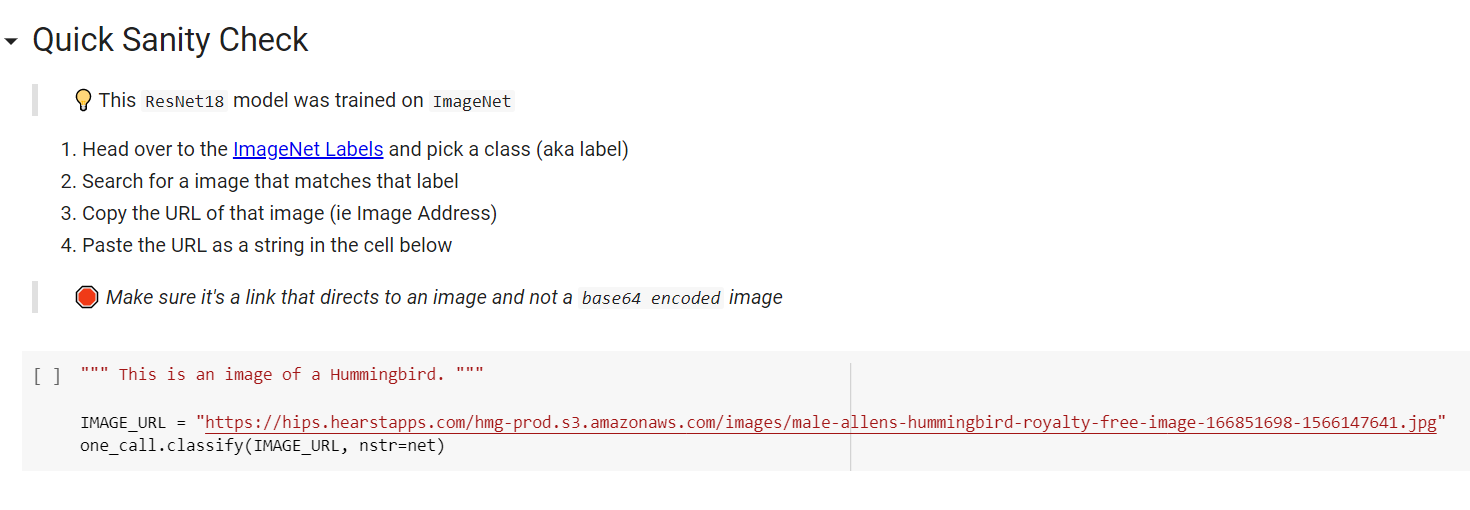
Feel free to replace this link when you find another one on your own.
For now, let's take a look at what this image is for sure. It is a hummingbird, and I got a really high-definition photo.
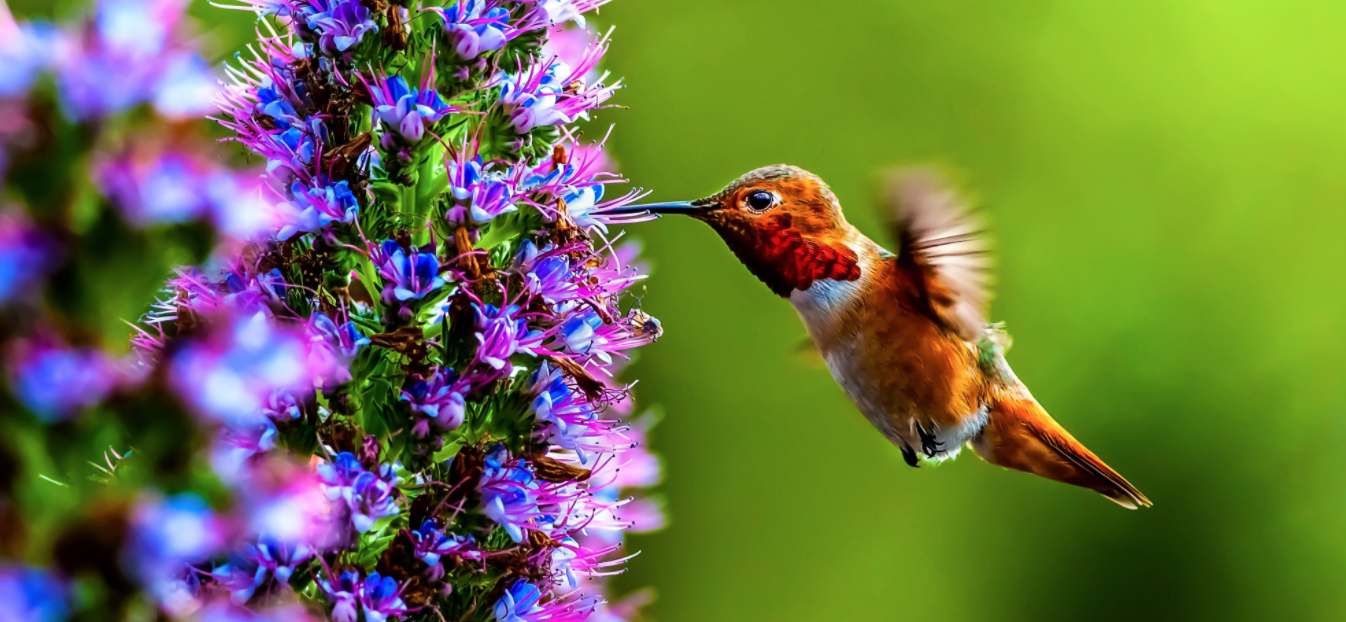
It's beautiful by the way. Now we know what we're dealing with.
With one line, we can actually see what the ResNet sees this image as. Click run here.
And what do you know?
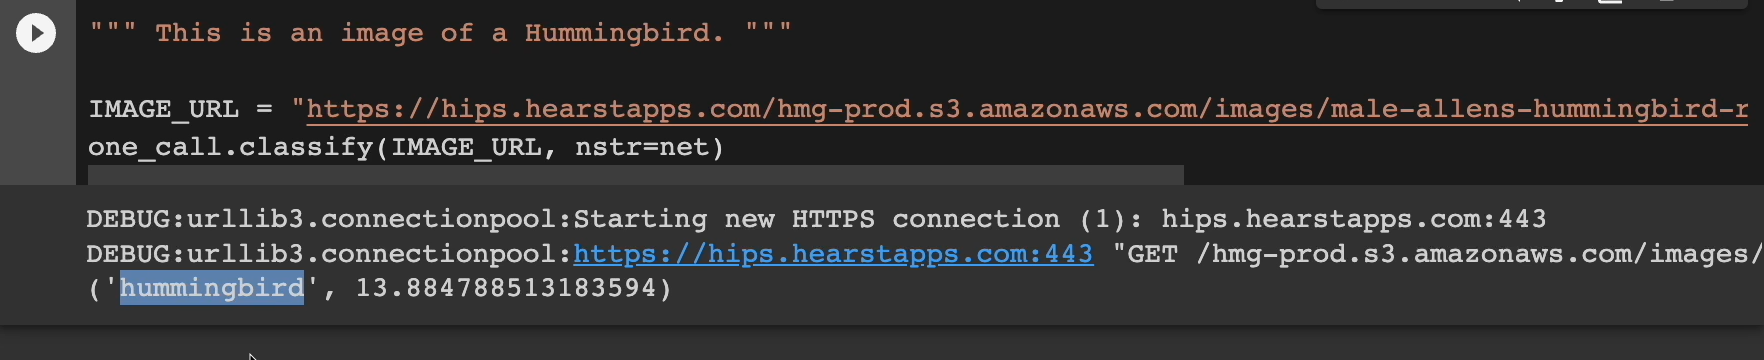
It identified it correctly as a hummingbird.
With that sanity check out of the way, we can see that our model is clearly working.
# Anatomy of an Attack
Let's talk about the anatomy of an attack. Threat modeling in machine learning terms is the procedure to optimize an ML model by identifying what it's supposed to do and how it can be attacked while performing its task and then coming up with ways in which those attacks can be mitigated.
Here, this diagram shows that there are a few places you can attack a model.
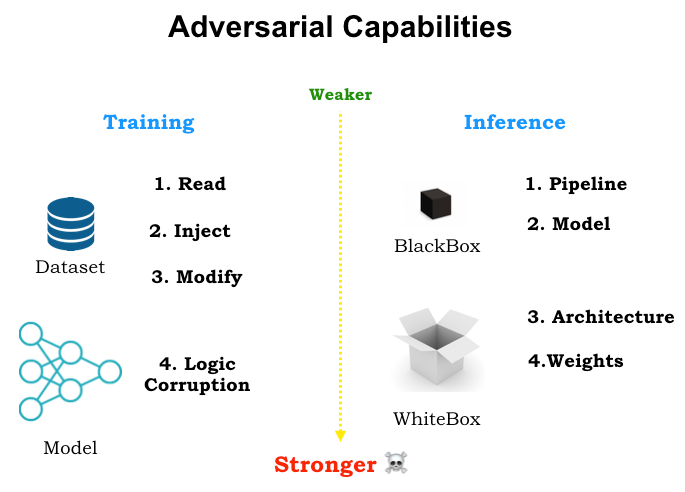
You can attack it during its training against the dataset, attack it during the logic of the model itself. You can do a white box form of testing, where you actually have access to the architecture and weights of the model or black box testing, where you have the pipeline or model itself.
Let's dive deeper into these.
**There are 2 main categories of attacks — you have black box attacks and white box attacks. **
- A black box attack is where the attacker has no information about the model or has no access to the gradients or parameters of the model.
- A white box attack is when the attacker has complete access to the parameters and the gradients of the model.
**Within each of these, there are 2 subcategories — you have a targeted attack and an untargeted attack. **
- A targeted attack is when the attacker perturbs or manipulates the input to try and make the model predict a specific target class. For example, tricking a self-driving car to identify a stop sign, specifically as a speed limit sign.
- An untargeted attack is when the attacker perturbs or manipulates the input to try and make the model predict the wrong class. For example, tricking a self-driving car to identify a stop sign as anything but a stop sign. If you can get it to see a stop sign as a streetlight or a yield or anything else, that would count as an untargeted attack.
For some attack strategies, you have a mixture.
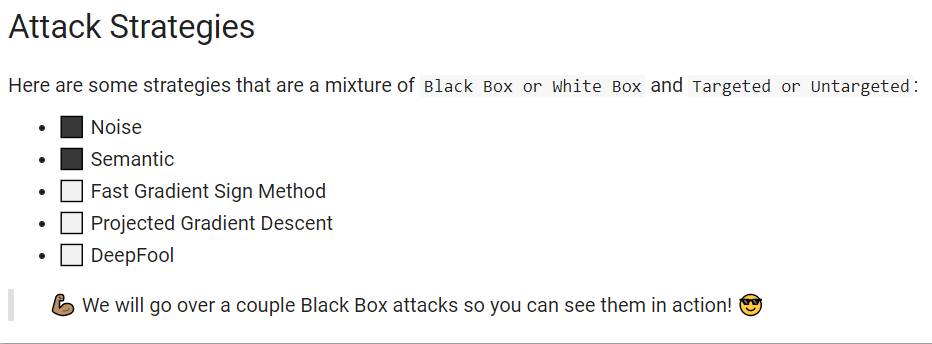
Here where a noise attack is a black box attack. A semantic attack is a black box.
And then here's a few examples of white box attacks.
In the rest of the notebook, we're going to cover some of these black box attacks.
# Noise Attack
First up is the noise attack. This is an untargeted black box attack.
Noise is adding random pixels to make parts of the image or all of it meaningless. The more noise, the more difficult it is to tell what the image is, even for humans. Let's take this example here.

Initially, this model was correctly able to identify this image as a panda with 57.7% confidence, but then they added some noise to the image. And now the model sees this as a gibbon with 99.3% confidence, but it looks almost identical to the original image.
It's untargeted because the goal is to make the image difficult enough to classify that the model sees it as anything else.
It wasn't trying to get the panda to look like a hummingbird or a dog. It just wanted it to guess wrong.
What makes these attacks even more scary is that the poisoned image looks the same to the human eye, yet it does a good job of fooling the model to classify a panda as a gibbon.
Let's see what this looks like with our hummingbird. Here are the cells we're going to be using.

First off let's load our image.
And then from there, we need to normalize it, meaning that we just got to make sure we put it into the correct size, because all our images will have to be in this normalized size.
Now here we're going to do a noise attack [attacks.noise(image)] and hold this in our adversarial_image variable. And then we're going to see what the image looks like compared to the adversarial image.
Let's check this out.
And there you have it. On the left-hand side, we have our original image. On the right, we have a little bit of noise added to it.

I can see the difference in the images, but how does the model see it?
Keep going down here. We're going to create a function here called show_class_and_confidence. That will show us exactly what we're looking for.
Let's see if it guesses right still.

And sure enough, it still sees it as a hummingbird. But what if we add more noise?
Let's create a new image with even more noise to see what happens.
Let's check it out here and it identifies the image as a bubble instead of a hummingbird.

We got it to fail.
Just how noisy was our new adversarial attack.
If we go here, we can see the left-hand side, our original. The right-hand side is our “more noisy” adversarial attack image.
As a human, I can still make out the hummingbird, but yeah, it's getting more difficult to see it even for myself.
It's unfortunate that the model saw this as a bubble, but hey, maybe it needs glasses like I do.
On the left, it's clear to see which characteristics make up the hummingbird and which make up the flowers. However, adding more noise and muddying the image removes a lot of those defining characteristics.
During training, the model will learn different patterns and characteristics about hummingbirds. For example, things like the size and color, its shape, and so on. If we mess just enough with one or more of these characteristics, the model may classify the image as something totally wrong, like a bubble.
Onto the next attack.
# Semantic Attack
This one is called a semantic attack, which is also an untargeted black box attack.
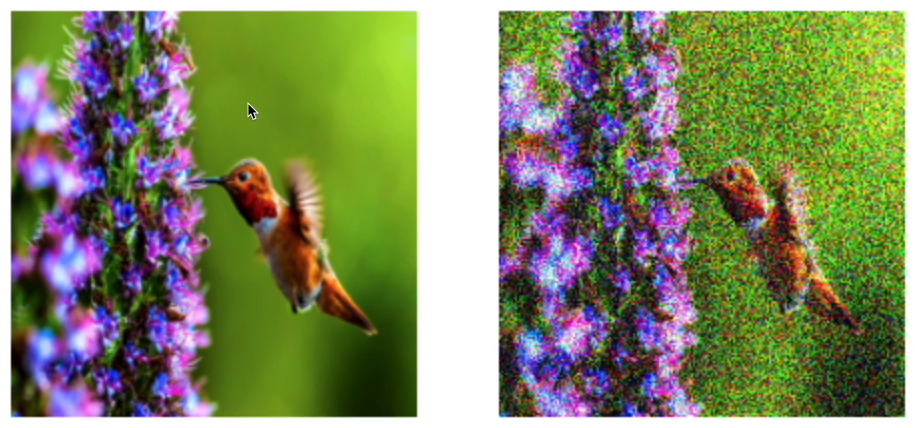
Let's use the same image but add a semantic layer.

On the left-hand side, there's our original and check out that adversarial attack. We didn't add any noise, so all the characteristics that make up a hummingbird are still there. I can still tell at least.
However, we applied a transformation that adds a negative layer over the image. In other words, we inverted the light and the colors of the image.
How do you think this will affect our model? Do you think it's going to guess correctly or is it going to guess something else? Will it also see this as a bubble?
Let's find out.
It actually still sees it as a hummingbird and in this case with even more confidence than before.
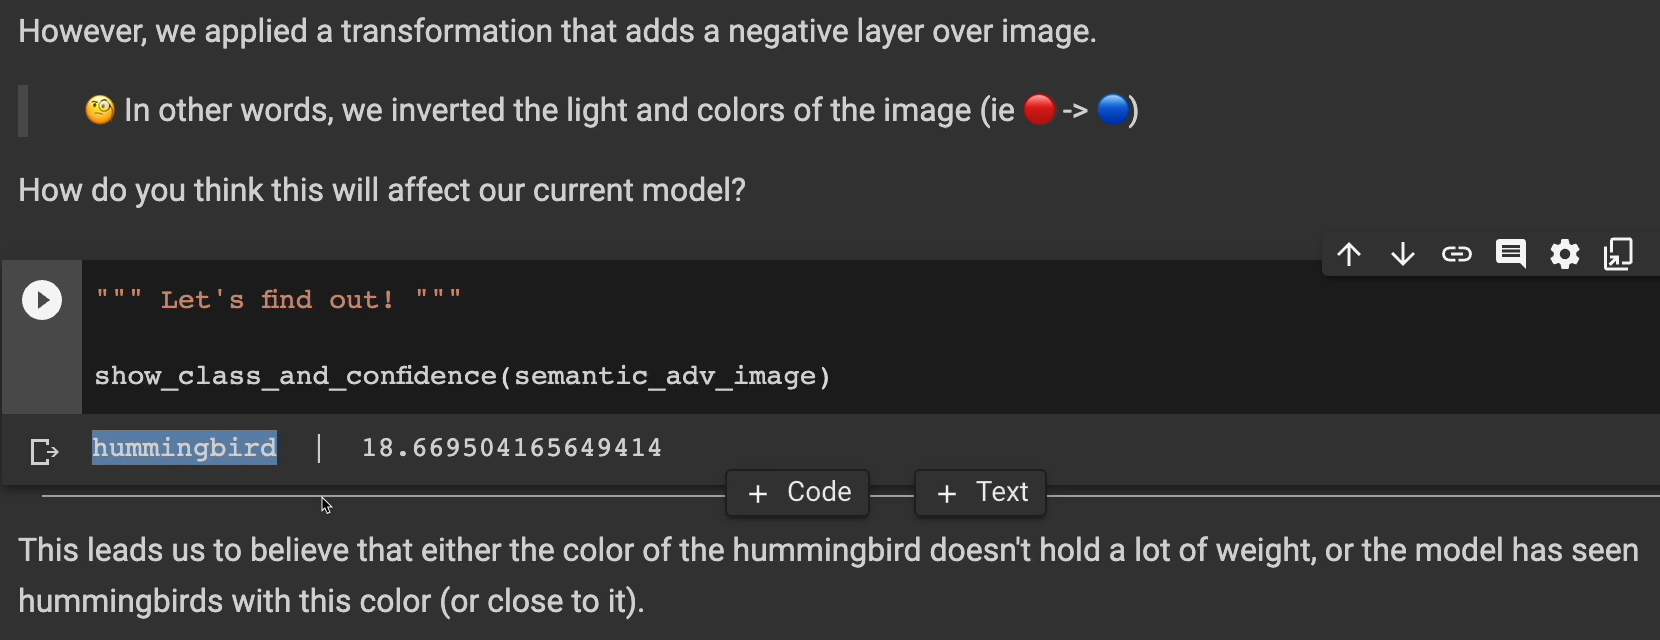
This leads us to believe that either the color of the hummingbird doesn't hold a lot of weight, or the model has seen hummingbirds with this color before. Perhaps other characteristics like beak shape, wing size, or other things have more weight than the color.
But what if the color did hold a lot of weight?
Let's try another image and this time I'm going to use a dalmatian.
Here's the image of the dalmatian. Looks just like this. Right on.
Let's hold it and let's see how our model does against it.
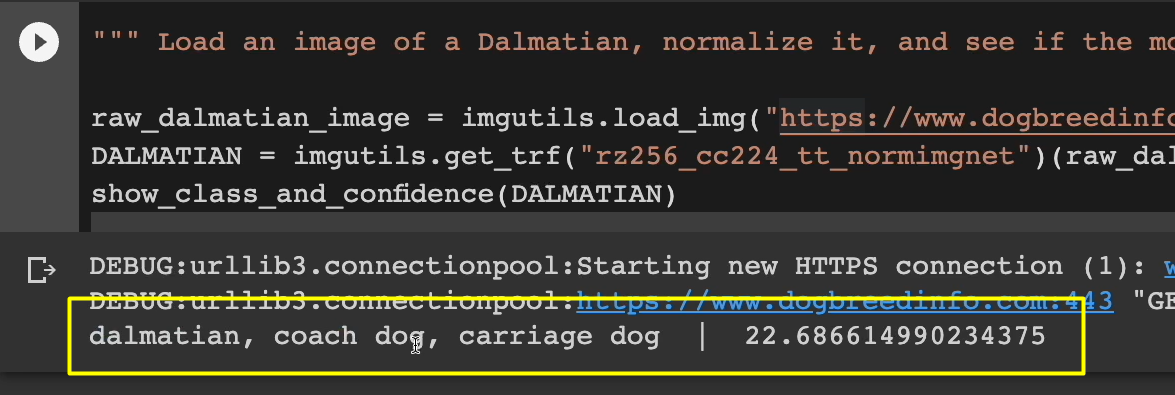
And yep, it sees it as a dalmatian. At least a dog.
Now let's create the semantic attack. Let's run this to see what we get here.
Here's our original. And now here's our semantic attack with the inverted light.

Will it at least see a dog? Can it at least identify this thing as a dog? Hopefully.
Maybe it won't see it as a dalmatian anymore, but hopefully it still sees it as a dog.
Let's find out here.
It sees it as an impala.
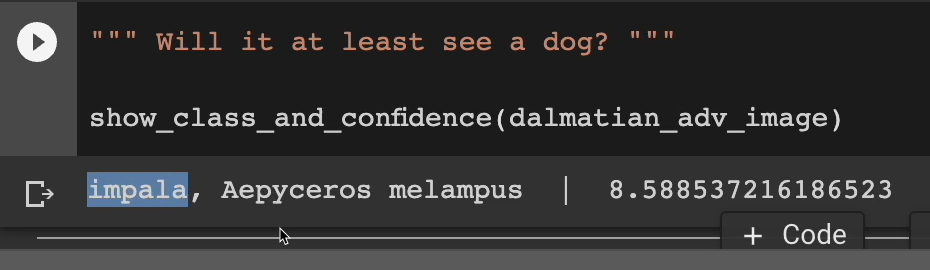
And I don't even want to try pronouncing “Aepyceros melampus”. But yes, our attacked worked.
We can share these results with our team and save these tests and attacks for the next iteration because they're probably going to make some changes, make some tweaks, give you a new model.
And now you have these images ready to be used again.
I hope you can see how easy it was for us to actually prepare and design these attacks. And this is just the tip of the iceberg. There's a lot of different ways you can attack and different inputs you can use to try and fool and exploit the weaknesses of these models.
I hope this gives you some ideas and some things that you can take away to try and apply this to your testing of models.
# Become the Attacker
You've now seen multiple ways that we can attack ML models. Although we covered Computer Vision scenarios, you can attack other types of models.

Yes, there are white box attacks that might be better tested by the data scientists or ML engineers, but I showed you how you can also use black box attacks.
You don't have to be a data scientist to test ML systems.
And yes, we were in code, but you don't have to be a programmer to test either. You could use Photoshop or some other image editor to create these attack images.
Be an active part of threat modeling and other security and privacy initiatives. Be creative and design tests and attacks before an actual attacker does.
Next up, we're going to cover behavioral testing of models.
