Transcripted Summary
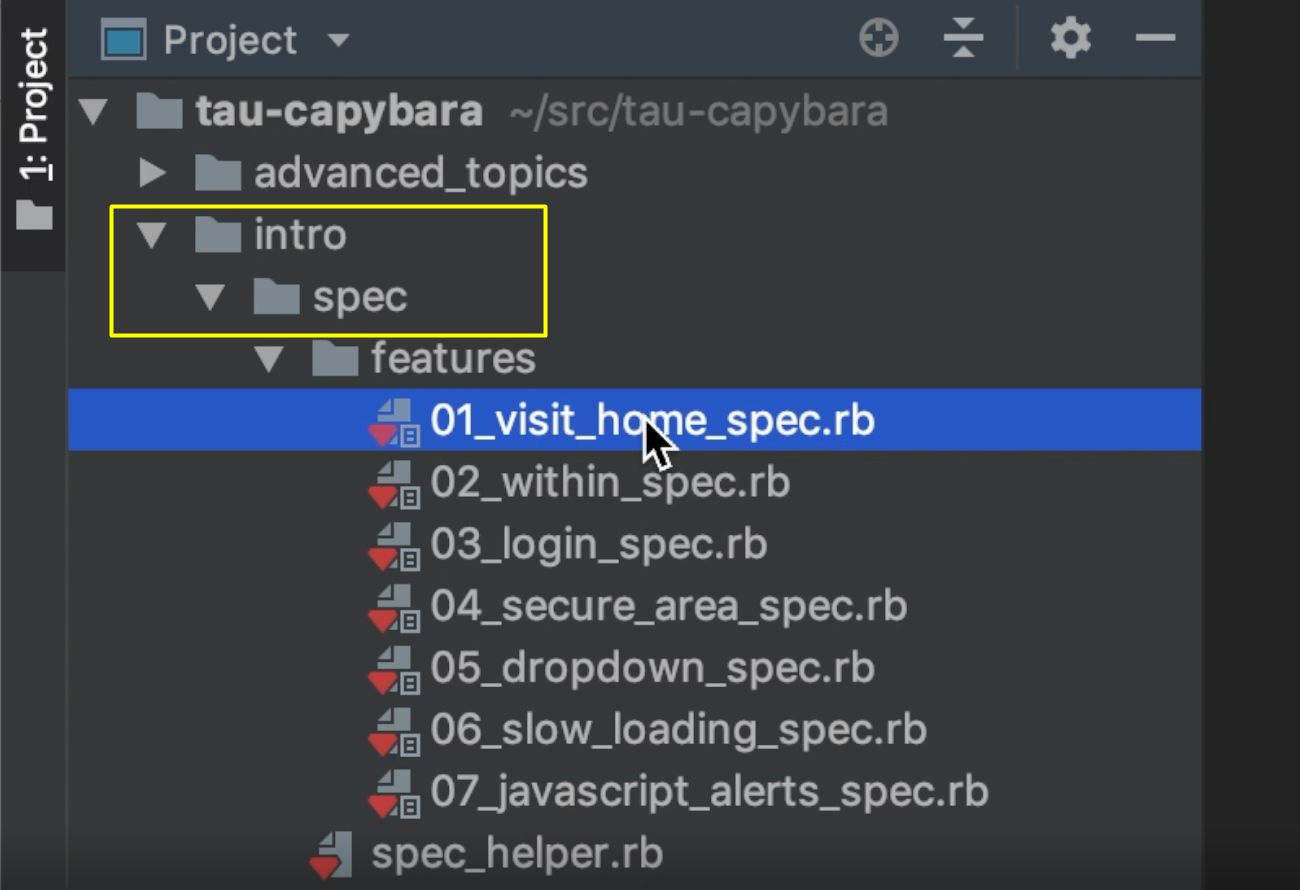
If you go to the sample project I created, in the intro section, you'll find a folder called “spec”, which contains all of the test specifications.

When naming spec files, make sure to add the phrase “spec” in the title, so RSpec knows that is file that should be run.
Each specification for this project, will describe a particular feature of Capybara.
Part 1 covers navigating the site using Capybara
Part 2 talks about narrowing down the scope when searching for an element
Part 3 and part 4, will demonstrate interacting with the log in screen, and checking error messages on that screen
Part 5 will talk about dealing with dropdowns, checkboxes, and radio buttons
Part 6 will talk about dealing with slow loading components
Part 7 will talk about dealing with modals and message boxes
Each of these specifications highlights a different part of Capybara functionality.
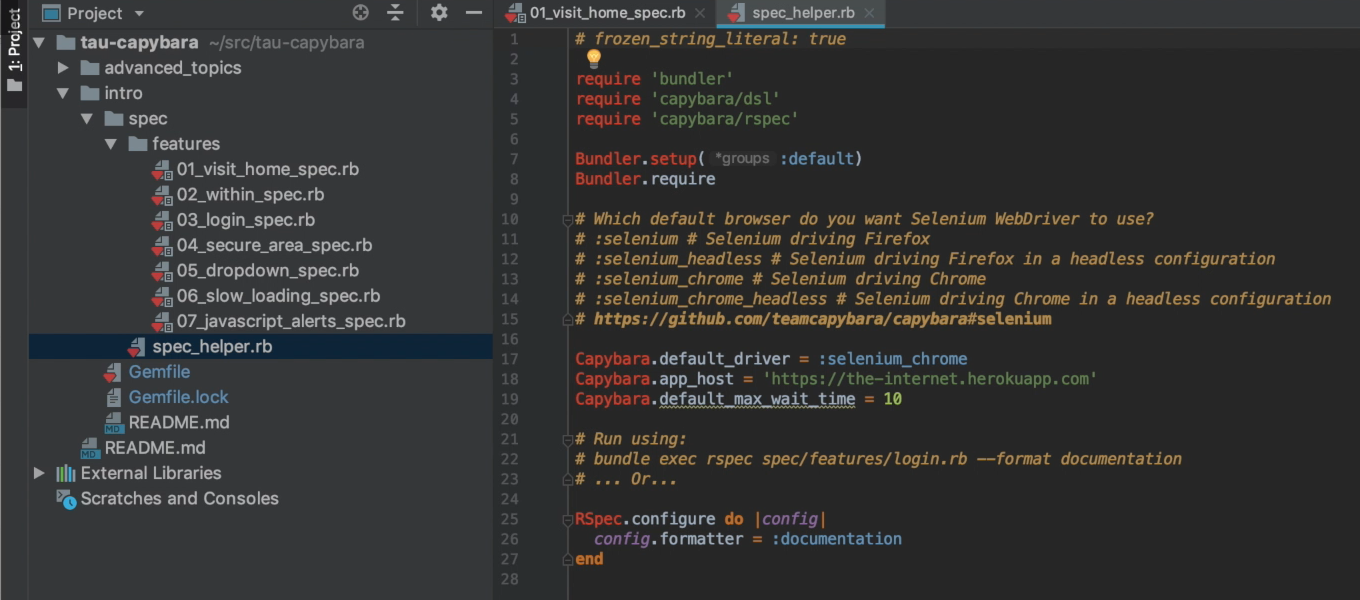
Let's take a look at the Spec Helper.

I have separated out from each spec file on how Capybara should be set up and what type of web driver to use and placed it in the spec_helper file.
    require 'bundler'
    require 'capybara/dsl'
    require 'capybara/rspec'
The require block pulls the ruby gems from the Bundler application.
It also includes the Capybara DSL library we'll use to have Capybara interact with our test site, and Capybara RSpec, which sets up our test framework.
    Bundler.setup(:default)
    Bundler.require
Next, we tell Bundler to locate the default gems for the current environment.
    Capybara.default_driver = :selenium_chrome
    Capybara.app_host = 'https://the-internet.herokuapp.com'
    Capybara.default_max_wait_time = 30
In the next section, we can set up the default driver that Capybara will use. We can choose from the following options: Selenium with Firefox, Selenium with Firefox in headless mode, Selenium with Chrome [this is the one we are using], Selenium with Chrome in headless mode.
If you really need to look at something in the browser UI for developing purposes, having a test open a browser takes time. With the Capybara app host, you can designate the homepage of the app that you're testing.
With Capybara default max wait time, you can set up how long you want to wait for slow loading components to show up.
    RSpec.configure do |config|
      config.formatter = :documentation
    end
In the next block, we're configuring RSpec to print output to the screen when the test is run. We're configuring the formatter to show documentation to the screen.
If we didn't configure RSpec that way, each and every time we wanted to print to the screen while running a test, we would have to type in — bundle exec rspec spec -- format documentation — but it's easier just setting it up in the spec_helper file.
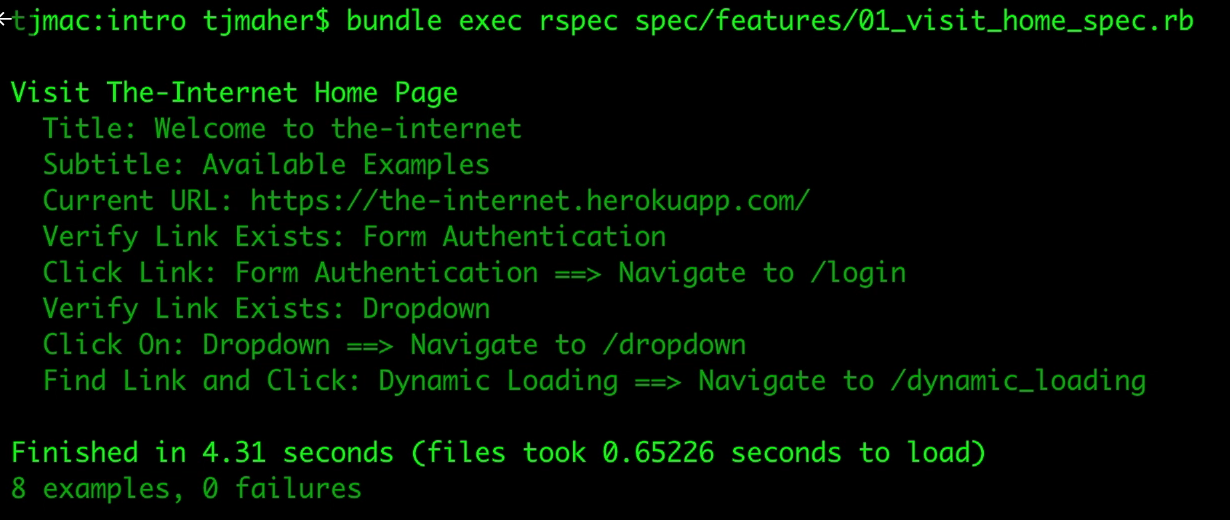
Let's run the first set of tests.
bundle exec rspec spec/features/01_visit_home_spec.rb
We can see that installation was a success.

We ran the tests, everything passed.
In the next section, we will dive down into the individual tests.
