
Transcripted Summary
Back when I first started as an automation developer, in order to set up tests to be run headlessly, we used PhantomJS.

If you wanted the test to run on our Continuous Integration Environment, where you wouldn't actually have a human looking at the test while it's being run, to not have to open up a browser and wait, and go to another page, and wait, it saved a lot of time.
PhantomJS used JavaScript, but what if you were using Ruby?
That's why Poltergeist was created, a PhantomJS driver for Capybara.
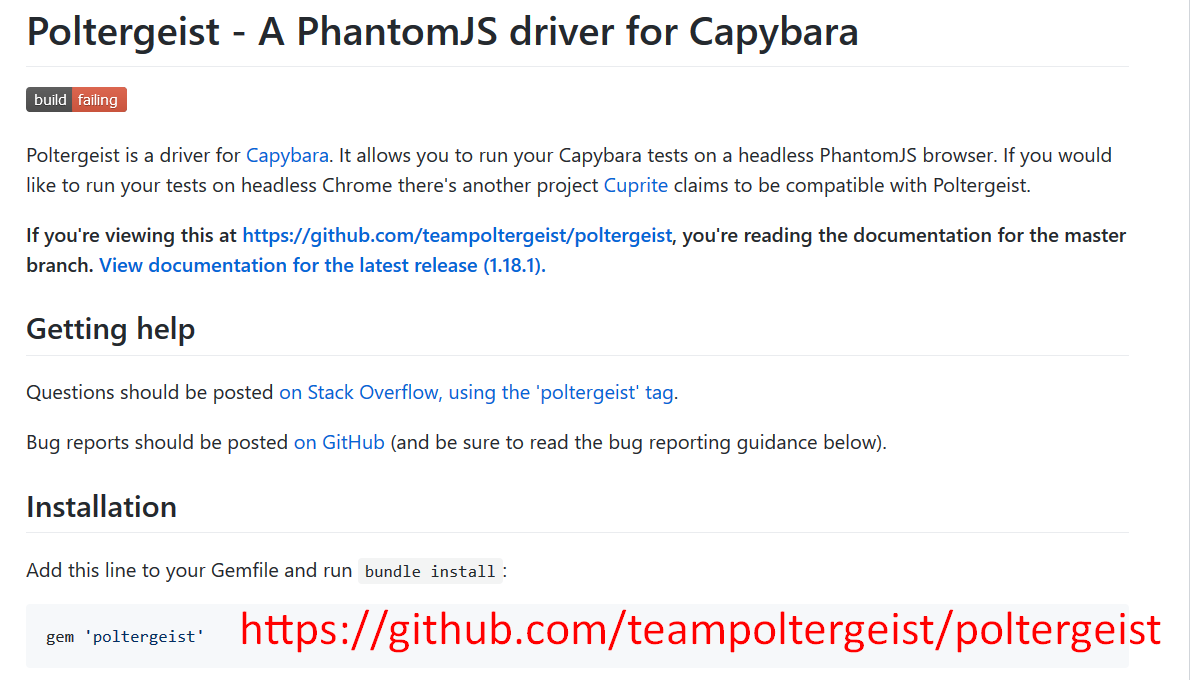
With Poltergeist, you were able to see status codes of a page, such as 200 OK, or 404. You were able to see response headings, save screenshots, set up drivers.
But this all went by the wayside when Headless Chrome came out.
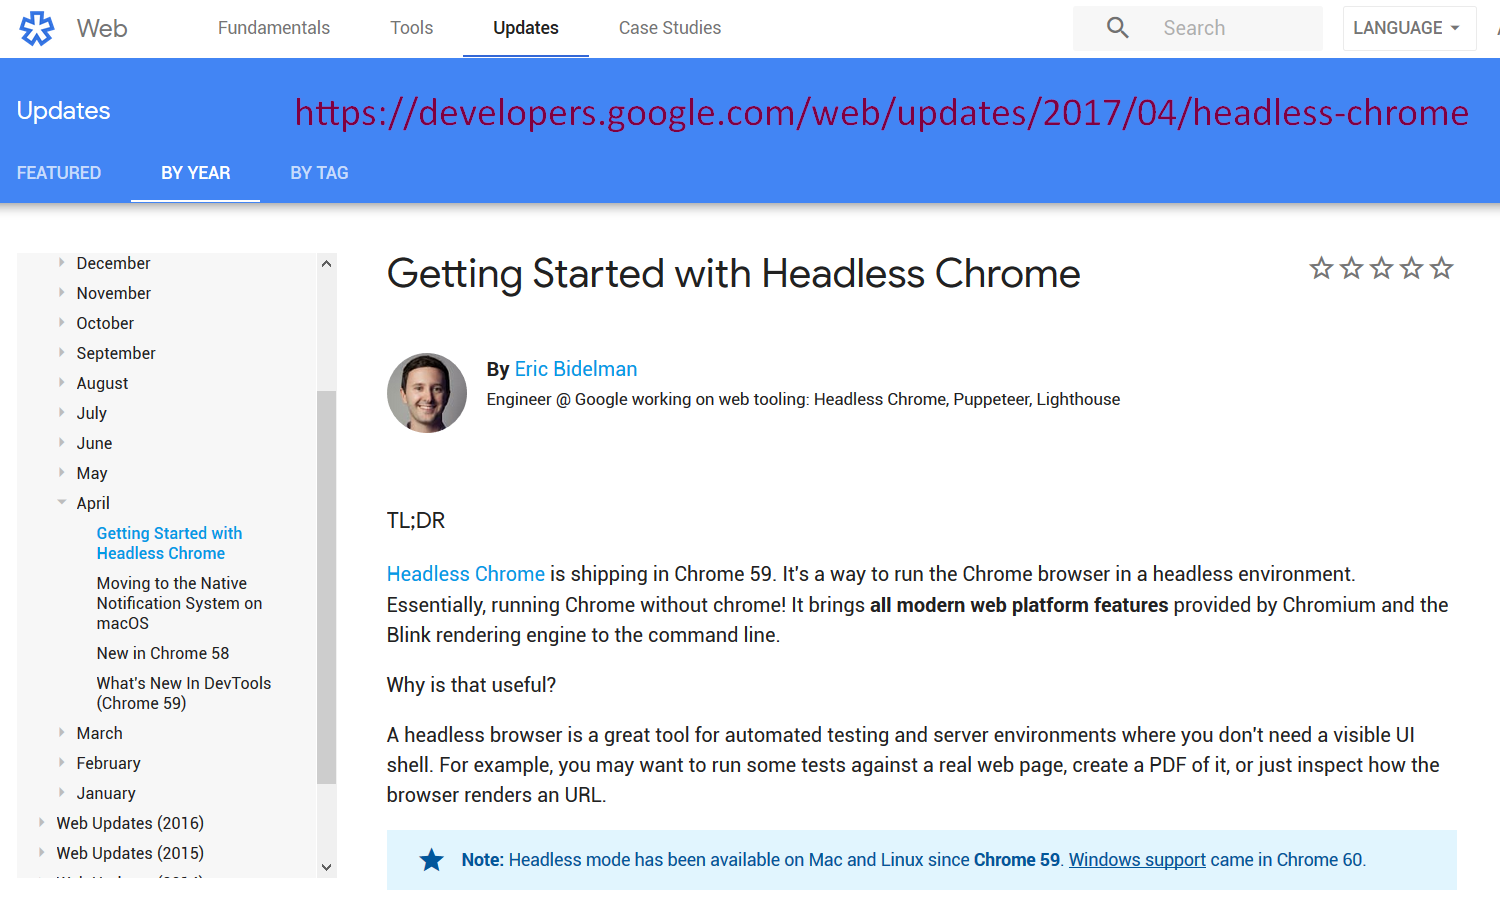
Starting in Chrome version 59, back in 2017, the Chrome browser had a feature which allowed you to automatically run your tests headlessly. In order to set it up, you just give Chrome the --headless option.
We just saw in our last example, that Capybara makes this even easier by allowing us to set the Capybara browser to Selenium Chrome Headless (Capybara.default_driver = :selenium_chrome_headless ).
Thomas Walpole, the Head Developer of Capybara, has just released his own version of the Poltergeist RubyGem, which he is calling, Apparition.
Going to the GitHub page of Capybara, and scrolling down, under drivers you can see Apparition.
Let's go into Apparitions GitHub site.
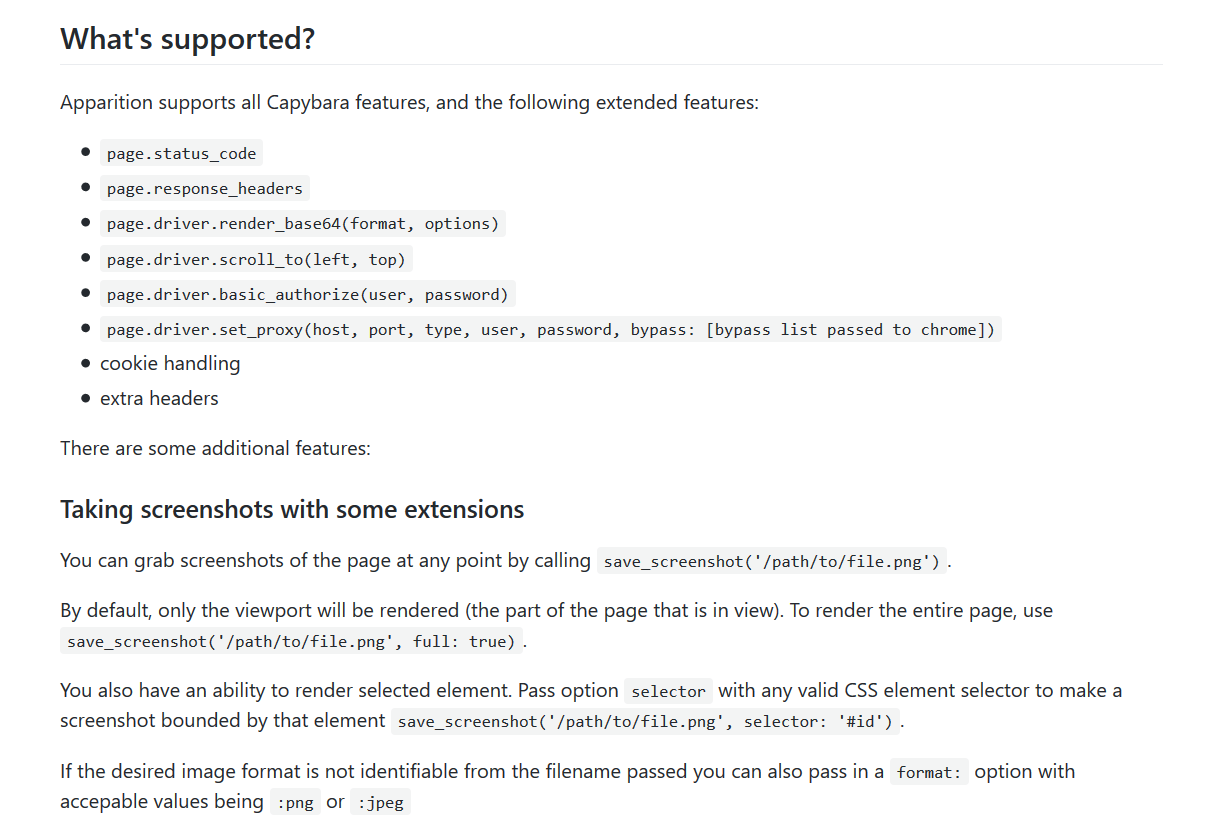
Like Poltergeist before it, it provides you with many different ways of investigating the page, such as taking a look at the status codes, the response headers, methods that allow you to scroll to the top of the page, to the left, and gives you basic authorization handling.
It allows you to take screenshots. Click precise coordinates, inspect network traffic, and set, remove, and clear cookies. And even provides URL blacklisting and white listing.
It's still new, so if you want to experiment with it and find a bug, they provide ways for you to file a bug report.
Let's take a look at a test I created.
Going into Advanced Topics...
In the Apparition Driver, we set up the Gemfile, which now includes Apparition pointing to Thomas Walpole's GitHub site, as according to his instructions.
# Example Test with Capybara + RSpec – Apparition: Gemfile
source 'https://rubygems.org'

gem 'capybara', '~> 3.13', '>= 3.13.2'
gem 'rspec', '~> 3.8'
gem 'apparition', github: 'twalpole/apparition'
gem 'selenium-webdriver', '~> 3.141'
For the spec_helper, we've set the default driver and the driver scope driver both to Apparition, making sure to require the Capybara operation Ruby gem.
# Example Test with Capybara + RSpec – Apparition: Spec_helper.rb
require 'bundler'
require 'capybara/dsl'
require 'capybara/rspec'
require 'capybara/apparition'

Bundler.setup(:default)
Bundler.require

Capybara.default_driver = :apparition
Capybara.javascript_driver = :apparition

Capybara.app_host = 'https://the-internet.herokuapp.com'
Capybara.default_max_wait_time = 10

RSpec.configure do |config|
  config.formatter = :documentation
end
Let's test this feature with 3 different scenarios:
- Taking a screenshot of the Welcome to the Internet homepage
- Verifying that the http status code is “OK 200”
- Confirming that the response header is actually the version “tech.html”
# Example Test with Capybara + RSpec – Apparition: 01_visit_home_spec.rb
feature 'Visit The-Internet Home Page' do
  background do
    visit '/'
  end

  scenario 'Take Screenshot: Welcome to the-internet' do
    expect(page).to have_content('Welcome to the-internet')
    screenshot_name = "screenshot_" + Time.now.to_s
    save_screenshot("../screenshots/#{screenshot_name}.png")
  end

  scenario 'HTTP Status Code: OK 200' do
    expect(page).to have_content('Welcome to the-internet')
    expect(page.status_code).to eq(200)
  end

  scenario 'Response Headers: Content-Type => text/html;charset=utf-8' do
    expect(page).to have_content('Welcome to the-internet')
    expect(page.response_headers).to include("Content-Type" => "text/html;charset=utf-8")
    puts "Response Headers: #{page.response_headers}"
  end
end
For the first test, we're going to call the screenshot, “screenshot_” and then append the time to the name of the file, converting the time to a String. Then we're going to save the screenshot as a PNG file.
For the next test, we're going to go to the main page, wait for the header to display, then, after it does, we're going to expect the page status code to equal 200.
And for the third test, we're going to expect one of the response headers to include that the content type is “text.html”. Then we're going to print to the screen, all the response headers for the page.
Okay, in our project, we're going to go to the Advanced Topics folder…
We're going to change the directory to the Apparition driver project:
cd 03_apparition_driverAnd we're going to have bundler execute our spec tests in the folder spec features with our visit the homepage:
bundle exec rspec spec/features/01_visit_home_spec.rb
Let's kick it off.
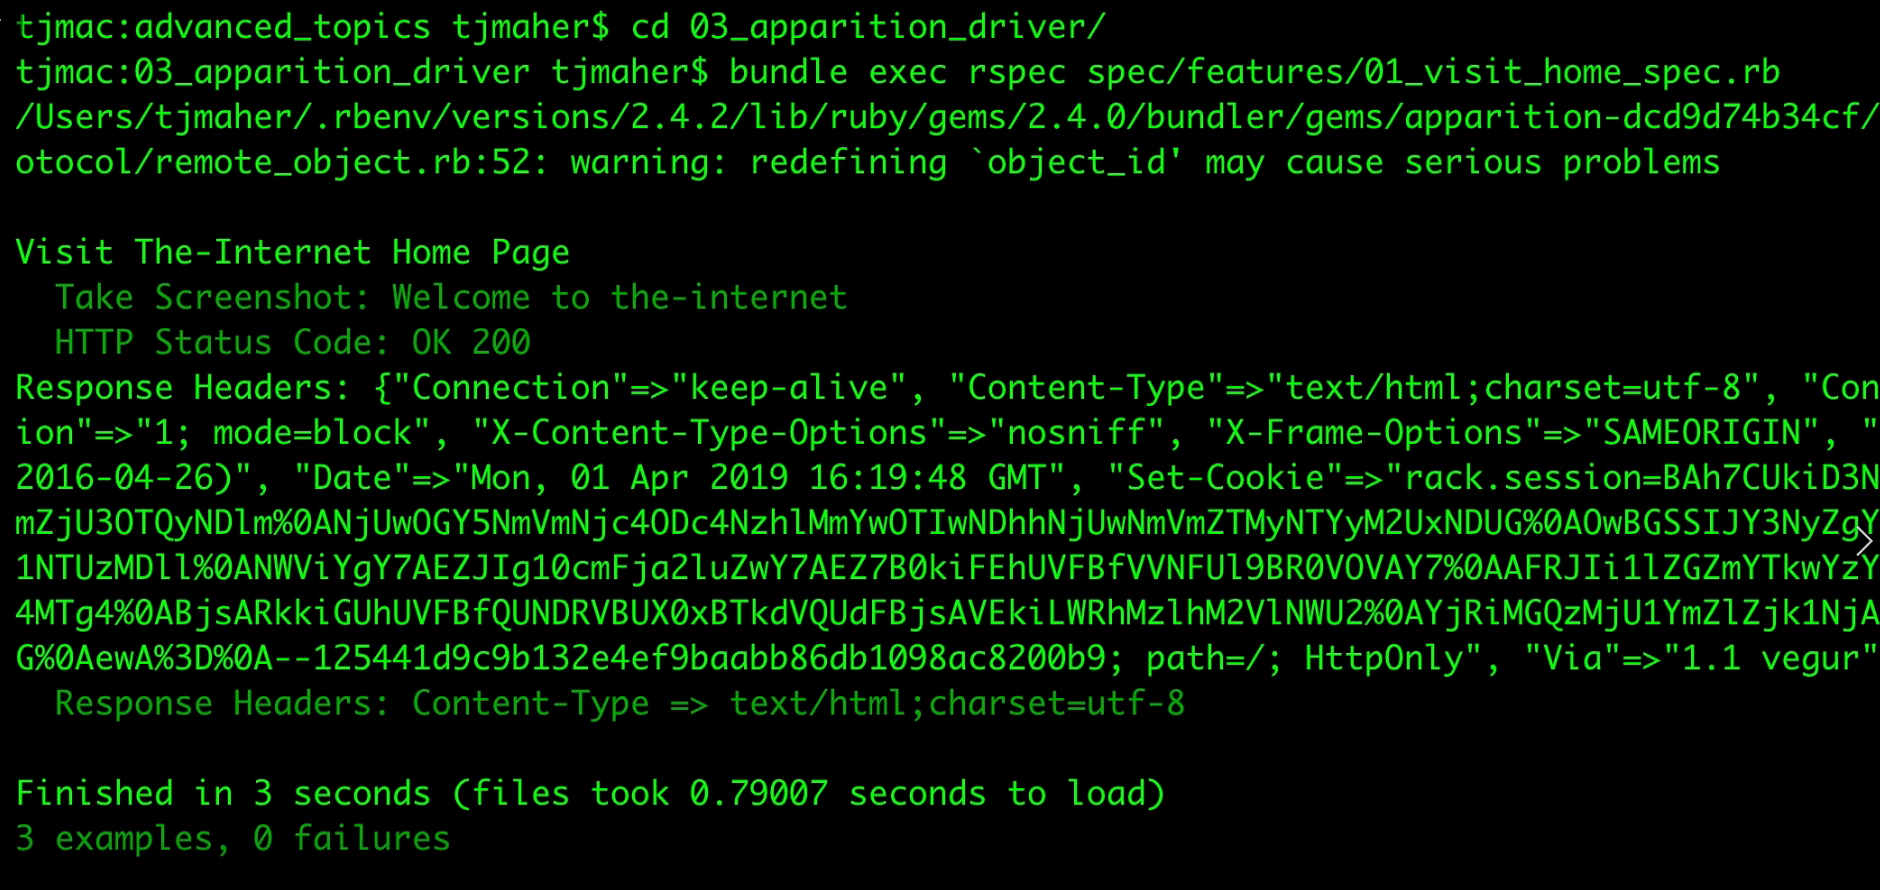
Let's take a look at the results of the first test, taking the screenshot.
In our screenshots folder, we see a screenshot with today's time, 2019, April 1st, at 12:19, and you can see the screenshot is exactly of the homepage.

For our second test, you can see that the status code was 200.
Next you can see all the response headers for the webpage.,
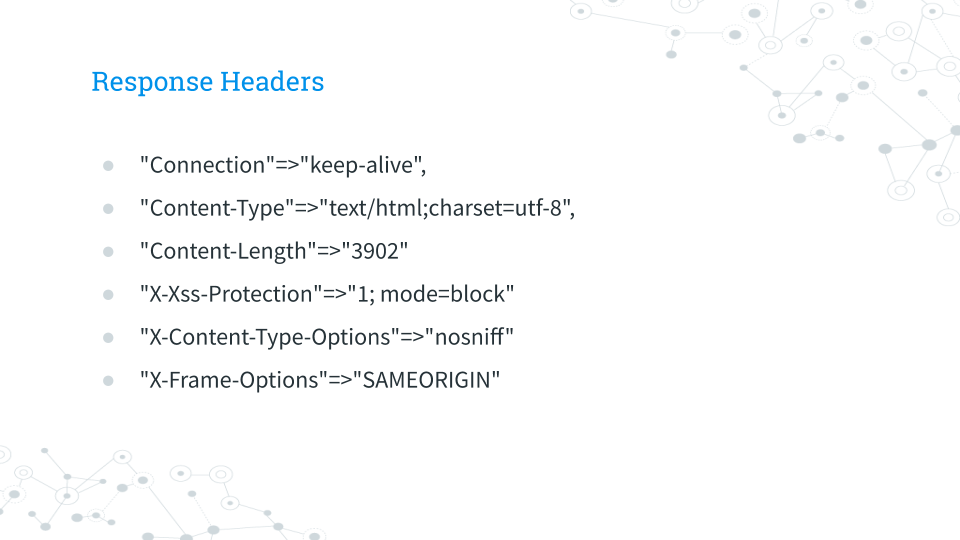
Connection type, content type, content length, the date the page was accessed, and even the cookie that Capybara is using to set the session.
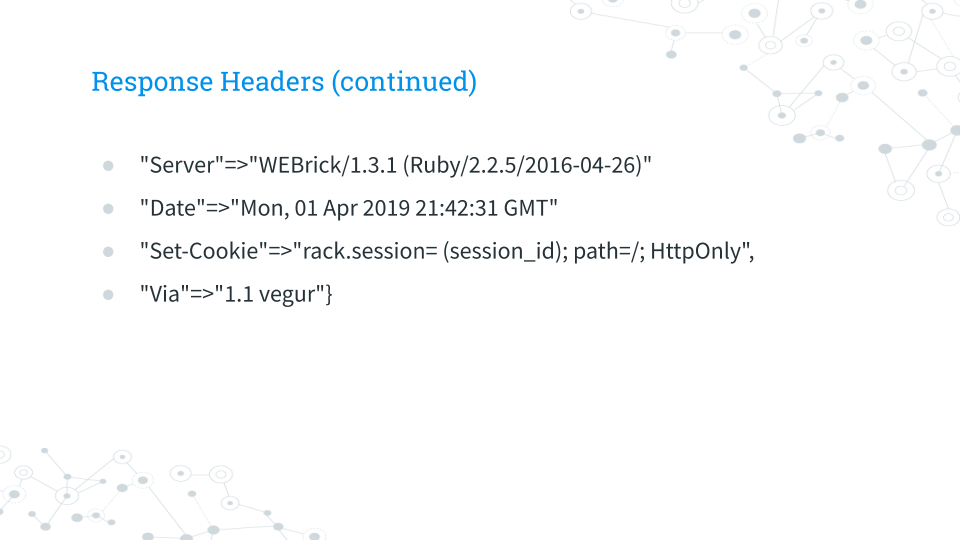
With our test, we were checking that this content type was showing up, that it was of type “text.html”, and we can see it passed.
Resources
Quiz
The quiz for this chapter can be found in section 7.4
