

Transcripted Summary
We're going to talk about variables.
In general, variables are like a box - kind of like this box. This box is empty and I see variables as a way for us to store some information, kind of like the way we do in the box.

For example, take this number, this number represents how many pairs of Jordans I have, 105. You can attack me later. But now I have this box with this number in it.

Now if you've ever done anything with a lot of boxes, boxes aren't really helpful unless they have some type of context, some type of meaning. The most common way we do that is to give boxes a label. So let's give our box a label.

Now, our box says "Jordans". We know that inside this "Jordans" box is the number 105.
That's how variables work. They're like boxes we have in memory that store values, and then to be able to reference them later, we give them a name - like our box here we have "Jordans".
Now, let's look into the code and see how we can use variables in JavaScript.
Alright, for this next part, we're going to have you open VS Code on your computer.
When you first open it, you'll probably see one of two things, the last file that you worked on, or this welcome screen.
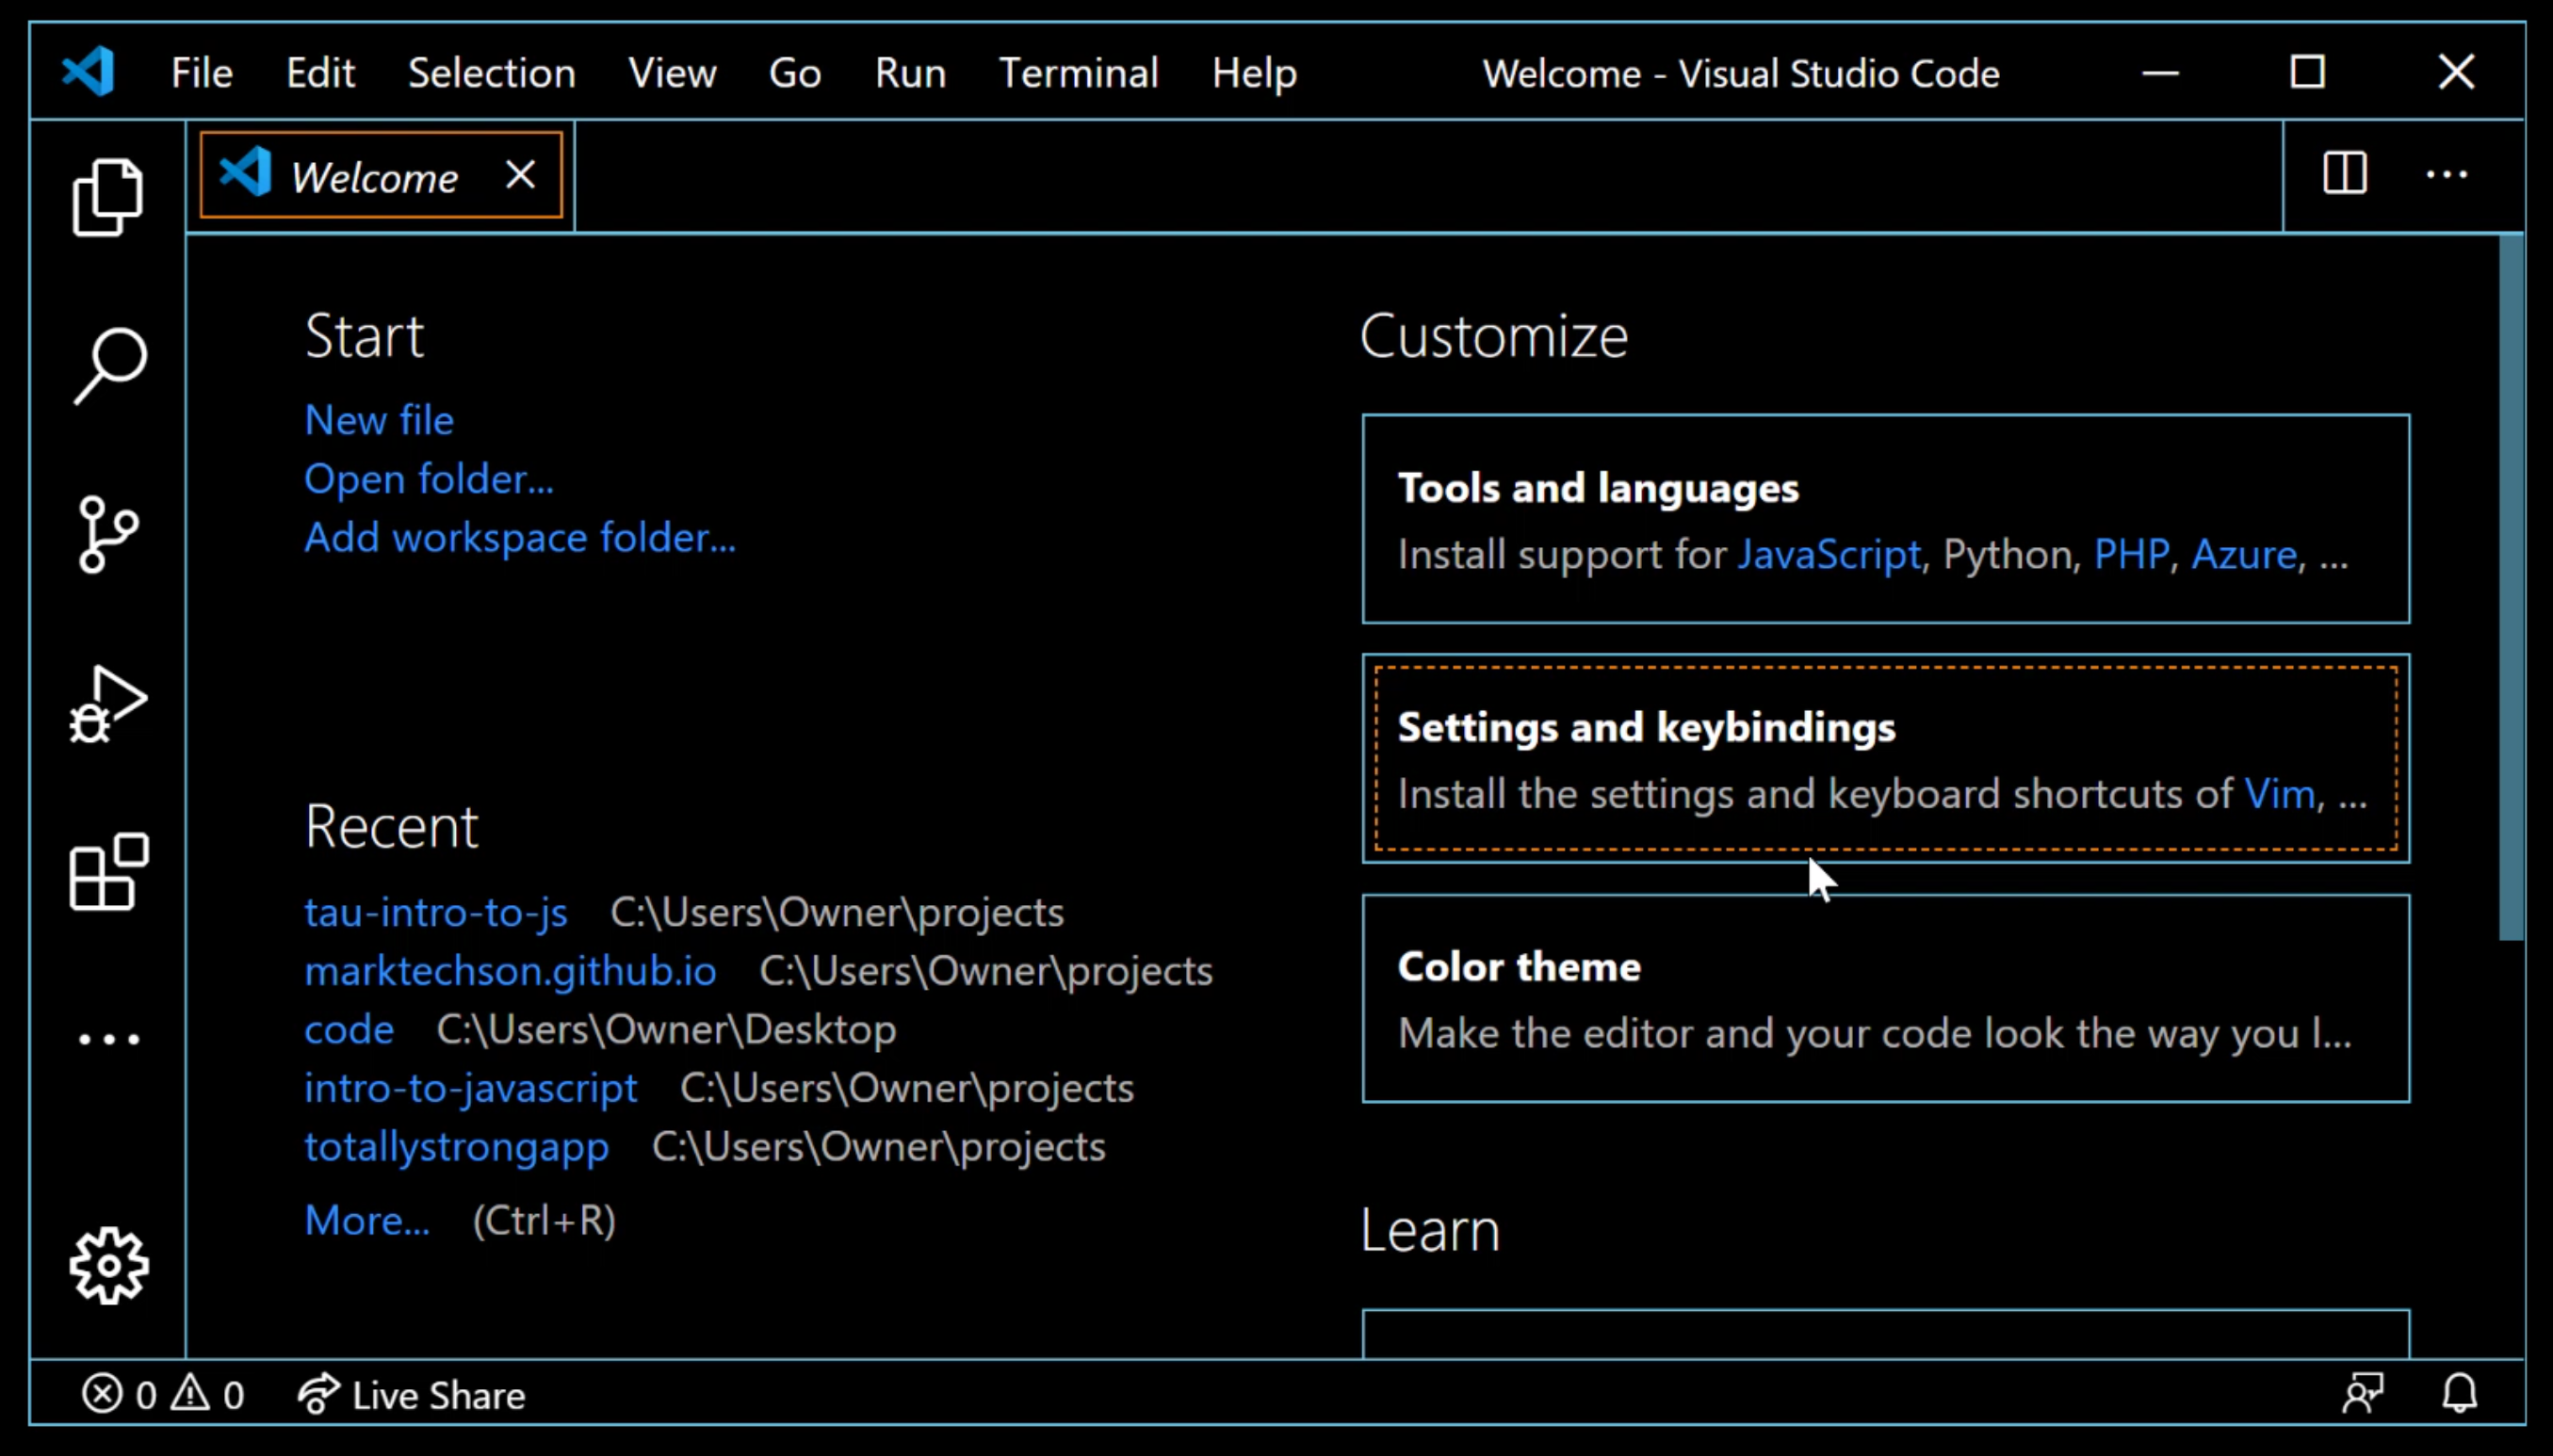
Either one is fine, not a big deal. But, I am going to have you do just a little bit of work here.
Go ahead and follow the setup instructions below on how to create a folder for all of our code.
Now that you have that done, let's go ahead and open that folder in our editor. Let's go File > Open Folder > find your folder (tau-intro-to-js) > select folder, then VS Code will show us that we have that folder open.
A good way to tell if this is working is to look for the name of the folder that you selected. Go ahead and hover over the name of the folder and it will reveal some icons.
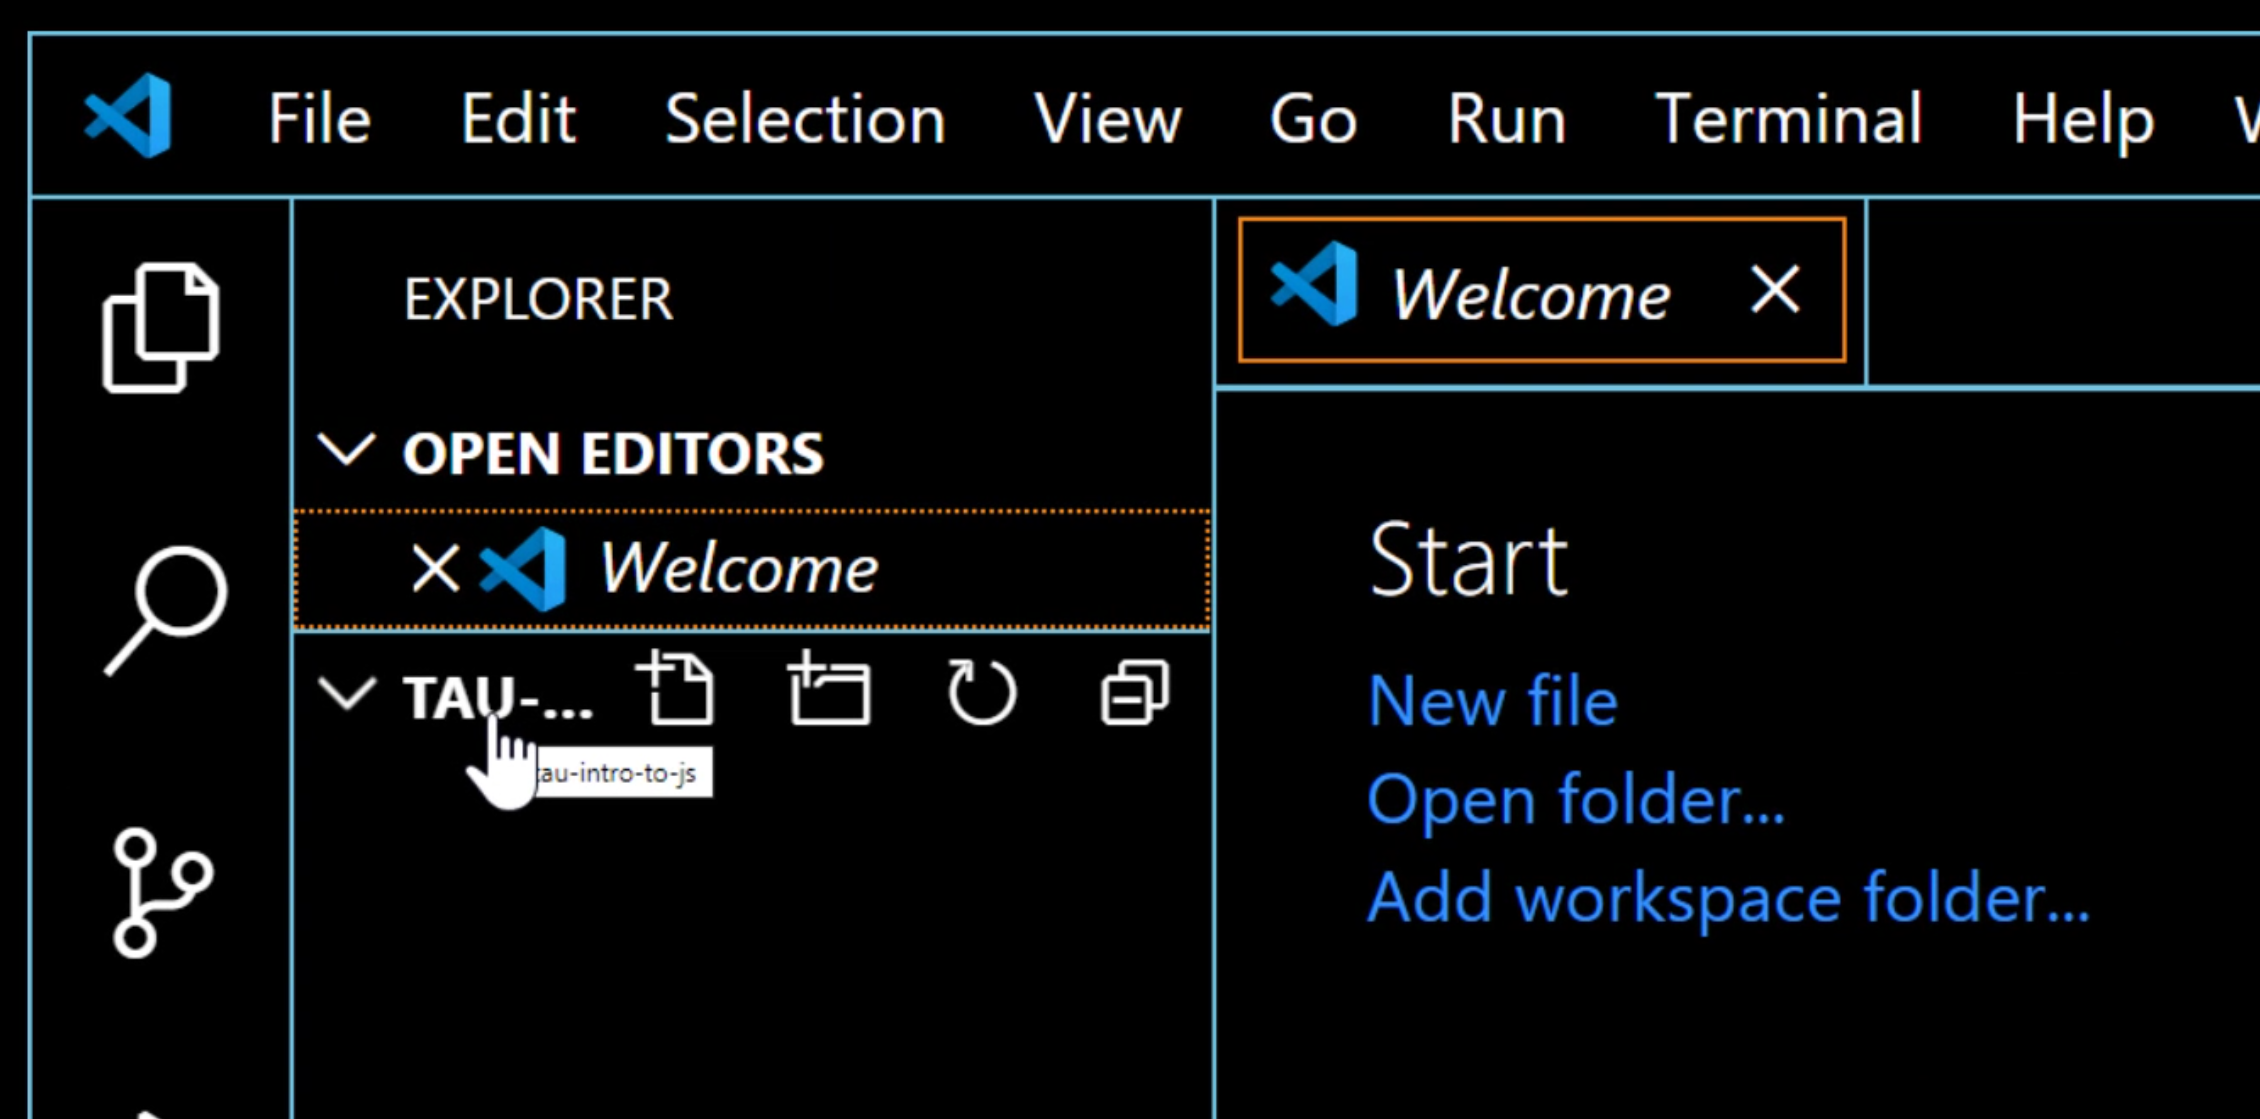
Click on the first one, which is to add a new file.
This is the exciting part - we're going to create our file, add some code and actually see how things work.
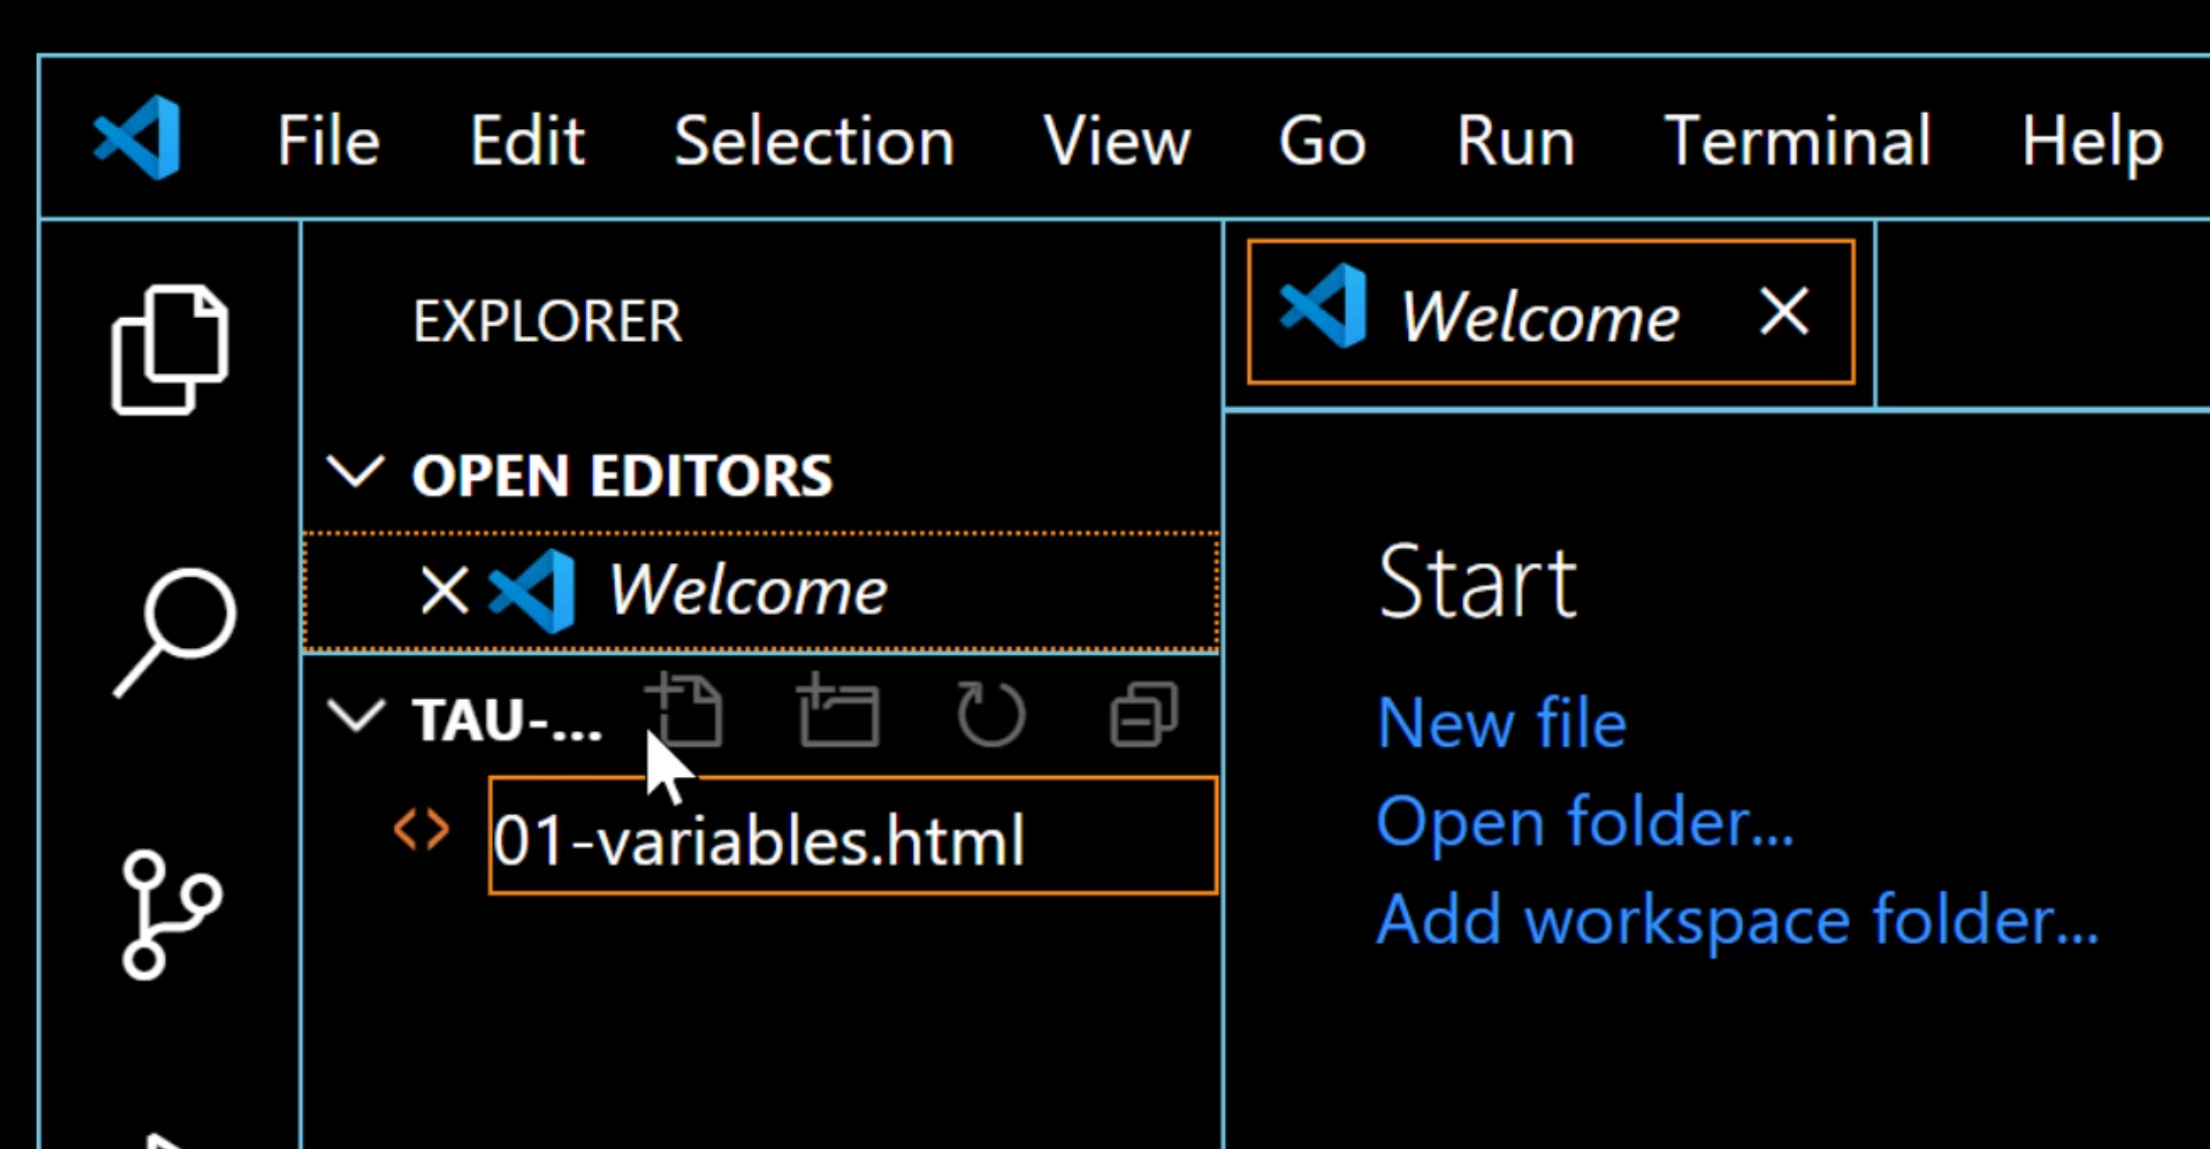
The name of the file will be 01-variables.html.
Now that you have your file created, the first thing I want you to do is type an exclamation point on line one.
When you see this box pop up, don't worry, we call this a code completion suggestion.
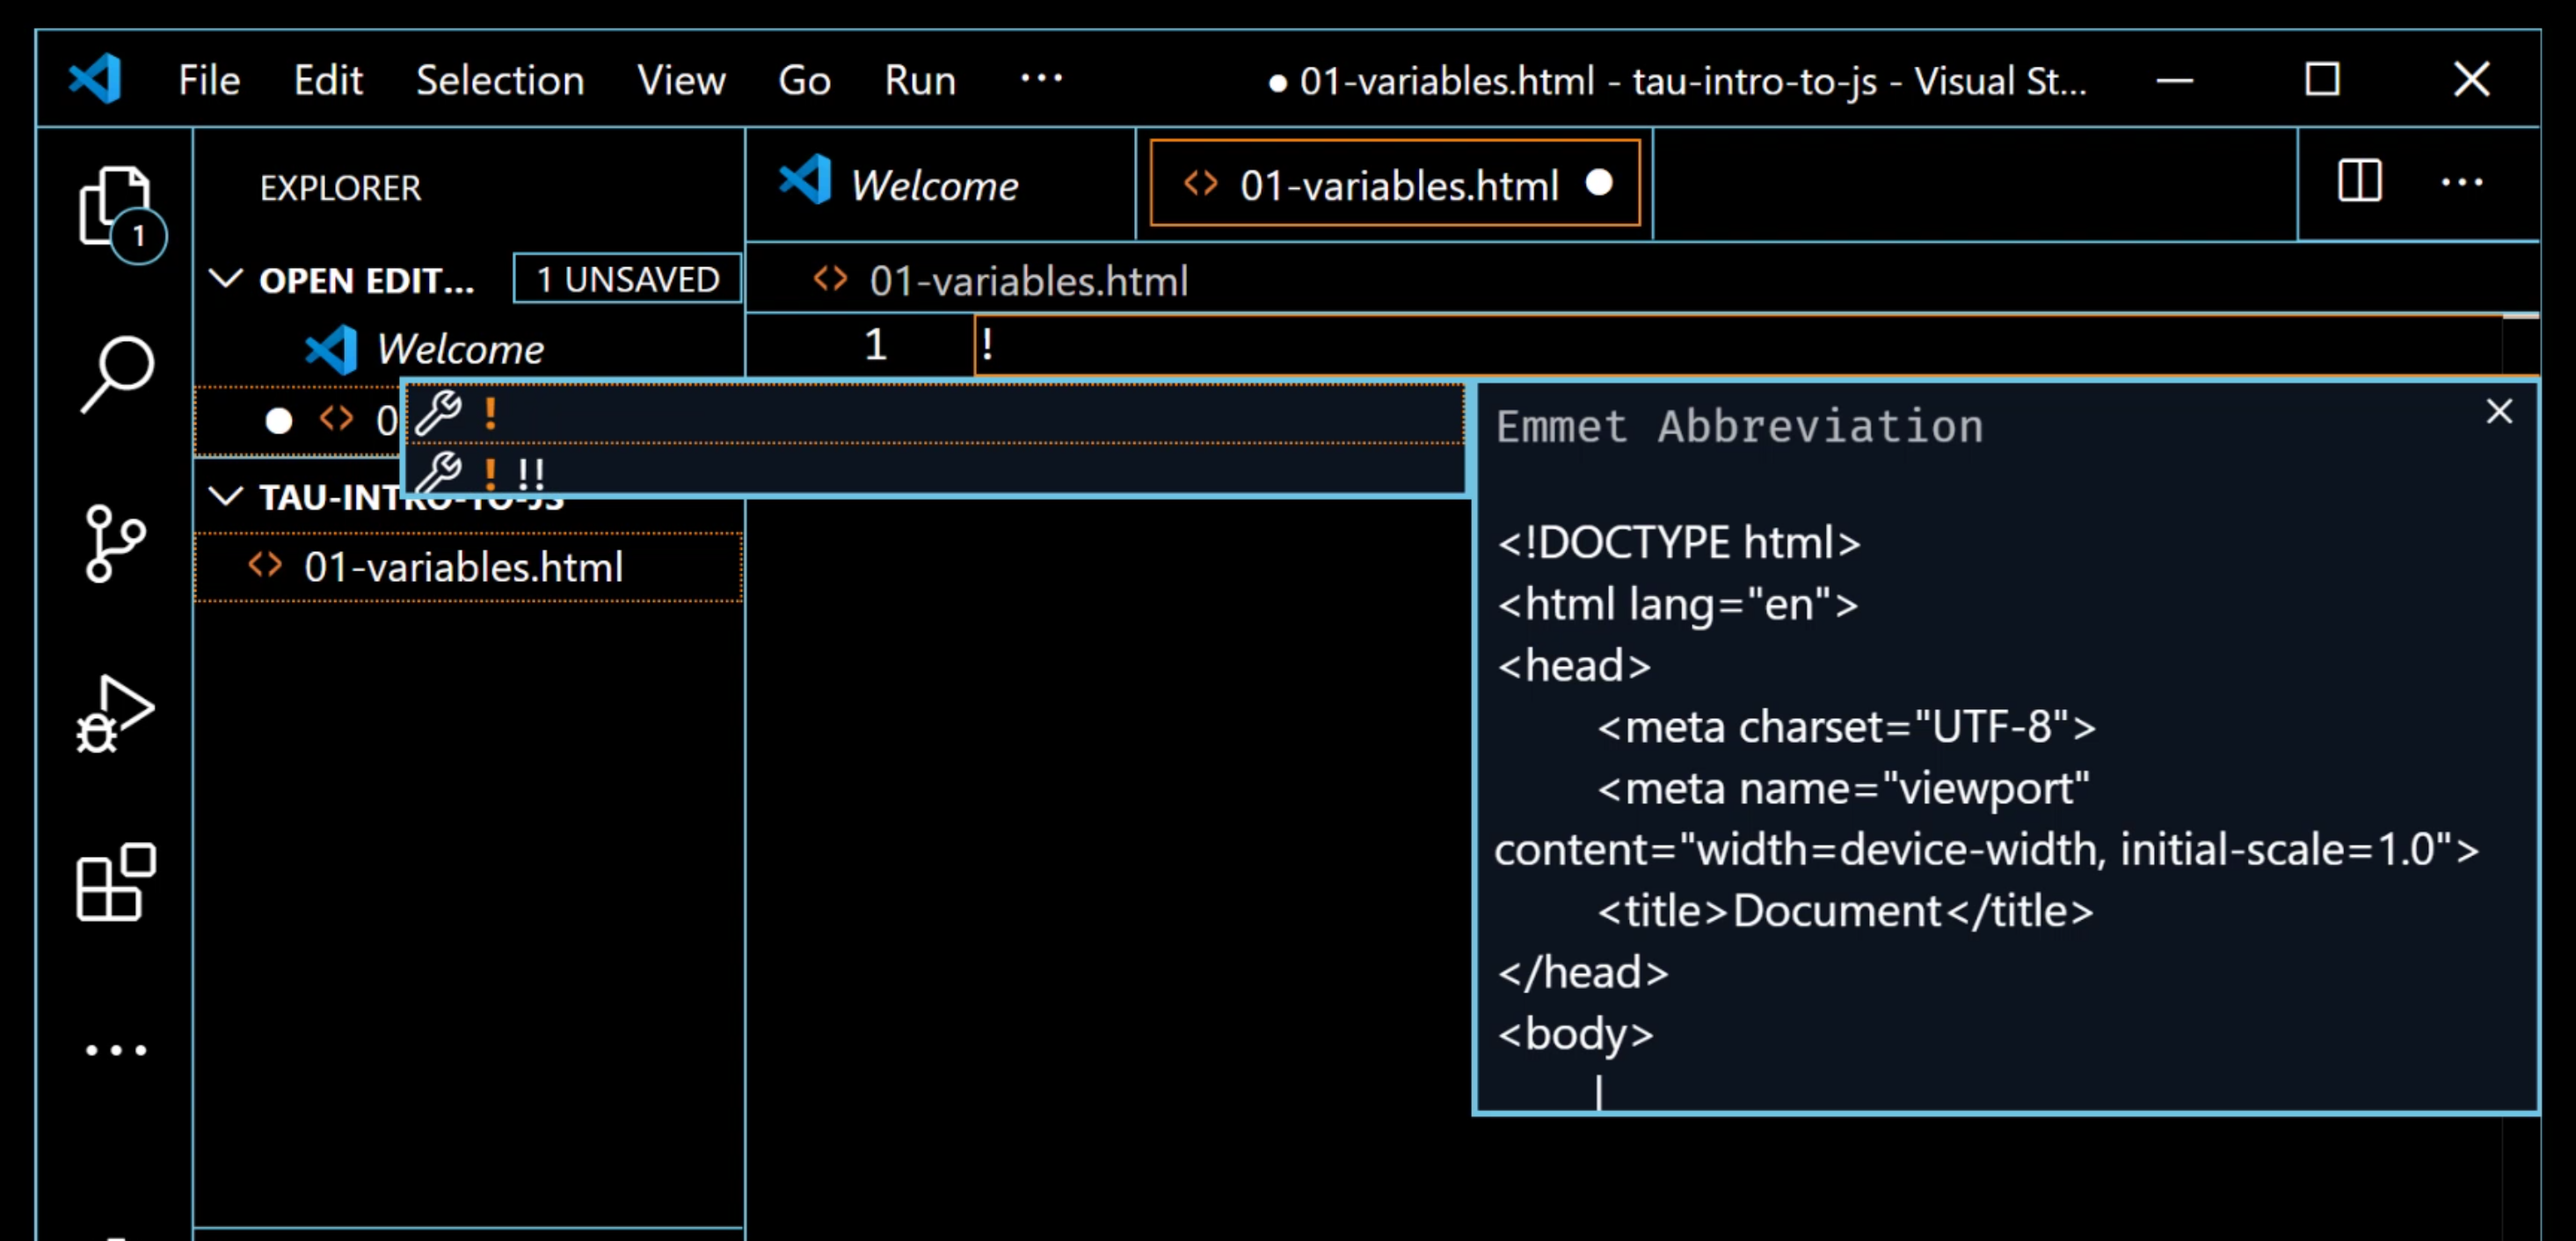
The great thing about IDEs is that they work with you by trying to offer some helpful hints, so that your code has a better chance of being correct.
That's pretty awesome, right? I know, I love it!
When we hit "enter", we're going to see a bunch of code get generated for us.
Now this is HTML code. It's only a template.

Since we're running our code in the browser, we're going to need some HTML to get started.
Now you don't need to know any HTML for this part of the course, but we will circle back later to this and explain what we've done.
Go down to line 9 and you're going to enter some new code.
After you click on line 9, I'm going to make a script tag.
As I start to type it, if you notice my IDE starts to help me by completing my code.
Go ahead and hit a new line - hit enter to have a new line. Now on line 10, this is where we're going to start typing our code.
On line 9 and line 11, those are the opening and closing tags for our HTML script tag.
You can always tell what the closing tag is because you'll usually see a forward slash /.
For the moment you've all been waiting for, let's get down to business.
Now it's time for the moment you've all been waiting for, I'm so pumped up, check this out, we're going to create some code right now.
Let's go back to our Jordans example. Remember we had that box that represented our variable?
Well, we're going to start typing our variables here.
In JavaScript, you have three ways to declare a variable.
- use the
letkeyword - use the
constkeyword - you also have access to the
varkeyword
Now, we don't really use var as much before because that's more of a legacy feature for JavaScript. var has some very different rules than let and const.
let vs const
What I'll tell you to do is, as you're starting out, I want you to be as strict as possible when you're talking about let versus const. let allows you to create a variable, but reassign the value, whereas const - when you create a variable, you actually can't reassign that value.
We'll get deeper into this later as we build out more code. But, for now, start off with const. And const is actually short for constant.
Now we have our keyword const. Now this is a very special word that JavaScript understands.
We have const as our keyword, let's make our variable name jordans.
Our variable names can be any combination of letters and numbers and some specific special characters like a dollar sign ($) or an underscore (_).
We have to do what comes next, which is an assignment.
Now the assignment is the fact that we're going to say - well, this is the value, this is the value that we're going to have in the jordans variable. For us, we're going to say, 103.
Now we're going to teach you one more part before we continue, because you need just a little bit more to keep going.
Add a couple of new lines and we're going to do a console.log(jordans).
Now, this is a new thing to you because you haven't seen this before.
We're going to come back to what this means, but for now, this is going to allow us to display some values and a part of the browser we call the console.
Be sure to save your code, and as an extra tip, make sure that you have "Format on save enabled".
You can find directions for that at the bottom of this video. Alright, awesome.
With this setup, we're ready to test it out in the browser.
<!DOCTYPE html>
<html lang="en">
<head>
    <meta charset="UTF-8">
    <meta name="viewport" content="width=device-width, initial-scale=1.0">
    <title>Document</title>
</head>
<body>
    <script>
        const jordans = 103;
        console.log(jordans);
    </script>
</body>
</html>
Let's go, right-click on your file and then "Open in Default Browser".
Okay, wow, look how exciting all this code is! Okay, I get it, this actually is not as cool as you thought it would be yet.
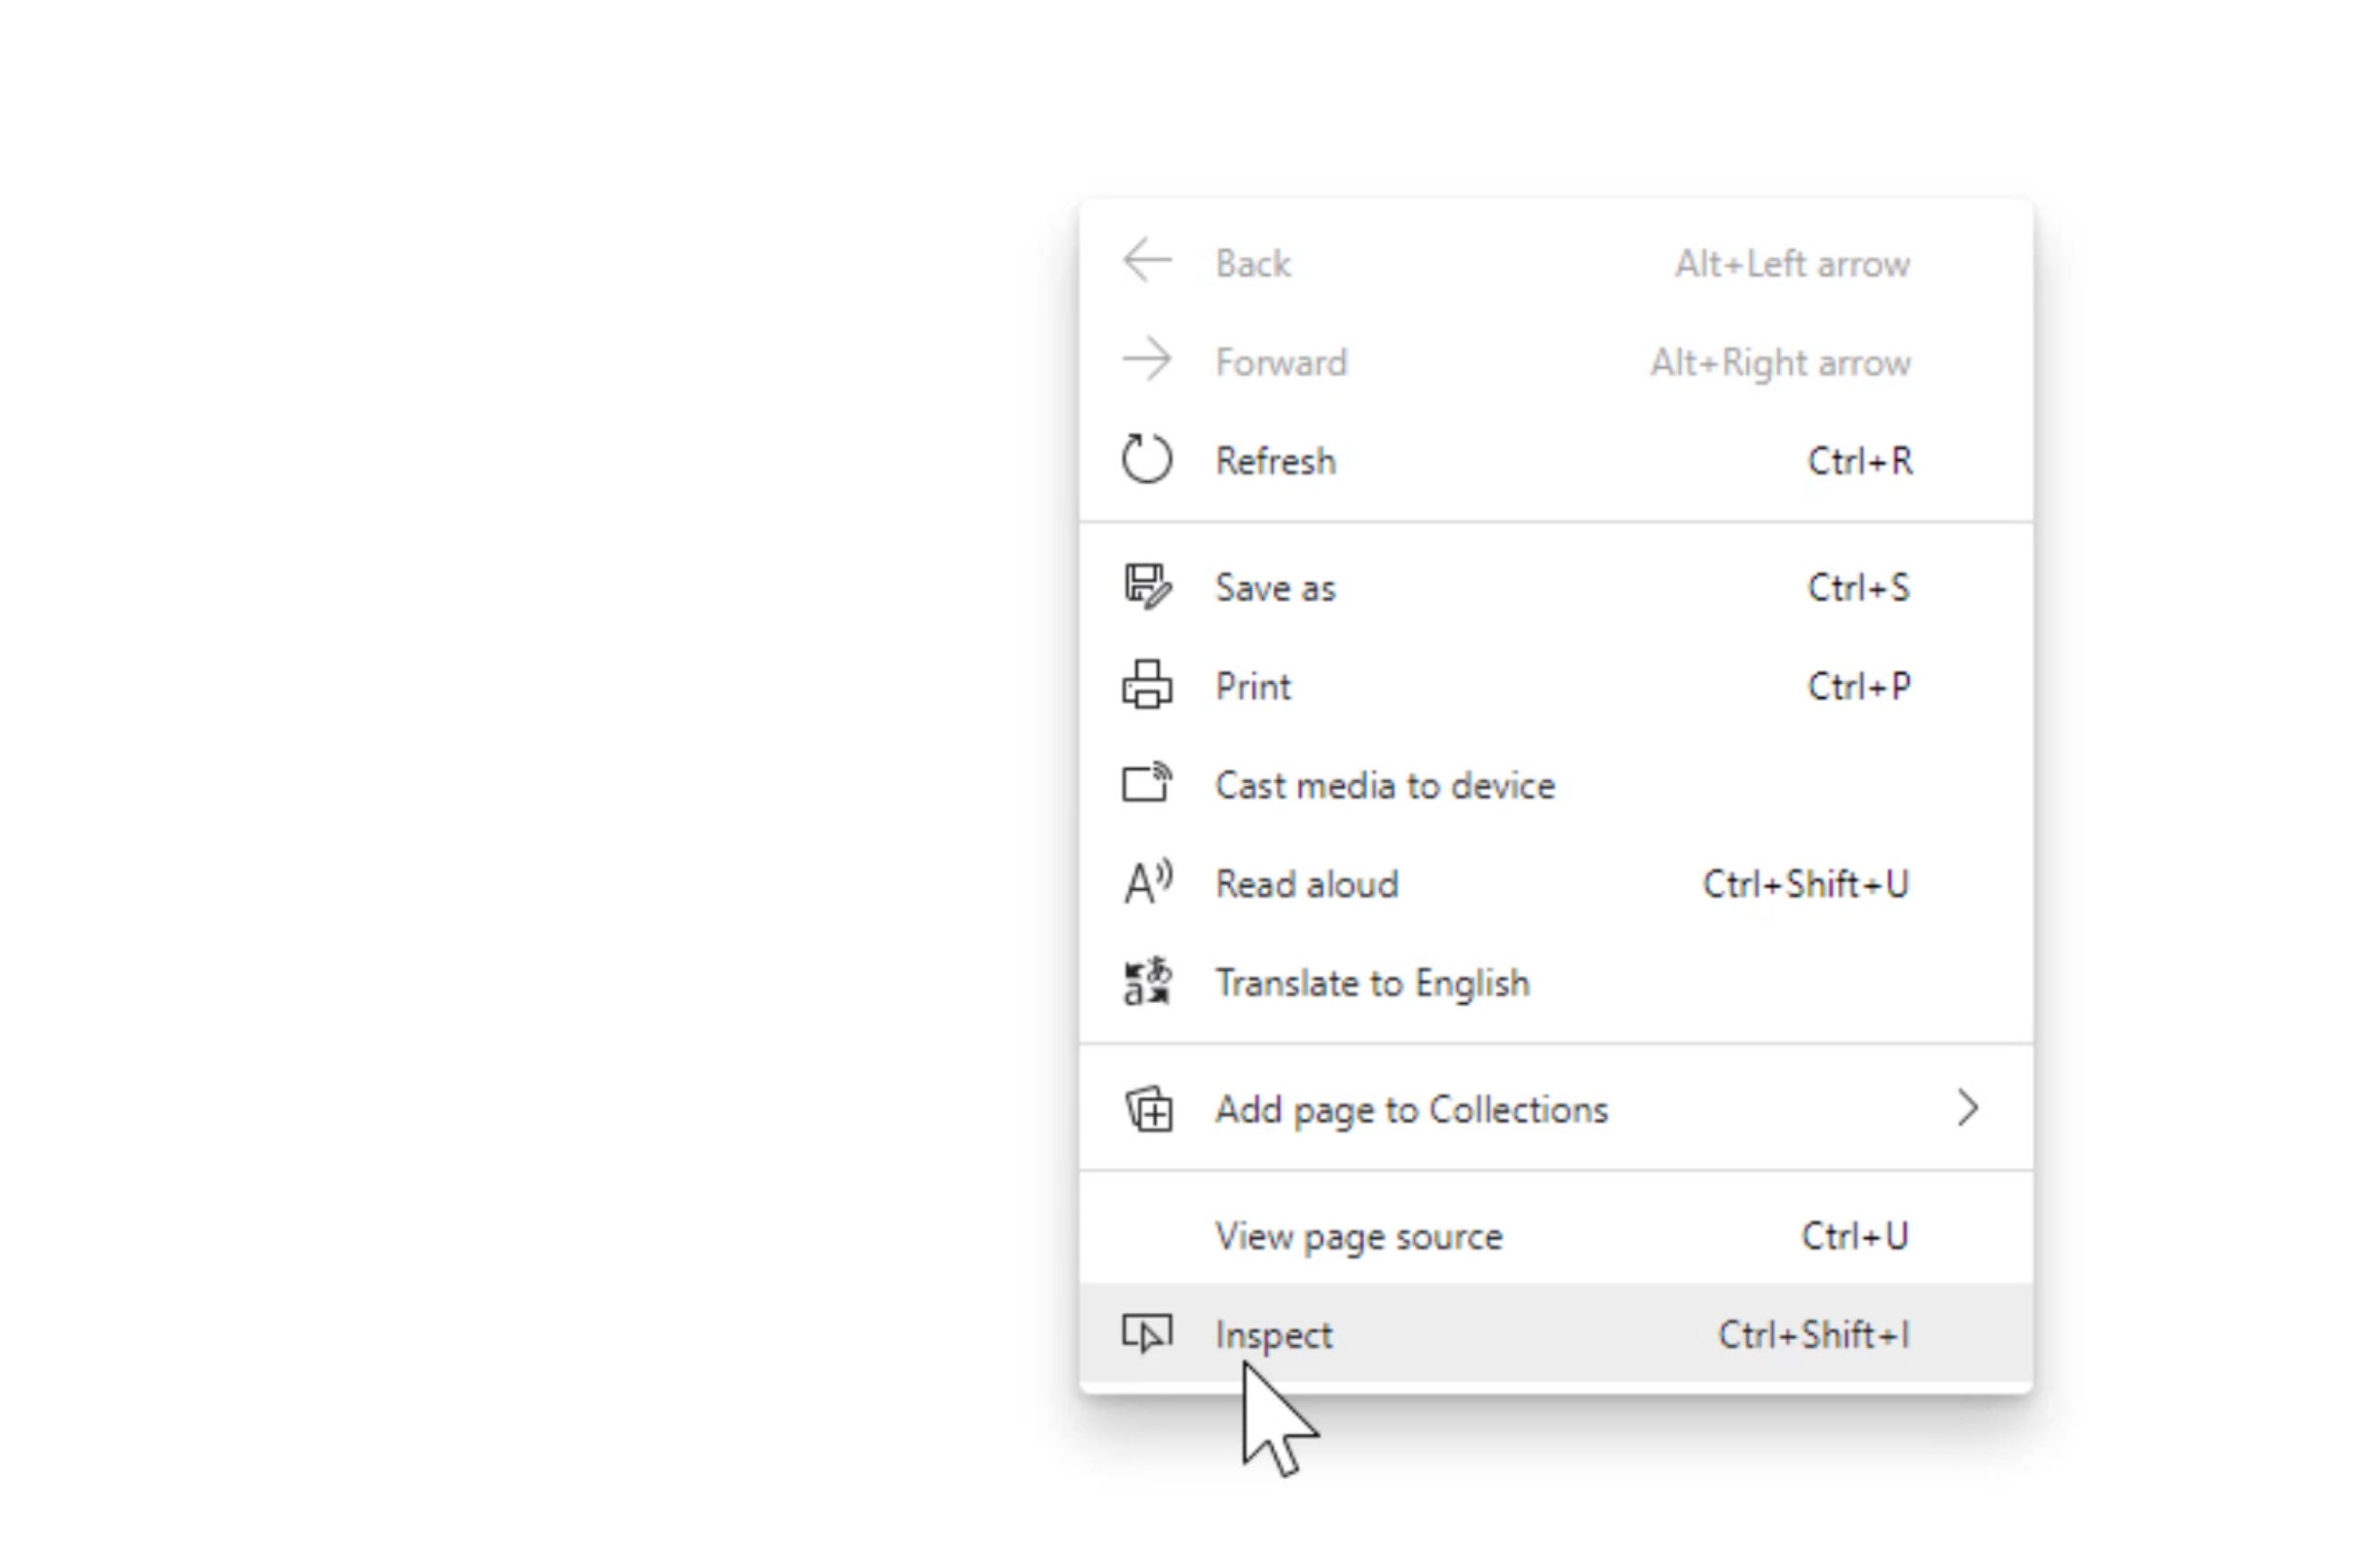
But now we're going to open up another part of the browser that you may or may not have spent some time working in. Right-click the page, go ahead and do "Inspect".
This is going to open up a part of the browser we call the console or "developer tools".
There's a great course on TestAutomationU on the browser and developer tools called Automating in the Browser Using JavaScript, so definitely check that out if you want to know more about this.
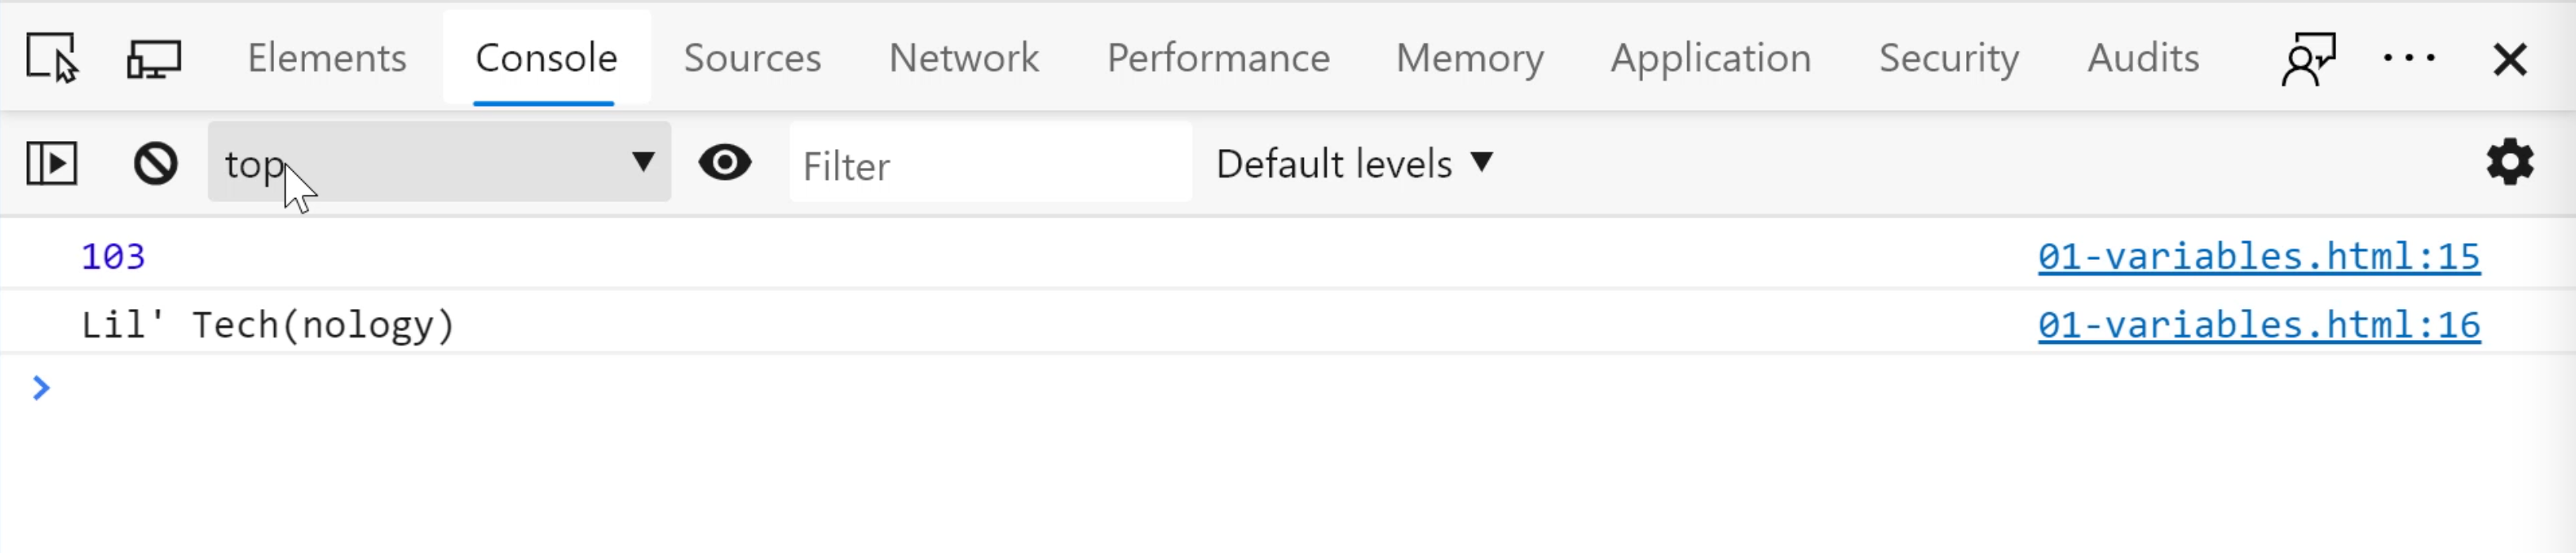
Go to "Console".
Now you're going to see 103, and what's really incredible is that if you look, it tells you which file this came from and which number this came from - which line number.
If we go back to our editor, we should be able to see that it was on line 14 that we output the value of jordans.
Now, variables are really interesting because we can do so much more.
Let's add another variable called name, and I'm going to give it a value of my name.
Well, technically, this is my rap name, "Lil Tech(nology)", but this is my name.
We also want to display this on the console, so I'm going to add another copy of line 15.
<!DOCTYPE html>
<html lang="en">
<head>
    <meta charset="UTF-8">
    <meta name="viewport" content="width=device-width, initial-scale=1.0">
    <title>Document</title>
</head>
<body>
    <script>
        const jordans = 103;
        const name = "Lil' Tech(nology)";
        console.log(jordans);
        console.log(name);
    </script>
</body>
</html>
Now we should see two different outputs.
Go back to your browser because it's already open and just hit "refresh" on the browser.
Now you see two different things, but let's go back.
I did something really quick there, and I want to make sure that we're all on the same page with this one.
I used a different type of variable here.
The variable name has a value of Lil' Tech(nology), but if you notice, I have double quotes around this entire value.
Well, those double quotes are actually a string and a string is a set of alphanumeric characters.
It could be special characters, it can be letters, it can be numbers, it can be punctuation all combined together.
Here's a good way to think about when would you use a string versus when you would use a numeric.
I like to think if I'm going to do any type of calculation with it - maybe add to it, subtract from it, things like that, well, that's going to lend me to using a string.
Alright, so this is a great first step. Now here's your challenge - let's have you add some code and create some variables.
You can do it because you are a superstar and I can't wait to see what you've created by the next video. Alright, see you then.
# How to enable Format on Save
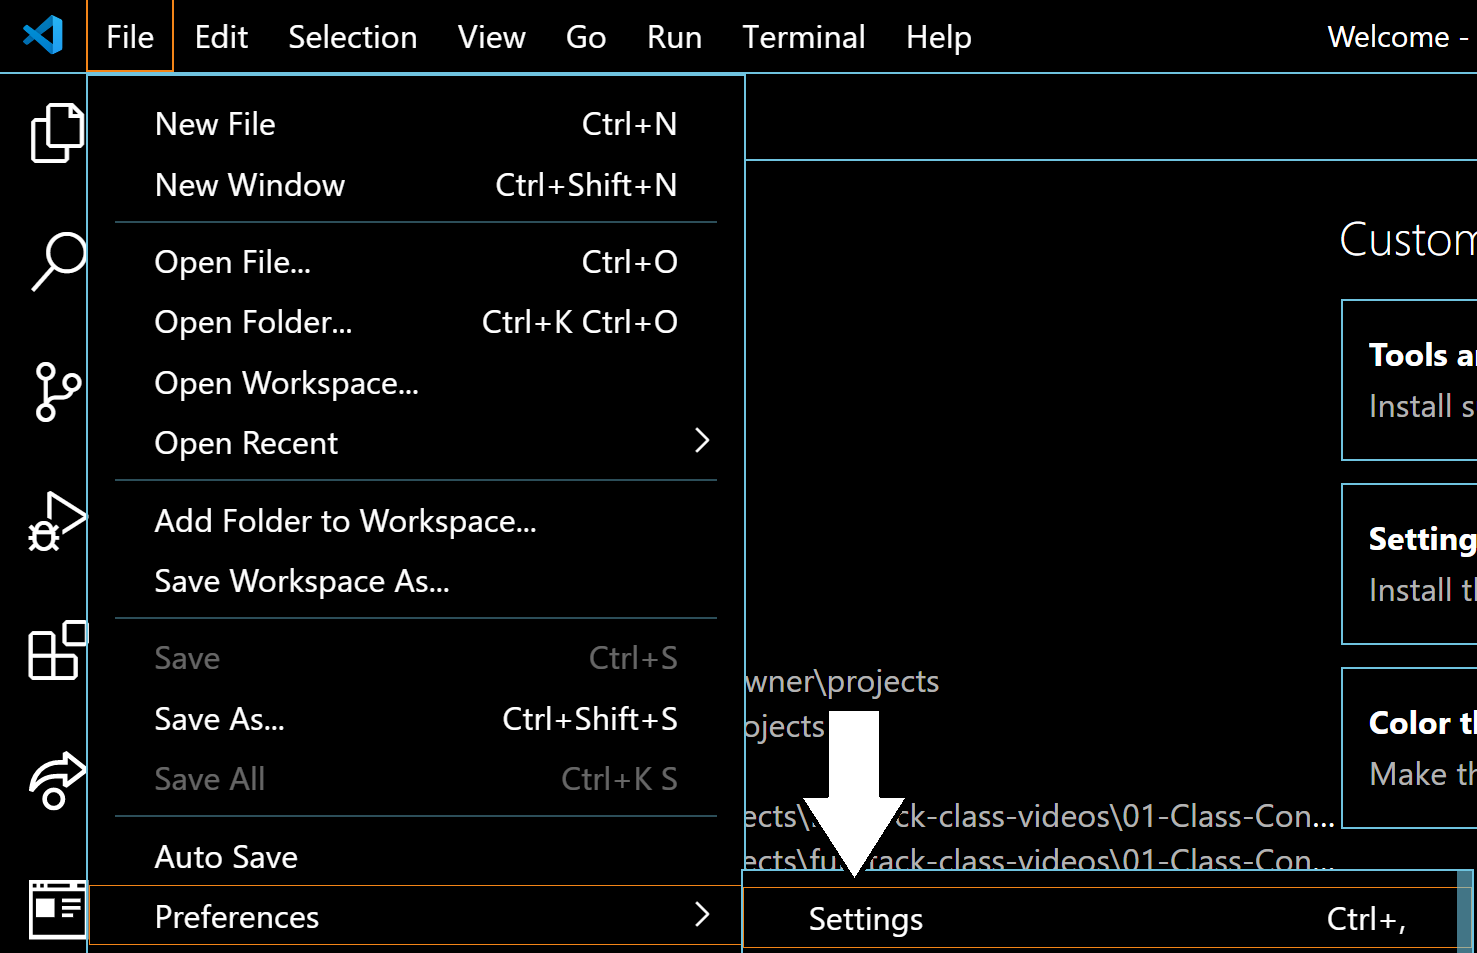
With Visual Studio Code open, navigate to File, Preferences, Settings
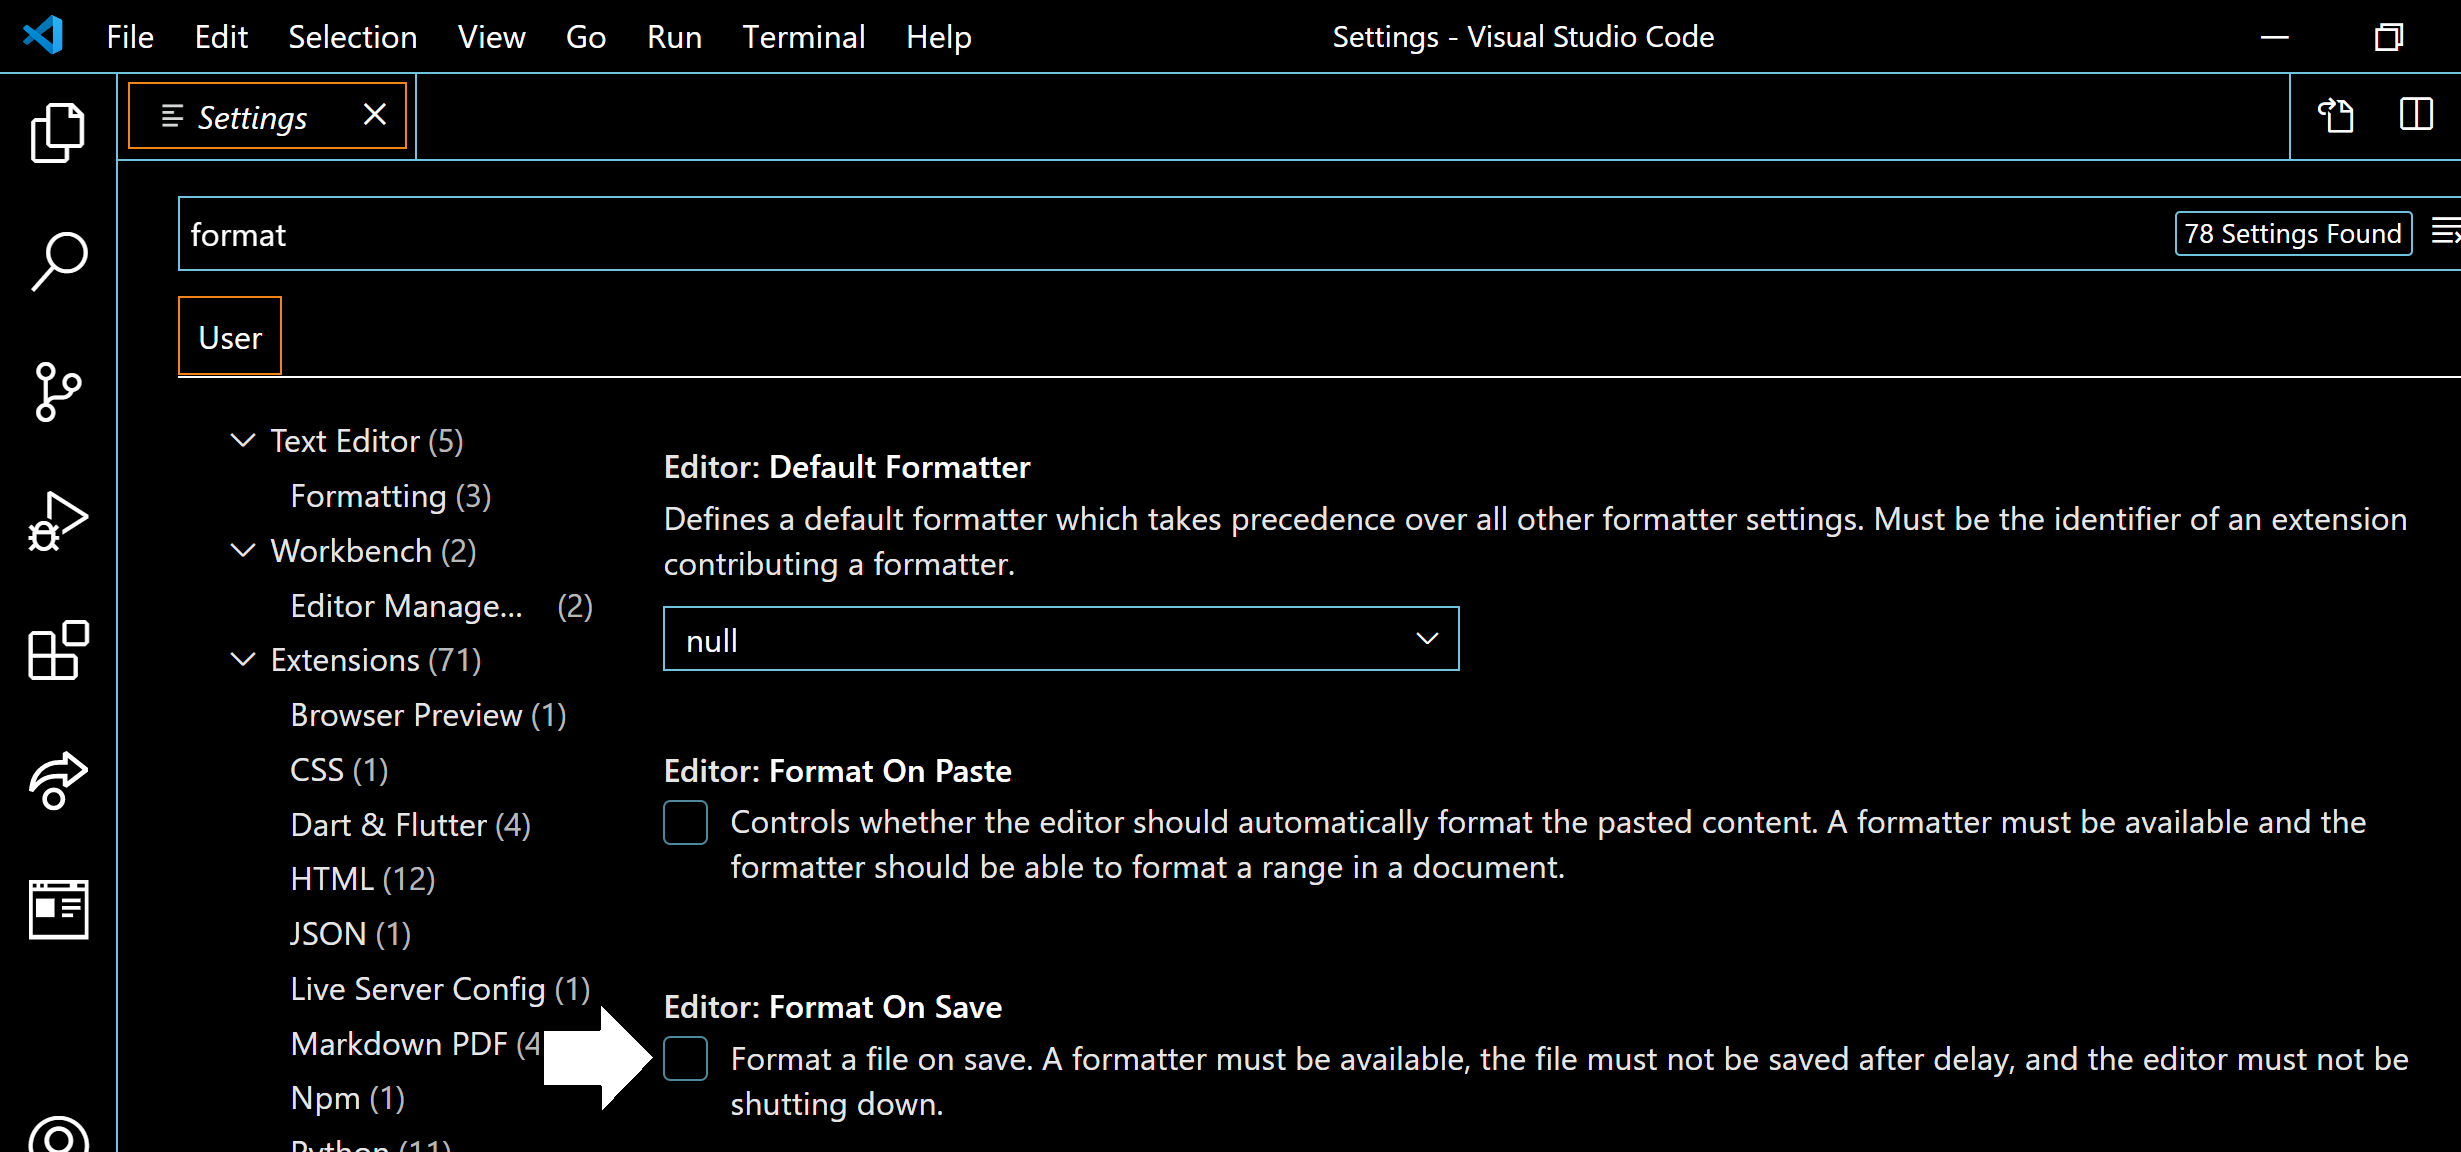
Click on “Settings”
In the next screen you see, go ahead and type “format” in the search box as seen here:
Setup Instructions
# Setup Instructions
To be best prepared for this lesson, you’ll need to do the following setup.
Download Visual Studio Code for your platform (Mac, PC or Linux) https://code.visualstudio.com/
Once the download is complete, install the application.
Next, you’ll have to create a folder for storing our project work. In the location of your choice, create a folder called:
tau-intro-to-jsFor example, I’ll create that folder
C:\Users\Owner\projects\tau-intro-to-js
The best place to put this is a space you’ll remember as we’ll be referencing this folder throughout the lesson.
Resources
Quiz
The quiz for this chapter can be found in section 1.2
