

Transcripted Summary
In the last video, we learned about object literals, and they are a really great way of creating objects, but we've run into a similar problem that we did when we first started creating variables.
That is - what if we wanted to create an assortment of cookies or multiple cookies, but they have the same structure, meaning the same properties, but different values?
Well, I could copy and paste the object literal code over and over again, but you know what we'll end up with? More and more opportunities to mess ourselves up with a mistake or a typo.
Instead, what we could do is we could use some type of template to create our objects.
Well, those templates are called classes.
In 2015, when the ES6 JavaScript version was announced, we saw the introduction of a fancy way to make objects by setting up this template that you could then provide the details to, but all of your objects would have the same structure.
I know this sounds like a dream, and if you're thinking this reminds you of functions, well, you're not that far off. This is very similar in concept.
Classes are great because they can act like a car factory that makes cars based on the user specification.
Auto manufacturers kind of do this now.
They produce cars now that have the same structure, but may have different interior details or different paint jobs.
The best part is that they can reproduce this behavior over and over again without reinventing the wheel. No pun intended.
# How to create objects using classes
Let's see how we can make some classes work in JavaScript.
In our 05-objects.js file, we're going to use the keyword class, then type cookie, but this time we're going to use a capital C because that is the standard or the best practice for making classes in JavaScript.
You want to make the first letter capital and then continue with your camel casing.
const cookie = {
    name: "Chocolate Chip",
    isGlutenFree: false,
    "+Yummy": true
};

cookie.name = "Chip Chocolate";
cookie.isGlutenFree = true;
console.log(cookie["+Yummy"]);
console.log(cookie);

class Cookie {}
So far so good. Let's see how we can make a new object.
Okay, let's take a look at the line 13 code.
We create a variable called myCookie, then we assign it the value of a new Cookie.
So this new keyword means "Hey, when you run this Cookie class, give me a new copy, make a new cookie for me".
It's almost like getting things created right there.
So it's going to create your new object.
And take note here, we're using two parentheses () at the end of our class name to create it - to invoke this behavior - and this is similar to functions for some reasons that are just beyond the scope of what we're going to learn in this class.
const cookie = {
    name: "Chocolate Chip",
    isGlutenFree: false,
    "+Yummy": true
};

cookie.name = "Chip Chocolate";
cookie.isGlutenFree = true;

//console.log(cookie["+Yummy"]);
//console.log(cookie);

class Cookie {}

const myCookie = new Cookie();
console.log(myCookie);
Let's see what we get on the console.
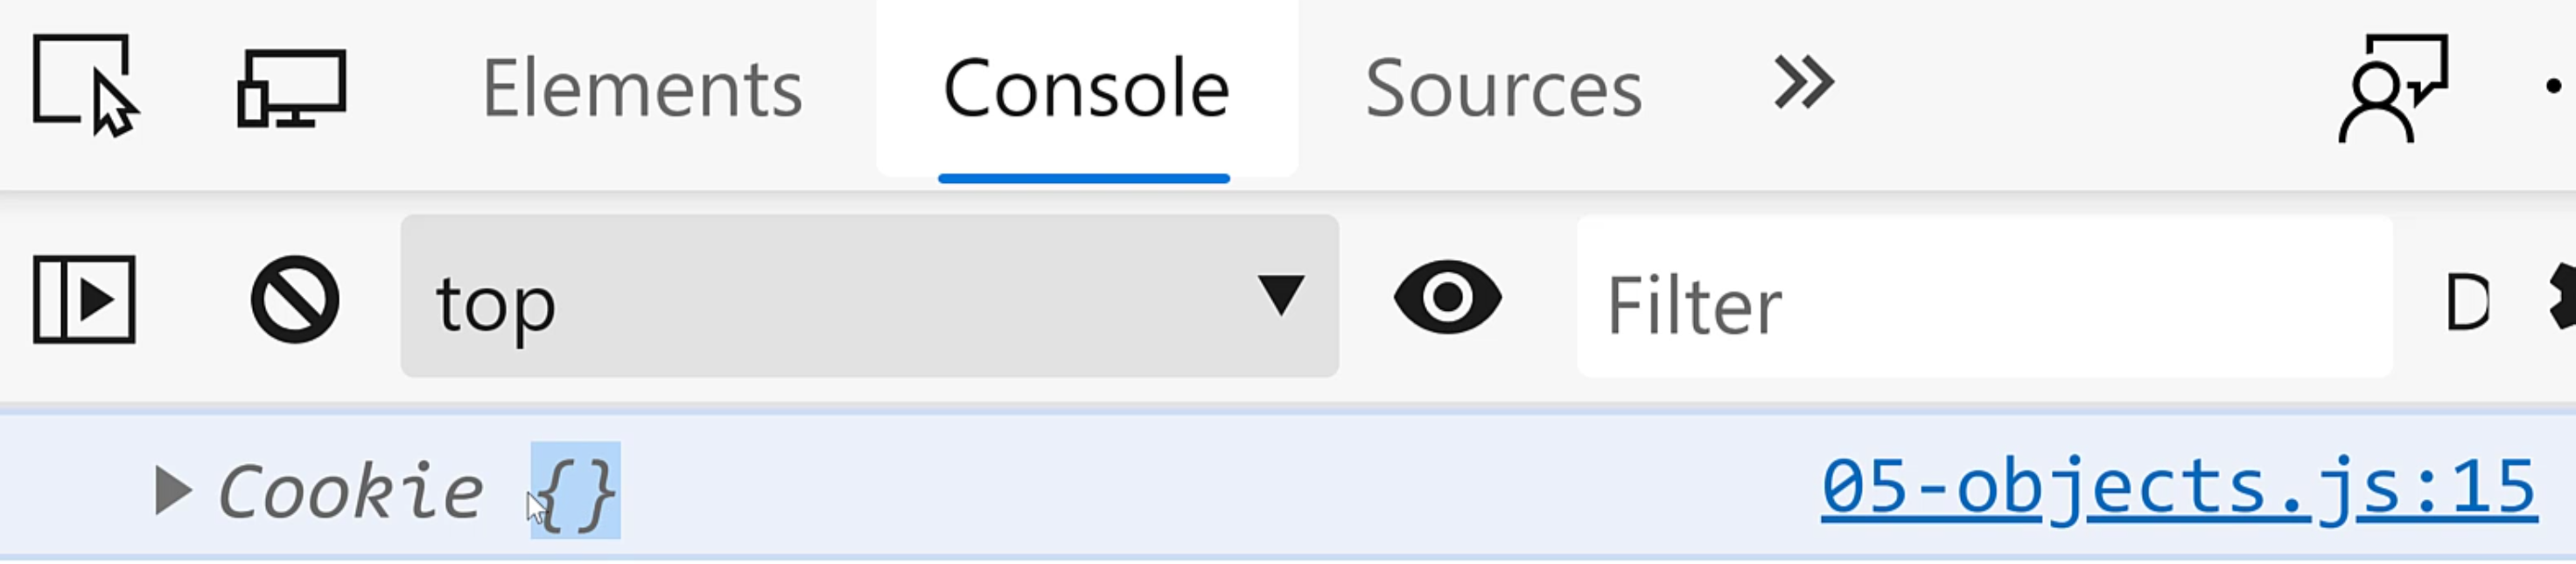
Alright, things look a little bit different, but don't let this fool you or intimidate you.
You still see your empty object, and this is telling you what this object was created with and that's with the Cookie class.
# How to create a constructor
Okay, let's see in the code how we can add some properties to this cookie.
In the object literal, we ended up specifying the value and the property name directly inside the curly braces.
Well here, we're going to use what's called a constructor.
Constructor
The constructor is just the rules that you need to create your class.
Now let's think about the properties that we want.
We want name.
We also want isGlutenFree.
So let's set up our constructor to support these two properties.
Our constructor is like a special function, so it can have its inputs, but in our case, we need to be very specific.
So we want to say this.name, and when we say this in our constructor - well, we're talking about this new object that we're creating. That's the context we need to keep.
This new object we're creating the name for will be whatever name that's passed into our constructor, and the property for gluten free, this.isGlutenFree property for our cookie that we're creating is going to have the value of isGlutenFree.
When we go back down the line 18 we have to give our cookies the values that we want.
The name of this cookie, "Iced Oatmeal". Is this gluten-free - false.
const cookie = {
    name: "Chocolate Chip",
    isGlutenFree: false,
    eatCookie: function () {
        console.log("I am eating " + this.name);
    }
};

cookie.name = "Chip Chocolate";
cookie.isGlutenFree = true;

// console.log(cookie["+Yummy"]);
// console.log(cookie);

class Cookie {
    constructor(name, isGlutenFree) {
        this.name = name;
        this.isGlutenFree = isGlutenFree;
    }
}

const myCookie = new Cookie("Iced Oatmeal", false);
console.log(myCookie);
Now as a sidebar, if you haven't done yourself the favor of going to get some iced oatmeal cookies, putting them in the microwave for 30 seconds on 70% power, dunking them in milk and enjoying life, you should go and do that.
Now let's go back to the browser.
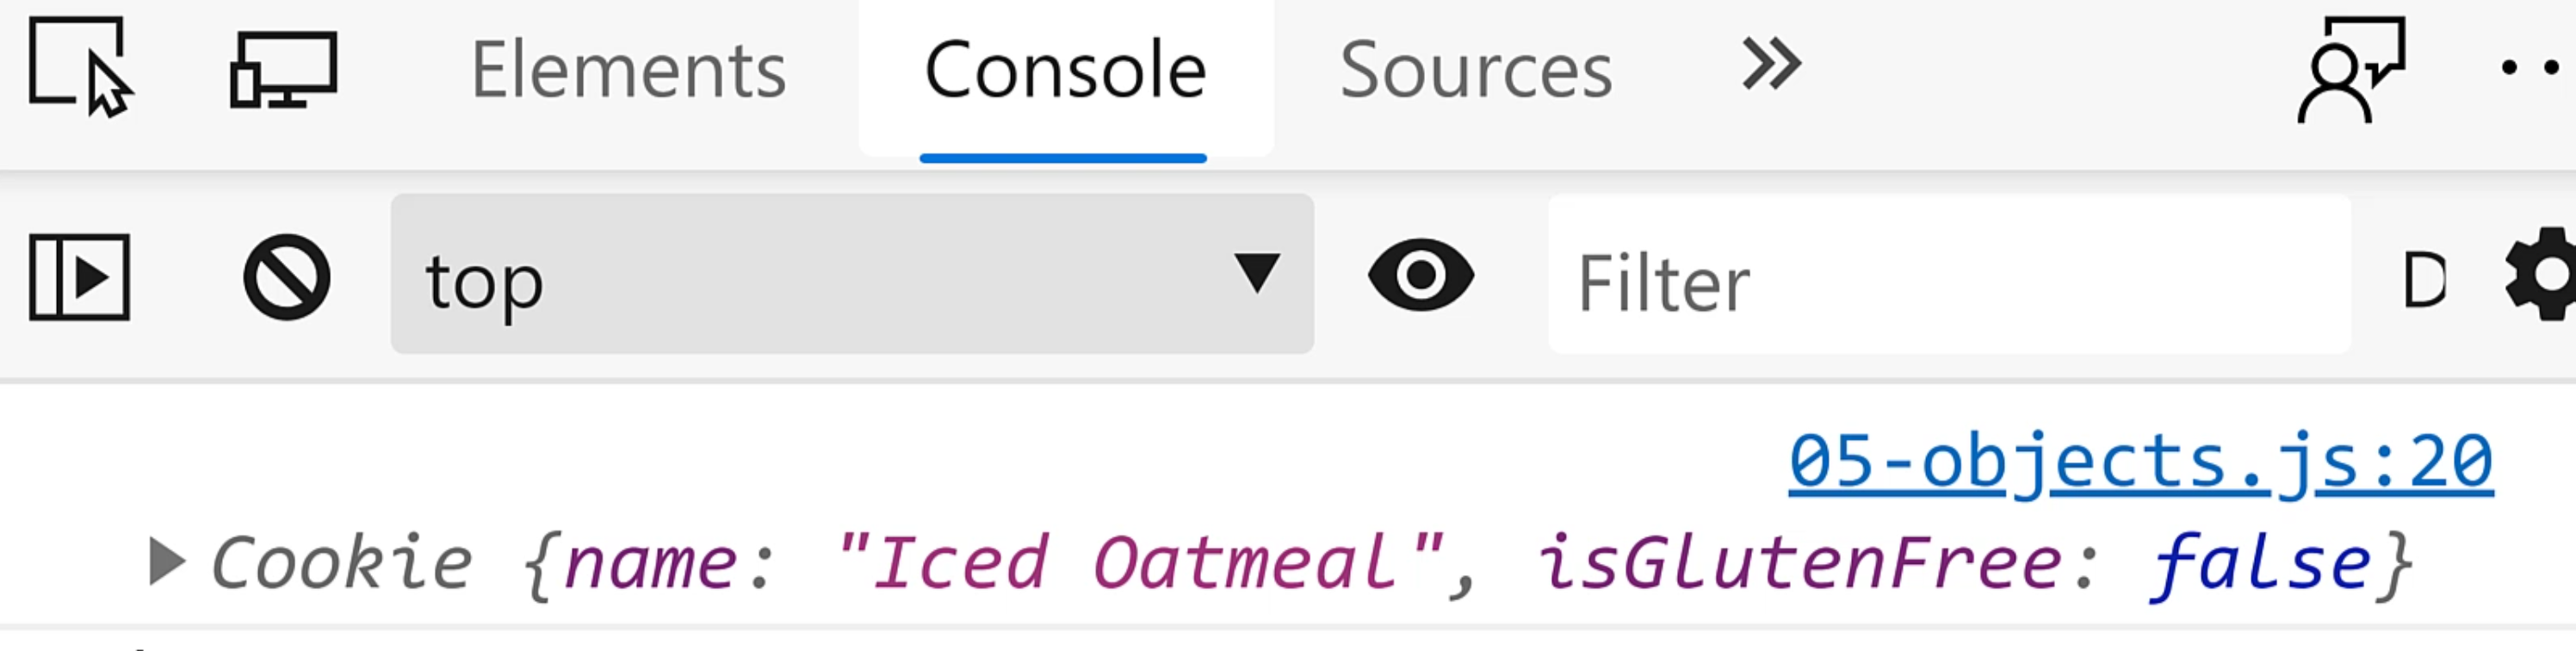
Ah-ha, this looks very similar. Let's go back actually and uncomment our other objects so we can compare the two.
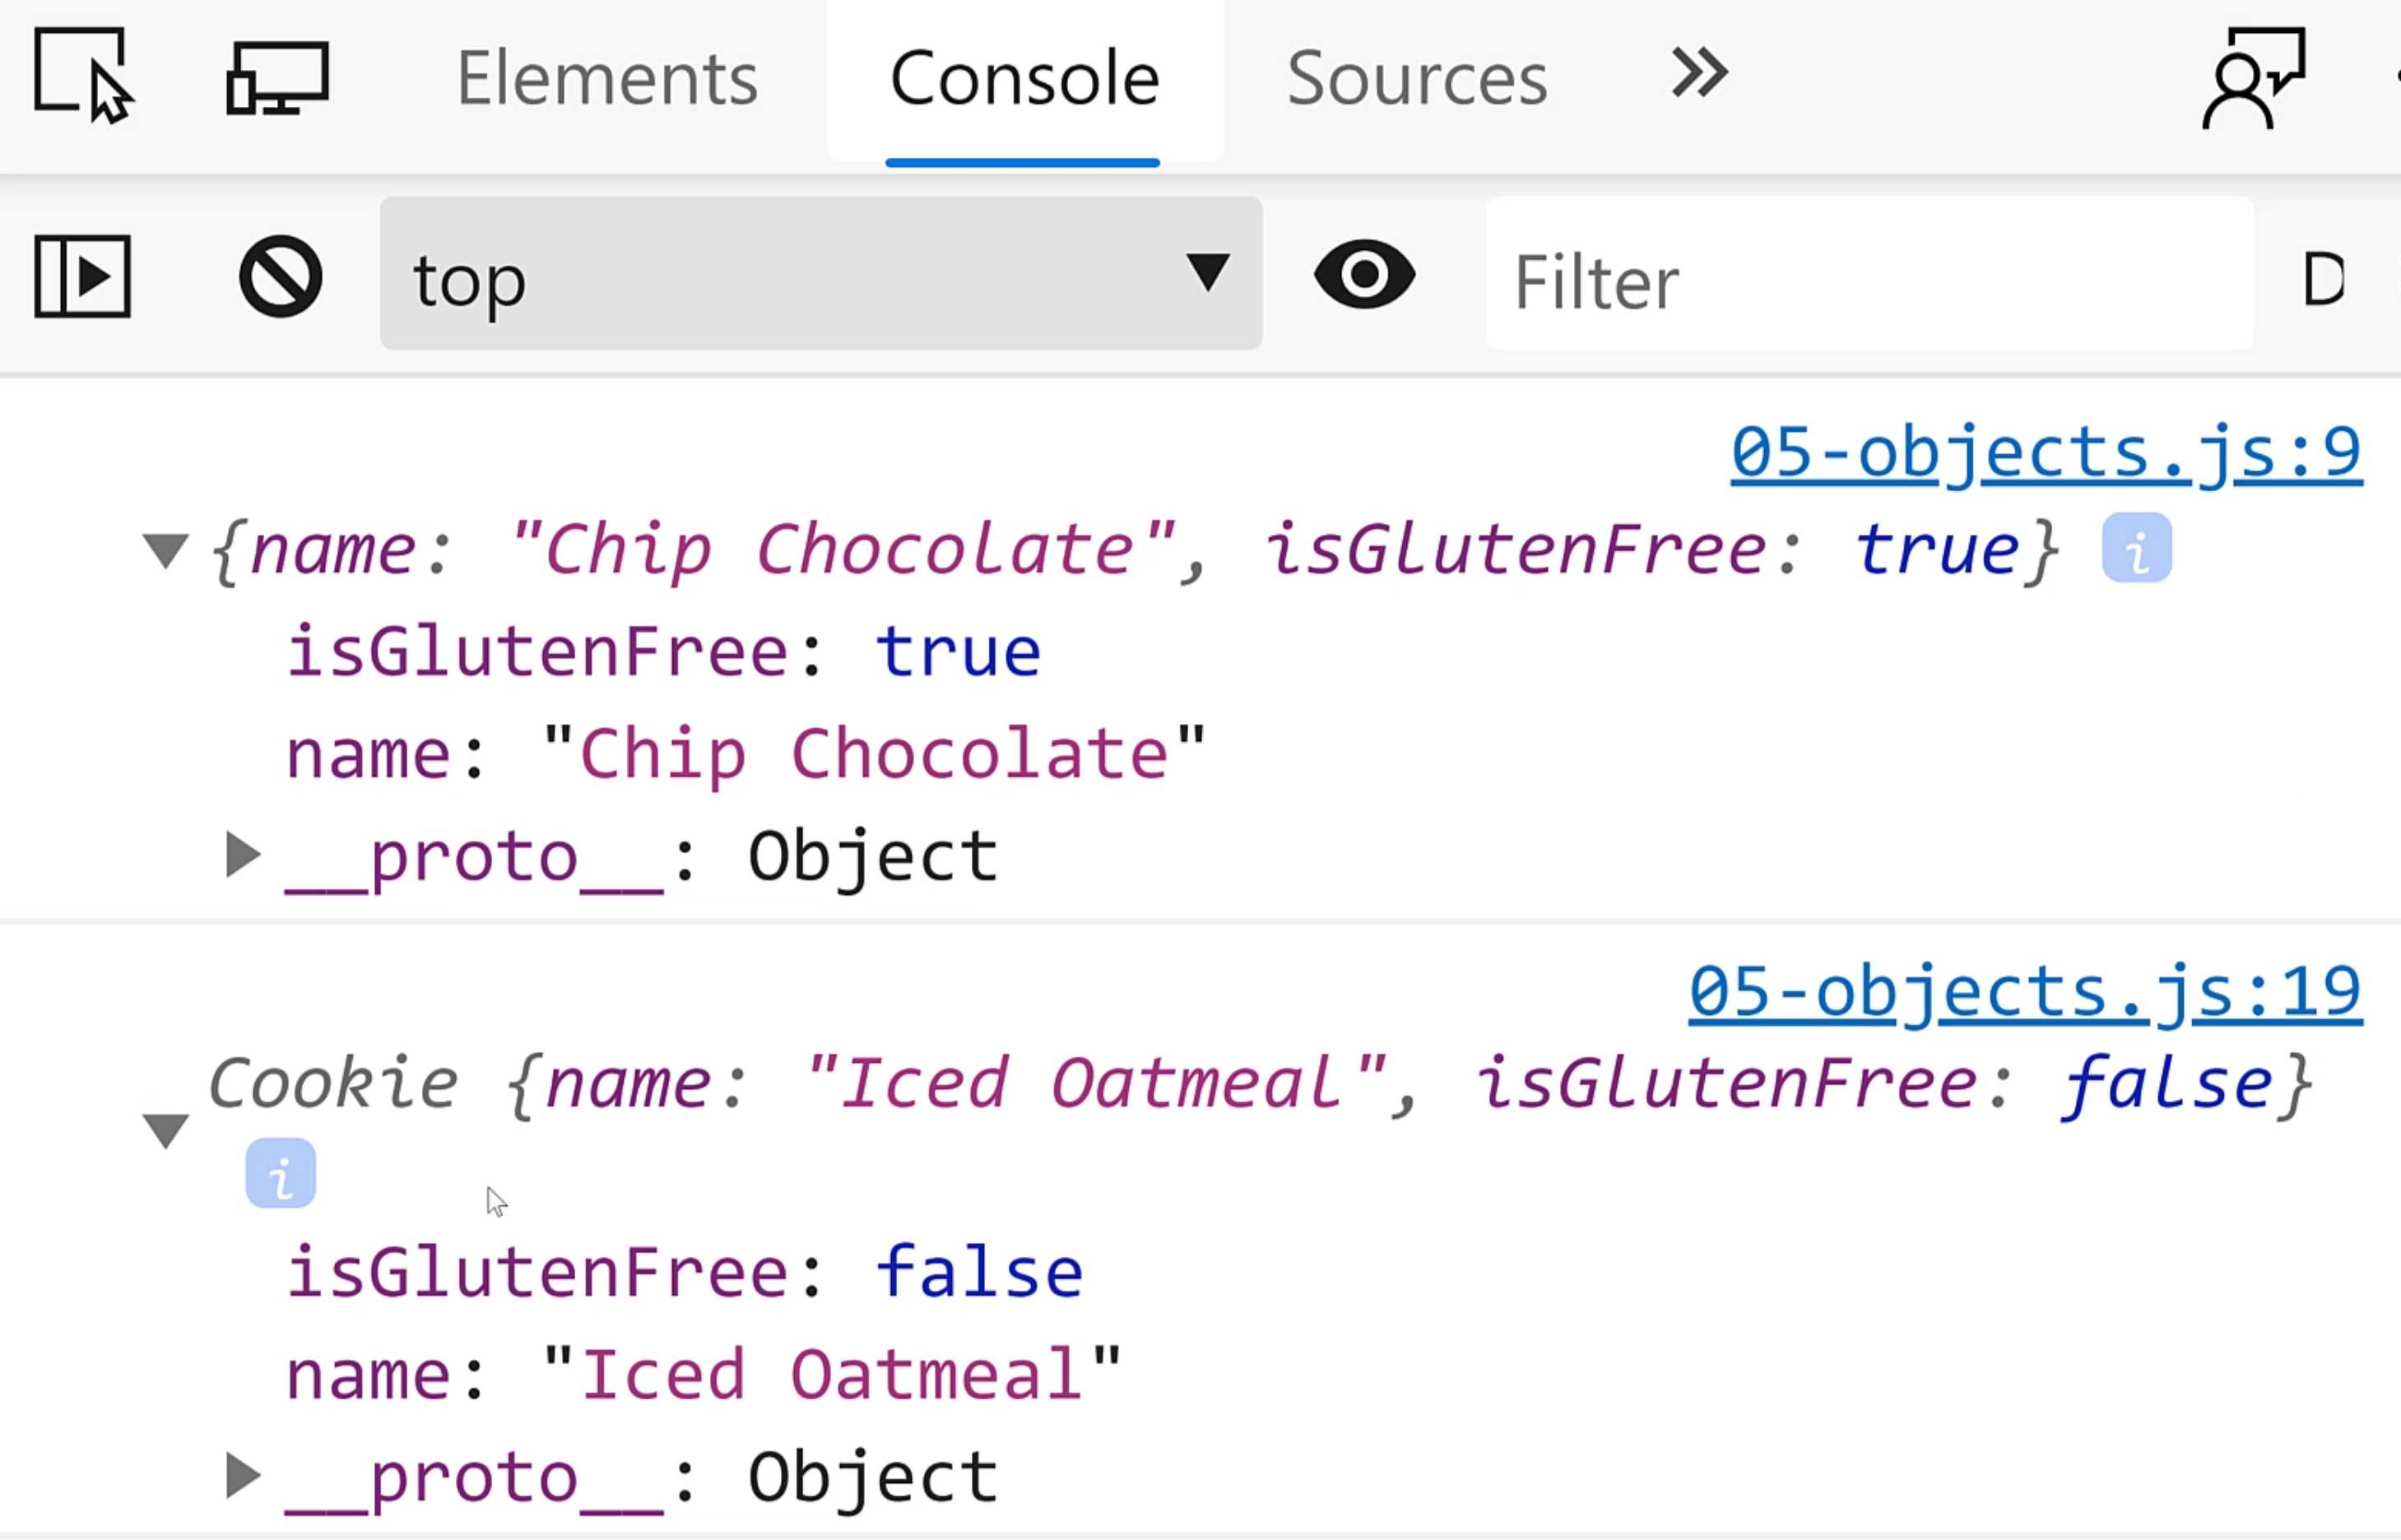
Alright, these objects look almost the same.
The only difference is this object that we made with our Cookie class, it has a bit of a stamp that tells you which class created this object, whereas with the object literal, you do not get that same thing.
But guess what? Everything else works nearly the same.
If we want to console.log the name, we can do that.
const cookie = {
    name: "Chocolate Chip",
    isGlutenFree: false,
    eatCookie: function () {
        console.log("I am eating " + this.name);
    }
};

cookie.name = "Chip Chocolate";
cookie.isGlutenFree = true;

// console.log(cookie["+Yummy"]);

// console.log(cookie);

class Cookie {
    constructor(name, isGlutenFree) {
        this.name = name;
        this.isGlutenFree = isGlutenFree;
    }
}

const myCookie = new Cookie("Iced Oatmeal", false);
console.log(myCookie.name);
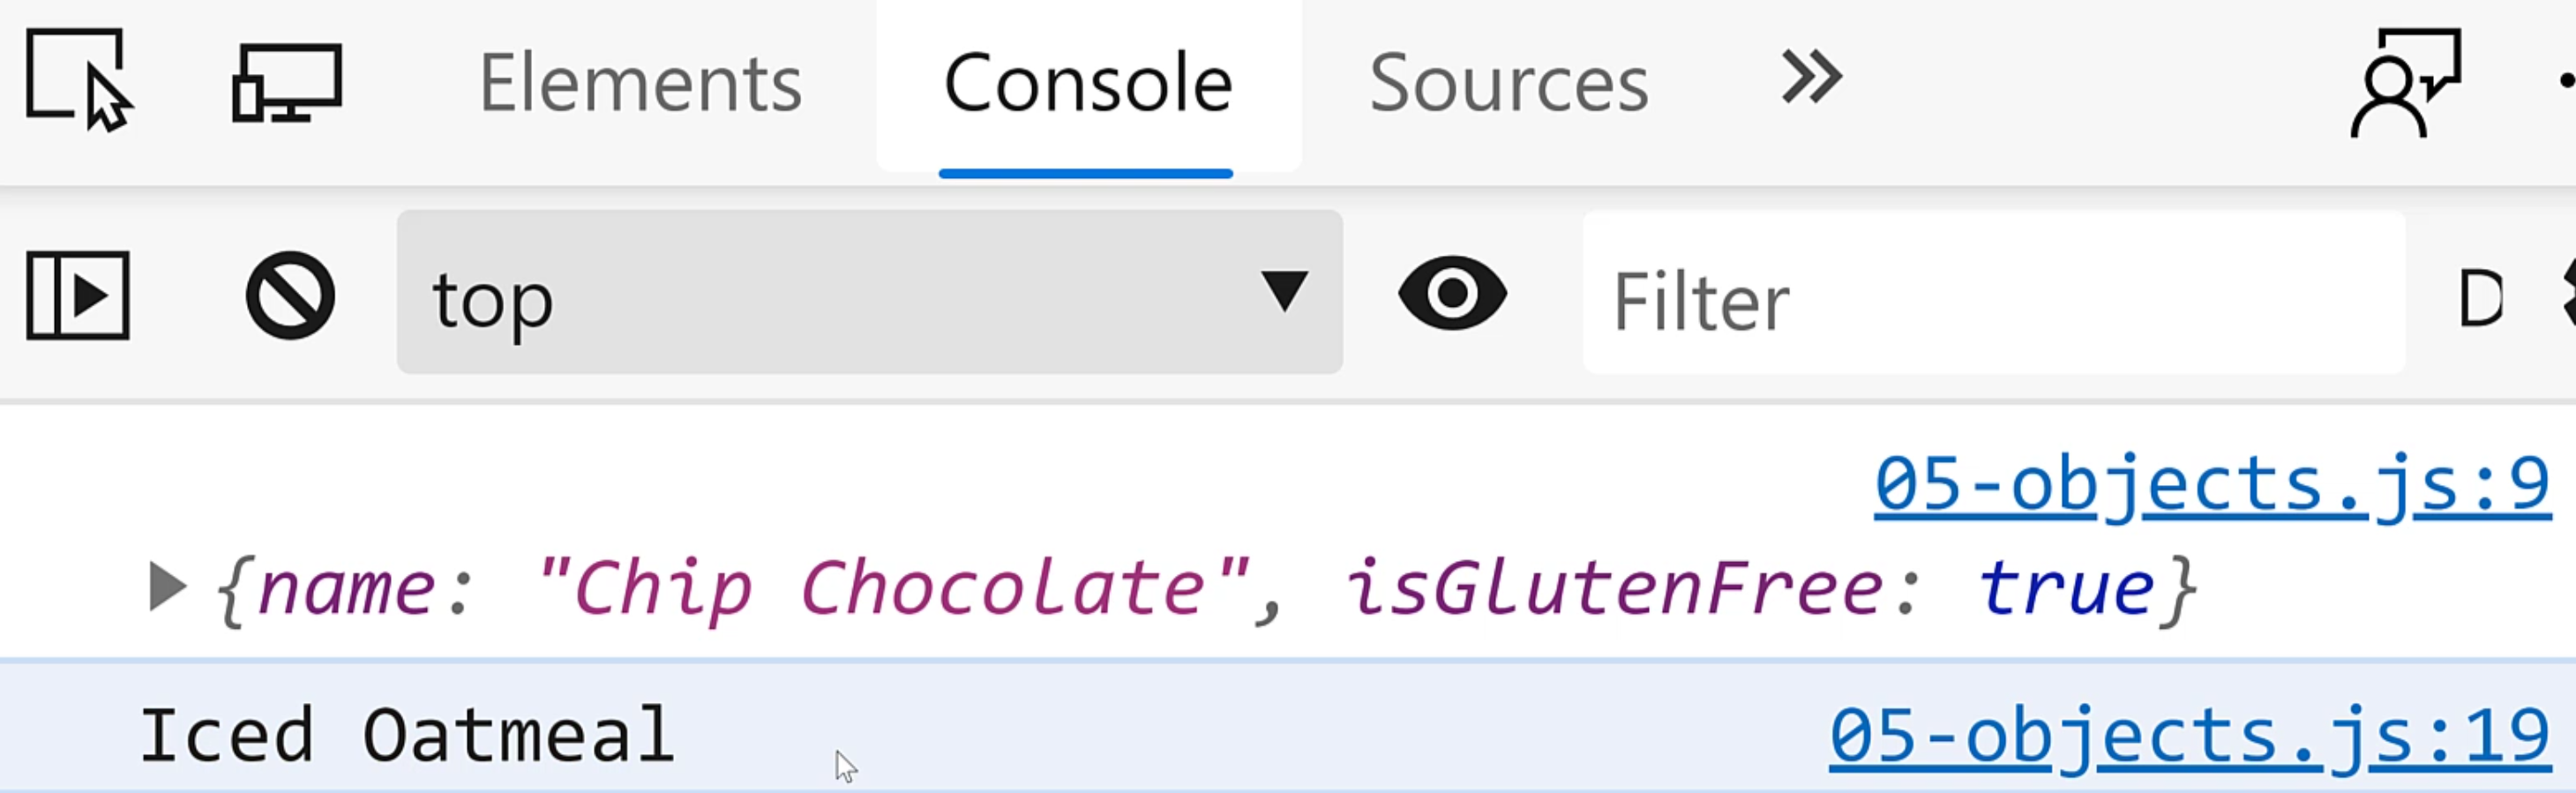
Then you see "Iced Oatmeal" is the name and it looks the exact same.
Now let's see how it works with the square brackets [].
const cookie = {
    name: "Chocolate Chip",
    isGlutenFree: false,
    eatCookie: function () {
        console.log("I am eating " + this.name);
    }
};

cookie.name = "Chip Chocolate";
cookie.isGlutenFree = true;

// console.log(cookie["+Yummy"]);
// console.log(cookie);

class Cookie {
    constructor(name, isGlutenFree) {
        this.name = name;
        this.isGlutenFree = isGlutenFree;
    }
}

const myCookie = new Cookie("Iced Oatmeal", false);
console.log(myCookie["name"]);
Same behavior. So objects created with the class or with the object literal both operate almost identically. T
here are some syntactic differences, but we'll still get the same outcome.
# How to add functions to object literals and classes
Alright, we have time for one more thing. I want to show you how you can add functions to object literals and functions to classes.
In our object literal, we're going to add a function.
The property name should be eatCookie - this should be a verb as opposed to a noun. It should be an action.
We're going to assign it the value of a function.
This function will be anonymous, then the logic of this will be just to console.log "I am eating" plus the value of this.name.
But know for now that the this.name means we're trying to access the property of name from this cookie.
I'm going to comment out some of our other consoles, and then we're just going to do a cookie.eatCookie().
Be sure to use your parentheses here to make sure that we're actually running this function.
const cookie = {
    name: "Chocolate Chip",
    isGlutenFree: false,
    eatCookie: function () {
        console.log("I am eating " + this.name);
    }
};

cookie.name = "Chip Chocolate";
cookie.isGlutenFree = true;
cookie.eatCookie();

class Cookie {
    constructor(name, isGlutenFree) {
        this.name = name;
        this.isGlutenFree = isGlutenFree;
    }
}

const myCookie = new Cookie("Iced Oatmeal", false);
console.log(myCookie["name"]);
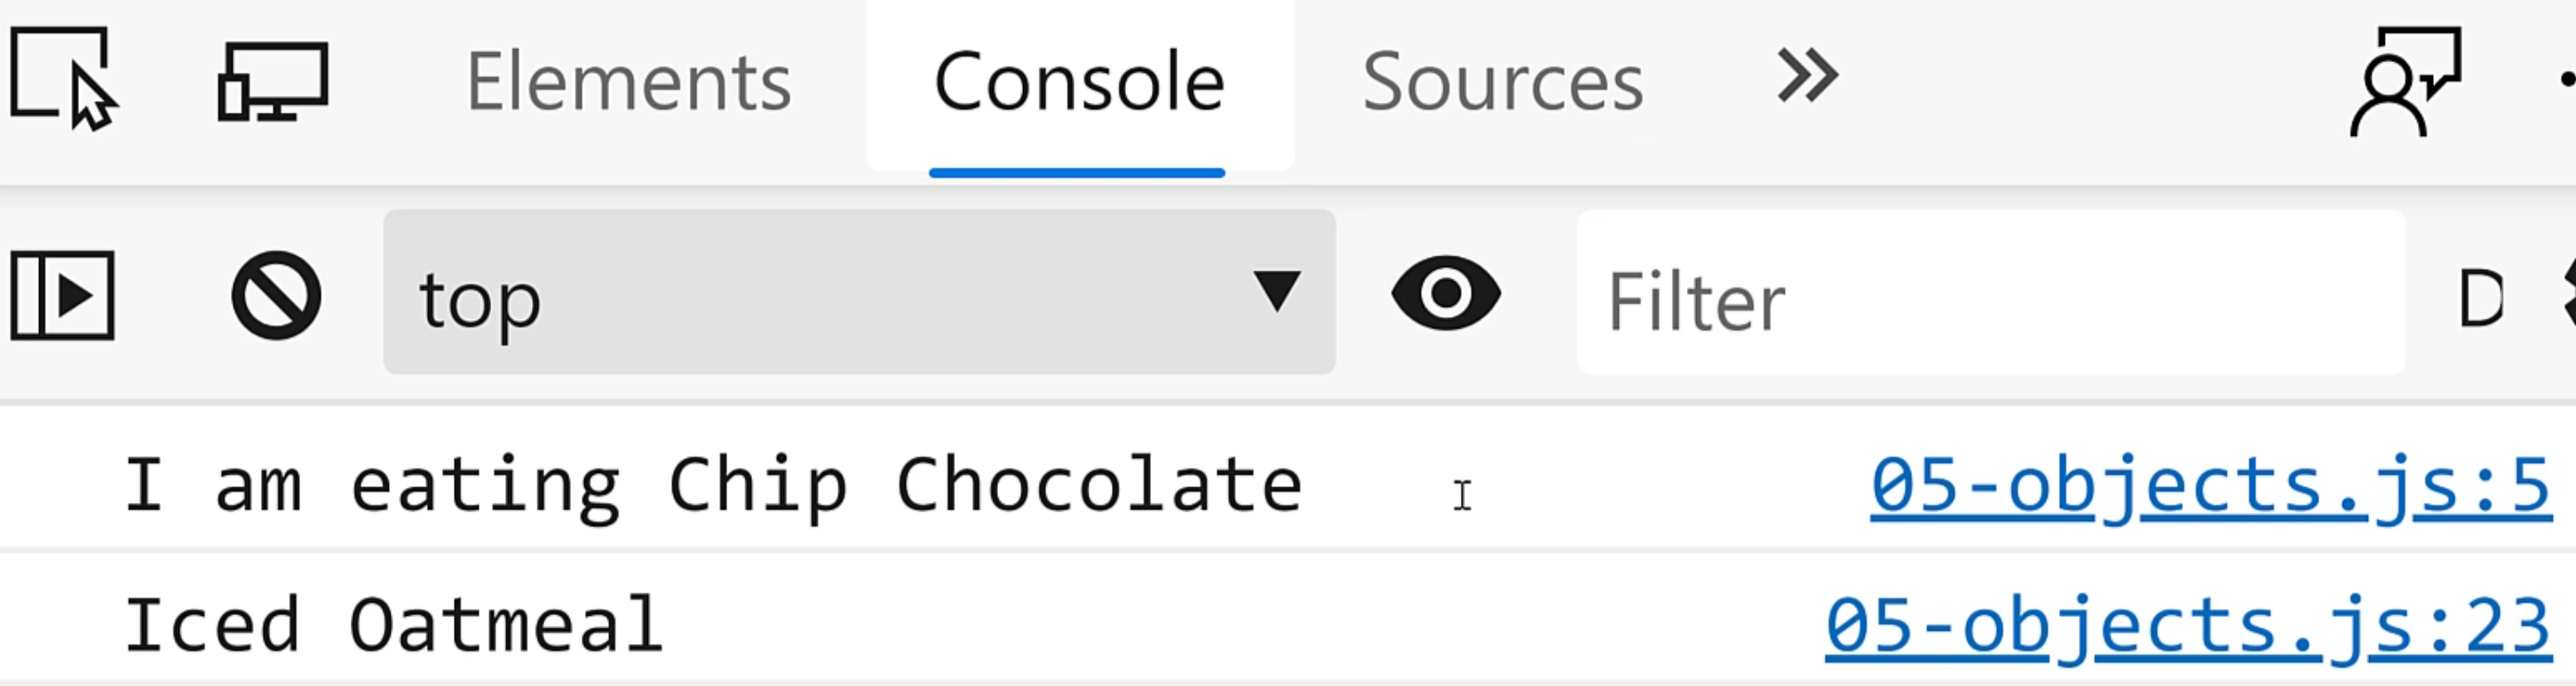
Okay, "I am eating Chip Chocolate" cookies.
So you can see that function being called.
Now, if I didn't put the parentheses there, it doesn't run the function. So you need those parentheses.
Let's do the same thing in our Cookie class.
To accomplish this, we will create what they call a method, which has a function that belongs to a class.
Inside of the class, you don't need the function keyword.
I know this can be a little bit tricky to remember, but the more you practice, you'll commit some of these things to memory.
Once we set up the function, we'll call myCookie.eatCookie().
const cookie = {
    name: "Chocolate Chip",
    isGlutenFree: false,
    eatCookie: function () {
        console.log("I am eating " + this.name);
    }
};

cookie.name = "Chip Chocolate";
cookie.isGlutenFree = true;

//console.log(cookie["+Yummy"]);
// console.log(cookie);
// cookie.eatCookie;

class Cookie {
    constructor(name, isGlutenFree) {
        this.name = name;
        this.isGlutenFree = isGlutenFree;
    }

    eatCookie() {
        console.log("I am eating " + this.name);
    }
}

const myCookie = new Cookie("Iced Oatmeal", false);
myCookie.eatCookie();
Let's go back to the browser.
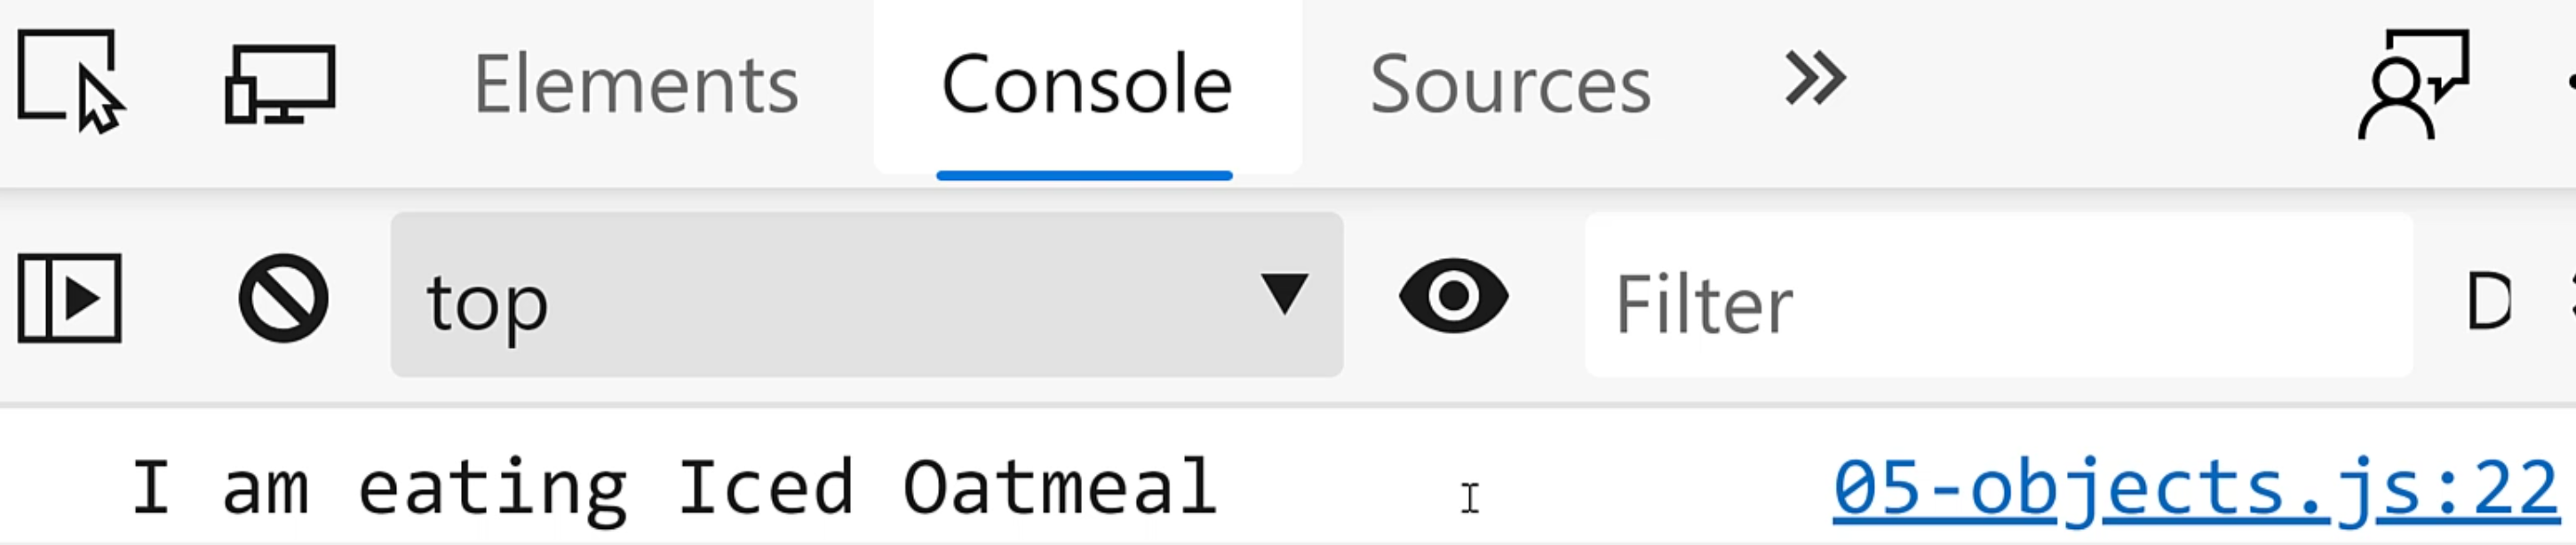
"I am eating Iced Oatmeal". How awesome is that?
In this section, we've seen how to create objects using classes, how to create a constructor, and even how to add functions to object literals and to classes.
As always, if any of this is confusing, rewatch this video, be sure to try the examples in code and even try the examples along with this lesson.
Hang in there because you can totally do this!
Thank you so much for watching. Stay tuned and stay awesome, we'll see you the next time.
