

Transcripted Summary
In this lesson, we're going to do the setup.
These are the steps to our setup:
We are going to enable the developer mode on our local machine
Download and install Java
Download and install IntelliJ - IntelliJ is a development environment that we will use. Commonly this is referred to as your IDE
Download and install Python
Download and install Pycharm - the IDE for Python
We will be using IntelliJ and PyCharm to develop our automation in both Java and Python.
Let's start this now.
First, we're going to have to set up our local environment to enable the developer mode.
We do this by going to your Settings.
If you click on the "Start", type "settings".
Down below, if you scroll down to the bottom, there is an "Update & Security".
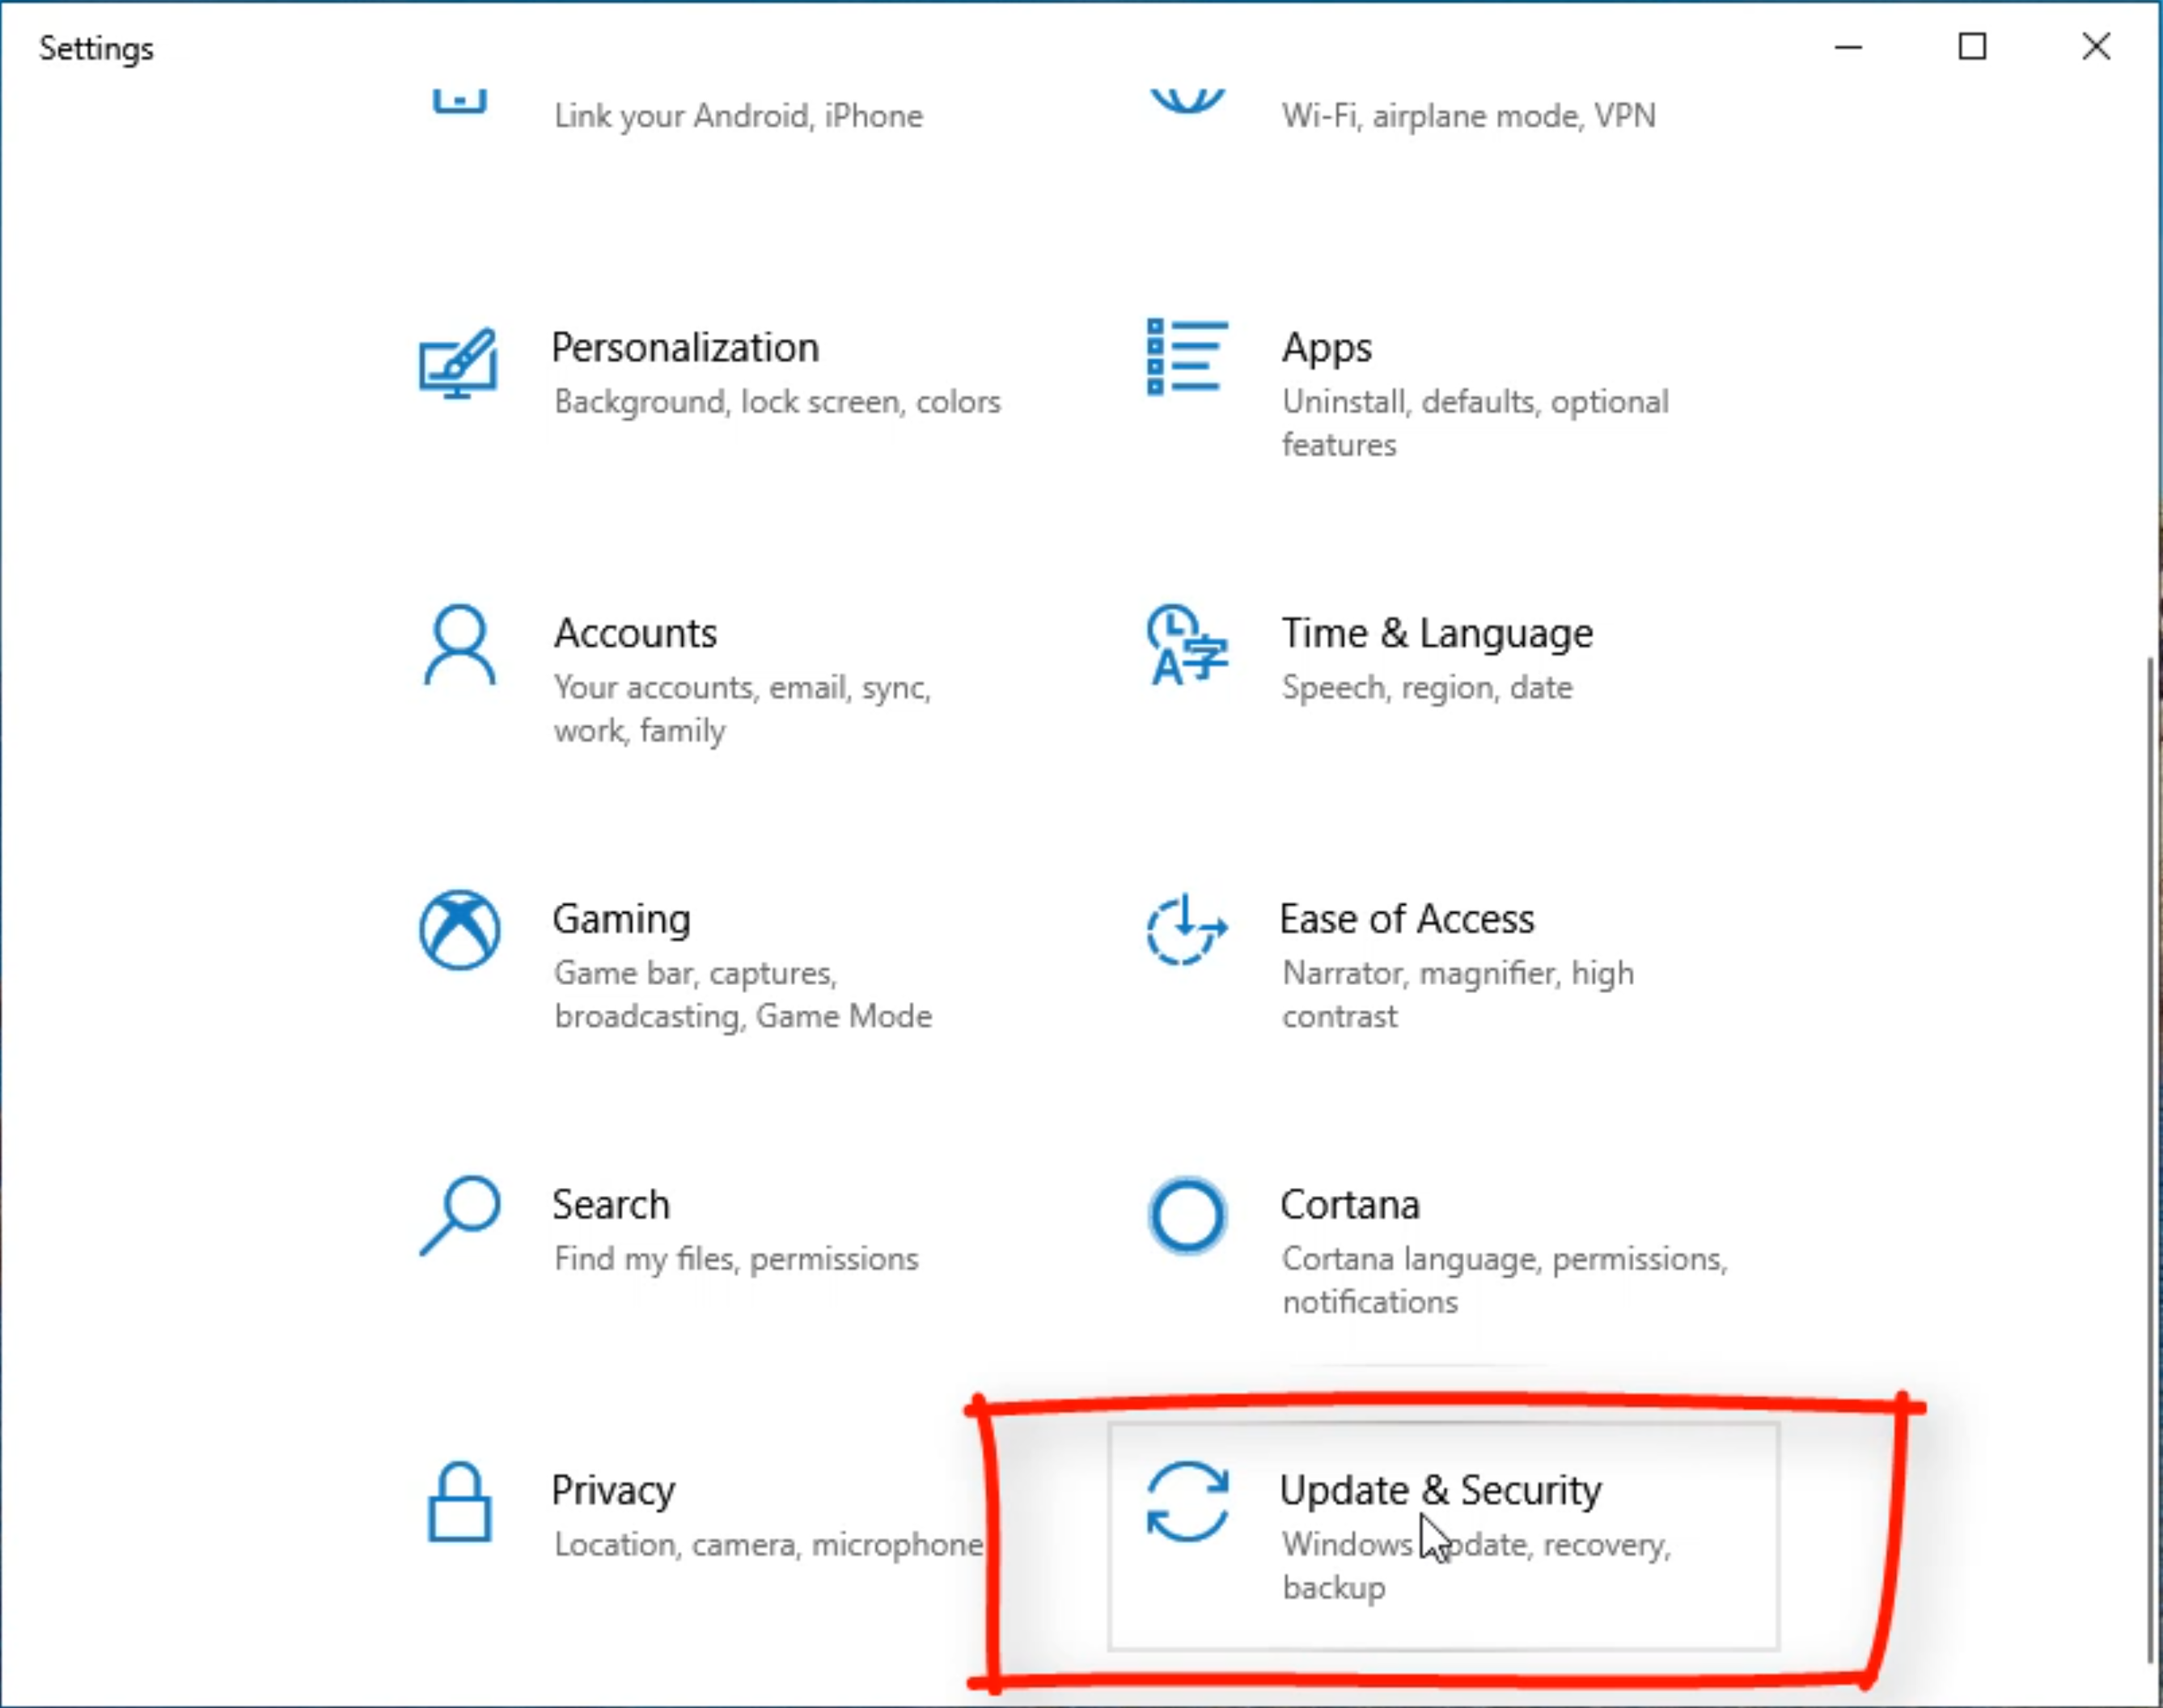
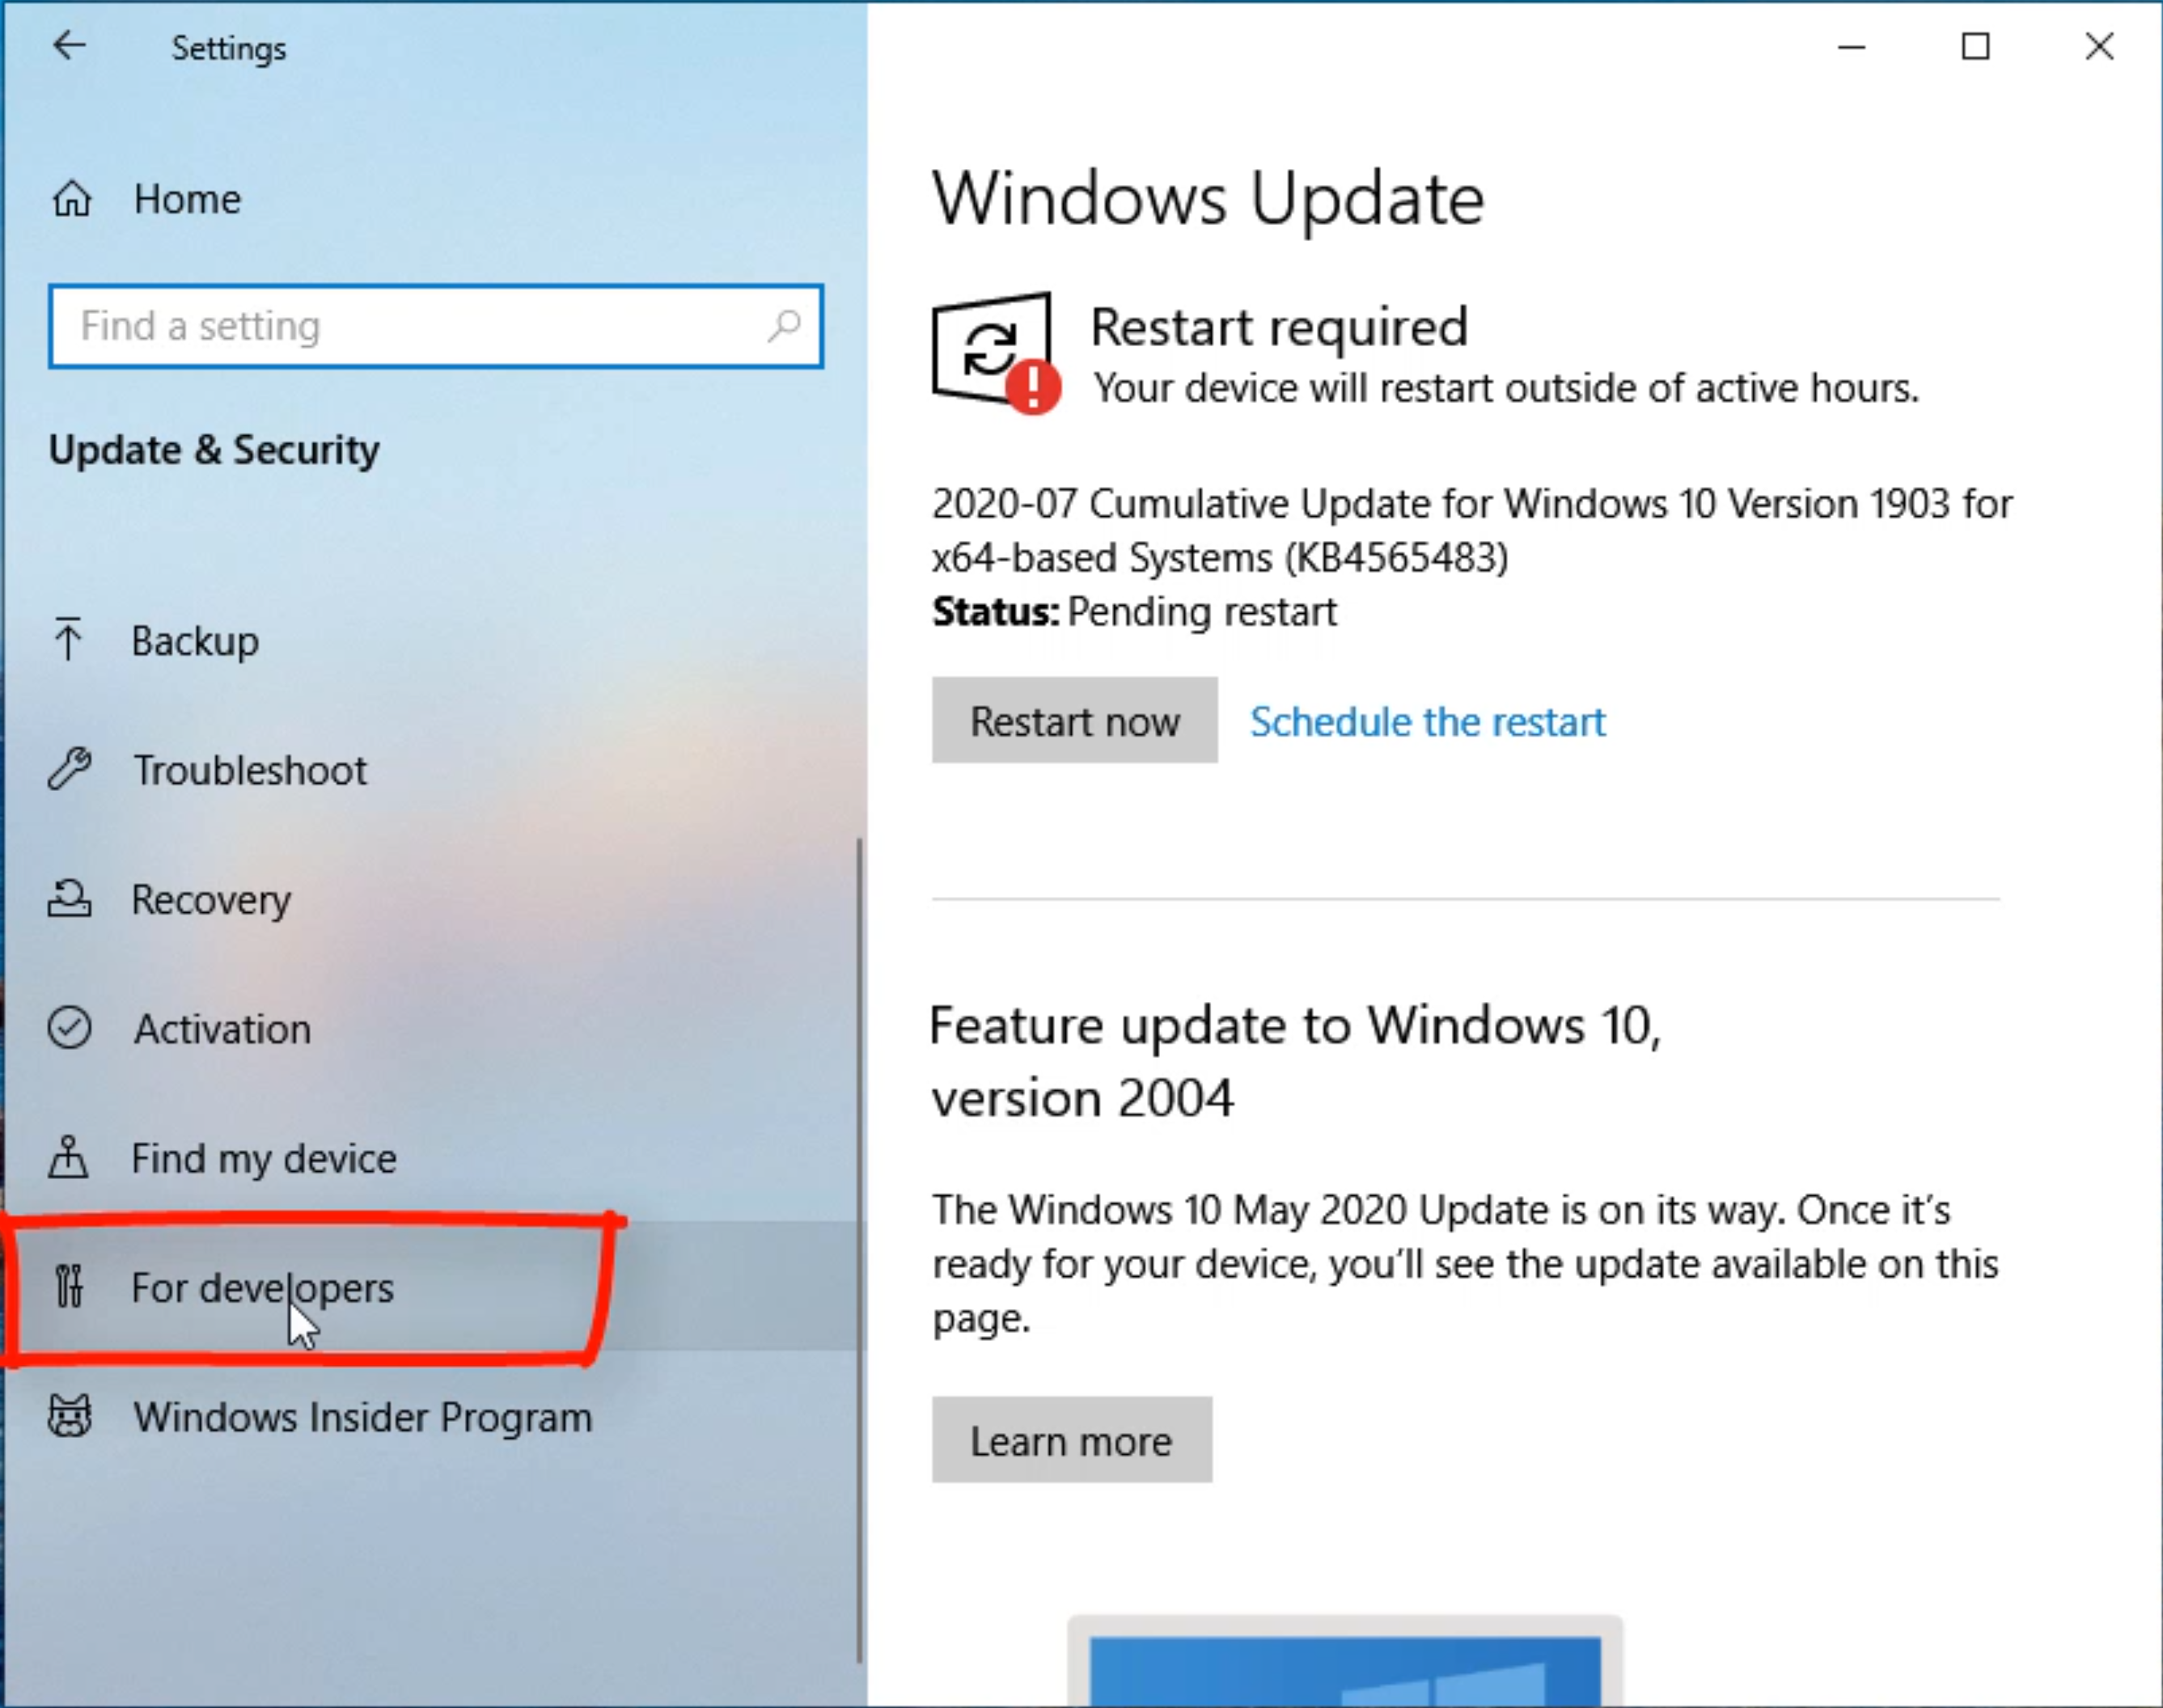
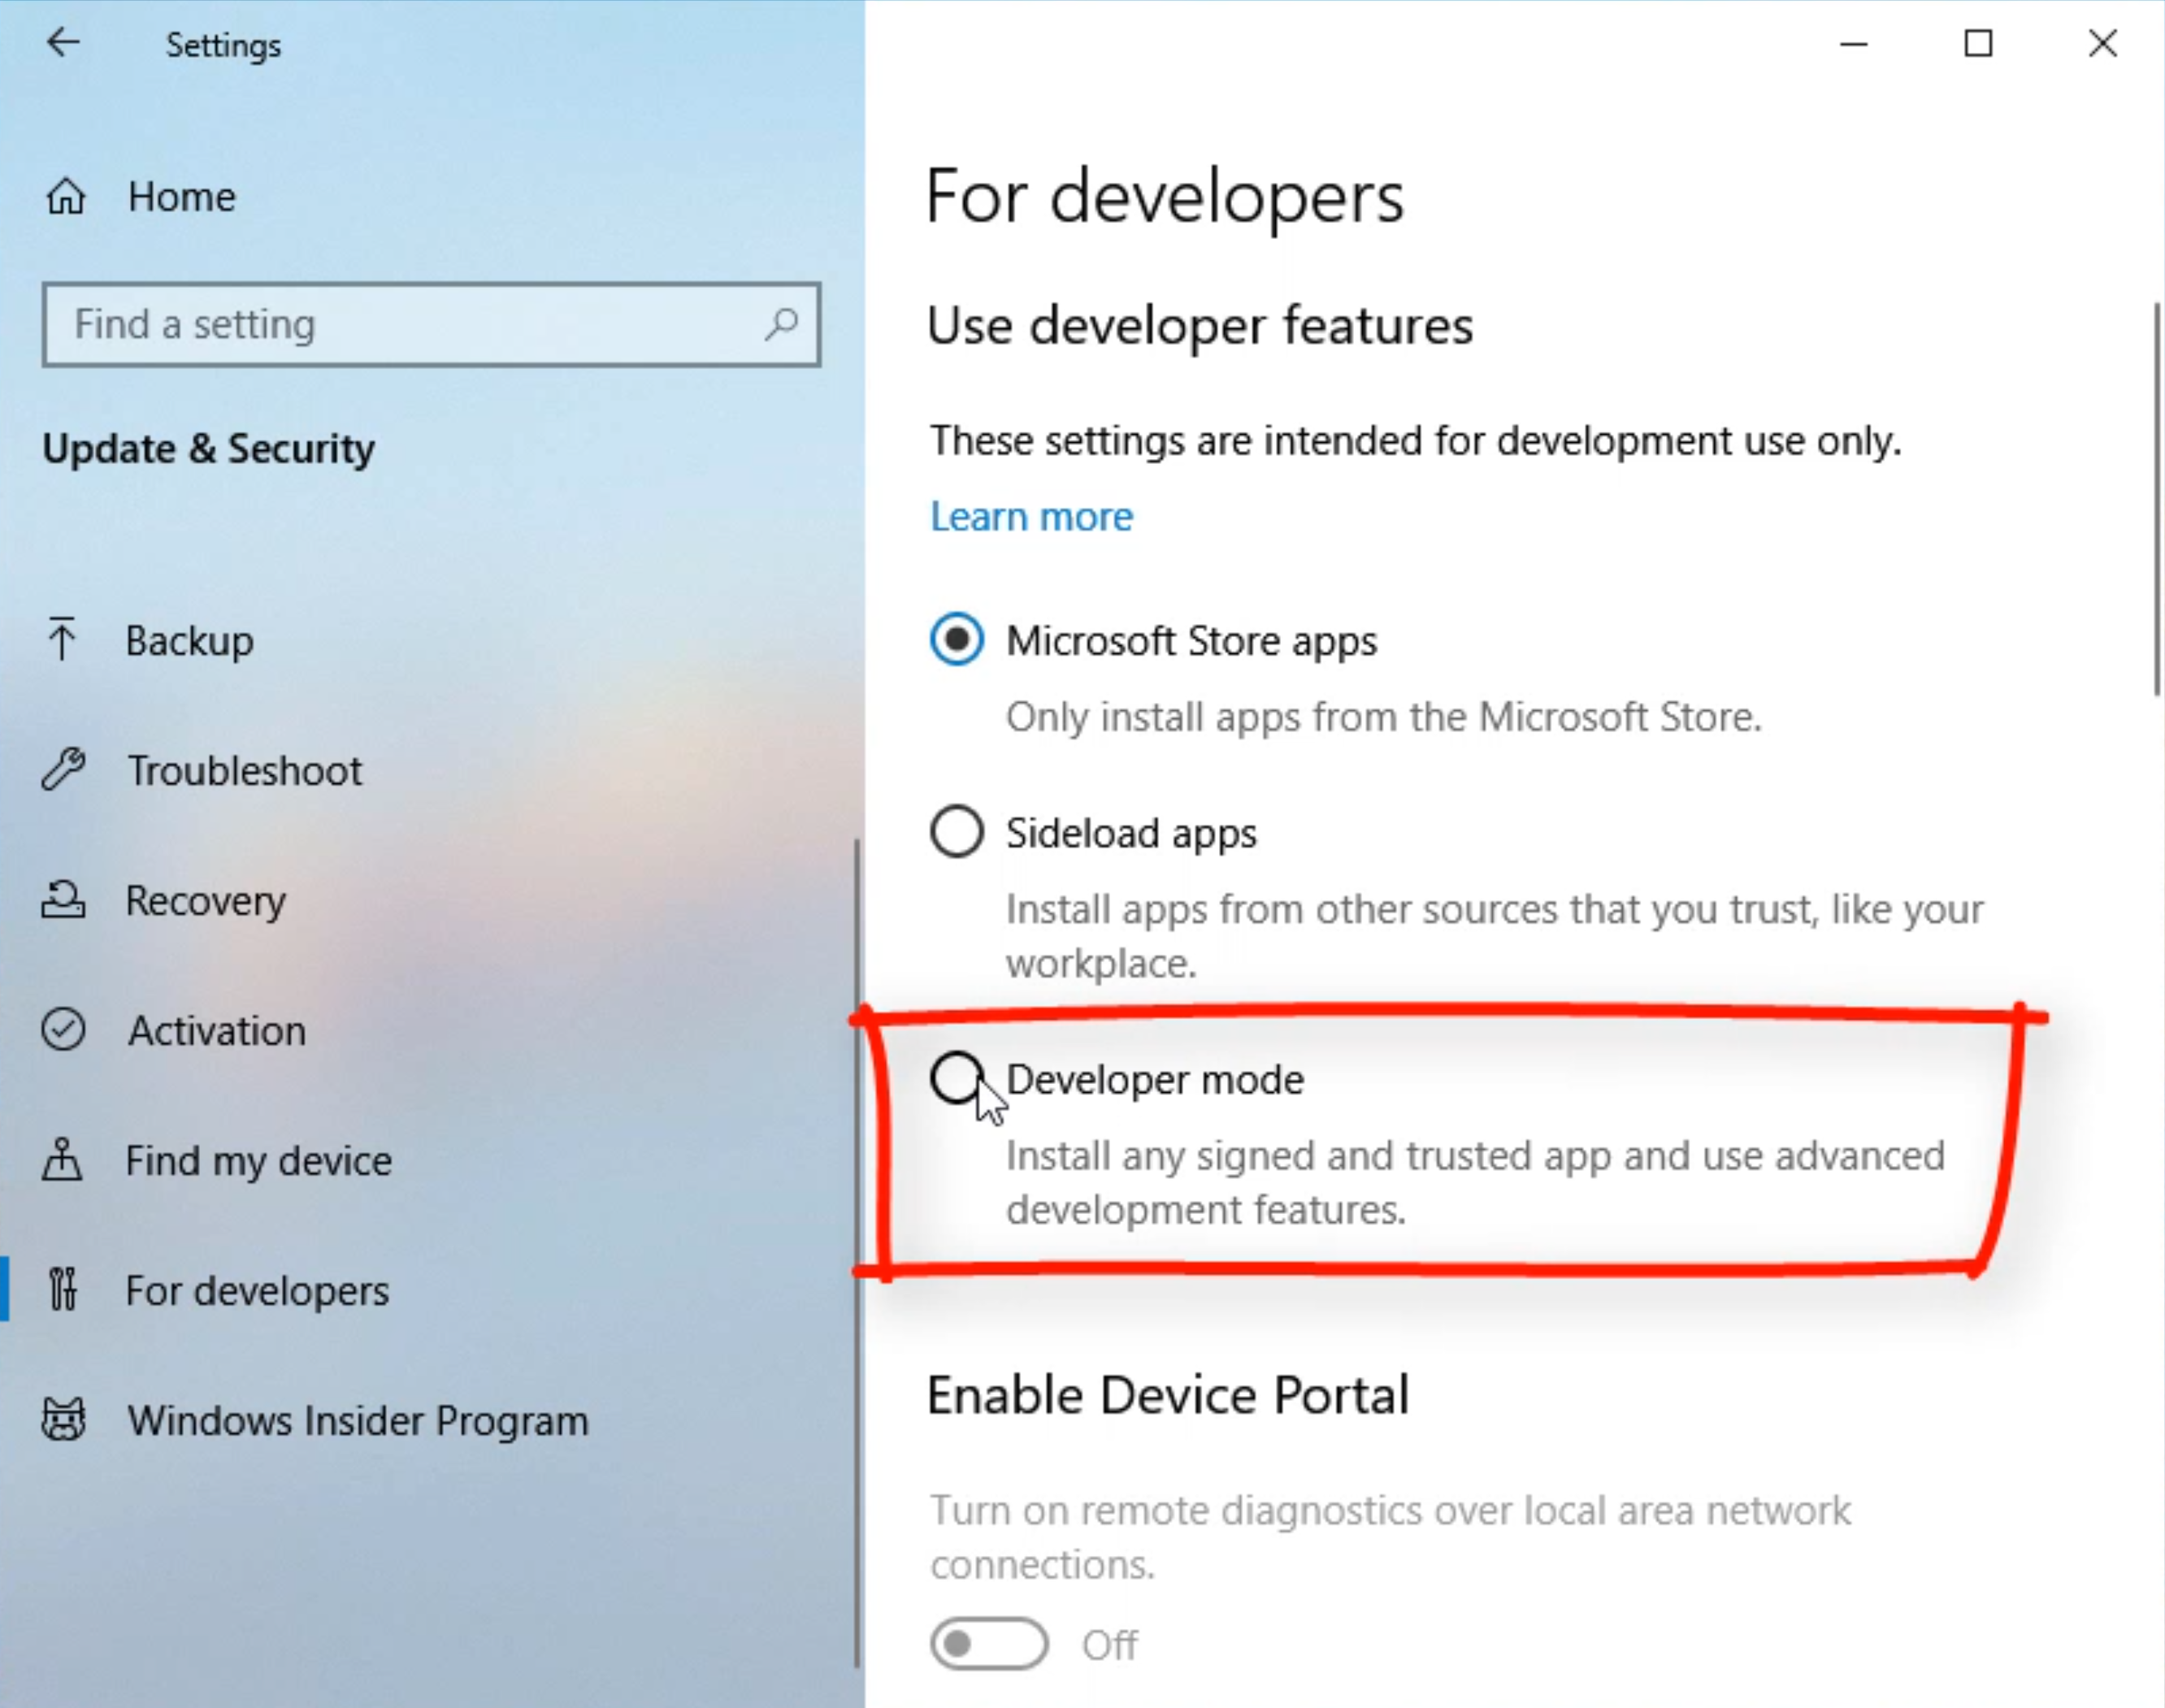
You'll see there's an option "For developers".
What you want to do is enable the "Developer mode".
Here, we will answer "Yes".
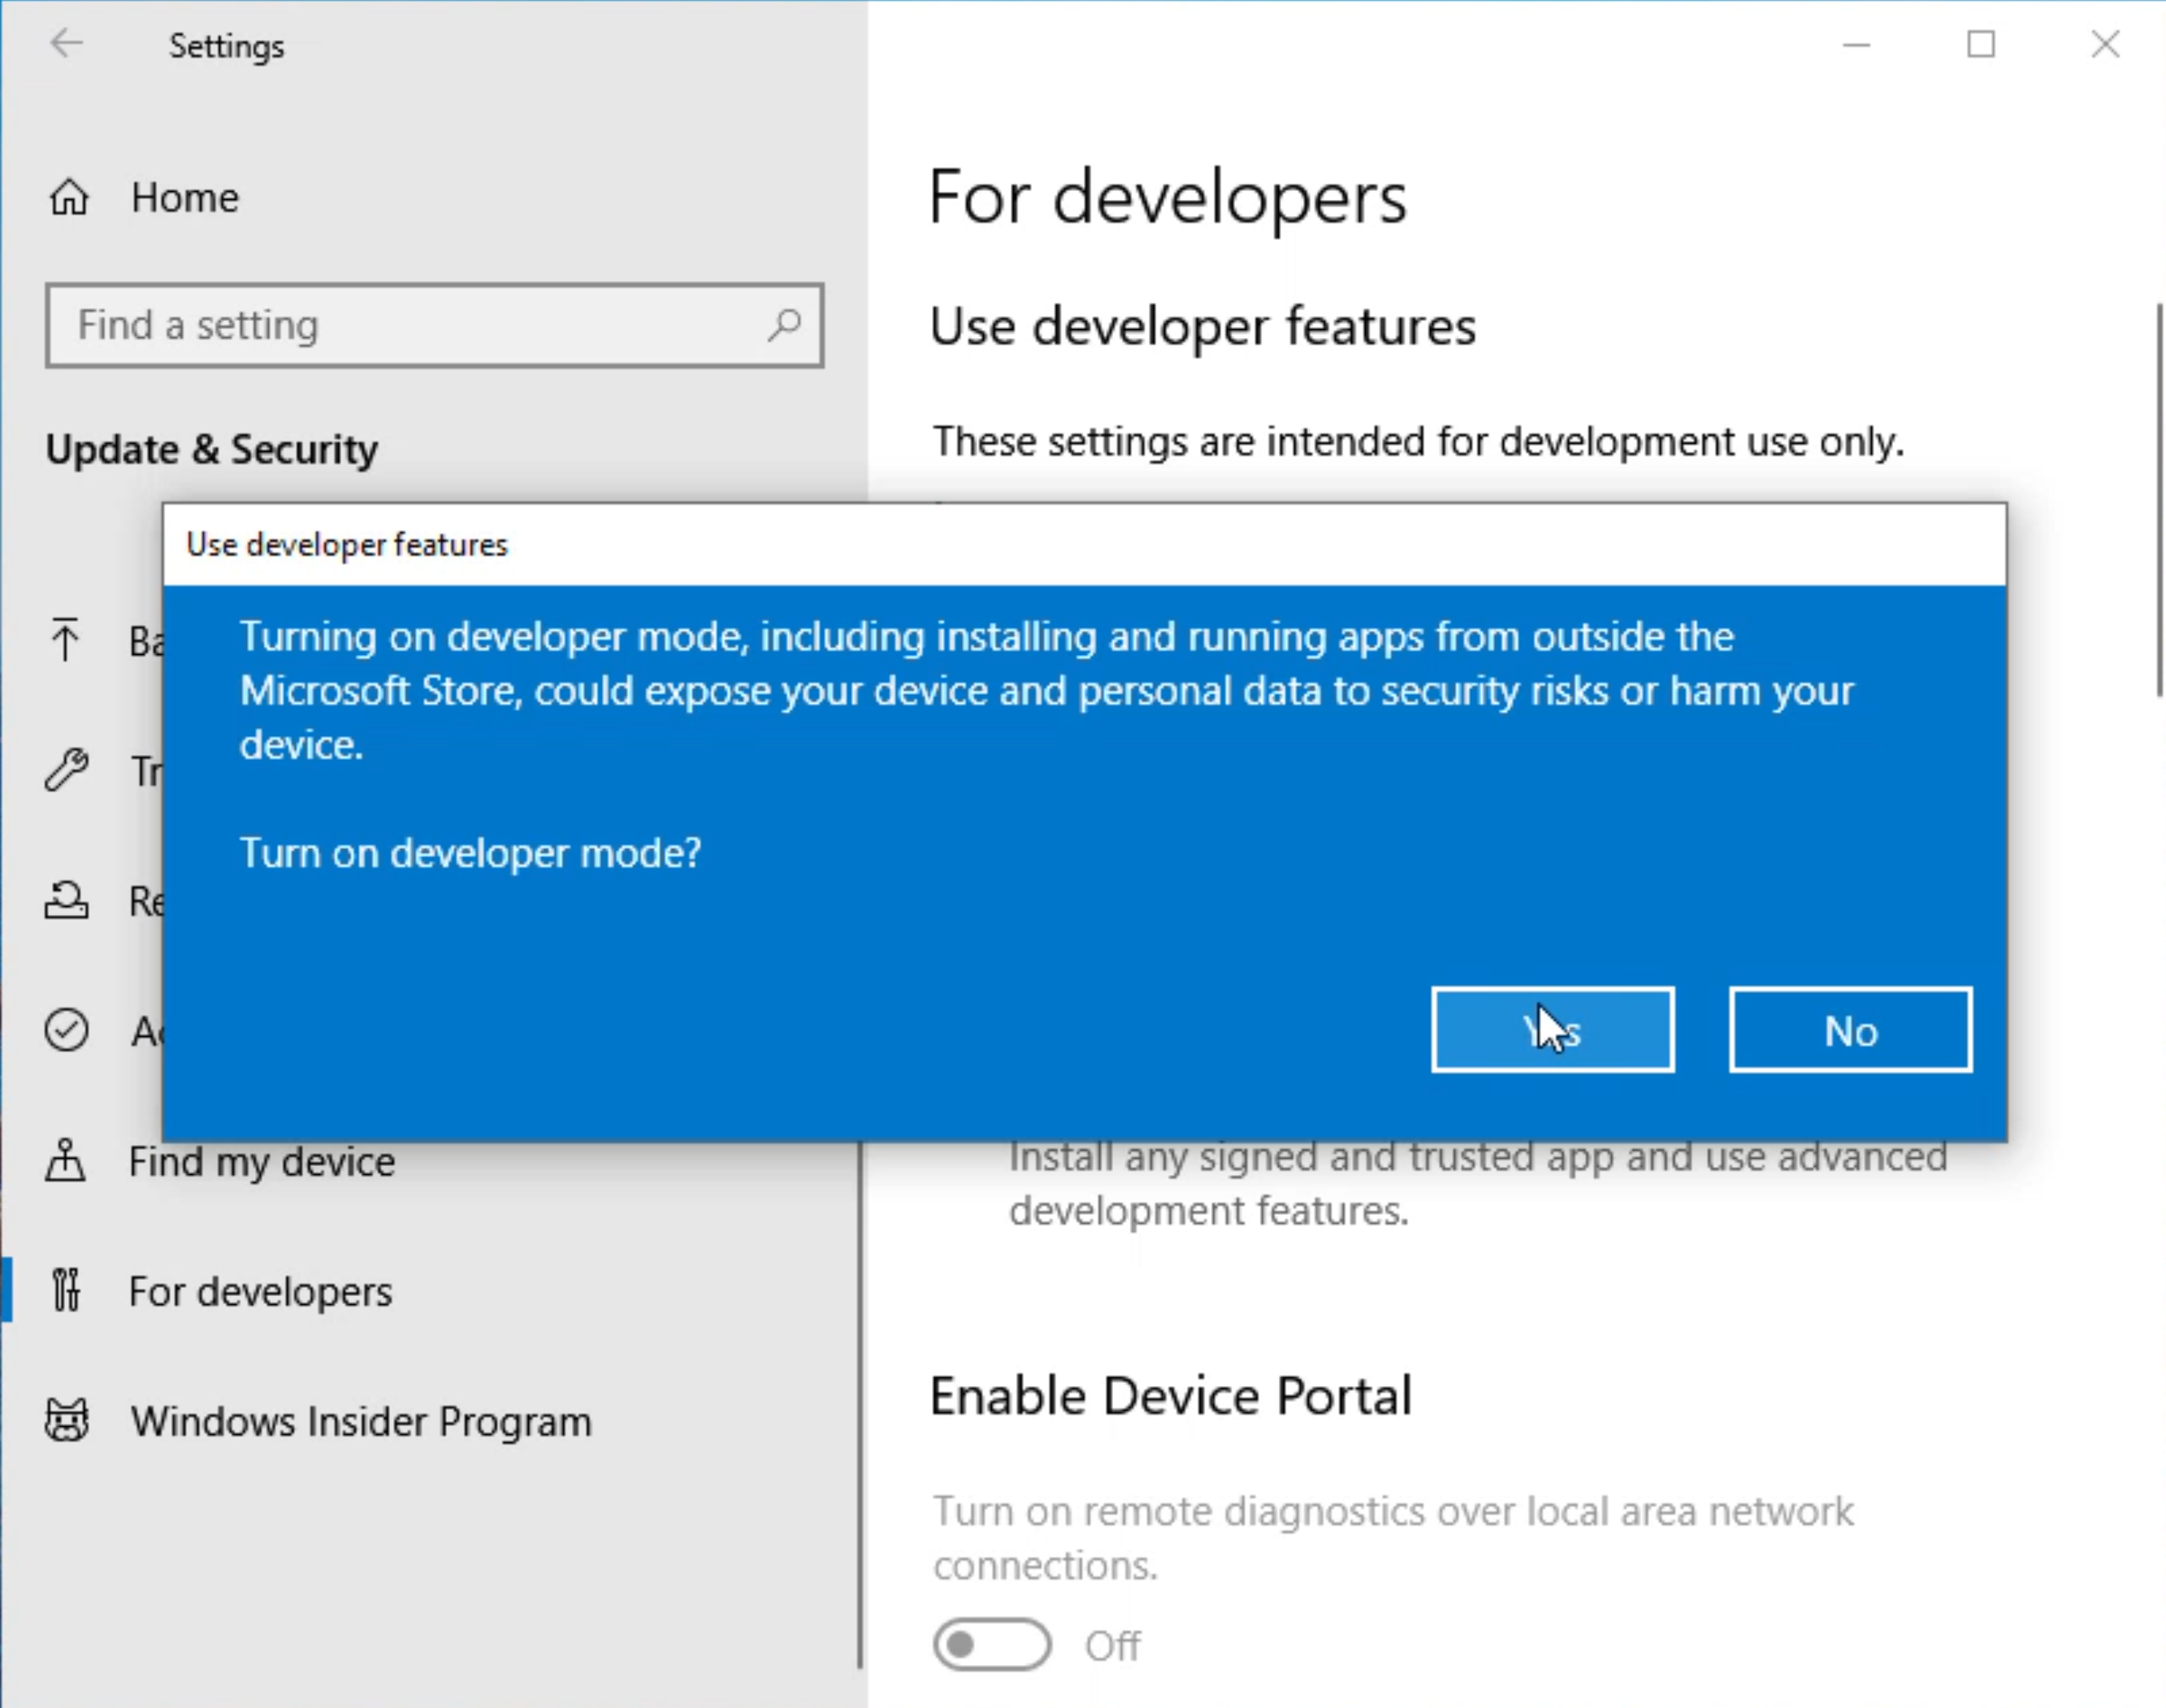
You will have now enabled your Developer mode. Let me close this window.
Now we need to go download the Java JDK.
First, we want to open a web browser and type in JDK download.
Typically the first response that you get from Google, is a Java Development Kit from Oracle.
We're going to click on this download link, and we're going to click on this "JDK Download".
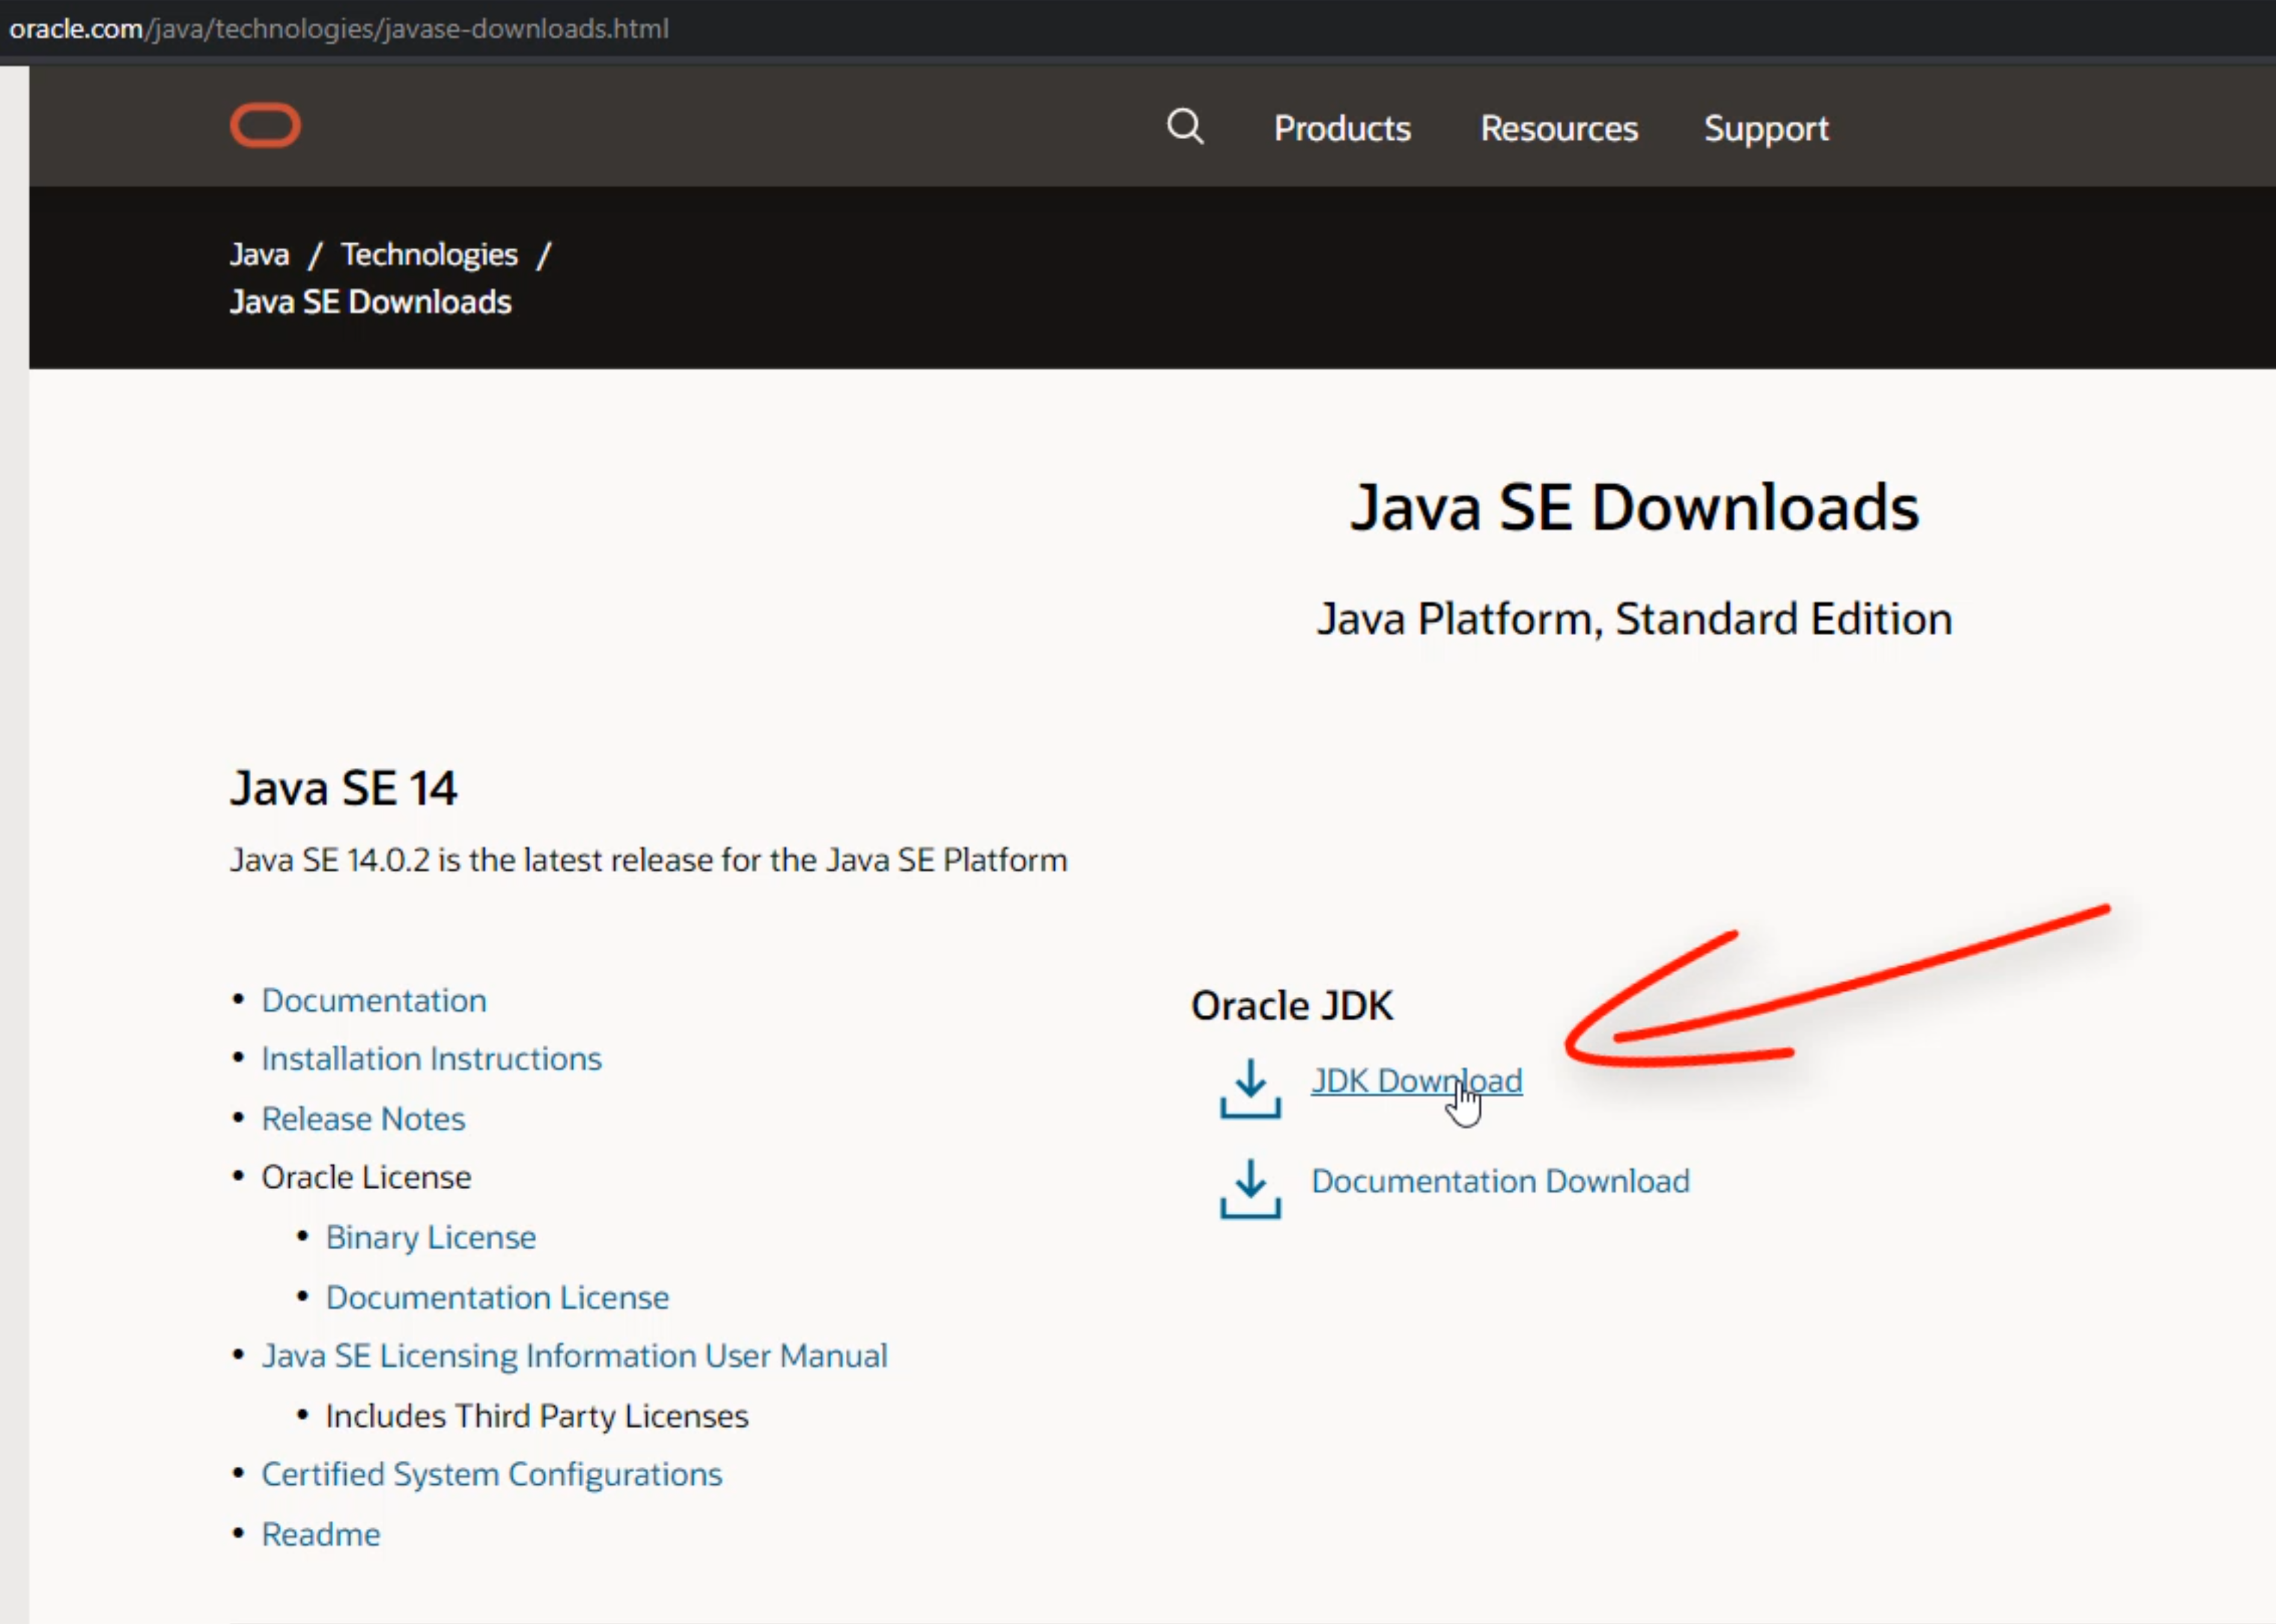
You can download the latest JDK that's available.
Once you get to this JDK download page, it will tell you that the JDK is a development environment for building applications, and components using the Java programming language.
Since our project will be using Java to build our automation, we're going to have to download this.
If you scroll down to the bottom part of the page, you will see a Download.
If you're using a Windows 32-bit machine, you will see a Windows x32 Installer.
If you're using a 64-bit machine, you will see the Windows x64 Installer.
We're going to click on this link, and we're going to accept and review the Oracle license, and click on this Download jdk.
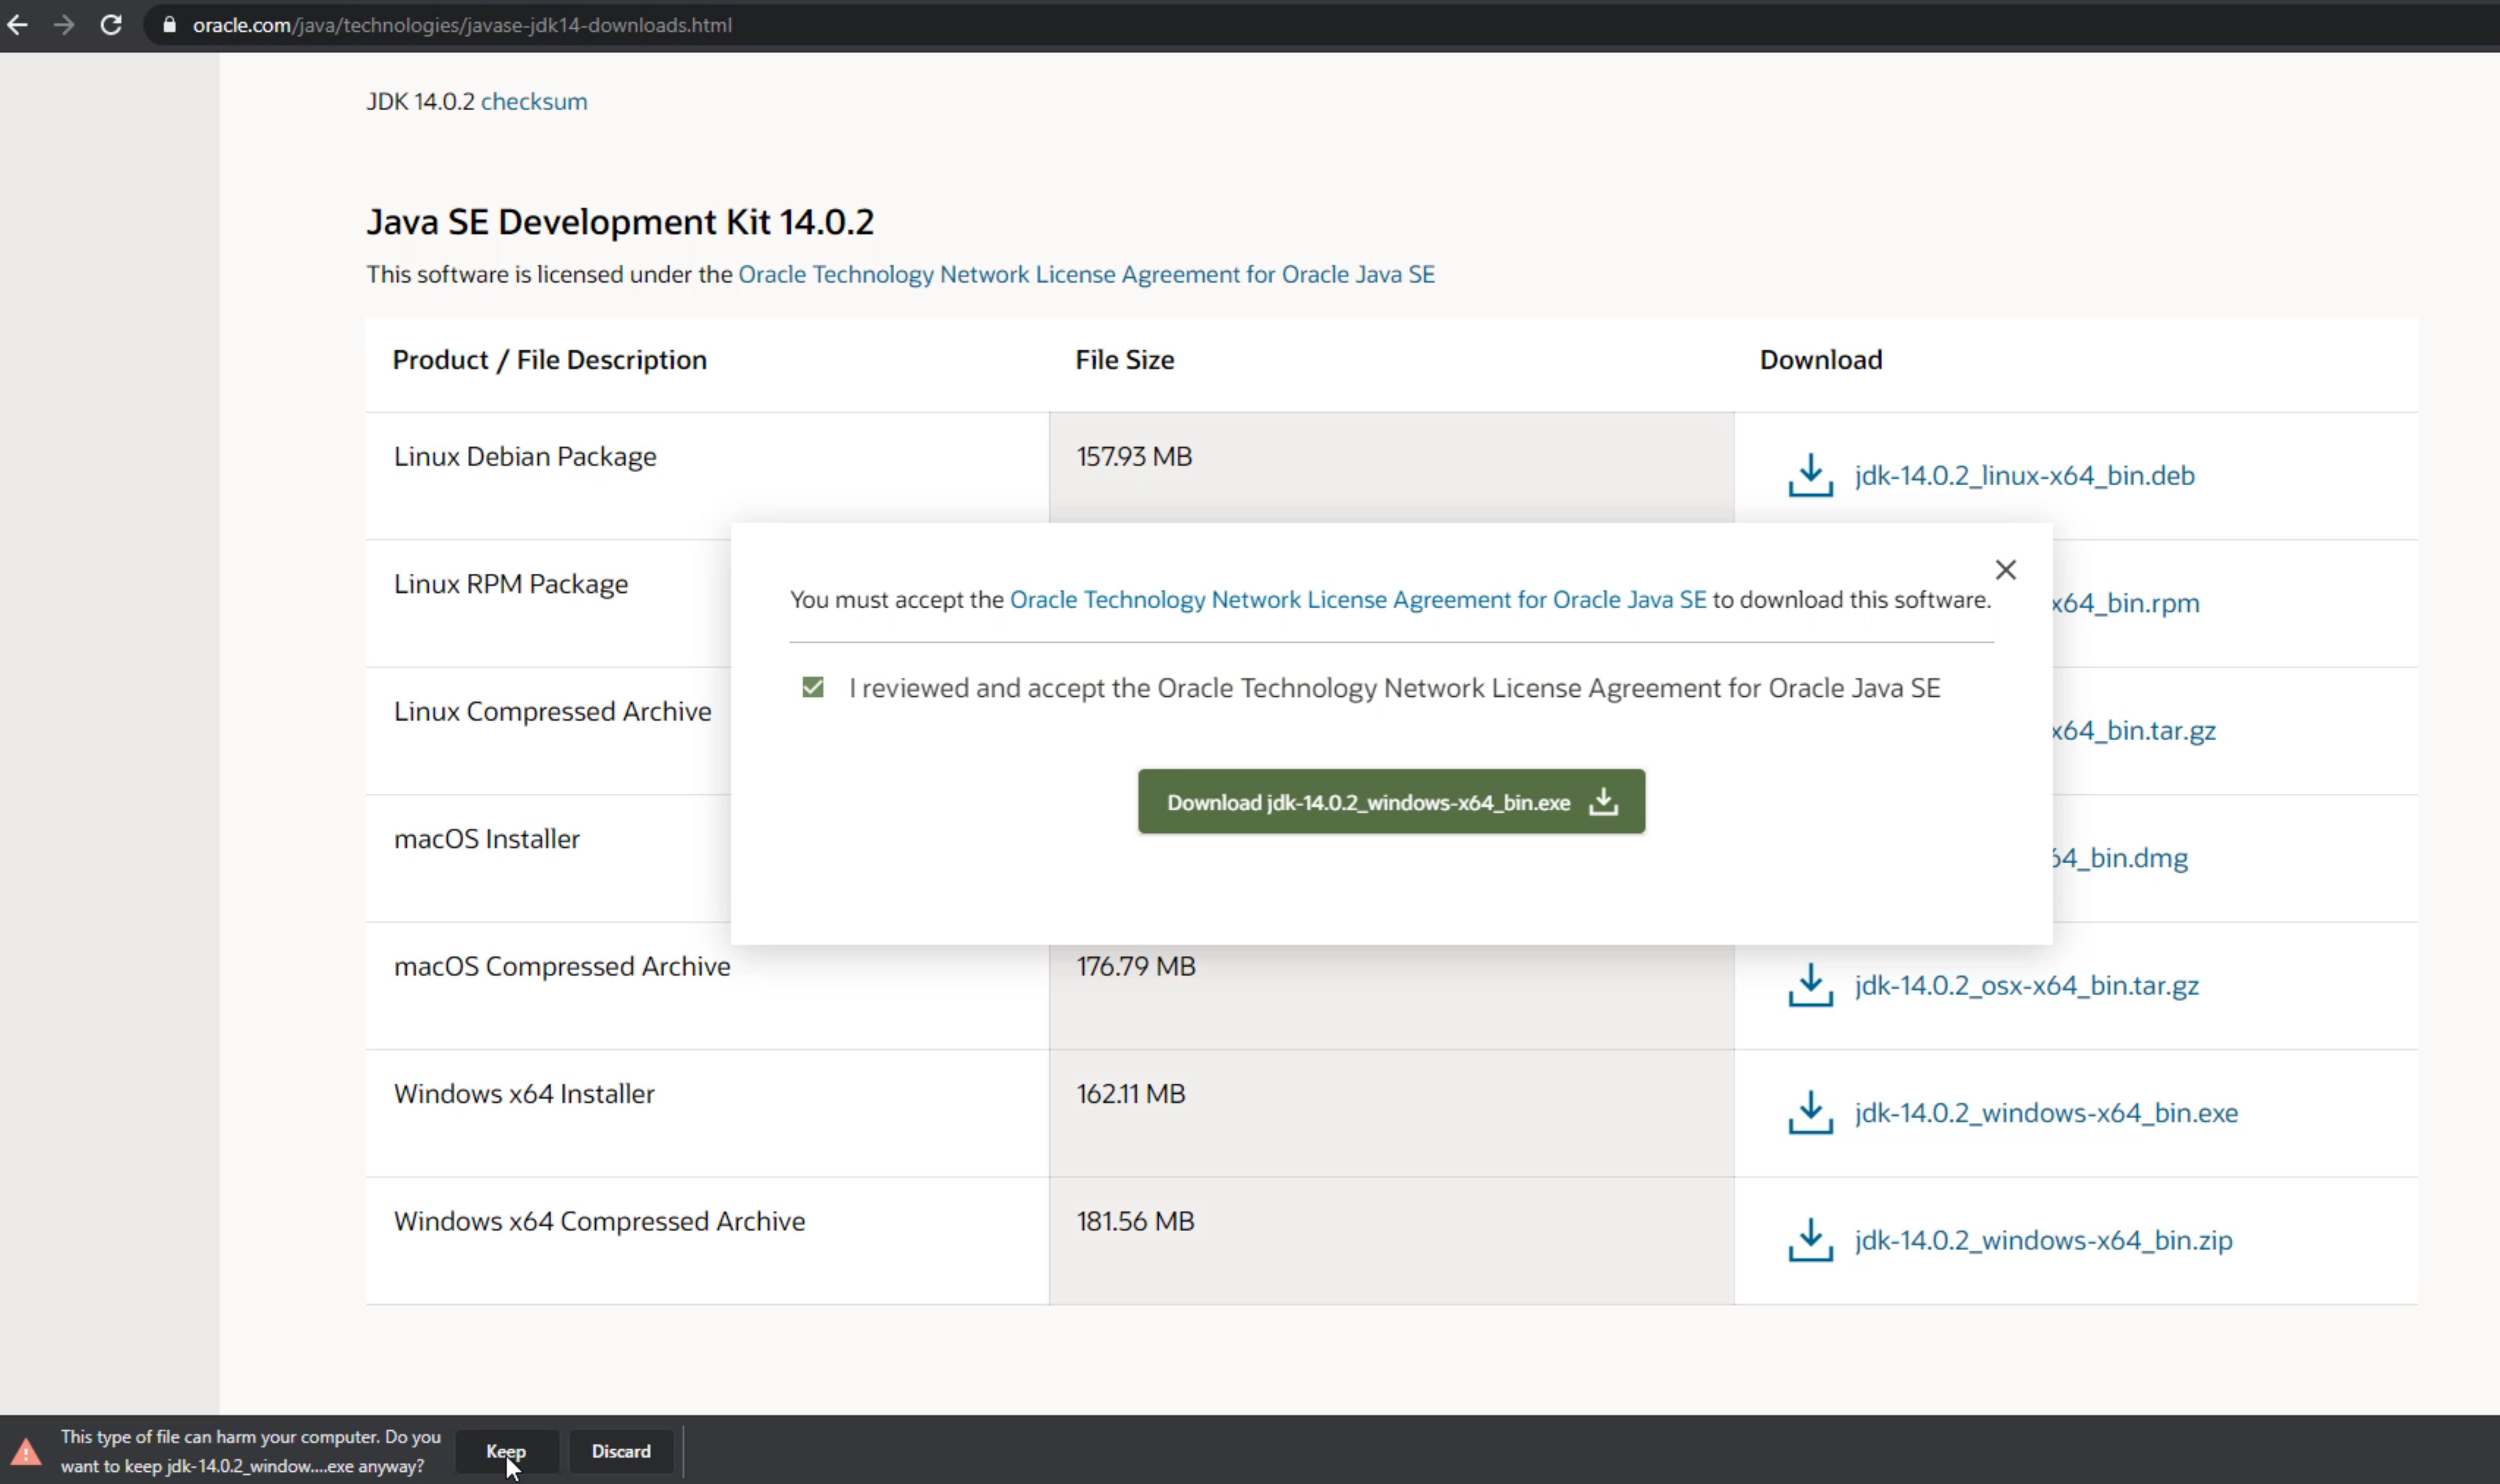
Now we're going to say "Keep" for this file, in case you see this warning.
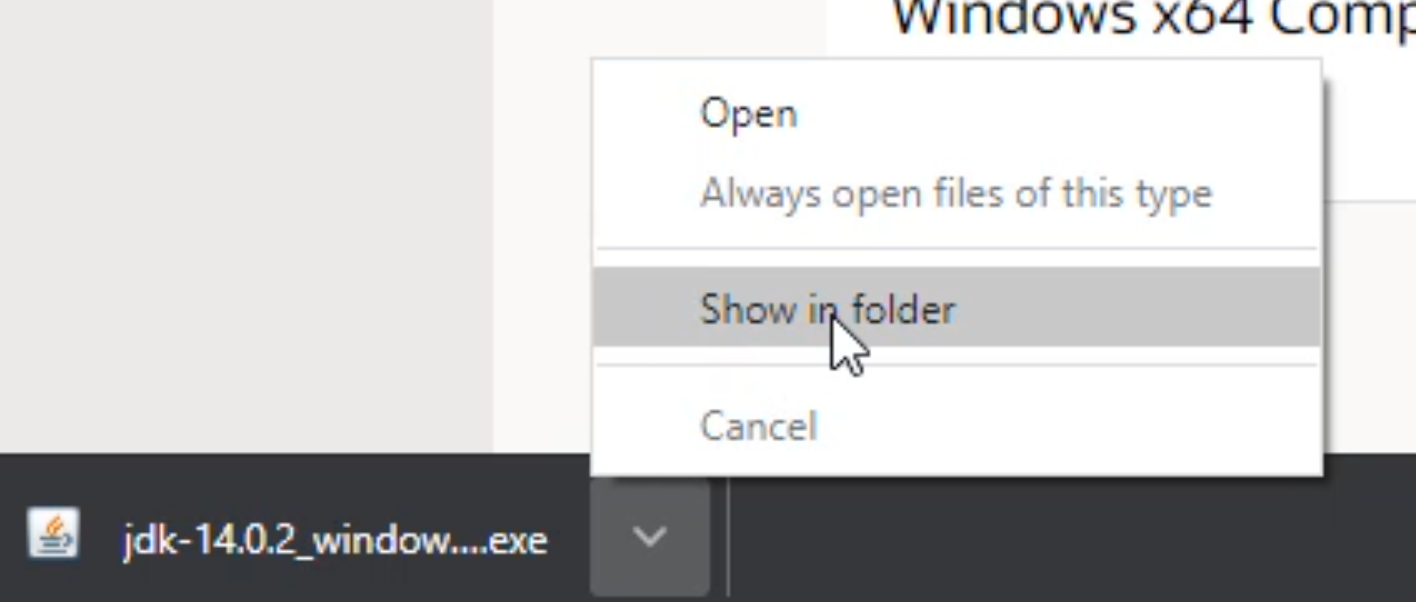
Now that we have the JDK downloaded, we're going to click this little drop arrow and select "Show in folder".
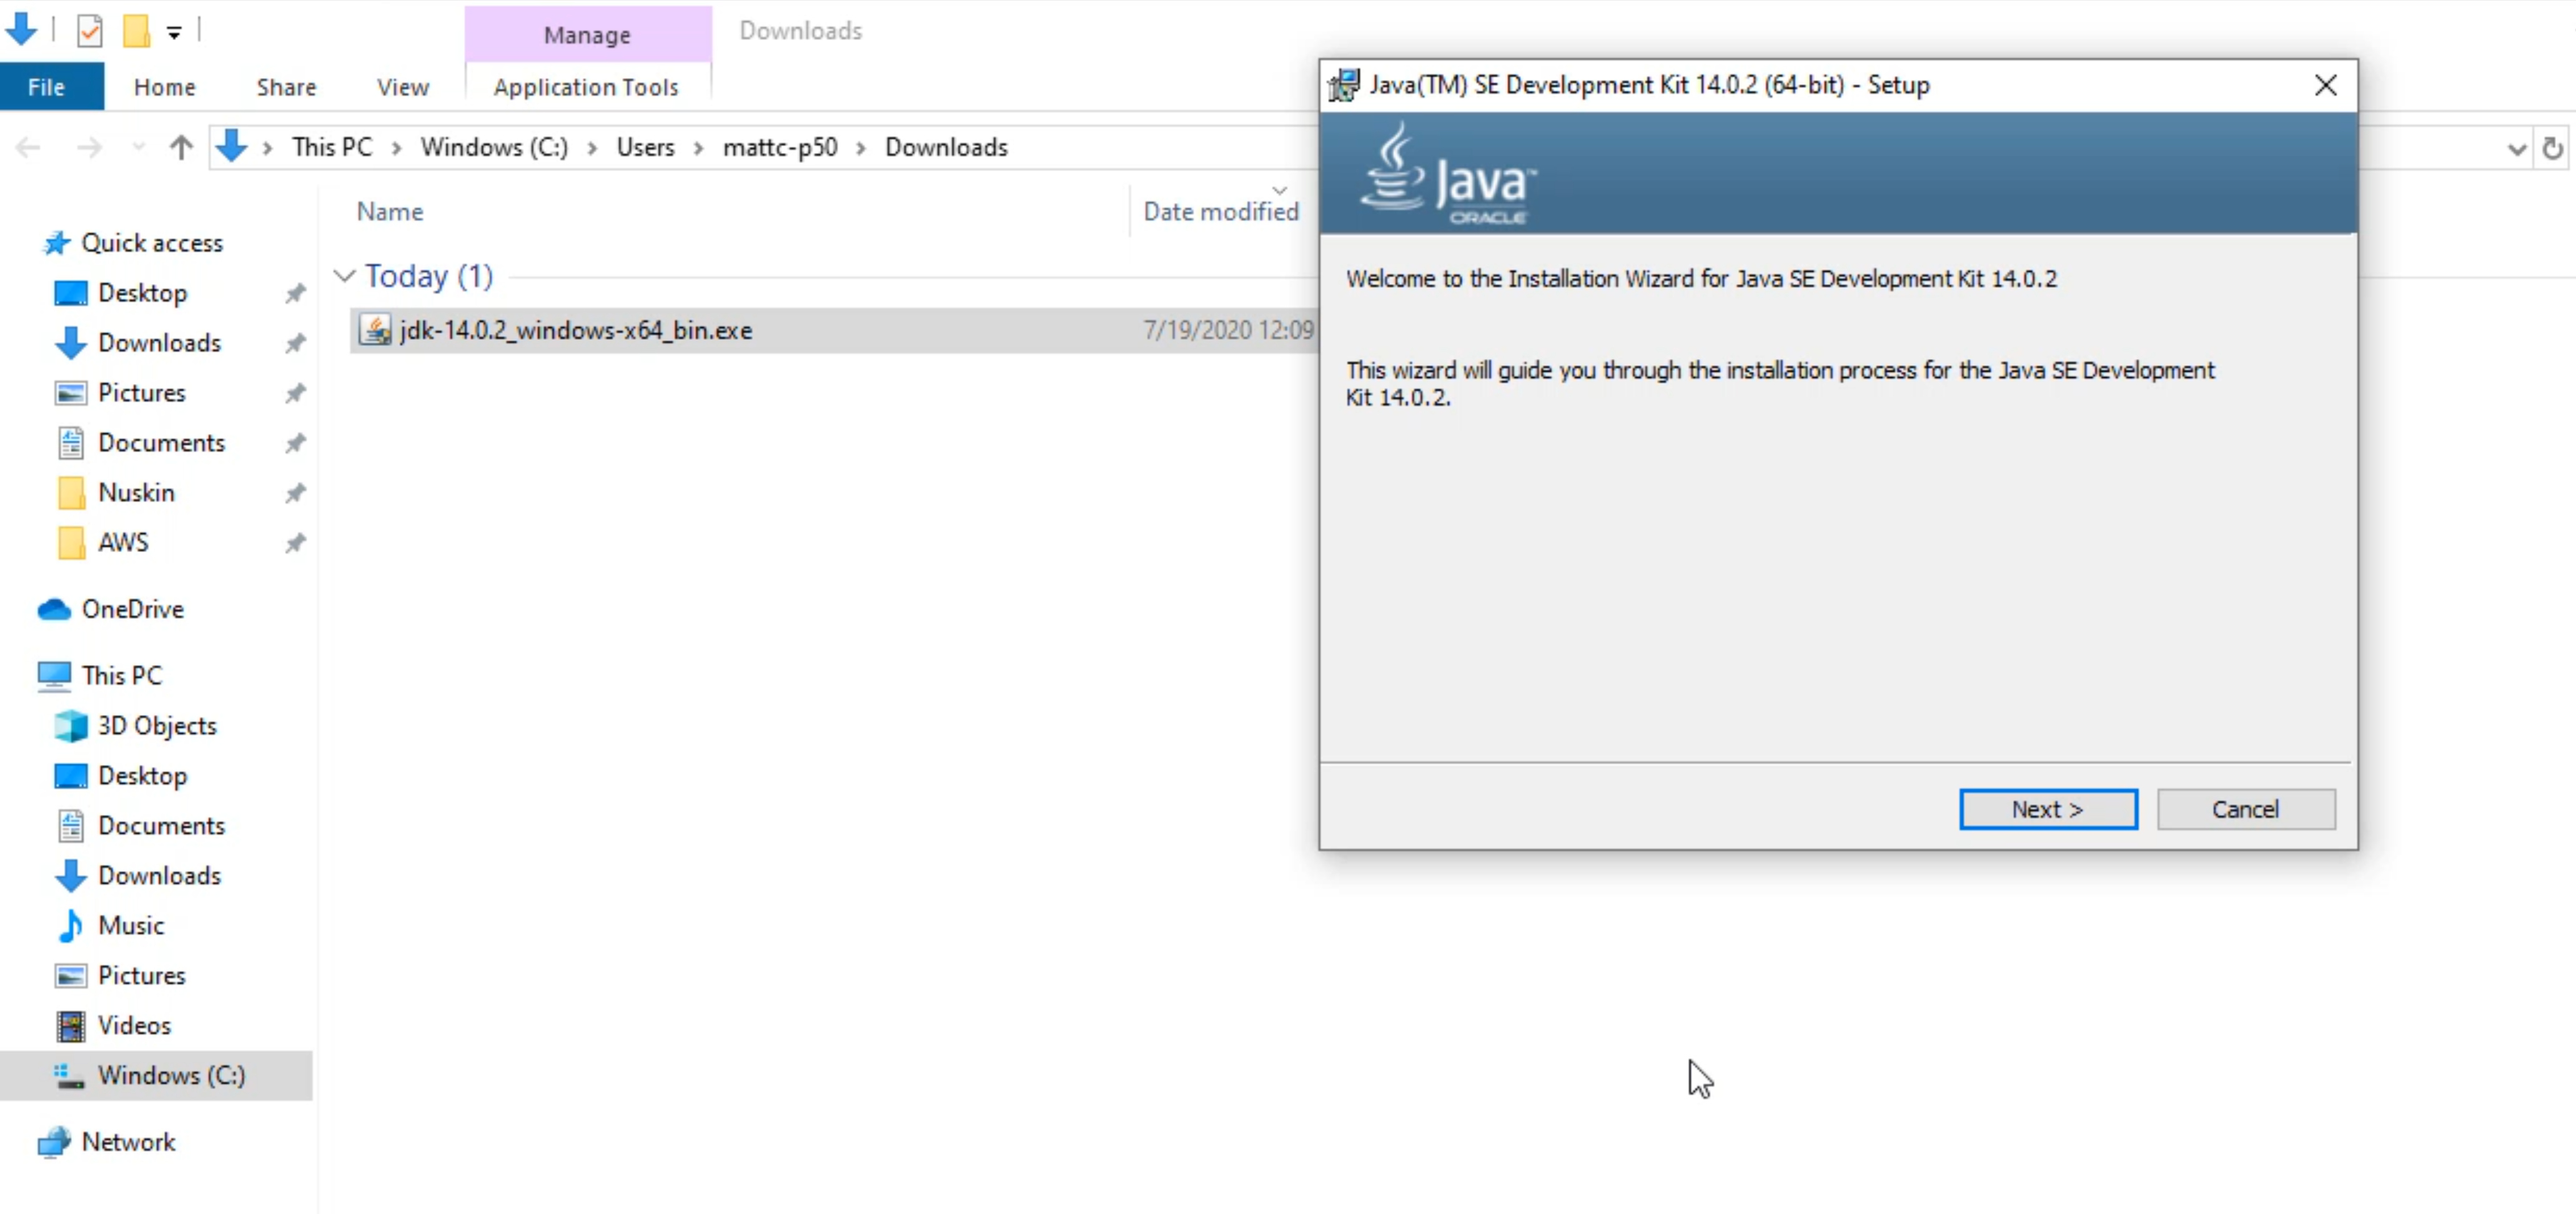
We're going to double-click on this installer and you'll notice that sometimes you will not see the Installer window pop-up, but down here towards your taskbar, you will see something flashing.
Now that the Installer window is displayed, click Next.
I haven't changed the default location for the JDK.
This is a personal preference, but sometimes the space inside your path might create a problem, so we're going to change this.
I'm just going to change it to C:\Java\jdk-14.0.2\.
Your version might be a little bit different, but this is the default path we're going to choose.
Once it's installed, we can close this installer.
Now that we have Java installed, we need to make sure it's installed properly.
We are going to click on the Start button and type in cmd to open up the Command Prompt.
Inside the Command Prompt, we're going to type in
java -version
You should see the latest Java that you just barely installed.
Once you have verified this, we can close out this Command Prompt.
Let's go get our IntelliJ - IntelliJ is a great IDE for us to do our development.
Integrated Development Environment (IDE)
An IDE, or Integrated Development Environment is a source code editor, used for building tools and a debugger.
When you type in "IntelliJ download" in Google, this is usually the first link that comes up - we'll click on this link.
What we want to do is download the Community Edition.
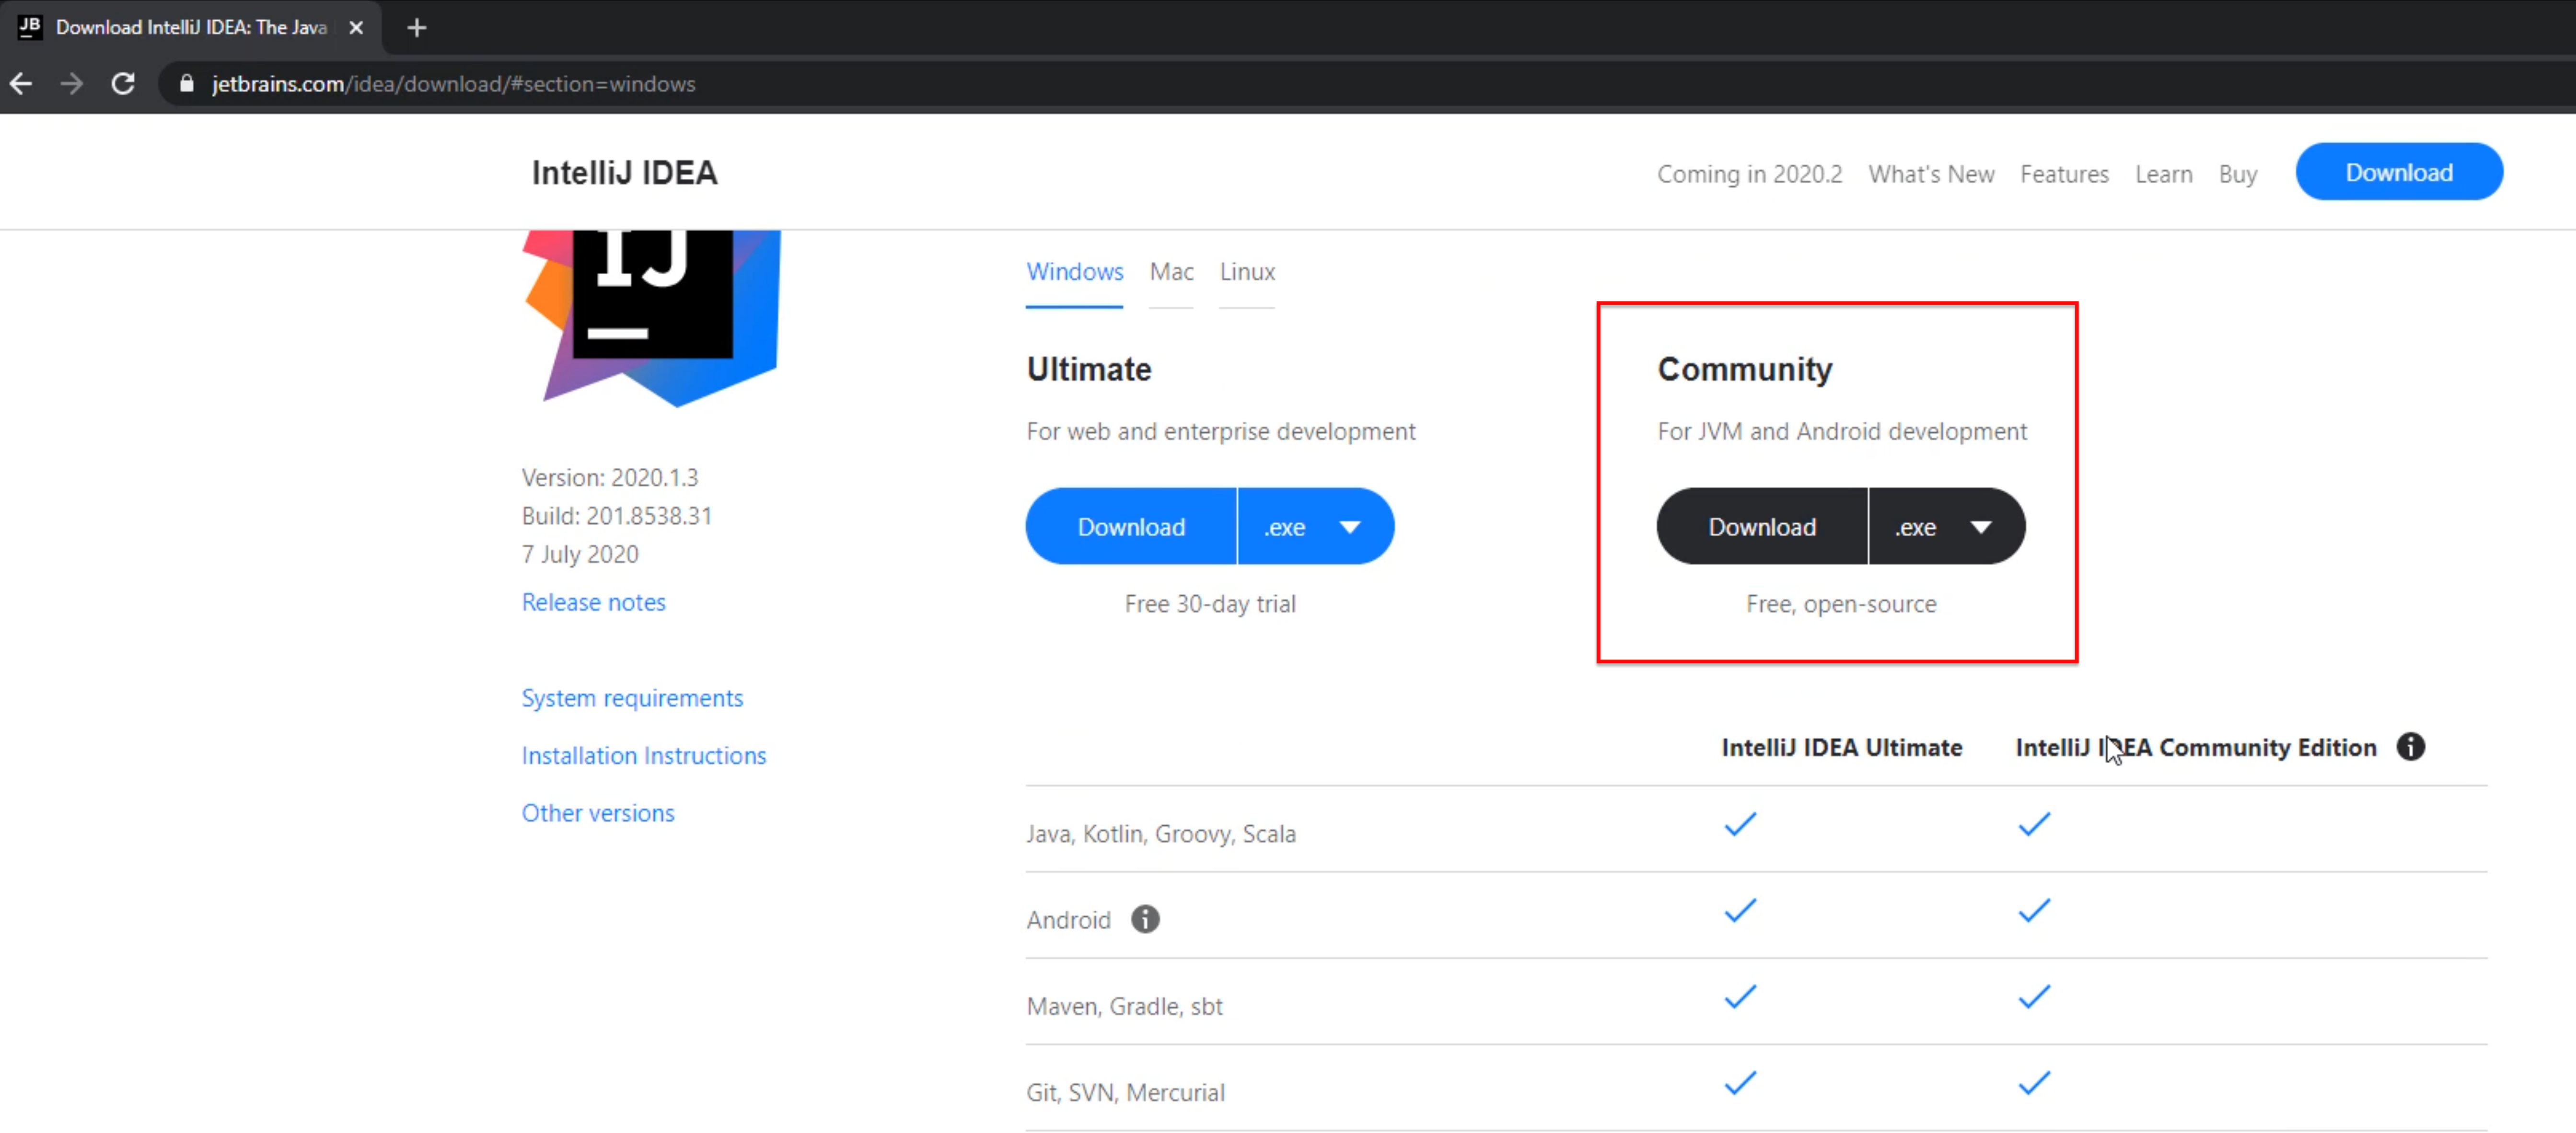
The Community Edition is free; it's open-source.
There are some features that you won't get with it, but you will never use those features with our project.
Click this "Keep", and you will continue to download.
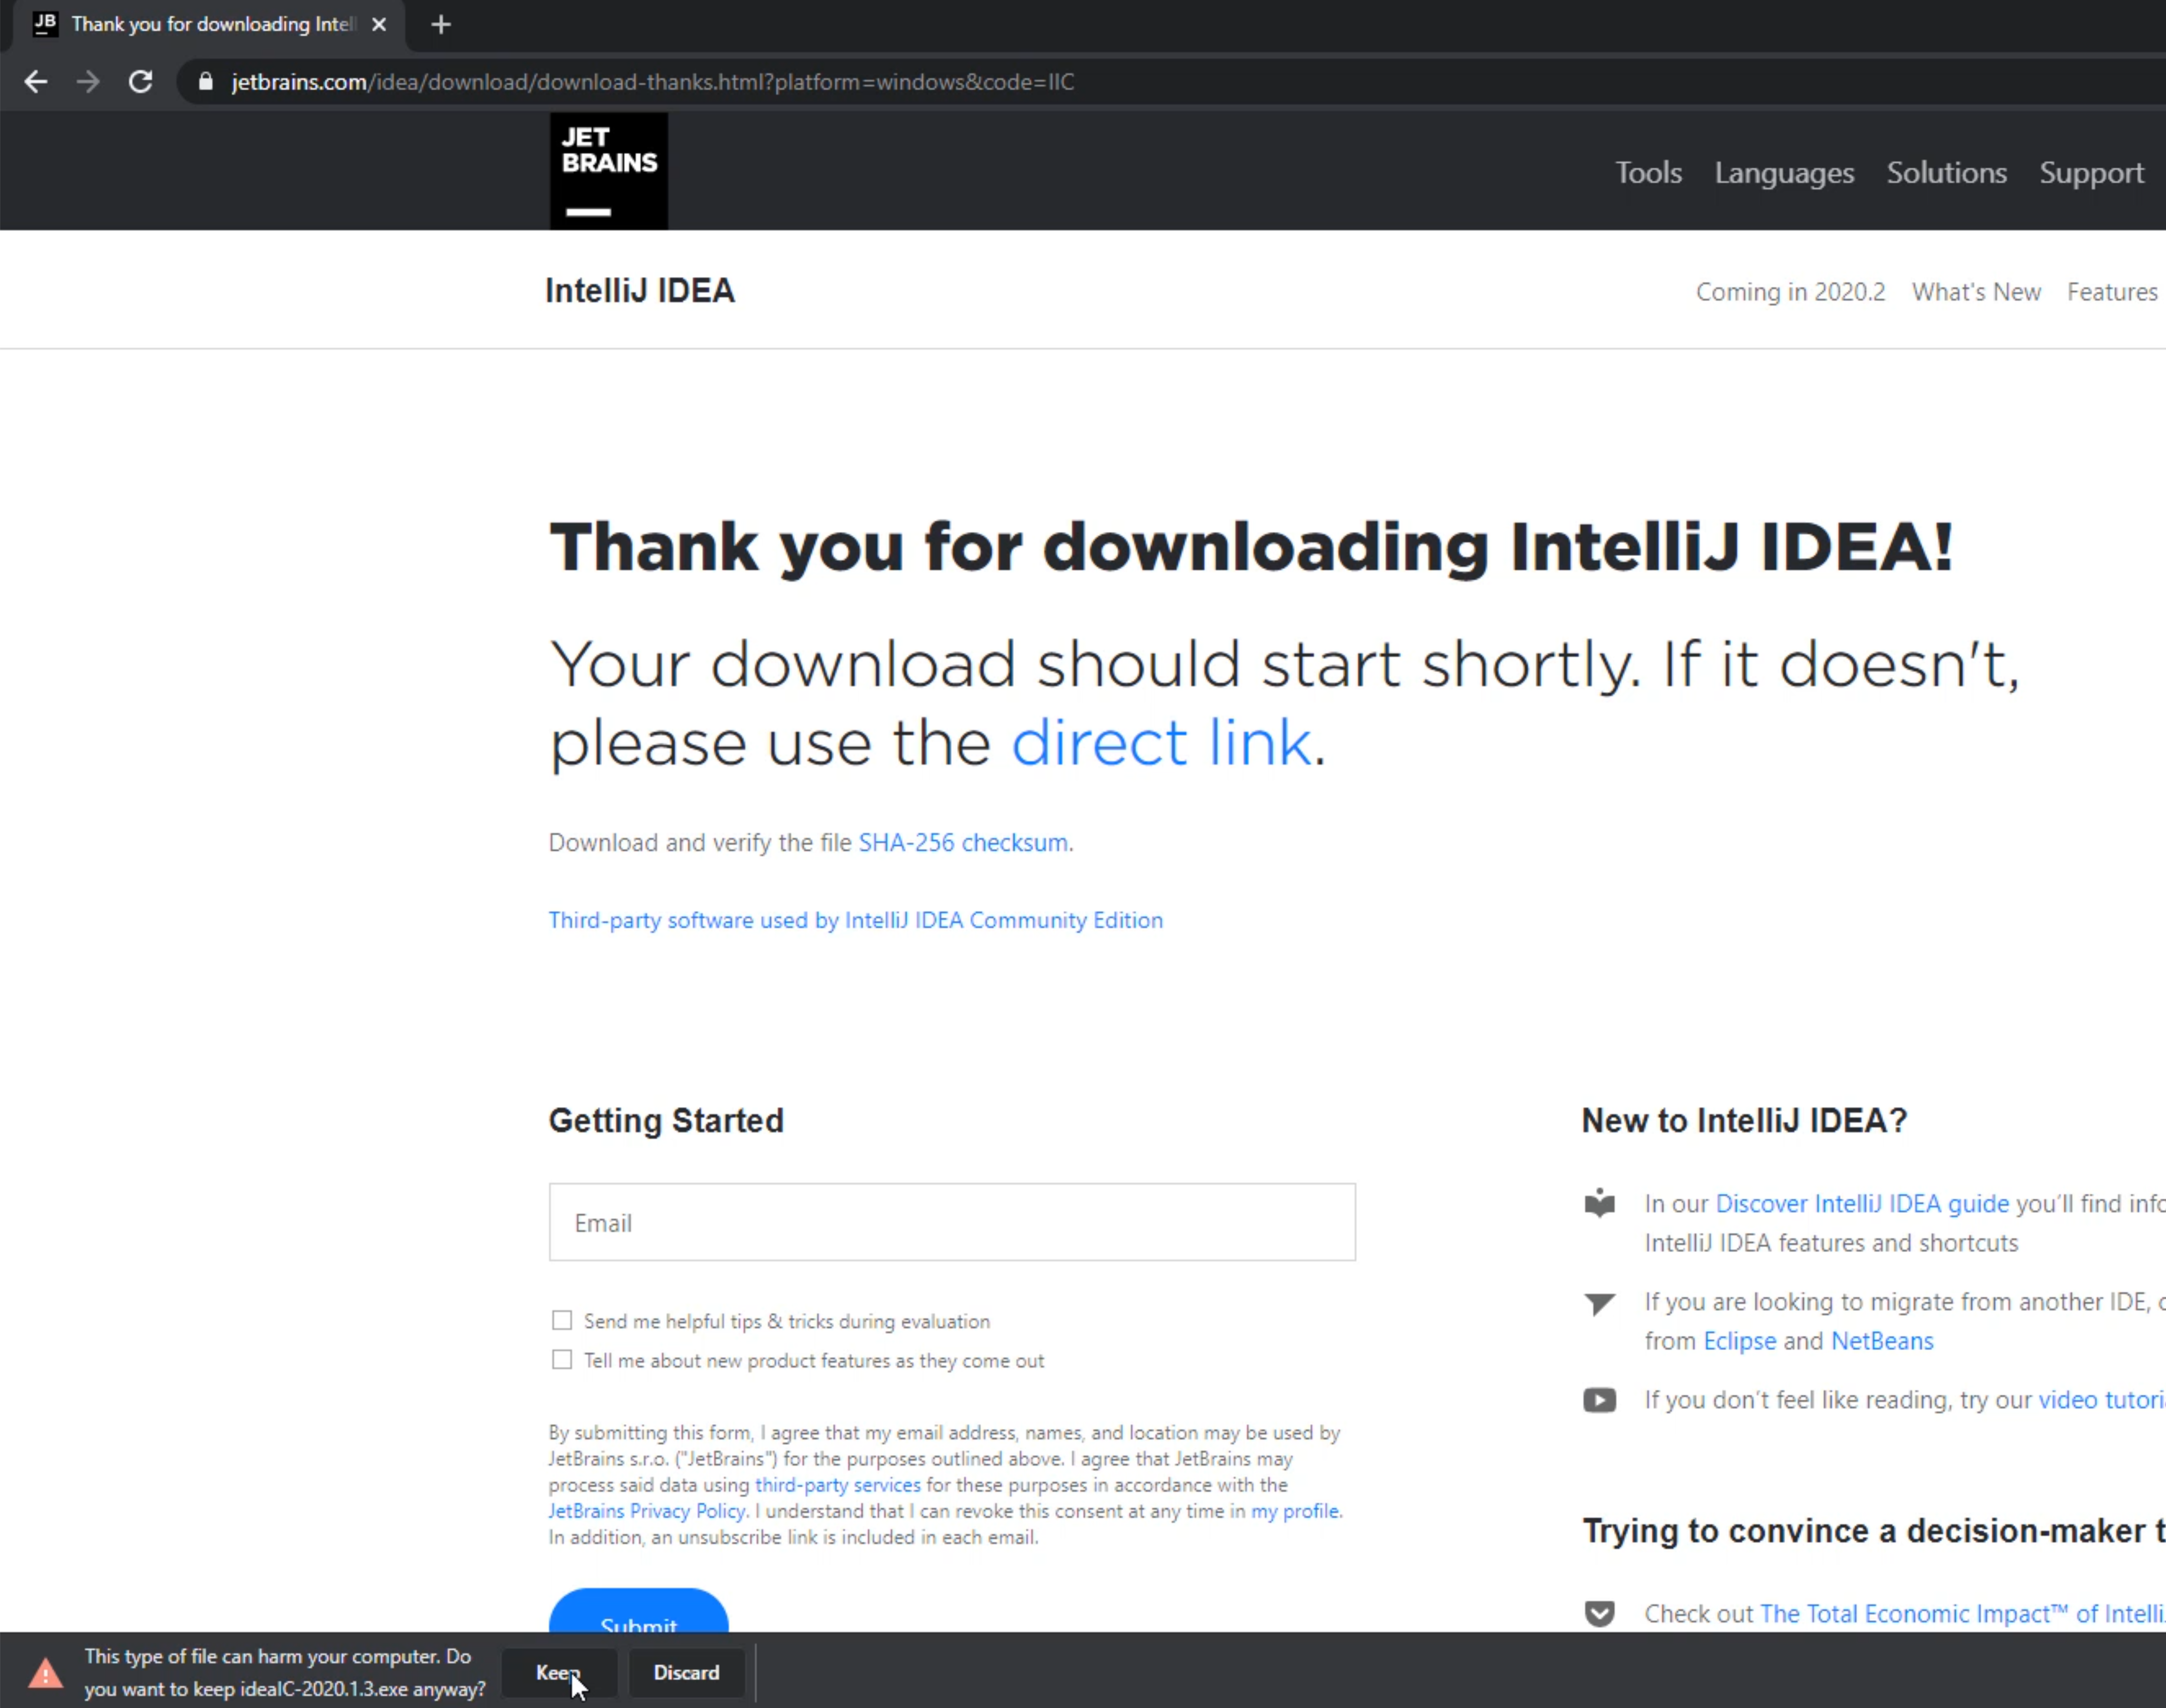
Once it is downloaded, we can click on the down arrow, click on "Show in folder".
Now we can double click on this download and install it.
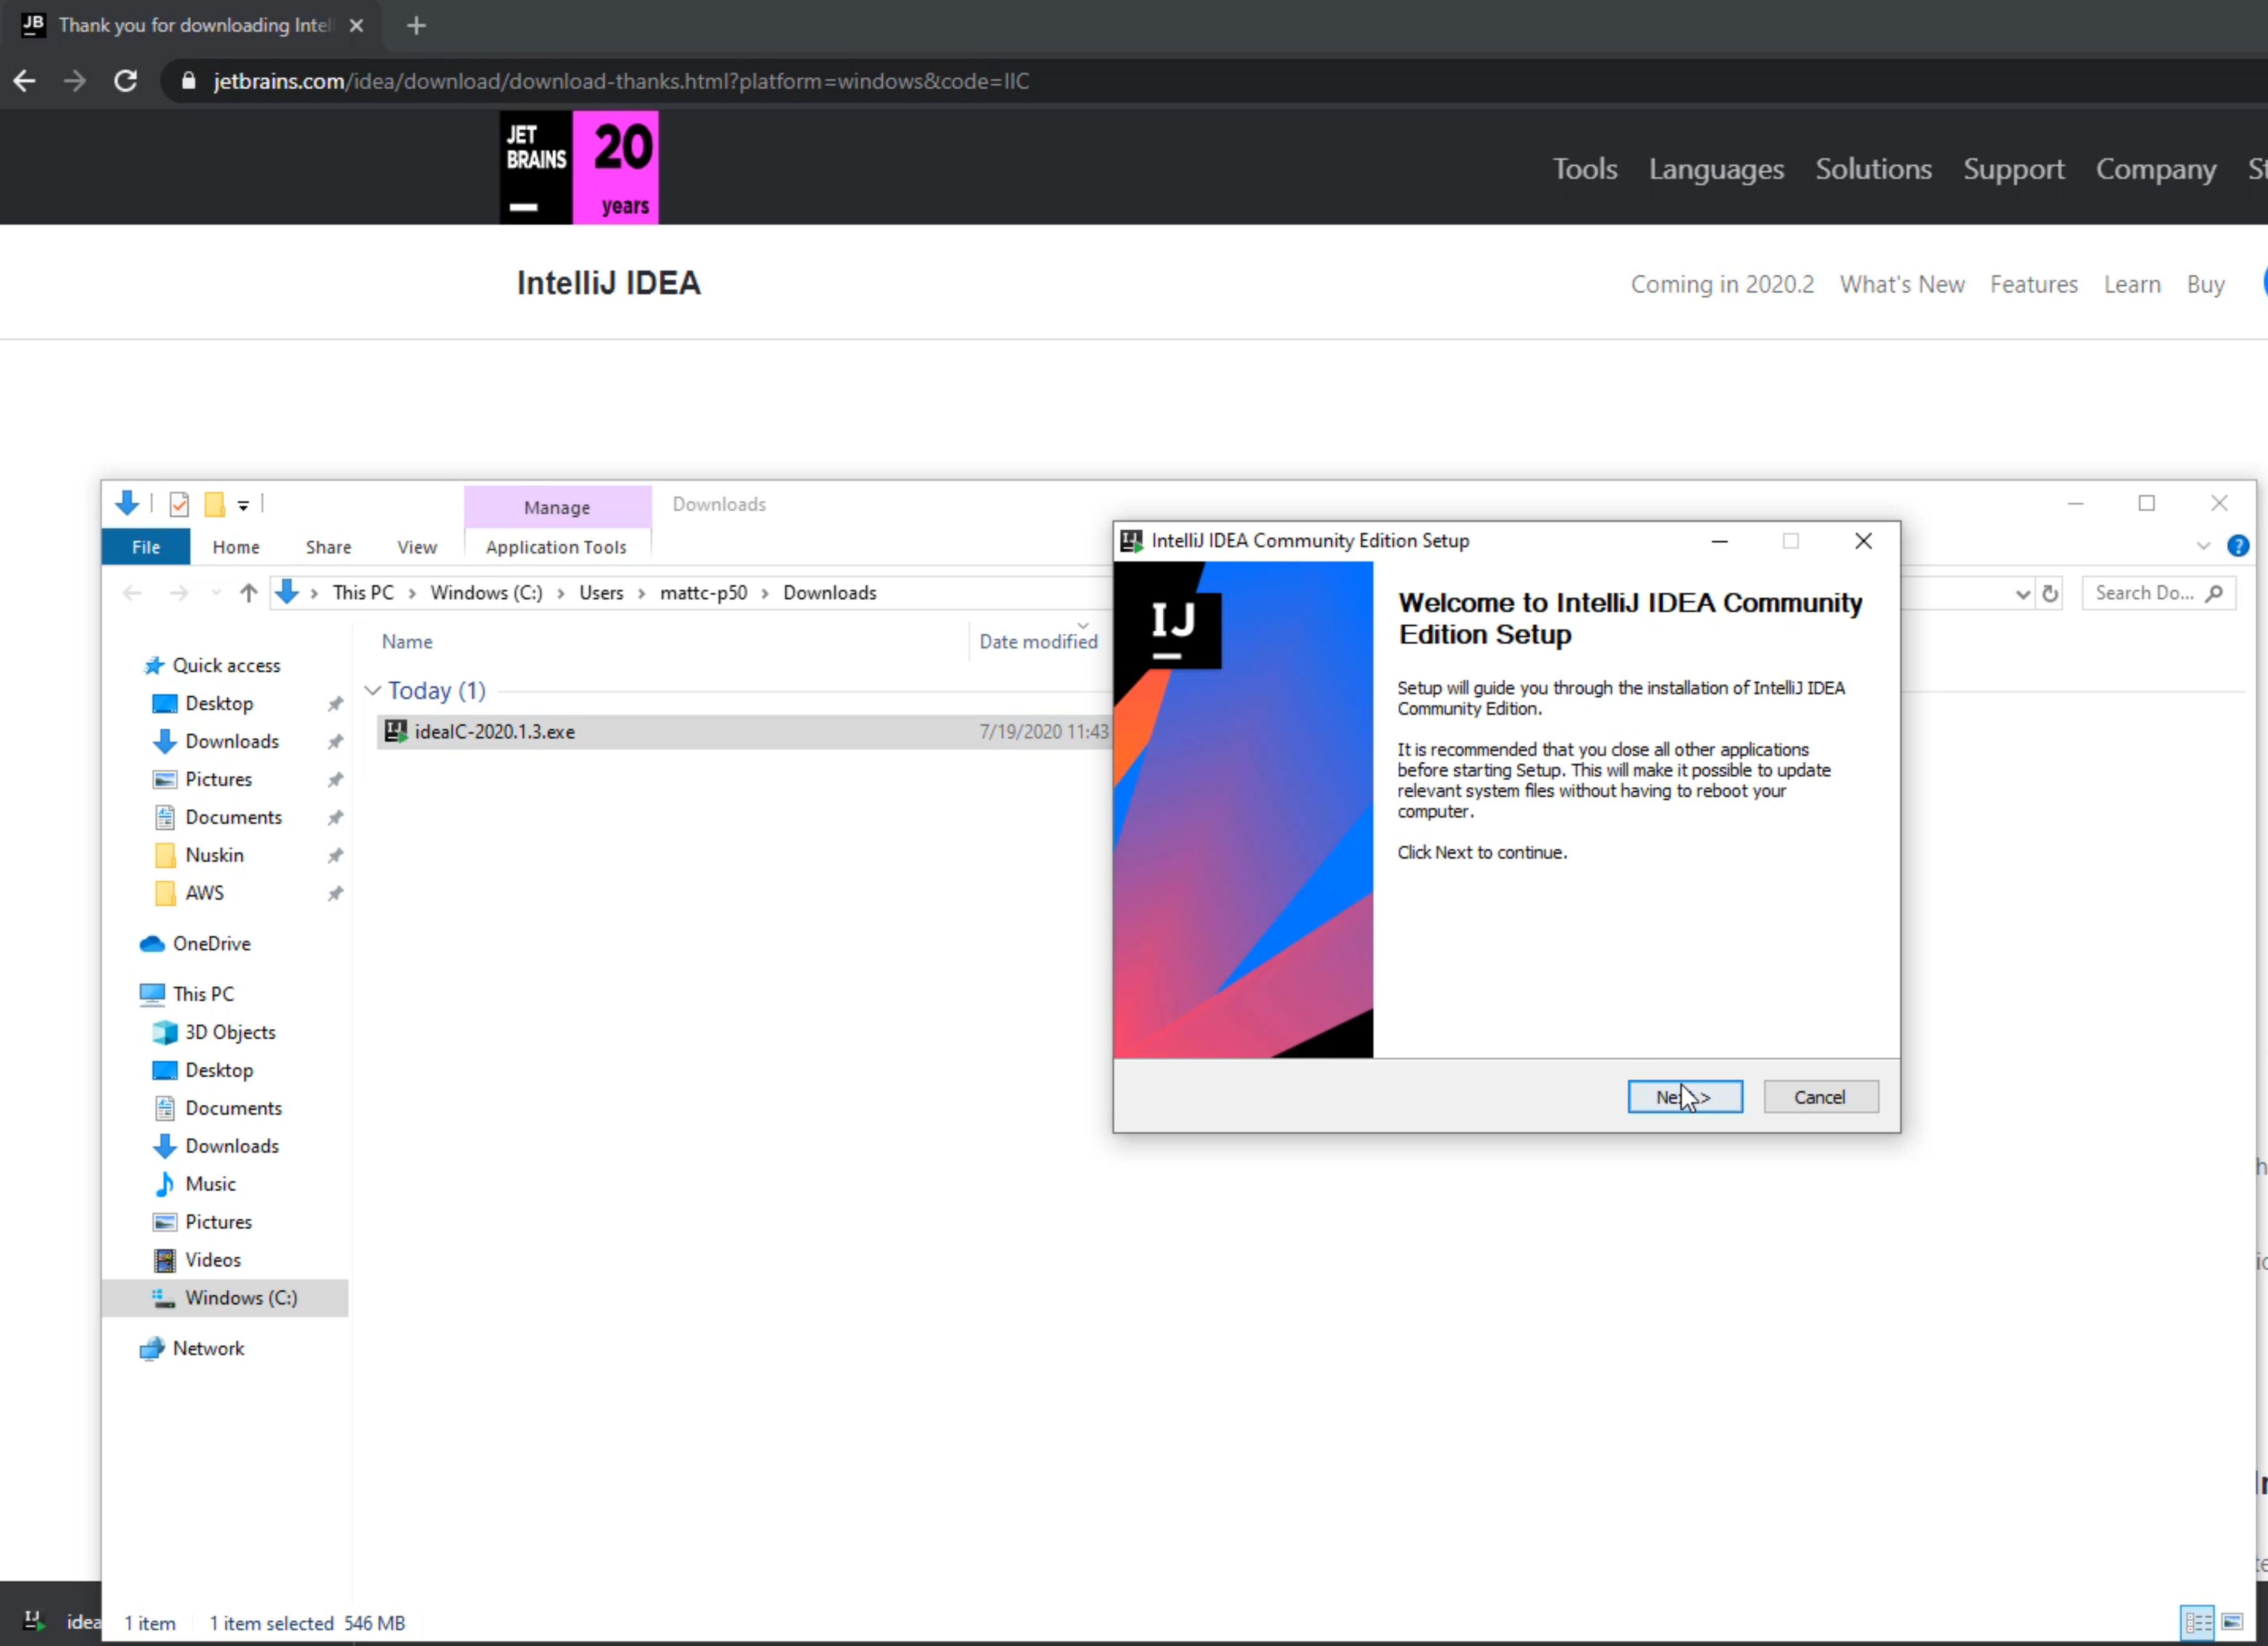
Click "Next".
We'll just choose the default location.
We're going to install the 64-bit launcher and the 32-bit launcher.
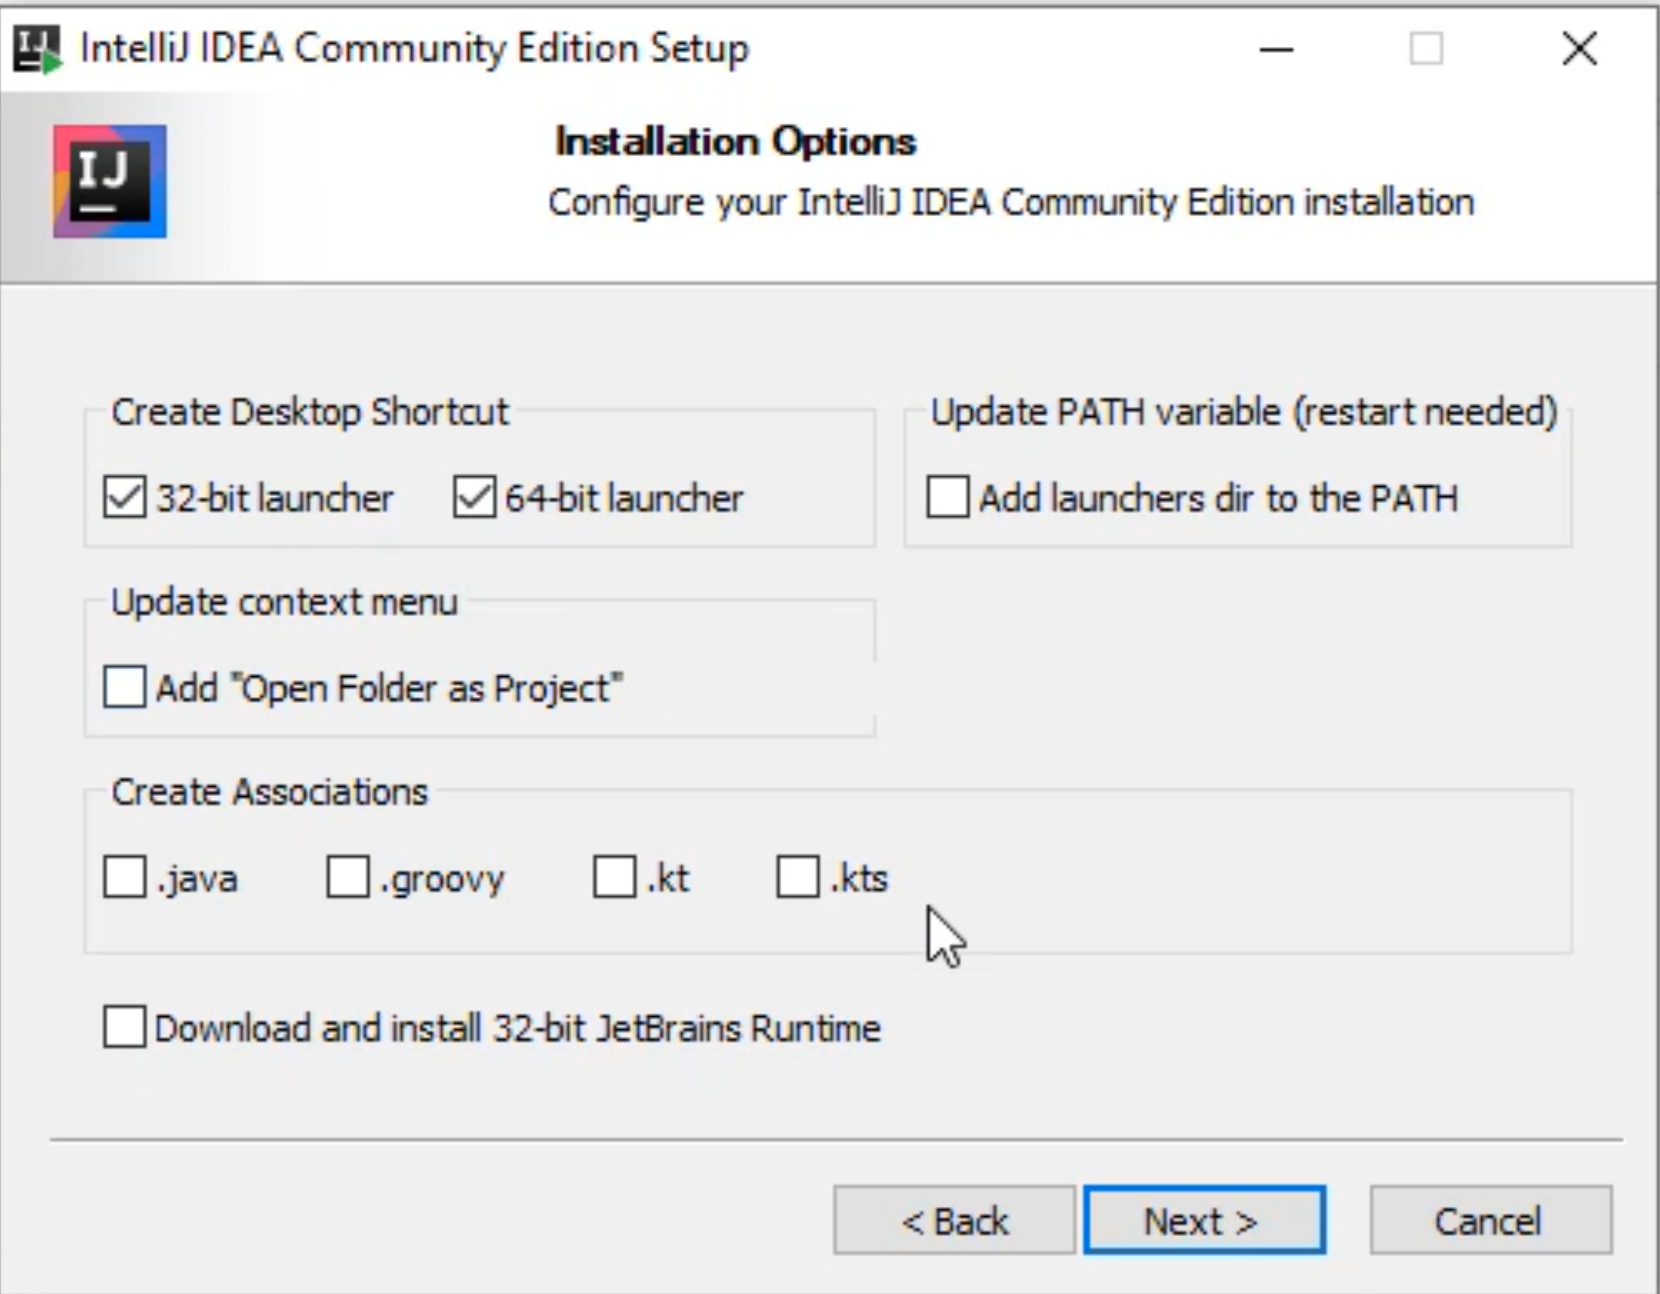
If you're only running a 32-bit machine, you will only see the 32-bit launcher.
We're going to Install.
Once it's installed, click "Finish".
We now need to go download the Python installer.
We're going to open up a new browser.
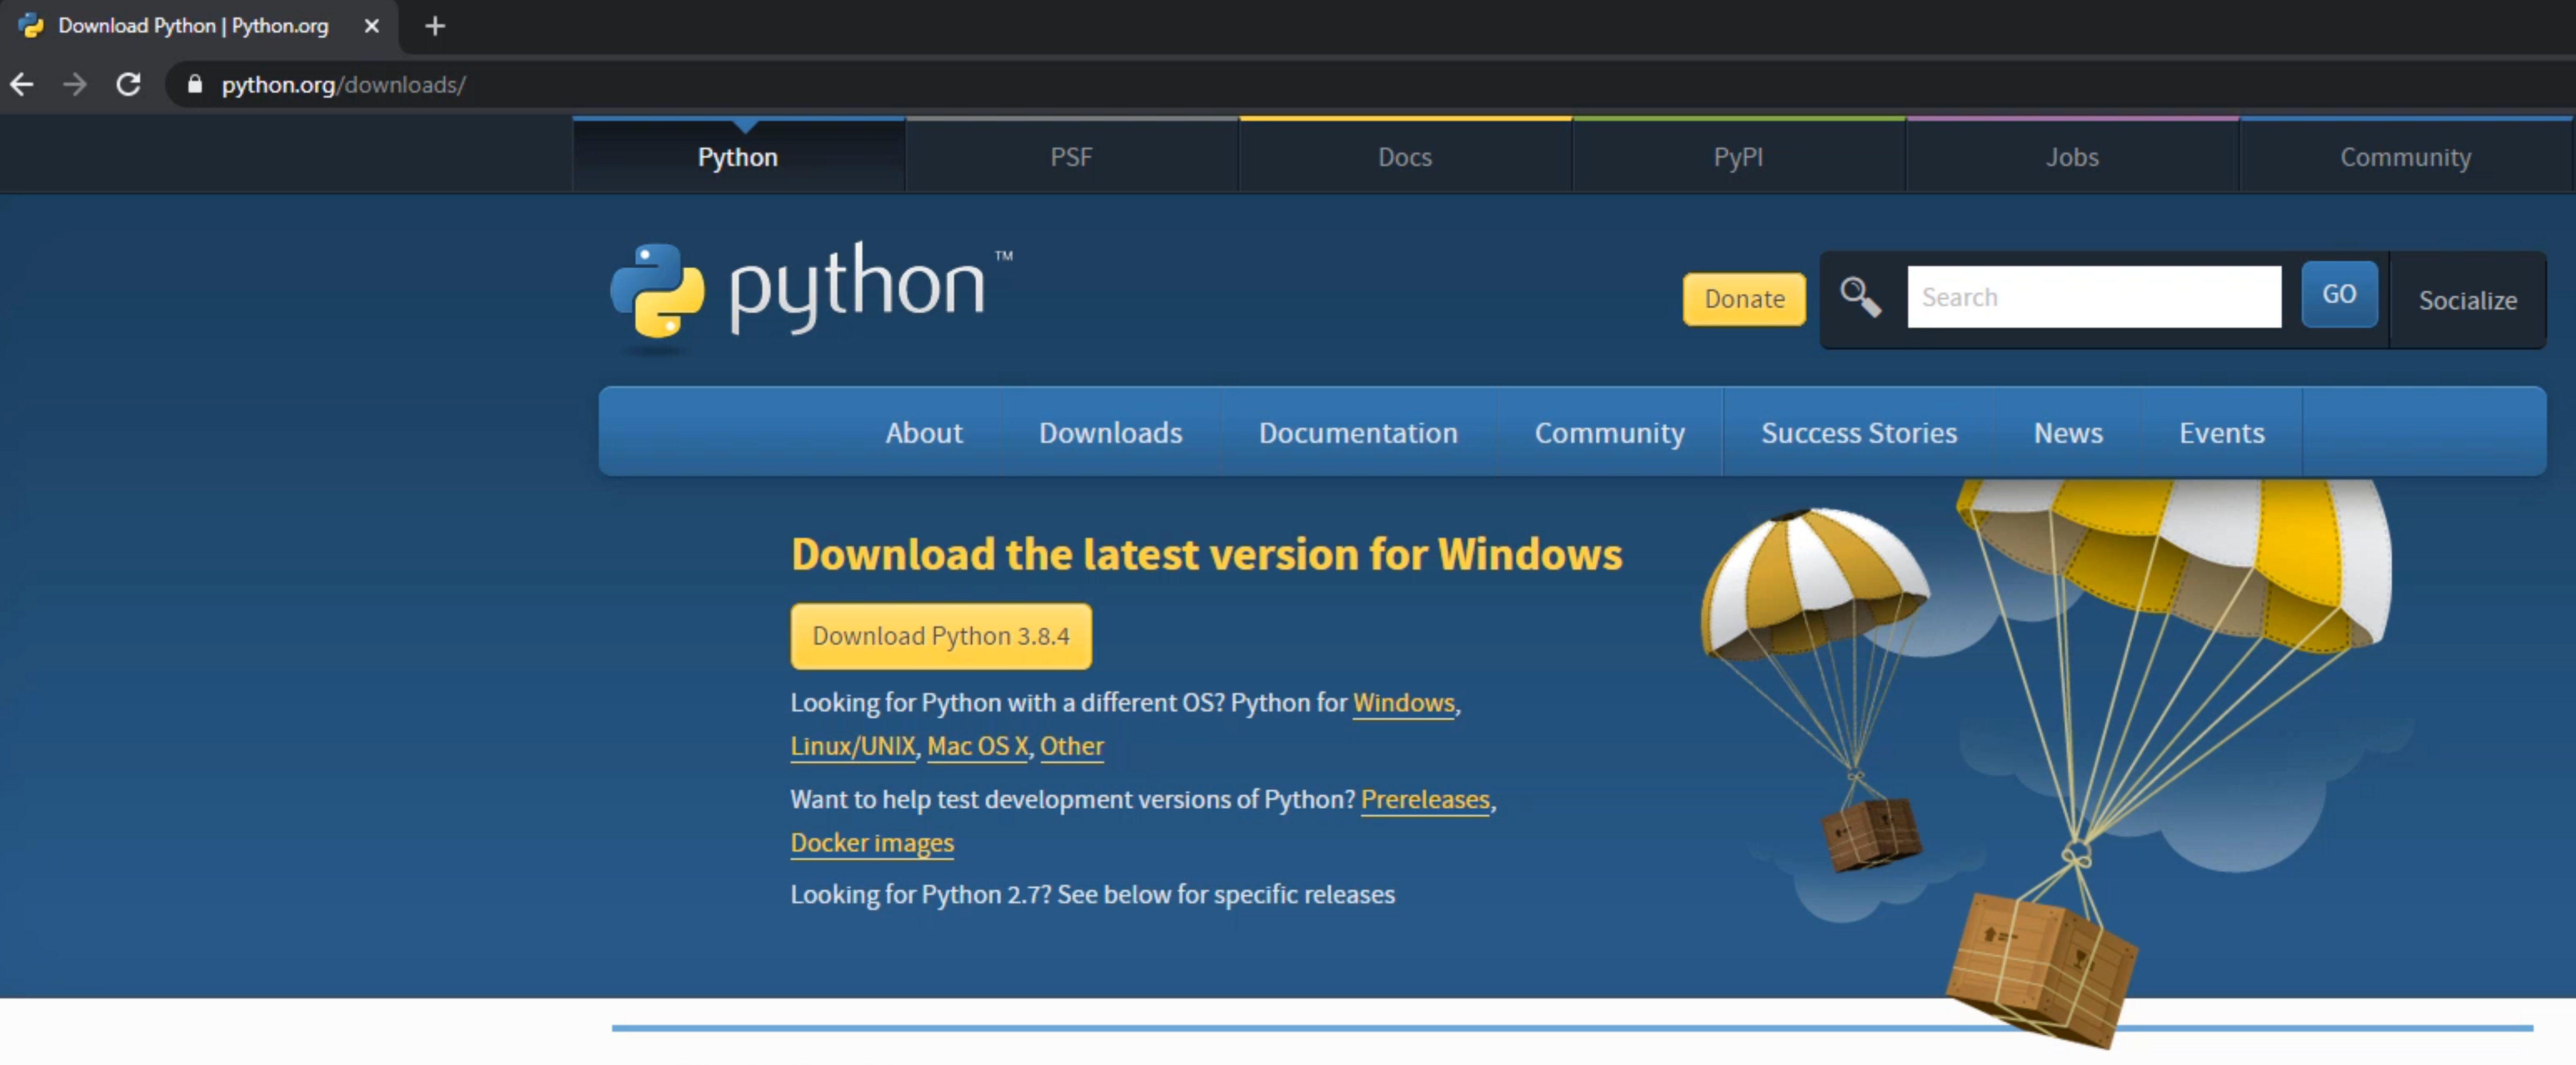
We're going to type in "Python download", and we're going to look for a domain as "python.org/downloads".
On Python.org's website, we're going to click on the latest Download button for Python.
We're going to "Keep" the file in case you have this warning.
Now that we have Python downloaded, we are going to click on this drop arrow and select "Show in folder".
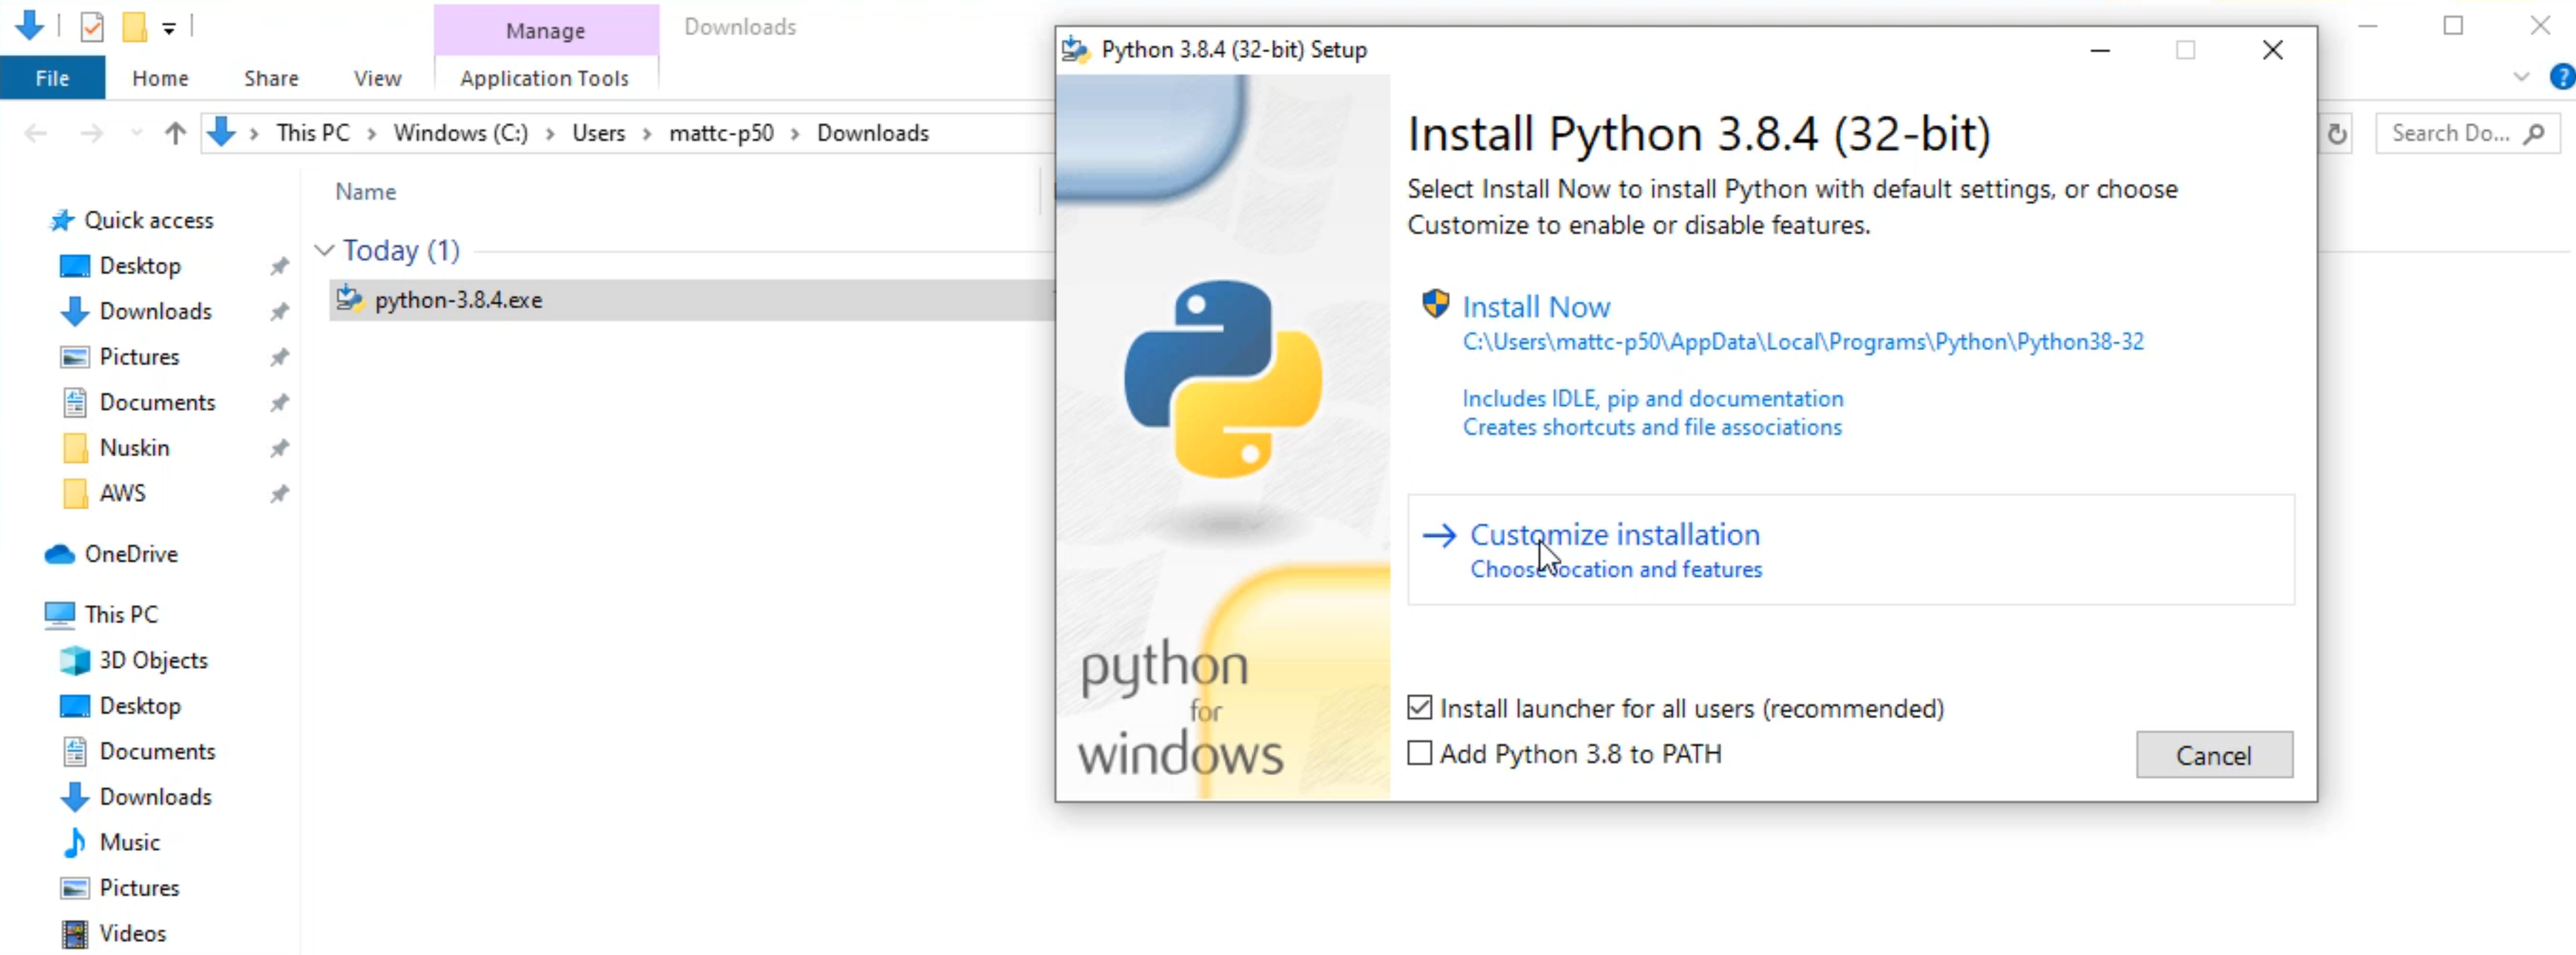
We're going to double click on the installer that we just downloaded.
We're going to click on this Custom, but before we do that, we're also going to select the "Add Python 3.8 to PATH".
This will allow us to run Python from anywhere within our terminal or our Command Prompt.
Now we're going to select "Customize installation".
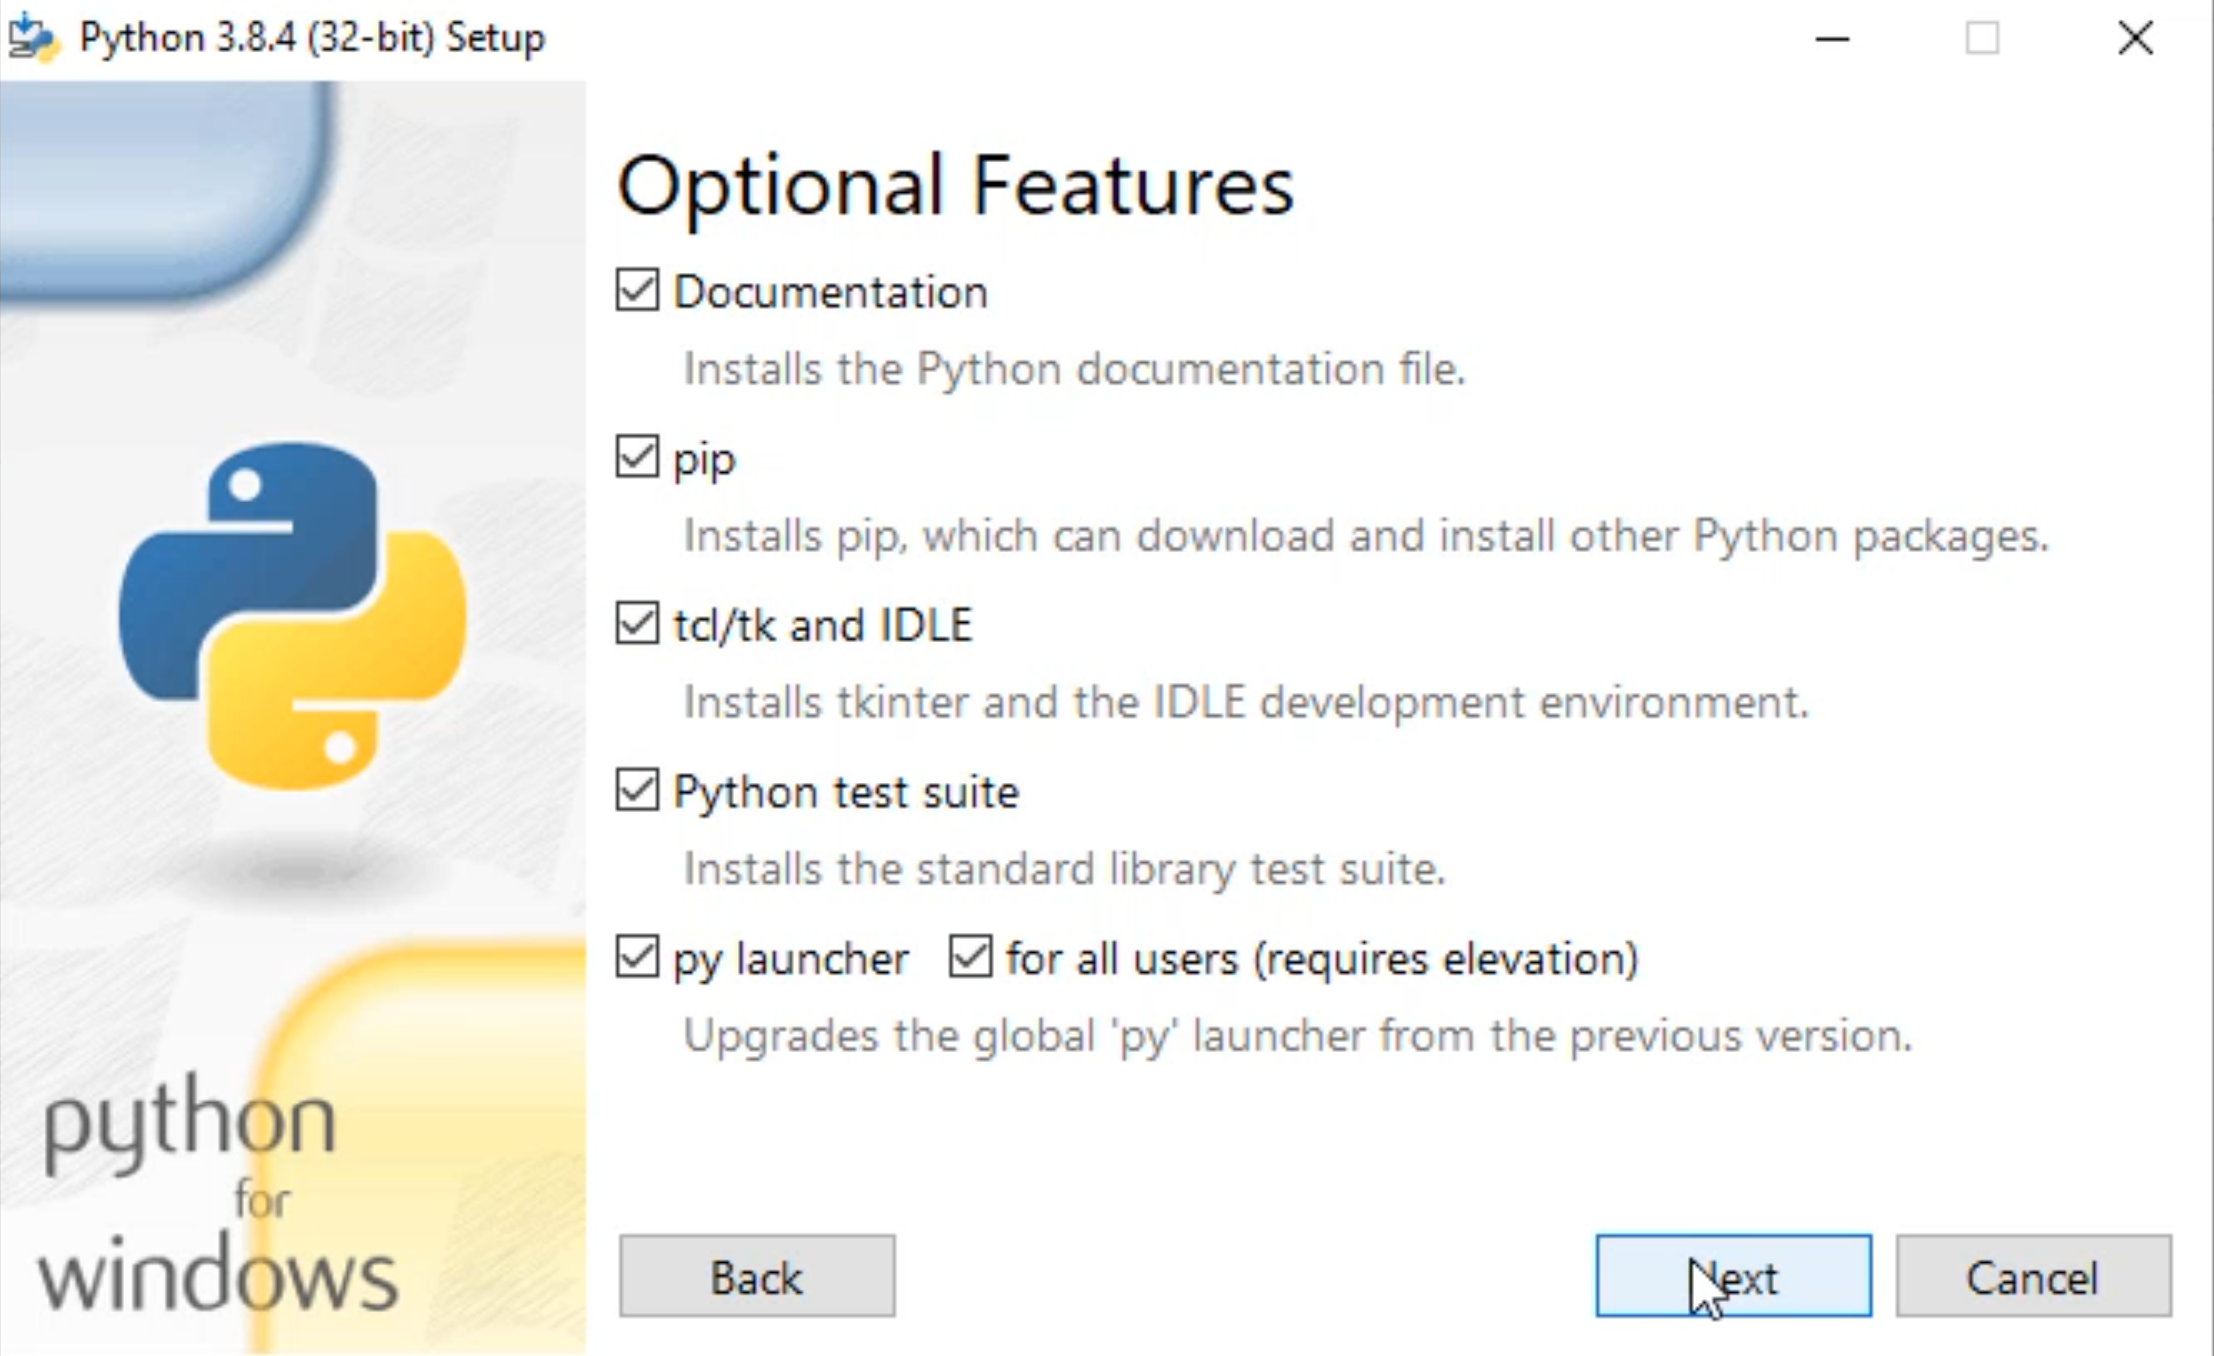
Here we're going to select the default and click the "Next" button.
Here we are going to select "Install for all users".
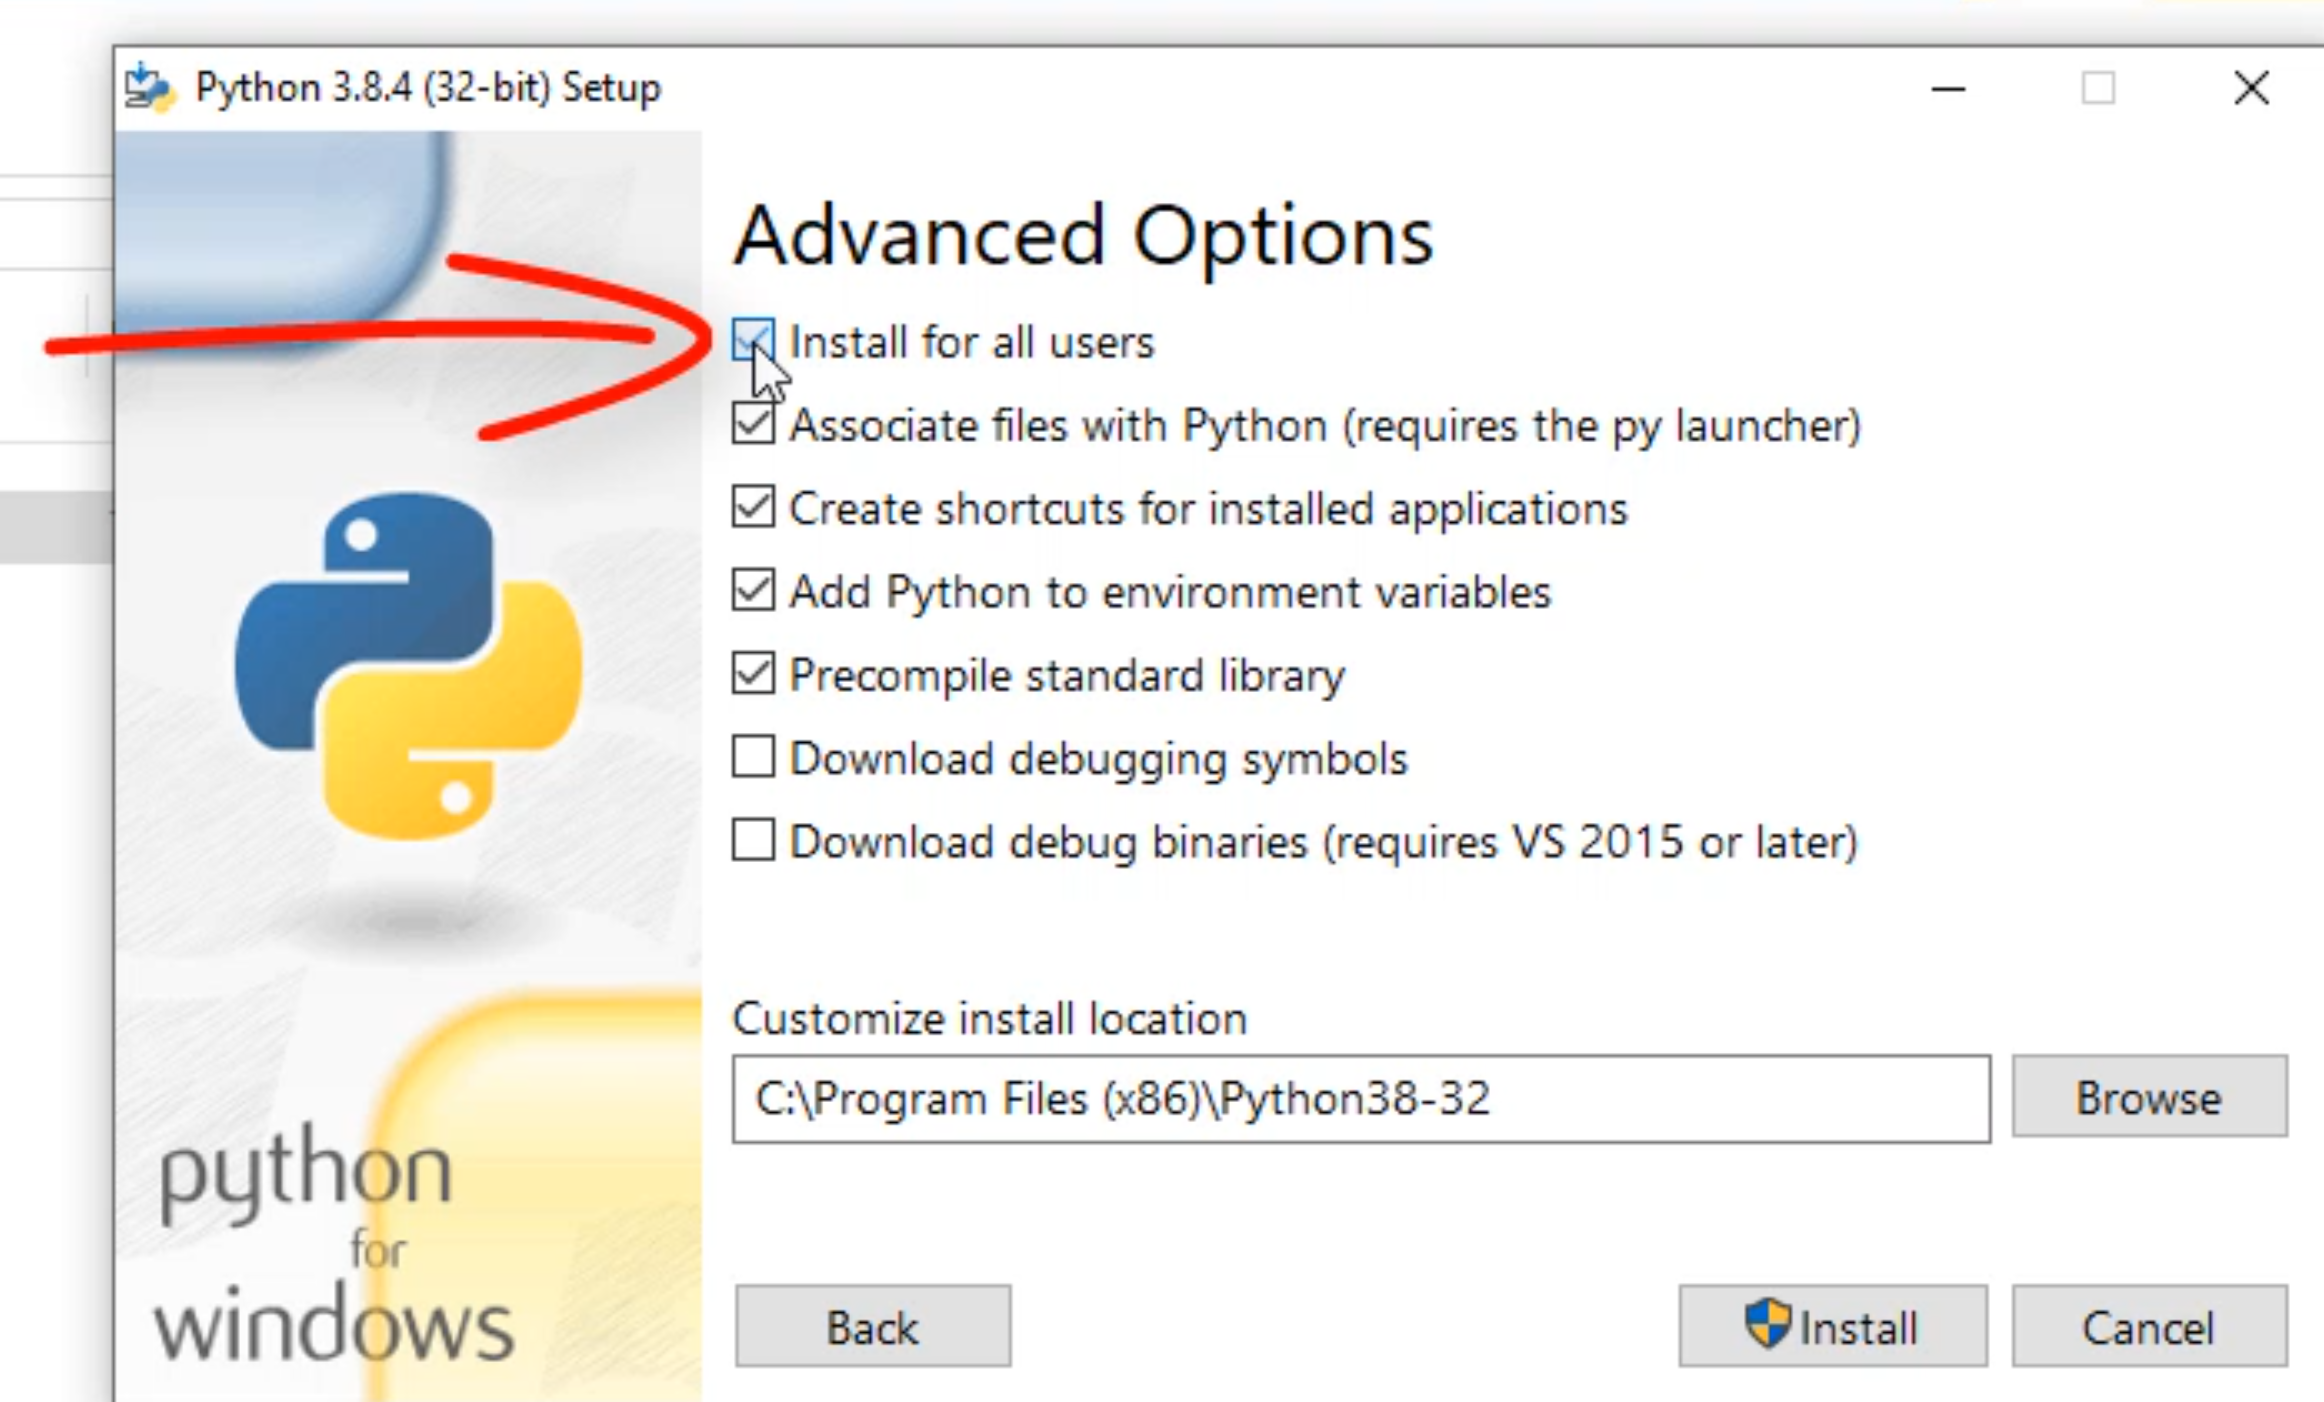
This changes a path to something a little bit simpler, but we're going to change it to C:\Python38
Now we're going to click to "Install".
Once Python is installed, we will click the "Close".
Now that we have Python installed, we need to verify the install worked correctly.
First, we're going to click on the "Start" button and type in cmd to open up the Command Prompt.
We're going to type in
python
Verify that is the version that you installed.
To exit out of this prompt, we will type in
exit()
Now we can close our Command Prompt.
Now let's go download PyCharm - we will be using PyCharm for IDE for our Python development.
We're going to open up a browser and type in "pycharm".
Typically the first link that you get from Google is the PyCharm IDE download link.
Let's click on this link here for JetBrains, and click on the Download.
Here we are presented with two options.
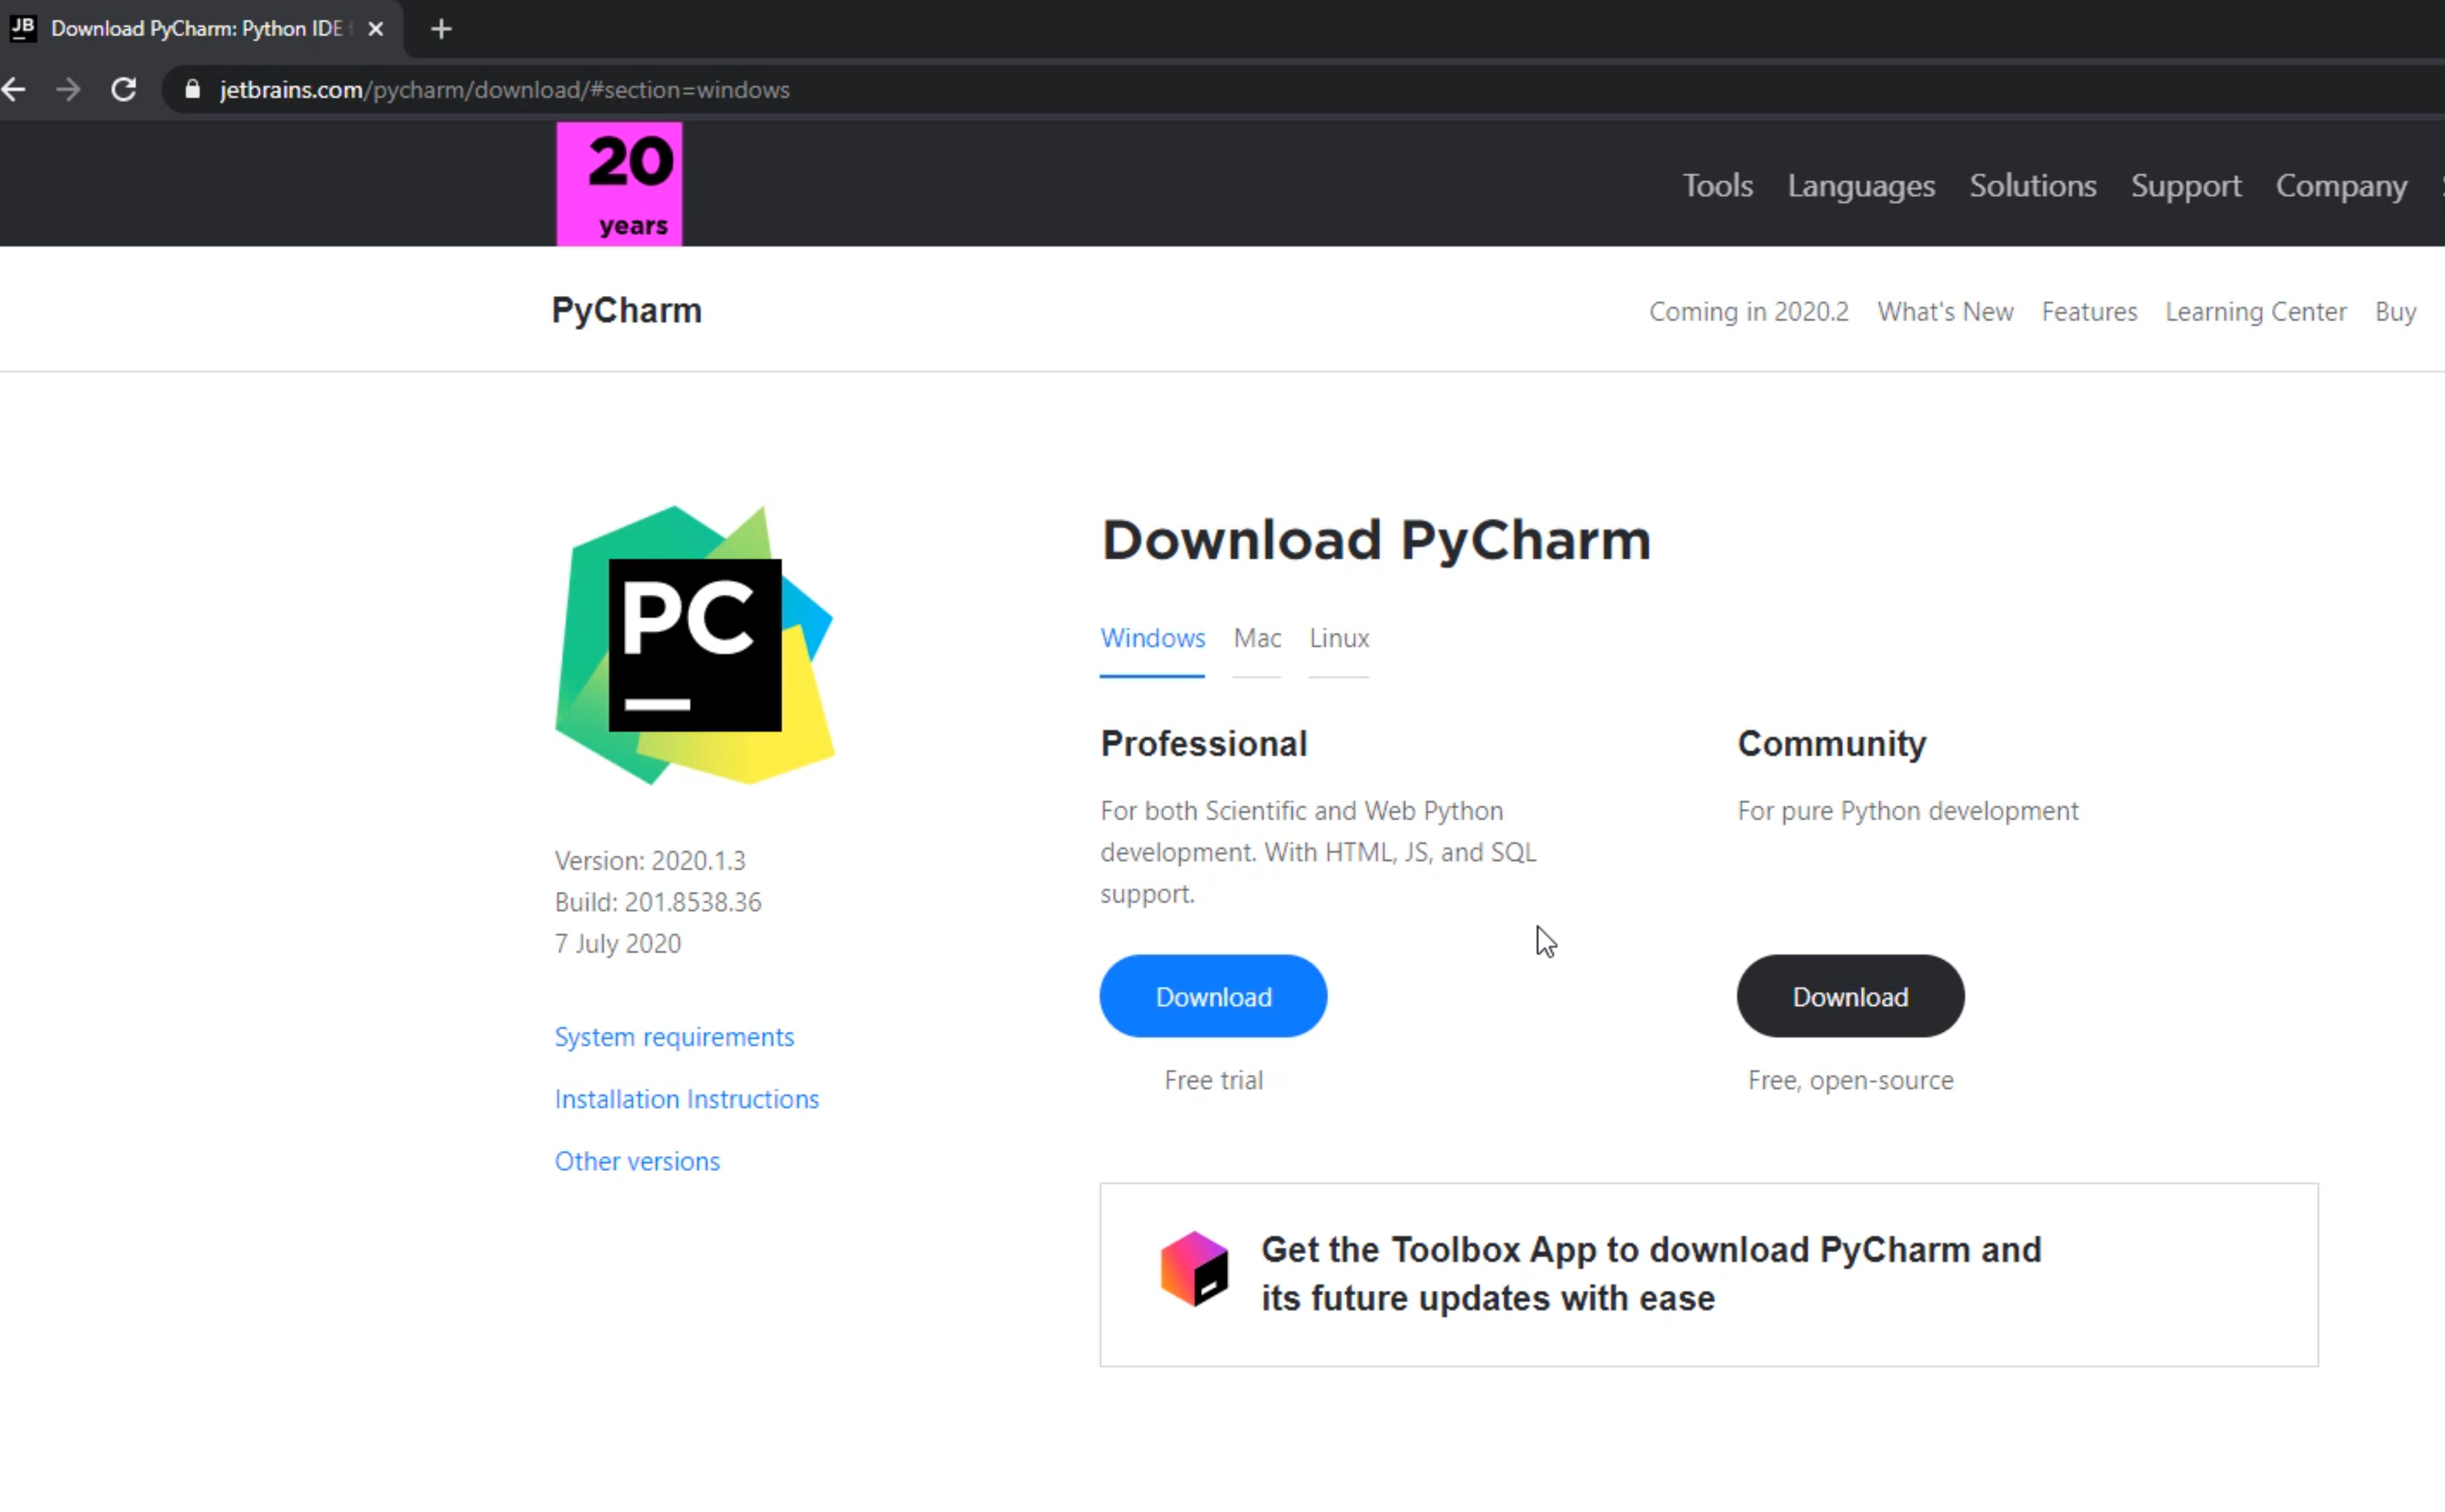
One for Professional, one for Community.
Community is free, it's open-source.
We do lose a few features with the Community Edition, but we won't be using them for our project.
So we're going to click on the "Download" link.
Here it will start downloading, and we're going to tell Google to "Keep" this.
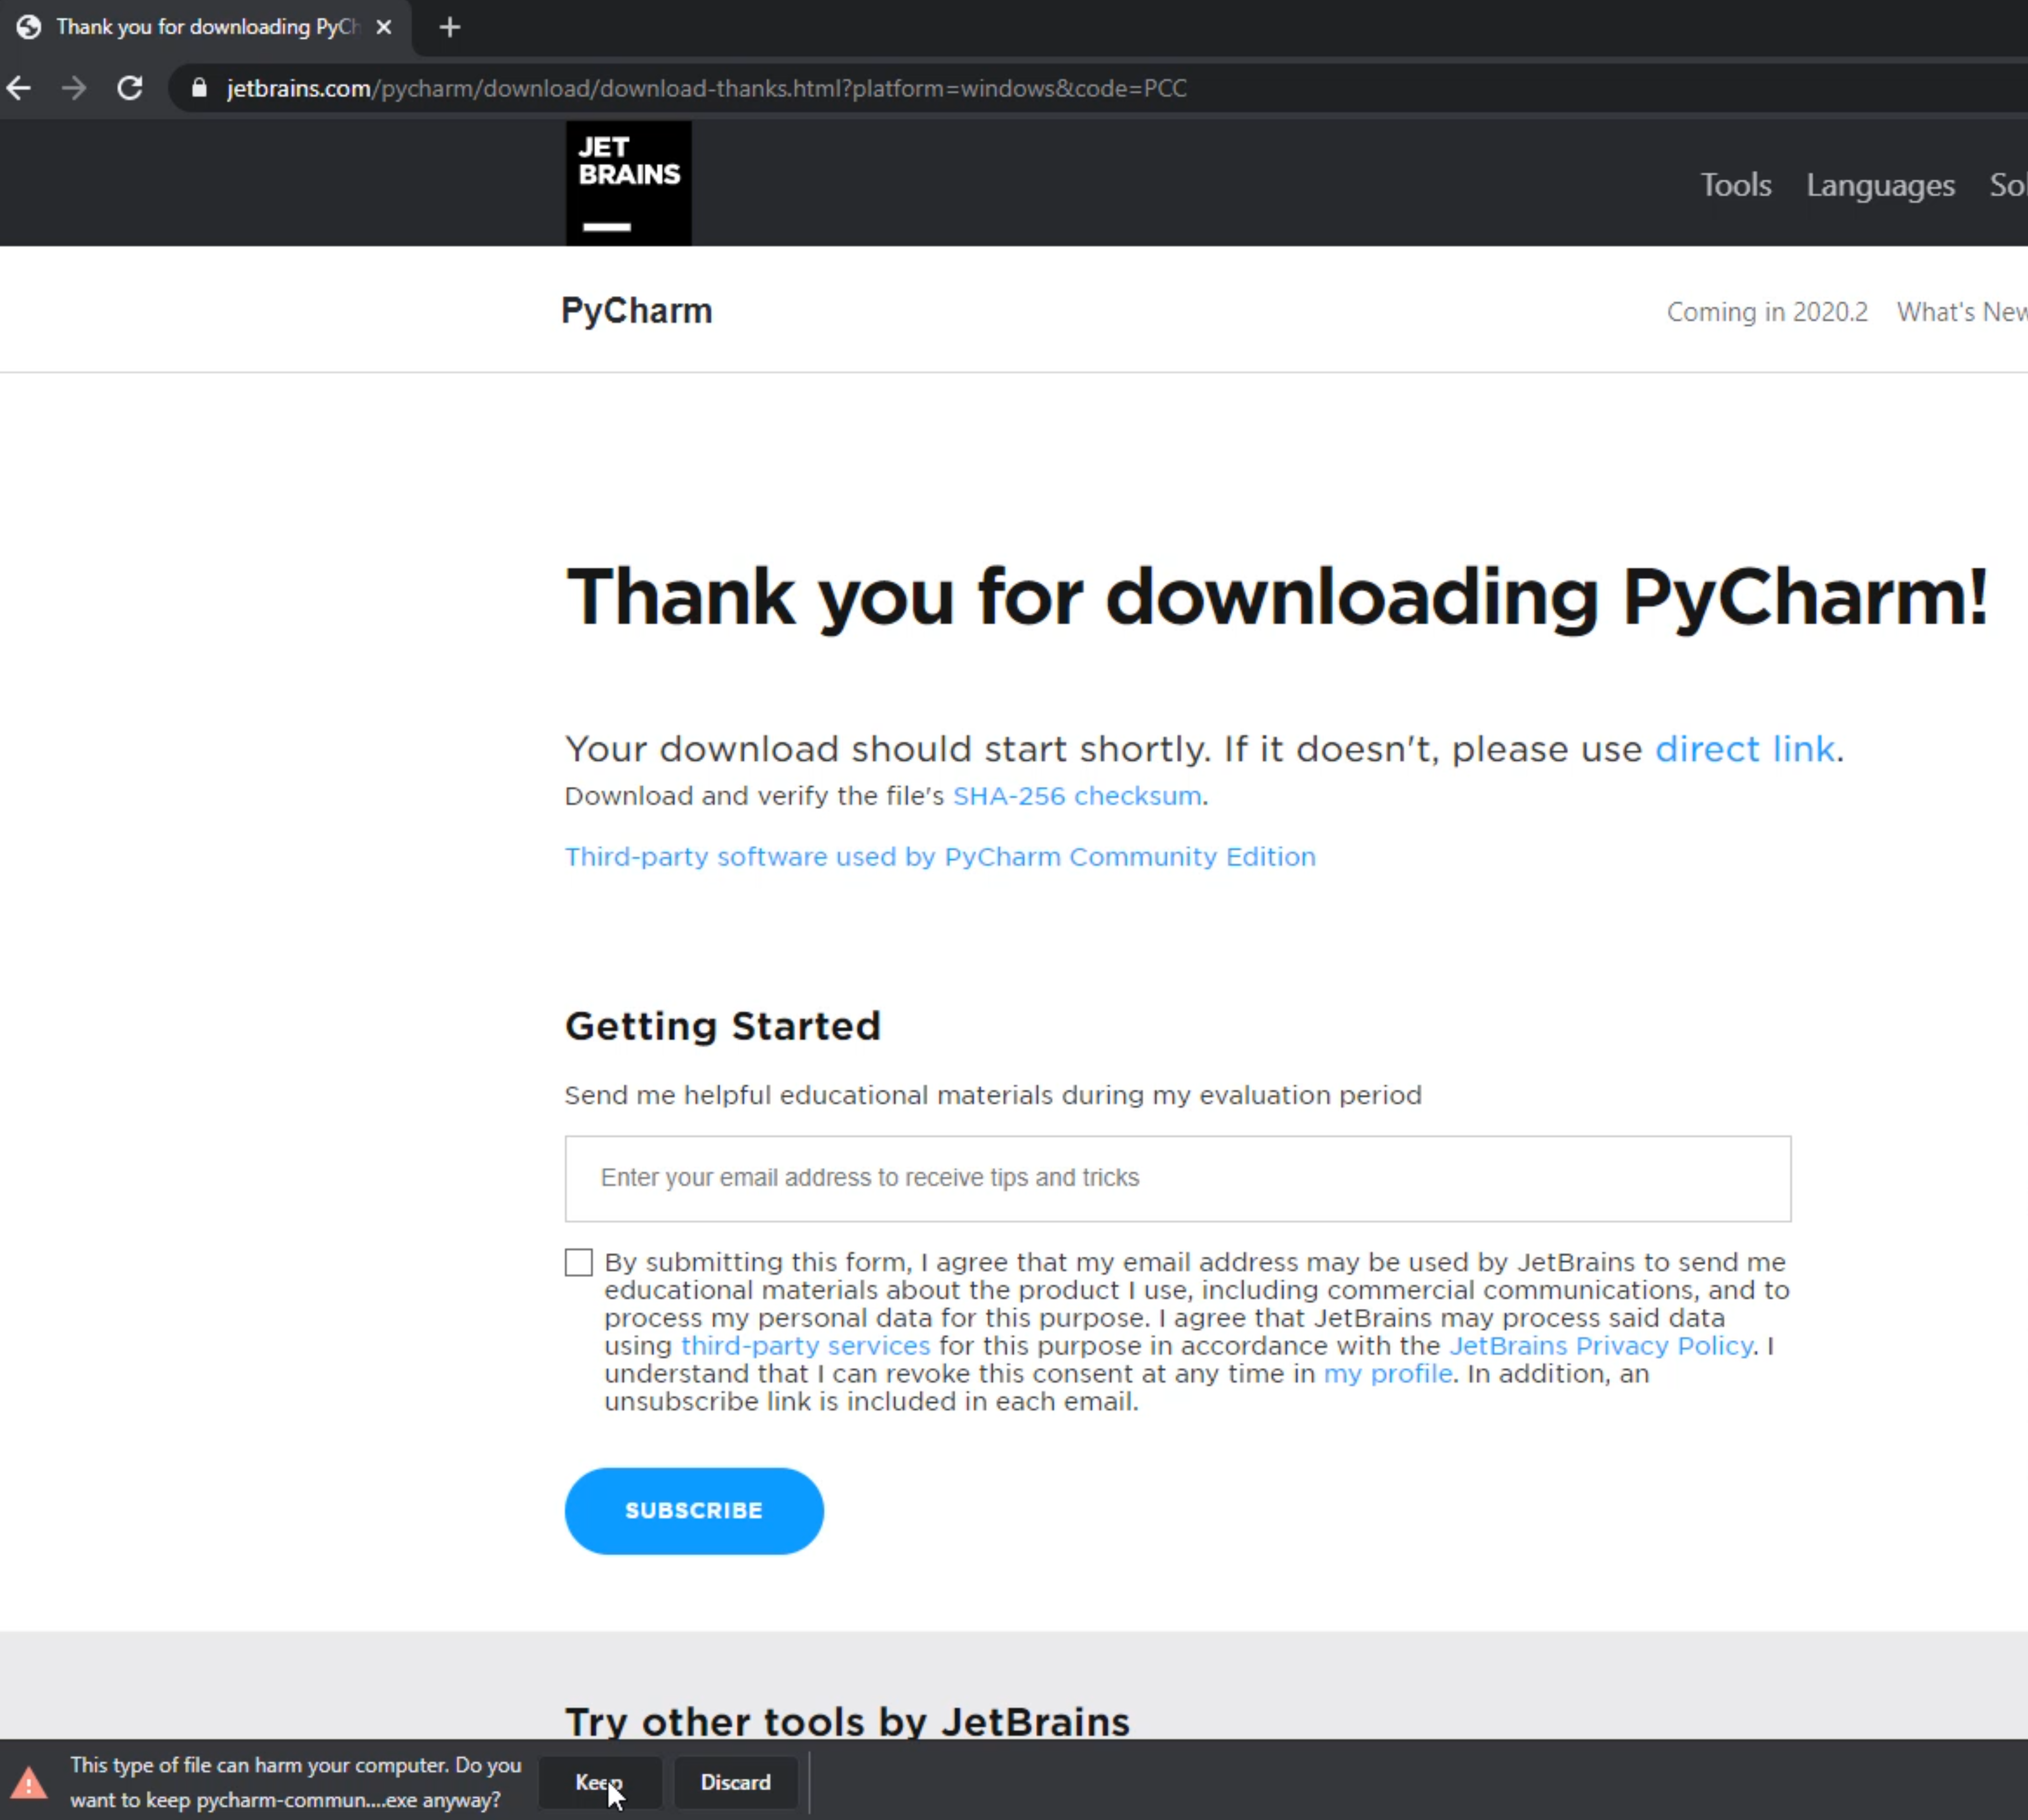
Once we have PyCharm downloaded, we can click on this little drop arrow and select "Show in folder" - that will take us directly to our download.
Let's double-click on this file, select "Next", and we're just going to install to the default location.
We're going to select the 64-bit launcher and click to "Install".
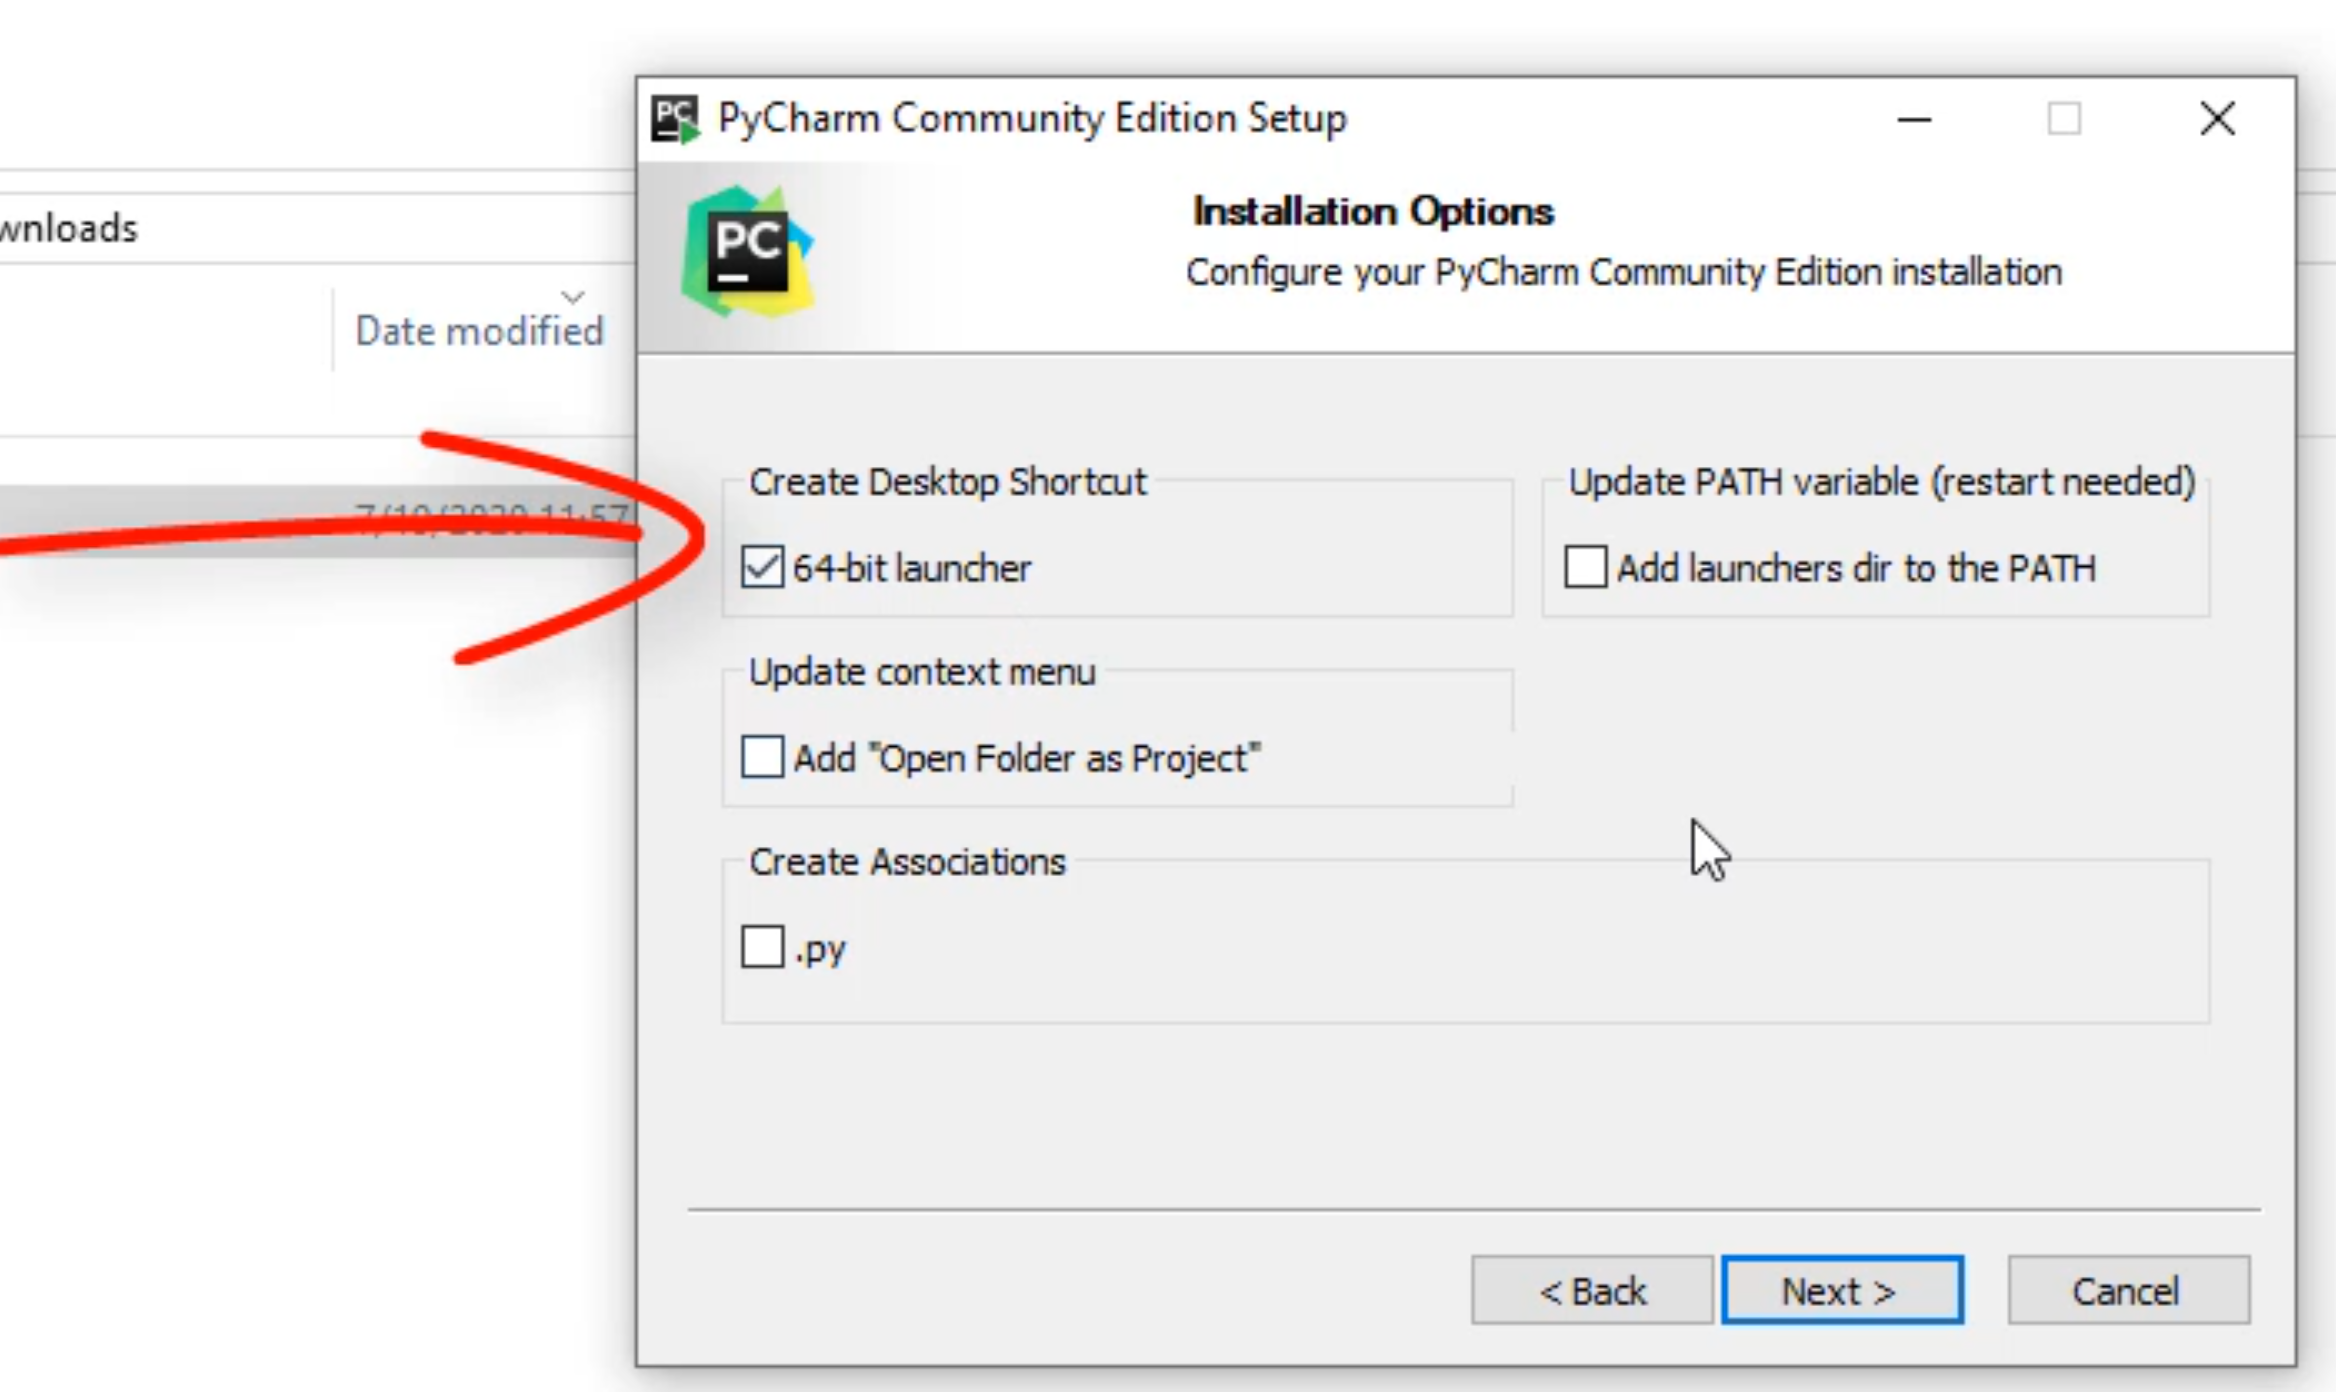
Once the install is complete, we will select "Run PyCharm Community Edition" and select the "Finish" button.
