
Transcripted Summary
Now, we can go ahead and install all that we have downloaded.

# Installing Appium
Let's start with Appium.
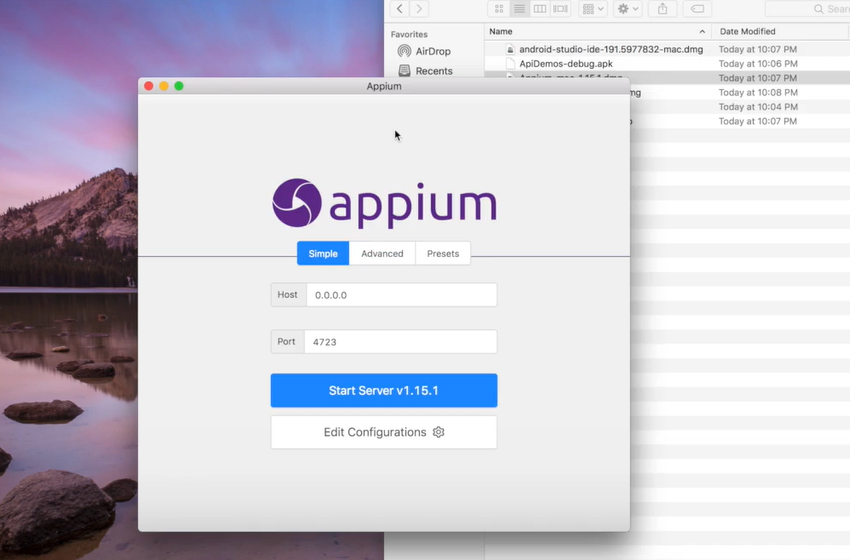
Once you double click the installer and you drag and drop into your applications folder for Mac, that is the installation for Appium.
When you open Appium, this is what you should see.
# Installing Node.js
Let's move on and install Node.js.
Let's just choose the defaults, Agree for the license and Install.
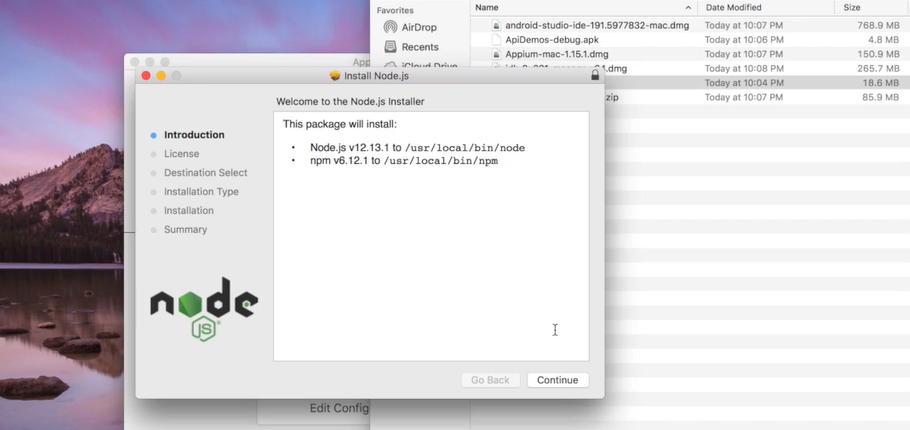
I've skipped this installation just for the sake of time.
# Installing Android Studio
We can now look at Android Studio.
If we go ahead and double click the installer, what we'll need to do is drag and drop, just like Appium, to copy it to the applications folder.
After that's finished, once you double click the application, it will open Android Studio.
NOTE
I was asked if I wanted to import my settings from an older version of Android Studio that I had installed. You might not be asked about that if you did not have an older version of Android Studio installed.
Go ahead and select Standard.
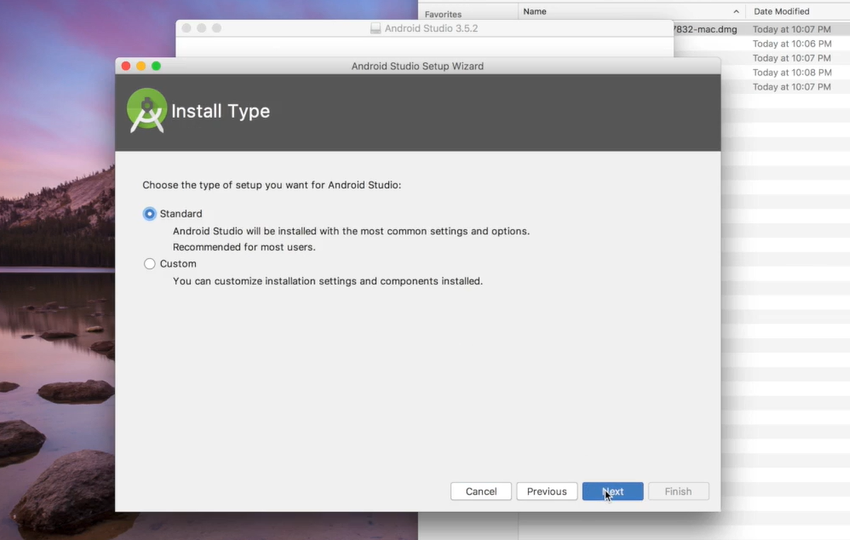
Again, I'll just skip through this installation for the sake of time.
After that's finished, we want to open up the AVD Manager.
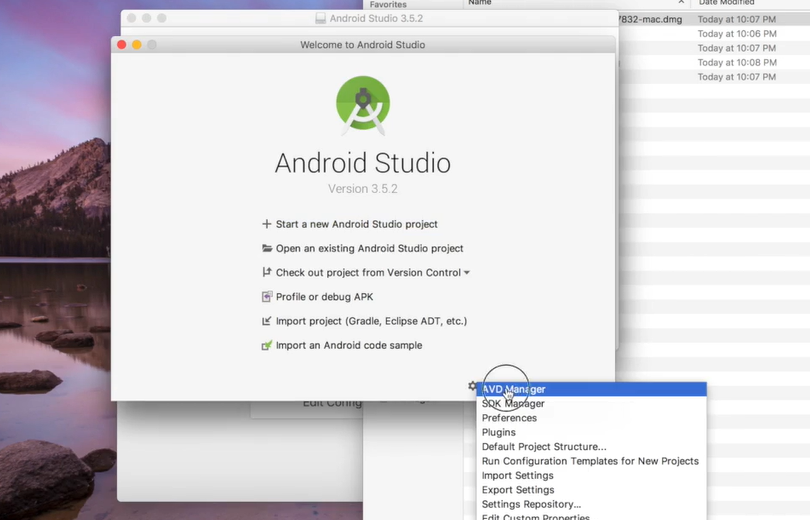
This is where we'll be able to Create Virtual Devices and emulators.
Let's go ahead and create our first emulator from this list of different devices to choose from.
I'll go ahead and choose Pixel 2 for my device.
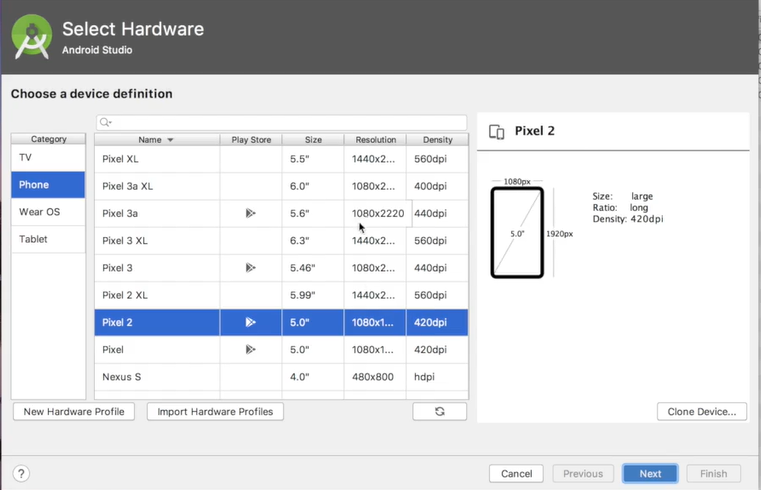
I was asked to download the Android version to go on my emulator.
After that's finished, choose your Android version, the name of your AVD, and then click Finish.
Here you'll see your virtual devices and you can launch your virtual device.
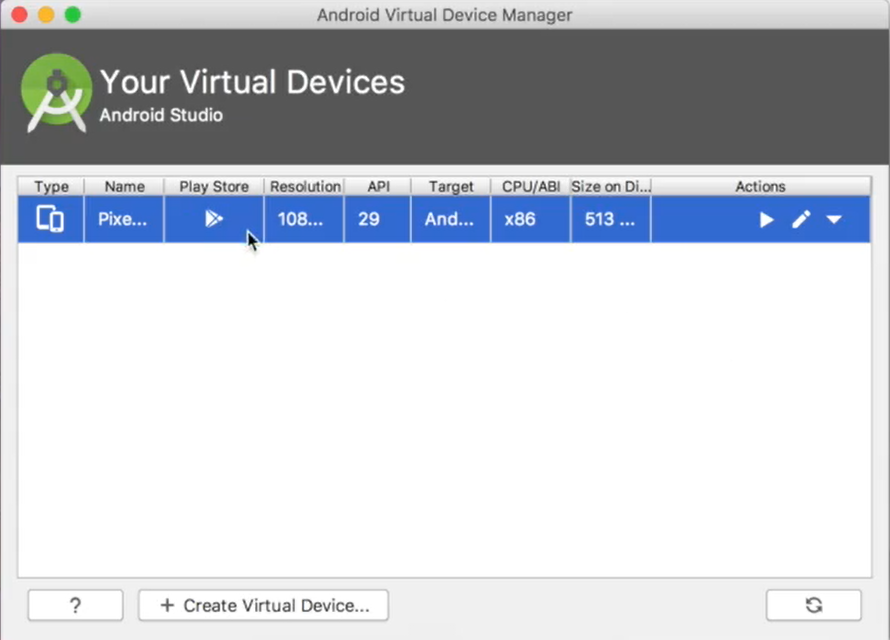
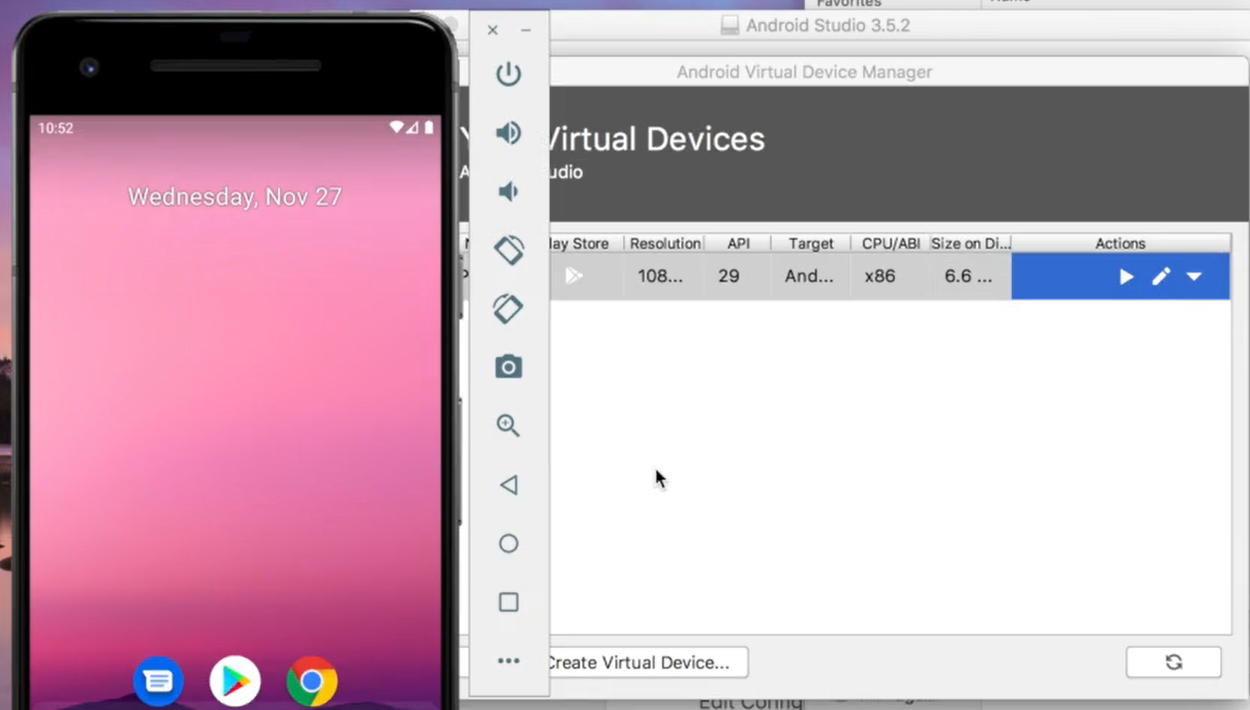
Let's just check if ours is working.
There we have it. We now have a virtual device that we can run tests against using Appium.
# Verifying Installations
I did not go through the installation for the Java JDK, but you can find that on Oracle.com.
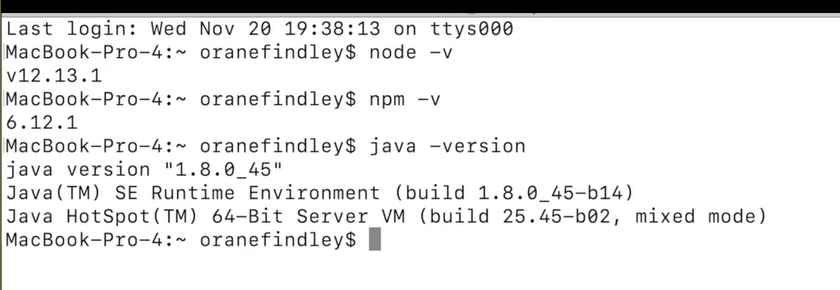
However, let me show you how to check if you have Java, Node and NPM installed.
- For Node, it is
node -v - For NPM it is
npm -v - For Java it is
java -version
Once you have these similar values, then you are ready to go ahead and start writing some tests.
Quiz
The quiz for this chapter can be found in Chapter 1.5
