

Transcripted Summary
In this video, we'll be looking at scrolling.
Scrolling is a very popular thing to do, and more than likely, you'll need to perform this action when writing automation for mobile.
There are 2 functions that I'll be talking about today — one is touchScroll, and the other is touchAction.
Ideally, I would have wanted to use touchScroll, but there are several issues with that currently now online. And so, I ended up using touchAction.
**But let me go ahead and show you guys the differences between these two functions. **
So, touchScroll on Appium's site is to scroll on the touch screen using finger based motion events.
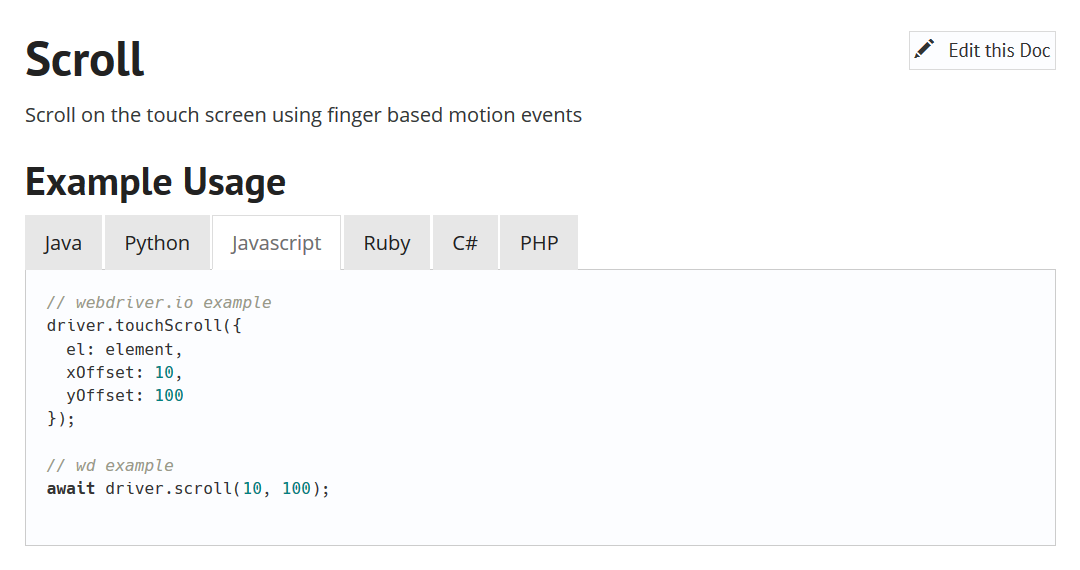
And this function accepts element, and xOffset and yOffset from where you should start scrolling.
Very similar, there is a function in WebDriver called touchAction and with this function, you can pass in different actions.
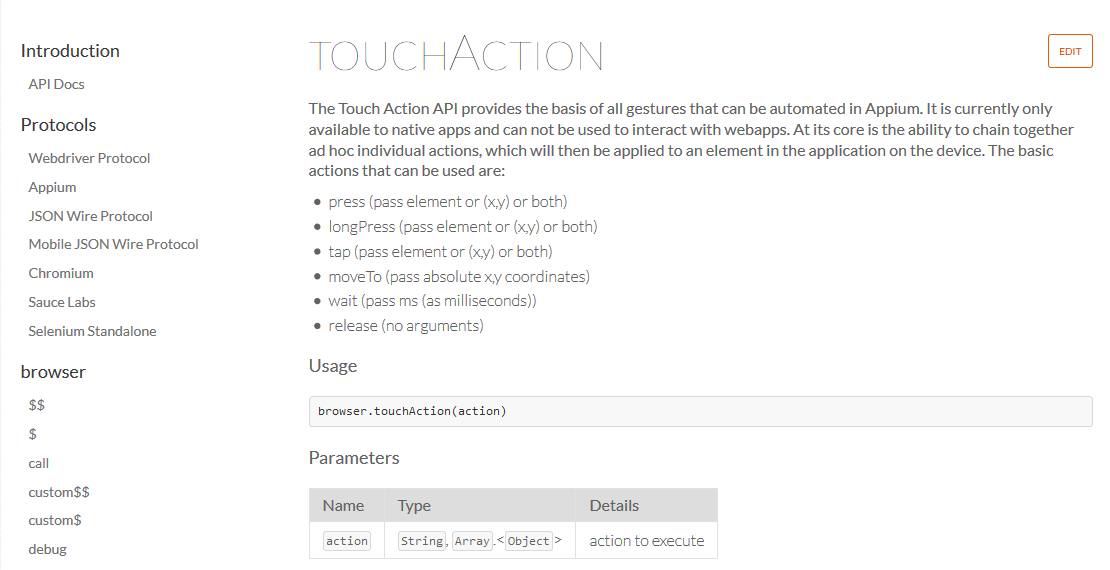
So, you can say press, you can longPress, tap, moveTo, wait, and also release.
And down here, you can see examples of these functions.
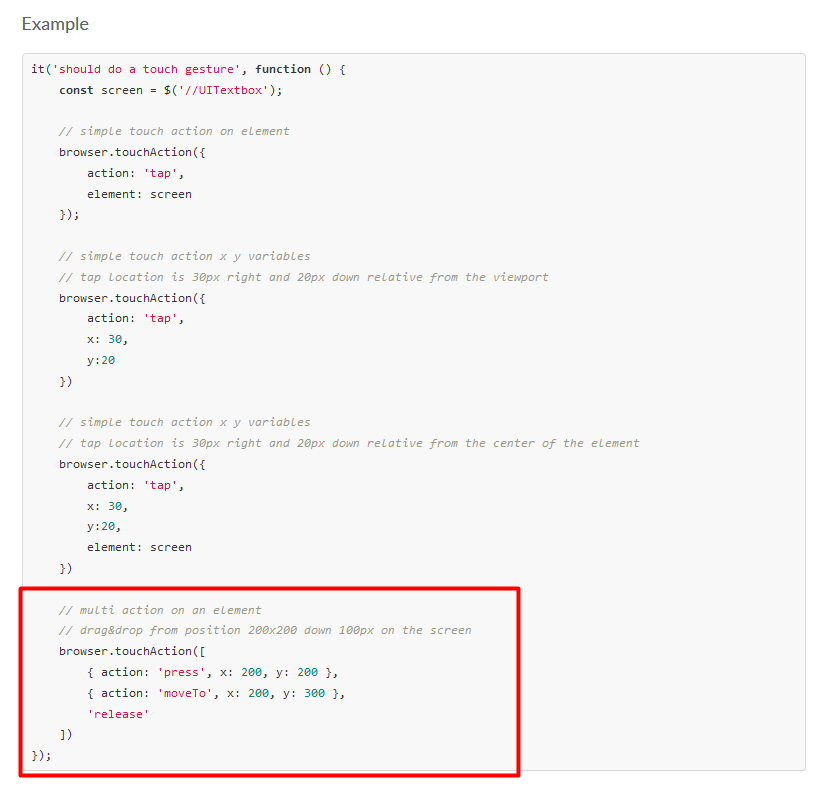
Here you can specify your action, moveTo, and your X and Y offsets.
Now let's try this in our project.
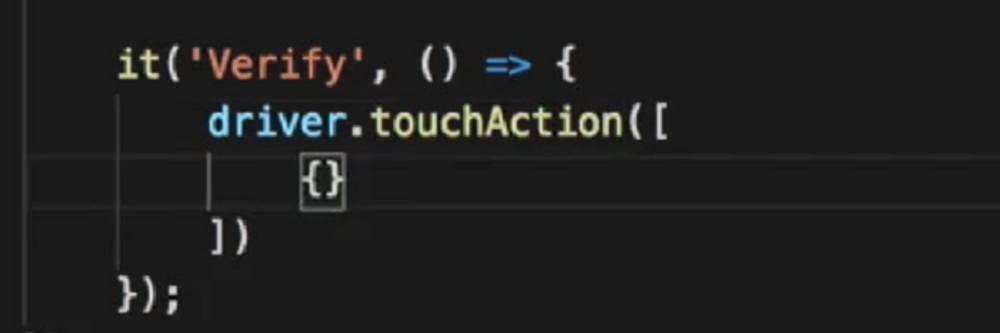
First, let's create a test for this. Let's just call this “Verify” for now.
And to get this function, you need to use driver.touchAction.
Then we can go ahead and specify our actions in here.
What we want to do is mimic when a user is scrolling down on their phone.
So, if we look on an actual phone, like here, we don't have anywhere to scroll.
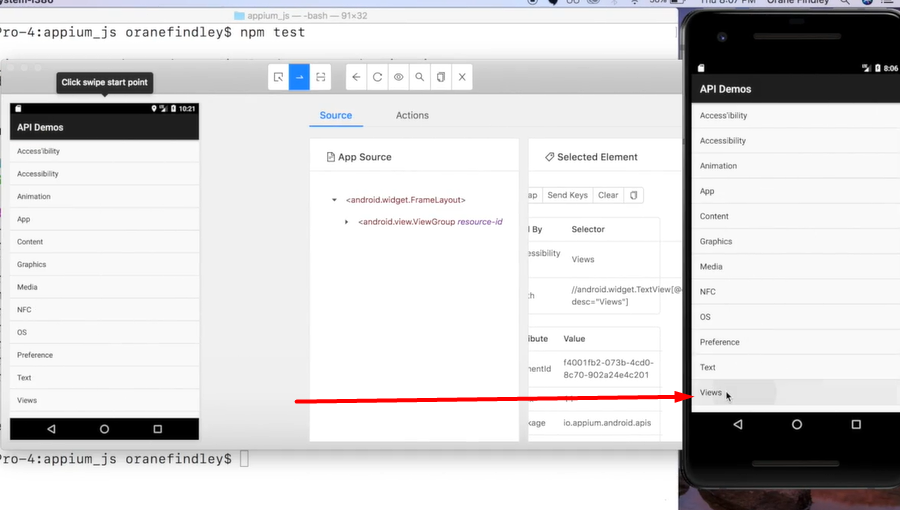
But if we go to Views, you'll see that we press, then we move to a specific area, and then we release.
So, that's the basics of scrolling down.
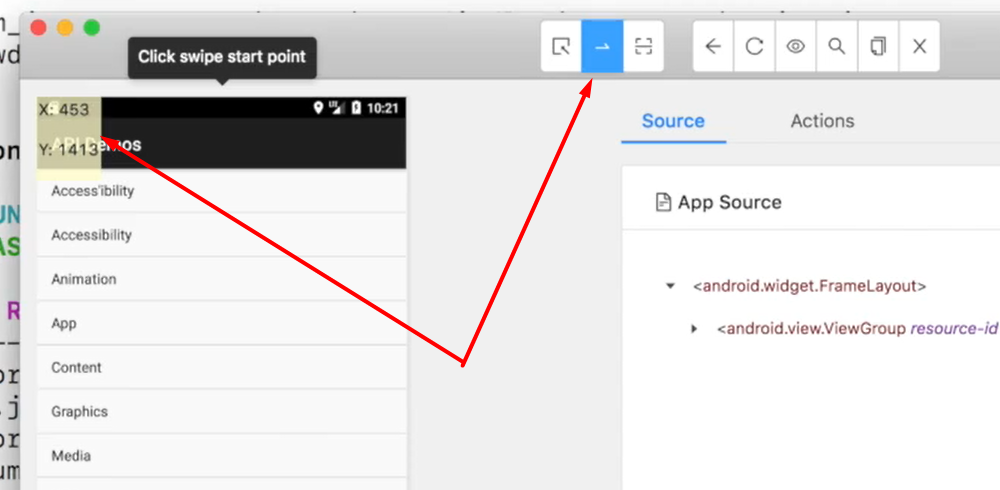
And if we want to find X and Y offsets or coordinates, we can go ahead and select here, and it will show these in the top left corner.
So, let's specify the action.
So, we'll press. For the X, we can go ahead and use 500. And for the Y, we can go ahead and use 1,400.
After we press, then we'll need to move to some area on the screen.
So, the action for that is moveTo, and the X can be the same, but the Y will need to be different. And because we're scrolling down in this example, the Y would be a smaller value. So, 300 should be fine.
And the last thing that we'll need to do is release. And to do that, we can just go ahead and release.
    it('Verify, () => {
        driver.touchAction([
            { action: 'press', x: 500, y: 1400 },
            { action: 'moveTo', x: 500, y: 300 },
            'release',
            ])
    });
So, let's go ahead and check this out, and we'll use it.only so we can only run this test.
Please be mindful that in order to see this work, you'd actually need to go on a page where you can scroll.
So, currently on our first page, we cannot scroll. But if we switched to Views, then we would be able to scroll.
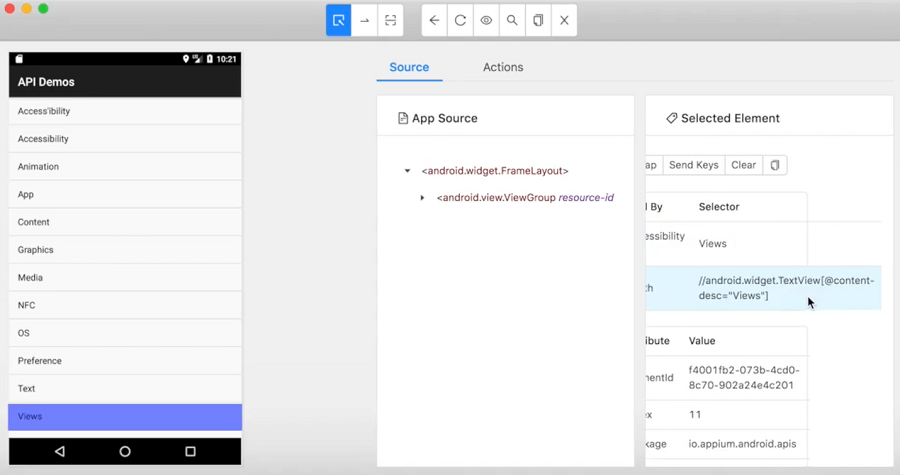
Let's get a selector for the View element — and the Xpath is fine.
We can add that to our pageObjects file (dialog.page.js) .
get viewBtn() {return $('//android.widget.TextView[@content-desc="Views"]')};
So, before we actually scroll, let's go ahead and click on that View button.
    it('Verify, () => {
        dialog.viewBtn.click();
        driver.touchAction([
            { action: 'press', x: 500, y: 1400 },
            { action: 'moveTo', x: 500, y: 300 },
            'release',
            ])
    });
Now let's go ahead and rerun that test.
And the scroll was successful.
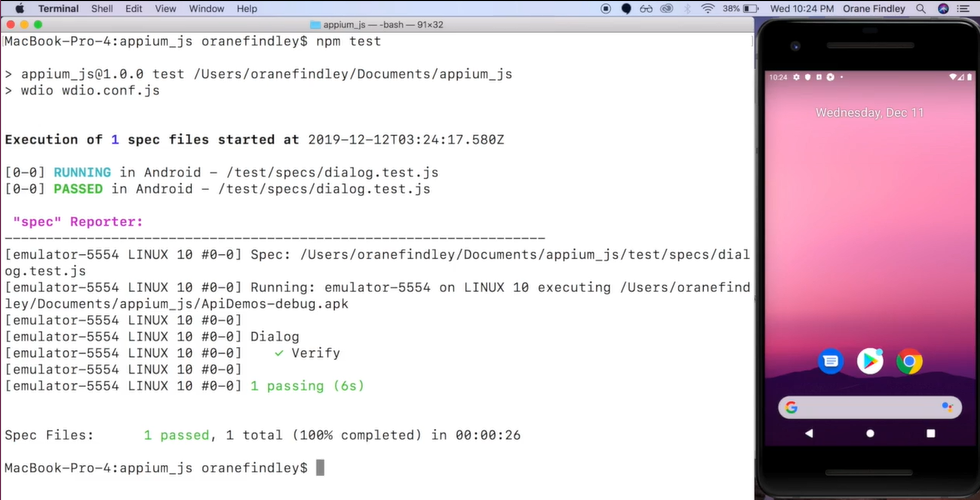
Okay, great.
So, that is the method that we will be using for scrolling throughout this course.
Resources
Quiz
The quiz for this chapter can be found in Chapter 2.3
