

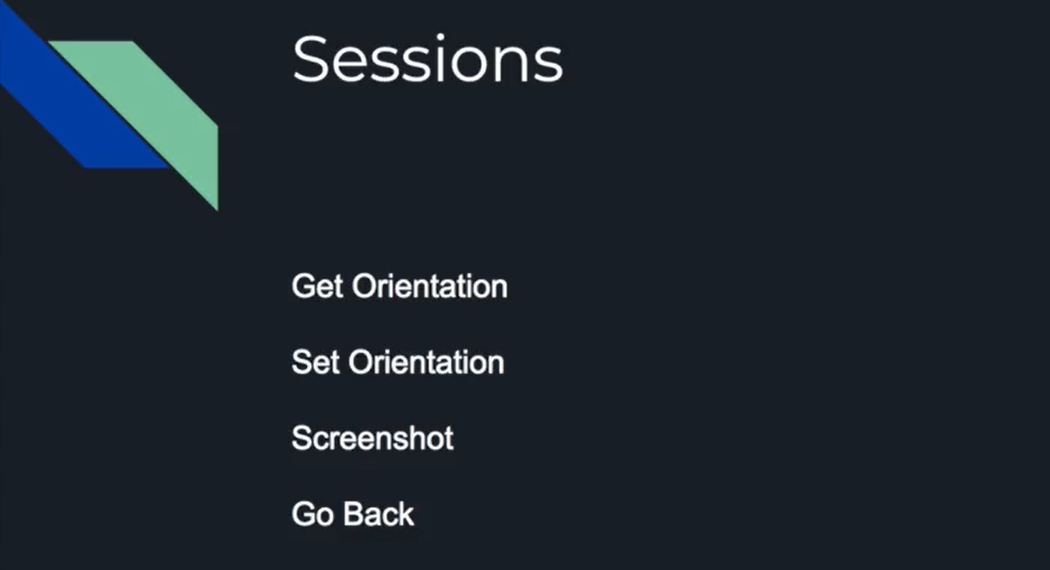
Transcripted Summary
In this video, we'll be looking at getting and setting screen orientations, taking screenshots and going back by using a native back button.
Let's head back over to our test file.
Let's create another test by using it and let's just say, "Verify that the app adjusts when orientation is switched".
# Getting and Setting Orientation
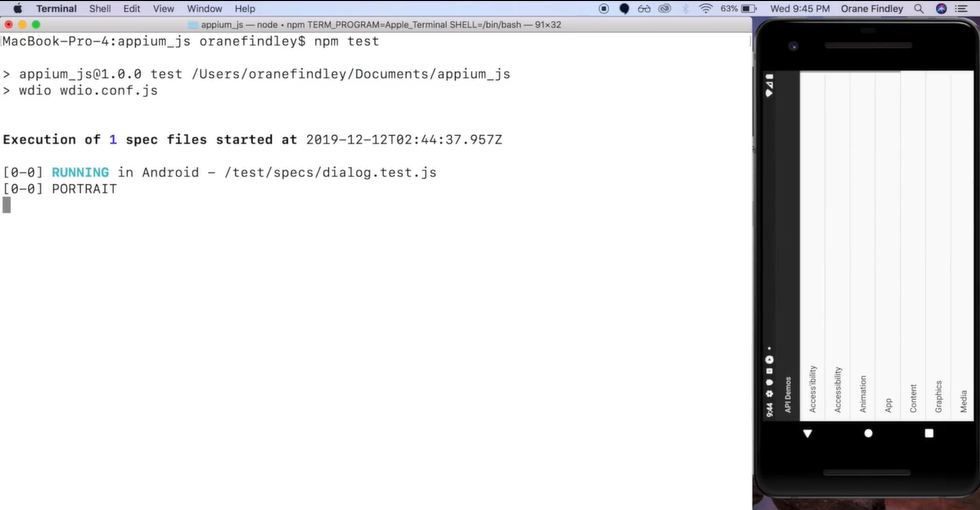
First, let's go ahead and get the current orientation of our screen and to do that, we can say, driver.getOrientation and that will return the orientation of our screen.
So, to see that, what we can go ahead and do is console.log to the console and that will now output to the console, the orientation of the screen.
describe('Dialog', ()=>{
    it('Verify that the app adjust when orientation is switched', () => {
        console.log(driver.getOrientation());
    });
})
Another thing that we also want to do is we don't want this first test from our last lesson to run anymore, just because we want to test only this test.
So, what we can do is say, it.only and that will specify that this will be the only test that should run.
Let's go ahead and check that out.
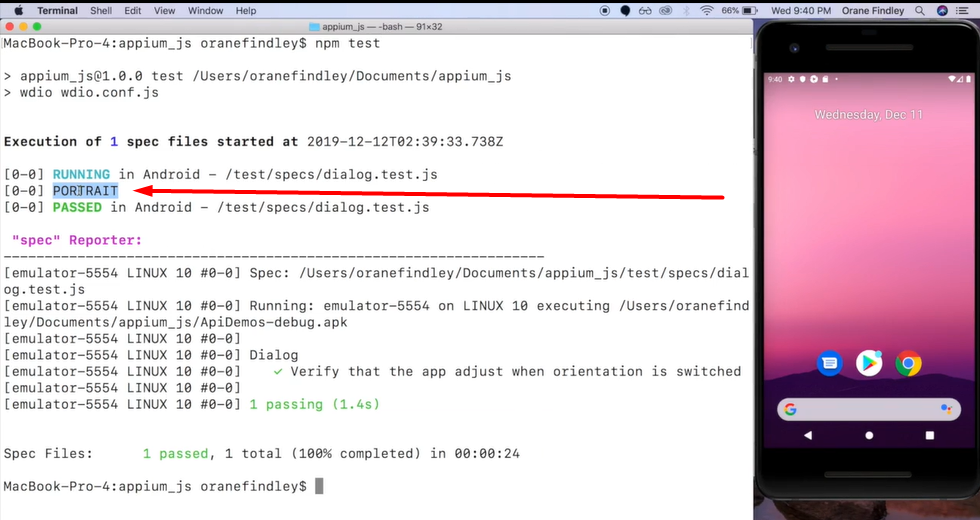
And as you can see, it gets printed right here in the console that the current orientation is portrait.
Now, let's go ahead and switch that orientation.
We can go ahead and say, driver.setOrientation and this accepts the String of the orientation in full caps. So, because the orientation is now portrait, let's go ahead and set it to “LANDSCAPE”, so we can see a change.
Also, let's go ahead and put a pause, so that we can see the orientation change on the screen before the test finish.
describe('Dialog', ()=>{
    it('Verify that the app adjust when orientation is switched', () => {
        console.log(driver.getOrientation());
        driver.setOrientation('LANDSCAPE');
        driver.pause(1000);
    });
})
NOTE ABOUT PAUSES
This is generally not a good idea to have within your test, because you don't want your test to always wait 1 second before moving on to something else, however, this is just to demonstrate what we are trying to achieve here, and this accepts millisecond, so 1,000 millisecond is a second, and that should be enough for what we want to see.
So, let's rerun that.
And there you can see that it switched from portrait to landscape.
The first time I ran this, there was a bit of jitter in the emulator, however after rerunning the same code, that disappeared.
Next, what we can do is actually take a screenshot.
# Taking Screenshots
Now to take a screenshot, it's very similar, driver.saveScreenshot and it accepts the path where you want to store your screenshot. Let me go ahead and create a folder called “Screenshots”.
We'll just say, "Store that in screenshots," and the name of file, let's call this “landscape.png”.
driver.saveScreenshot('./screenshots/landscape.png');
Now, let's go ahead and give that a try.
And as you can see that screenshot was stored successfully.

# Going Back
The last thing that we'll be looking at in this video is going back, and this is using the native back button to navigate through the app.
So, let's go ahead and say, driver.back
Okay, so let's organize this test a bit better.
First, what we can do is get our orientation switched to landscape.
So, after we save that screenshot, let's
clickthe “appBtn”.Let's switch back the orientation to portrait.
Then let's go back and take another screenshot. Let's call this “portrait.png”,
And let's have that as our test.
I think we can remove this pause and let's just add some space in there.
const dialog = require('../../pageObjects/dialog.page');
const expect = require('chai').expect;

describe('Dialog', ()=>{
    it('Verify that the app adjust when orientation is switched', () => {
        console.log(driver.getOrientation());
        driver.setOrientation('LANDSCAPE');
        driver.saveScreenshot('./screenshots/landscape.png');
        dialog.appBtn.click();
        driver.setOrientation('PORTRAIT');
        driver.back();
        driver.saveScreenshot('./screenshots/portrait.png');
    });
})
Let's go ahead and try this.
There you can see everything went as planned, and that's basically what I wanted to show you guys within this video.
So, we looked at getting the orientation, setting orientation, saving screenshots, and going back by using the native back button. See you guys in the next video.
