

Transcripted Summary
In this chapter, I'll talk about some of the web accessibility testing checks that you can start doing.
Doing accessibility testing can be overwhelming, especially if you haven't done it in the past.
The good thing is there are a lot of guidelines out there that you can use to get started.
World Wide Web Consortium or W3C has created the web accessibility initiative which contains resources to help you make the product that you're testing more accessible.
You can access their website, which I provided as a link down below in the resources section, and start looking into Accessibility Fundamentals as a start.
You can use the Easy Checks that they have provided to get you started, which I've also linked down below in the resources section.
Each of these checks has guidelines on how to do it, what to look out for and general tips.
In this chapter, we'll look at some of the checks that can be covered as part of our test automation and what checks are needed to be tested by yourself and by your team.
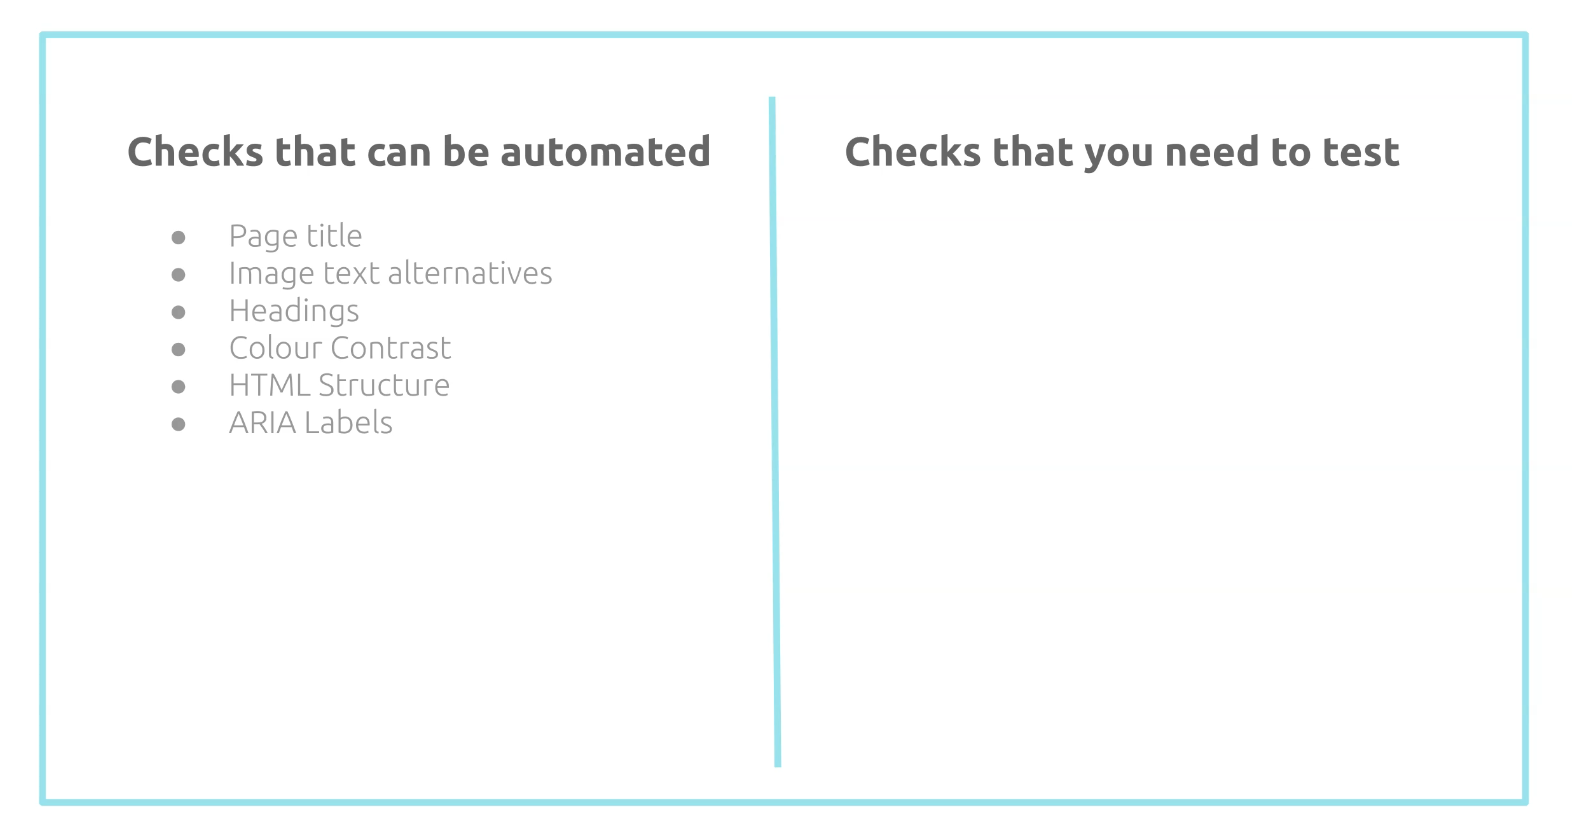
# Checks that can be automated
Let's look at some of the accessibility rules that can be covered by an automated tool.
An automated tool can detect if your page doesn't have a page title.
Page title is important because this is the first thing that the screen reader says when a user visits your page.
Without a page title, your users will be confused as to what page they are on, especially if they have multiple tabs open.
Next check is image text alternatives.
An automated accessibility testing tool can check if images have the alt text attribute.
If you have blind users, they rely heavily on these alt texts to help them understand the images that they can't see.
An automated tool can also check if it has the correct heading structure and if there are any missing heading elements.
For example, it's recommended for your page to have at least one heading.
Having a good heading structure helps out on how your page will be accessed using keyboard only.
Similar with color contrast - an accessibility testing tool can help you detect any elements on your page that doesn't have sufficient color contrast and can report basic preliminary issues.
This is helpful because some users will find it hard to read the text if it doesn't have a sufficient contrast between the text and the background.
You can also use an automated tool to detect errors in your HTML structure.
For example, it can report if there are any required elements or attributes missing in any of your HTML elements.
An automated tool can also report issues related to missing ARIA labels that are required.
The aria-label attribute is used as a label to elements where the label is not visible on the screen.
This is particularly helpful for using screen readers.
This is just a subset, of course, but if you want to know more information as to what other rules can be automated, you can check out Deque's accessibility rules on one of the tools that they provide, which we'll also explore more in detail on the next chapter.
# Checks that you need to test
Now let's look at what checks you need to test.
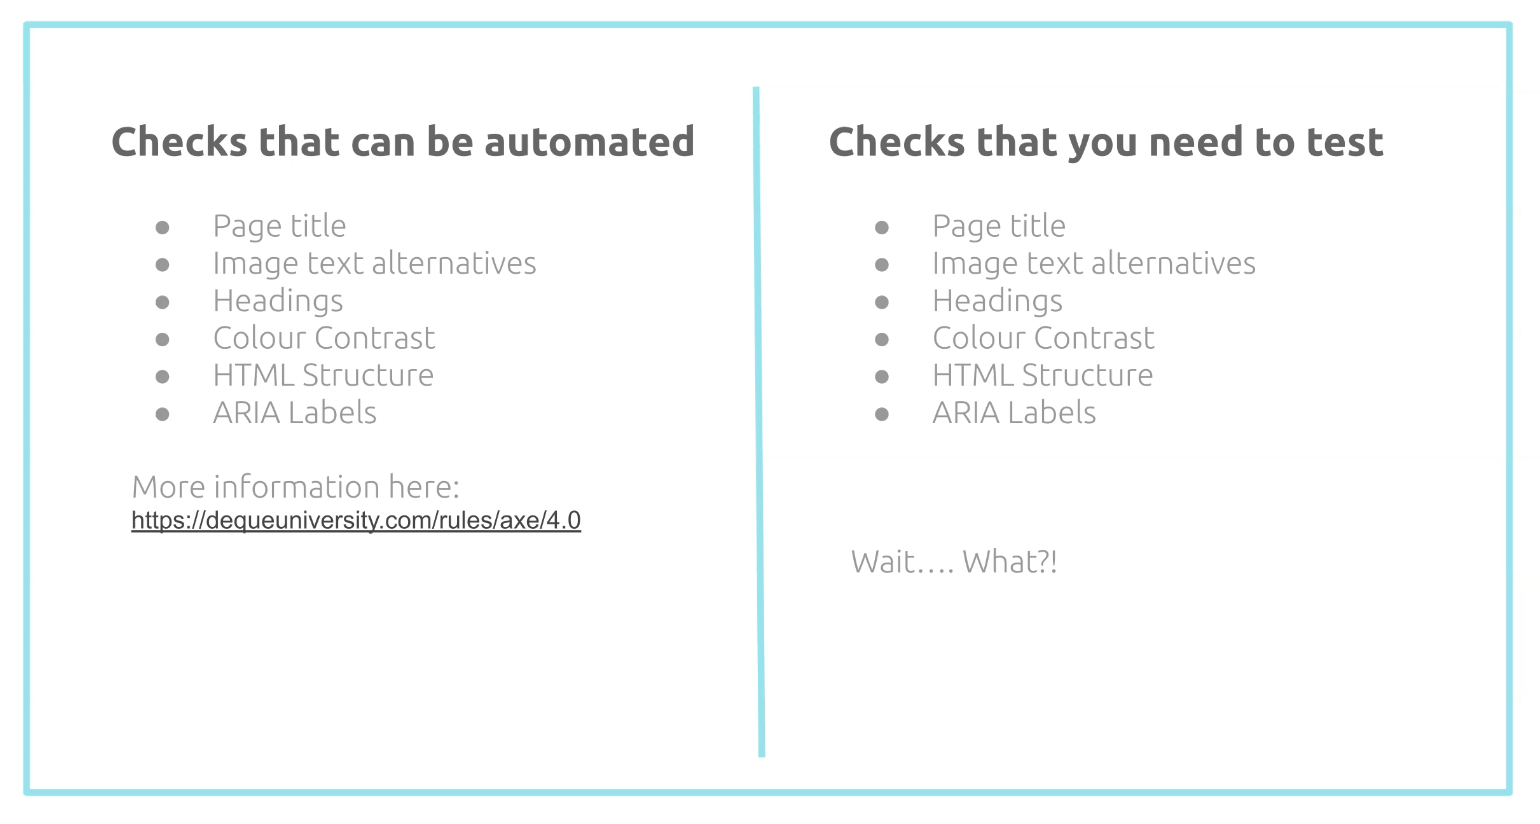
Huh... wait... the checks are all similar. I thought the automated tests should cover it.
The automated tools are there to help you detect if these attributes are present.
For example, it will report if a title element is there, but you still need to check if the page title makes sense. Is it easy to understand?
It's similar with the other rules like the image text alternatives.
You can have this attribute added in, but you still need to verify if the value of this attribute makes sense, especially when it's being used by a screen reader.
We still need to verify the heading structure makes sense by using your keyboard to access the page.
With color contrast, you can't just rely on what the tool is telling you. You still need to assess this yourself manually. The tool is just here to guide us.
With the HTML structure, you still need to use your keyboard to test that the structure makes sense when accessing it with your keyboard only.
And lastly, with the ARIA labels, you still have to use a screen reader to determine if the label name provided makes sense and gives more meaning to the element that you are focusing on.
So as you can see, human intervention is still very much needed if you're doing accessibility testing.
Automation can help us with tech issues earlier on, but it cannot be relied on 100%.
The ones in the previous slides are just checks to get you started, and there are other checks that you also have to keep an eye out for.
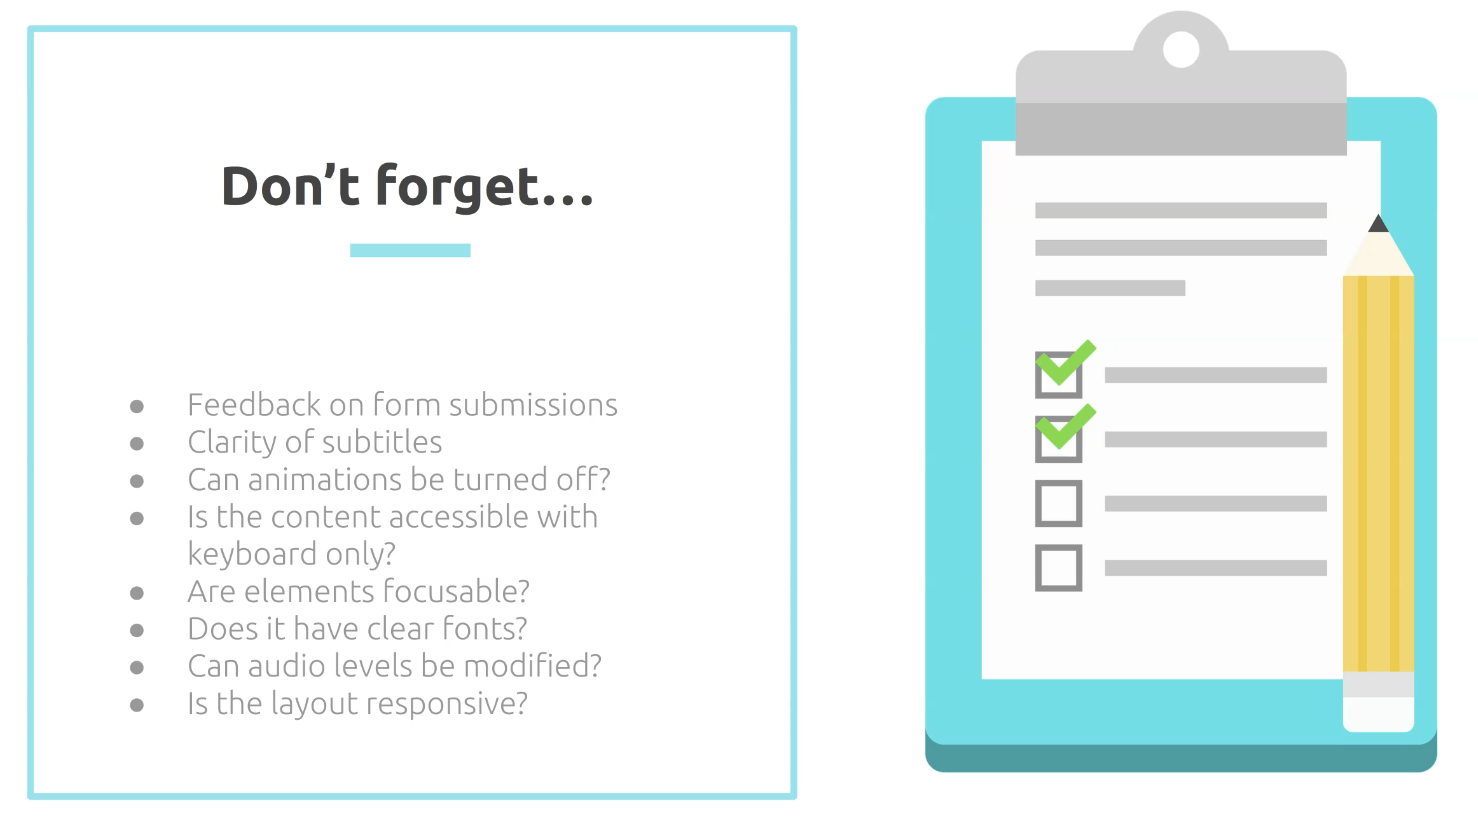
For example, if you have forms on your website, you need to make sure that there is feedback provided whenever your users submit the form or make mistakes.
The messages should be clear and easy to understand.
If you have any videos embedded, you need to test that the subtitles are clear and represent the video well.
If you have animations, make sure that there is an option to turn this off as users might find these attracting. Give them the option to control it.
As mentioned already on the previous slide, you still need to use your keyboard to verify some of the automated accessibility checks, so this is really important when doing accessibility testing.
Your keyboard is a really great accessibility tool.
When you focus on an element, is it clear? Do the users know that they are on that element?
Does your website have clear fonts? Make sure as well that the content is easy to read and understand.
If you have audio or videos, make sure that the audio levels can be modified and your users can control these.
Is the layout responsive? If they are on mobile, are you showing the mobile version?
Are buttons or links big enough? So when they're using devices with smaller view ports, they can access this easily.
I know that there are tons of checks that you can start doing, and it's a good start to have an accessibility plan in place.
# Tips on doing accessibility testing
Here are some tips that you can use.
First, decide within your team what Web Content Accessibility Guideline level you want to achieve.
If you're aiming to achieve 2.1 and Level AA, start on Level A first and work your way up to AA slowly.
Get involved with your UX team and collaborate with them.
Use user personas based on actual users and use this as a guide.
Start testing on a basic page and just play around with it.
Use your keyboard more and try not to use your mouse.
Learn the keyboard shortcuts that you need to navigate through your pages.
Play around with screen readers.
If you're a Mac user, VoiceOver is built in already and just needs to be enabled.
If you are in a Windows machine, NVDA is one of the most popular screen readers out there that people with disabilities rely on.
Turn off your speakers and test if there is a way to turn subtitles or captions on.
Use an accessibility testing checklist so you have an idea on what to track and what to suggest to your teams to fix.
Do exploratory testing and timebox your sessions. Set the goal that you want to achieve.
I often find most of the accessibility bugs by doing exploratory testing.
And lastly, decide on what other tools can help you.
There are tons of free accessibility testing tools out there, and you're in luck because in the next chapter, I'll be giving an overview as to some of the tools that you can use.
